Wildlife PhotographyWhen the critters are not in the wild!
aka Captured Animal Photography
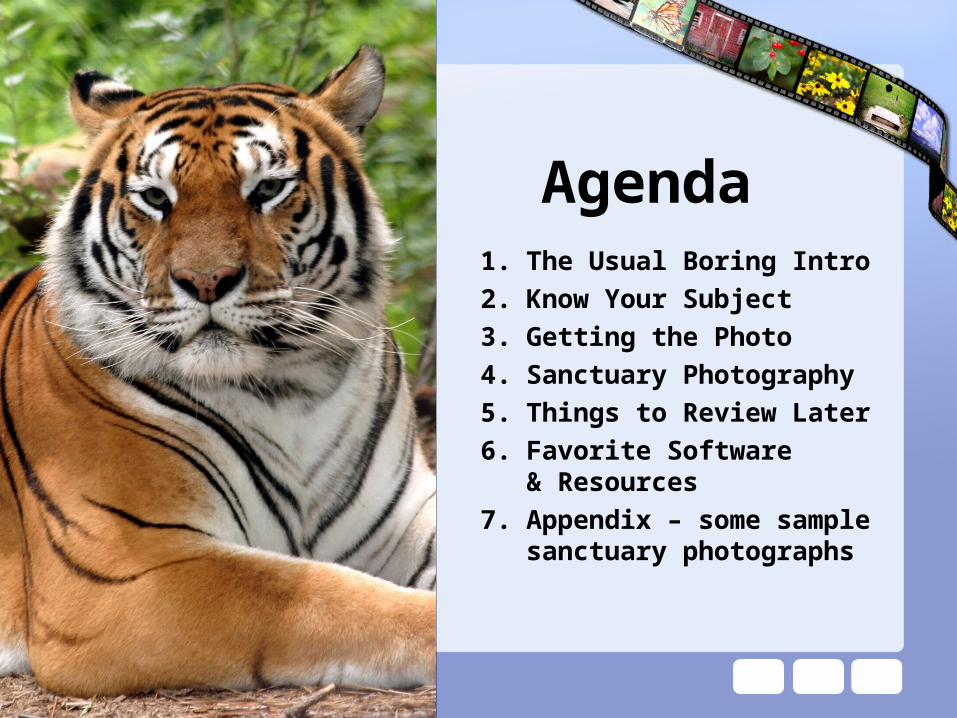
Agenda1. The Usual Boring Intro
2. Know Your Subject
3. Getting the Photo
4. Sanctuary Photography
5. Things to Review Later
6. Favorite Software& Resources
7. Appendix – some sample sanctuary photographs
Section One
1. ‘Housekeeping’ & Introduction
2. A Word About Safety
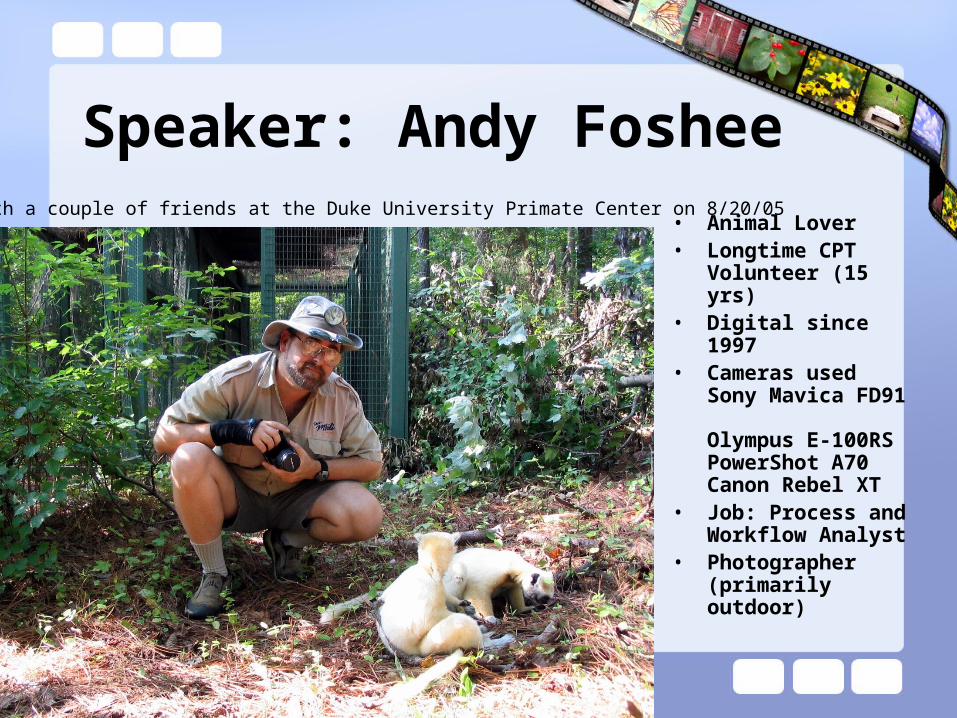
Speaker: Andy Foshee
• Animal Lover• Longtime CPT
Volunteer (15 yrs)• Digital since 1997• Cameras used
Sony Mavica FD91 Olympus E-100RSPowerShot A70Canon Rebel XT
• Job: Process and Workflow Analyst
• Photographer (primarily outdoor)
Andy with a couple of friends at the Duke University Primate Center on 8/20/05
Purpose of this Presentation
This is not a ‘deep dive’ into photography. At a minimum, that takes a week-long photographic boot camp!
This will be a very fast-paced hour of basics, tips, maybe one or two tricks o’ the trade.

A Note About the Photos
Many of the photos in this presentation…
…were taken at Carolina Tiger Rescue in NC
…are ©Carolina Tiger Rescue
…may have been slightly altered in Photoshop
…likely were cropped
…most are digital, a few are scanned photos
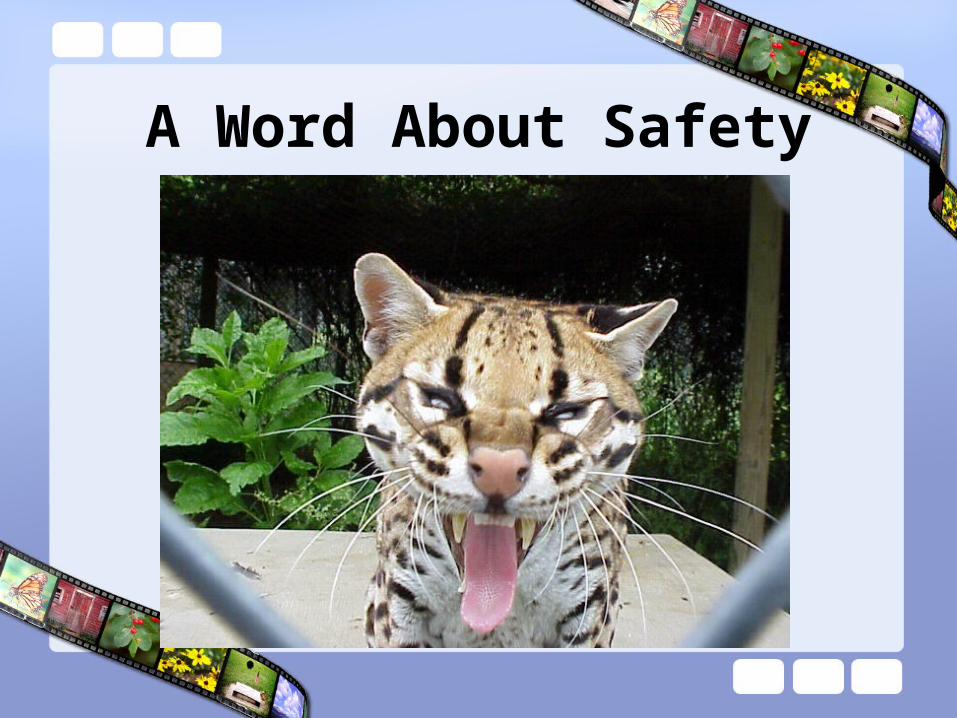
A Word About Safety
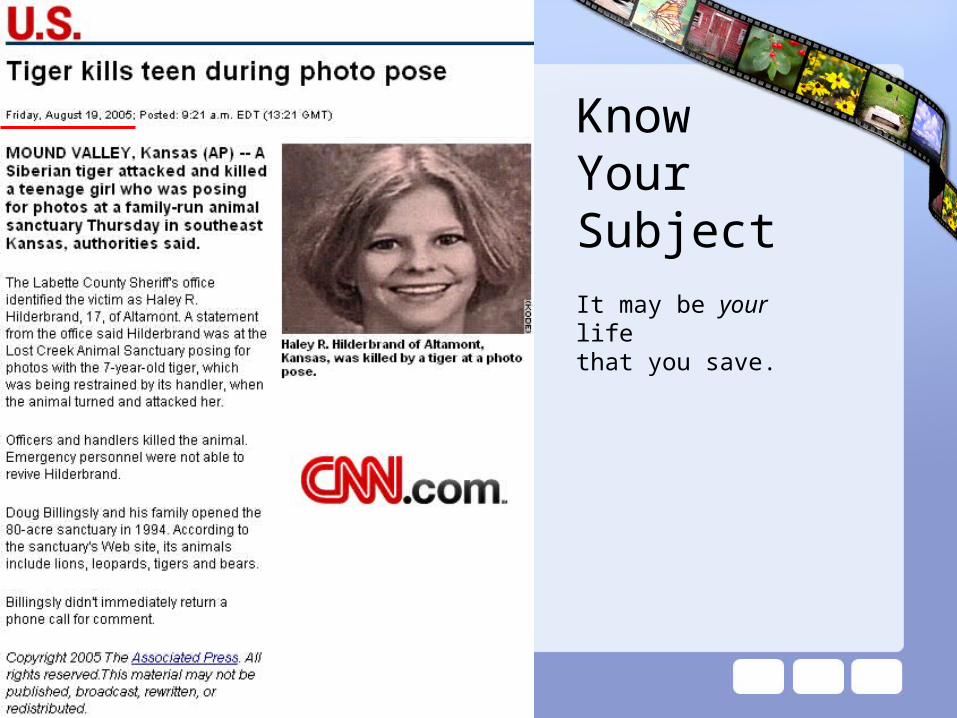
KnowYourSubjectIt may be your lifethat you save.
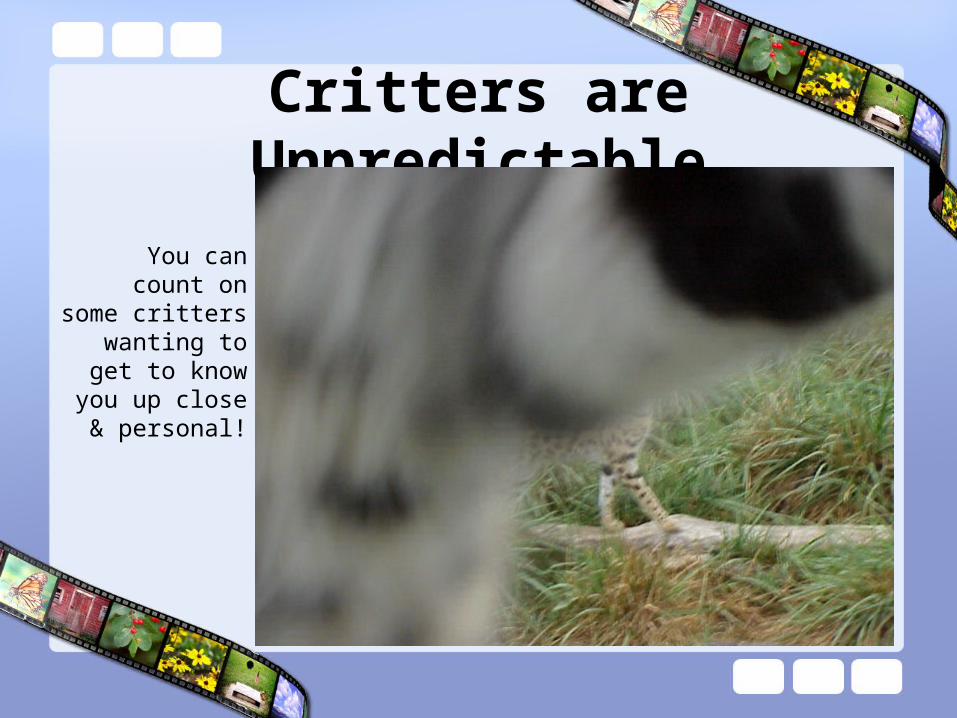
Critters are Unpredictable
You cancount on
some critterswanting to
get to knowyou up close& personal!
Section Two
Know Your Subject
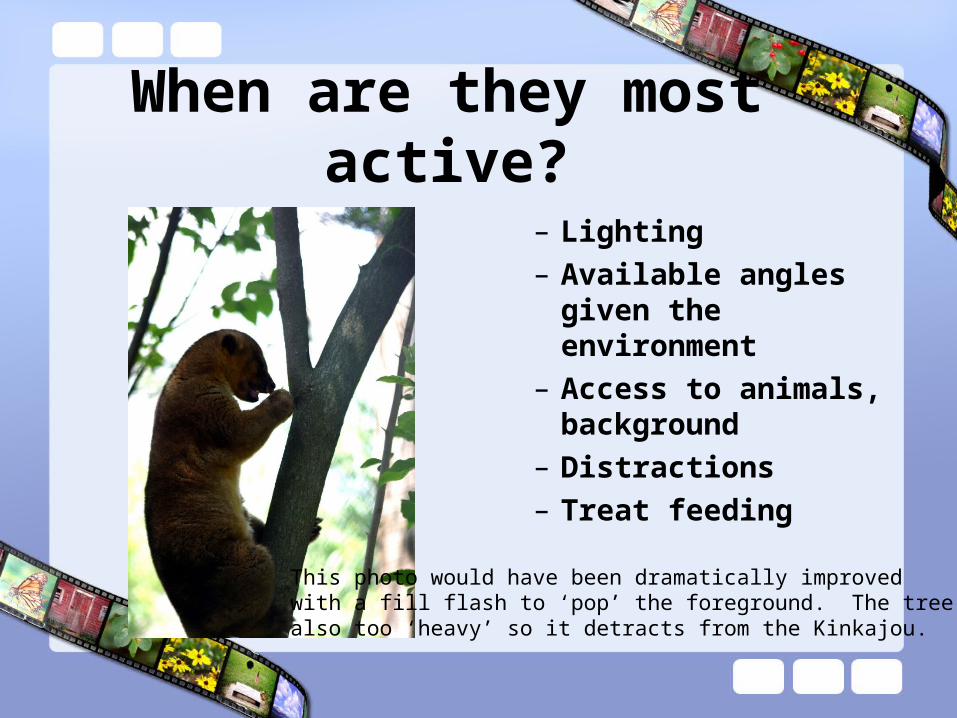
When are they most active?
– Lighting
– Available angles given the environment
– Access to animals, background
– Distractions
– Treat feeding
This photo would have been dramatically improvedwith a fill flash to ‘pop’ the foreground. The tree is also too ‘heavy’ so it detracts from the Kinkajou.
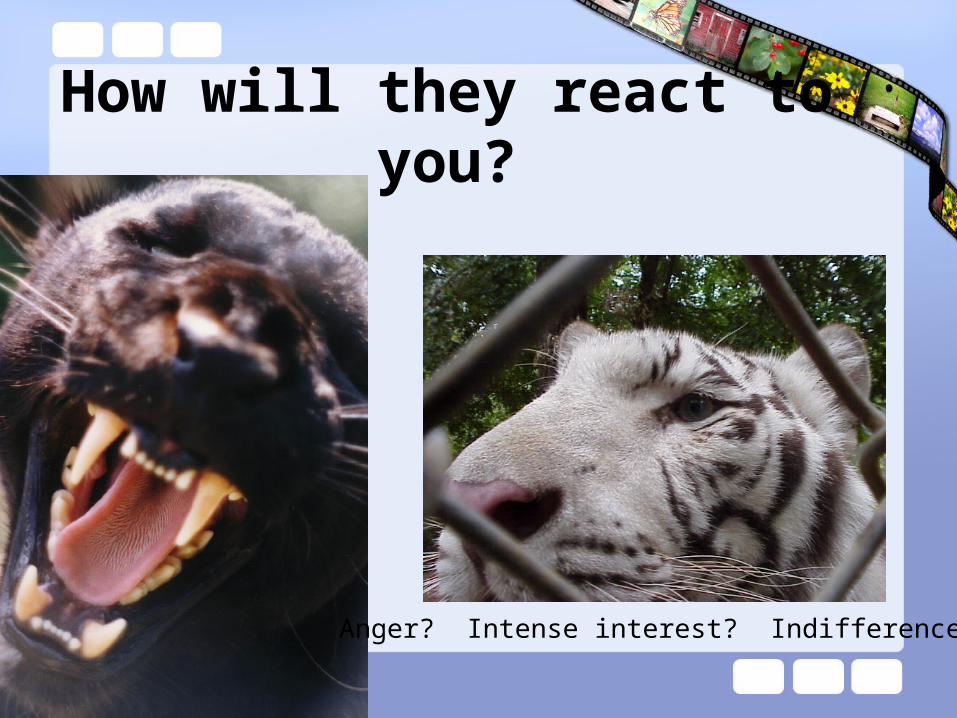
How will they react to you?
Anger? Intense interest? Indifference?
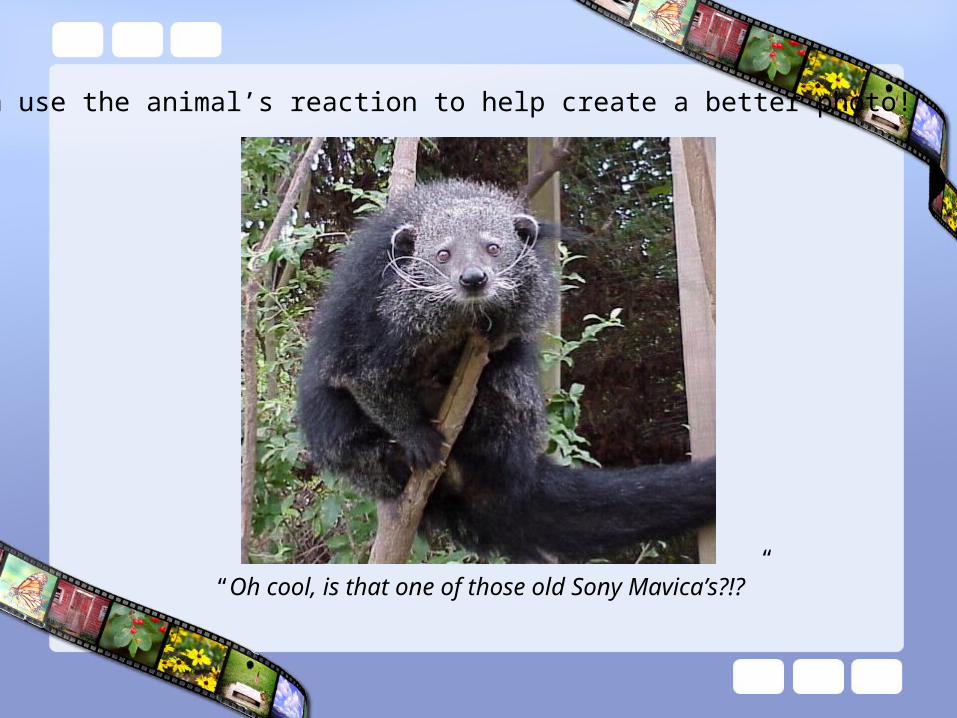
“Oh cool, is that one of those old Sony Mavica’s?!?”
You can use the animal’s reaction to help create a better photo!
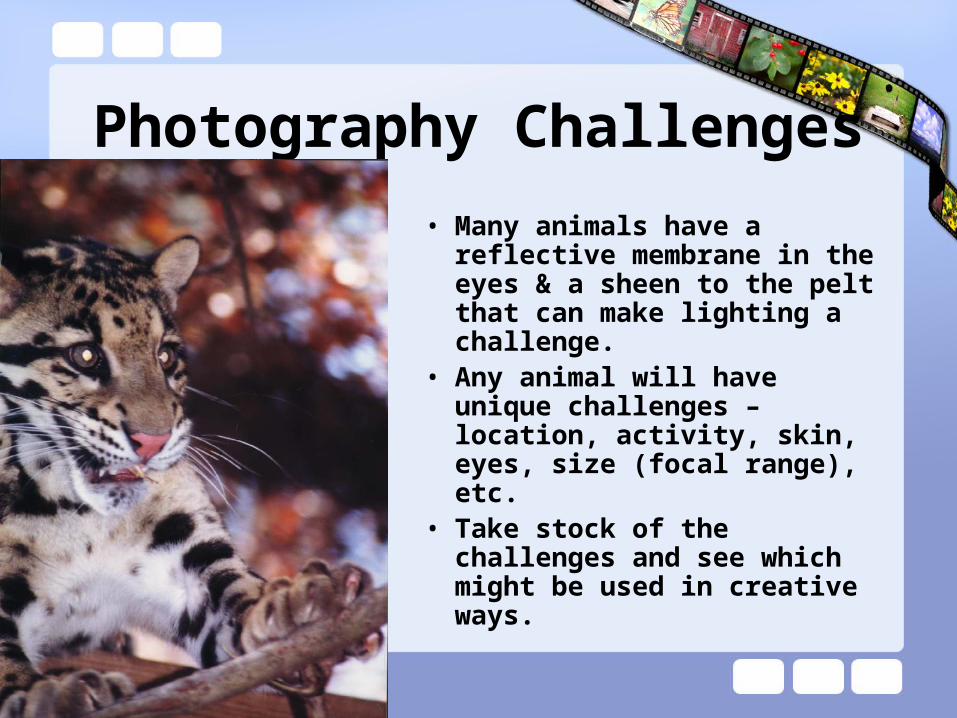
Photography Challenges
• Many animals have a reflective membrane in the eyes & a sheen to the pelt that can make lighting a challenge.
• Any animal will have unique challenges – location, activity, skin, eyes, size (focal range), etc.
• Take stock of the challenges and see which might be used in creative ways.
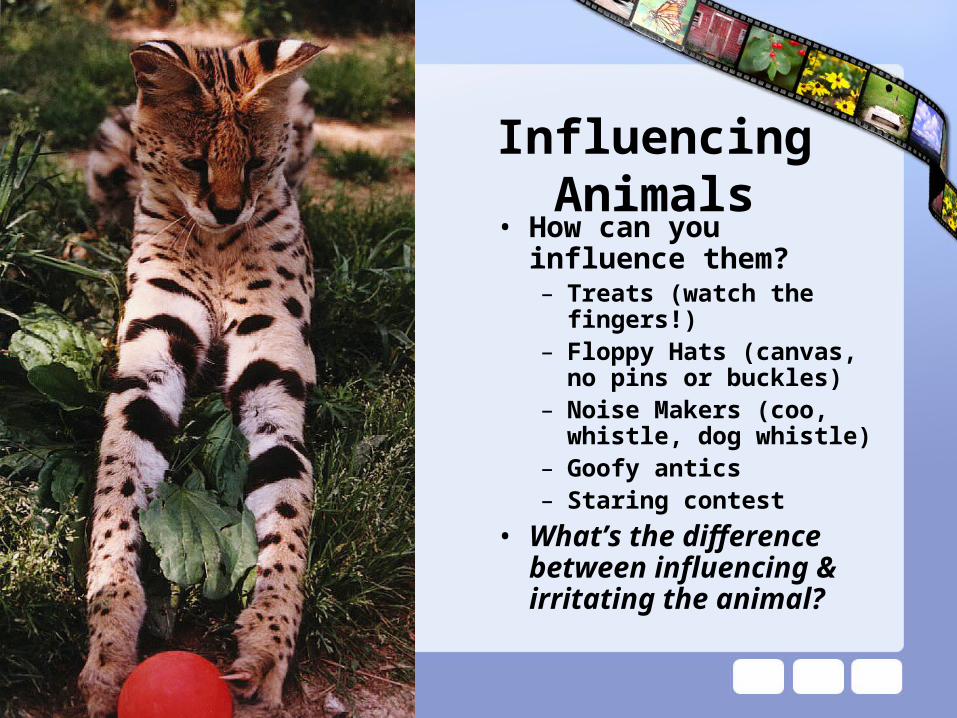
Influencing Animals• How can you influence
them?– Treats (watch the
fingers!)– Floppy Hats (canvas, no
pins or buckles)– Noise Makers (coo,
whistle, dog whistle)– Goofy antics– Staring contest
• What’s the difference between influencing & irritating the animal?
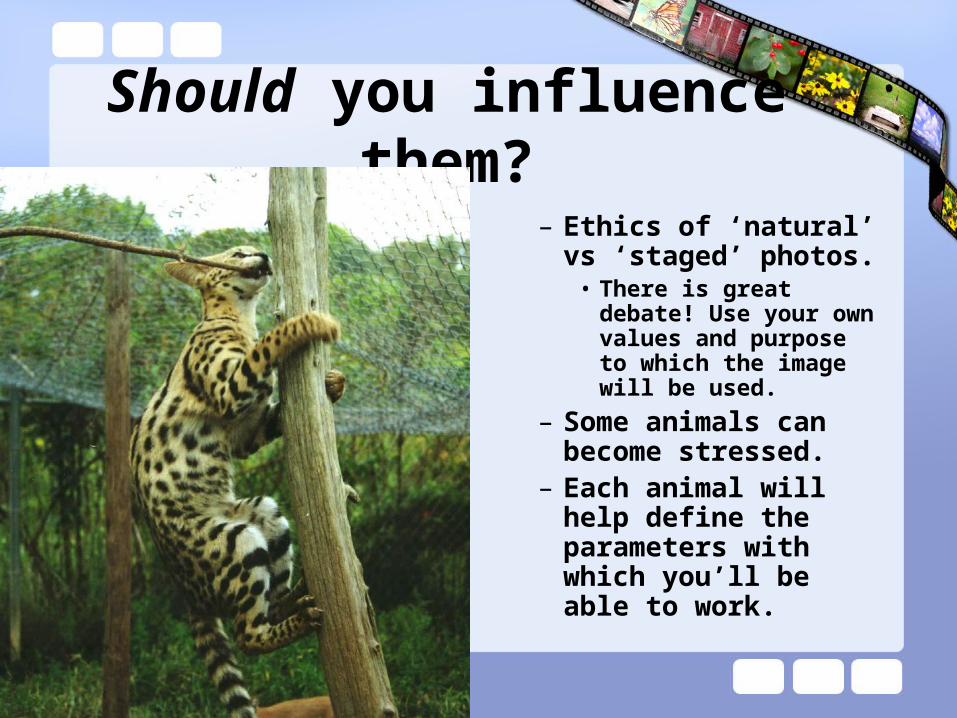
Should you influence them?
– Ethics of ‘natural’ vs ‘staged’ photos.
• There is great debate! Use your own values and purpose to which the image will be used.
– Some animals can become stressed.
– Each animal will help define the parameters with which you’ll be able to work.
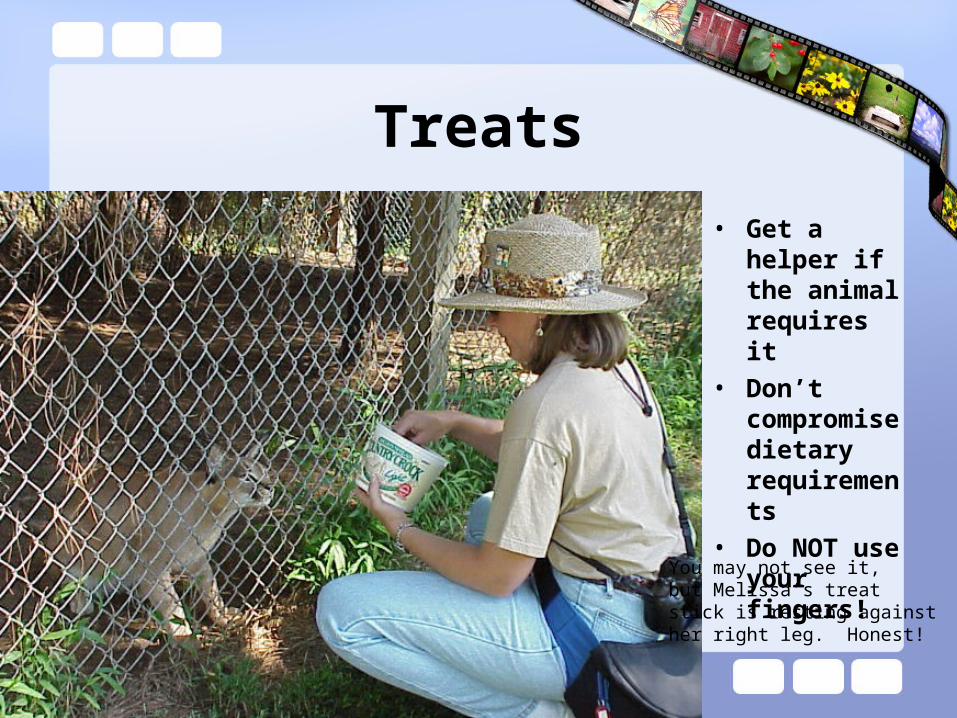
Treats
• Get a helper if the animal requires it
• Don’t compromise dietary requirements
• Do NOT use your fingers!
You may not see it,but Melissa’s treatstick is resting againsther right leg. Honest!
Section Three
Getting the Photo
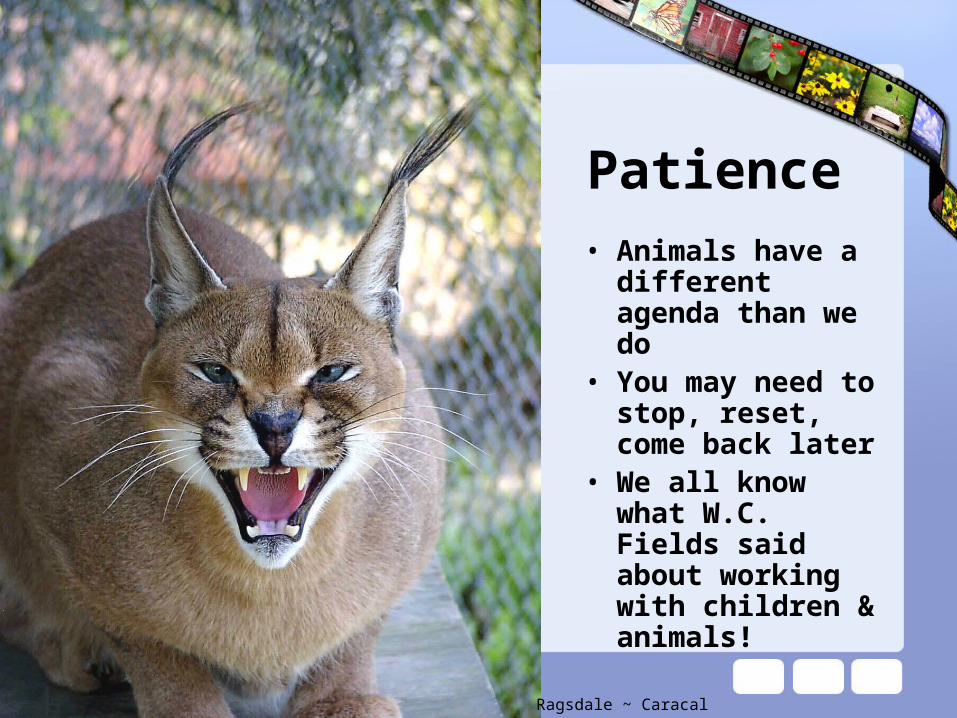
Patience• Animals have a
different agenda than we do
• You may need to stop, reset, come back later
• We all know what W.C. Fields said about working with children & animals!
Ragsdale ~ Caracal
Get Help
• Don’t go it aloneComfortDistraction / focusPhotographer
• Comfort– Someone who can
provide a calming comfort and security
• Distraction / Focus– Use toys, treats, or
noise makers to keep the attention where you want it
Tip: Nervous critter?Let them smell the cameraso they become used to it.
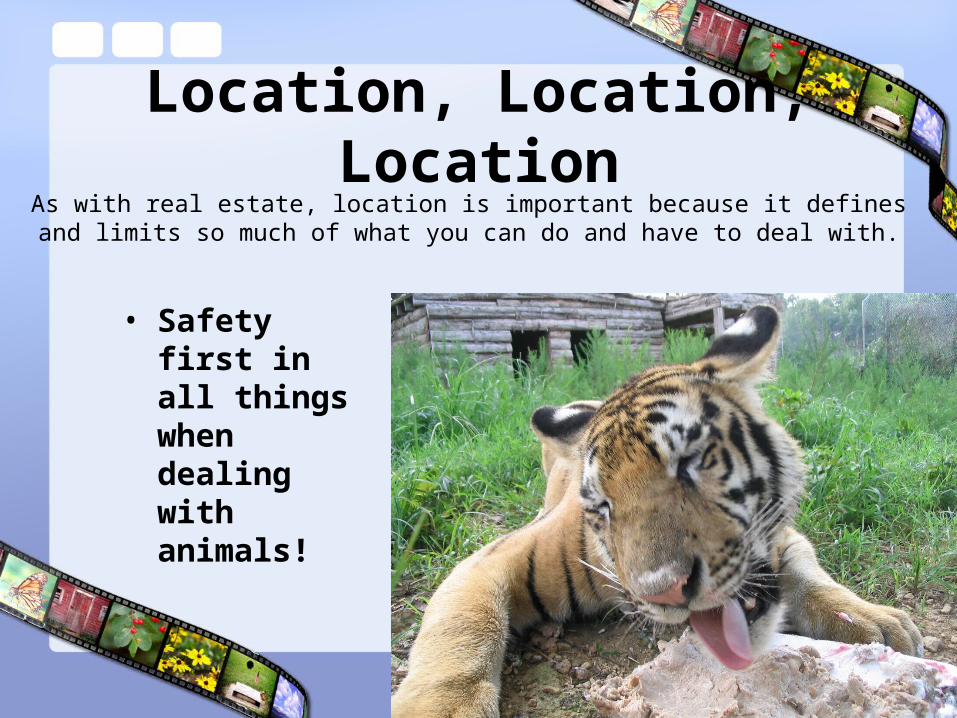
Location, Location, Location
• Safety first in all things when dealing with animals!
As with real estate, location is important because it definesand limits so much of what you can do and have to deal with.
Location, Location, Location
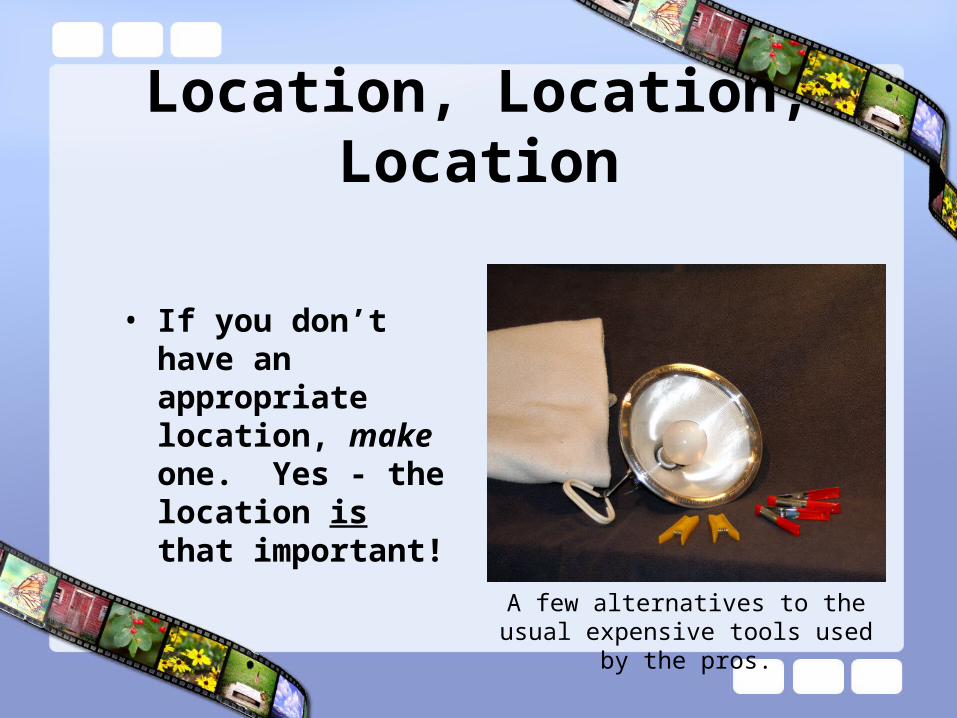
• If you don’t have an appropriate location, make one. Yes - the location is that important!
A few alternatives to the usual expensive tools used by the pros.
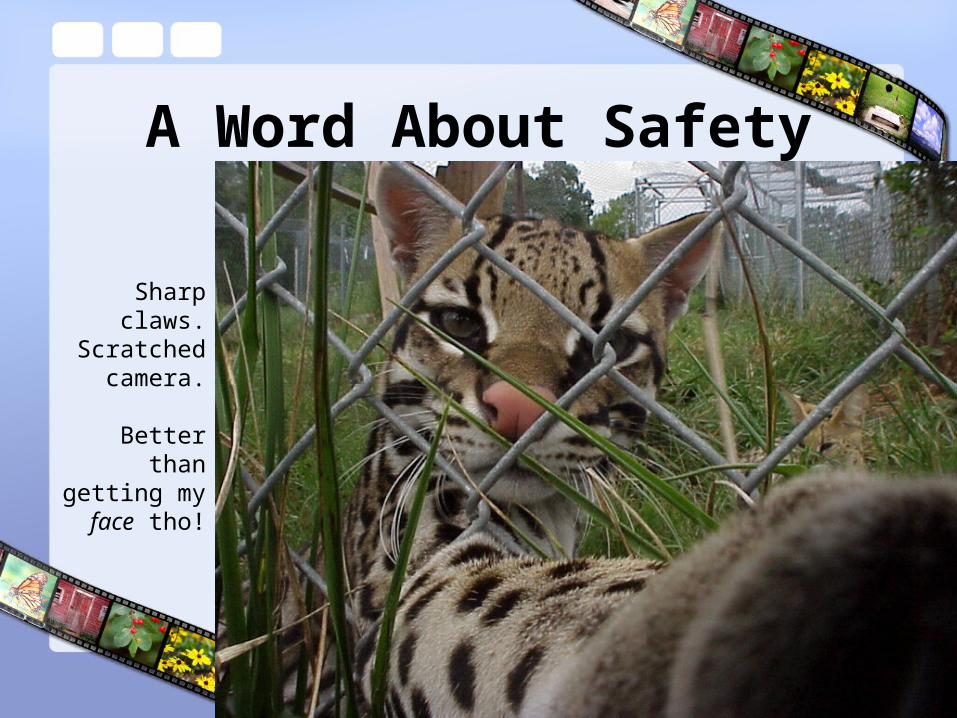
A Word About Safety
Sharp claws.Scratched
camera.
Better thangetting my
face tho!
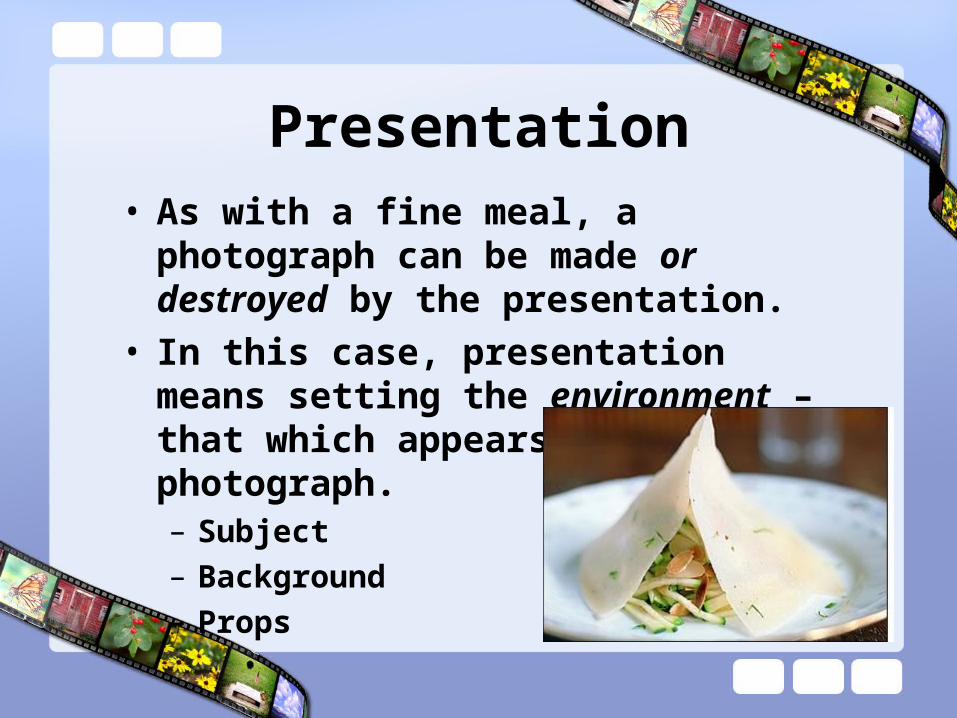
Presentation• As with a fine meal, a photograph can be
made or destroyed by the presentation.• In this case, presentation means setting the
environment – that which appears in the photograph.– Subject
– Background
– Props
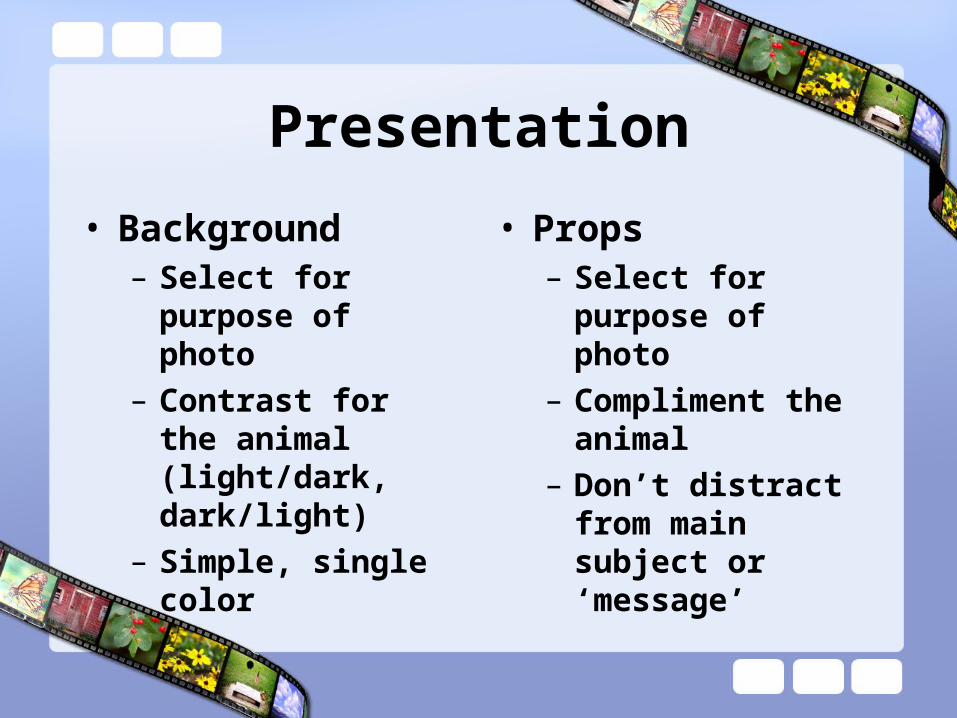
Presentation
• Background– Select for purpose of
photo
– Contrast for the animal (light/dark, dark/light)
– Simple, single color
• Props– Select for purpose of
photo
– Compliment the animal
– Don’t distract from main subject or ‘message’
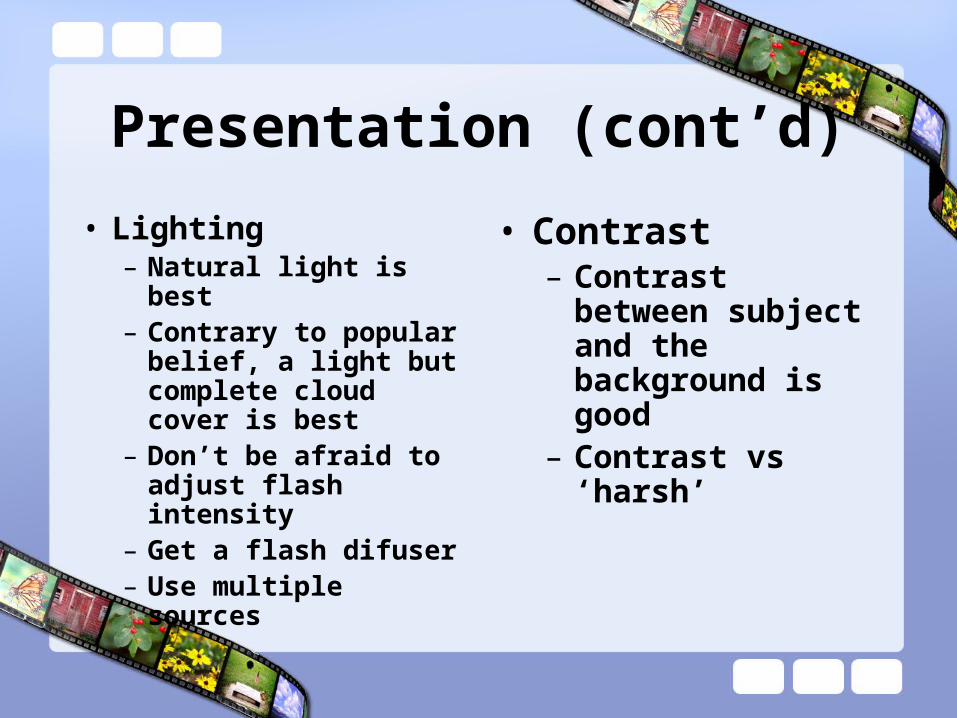
Presentation (cont’d)
• Lighting– Natural light is best– Contrary to popular
belief, a light but complete cloud cover is best
– Don’t be afraid to adjust flash intensity
– Get a flash difuser– Use multiple sources
• Contrast– Contrast between
subject and the background is good
– Contrast vs ‘harsh’
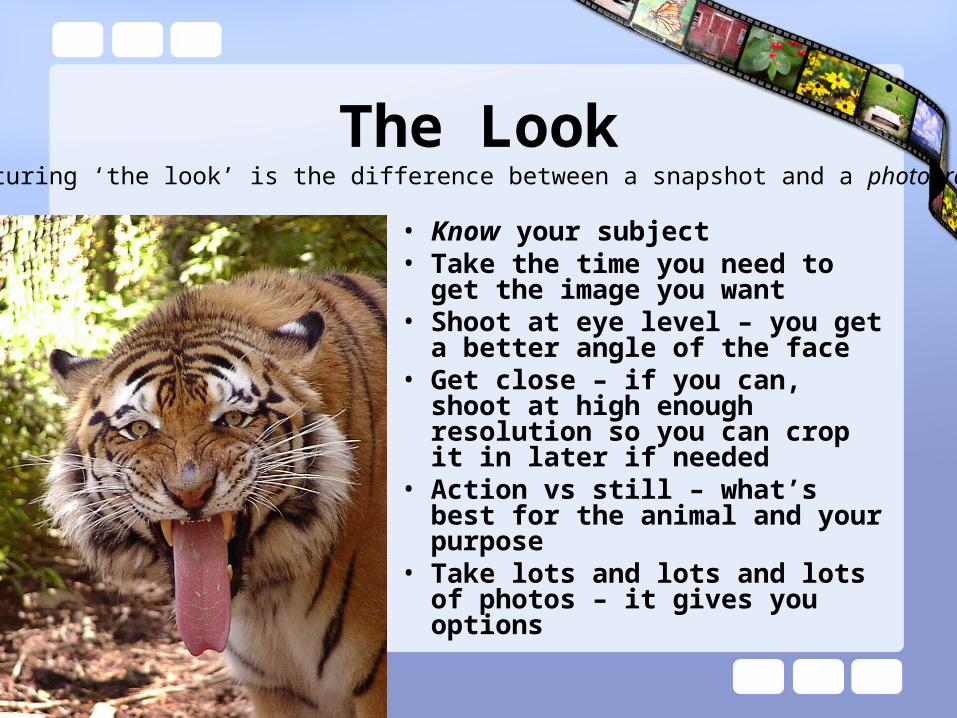
The Look
• Know your subject• Take the time you need to get the
image you want• Shoot at eye level – you get a
better angle of the face• Get close – if you can, shoot at
high enough resolution so you can crop it in later if needed
• Action vs still – what’s best for the animal and your purpose
• Take lots and lots and lots of photos – it gives you options
Capturing ‘the look’ is the difference between a snapshot and a photograph.
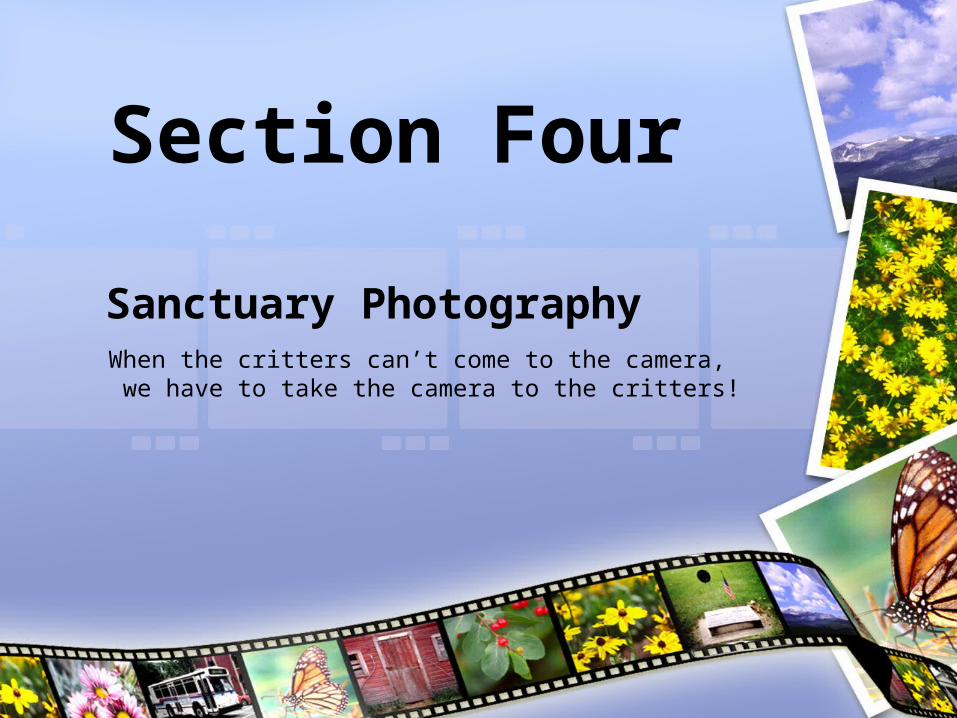
Section Four
Sanctuary PhotographyWhen the critters can’t come to the camera, we have to take the camera to the critters!
The Fence as Barrier• No matter what you call them, there may
be a barrier of some kind between you and the animal.
• Take Sun Tsu’s philosophy and try to turn a negative (a barrier) into a positive (where possible).
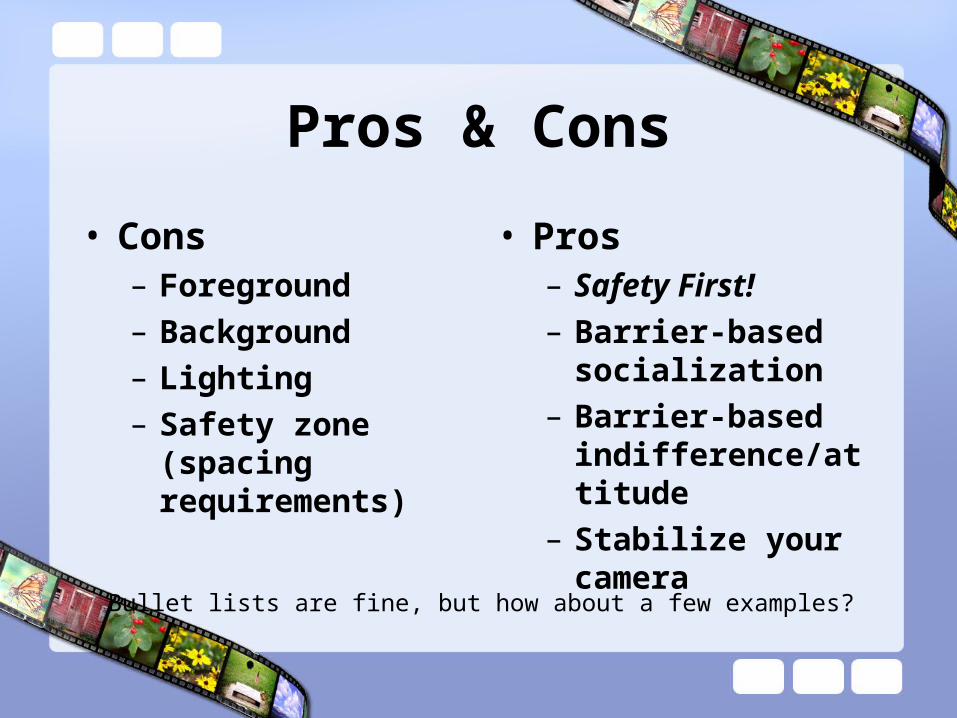
Pros & Cons
• Cons– Foreground
– Background
– Lighting
– Safety zone (spacing requirements)
• Pros– Safety First!
– Barrier-based socialization
– Barrier-based indifference/attitude
– Stabilize your camera
Bullet lists are fine, but how about a few examples?
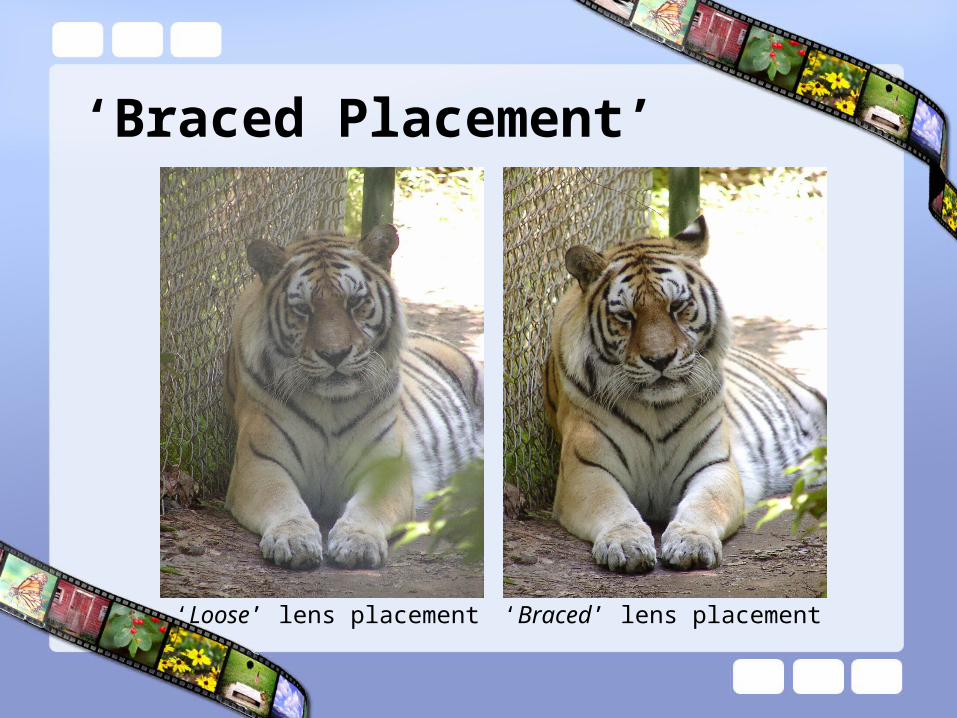
‘Braced Placement’
‘Loose’ lens placement ‘Braced’ lens placement
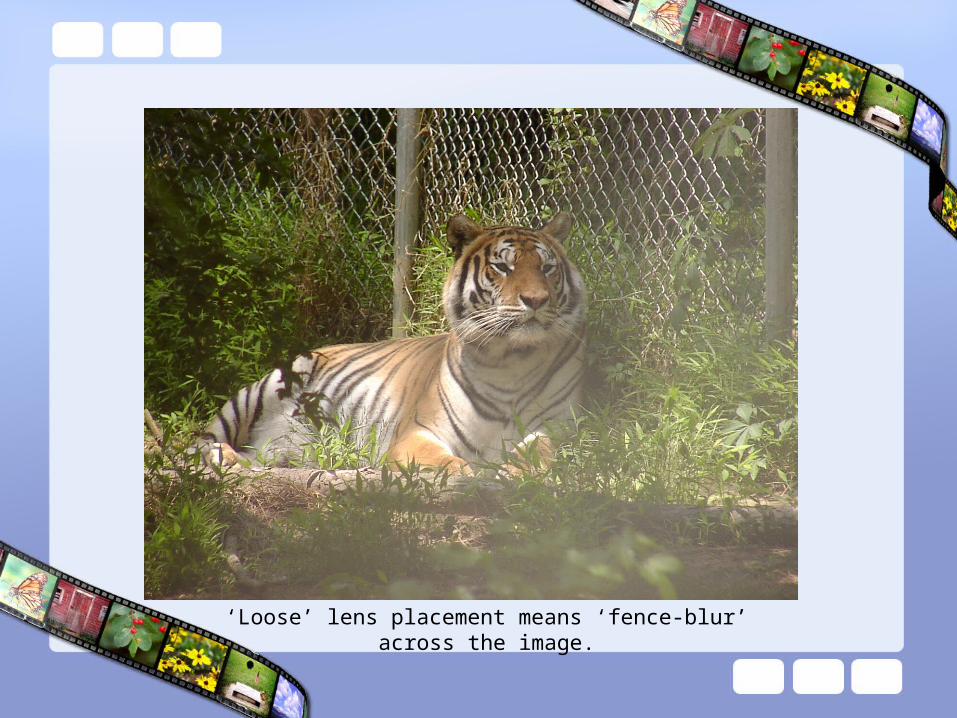
‘Loose’ lens placement means ‘fence-blur’ across the image.
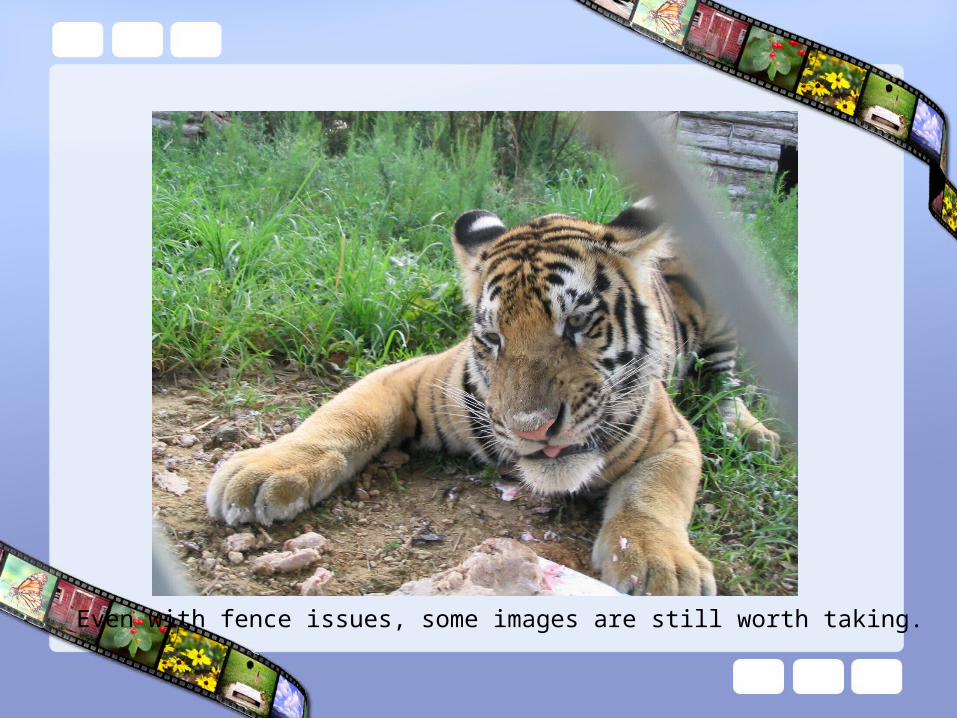
Even with fence issues, some images are still worth taking.
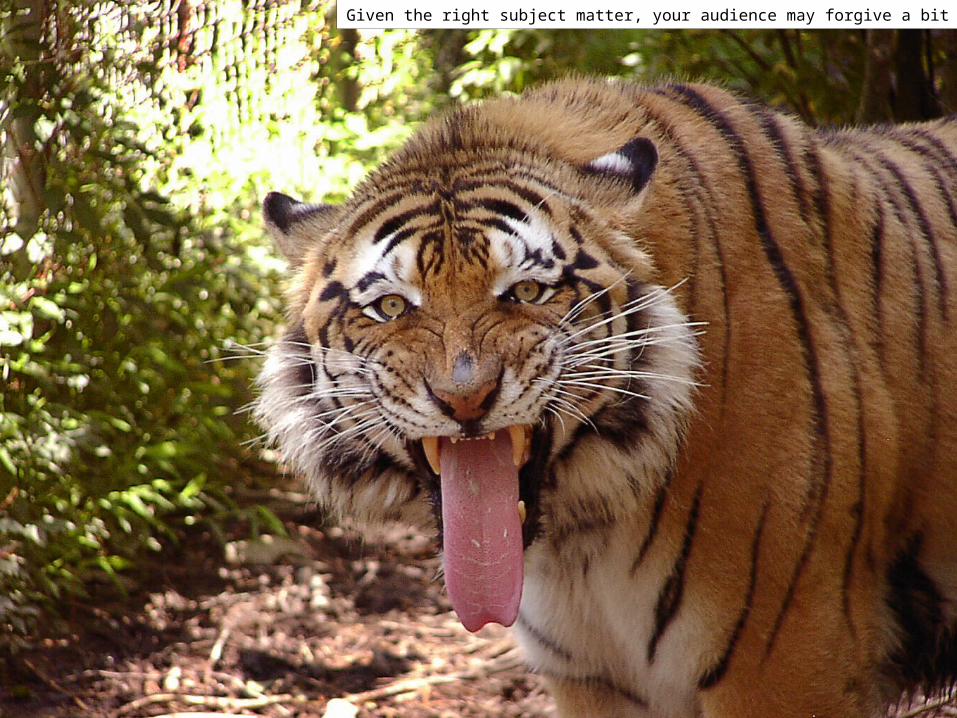
Given the right subject matter, your audience may forgive a bit of fence.
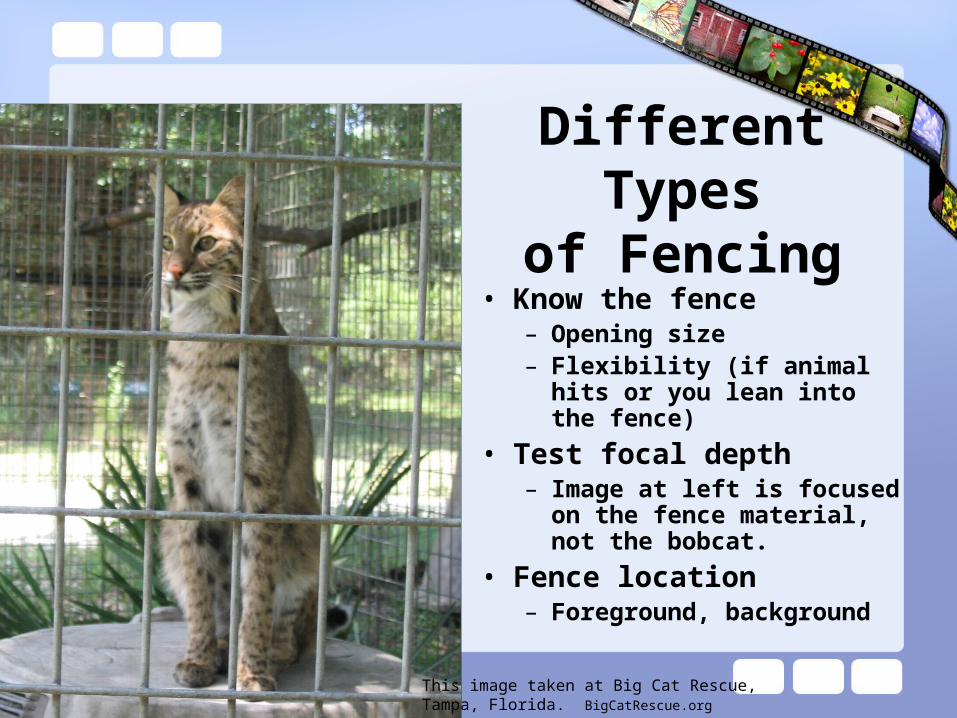
Different Typesof Fencing
• Know the fence– Opening size– Flexibility (if animal hits or
you lean into the fence)
• Test focal depth– Image at left is focused on the
fence material, not the bobcat.
• Fence location– Foreground, background
This image taken at Big Cat Rescue,Tampa, Florida. BigCatRescue.org
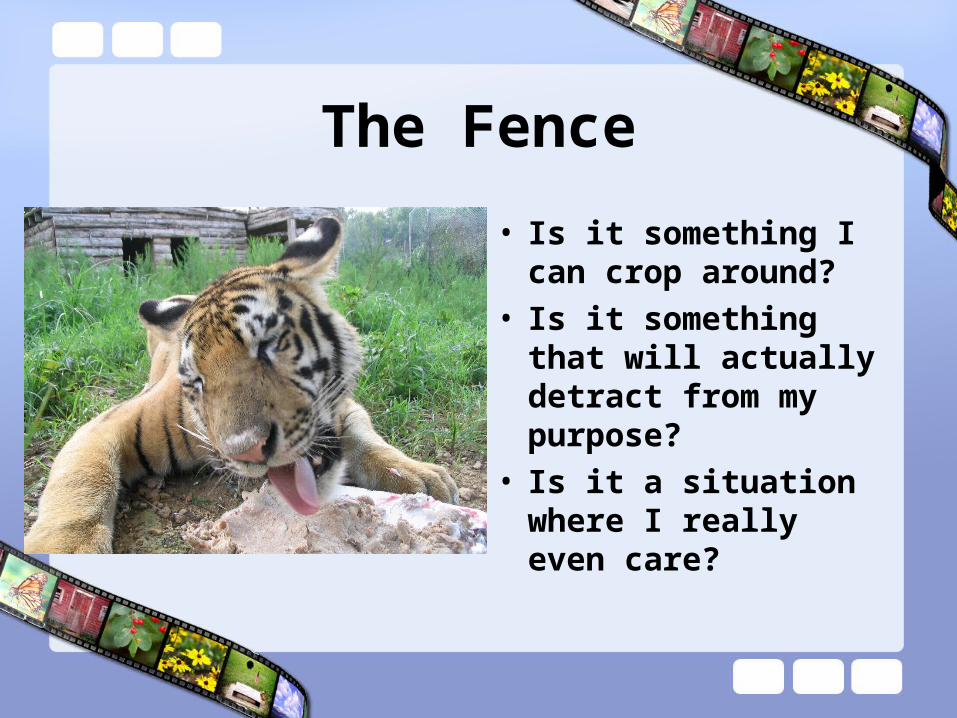
The Fence
• Is it something I can crop around?
• Is it something that will actually detract from my purpose?
• Is it a situation where I really even care?
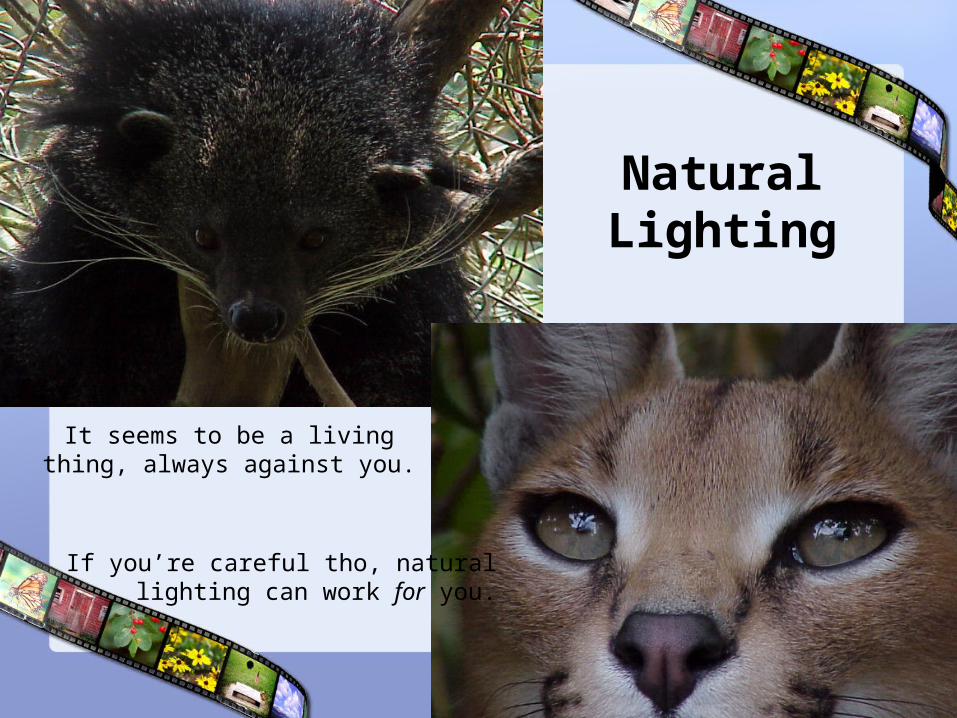
Natural Lighting
It seems to be a livingthing, always against you.
If you’re careful tho, naturallighting can work for you.
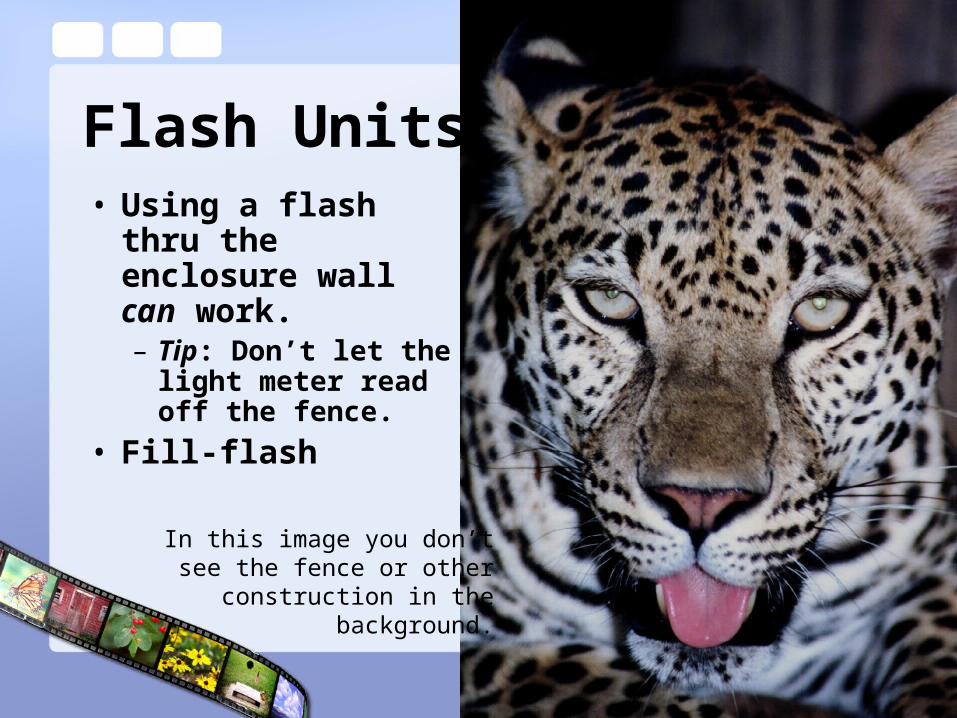
Flash Units• Using a flash thru
the enclosure wall can work.– Tip: Don’t let the
light meter read off the fence.
• Fill-flash
In this image you don’tsee the fence or other
construction in thebackground.
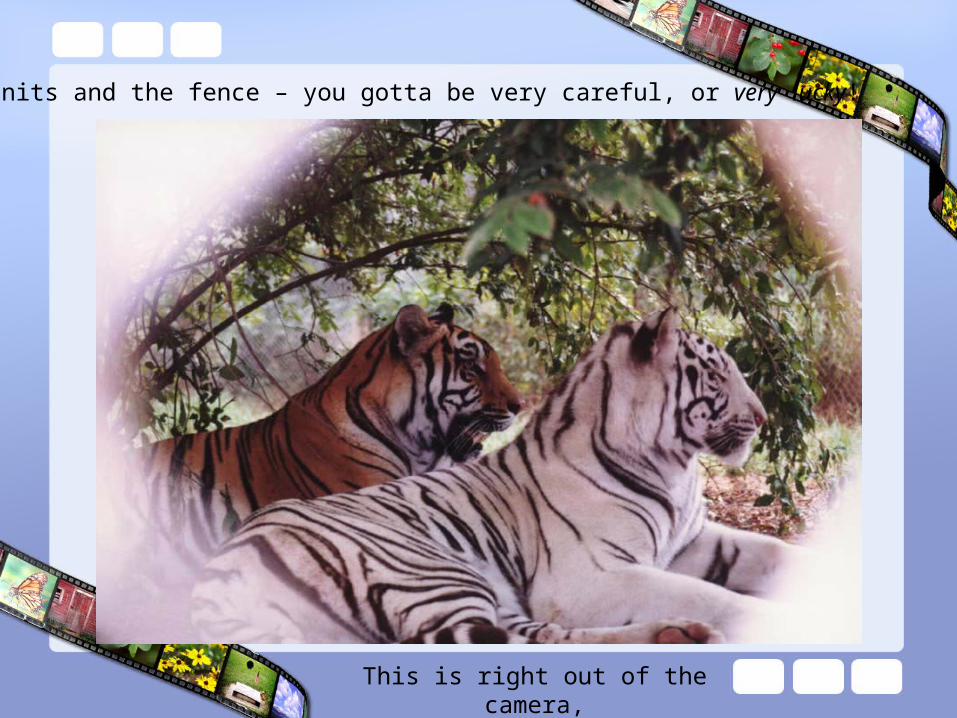
Flash units and the fence – you gotta be very careful, or very lucky!
This is right out of the camera,it has not been “Photoshopped”!
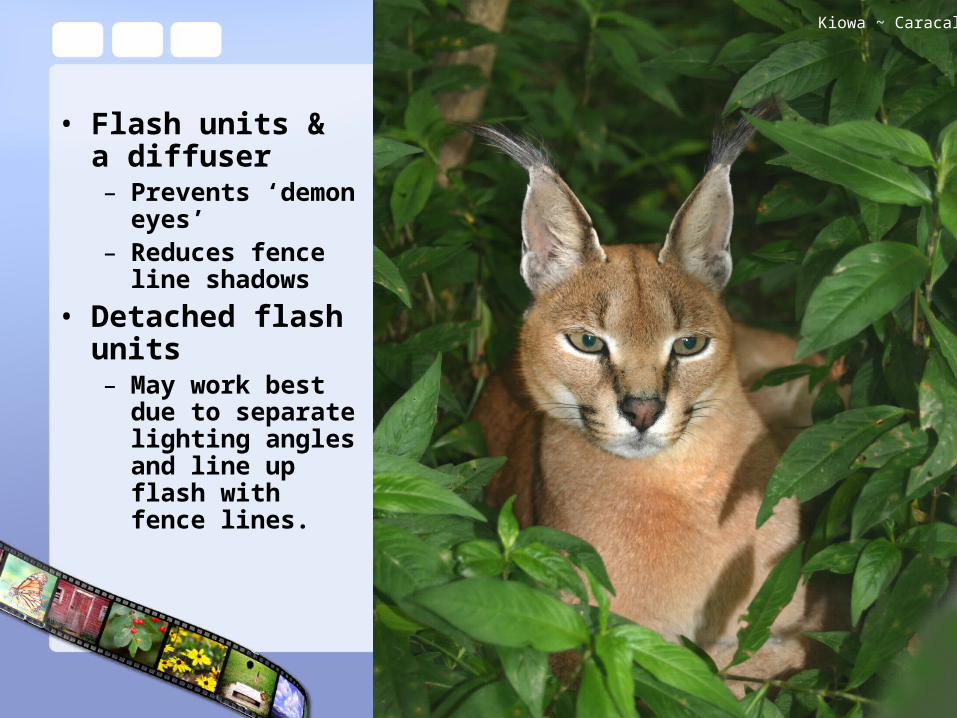
• Flash units & a diffuser– Prevents ‘demon
eyes’– Reduces fence line
shadows
• Detached flash units – May work best due
to separate lighting angles and line up flash with fence lines.
Kiowa ~ Caracal
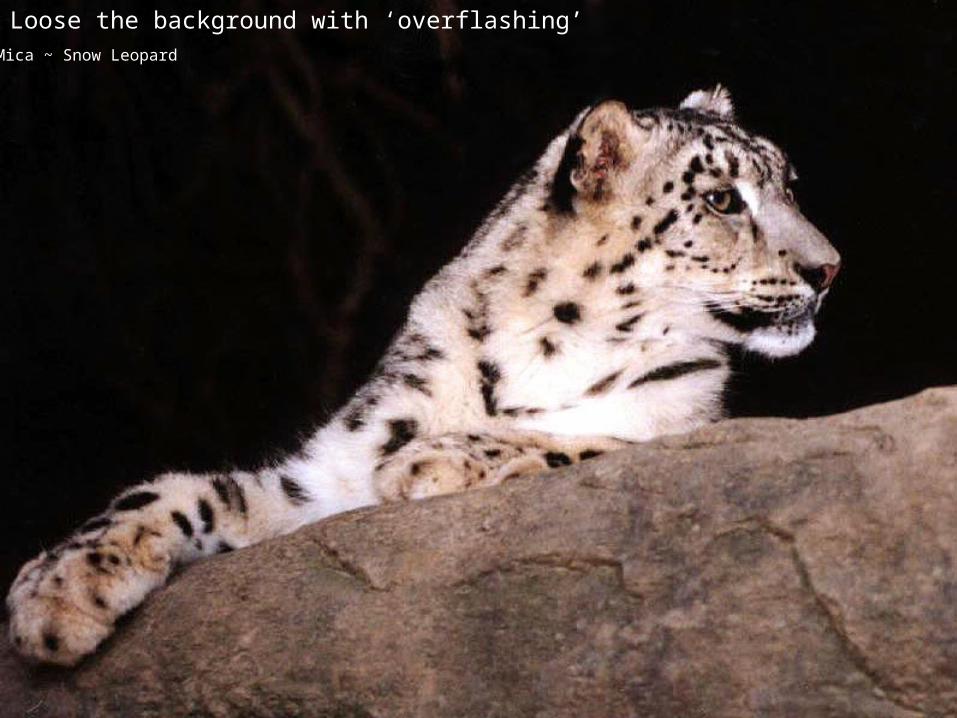
Loose the background with ‘overflashing’Mica ~ Snow Leopard
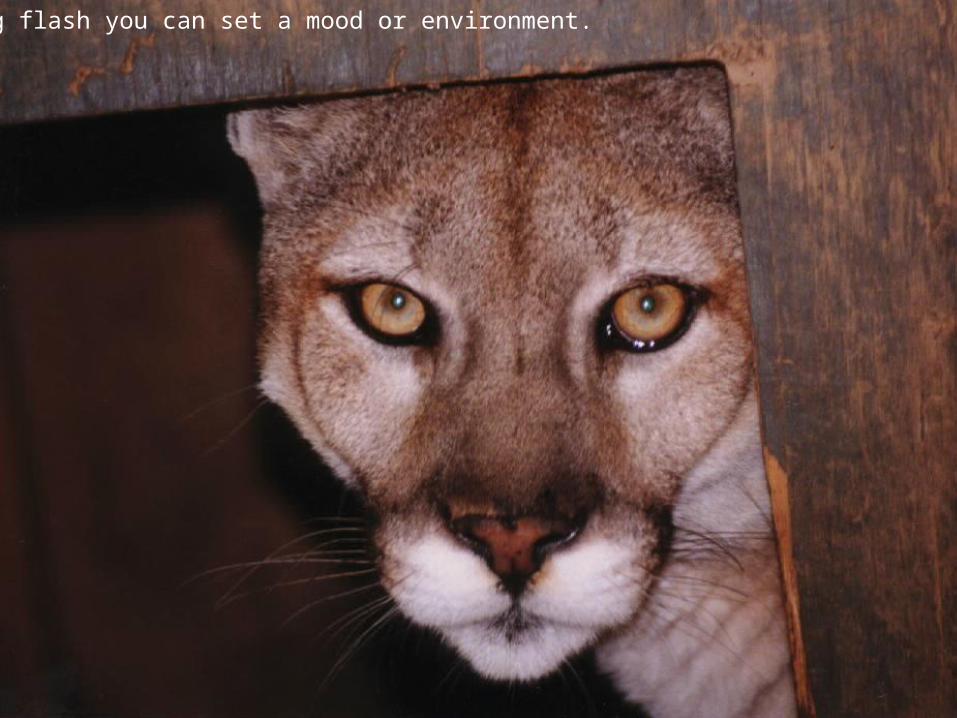
Using flash you can set a mood or environment.
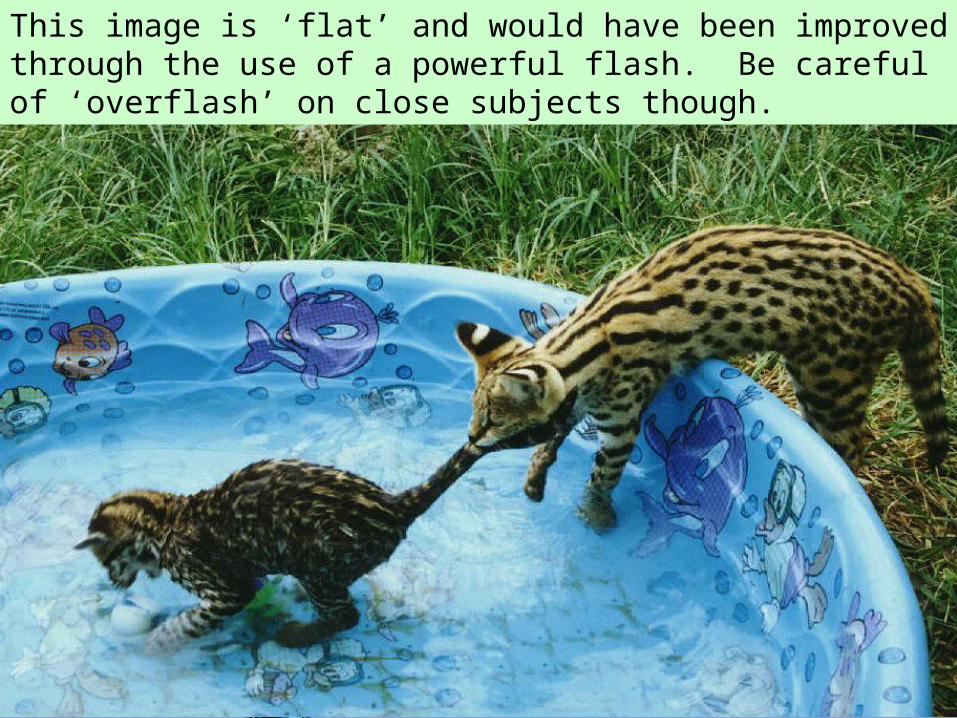
This image is ‘flat’ and would have been improved through the use of a powerful flash. Be careful of ‘overflash’ on close subjects though.
Section Five
1. Camera Settings
2. File Formats
3. Image Resolution
Things you should spend with later.
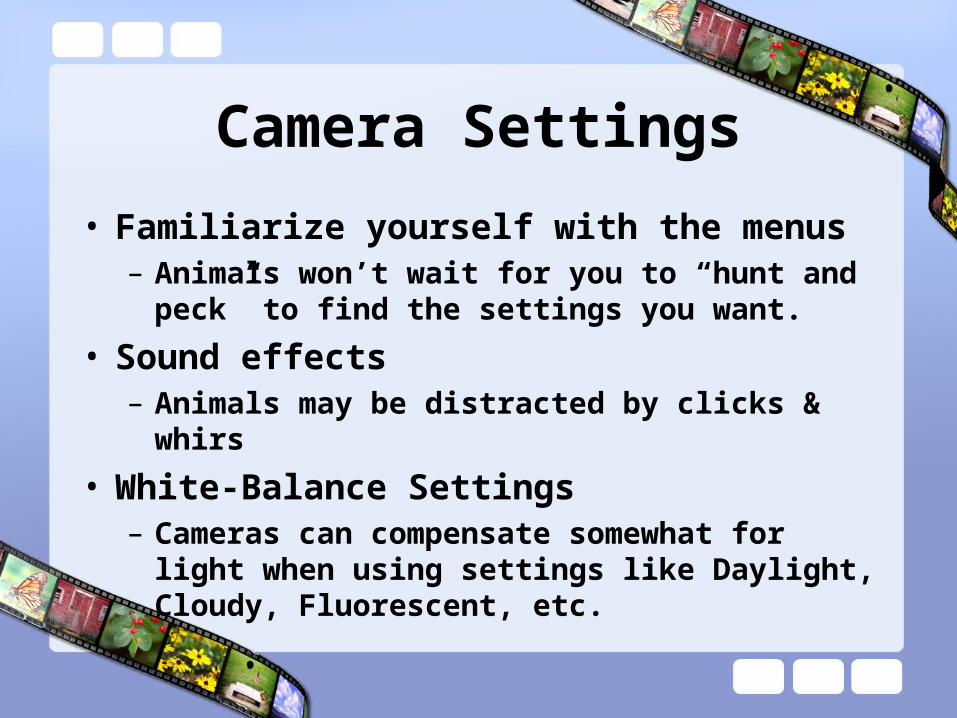
Camera Settings
• Familiarize yourself with the menus– Animals won’t wait for you to “hunt and peck” to
find the settings you want.
• Sound effects– Animals may be distracted by clicks & whirs
• White-Balance Settings– Cameras can compensate somewhat for light when
using settings like Daylight, Cloudy, Fluorescent, etc.
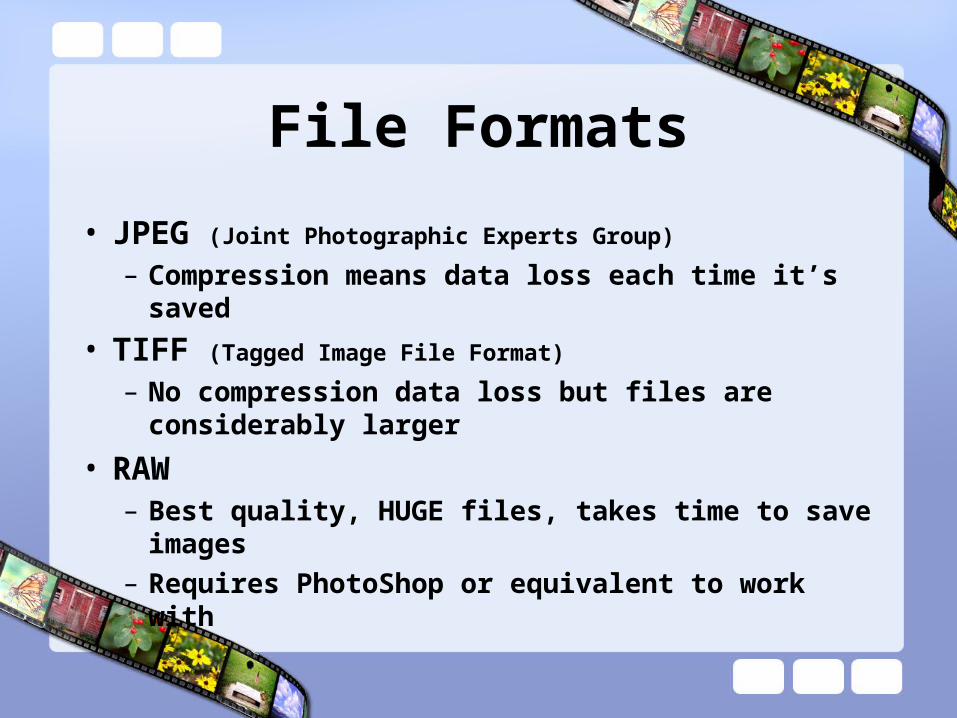
File Formats
• JPEG (Joint Photographic Experts Group)
– Compression means data loss each time it’s saved
• TIFF (Tagged Image File Format)
– No compression data loss but files are considerably larger
• RAW– Best quality, HUGE files, takes time to save images
– Requires PhotoShop or equivalent to work with
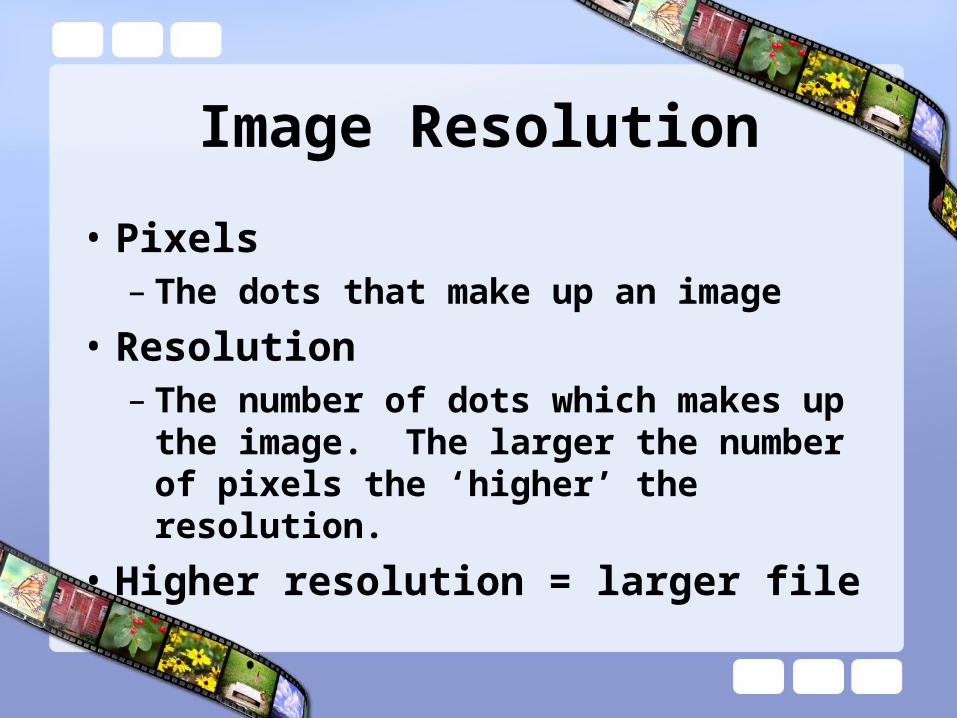
Image Resolution
• Pixels– The dots that make up an image
• Resolution– The number of dots which makes up the
image. The larger the number of pixels the ‘higher’ the resolution.
• Higher resolution = larger file
Section Six
1. Tips
2. My Favorite Software
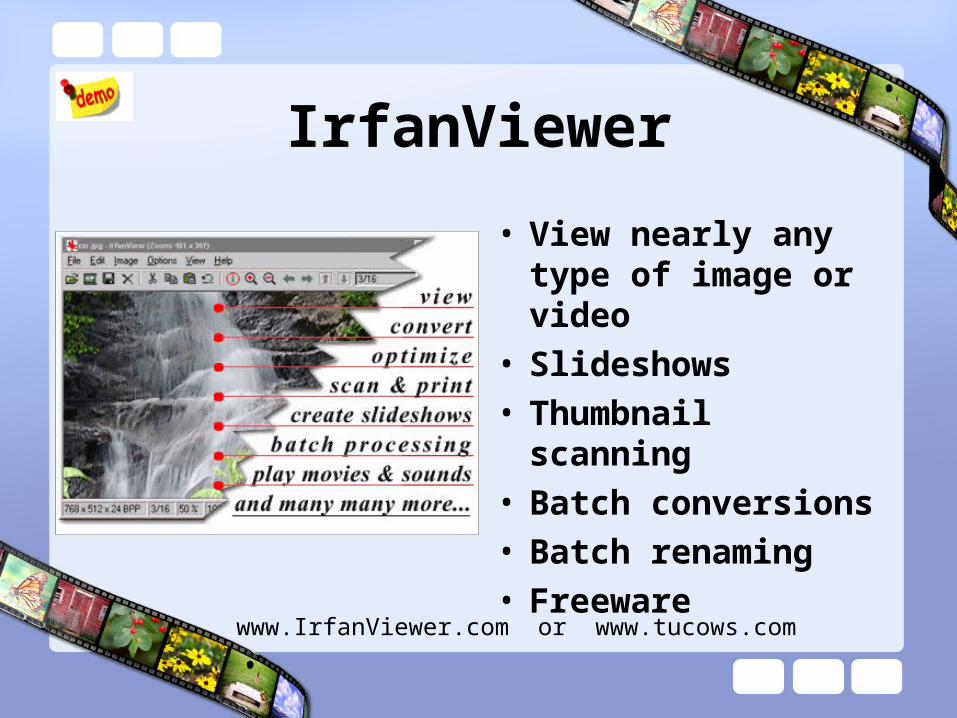
IrfanViewer
• View nearly any type of image or video
• Slideshows• Thumbnail scanning• Batch conversions• Batch renaming• Freeware
www.IrfanViewer.com or www.tucows.com
Other SourcesI haven’t used all these ~ but they do come highly recommended.
You can always ‘Google’ for more.
• ConnectedPhotographer.com– Great digital photo newsletters
• flickr.com– Online albums w/copyright
• Enlarger PRO– Enlargements w/new
algorithms
– Available at BeardedFrog.com
• Noiseware Professional– Removing digital ‘noise’
– Imagenomic.com
• Let me know if you find any good photo opportunities
• “Have presentations, will travel!”
• See more at:Slideshare.net
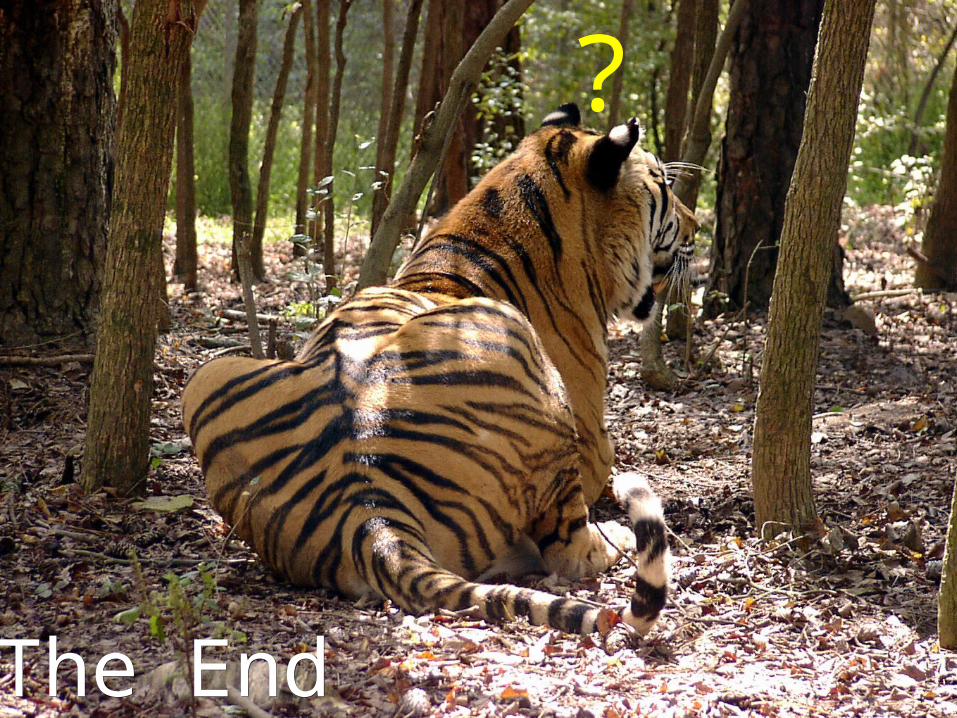
The EndThe End
?
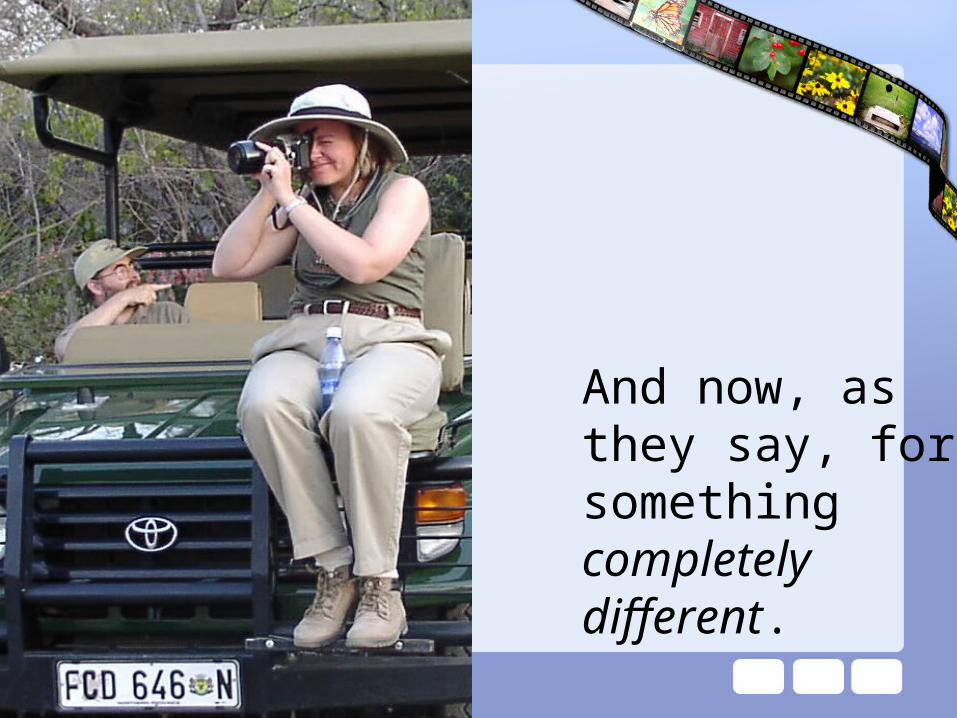
And now, asthey say, forsomethingcompletelydifferent.
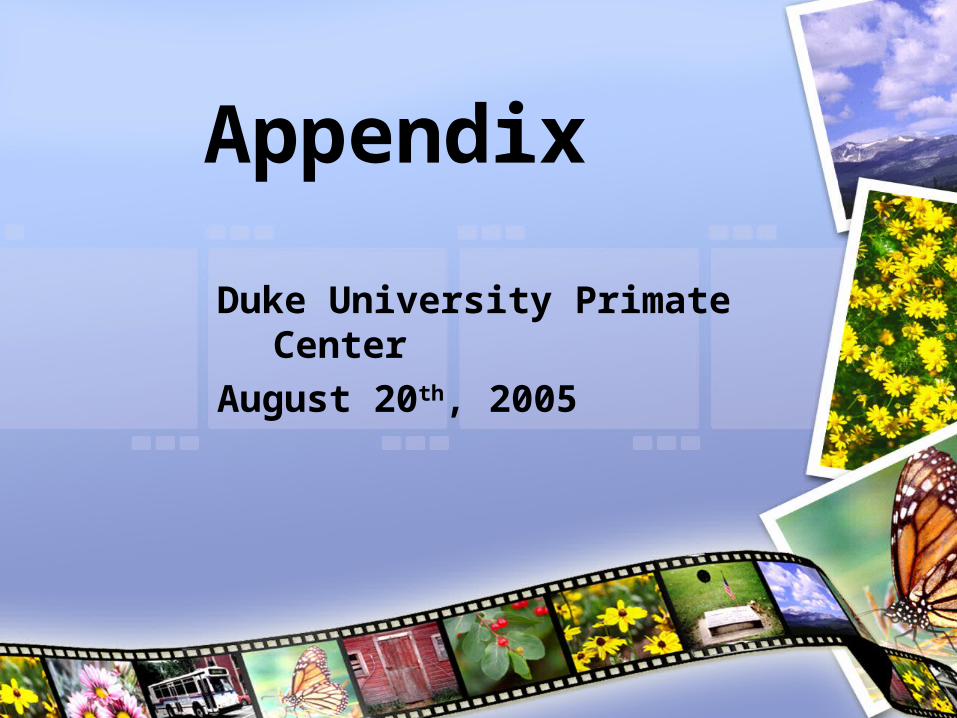
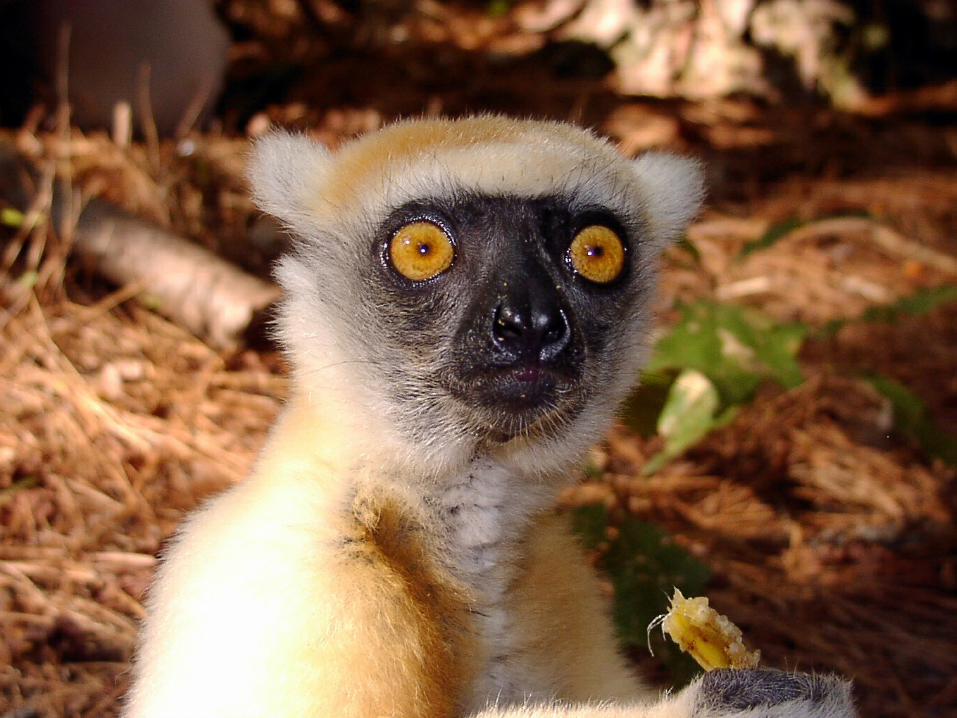
Appendix
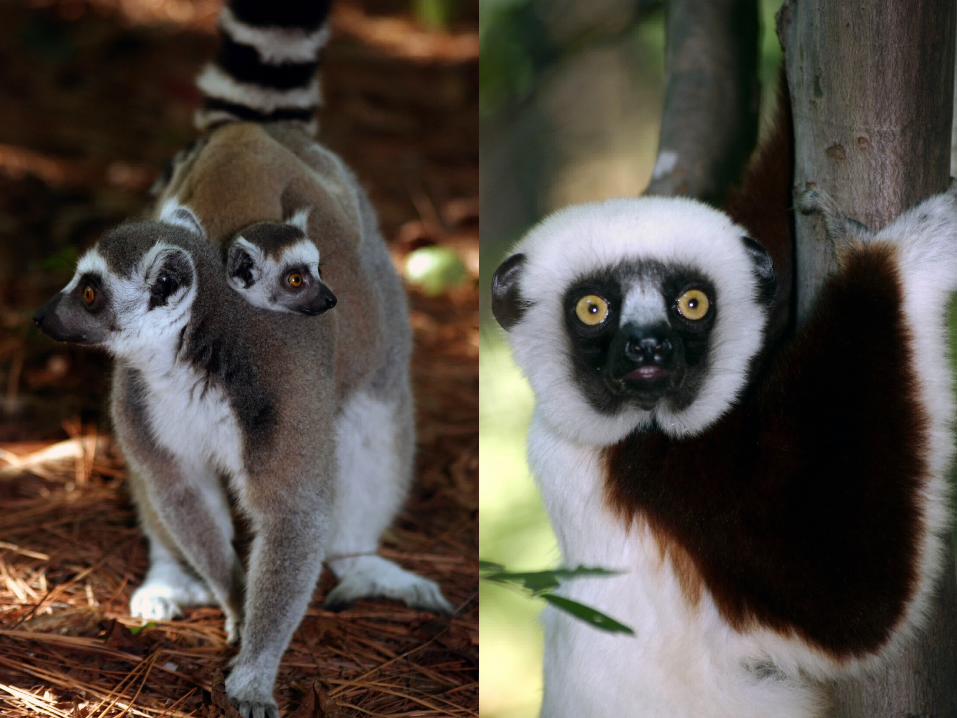
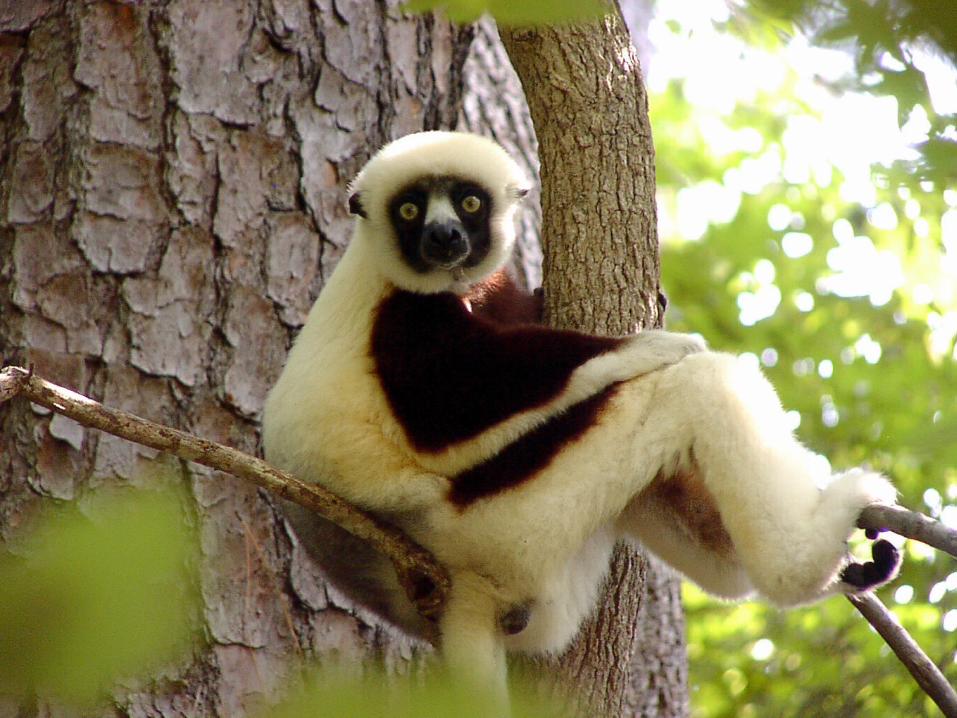
Duke University Primate Center
August 20th, 2005


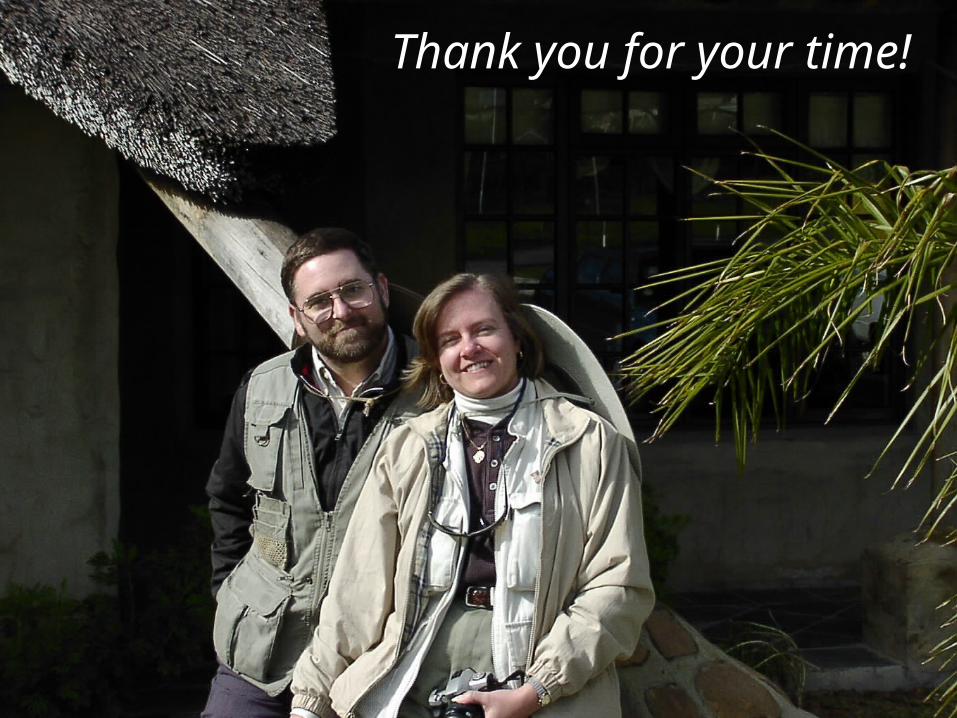
Thank you for your time!
Recommended