What is Arduino
• A microcontroller board, contains on-board power supply, usb port to communicate with pc and an Atmel microcontroller chip.
• It simplify the proces of creating any control system by providing the standard board that can be programmed and connected to the system without the need to any sophisticated PCB design.
• An OPEN-SOURCE hardware.

Some Arduino boards


Arduino philosophy is to learn by practicing so…
Let’s do what Arduino wants…
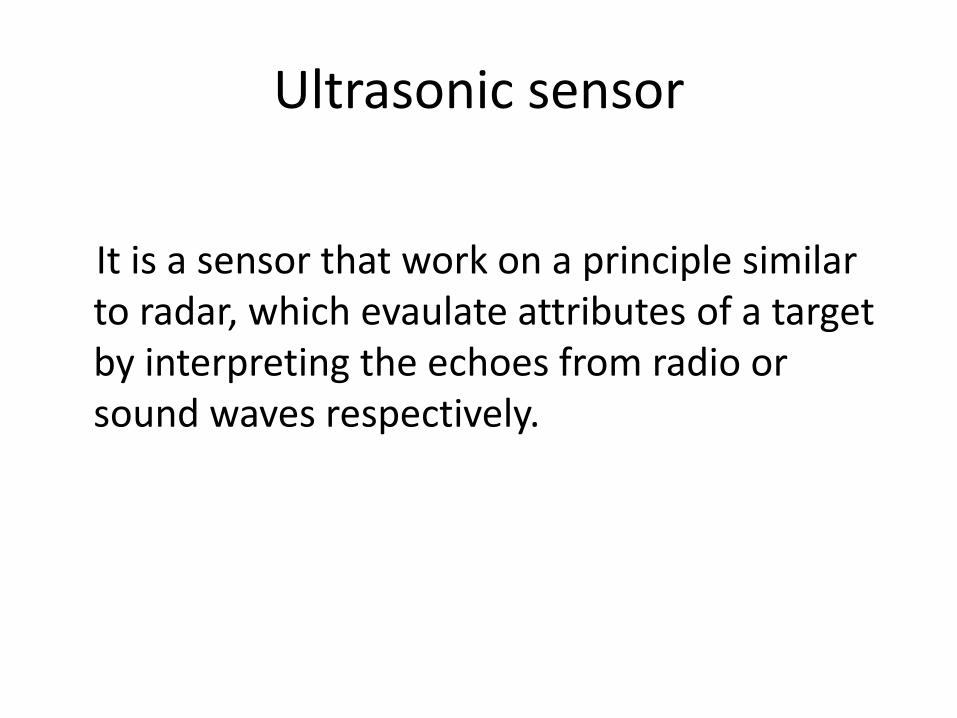
Ultrasonic sensor
It is a sensor that work on a principle similar to radar, which evaulate attributes of a target by interpreting the echoes from radio or sound waves respectively.


A simple circuit using this sensor…

Using the code below we can read from Arduino the distance of different objects
• int echo=9;
• int trig= 10;
• int distance;

void setup()
• {
• Serial.begin (9600);
• pinMode (echo,INPUT);
• pinMode (trig, OUTPUT);
• }

void loop ()
• { • digitalWrite (trig, LOW); • delay (2); • digitalWrite (trig, HIGH); • delay (2); • digitalWrite (trig, LOW); • distance=pulseIn (echo,HIGH); • distance=distance/58; • • Serial.println(distance); • }

Now that we all know how ultrasonic sensor works, let’s add a buzzer and modify the code

• int echo=9;
• int trig= 10;
• int distance;
• int buzz= 8;

void setup ()
• {
• Serial.begin (9600);
• pinMode (echo,INPUT);
• pinMode (trig, OUTPUT);
• pinMode ( buzz, OUTPUT);
• }

Void loop ()
• void loop () • { • digitalWrite (trig, LOW); • delay (2); • digitalWrite (trig, HIGH); • delay (2); • digitalWrite (trig, LOW); • distance=pulseIn (echo,HIGH); • distance=distance/58; • if (distance < 7) •

• digitalWrite (buzz, HIGH);
• else
• digitalWrite (buzz, LOW );
•
• Serial.println(distance);
• }

Let’s try something else that is called :
Double – Touch Sensor.


You know what comes next:
The Code… • #include <CapacitiveSensor.h> • CapacitiveSensor capSensor =
CapacitiveSensor(4,2); • boolean ledstate=LOW; • int sensorValue; • int sensor;
• const int ledPin = 8;

• void setup() { • Serial.begin(9600); • pinMode(ledPin, OUTPUT); • } • void loop() { • sensorValue = capSensor.capacitiveSensor(30); • if(sensorValue > 0) { • ledstate =!ledstate; • }
• Serial.println(sensorValue); • • digitalWrite(ledPin,ledstate);
• delay(500); • }

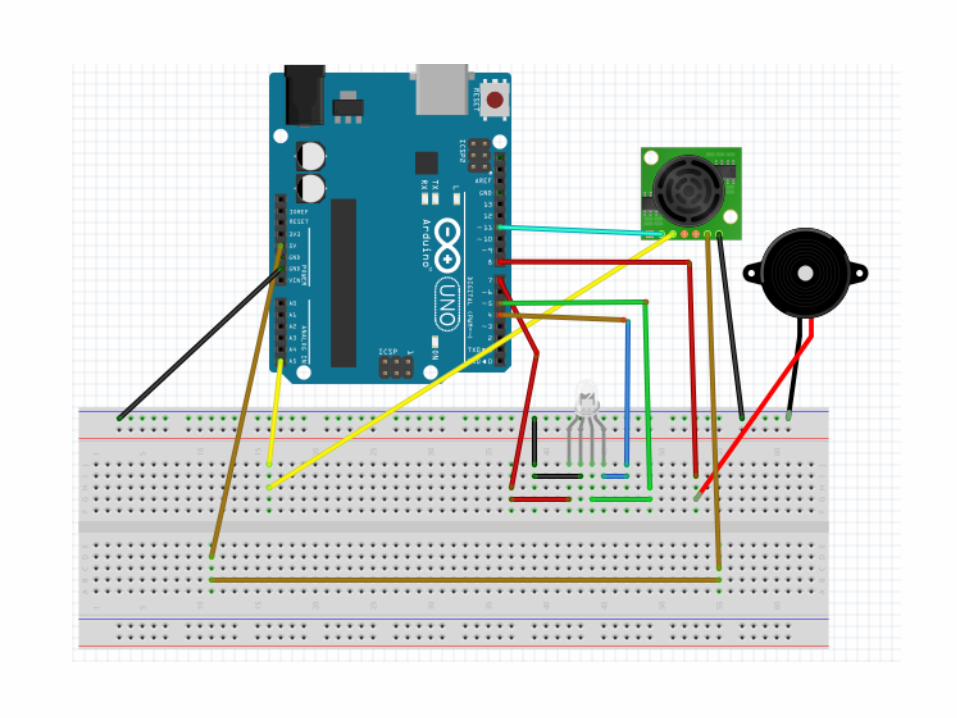
And for desert…
Let’s transform all this to an alarm system using: Arduino, an ultrasonic sensor, a buzzer and a rgb led.
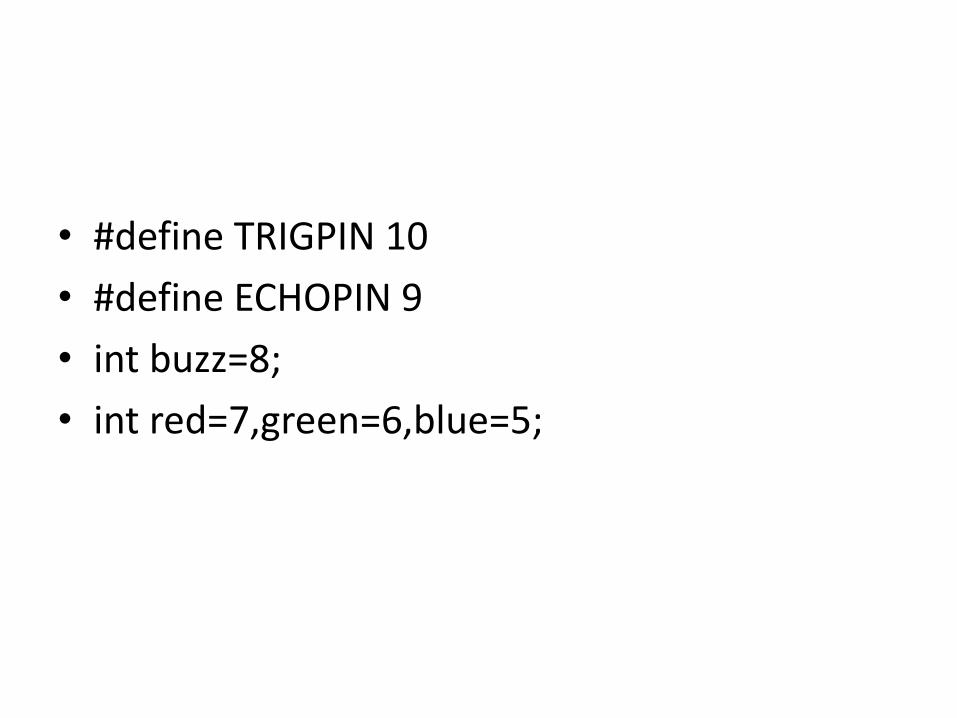
• #define TRIGPIN 10
• #define ECHOPIN 9
• int buzz=8;
• int red=7,green=6,blue=5;

void setup ()
• { • Serial.begin(9600); • pinMode(ECHOPIN,INPUT); • pinMode(TRIGPIN,OUTPUT); • pinMode (buzz,OUTPUT); • pinMode (red,OUTPUT); • pinMode (green,OUTPUT); • pinMode (blue, OUTPUT); • }

void loop ()
• { • digitalWrite (buzz,LOW); • digitalWrite (red,LOW); • digitalWrite (green,LOW); • digitalWrite (blue,LOW); • digitalWrite(TRIGPIN,LOW); • delayMicroseconds(2); • digitalWrite(TRIGPIN,HIGH); • delayMicroseconds(2); • digitalWrite(TRIGPIN,LOW);

• int distance=pulseIn(ECHOPIN,HIGH); • distance=distance/58; • if (distance>20) • { digitalWrite (green,HIGH); • digitalWrite (buzz,LOW); • } • else if (distance>10 && distance<20) • { • digitalWrite (green, LOW); • digitalWrite ( blue,HIGH); • digitalWrite (buzz,LOW); • }

• else if ( distance>0 && distance <10 ) • { • digitalWrite (green, LOW); • digitalWrite (blue,LOW); • digitalWrite (red, HIGH); • digitalWrite (buzz,HIGH); • } • • Serial.println (distance); • delay(100); • }
Recommended