+
Going Beyond Blog Formatting<ashley> <hazel> <stephanie></>
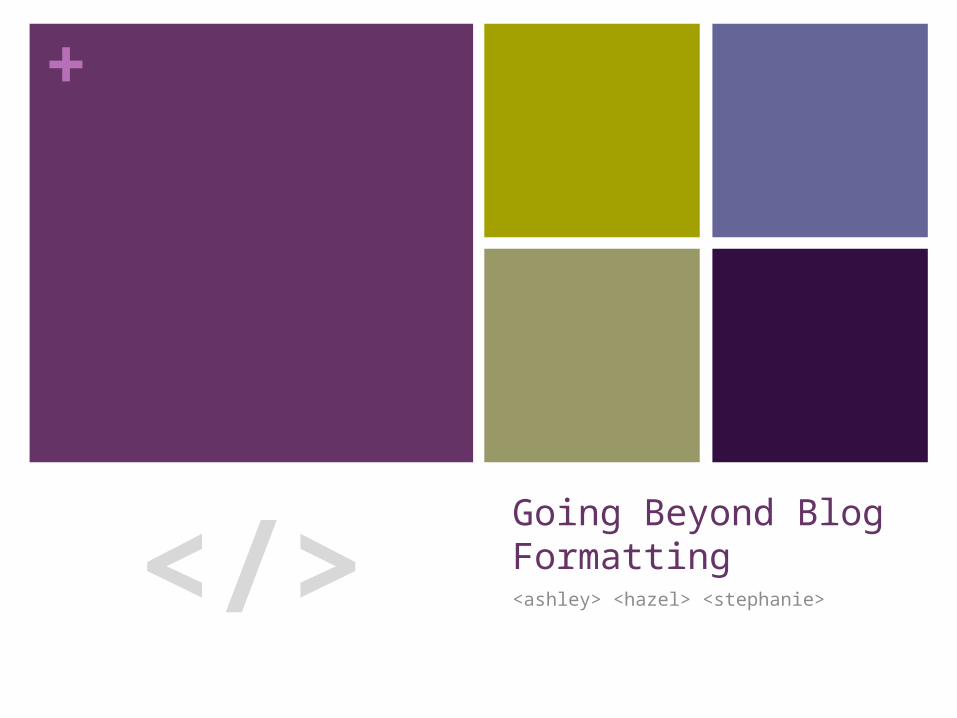
+About Ashley
#Ashley {
age: 24;
blog: url(‘http://www.nosegraze.com’);
known-for: ‘Ultimate Book Blogger Plugin’;
occupation: self-employed;
platform: WordPress;
skills: Designer, Coder, Blogger;
}
NOSE GRAZE
+About Hazel
#Hazel {
age: 19;
country: Philippines;
blog: url(‘http://staybookish.net’);
occupation: student;
platform: WordPress;
skills: Blogger, Designer, Photographer;
}
STAY BOOKISH
+About Stephanie
#Stephanie {
age: 21;
blog: url(‘http://www.thesepaperhearts.com’);
known-for: Blogger Tutorials;
occupation: Developer;
platform: WordPress;
skills: Designer, Coder, Blogger;
}
THESE PAPER HEARTS

+
Intro to HTML and CSSLearn what the difference is and how to recognize them.
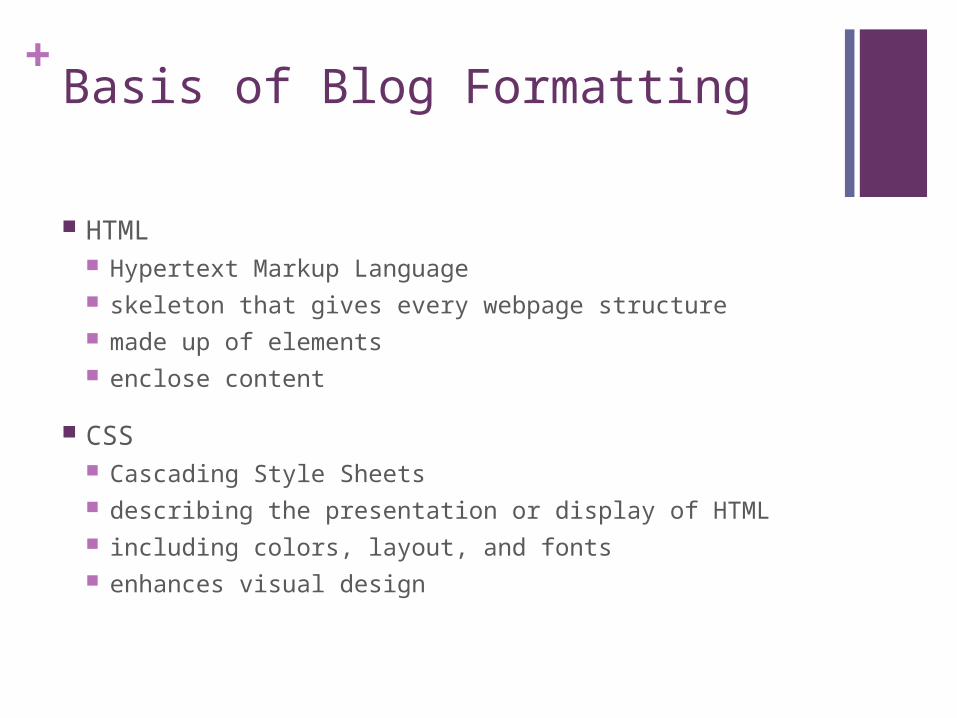
+Basis of Blog Formatting
HTML Hypertext Markup Language skeleton that gives every webpage structure made up of elements enclose content
CSS Cascading Style Sheets describing the presentation or display of HTML including colors, layout, and fonts enhances visual design
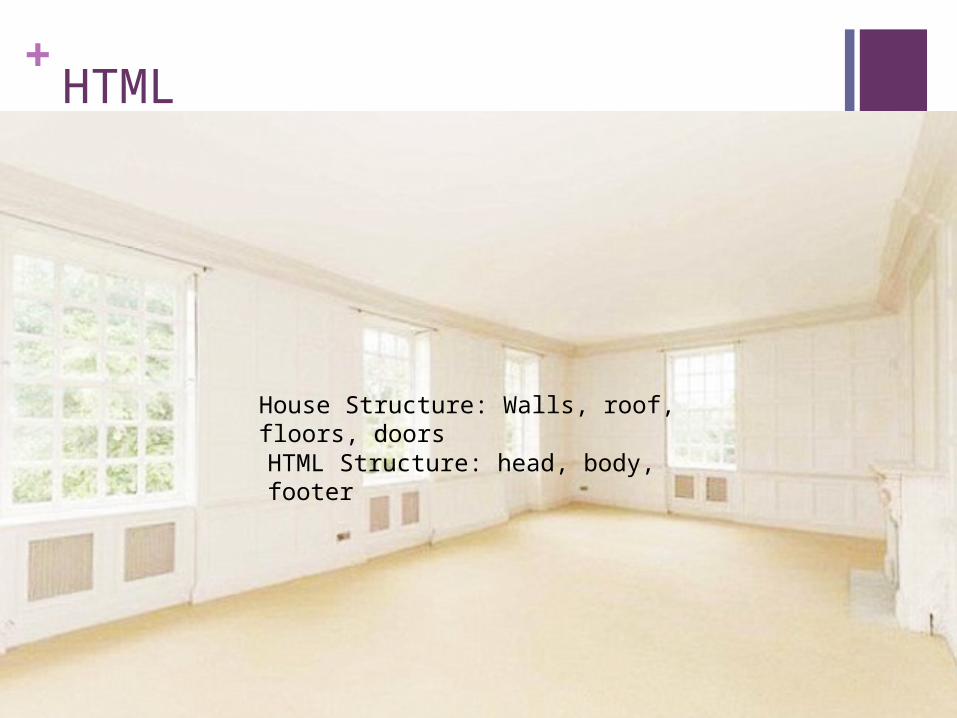
+HTML
House Structure: Walls, roof, floors, doorsHTML Structure: head, body, footer
+HTML
This is an HTML code:
<a href="http://goodreads.com">Goodreads</a>
+CSS
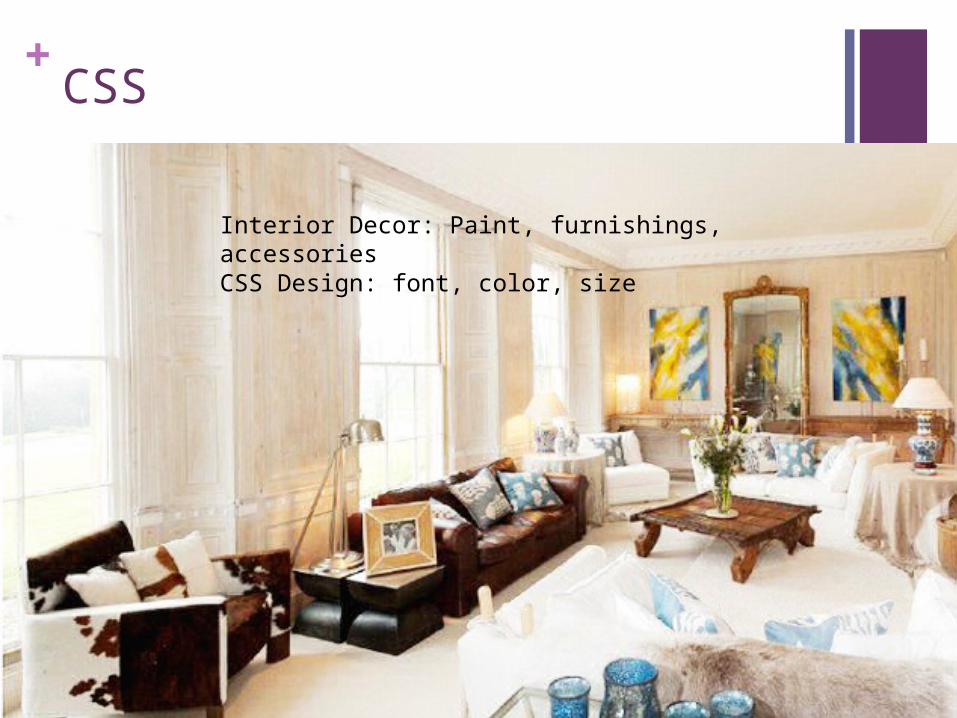
Interior Decor: Paint, furnishings, accessoriesCSS Design: font, color, size
+CSS
This is a CSS code:
h1 {color: #666666;}
+Digging into HTML and CSSLet’s get messy with some tags!
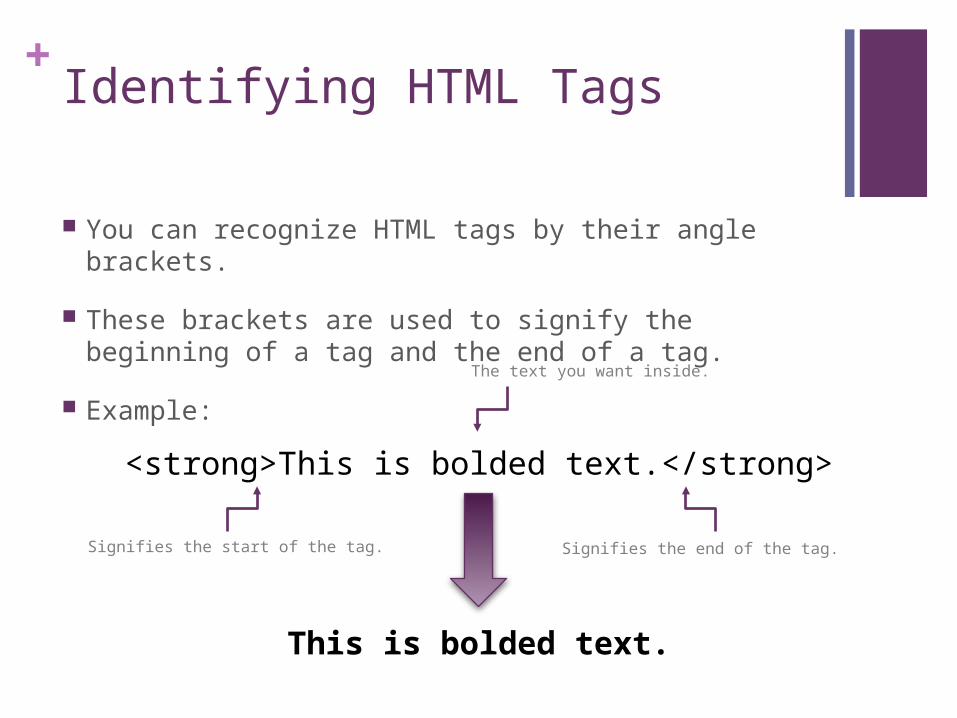
+Identifying HTML Tags
You can recognize HTML tags by their angle brackets.
These brackets are used to signify the beginning of a tag and the end of a tag.
Example:
<strong>This is bolded text.</strong>
This is bolded text.
Signifies the start of the tag. Signifies the end of the tag.
The text you want inside.
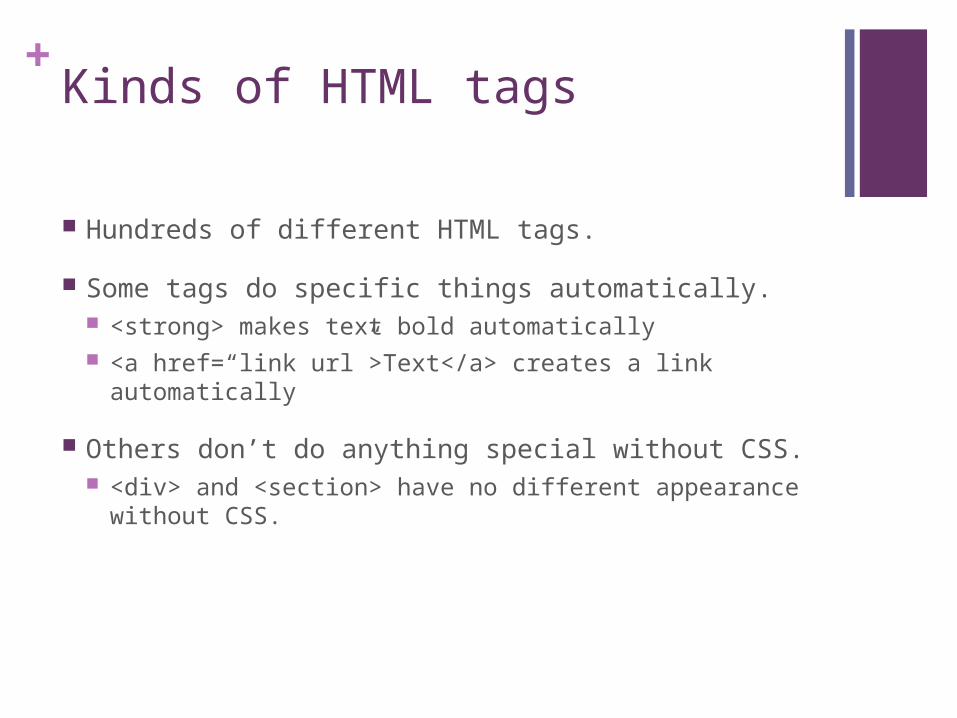
+Kinds of HTML tags
Hundreds of different HTML tags.
Some tags do specific things automatically. <strong> makes text bold automatically <a href=“link url”>Text</a> creates a link automatically
Others don’t do anything special without CSS. <div> and <section> have no different appearance without
CSS.
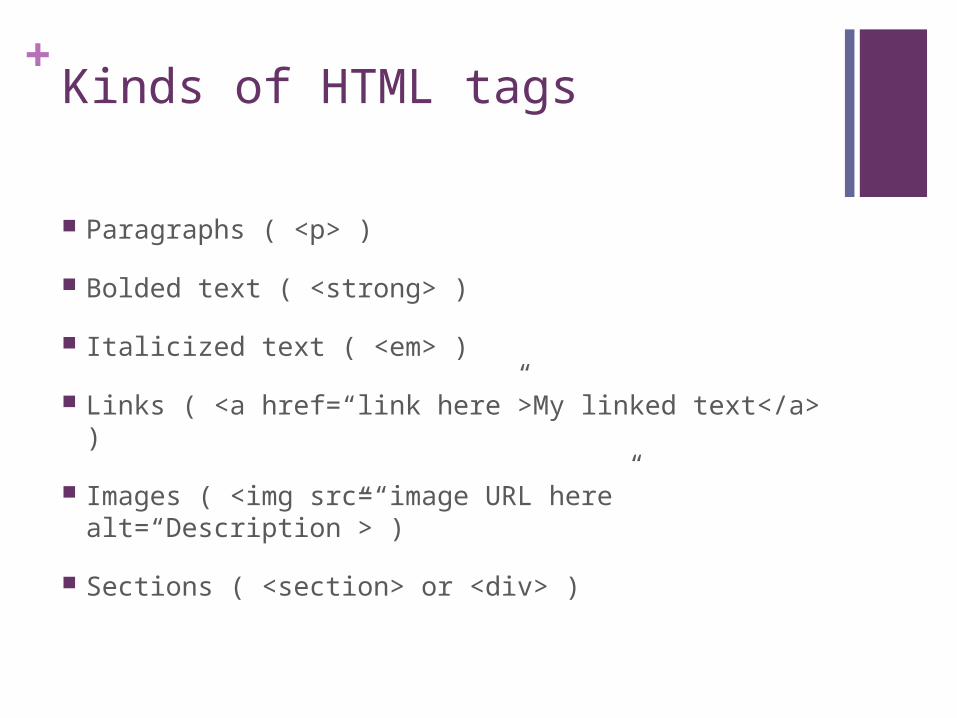
+Kinds of HTML tags
Paragraphs ( <p> )
Bolded text ( <strong> )
Italicized text ( <em> )
Links ( <a href=“link here”>My linked text</a> )
Images ( <img src=“image URL here” alt=“Description”> )
Sections ( <section> or <div> )
+Making tags more specific
Without classes and IDs, you have no way to identify just one specific tag in CSS.
Imagine you’re in a room full of people…
+How to apply classes and IDs
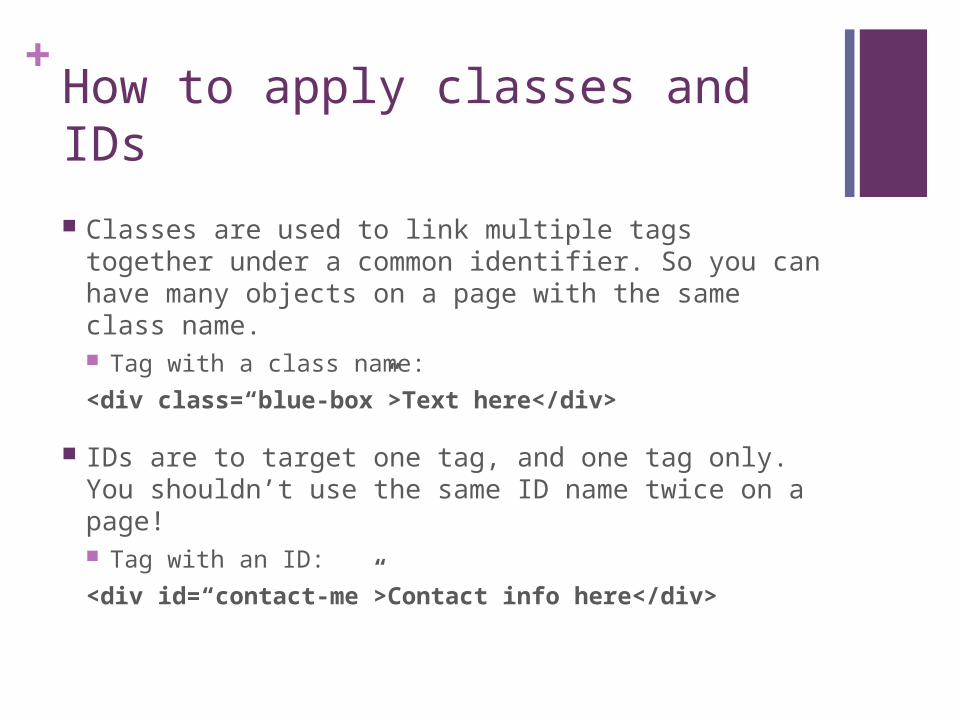
Classes are used to link multiple tags together under a common identifier. So you can have many objects on a page with the same class name. Tag with a class name:
<div class=“blue-box”>Text here</div>
IDs are to target one tag, and one tag only. You shouldn’t use the same ID name twice on a page! Tag with an ID:
<div id=“contact-me”>Contact info here</div>
+So how do we use CSS?
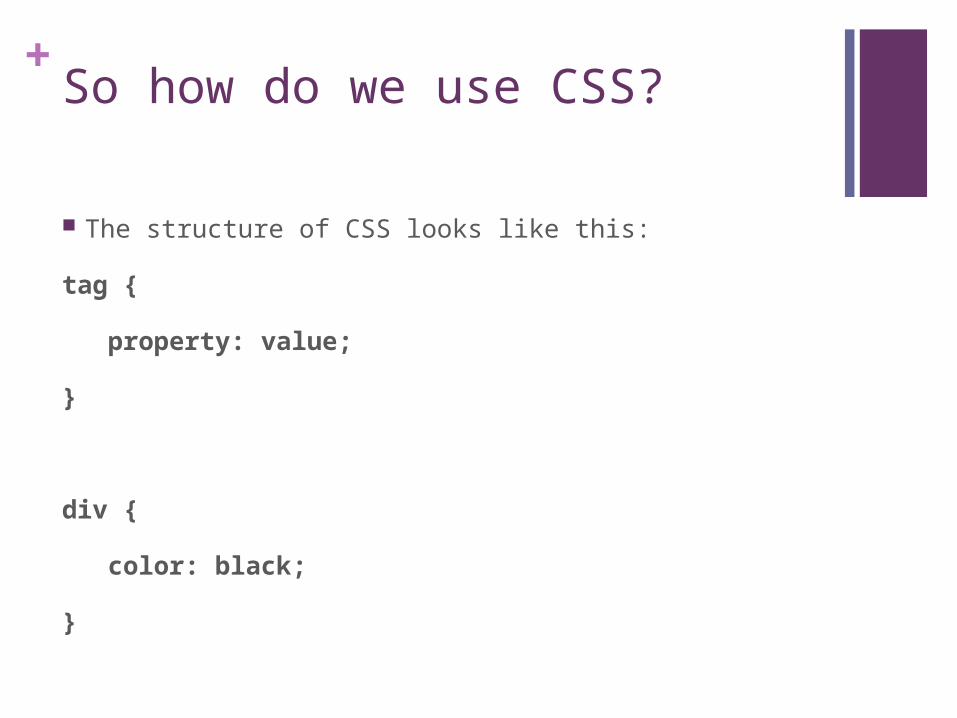
The structure of CSS looks like this:
tag {
property: value;
}
div {
color: black;
}
+Using classes and IDs in CSS
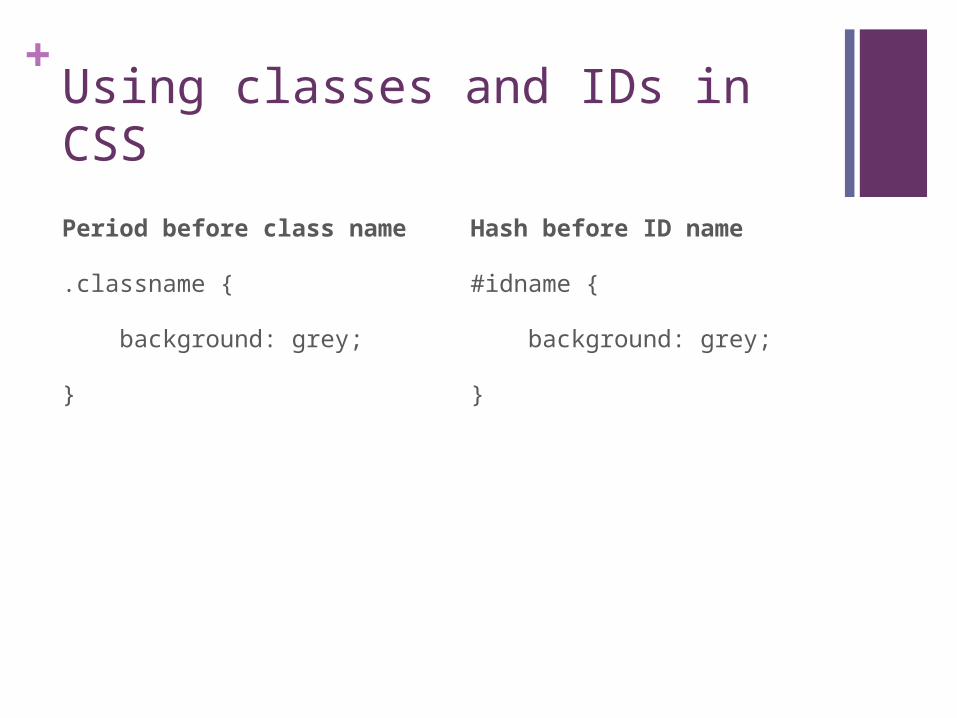
Period before class name
.classname {
background: grey;
}
Hash before ID name
#idname {
background: grey;
}
+Going back to that person example…
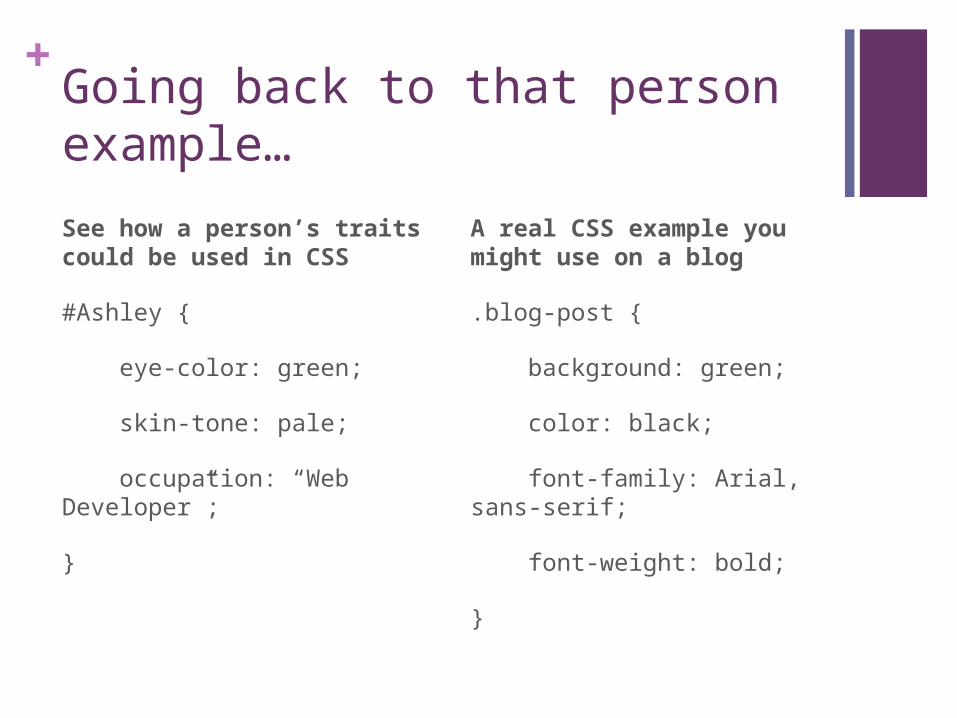
See how a person’s traits could be used in CSS
#Ashley {
eye-color: green;
skin-tone: pale;
occupation: “Web Developer”;
}
A real CSS example you might use on a blog
.blog-post {
background: green;
color: black;
font-family: Arial, sans-serif;
font-weight: bold;
}
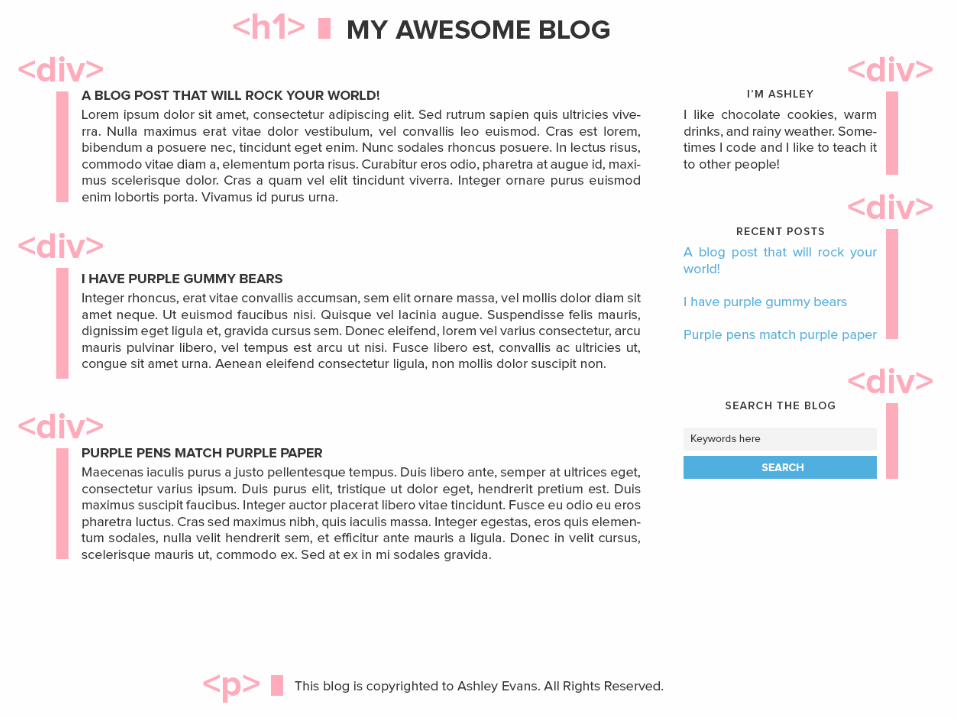
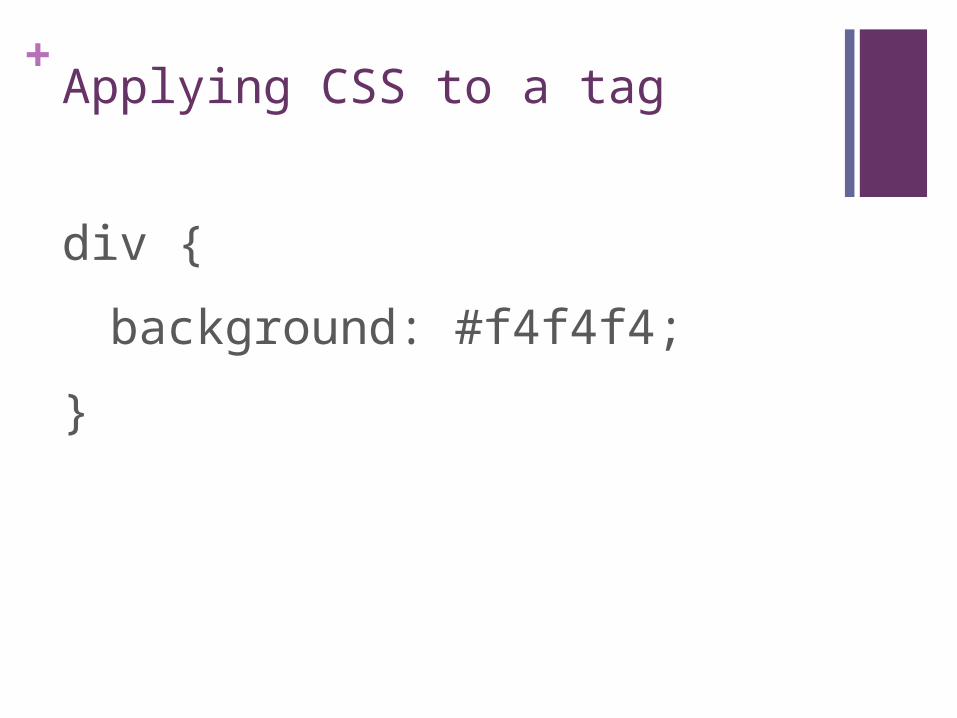
+Applying CSS to a tag
div {
background: #f4f4f4;
}
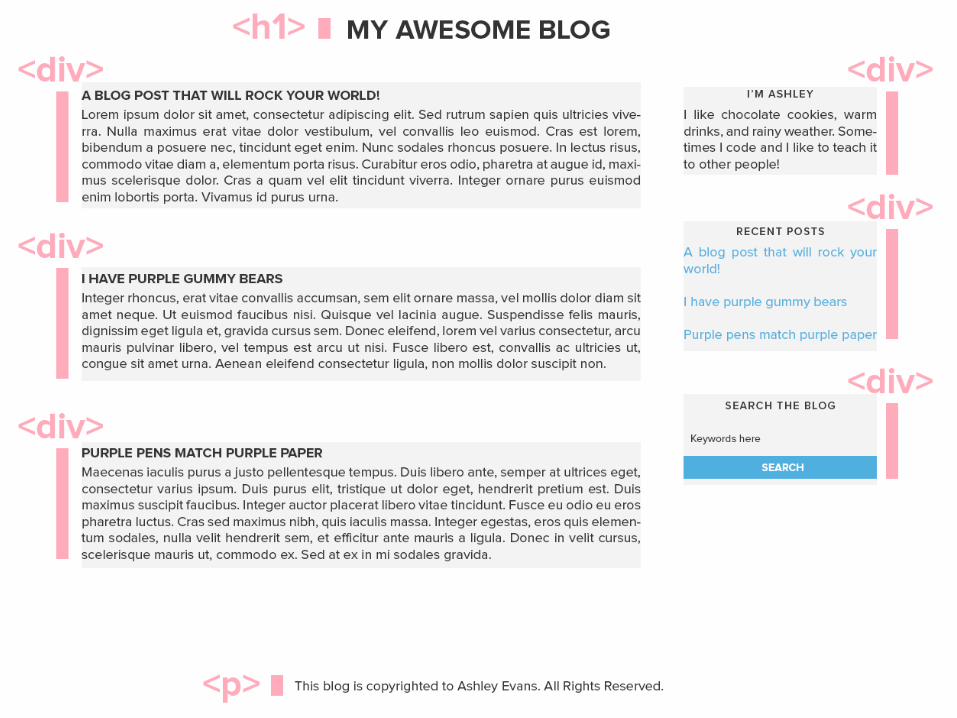
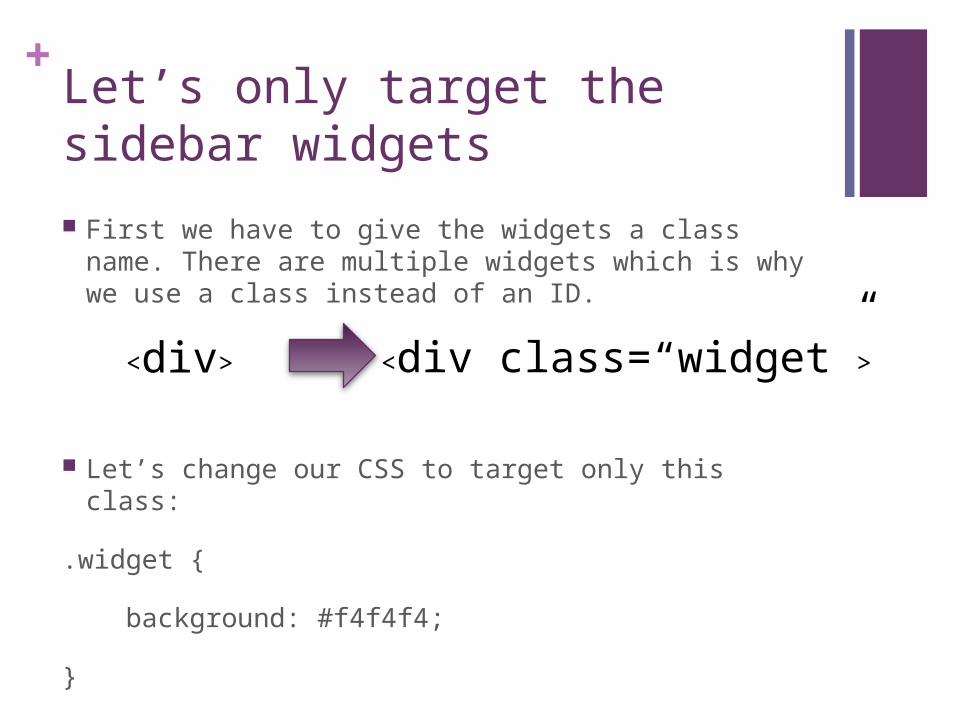
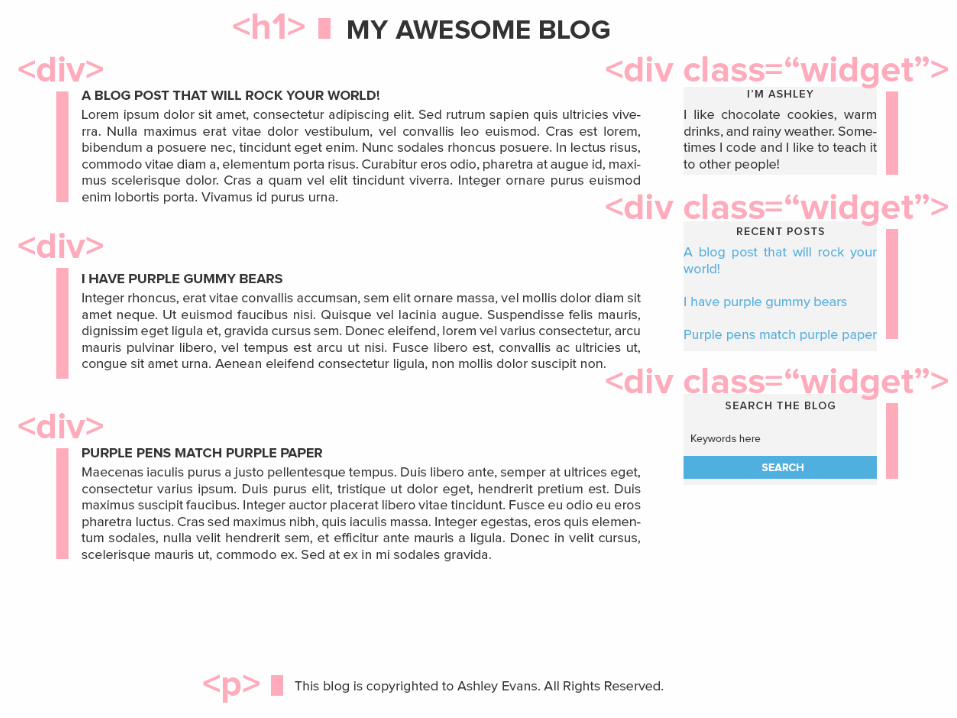
+Let’s only target the sidebar widgets
First we have to give the widgets a class name. There are multiple widgets which is why we use a class instead of an ID.
Let’s change our CSS to target only this class:
.widget {
background: #f4f4f4;
}
<div> <div class=“widget”>
+
Nesting in CSSWhat happens when you have one HTML tag inside another.
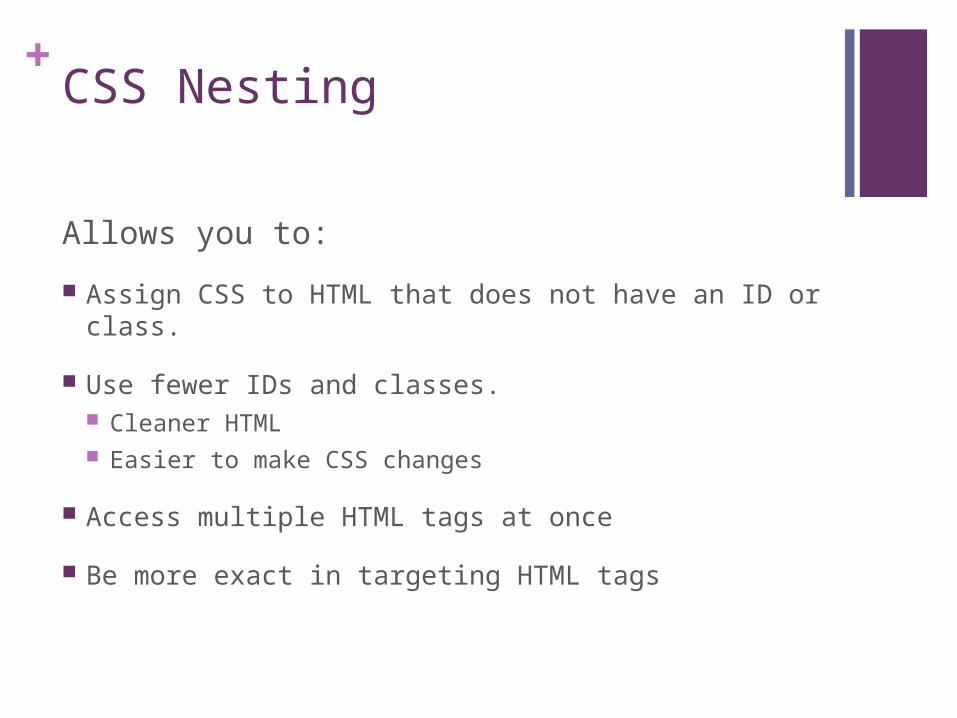
+CSS Nesting
Allows you to:
Assign CSS to HTML that does not have an ID or class.
Use fewer IDs and classes. Cleaner HTML Easier to make CSS changes
Access multiple HTML tags at once
Be more exact in targeting HTML tags
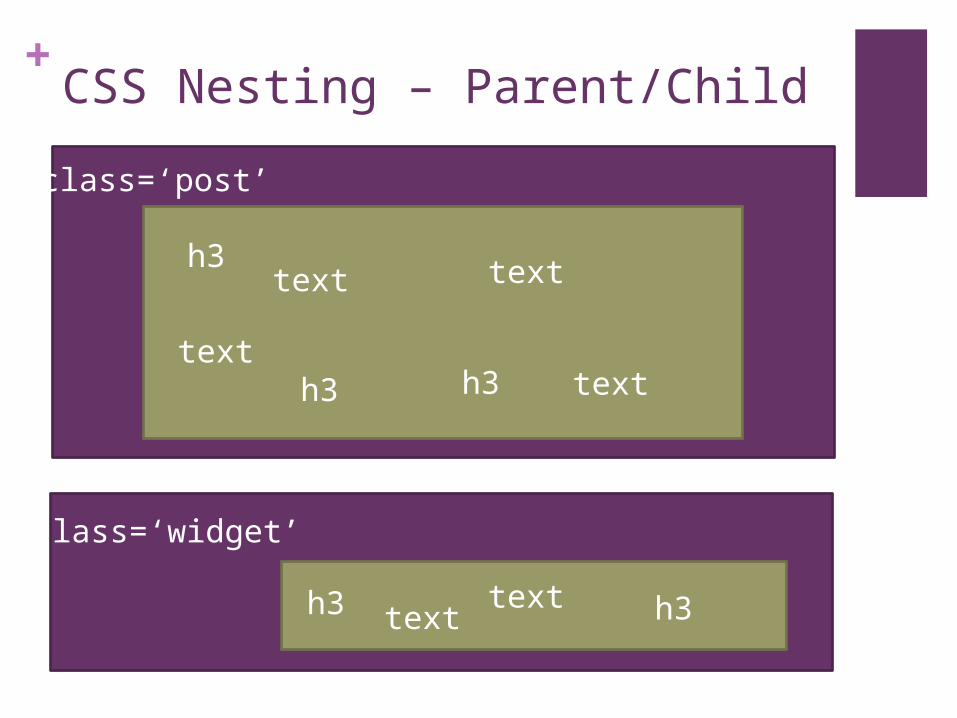
+CSS Nesting – Parent/Child
class=‘post’
h3
h3
text
text
text
text
class=‘widget’
h3 texttext
h3
h3
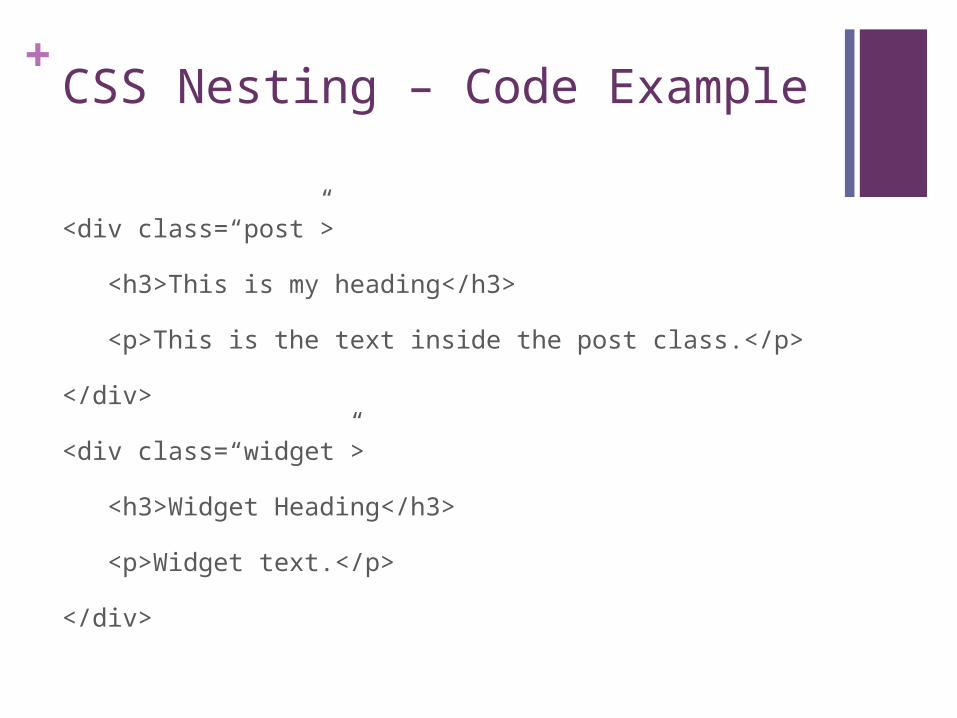
+CSS Nesting – Code Example
<div class=“post”>
<h3>This is my heading</h3>
<p>This is the text inside the post class.</p>
</div>
<div class=“widget”>
<h3>Widget Heading</h3>
<p>Widget text.</p>
</div>
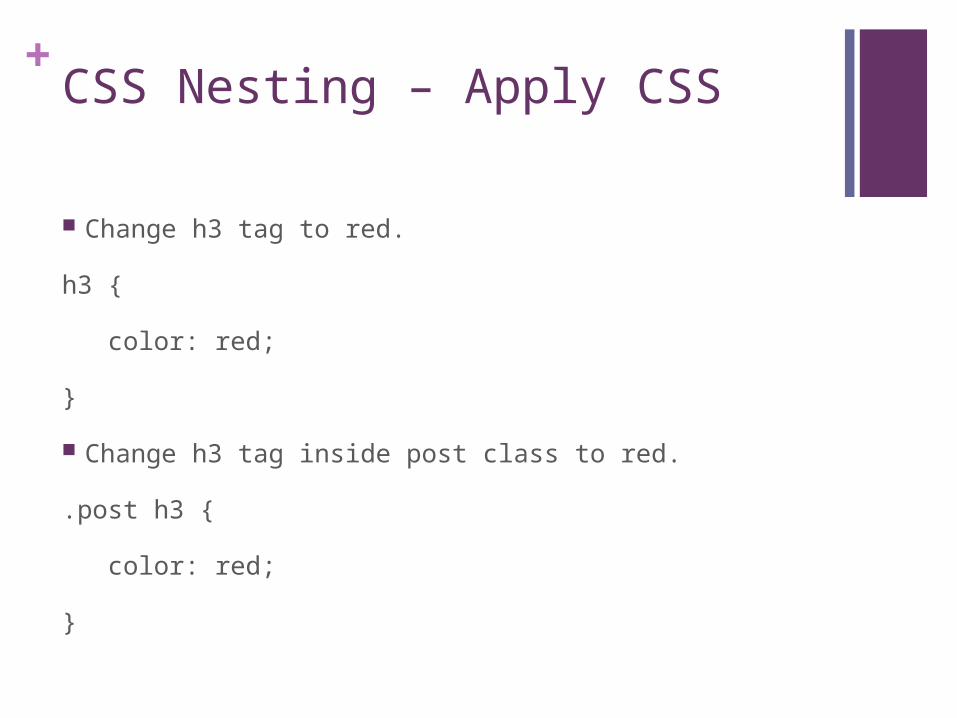
+CSS Nesting – Apply CSS
Change h3 tag to red.
h3 {
color: red;
}
Change h3 tag inside post class to red.
.post h3 {
color: red;
}

+
Live HTML/CSS ExamplesWe’ll show you exactly how this works!
+
Where to put CSSThere’s a special place to put CSS on your blog.
+Blogger
1. Template Designer
2. HTML Template Editor
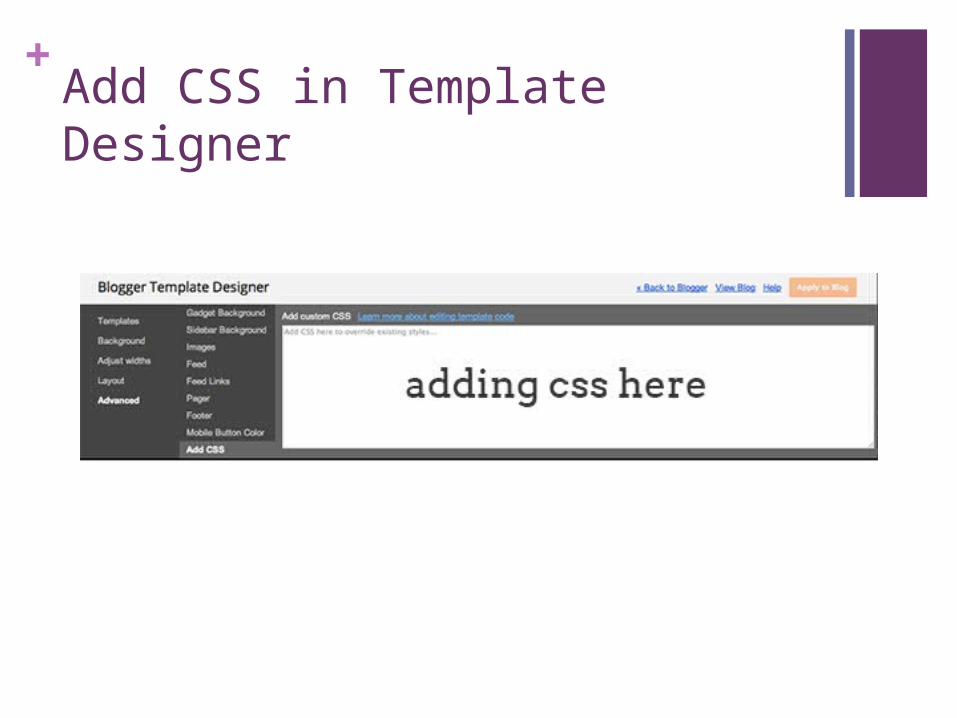
+Add CSS in Template Designer
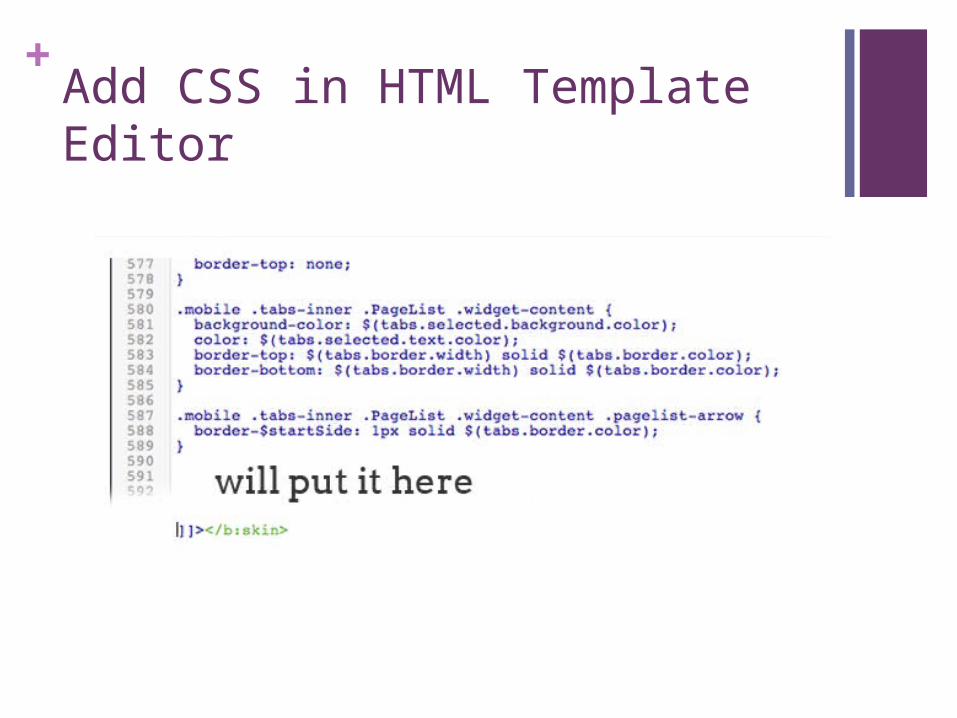
+Add CSS in HTML Template Editor

+Wordpress (Self-Hosted)
Install custom CSS plugins:
1. Jetpack
2. Simple Custom CSS
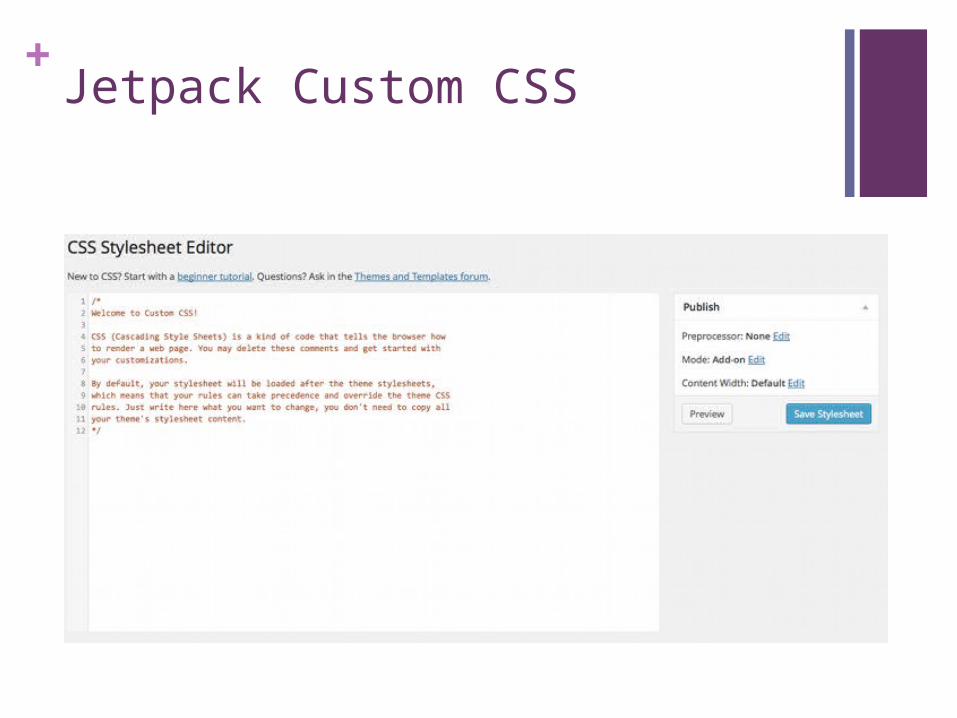
+Jetpack Custom CSS
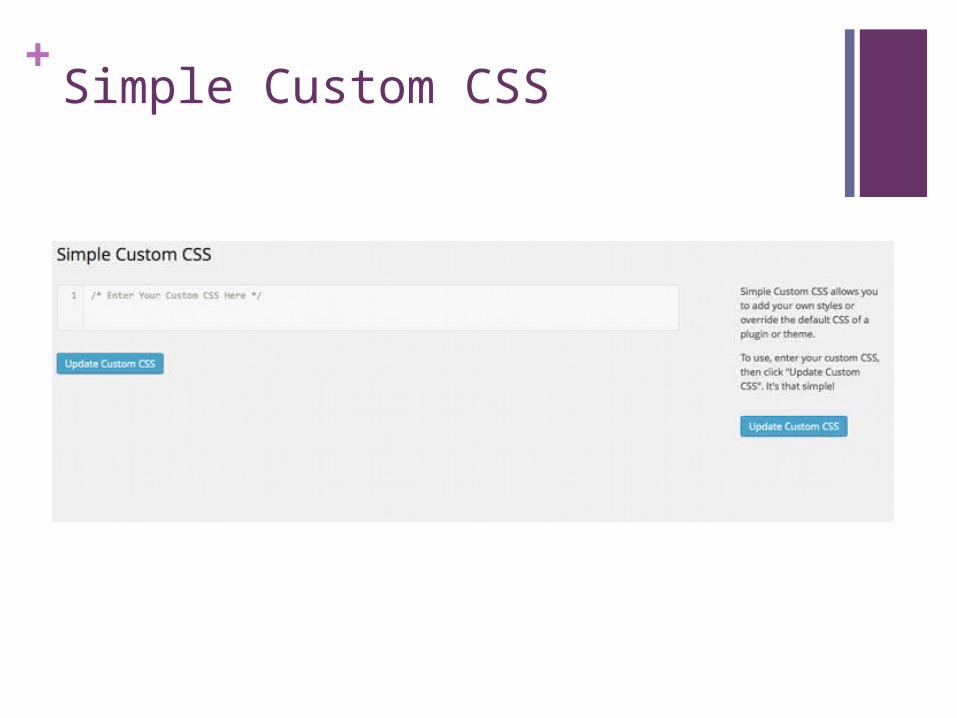
+Simple Custom CSS
+
Inspect ElementTo help you figure out what CSS classes and IDs you need.
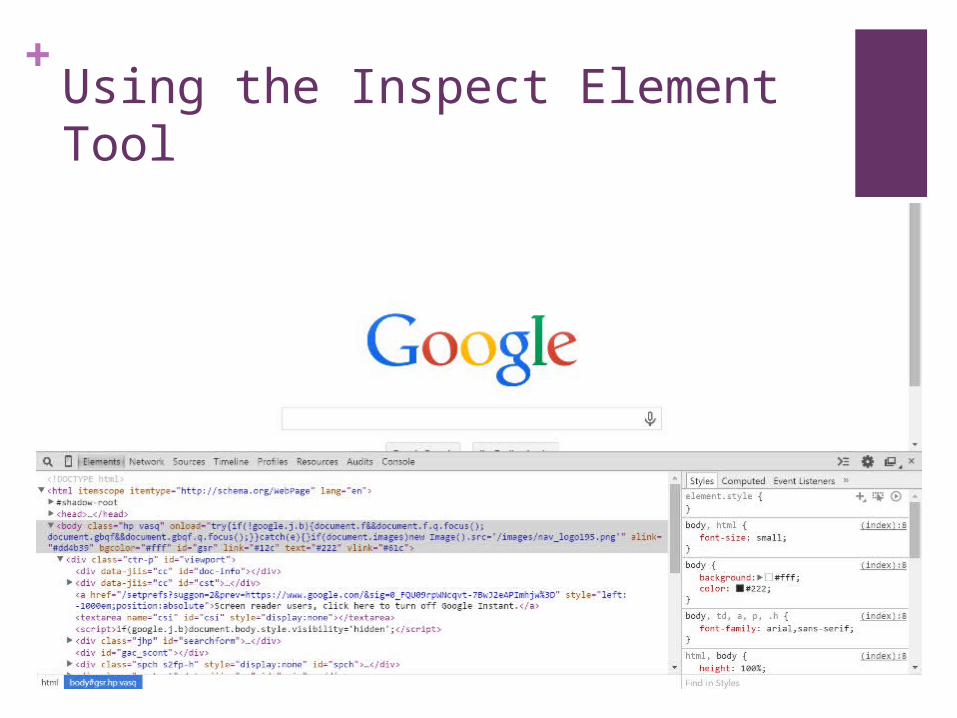
+Using the Inspect Element Tool

+Inspect Element
The inspect element tool allows you to view the HTML and CSS of any web page and make temporary changes.
Access it by: Pressing the F12 key on your keyboard. Right clicking on a website element and
selecting: Inspect Element.
+
Real world examplesCSS snippets you might use on your actual blog!
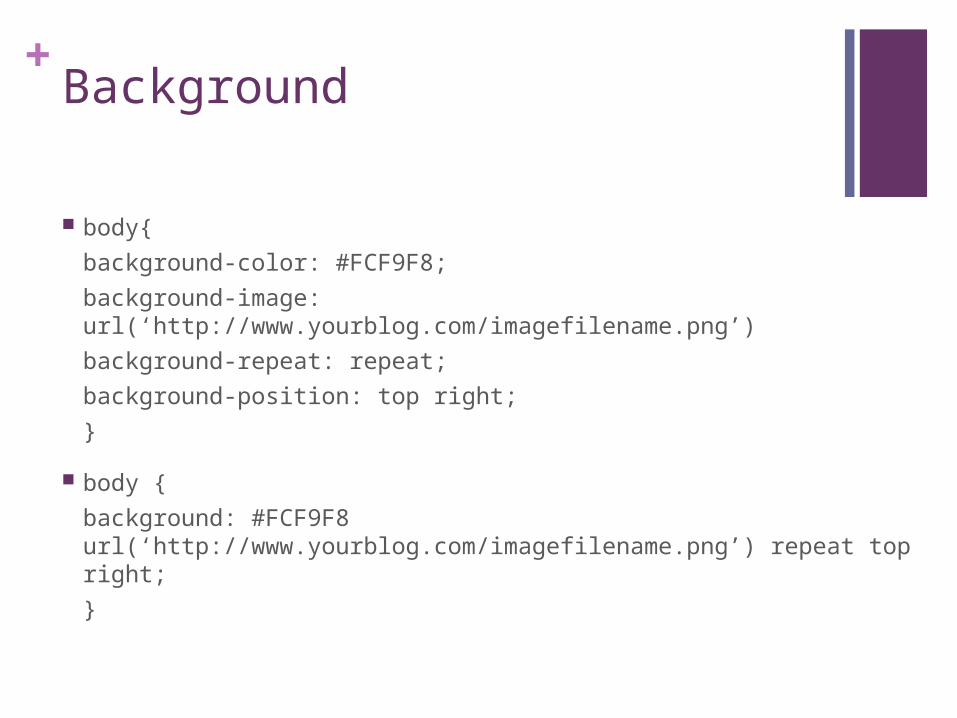
+Background
body{
background-color: #FCF9F8;
background-image: url(‘http://www.yourblog.com/imagefilename.png’)
background-repeat: repeat;
background-position: top right;
}
body {
background: #FCF9F8 url(‘http://www.yourblog.com/imagefilename.png’) repeat top right;
}

+Add spacing between elements
Margin Adds spacing outside of the background area. .mybox {
margin: 10px;}
Padding Adds spacing inside of the background area. .mybox {
padding: 10px;}

+Margin vs Padding
Margin Padding
This is my text inside here! Isn’t is looovely.
This is my text insidehere! Isn’t is looovely.
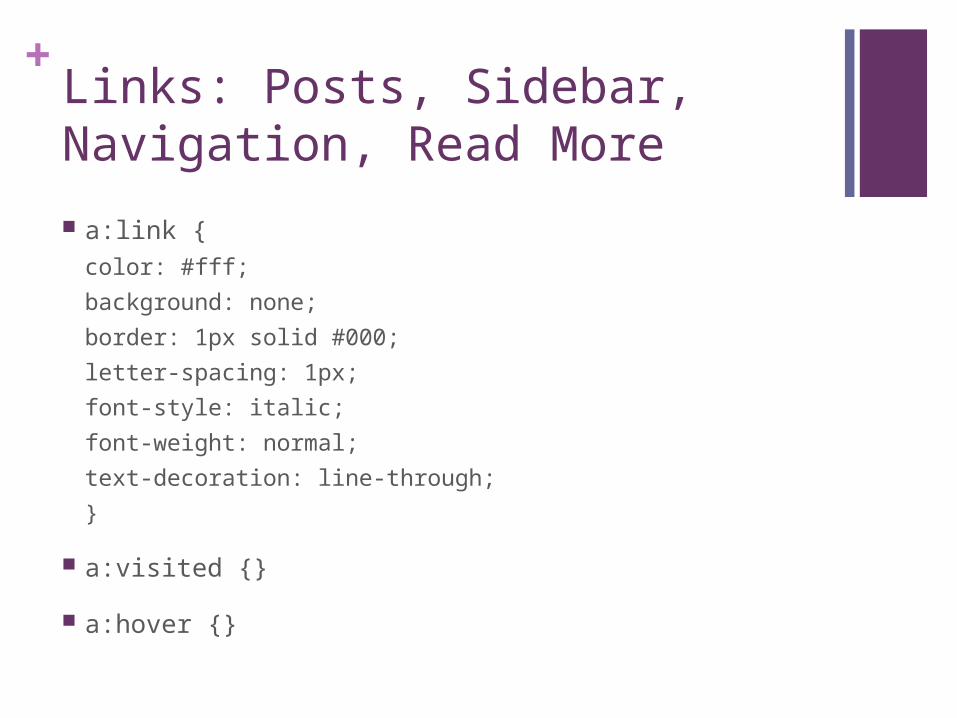
+Links: Posts, Sidebar, Navigation, Read More
a:link {color: #fff;
background: none;
border: 1px solid #000;
letter-spacing: 1px;
font-style: italic;
font-weight: normal;
text-decoration: line-through;
}
a:visited {}
a:hover {}
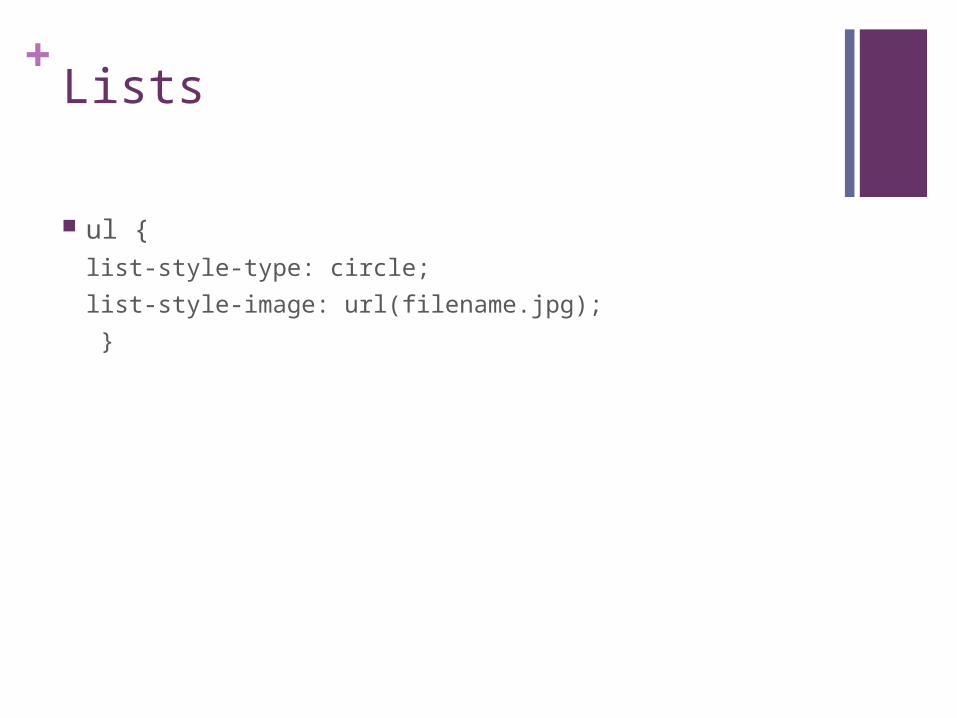
+Lists
ul {list-style-type: circle;
list-style-image: url(filename.jpg);
}
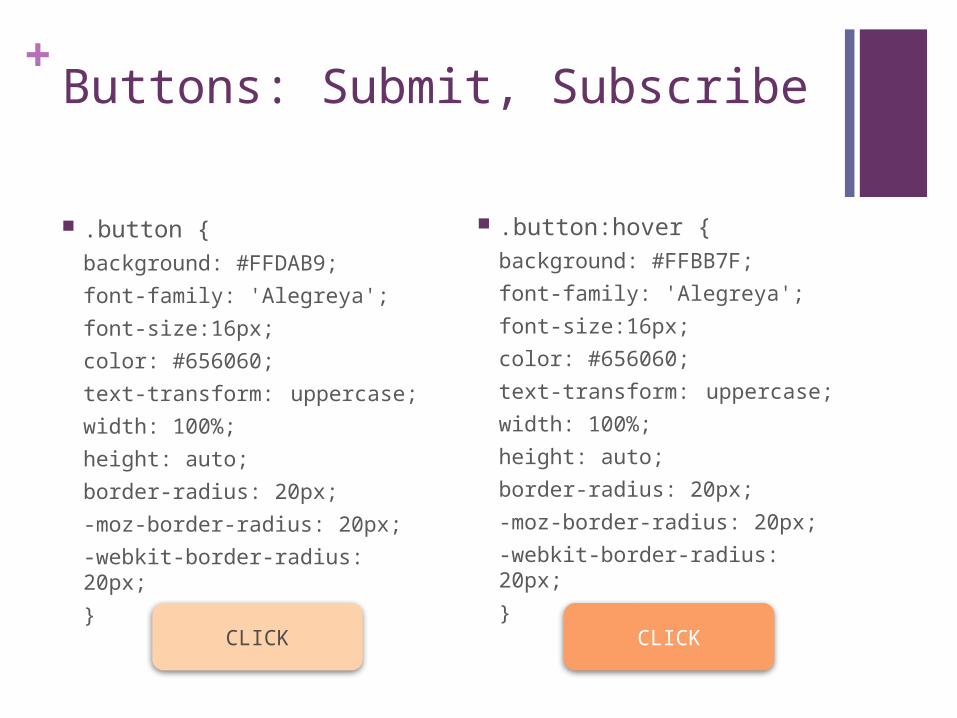
+Buttons: Submit, Subscribe
.button {background: #FFDAB9;
font-family: 'Alegreya';
font-size:16px;
color: #656060;
text-transform: uppercase;
width: 100%;
height: auto;
border-radius: 20px;
-moz-border-radius: 20px;
-webkit-border-radius: 20px;
}
.button:hover {background: #FFBB7F;
font-family: 'Alegreya';
font-size:16px;
color: #656060;
text-transform: uppercase;
width: 100%;
height: auto;
border-radius: 20px;
-moz-border-radius: 20px;
-webkit-border-radius: 20px;
}CLICK CLICK

+Make two sections sit side by side.
Section #1
Morbi id turpis iaculis, ullamcorper arcu at, laoreet metus. Sed facilisis leo vitae quam tempus porta. Curabitur commodo leo tempor luctus accumsan. Morbi fermentum pharetra libero, nec lacinia sapien ultrices vel. Praesent pellentesque pulvinar nisl id elementum.
Section #2
Sed vel elementum felis. Nullam scelerisque augue et sem faucibus, ac ornare ligula viverra. Cras vestibulum lobortis erat ac dapibus. Cras eleifend dui a tellus rutrum tempus. Vestibulum rutrum massa sit amet hendrerit scelerisque. Nam ligula sapien, mollis quis sem et, porttitor eleifend ipsum.
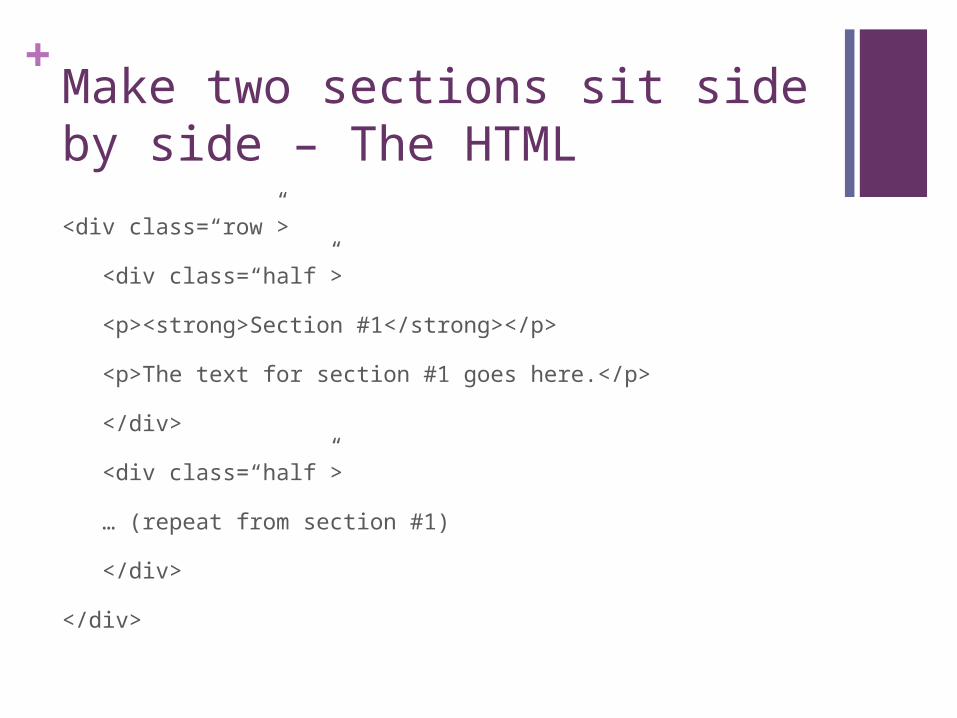
+Make two sections sit side by side – The HTML
<div class=“row”>
<div class=“half”>
<p><strong>Section #1</strong></p>
<p>The text for section #1 goes here.</p>
</div>
<div class=“half”>
… (repeat from section #1)
</div>
</div>
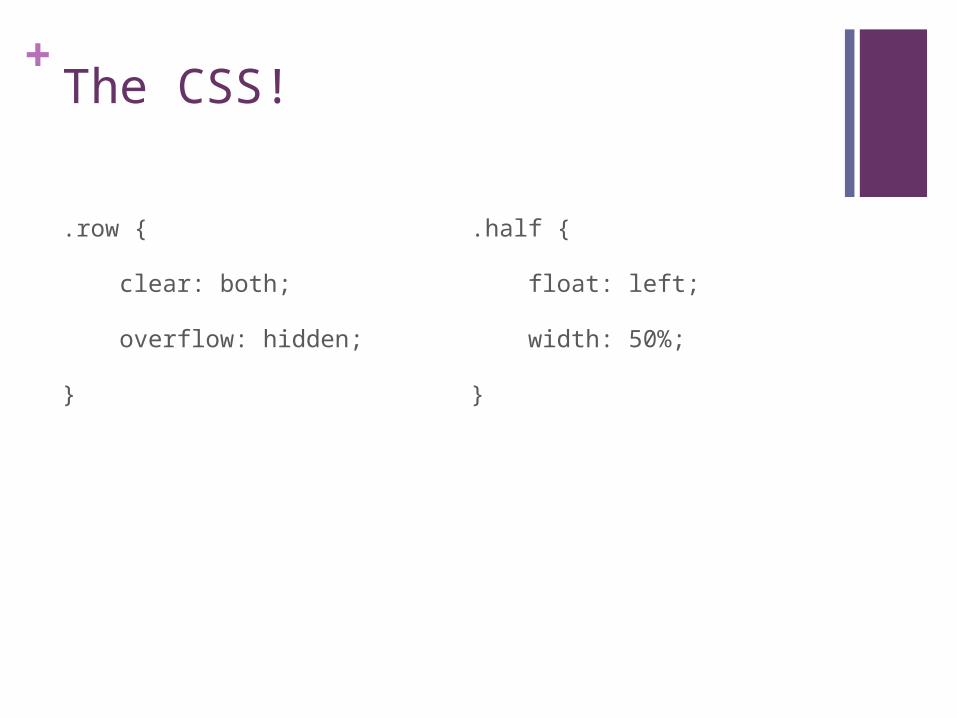
+The CSS!
.row {
clear: both;
overflow: hidden;
}
.half {
float: left;
width: 50%;
}

+
That’s it for now!Go forth and become a coding master.
Recommended