Embed Size (px)
Citation preview
YOUR SCUBA COURSE• Welcome to the Course.
• What is Scuba Diving?
• Why SCUBA Dive?
• What is Scuba Certification?
• What is NAUI?
• What are the risks of Scuba?
• What are Your Obligations?
• Other topics we will discuss today:
– Dive equipment
– Diving skills
– Diving science
– Your body underwater
– Dive safety
• Let’s Go Diving!
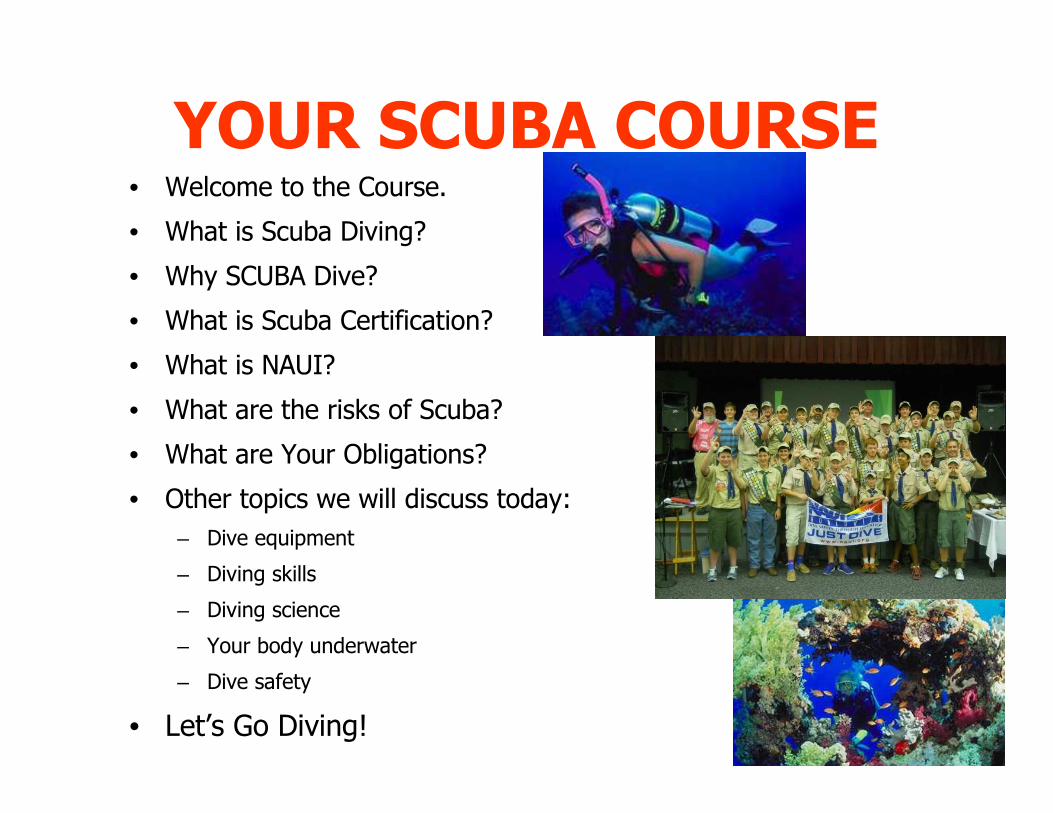
What is SCUBA Diving?Scuba diving is the most unique adventure sport on earth.
• SCUBA is a word that stands for:
Self Contained Underwater Breathing Apparatus.
• You SCUBA dive with an air cylinder or tank that you wear on your back. The air is supplied to you by a regulator that reduces the high pressure (3000psi) in the tank to the same pressure as the water around you. This pressure is called the ambient pressure. This allows you to fill your lungs to their normal volume at any depth. Your regulator has a pressure gauge that allows you to constantly monitor your remaining air supply.
• During this course you will be shown how to clear your regulator, clear your mask, and trim your buoyancy, so that you can “hang or hover” without movement at any given depth. Modern equipment has made the sport of SCUBA diving safe.
• You will master the skills required to become a safe, certified SCUBA diver.
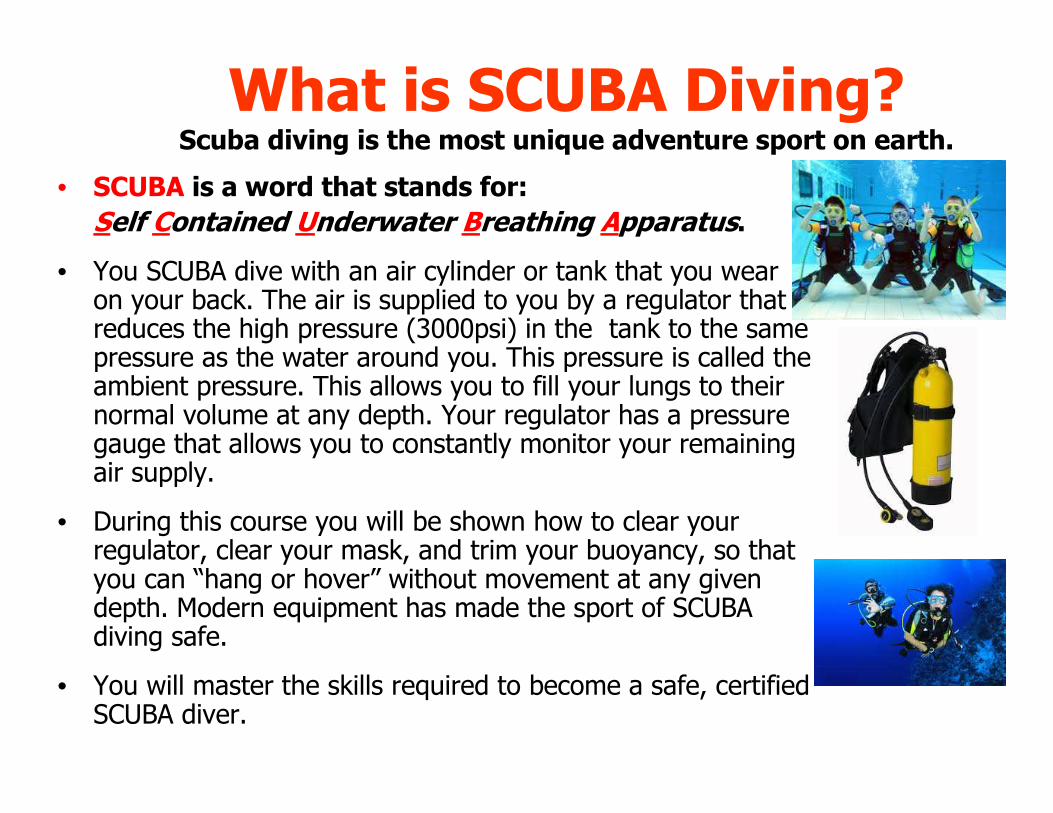
Why SCUBA Dive?
“There's nothing wrong with enjoying looking at the surface of the ocean itself, except that when you finally see what goes on underwater, you realize that you've been missing the whole point of the ocean. Staying on the surface all the time is like going to the circus and staring at the outside of the tent.”
What is Scuba Certification?• In most countries there are no laws governing recreational SCUBA Diving.
• Professional SCUBA Instructors have agreed on certain minimum standards of training for sport divers.
• You must meet specific standards to receive your NAUI SCUBA Diver certification.
• Your certification card will enable you to SCUBA dive under conditions similar to your training conditions. If you desire to try different diving conditions you should, at the least dive, with a Divemaster from that area. If the type of diving involves new types of equipment, seek additional training and guidance.
• After you complete your NAUI SCUBA Diver certification course you should take the NAUI Advanced Diver Course. On the 2nd day of Openwater training you will be given the option to complete 2Advanced training dives that afternoon.
•You can also take Underwater Digital Photography and learn to take beautiful photos and videos of the underwater life and adventures you have experienced show your family, friends, and use for school projects.
What is NAUI?National Association of Underwater Instructors
• NAUI was founded in 1960 and the first Instructor Course was held.
• NAUI conducts the zero gravity water training program at the NASA Houston Space Center
• NAUI courses are among the most thorough with rescue/self reliance and buddy system stressed at all levels of training
• NAUI conducts all of SCUBA program and training at Disney World
• NAUI certifies Divers, Advanced Divers, Master SCUBA Divers, Divemasters, and Instructors.
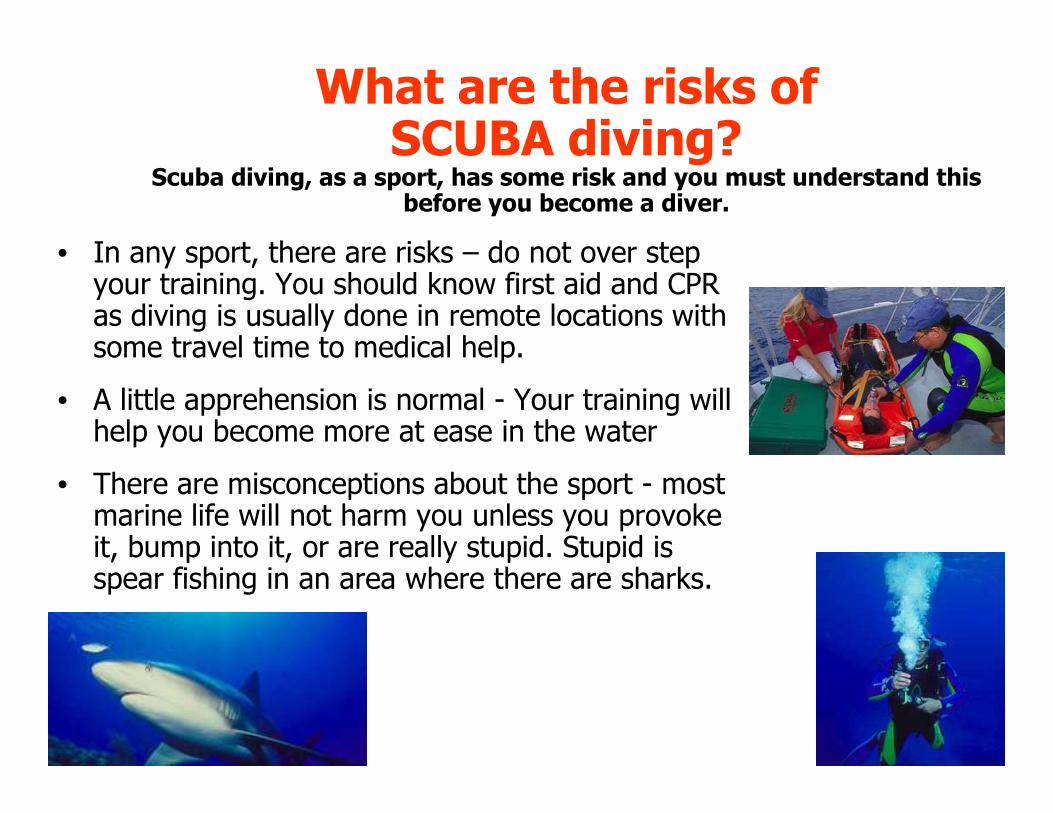
What are the risks of SCUBA diving?
Scuba diving, as a sport, has some risk and you must understand this before you become a diver.
• In any sport, there are risks – do not over step your training. You should know first aid and CPR as diving is usually done in remote locations with some travel time to medical help.
• A little apprehension is normal - Your training will help you become more at ease in the water
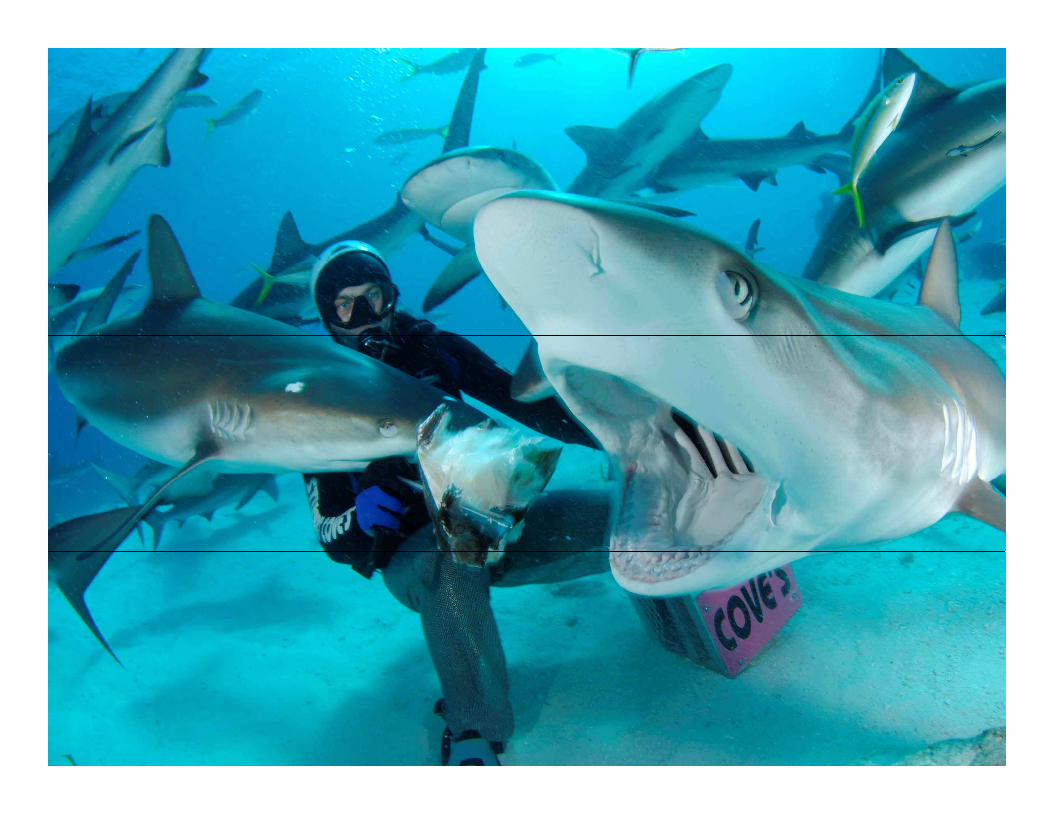
• There are misconceptions about the sport - most marine life will not harm you unless you provoke it, bump into it, or are really stupid. Stupid is spear fishing in an area where there are sharks.
What are your obligations?As a participant in the SCUBA Program, you have certain obligations.
• Pay VERY Close ATTENTION
• No “HORSEPLAY”
• Have FUN!
• Get EXCITED!
• Get CERTIFIED!
• REMEMBER what you have learned!
• DO NOT ATTEMPT A DIVE ABOVE YOUR TRAINING LEVEL WITHOUT MORE TRAINING OR GUIDANCE
Spread the word about a REALLY NEAT SPORT you have discovered!
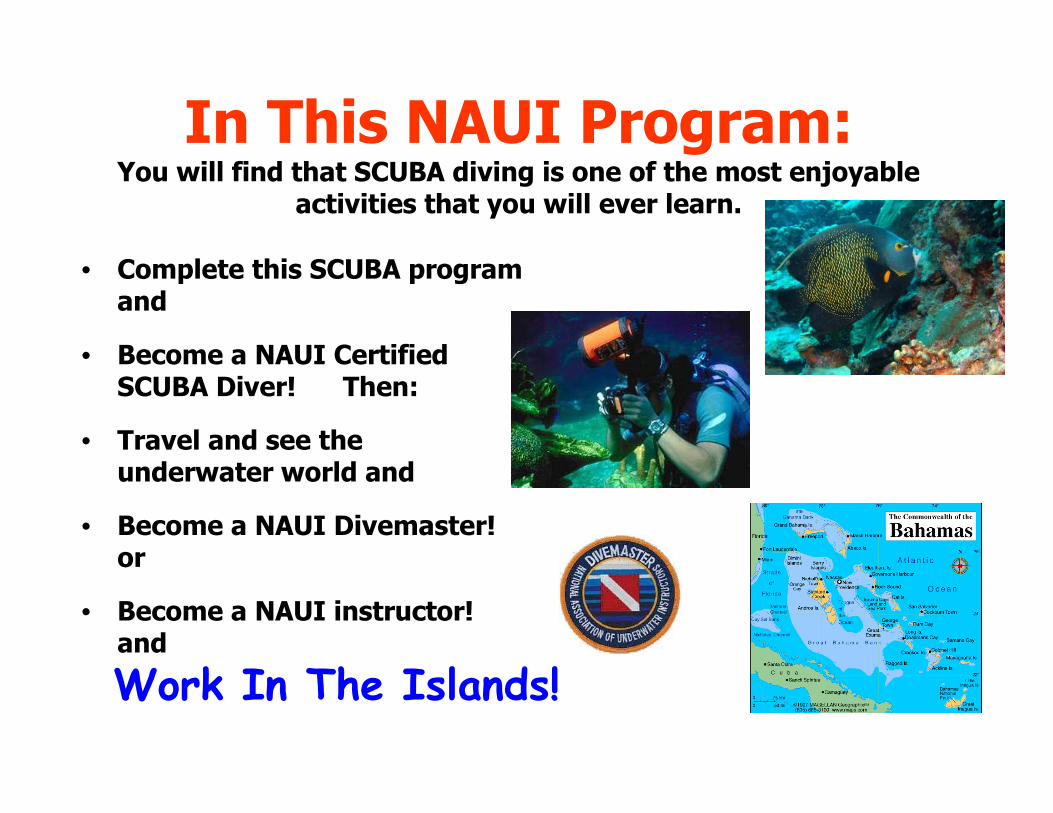
In This NAUI Program:You will find that SCUBA diving is one of the most enjoyable
activities that you will ever learn.
• Complete this SCUBA program and
• Become a NAUI Certified SCUBA Diver! Then:
• Travel and see the underwater world and
• Become a NAUI Divemaster! or
• Become a NAUI instructor! and
Work In The Islands!
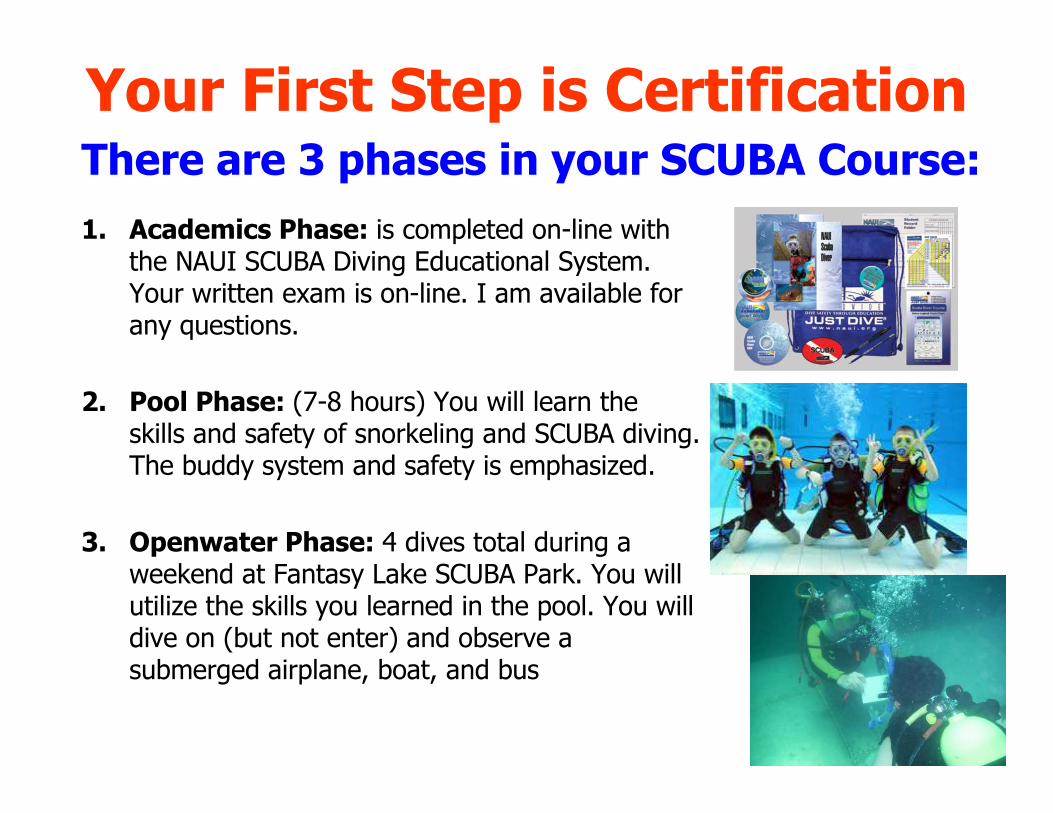
Your First Step is Certification
1. Academics Phase: is completed on-line with the NAUI SCUBA Diving Educational System. Your written exam is on-line. I am available for any questions.
2. Pool Phase: (7-8 hours) You will learn the skills and safety of snorkeling and SCUBA diving. The buddy system and safety is emphasized.
3. Openwater Phase: 4 dives total during a weekend at Fantasy Lake SCUBA Park. You will utilize the skills you learned in the pool. You will dive on (but not enter) and observe a submerged airplane, boat, and bus
There are 3 phases in your SCUBA Course:
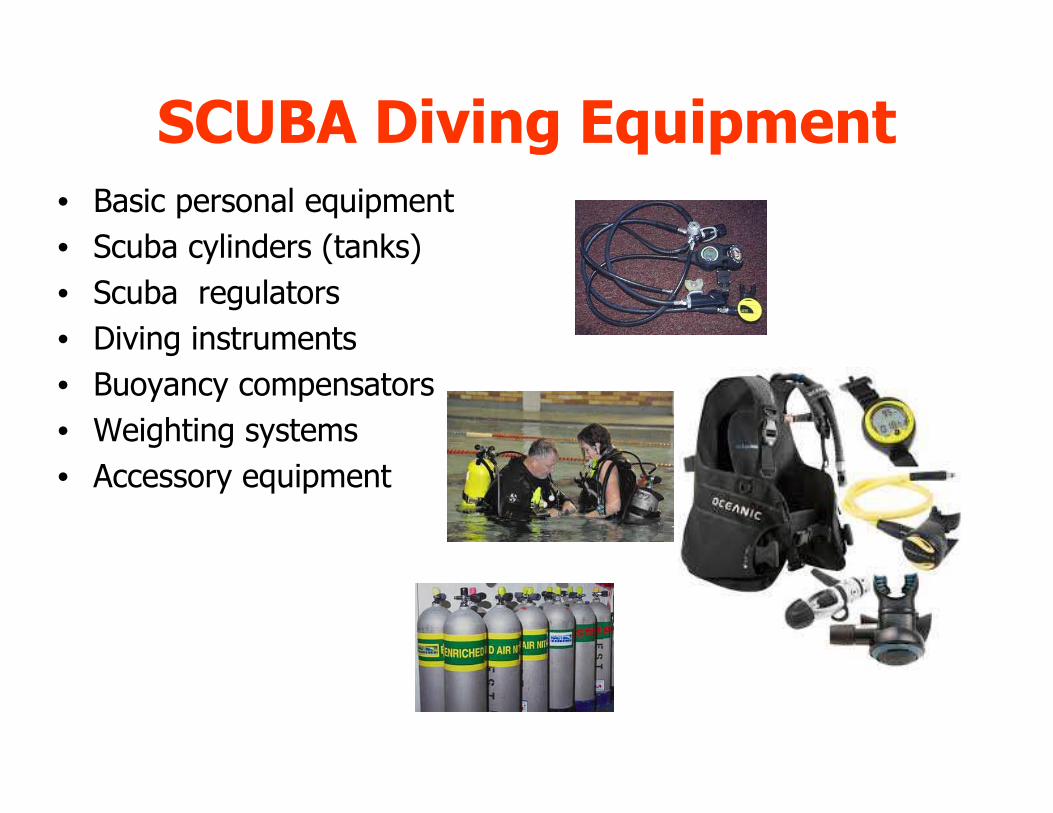
SCUBA Diving Equipment• Basic personal equipment
• Scuba cylinders (tanks)
• Scuba regulators
• Diving instruments
• Buoyancy compensators
• Weighting systems
• Accessory equipment

Buying Equipment for DivingThere are several reasons to go to a specialized retailer such as a
NAUI dive store.
• You can see and wear gear before you buy.
• Scuba retailers can help you with adjusting the
equipment.
• Scuba retailers provide instruction for
specialized gear.
• Scuba retailers usually service equipment.
• Scuba retailers rent equipment.
• Scuba retailers are your source for scuba
cylinder fills and last minute required items.
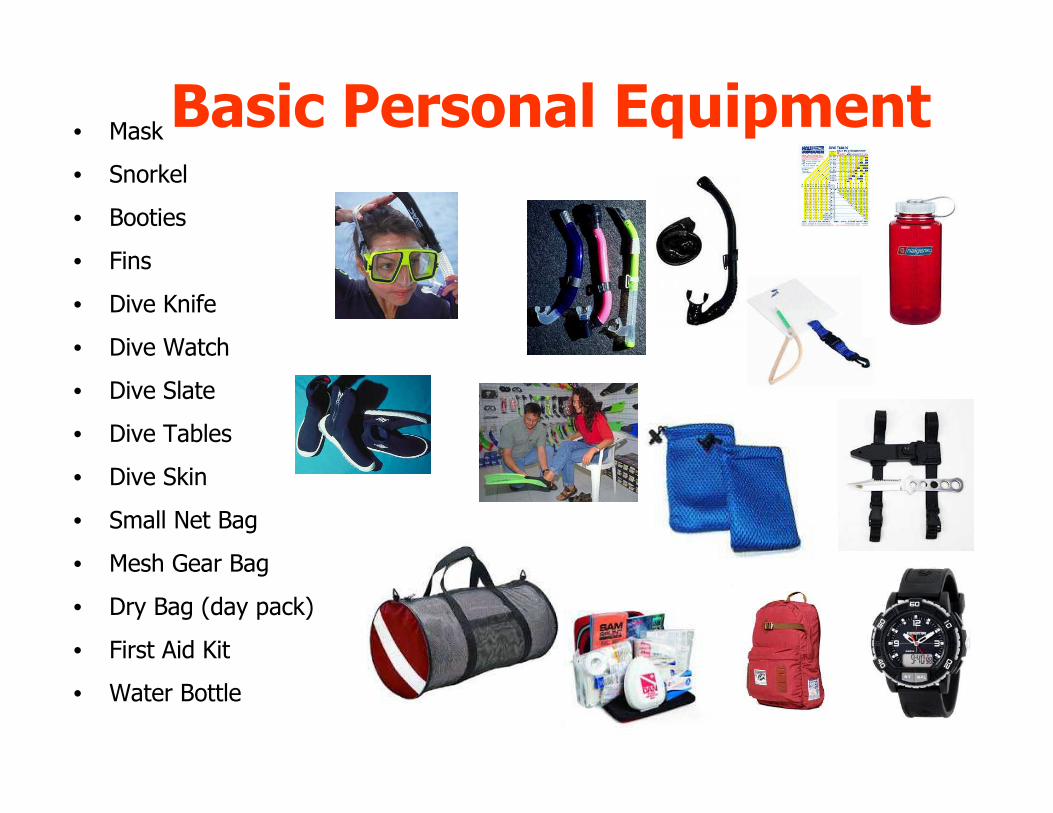
Basic Personal Equipment• Mask
• Snorkel
• Booties
• Fins
• Dive Knife
• Dive Watch
• Dive Slate
• Dive Tables
• Dive Skin
• Small Net Bag
• Mesh Gear Bag
• Dry Bag (day pack)
• First Aid Kit
• Water Bottle
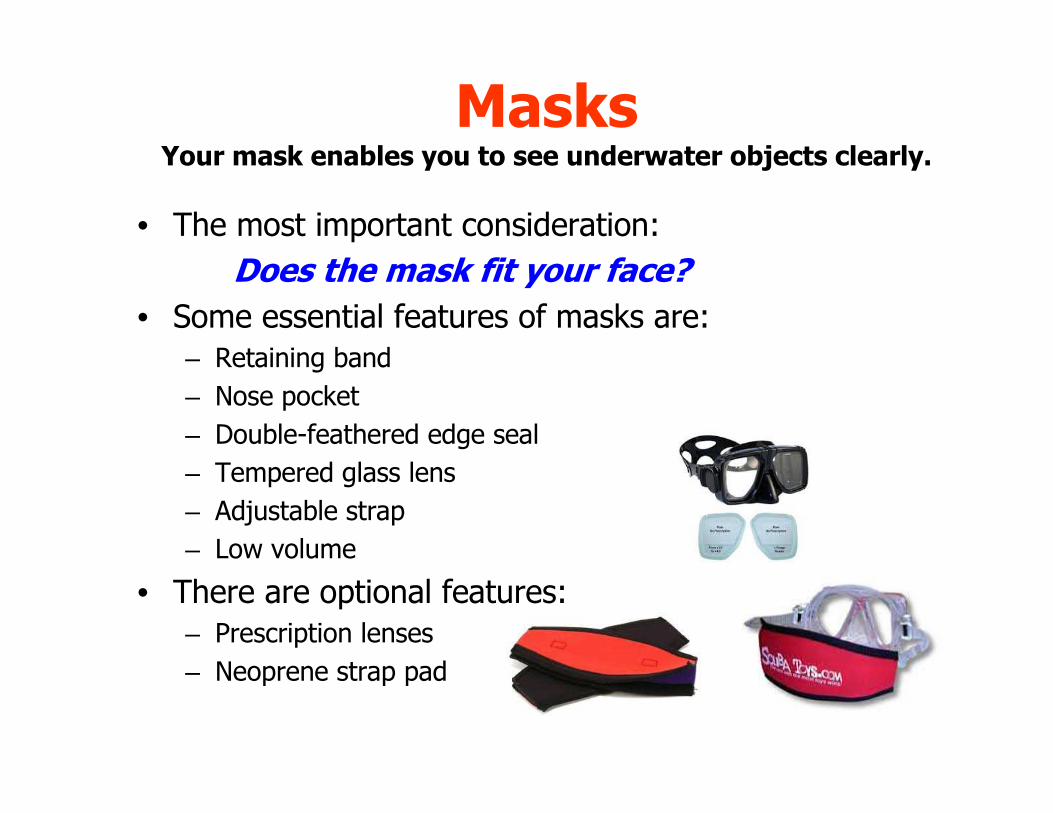
MasksYour mask enables you to see underwater objects clearly.
• The most important consideration:
Does the mask fit your face?
• Some essential features of masks are:
– Retaining band
– Nose pocket
– Double-feathered edge seal
– Tempered glass lens
– Adjustable strap
– Low volume
• There are optional features:
– Prescription lenses
– Neoprene strap pad
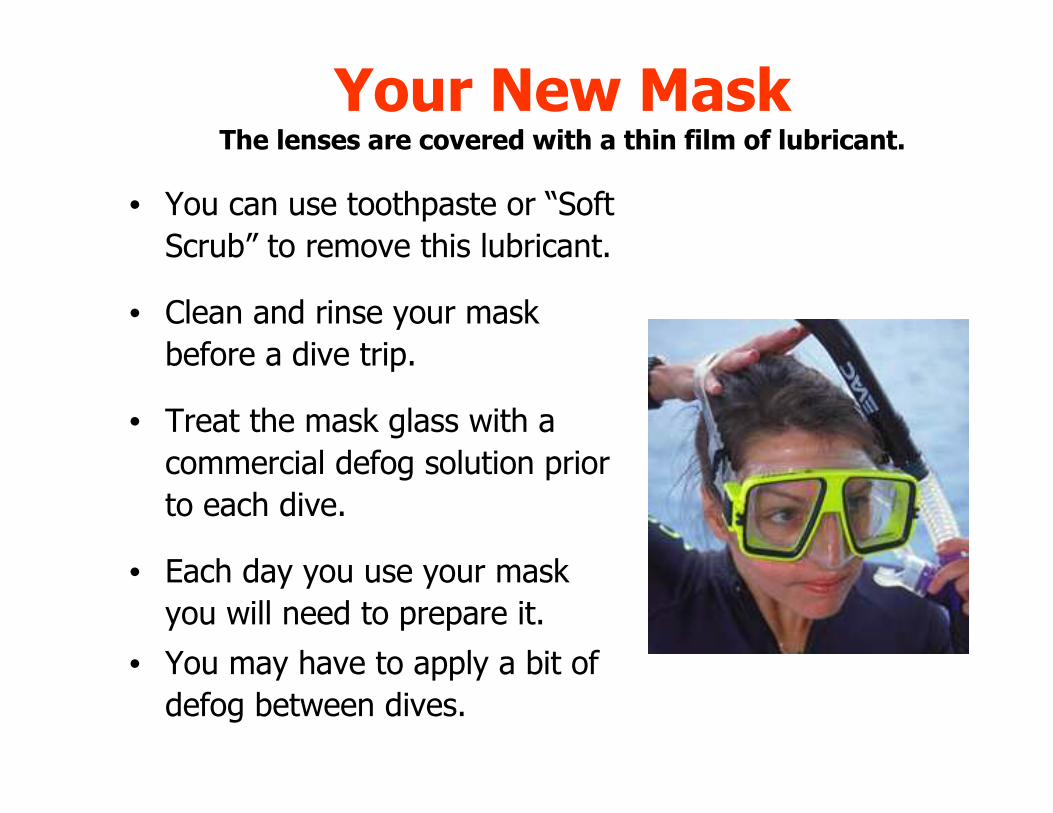
Your New MaskThe lenses are covered with a thin film of lubricant.
• You can use toothpaste or “Soft
Scrub” to remove this lubricant.
• Clean and rinse your mask
before a dive trip.
• Treat the mask glass with a
commercial defog solution prior
to each dive.
• Each day you use your mask
you will need to prepare it.
• You may have to apply a bit of
defog between dives.
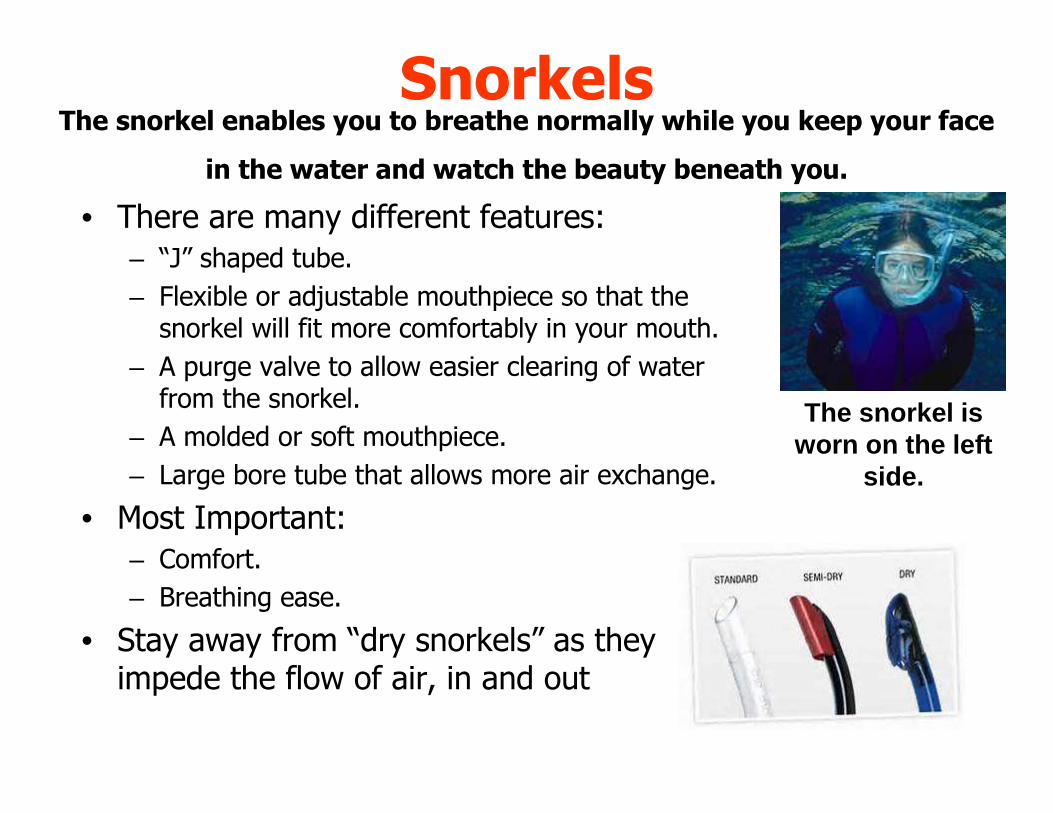
SnorkelsThe snorkel enables you to breathe normally while you keep your face
in the water and watch the beauty beneath you.
• There are many different features:
– “J” shaped tube.
– Flexible or adjustable mouthpiece so that the snorkel will fit more comfortably in your mouth.
– A purge valve to allow easier clearing of water from the snorkel.
– A molded or soft mouthpiece.
– Large bore tube that allows more air exchange.
• Most Important:
– Comfort.
– Breathing ease.
• Stay away from “dry snorkels” as they impede the flow of air, in and out
The snorkel is worn on the left
side.
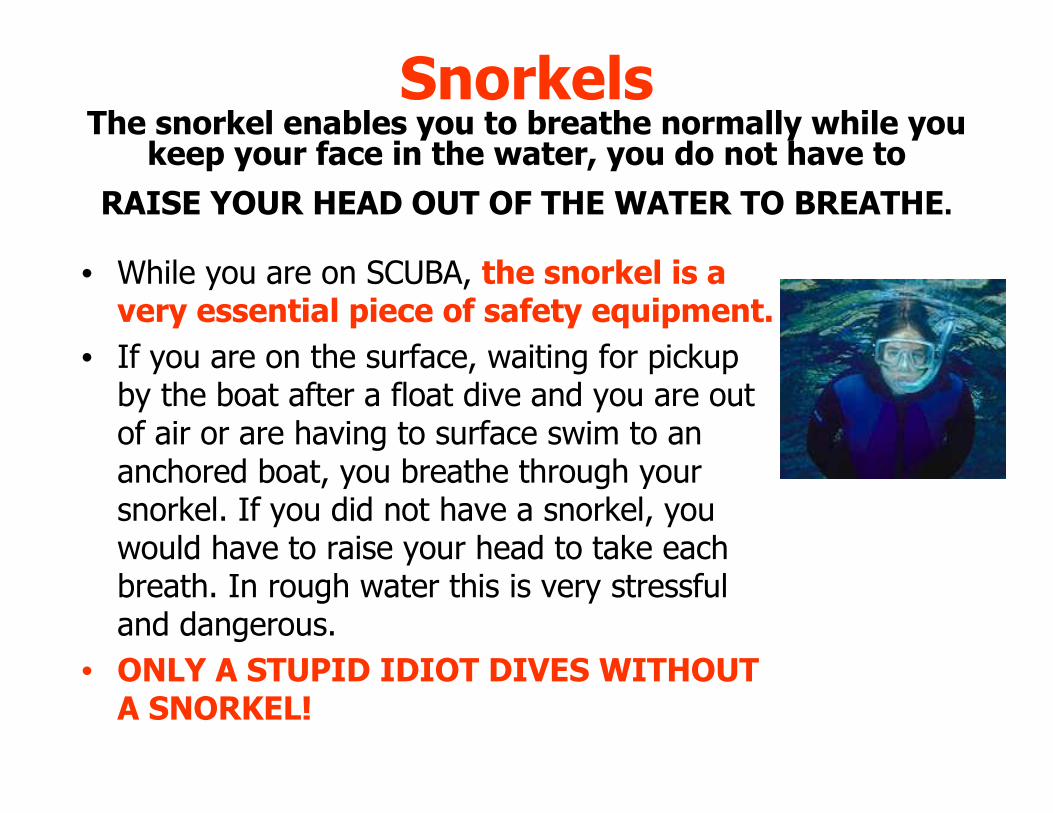
SnorkelsThe snorkel enables you to breathe normally while you
keep your face in the water, you do not have to
RAISE YOUR HEAD OUT OF THE WATER TO BREATHE.
• While you are on SCUBA, the snorkel is a very essential piece of safety equipment.
• If you are on the surface, waiting for pickup by the boat after a float dive and you are out of air or are having to surface swim to an anchored boat, you breathe through your snorkel. If you did not have a snorkel, you would have to raise your head to take each breath. In rough water this is very stressful and dangerous.
• ONLY A STUPID IDIOT DIVES WITHOUT A SNORKEL!
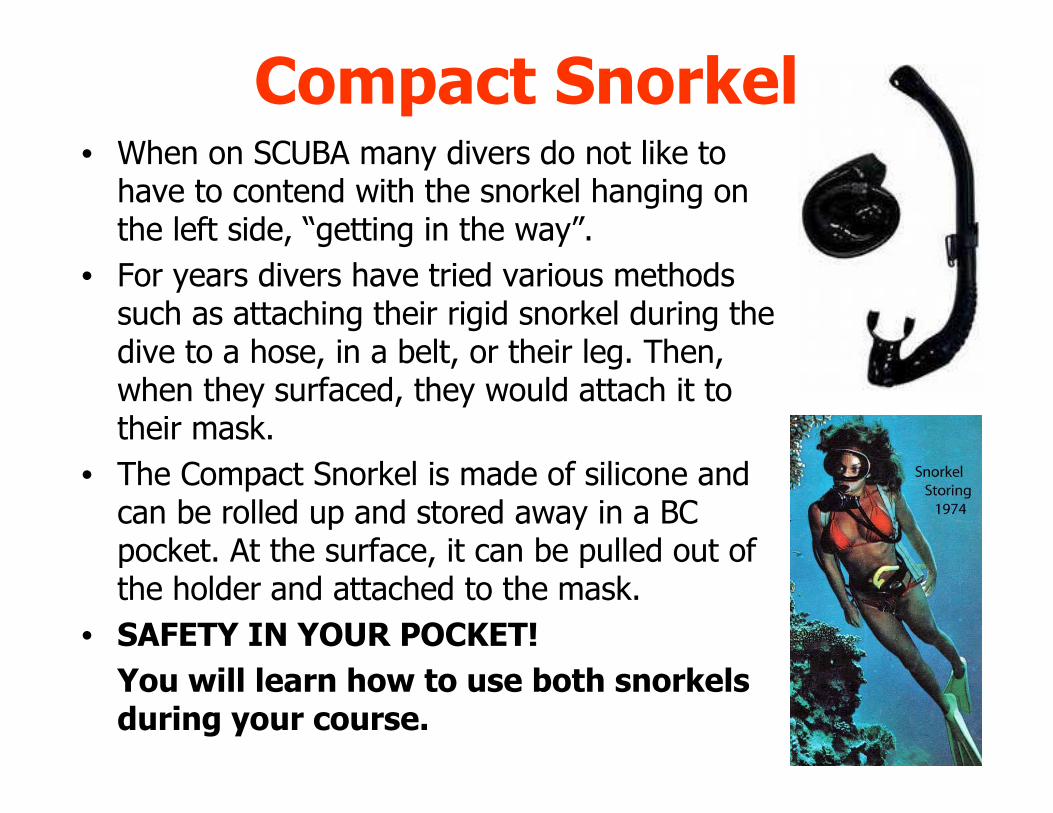
Compact Snorkel• When on SCUBA many divers do not like to have to contend with the snorkel hanging on the left side, “getting in the way”.
• For years divers have tried various methods such as attaching their rigid snorkel during the dive to a hose, in a belt, or their leg. Then, when they surfaced, they would attach it to their mask.
• The Compact Snorkel is made of silicone and can be rolled up and stored away in a BC pocket. At the surface, it can be pulled out of the holder and attached to the mask.
• SAFETY IN YOUR POCKET!
You will learn how to use both snorkels during your course.

BootiesBooties provide protection and comfort for your feet.
• Booties are made from neoprene rubber.
• Some of the different types of booties you can find are tropical cut and full booties with zipper.
• The bootie should fit snugly but comfortably on your foot.
• Booties are designed to be used with open heel fins.

Open Heel FinsFins give you the thrust you need to swim with SCUBA gear.
• Fins used during your SCUBA course MUST be open heel design with a heel strap.
• Open heel fins give the thrust required in the ocean and are much easier to manage than closed heel fins, especially going up and down the ladder, getting in and out of boats.
• Full foot fins must be worn over bare feet which leaves feet unprotected while walking over rocks or navigating around a shifting boat with a 35 pound tank on your back and very top heavy. Very dangerous. I have seen injuries.
• I will not teach students that use full foot fins during my course.
X
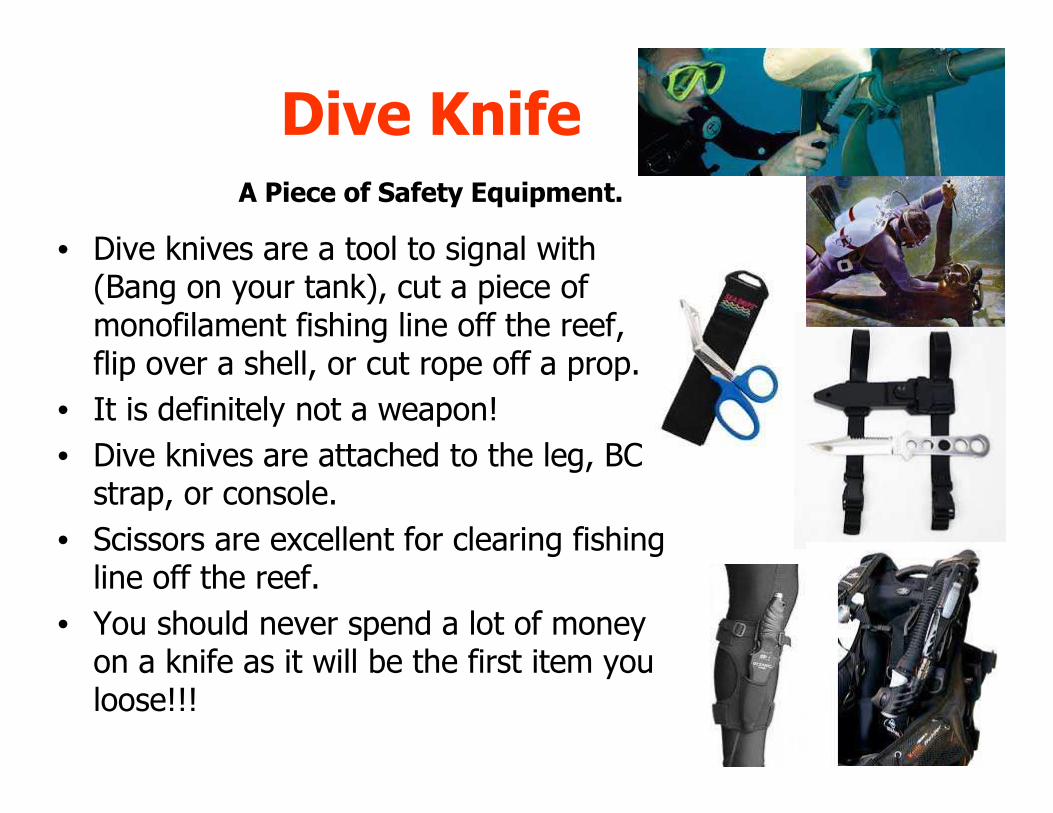
Dive KnifeA Piece of Safety Equipment.
• Dive knives are a tool to signal with (Bang on your tank), cut a piece of monofilament fishing line off the reef, flip over a shell, or cut rope off a prop.
• It is definitely not a weapon!
• Dive knives are attached to the leg, BC strap, or console.
• Scissors are excellent for clearing fishing line off the reef.
• You should never spend a lot of money on a knife as it will be the first item you loose!!!
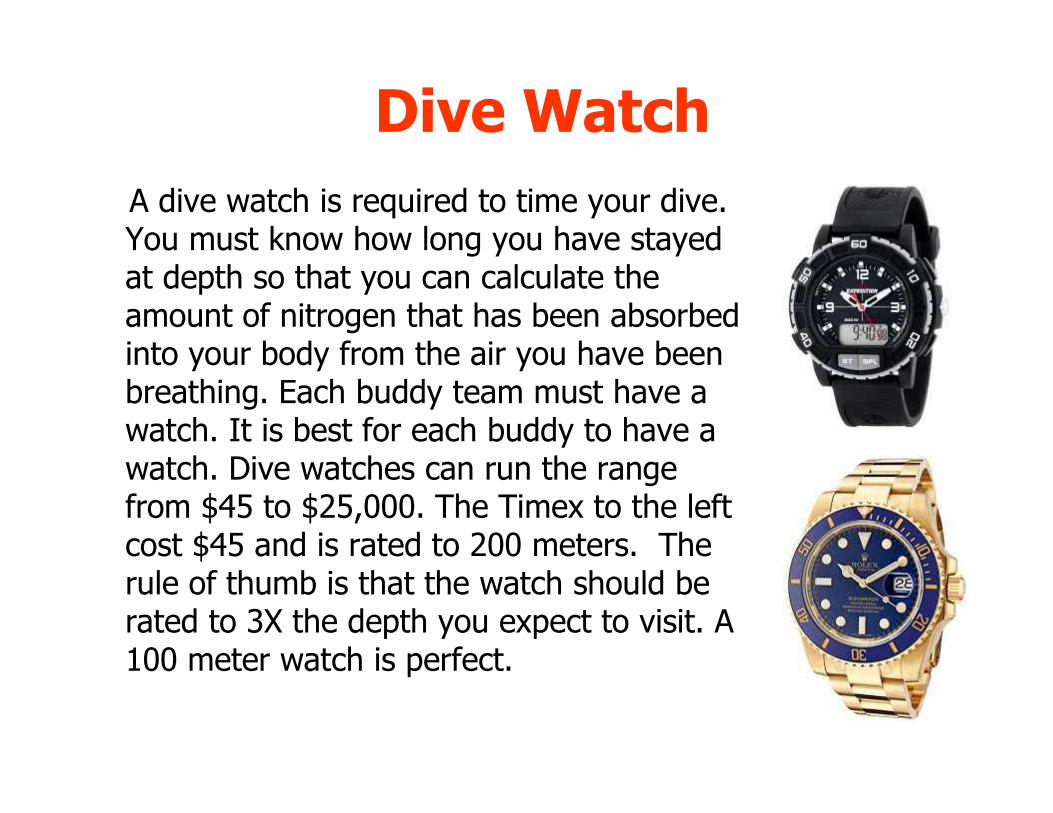
Dive Watch
A dive watch is required to time your dive. You must know how long you have stayed at depth so that you can calculate the amount of nitrogen that has been absorbed into your body from the air you have been breathing. Each buddy team must have a watch. It is best for each buddy to have a watch. Dive watches can run the range from $45 to $25,000. The Timex to the left cost $45 and is rated to 200 meters. The rule of thumb is that the watch should be rated to 3X the depth you expect to visit. A 100 meter watch is perfect.
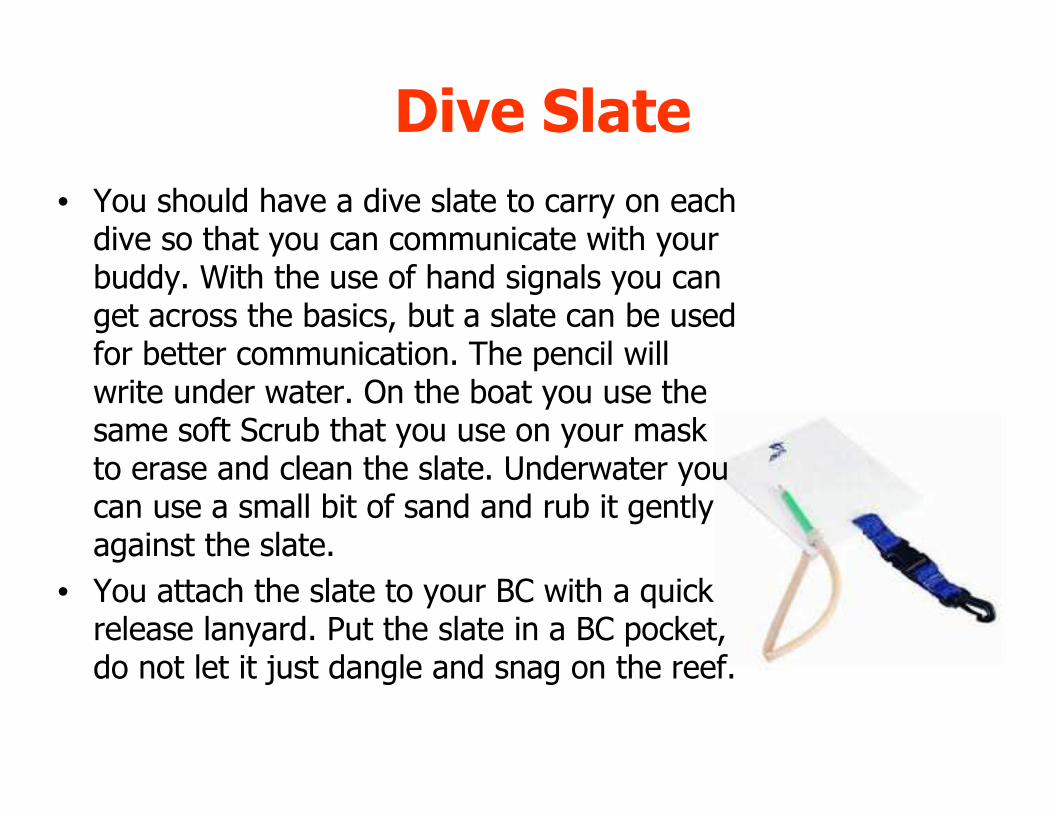
Dive Slate
• You should have a dive slate to carry on each dive so that you can communicate with your buddy. With the use of hand signals you can get across the basics, but a slate can be used for better communication. The pencil will write under water. On the boat you use the same soft Scrub that you use on your mask to erase and clean the slate. Underwater you can use a small bit of sand and rub it gently against the slate.
• You attach the slate to your BC with a quick release lanyard. Put the slate in a BC pocket, do not let it just dangle and snag on the reef.
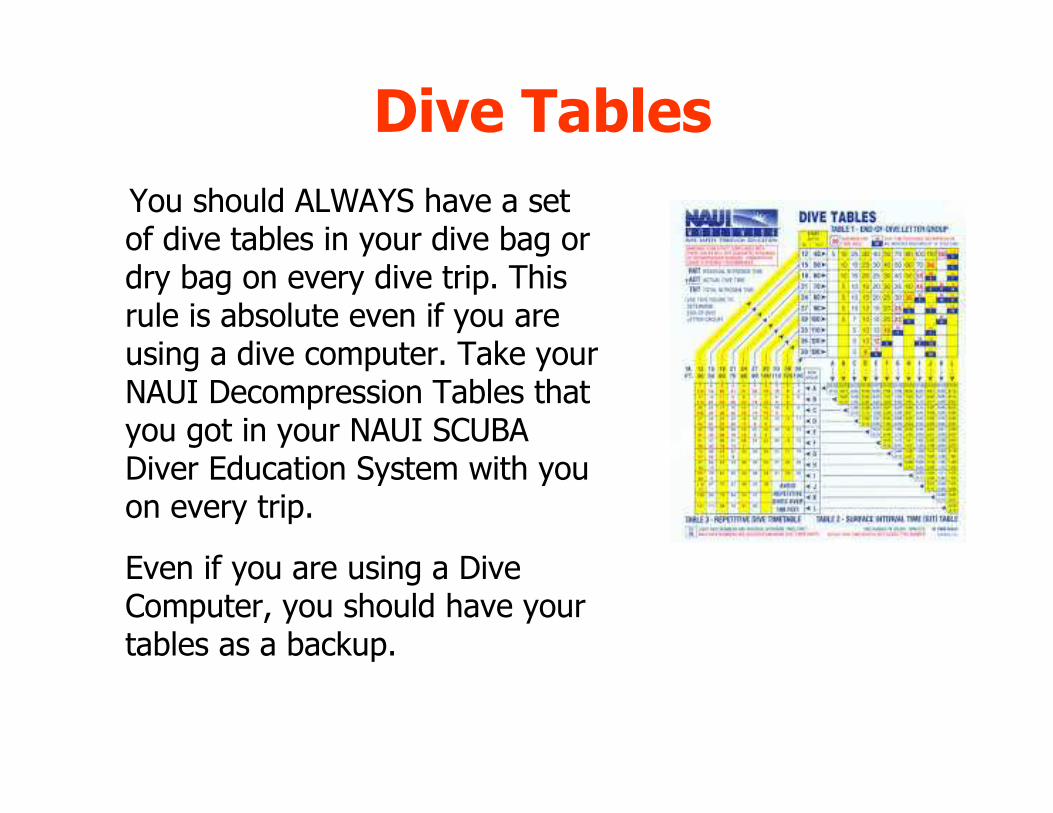
Dive Tables
You should ALWAYS have a set of dive tables in your dive bag or dry bag on every dive trip. This rule is absolute even if you are using a dive computer. Take your NAUI Decompression Tables that you got in your NAUI SCUBA Diver Education System with you on every trip.
Even if you are using a Dive Computer, you should have your tables as a backup.
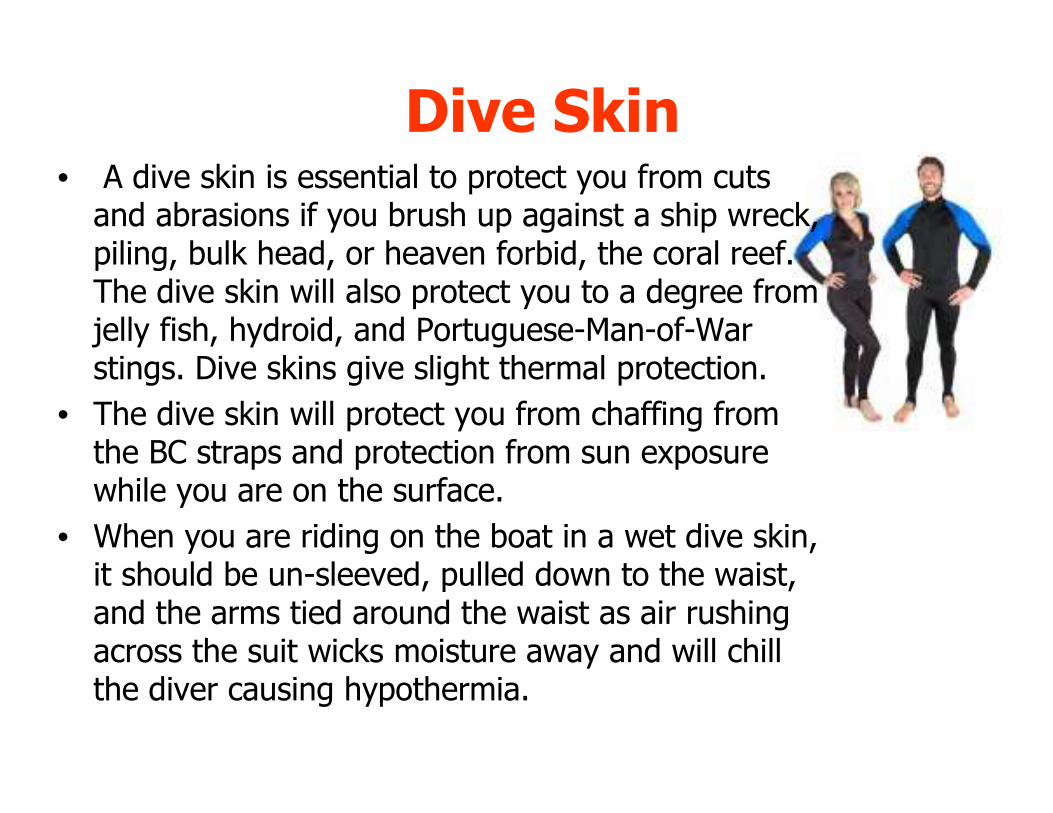
Dive Skin• A dive skin is essential to protect you from cuts and abrasions if you brush up against a ship wreck, piling, bulk head, or heaven forbid, the coral reef. The dive skin will also protect you to a degree from jelly fish, hydroid, and Portuguese-Man-of-War stings. Dive skins give slight thermal protection.
• The dive skin will protect you from chaffing from the BC straps and protection from sun exposure while you are on the surface.
• When you are riding on the boat in a wet dive skin, it should be un-sleeved, pulled down to the waist, and the arms tied around the waist as air rushing across the suit wicks moisture away and will chill the diver causing hypothermia.
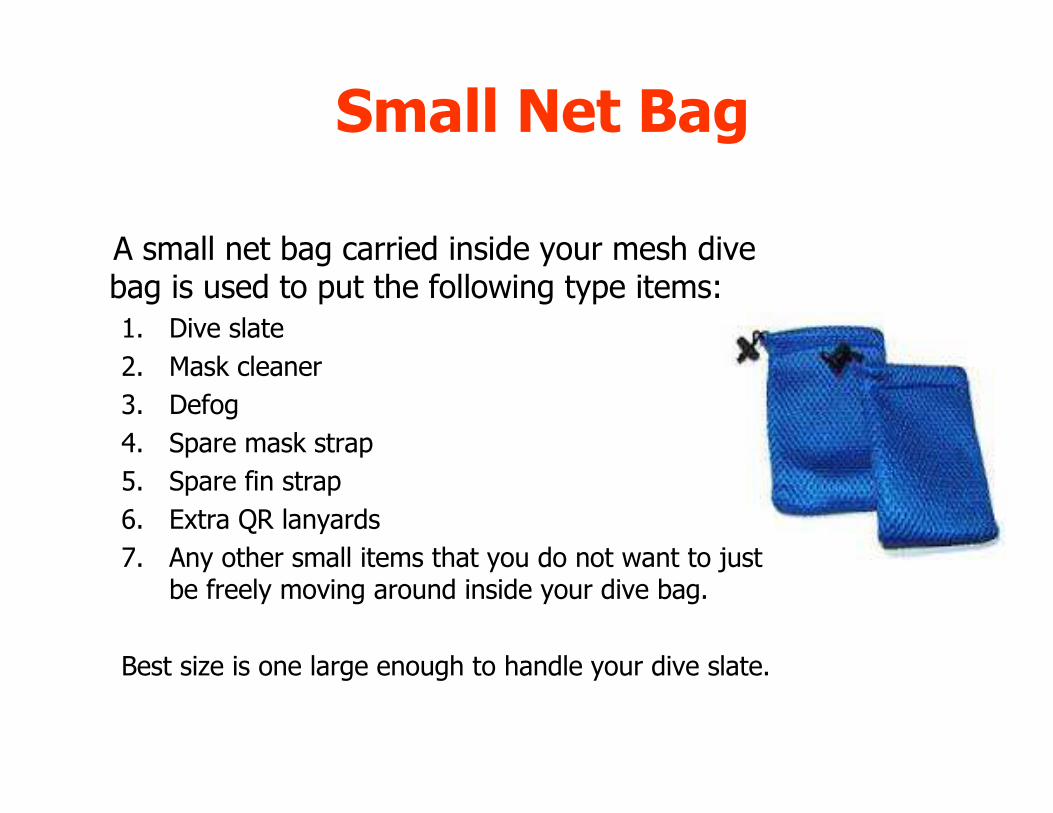
Small Net Bag
A small net bag carried inside your mesh dive bag is used to put the following type items:
1. Dive slate
2. Mask cleaner
3. Defog
4. Spare mask strap
5. Spare fin strap
6. Extra QR lanyards
7. Any other small items that you do not want to just be freely moving around inside your dive bag.
Best size is one large enough to handle your dive slate.
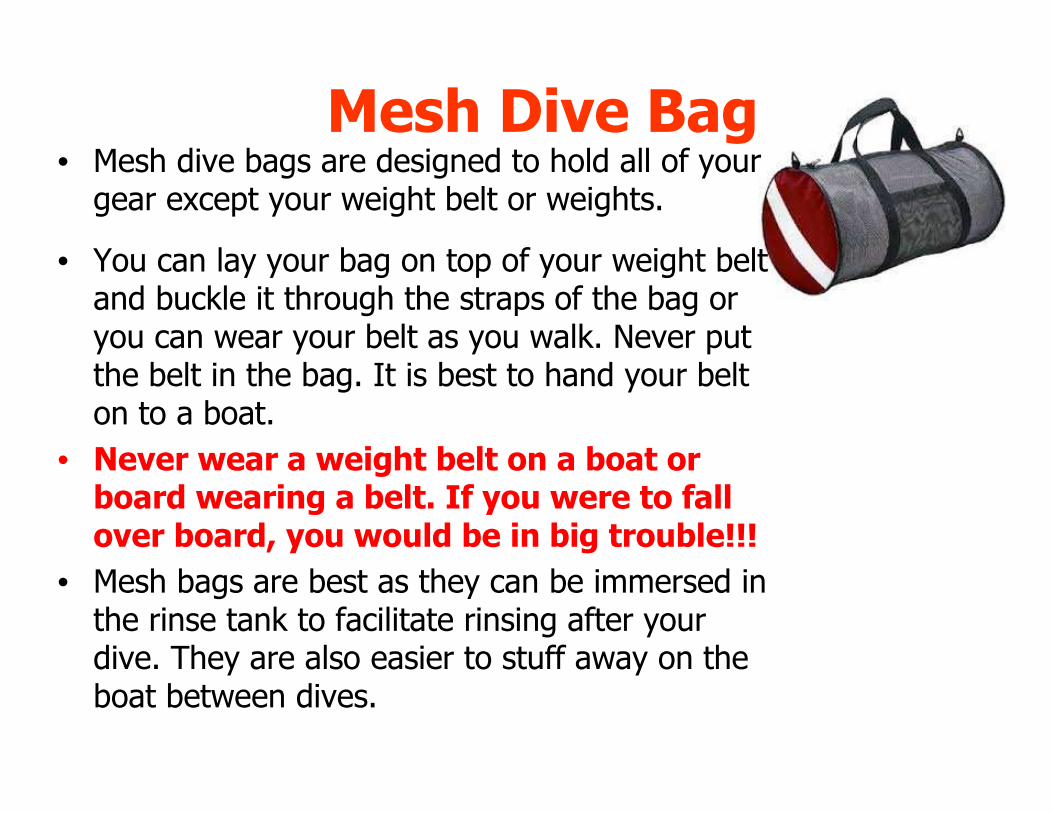
Mesh Dive Bag• Mesh dive bags are designed to hold all of your gear except your weight belt or weights.
• You can lay your bag on top of your weight belt and buckle it through the straps of the bag or you can wear your belt as you walk. Never put the belt in the bag. It is best to hand your belt on to a boat.
• Never wear a weight belt on a boat or board wearing a belt. If you were to fall over board, you would be in big trouble!!!
• Mesh bags are best as they can be immersed in the rinse tank to facilitate rinsing after your dive. They are also easier to stuff away on the boat between dives.
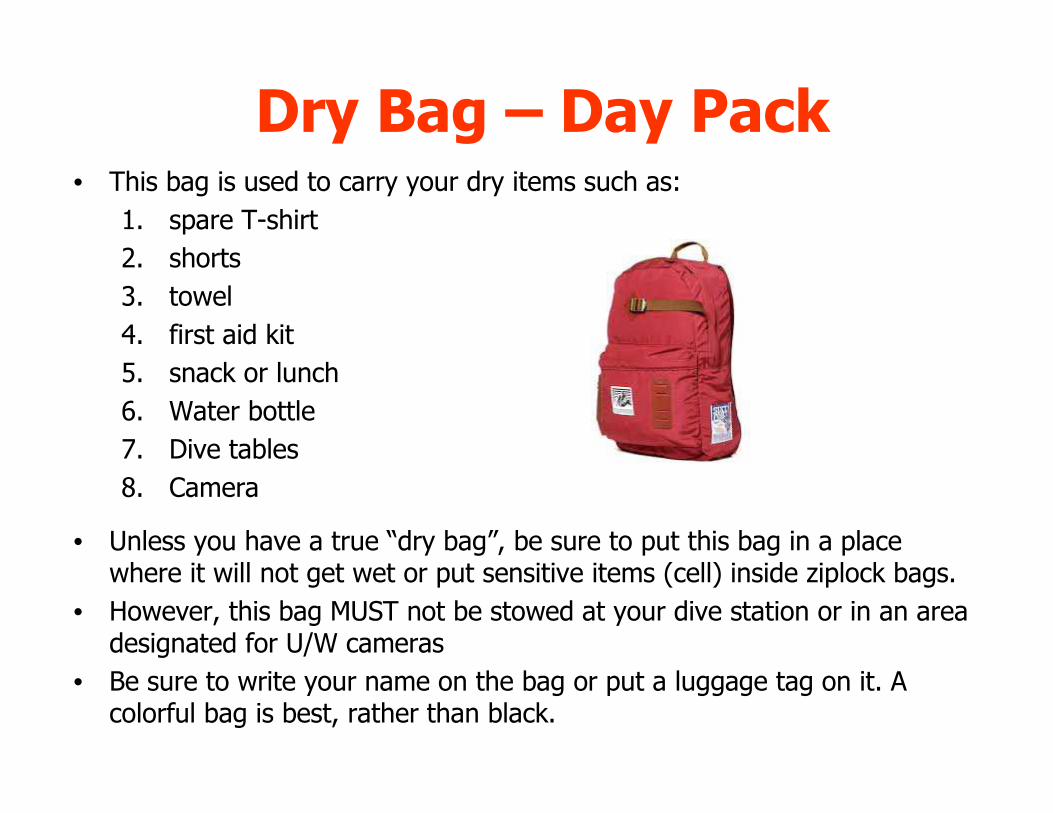
Dry Bag – Day Pack• This bag is used to carry your dry items such as:
1. spare T-shirt
2. shorts
3. towel
4. first aid kit
5. snack or lunch
6. Water bottle
7. Dive tables
8. Camera
• Unless you have a true “dry bag”, be sure to put this bag in a place where it will not get wet or put sensitive items (cell) inside ziplock bags.
• However, this bag MUST not be stowed at your dive station or in an area designated for U/W cameras
• Be sure to write your name on the bag or put a luggage tag on it. A colorful bag is best, rather than black.
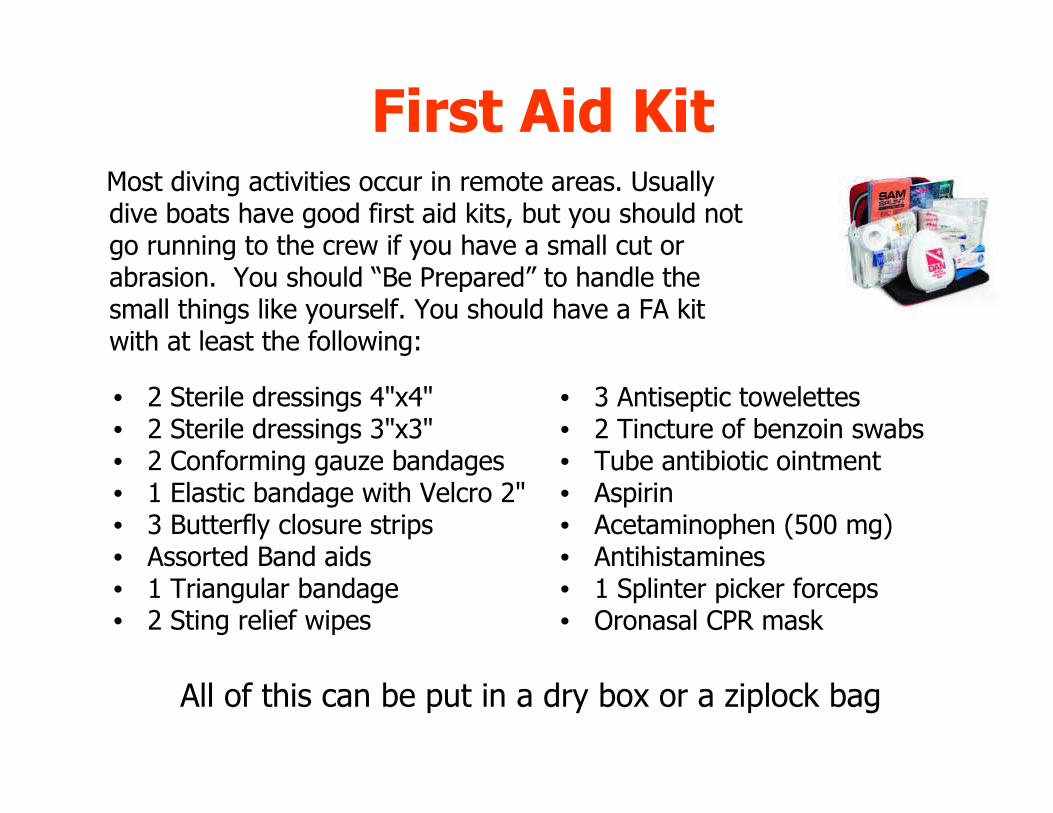
First Aid KitMost diving activities occur in remote areas. Usually dive boats have good first aid kits, but you should not go running to the crew if you have a small cut or abrasion. You should “Be Prepared” to handle the small things like yourself. You should have a FA kit with at least the following:
• 3 Antiseptic towelettes• 2 Tincture of benzoin swabs• Tube antibiotic ointment• Aspirin• Acetaminophen (500 mg)• Antihistamines• 1 Splinter picker forceps• Oronasal CPR mask
• 2 Sterile dressings 4"x4"• 2 Sterile dressings 3"x3"• 2 Conforming gauze bandages• 1 Elastic bandage with Velcro 2"• 3 Butterfly closure strips• Assorted Band aids• 1 Triangular bandage• 2 Sting relief wipes
All of this can be put in a dry box or a ziplock bag
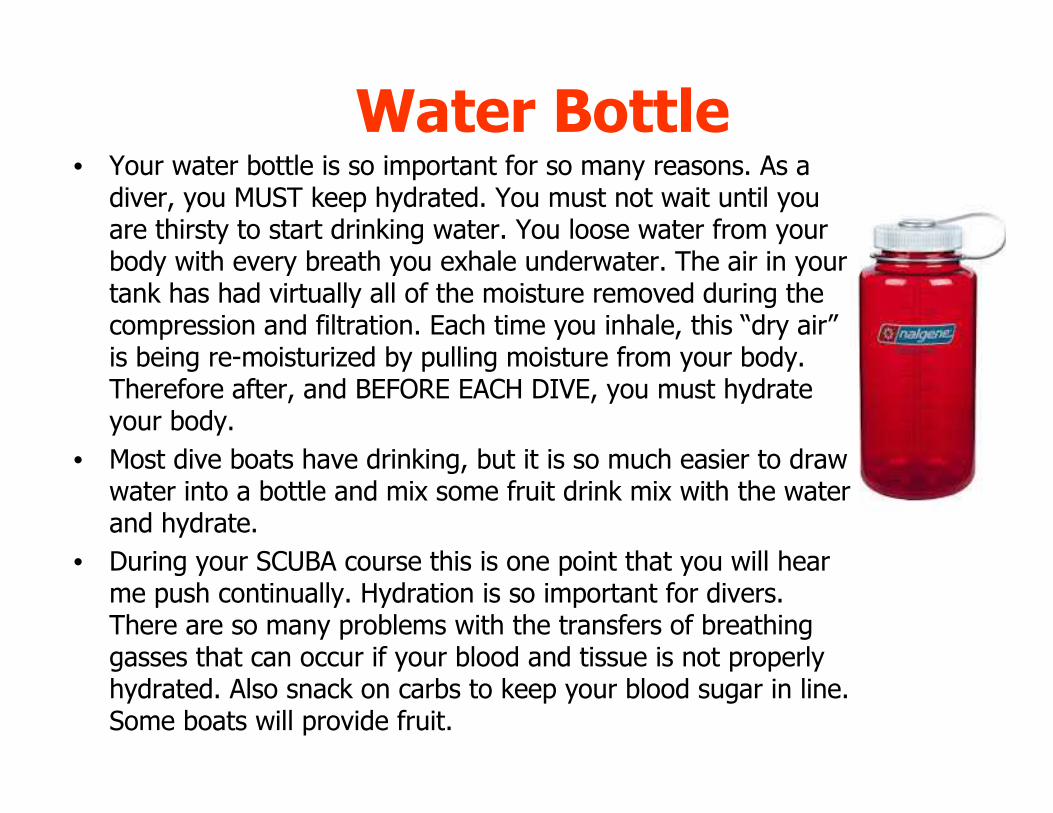
Water Bottle• Your water bottle is so important for so many reasons. As a
diver, you MUST keep hydrated. You must not wait until you are thirsty to start drinking water. You loose water from your body with every breath you exhale underwater. The air in your tank has had virtually all of the moisture removed during the compression and filtration. Each time you inhale, this “dry air”is being re-moisturized by pulling moisture from your body. Therefore after, and BEFORE EACH DIVE, you must hydrate your body.
• Most dive boats have drinking, but it is so much easier to draw water into a bottle and mix some fruit drink mix with the water and hydrate.
• During your SCUBA course this is one point that you will hear me push continually. Hydration is so important for divers. There are so many problems with the transfers of breathing gasses that can occur if your blood and tissue is not properly hydrated. Also snack on carbs to keep your blood sugar in line. Some boats will provide fruit.
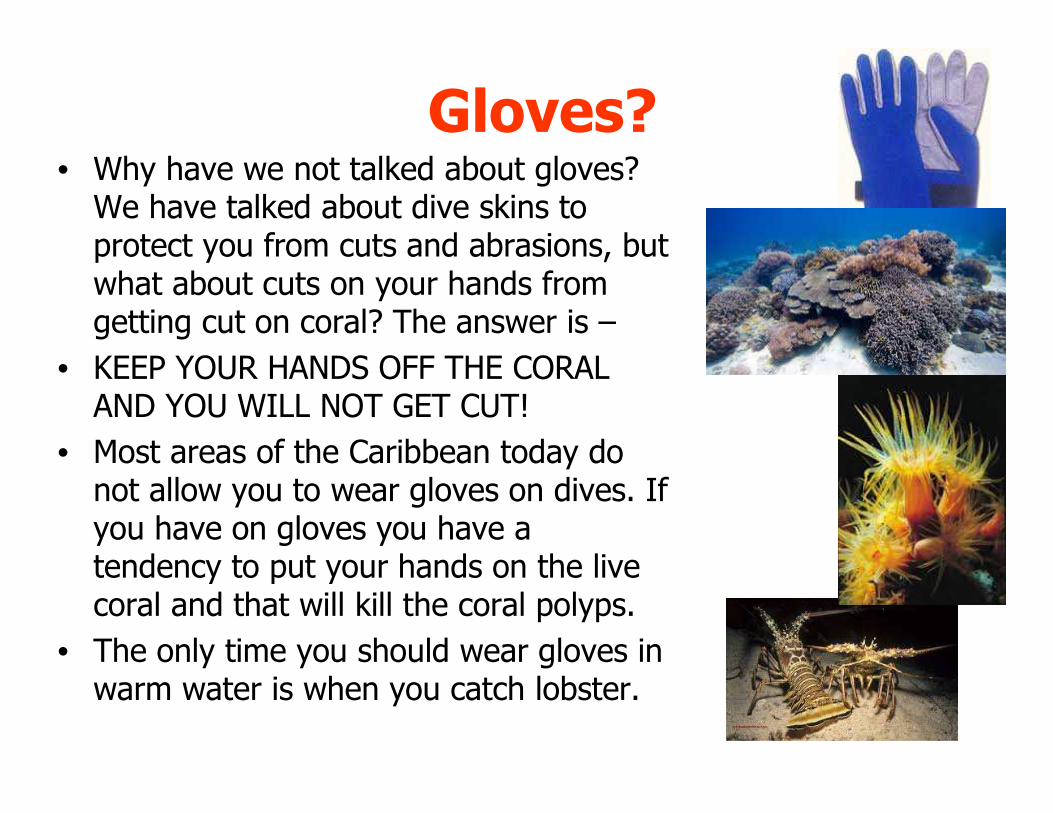
Gloves?• Why have we not talked about gloves? We have talked about dive skins to protect you from cuts and abrasions, but what about cuts on your hands from getting cut on coral? The answer is –
• KEEP YOUR HANDS OFF THE CORAL AND YOU WILL NOT GET CUT!
• Most areas of the Caribbean today do not allow you to wear gloves on dives. If you have on gloves you have a tendency to put your hands on the live coral and that will kill the coral polyps.
• The only time you should wear gloves in warm water is when you catch lobster.
Snorkeling SkillsAll skills are required for Snorkeling BSA
• Fit and adjust mask
• Cleaning mask
• Defogging mask
• Donning mask
• Adjusting snorkel
• Fit and adjust fins
• Snorkel clearing
• Swimming with fins
• Equalizing sinuses
• Surface dives
• Proper use of hands while snorkeling
• Underwater swimming
• Buddy system
• Use of safety vest
• Communication
• Entries
• Exits
• Retrieval of objects from the bottom
• Buddy assist
• Cramp release
• Surface tow of buddy
• Stowing and rinsing gear
SCUBA Diving Skills
• Snorkeling Skills
• Assembling scuba equipment
• Donning scuba gear
• Entries and exits
• Mask skills
• Regulator skills
• Buoyancy skills
• Safety skills
• Equalizing sinuses
• Ascending and Descending
• Buddy system
• Communication
• Handling your scuba equipment in the water
• Removing and replacing your scuba unit on the surface
• Removing and replacing your weight belt
• Navigation skills
• Rescue and emergency procedures
• Disassembling you scuba gear
• Proper packing of your gear
• Stowing and rinsing gear
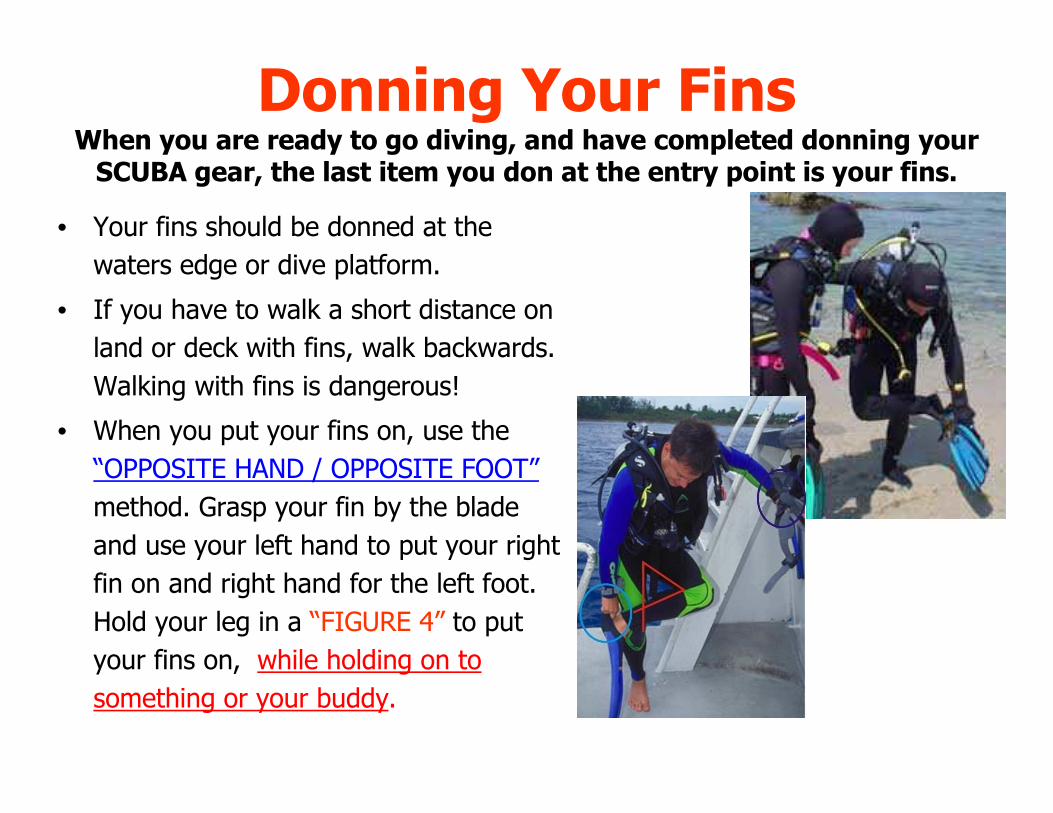
Donning Your FinsWhen you are ready to go diving, and have completed donning your
SCUBA gear, the last item you don at the entry point is your fins.
• Your fins should be donned at the
waters edge or dive platform.
• If you have to walk a short distance on
land or deck with fins, walk backwards.
Walking with fins is dangerous!
• When you put your fins on, use the
“OPPOSITE HAND / OPPOSITE FOOT”
method. Grasp your fin by the blade
and use your left hand to put your right
fin on and right hand for the left foot.
Hold your leg in a “FIGURE 4” to put
your fins on, while holding on to
something or your buddy.

Entries From a BoatNow that you have all of your equipment on, you are ready to make your entry.
1. Before you stepped to the entry point and
put on your fins, you would have had a
“buddy check” of each other’s gear.
2. Step down onto the dive platform with
your mask in place
3. Put your regulator in your mouth
4. Step forward and make a “Giant Stride”
entry
5. Turn back to the boat and give an “OK”
sign
6. Pair up with your buddy when they enter
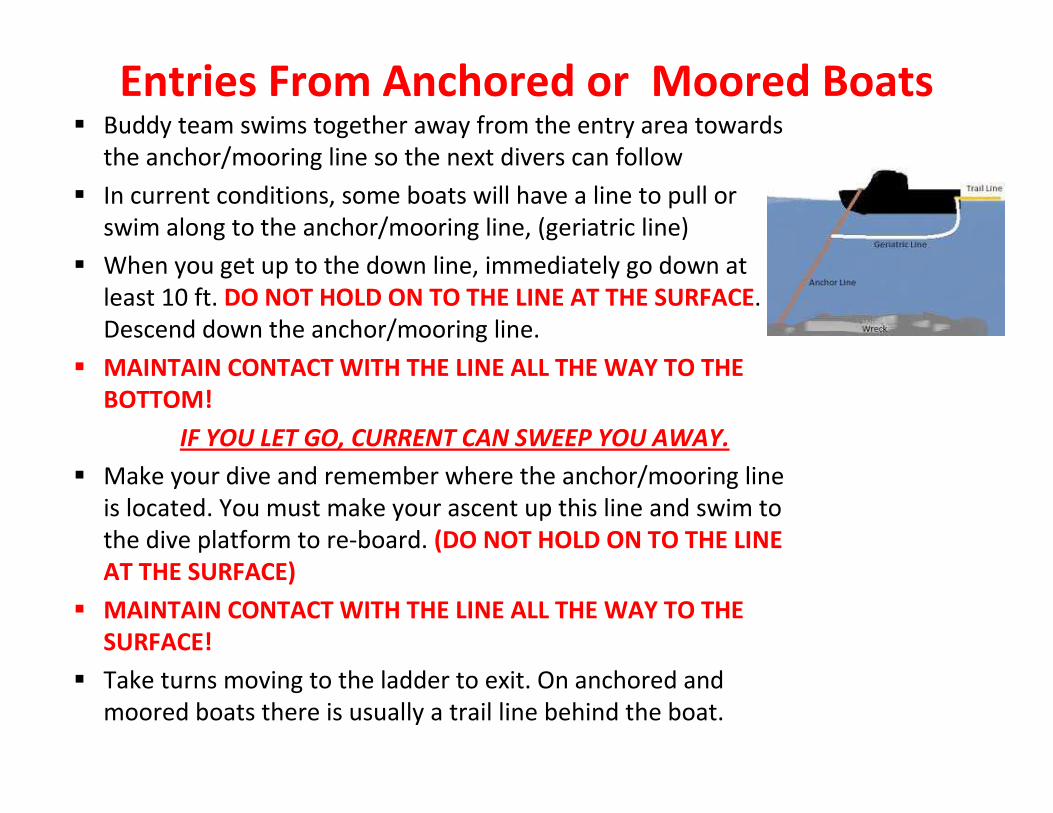
Entries From Anchored or Moored Boats� Buddy team swims together away from the entry area towards
the anchor/mooring line so the next divers can follow
� In current conditions, some boats will have a line to pull or
swim along to the anchor/mooring line, (geriatric line)
� When you get up to the down line, immediately go down at
least 10 ft. DO NOT HOLD ON TO THE LINE AT THE SURFACE.
Descend down the anchor/mooring line.
� MAINTAIN CONTACT WITH THE LINE ALL THE WAY TO THE
BOTTOM!
IF YOU LET GO, CURRENT CAN SWEEP YOU AWAY.
� Make your dive and remember where the anchor/mooring line
is located. You must make your ascent up this line and swim to
the dive platform to re-board. (DO NOT HOLD ON TO THE LINE
AT THE SURFACE)
� MAINTAIN CONTACT WITH THE LINE ALL THE WAY TO THE
SURFACE!
� Take turns moving to the ladder to exit. On anchored and
moored boats there is usually a trail line behind the boat.
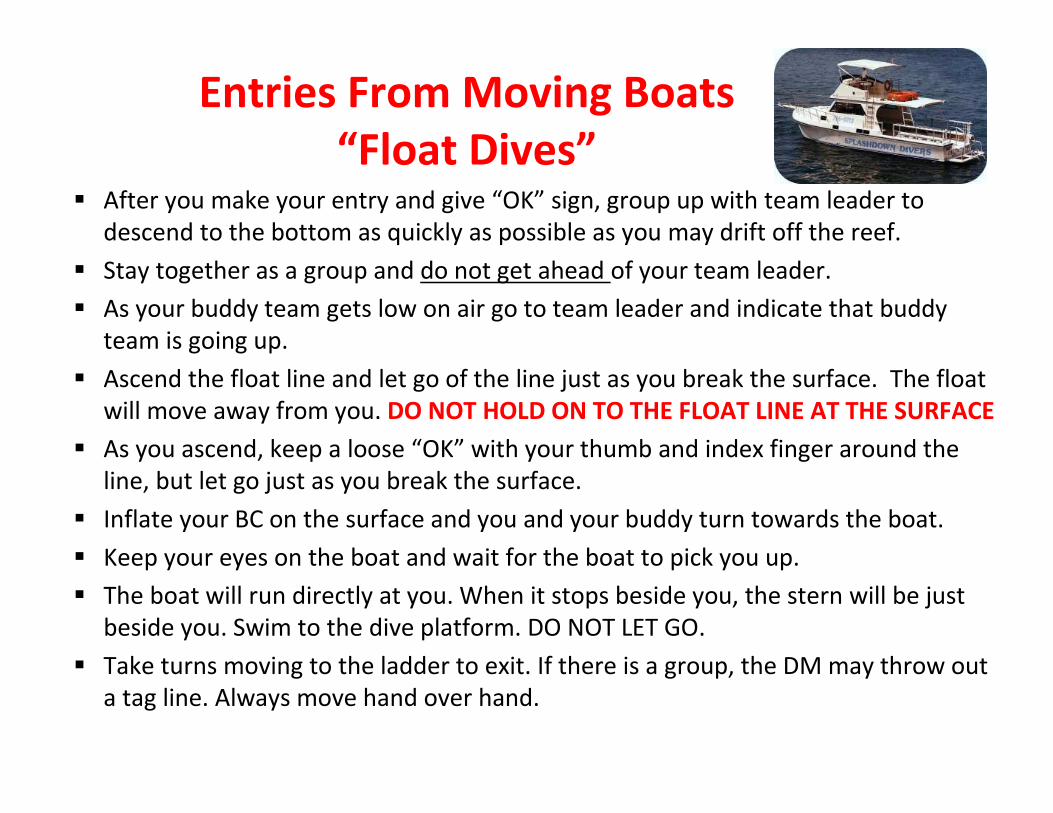
� After you make your entry and give “OK” sign, group up with team leader to
descend to the bottom as quickly as possible as you may drift off the reef.
� Stay together as a group and do not get ahead of your team leader.
� As your buddy team gets low on air go to team leader and indicate that buddy
team is going up.
� Ascend the float line and let go of the line just as you break the surface. The float
will move away from you. DO NOT HOLD ON TO THE FLOAT LINE AT THE SURFACE
� As you ascend, keep a loose “OK” with your thumb and index finger around the
line, but let go just as you break the surface.
� Inflate your BC on the surface and you and your buddy turn towards the boat.
� Keep your eyes on the boat and wait for the boat to pick you up.
� The boat will run directly at you. When it stops beside you, the stern will be just
beside you. Swim to the dive platform. DO NOT LET GO.
� Take turns moving to the ladder to exit. If there is a group, the DM may throw out
a tag line. Always move hand over hand.
Entries From Moving Boats
“Float Dives”
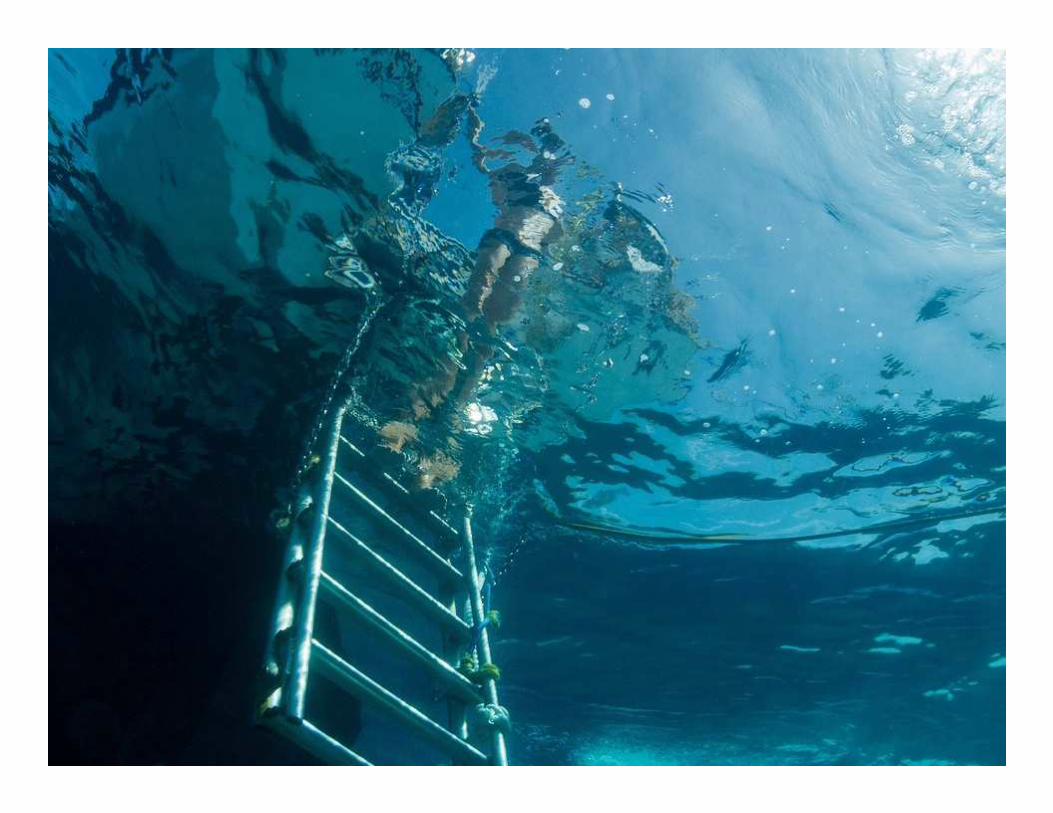
Exits- Getting Back on the Boat
• NEVER TAKE YOUR MASK OFF UNTIL YOU ARE ON THE BOAT!
• It also is helpful to keep your snorkel or regulator in your mouth,
just in case you happen to fall back into the water w/o fins.
• Watch the movement of the ladder as it moves in the swells
• Grab the ladder just below the surface with 1 hand and take off
you OPPOSITE fin and hand it up. DO NOT GET ON THE LADDER!
• Then take hold of the ladder with your other hand, but do not let
go with you 1st hand UNTIL you have the firm grip with 2nd hand.
• Take you other fin off, by same method, OPPOSITE fin & hand up.
• THEN, climb up the ladder. NEVER LET GO OF THE LADDER!
• Gather up your fins and go to your space
• Stow your gear. Then you can setup for next dive or relax on
the ride back
Entries and Exits from ShoreEntry:
• Enter the water with all of your gear on except your fins.
• Walk in holding your fins
• When you get to mid-chest or mid-gut depth, put on your fins
using the Figure-4 method. Use your buddy for support.
• You should be wearing your mask and using your snorkel while
putting on your fins.
Exit:
• Swim in to mid-chest or mid-gut depth and stand up.
• Keep your regulator in your mouth or put your snorkel in your
mouth.
• Working as a buddy team, use the Figure-4 method, take off your
fins.
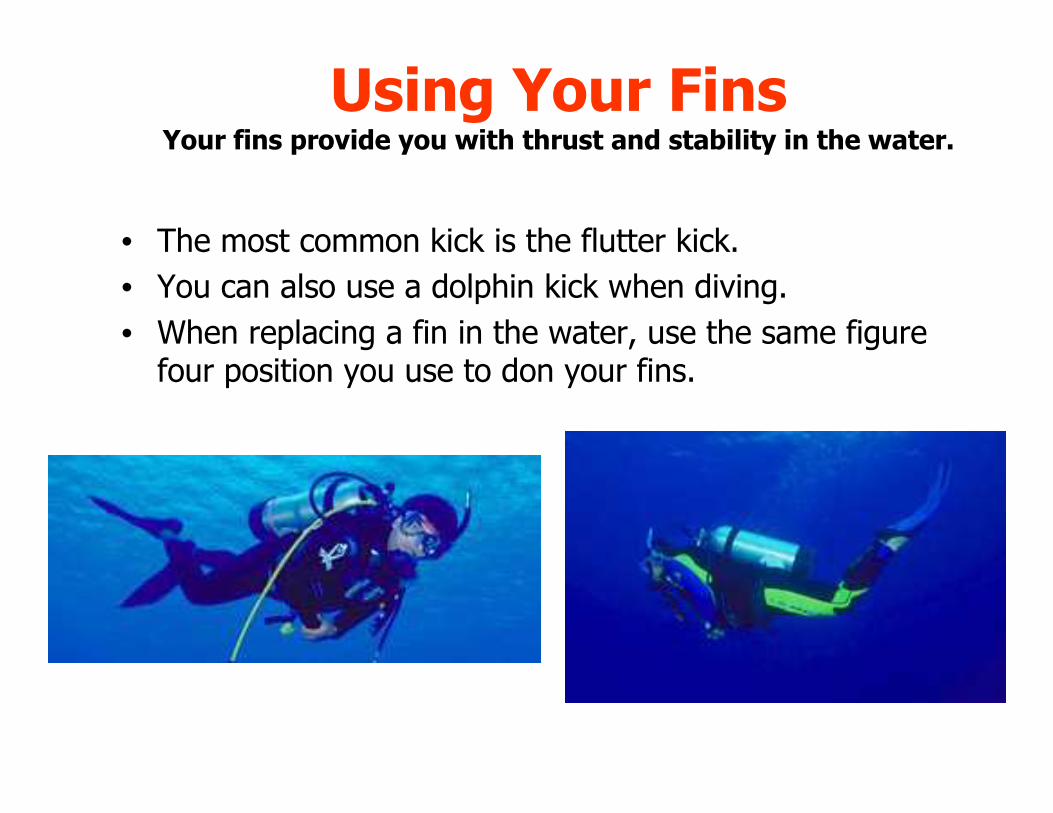
Using Your FinsYour fins provide you with thrust and stability in the water.
• The most common kick is the flutter kick.
• You can also use a dolphin kick when diving.
• When replacing a fin in the water, use the same figure four position you use to don your fins.

Assembling SCUBA EquipmentOnly you are responsible for proper assembly and operation of your
equipment.
You will learn how to properly assemble your own SCUBA equipment. You must assemble your own equipment. This cannot be done for you by anyone. SCUBA is a self-reliant sport.

Mask SkillsThere are a number of ways that water can get into
the mask during your dive.
• Clear water from your mask by pressing on the top of the face plate and exhaling as you roll your head back and look upwards.
• Some masks have purge valves that allow water to exit as you exhale into the mask. With a purge valve mask, you look down as you exhale.
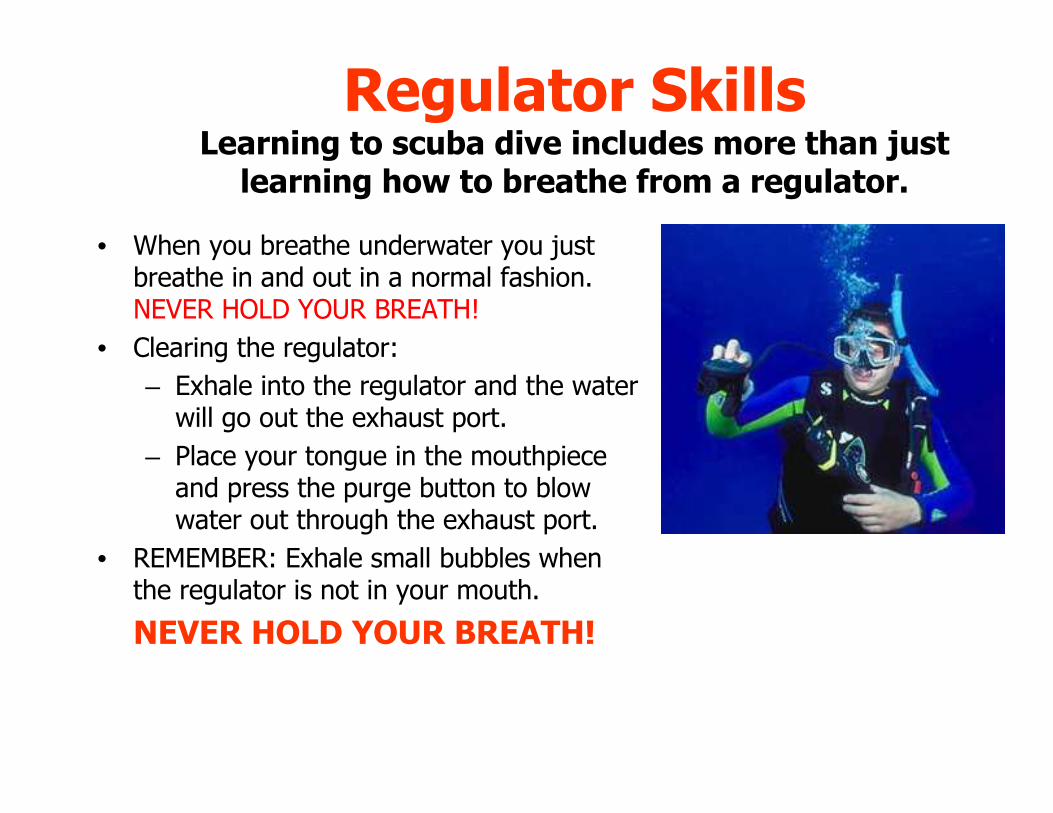
Regulator SkillsLearning to scuba dive includes more than just
learning how to breathe from a regulator.
• When you breathe underwater you just breathe in and out in a normal fashion. NEVER HOLD YOUR BREATH!
• Clearing the regulator:
– Exhale into the regulator and the water will go out the exhaust port.
– Place your tongue in the mouthpiece and press the purge button to blow water out through the exhaust port.
• REMEMBER: Exhale small bubbles when the regulator is not in your mouth.
NEVER HOLD YOUR BREATH!
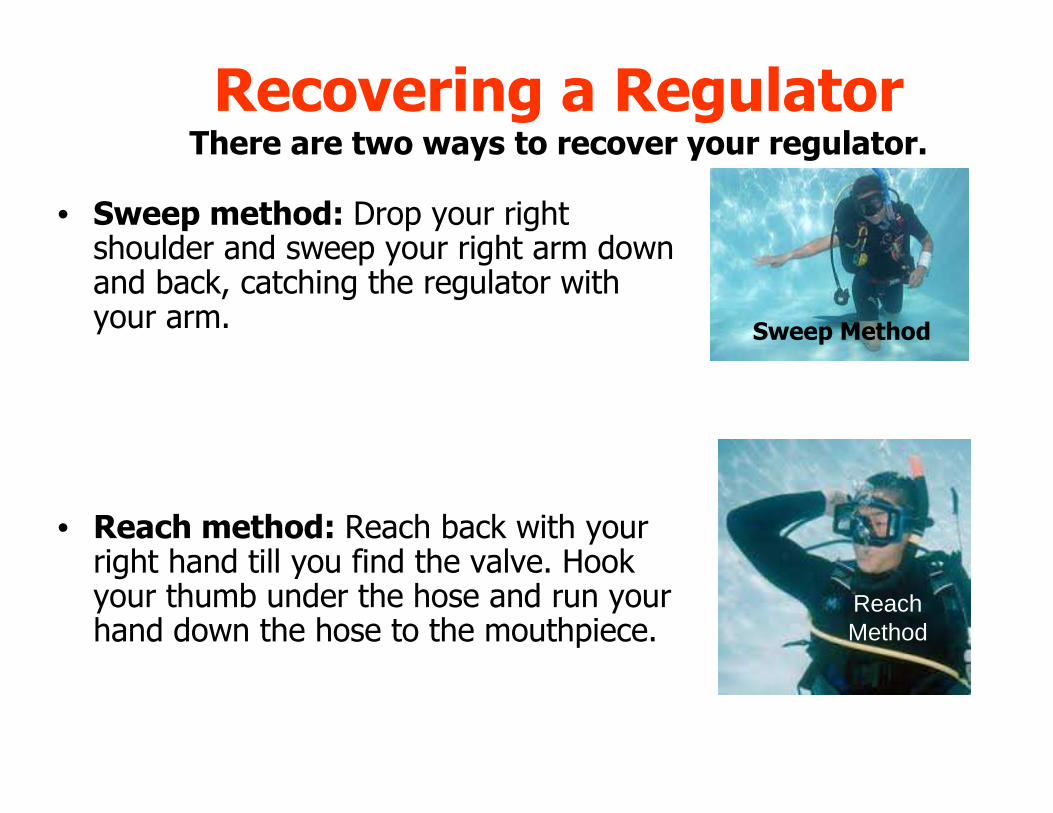
Recovering a RegulatorThere are two ways to recover your regulator.
• Sweep method: Drop your right shoulder and sweep your right arm down and back, catching the regulator with your arm.
• Reach method: Reach back with your right hand till you find the valve. Hook your thumb under the hose and run your hand down the hose to the mouthpiece.
Sweep Method
ReachMethod
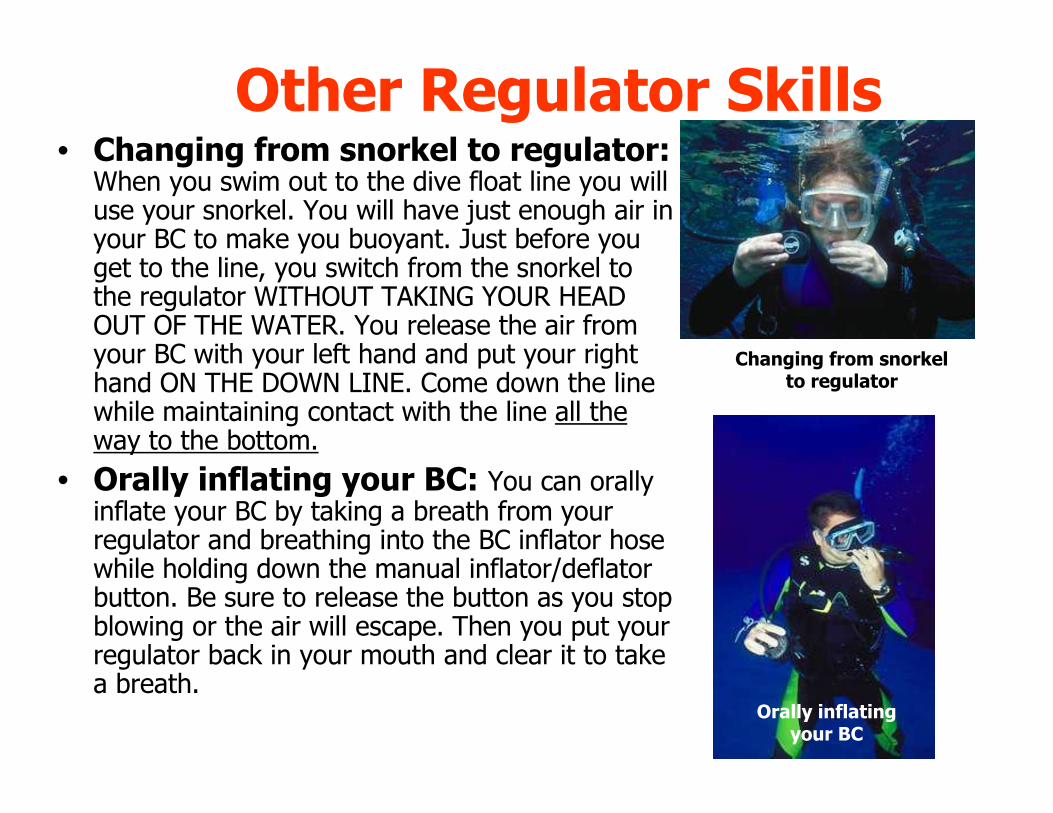
Other Regulator Skills• Changing from snorkel to regulator:
When you swim out to the dive float line you will use your snorkel. You will have just enough air in your BC to make you buoyant. Just before you get to the line, you switch from the snorkel to the regulator WITHOUT TAKING YOUR HEAD OUT OF THE WATER. You release the air from your BC with your left hand and put your right hand ON THE DOWN LINE. Come down the line while maintaining contact with the line all the way to the bottom.
• Orally inflating your BC: You can orally inflate your BC by taking a breath from your regulator and breathing into the BC inflator hose while holding down the manual inflator/deflator button. Be sure to release the button as you stop blowing or the air will escape. Then you put your regulator back in your mouth and clear it to take a breath.
Changing from snorkelto regulator
Orally inflating your BC
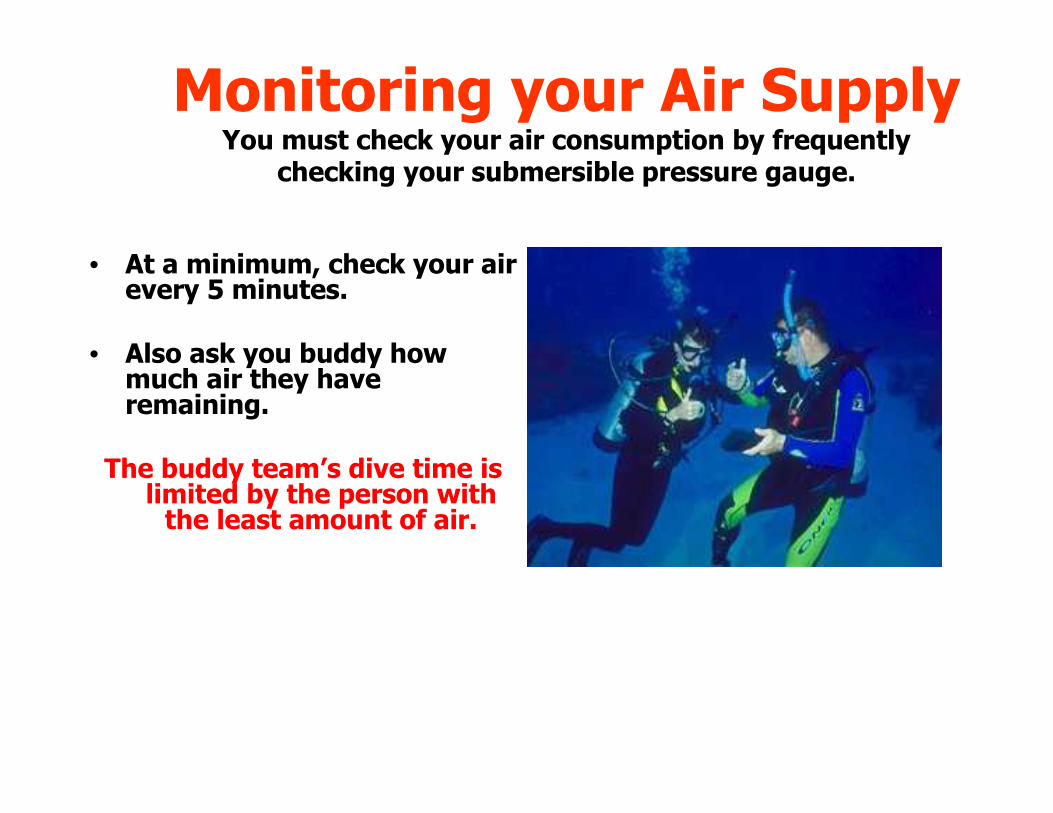
Monitoring your Air SupplyYou must check your air consumption by frequently
checking your submersible pressure gauge.
• At a minimum, check your air every 5 minutes.
• Also ask you buddy how much air they have remaining.
The buddy team’s dive time is limited by the person with
the least amount of air.
Review on Regulator SkillsWhat have you learned so far?
� Describe what you should do anytime the
regulator is out of your mouth.
Review on Regulator SkillsWhat have you learned so far?
� Describe what you should do anytime the
regulator is out of your mouth.
Exhale small bubbles from your mouth when
the regulator is not in your mouth.
NEVER HOLD YOUR BREATH!

Buoyancy SkillsIf there is one skill that determines a person’s diving ability, it is
buoyancy control.
• Many factors affect your buoyancy in the water:– Weight of your equipment– Body density– Air in BC– Weight on belt
You must begin your dive properly
weighted.
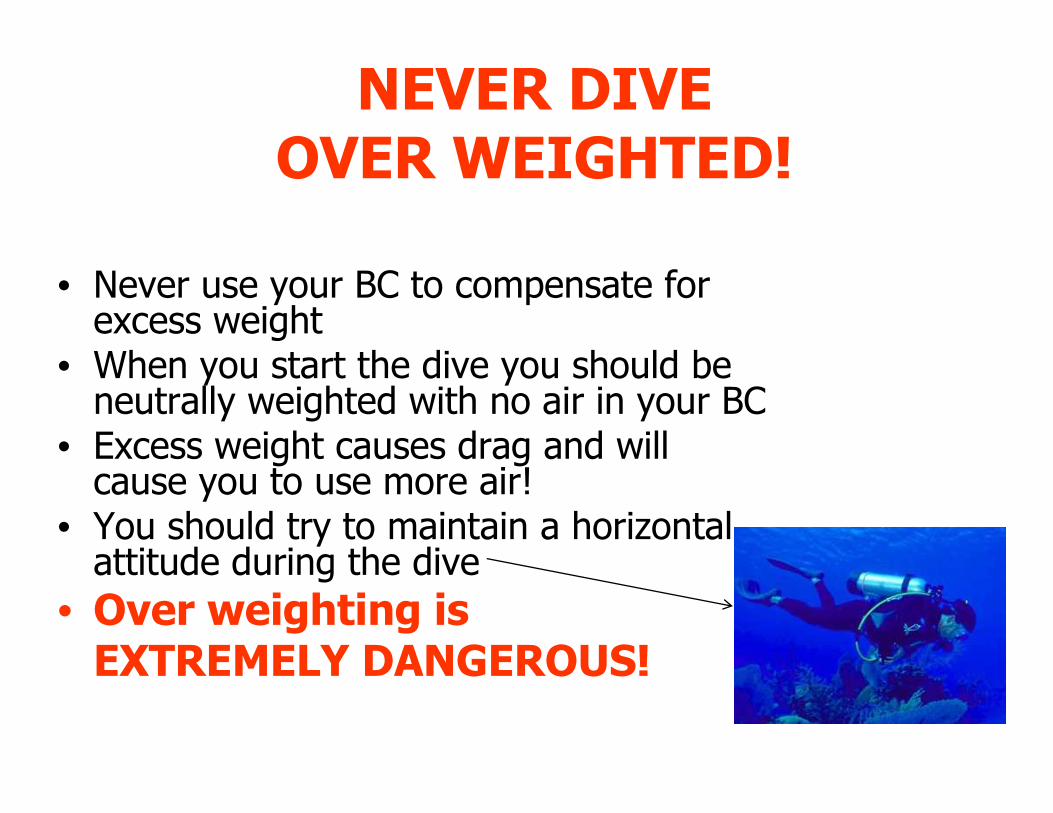
NEVER DIVEOVER WEIGHTED!
• Never use your BC to compensate for excess weight
• When you start the dive you should be neutrally weighted with no air in your BC
• Excess weight causes drag and will cause you to use more air!
• You should try to maintain a horizontal attitude during the dive
• Over weighting is EXTREMELY DANGEROUS!
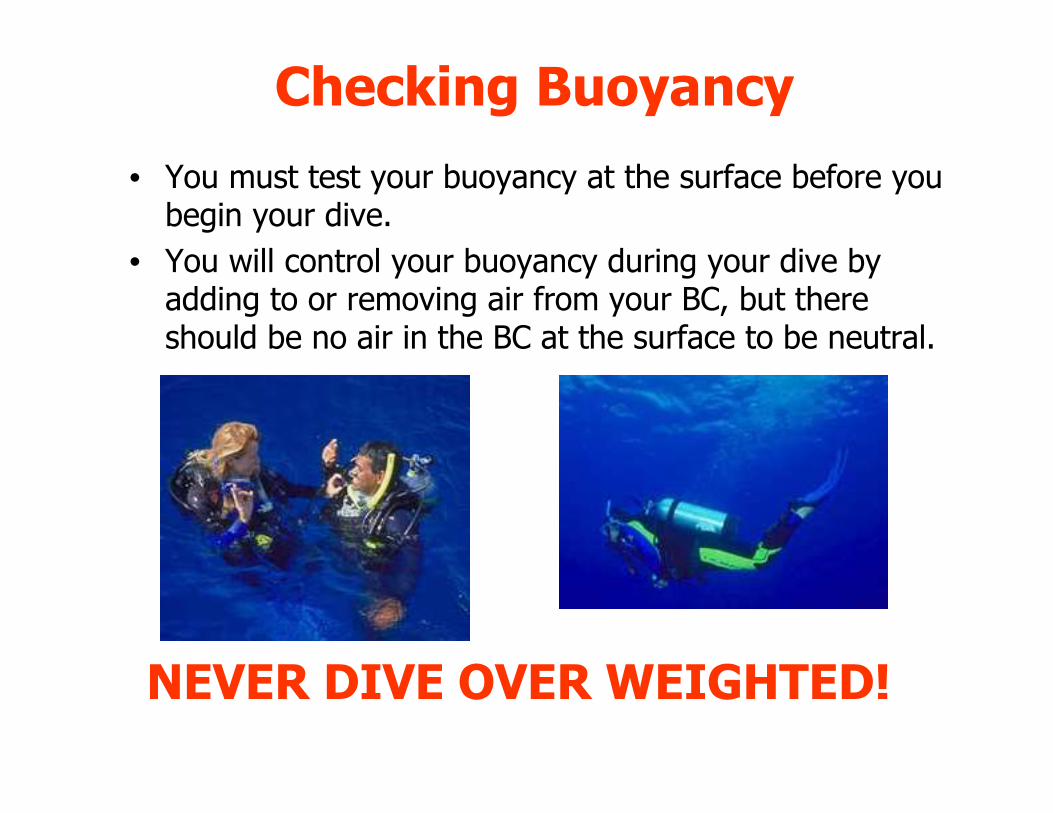
Checking Buoyancy
• You must test your buoyancy at the surface before you begin your dive.
• You will control your buoyancy during your dive by adding to or removing air from your BC, but there should be no air in the BC at the surface to be neutral.
NEVER DIVE OVER WEIGHTED!
Checking Buoyancy
STUPID PEOPLE DIVE OVER WEIGHTED!
NEVER DIVE OVER WEIGHTED!
It is one of the most dangerous mistakes you could ever make. Always check your buoyancy BEFORE you get on the boat!
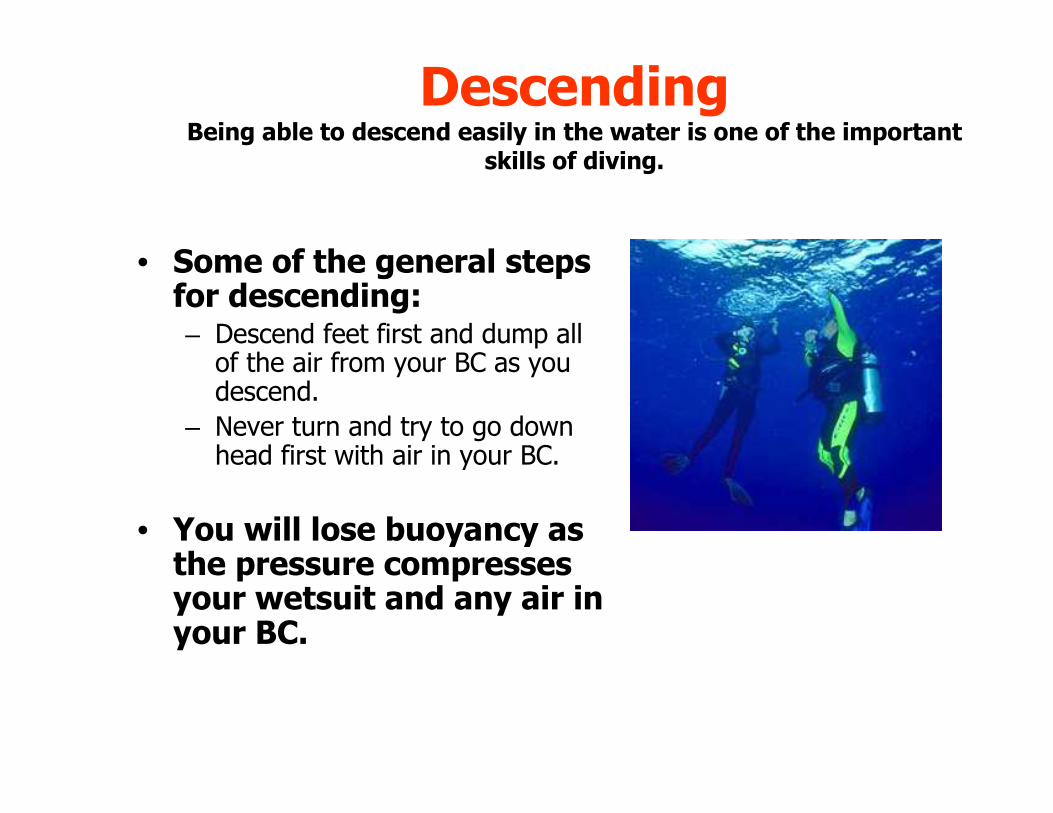
DescendingBeing able to descend easily in the water is one of the important
skills of diving.
• Some of the general steps for descending:– Descend feet first and dump all of the air from your BC as you descend.
– Never turn and try to go down head first with air in your BC.
• You will lose buoyancy as the pressure compresses your wetsuit and any air in your BC.
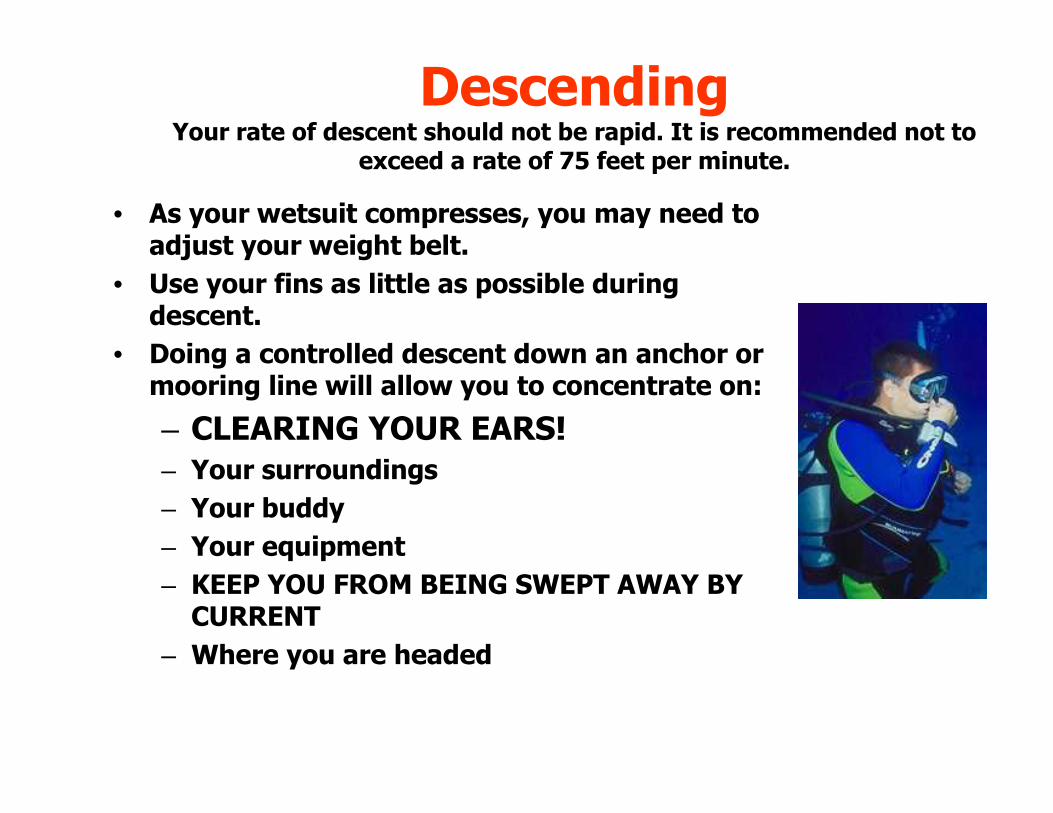
DescendingYour rate of descent should not be rapid. It is recommended not to
exceed a rate of 75 feet per minute.
• As your wetsuit compresses, you may need to adjust your weight belt.
• Use your fins as little as possible during descent.
• Doing a controlled descent down an anchor or mooring line will allow you to concentrate on:
– CLEARING YOUR EARS!
– Your surroundings
– Your buddy
– Your equipment
– KEEP YOU FROM BEING SWEPT AWAY BY CURRENT
– Where you are headed
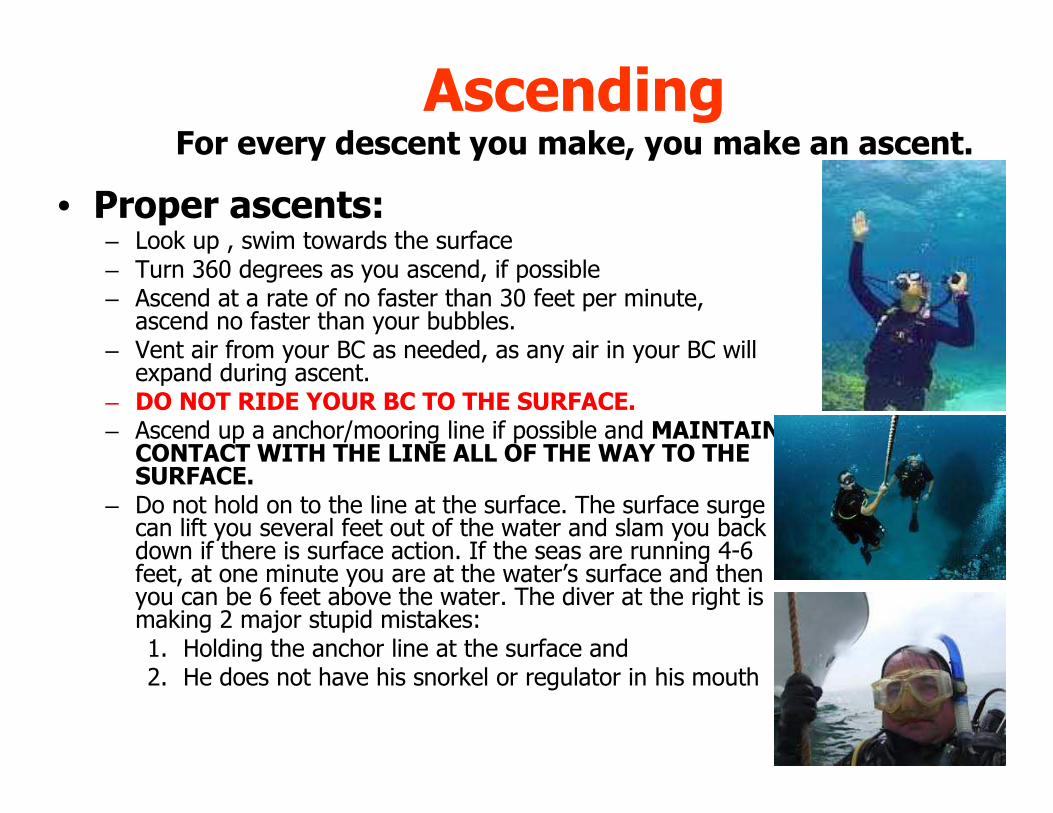
Ascending For every descent you make, you make an ascent.
• Proper ascents:– Look up , swim towards the surface– Turn 360 degrees as you ascend, if possible– Ascend at a rate of no faster than 30 feet per minute,
ascend no faster than your bubbles.– Vent air from your BC as needed, as any air in your BC will
expand during ascent. – DO NOT RIDE YOUR BC TO THE SURFACE.– Ascend up a anchor/mooring line if possible and MAINTAIN
CONTACT WITH THE LINE ALL OF THE WAY TO THE SURFACE.
– Do not hold on to the line at the surface. The surface surge can lift you several feet out of the water and slam you back down if there is surface action. If the seas are running 4-6 feet, at one minute you are at the water’s surface and then you can be 6 feet above the water. The diver at the right is making 2 major stupid mistakes:1. Holding the anchor line at the surface and2. He does not have his snorkel or regulator in his mouth
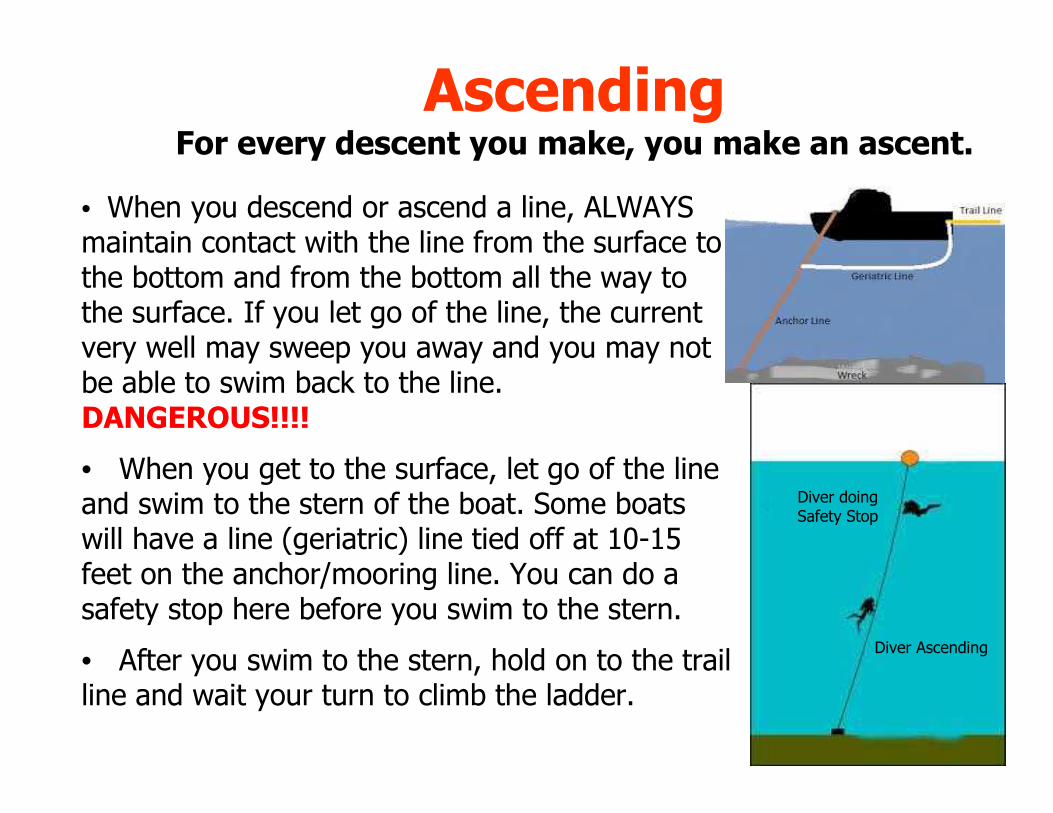
Ascending For every descent you make, you make an ascent.
• When you descend or ascend a line, ALWAYS maintain contact with the line from the surface to the bottom and from the bottom all the way to the surface. If you let go of the line, the current very well may sweep you away and you may not be able to swim back to the line. DANGEROUS!!!!
• When you get to the surface, let go of the line and swim to the stern of the boat. Some boats will have a line (geriatric) line tied off at 10-15 feet on the anchor/mooring line. You can do a safety stop here before you swim to the stern.
• After you swim to the stern, hold on to the trail line and wait your turn to climb the ladder.
Diver doingSafety Stop
Diver Ascending
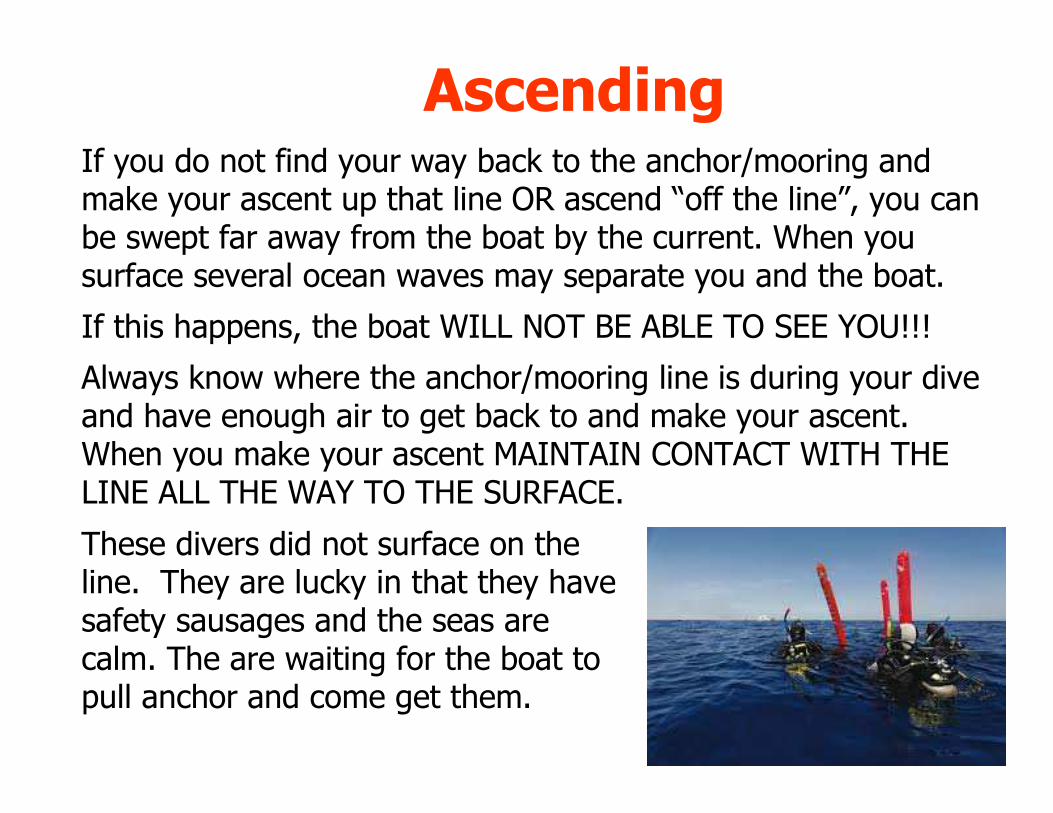
Ascending If you do not find your way back to the anchor/mooring and make your ascent up that line OR ascend “off the line”, you can be swept far away from the boat by the current. When you surface several ocean waves may separate you and the boat.
If this happens, the boat WILL NOT BE ABLE TO SEE YOU!!!
Always know where the anchor/mooring line is during your dive and have enough air to get back to and make your ascent. When you make your ascent MAINTAIN CONTACT WITH THE LINE ALL THE WAY TO THE SURFACE.
These divers did not surface on the line. They are lucky in that they have safety sausages and the seas are calm. The are waiting for the boat to pull anchor and come get them.
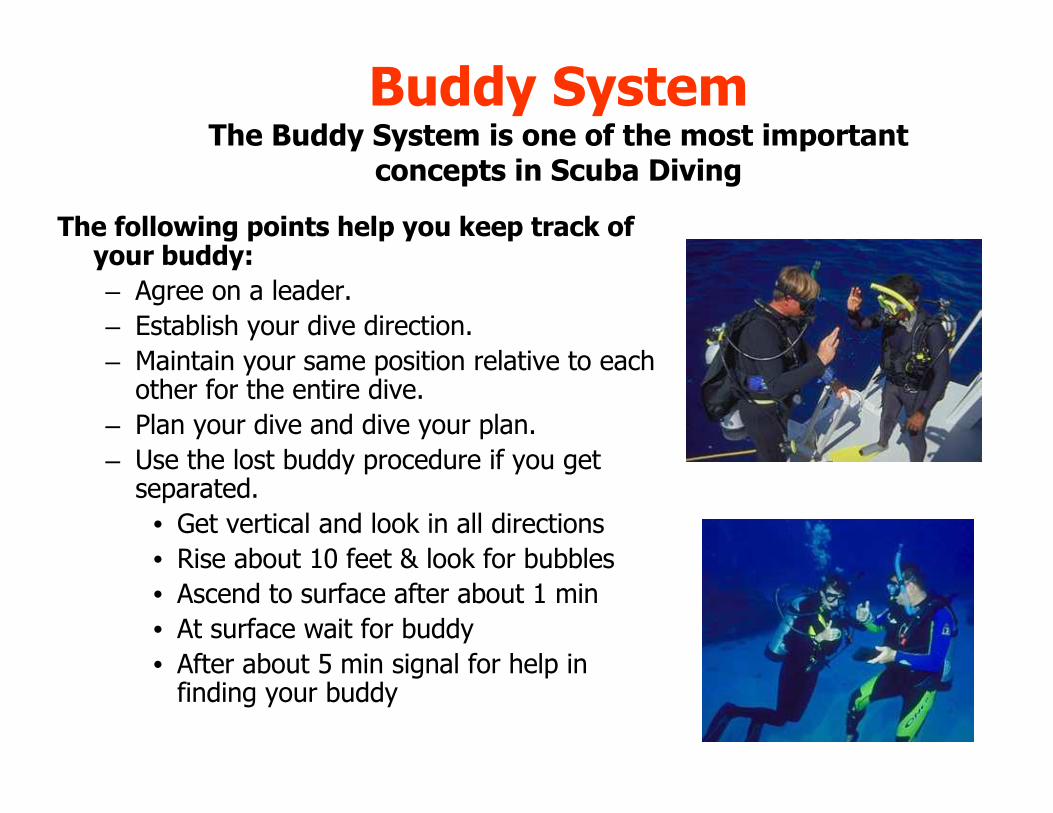
Buddy SystemThe Buddy System is one of the most important
concepts in Scuba Diving
The following points help you keep track of your buddy:
– Agree on a leader.
– Establish your dive direction.
– Maintain your same position relative to each other for the entire dive.
– Plan your dive and dive your plan.
– Use the lost buddy procedure if you get separated.
• Get vertical and look in all directions
• Rise about 10 feet & look for bubbles
• Ascend to surface after about 1 min
• At surface wait for buddy
• After about 5 min signal for help in finding your buddy
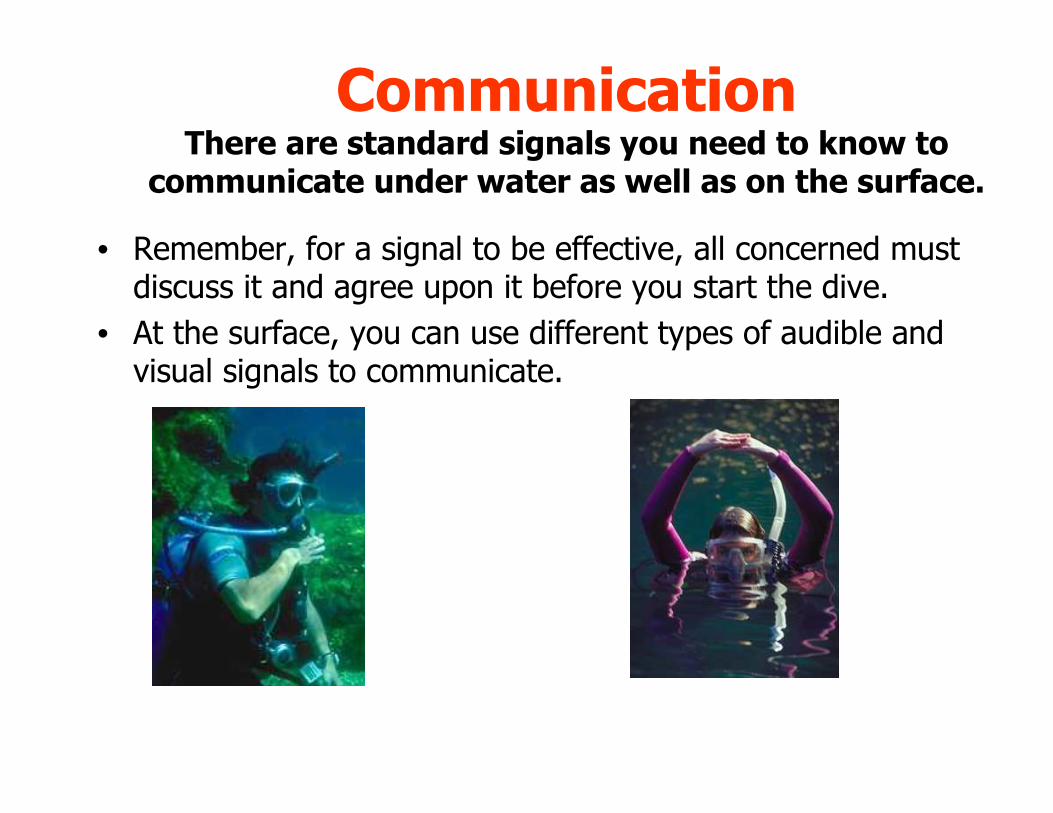
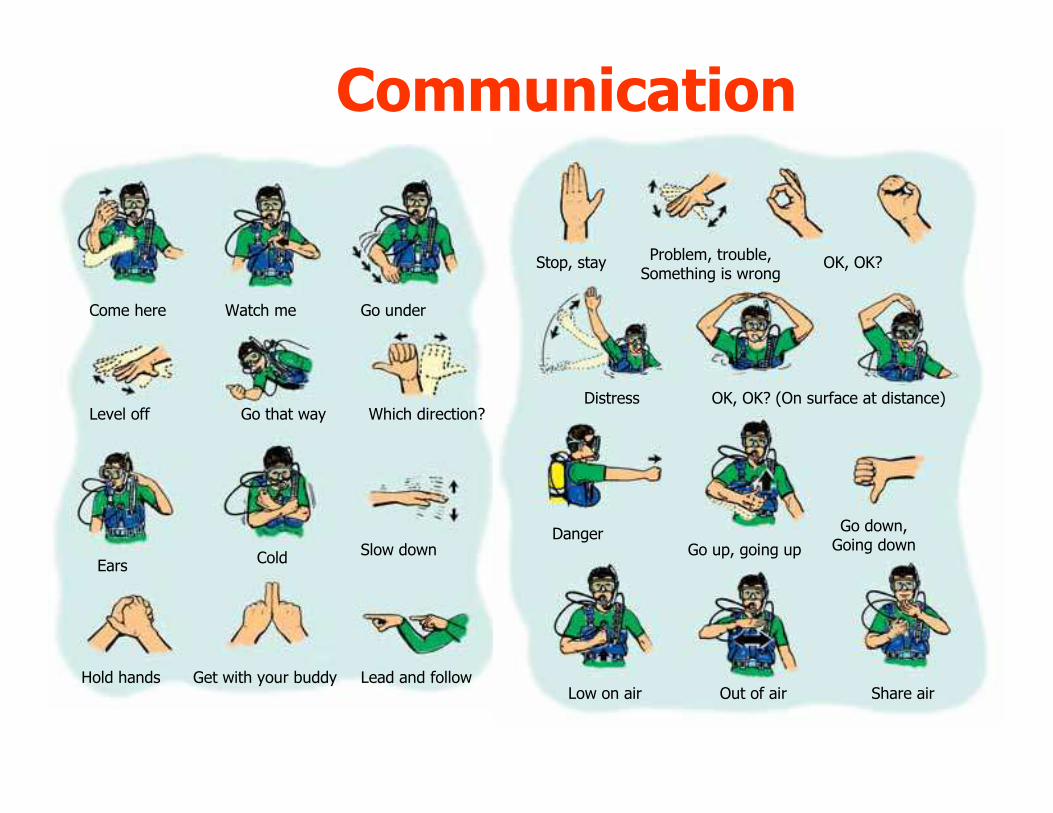
CommunicationThere are standard signals you need to know to
communicate under water as well as on the surface.
• Remember, for a signal to be effective, all concerned must discuss it and agree upon it before you start the dive.
• At the surface, you can use different types of audible and visual signals to communicate.
Communication
Come here Watch me Go under
Level off Go that way Which direction?
EarsCold
Slow down
Hold hands Get with your buddy Lead and follow
Stop, stayProblem, trouble,Something is wrong
OK, OK?
Distress OK, OK? (On surface at distance)
DangerGo up, going up
Go down,Going down
Low on air Out of air Share air
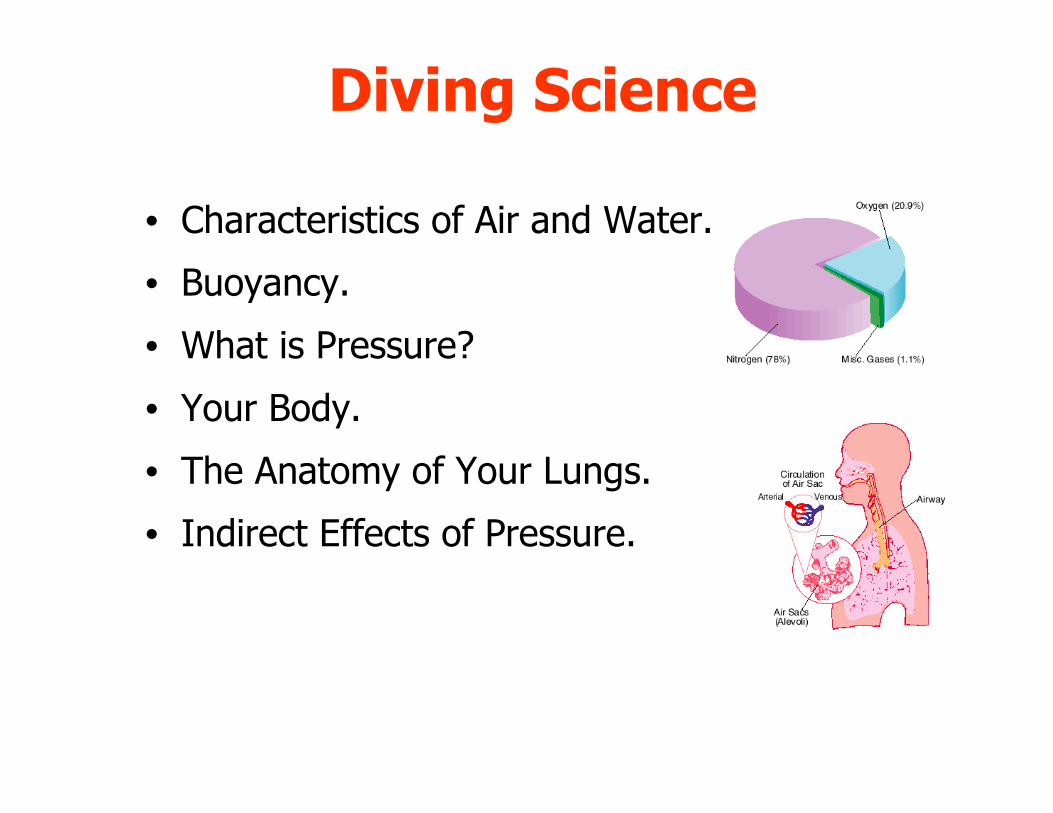
Diving Science
• Characteristics of Air and Water.
• Buoyancy.
• What is Pressure?
• Your Body.
• The Anatomy of Your Lungs.
• Indirect Effects of Pressure.
Direct Effects of PressureYou will learn how pressure increases under water
and how it affects your body.
When we descend in water, the force from the combined weight of air in the atmosphere above the water and water above us will subject our bodies to increasing pressure as we descend, go down deeper.
Direct Effects of Pressure
Our bodies must adjust to this increasing pressure as we descend (go down to depth). Then we must adjust to the decreasing pressure as we ascend, come back to the surface. We have all felt the effects of this pressure as we go to the bottom of a swimming pool. Now as we are going deeper, we MUST make adjustments, or we cannot go any deeper.

The Air You BreatheMost of the time, we do not think about air, because
breathing is an automatic activity.
• Air is a mixture of gases, basically
21% Oxygen
78% Nitrogen
• Air can be easily compressed.
Therefore we can compress a lot of
breathing air into our SCUBA tank.
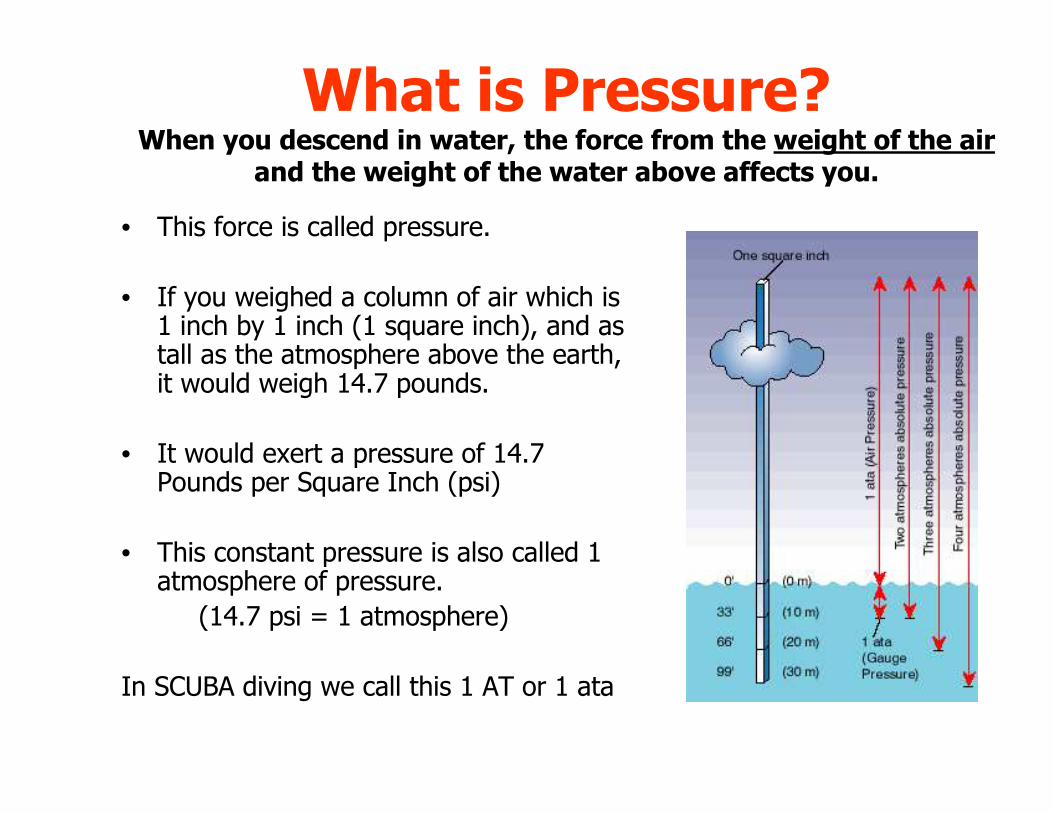
What is Pressure?When you descend in water, the force from the weight of the air
and the weight of the water above affects you.
• This force is called pressure.
• If you weighed a column of air which is 1 inch by 1 inch (1 square inch), and as tall as the atmosphere above the earth, it would weigh 14.7 pounds.
• It would exert a pressure of 14.7 Pounds per Square Inch (psi)
• This constant pressure is also called 1 atmosphere of pressure.
(14.7 psi = 1 atmosphere)
In SCUBA diving we call this 1 AT or 1 ata

What is Pressure?• As we descend the weight of the water added
to the weight of the atmosphere subjects our body to increased pressure.
• Each 33 feet we descend adds an additional 14.7 psi or one atmosphere of pressure
• At 33 feet of salt water we have 2 times the pressure we have on us in this room at this time.
• At 66 feet we have 3 times as much
• At 99 feet you would have 4 times as much pressure as you have on you right now.
• At 99 feet we have 4 ATs of pressure on us. (3 ATs for the water and 1 AT for the air above)
Your body must compensate or there will be big problems!
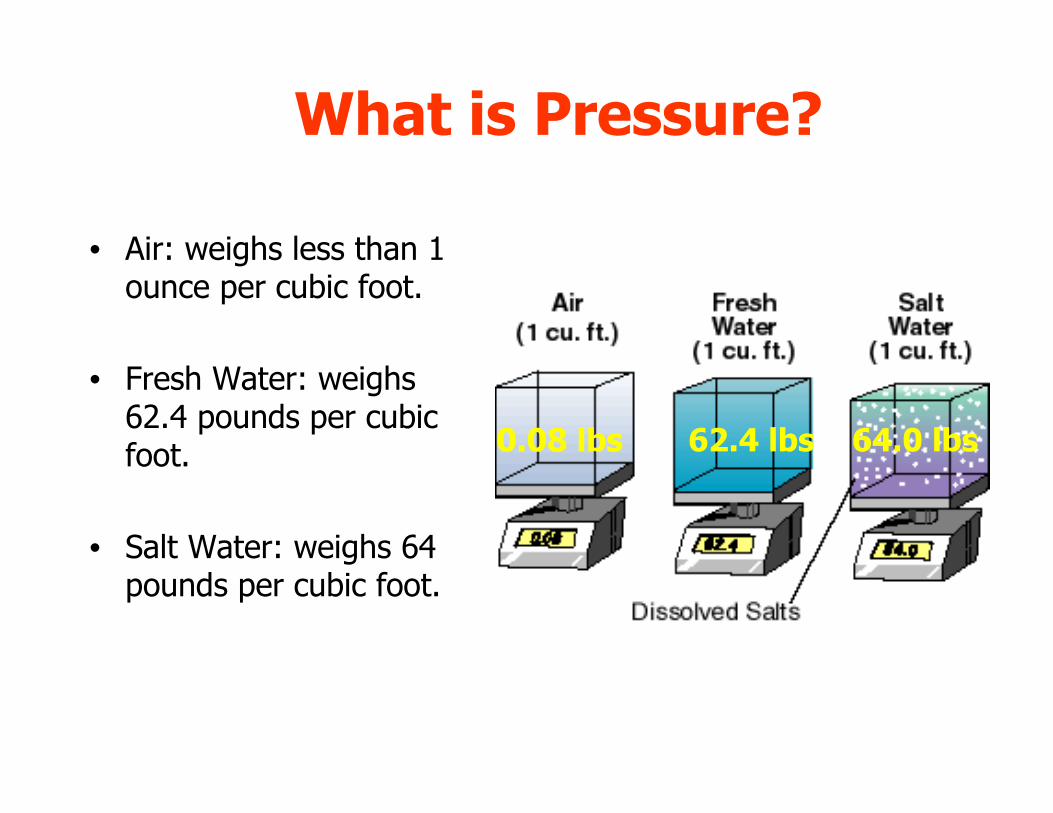
What is Pressure?
• Air: weighs less than 1 ounce per cubic foot.
• Fresh Water: weighs 62.4 pounds per cubic foot.
• Salt Water: weighs 64 pounds per cubic foot.
0.08 lbs 62.4 lbs 64.0 lbs
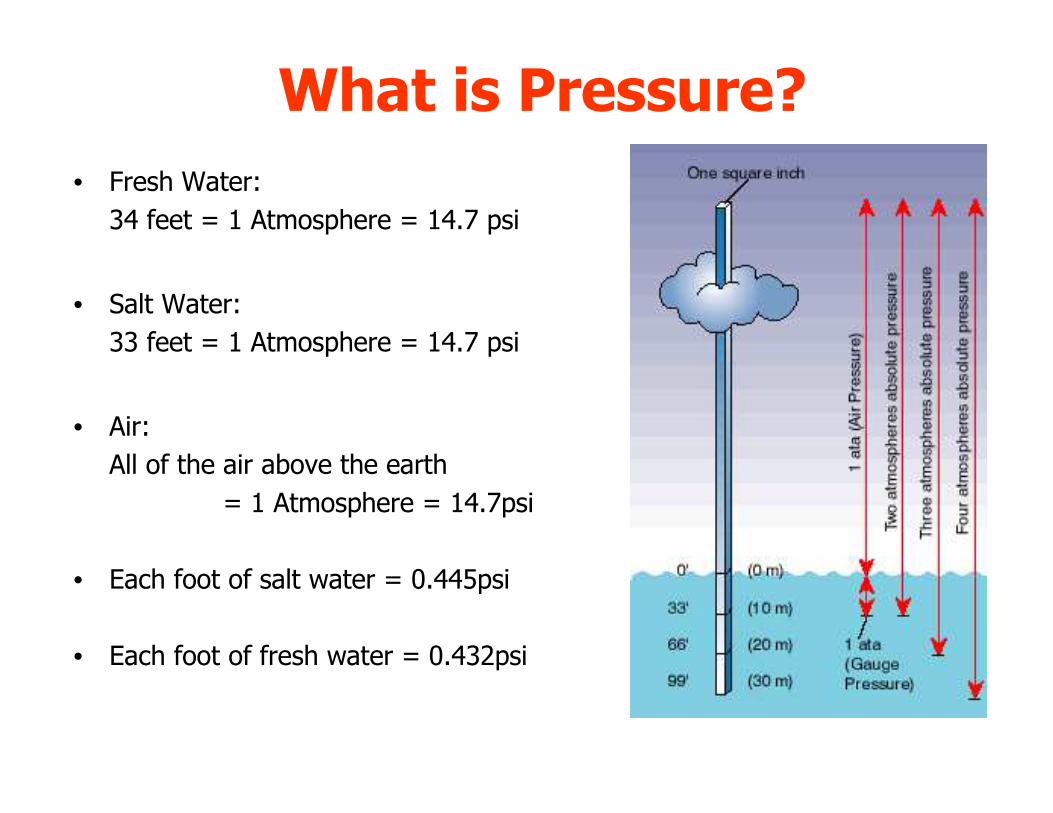
What is Pressure?
• Fresh Water:
34 feet = 1 Atmosphere = 14.7 psi
• Salt Water:
33 feet = 1 Atmosphere = 14.7 psi
• Air:
All of the air above the earth
= 1 Atmosphere = 14.7psi
• Each foot of salt water = 0.445psi
• Each foot of fresh water = 0.432psi
Review on What is Pressure?What have you learned so far?
� State the depths that are equal to one atmosphere in salt and fresh water.
Review on What is Pressure?What have you learned so far?
� State the depths that are equal to one atmosphere in salt and fresh water.
Salt Water – 33 feet
Fresh Water – 34 feet
Review on What is Pressure?What have you learned so far?
� State how many times greater the pressure is at 99 feet of sea water, than at the surface.
Review on What is Pressure?What have you learned so far?
� State how many times greater the pressure is at 99 feet of sea water, than at the surface.
99/33=3 for the water;
3 for the water + 1 for the air = 4 times greater
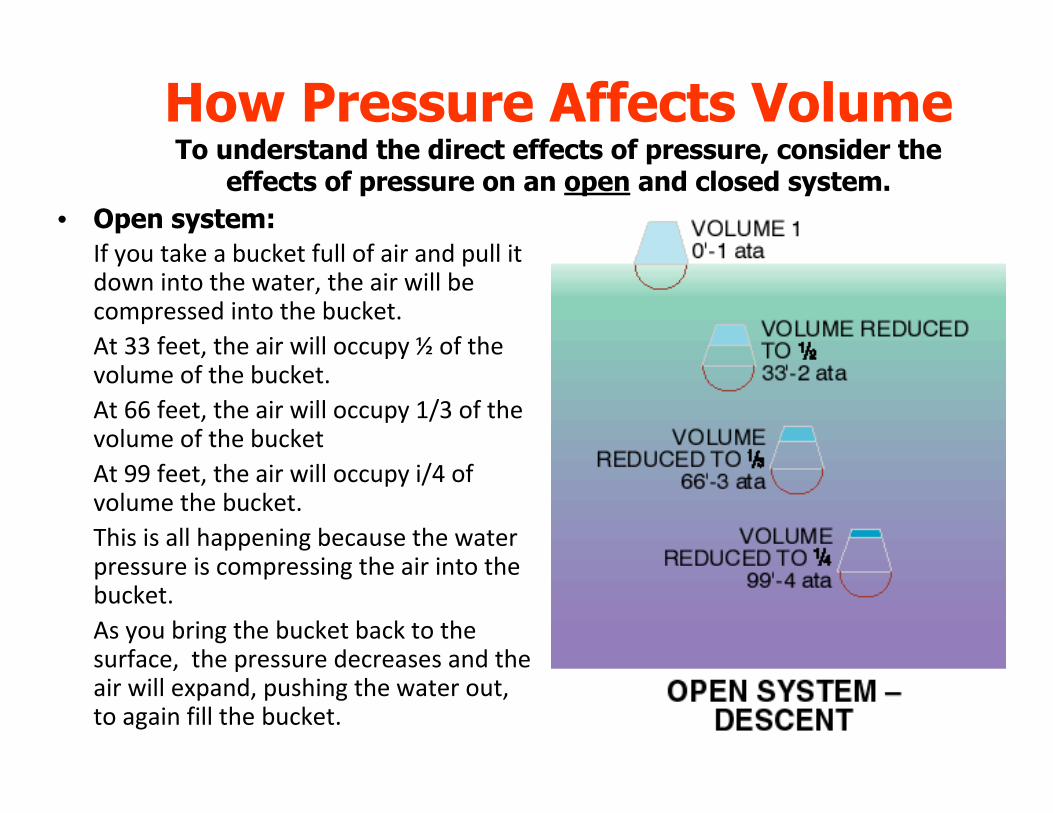
How Pressure Affects VolumeTo understand the direct effects of pressure, consider the
effects of pressure on an open and closed system.
• Open system:
If you take a bucket full of air and pull it down into the water, the air will be compressed into the bucket.
At 33 feet, the air will occupy ½ of the volume of the bucket.
At 66 feet, the air will occupy 1/3 of the volume of the bucket
At 99 feet, the air will occupy i/4 of volume the bucket.
This is all happening because the water pressure is compressing the air into the bucket.
As you bring the bucket back to the surface, the pressure decreases and the air will expand, pushing the water out, to again fill the bucket.
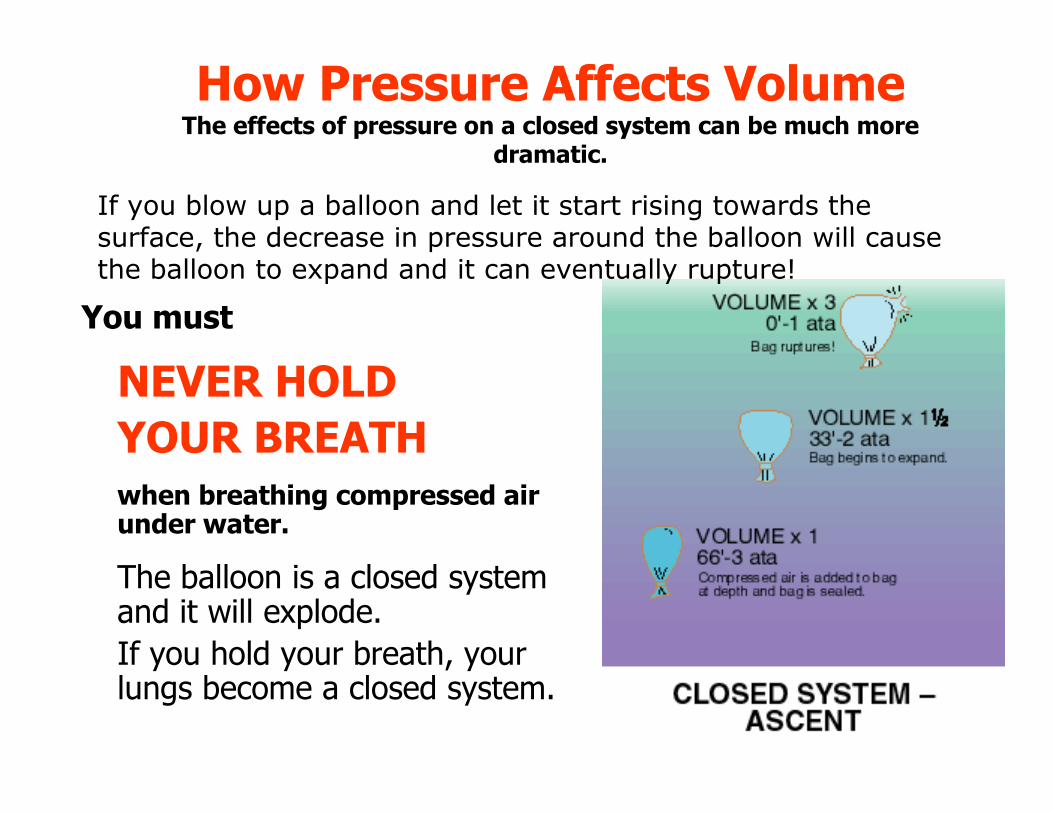
How Pressure Affects VolumeThe effects of pressure on a closed system can be much more
dramatic.
You must
NEVER HOLD
YOUR BREATH
when breathing compressed air under water.
The balloon is a closed system and it will explode.
If you hold your breath, your lungs become a closed system.
If you blow up a balloon and let it start rising towards the surface, the decrease in pressure around the balloon will cause the balloon to expand and it can eventually rupture!
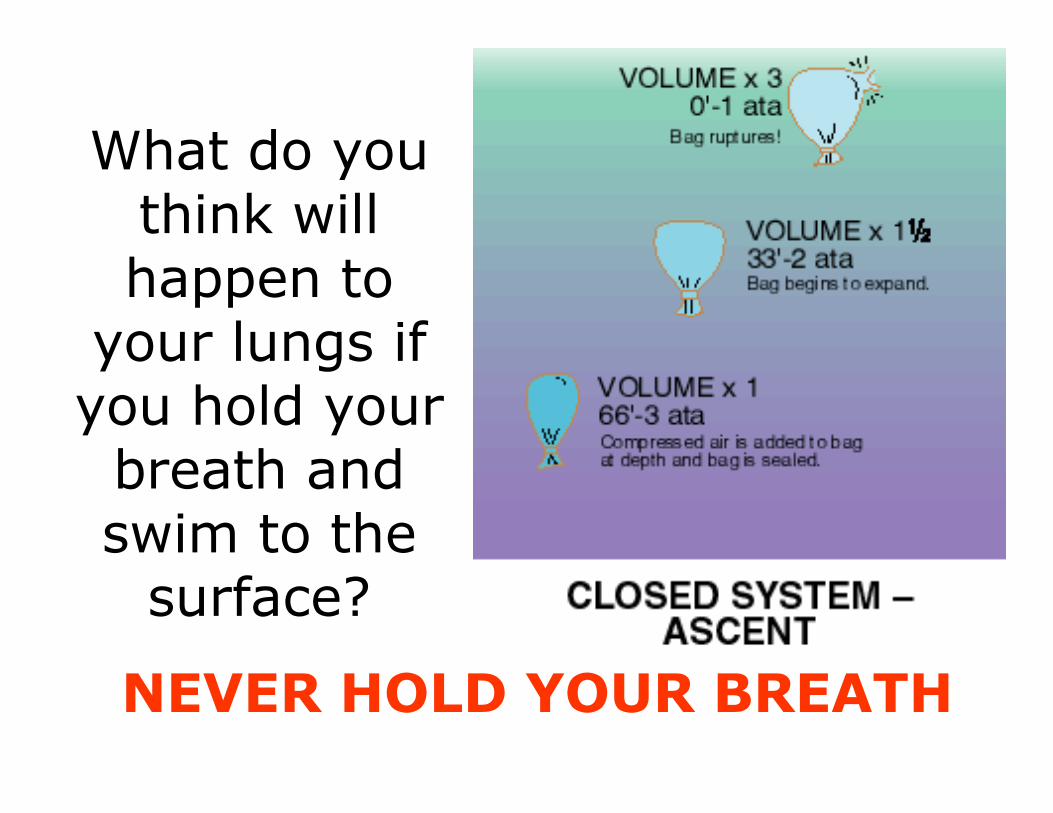
What do you think will happen to
your lungs if you hold your breath and swim to the surface?
NEVER HOLD YOUR BREATH
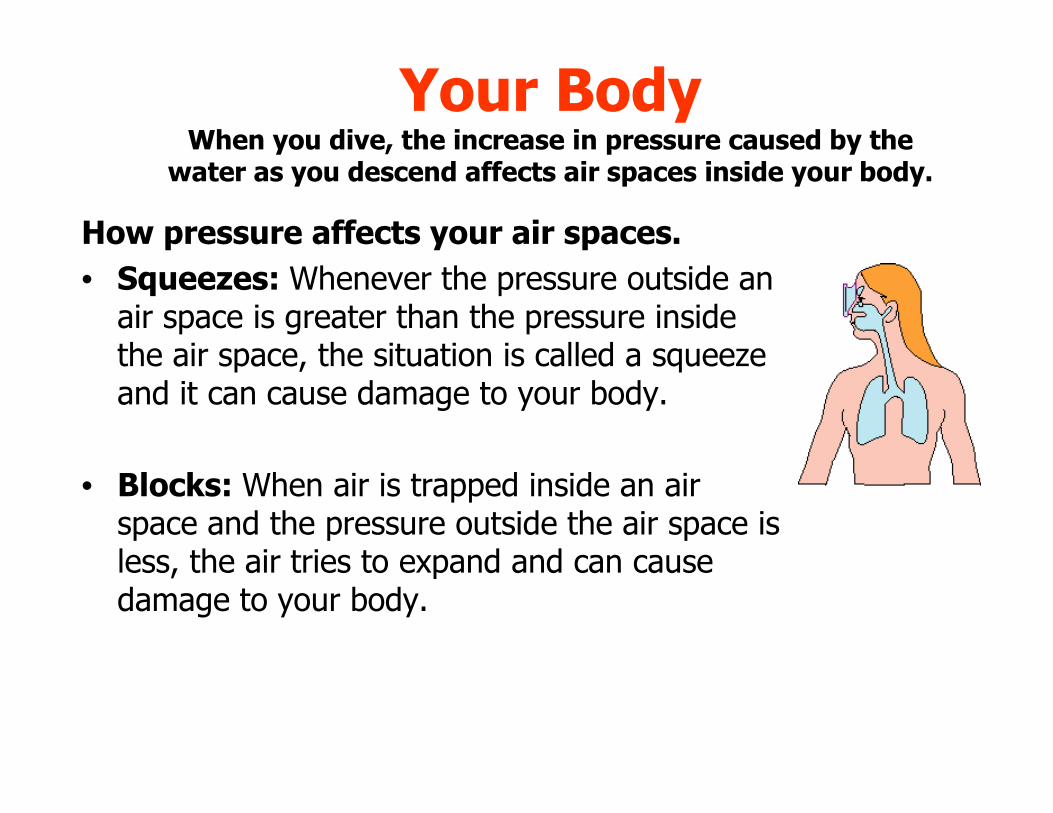
Your BodyWhen you dive, the increase in pressure caused by the
water as you descend affects air spaces inside your body.
How pressure affects your air spaces.
• Squeezes: Whenever the pressure outside an air space is greater than the pressure inside the air space, the situation is called a squeeze and it can cause damage to your body.
• Blocks: When air is trapped inside an air space and the pressure outside the air space is less, the air tries to expand and can cause damage to your body.
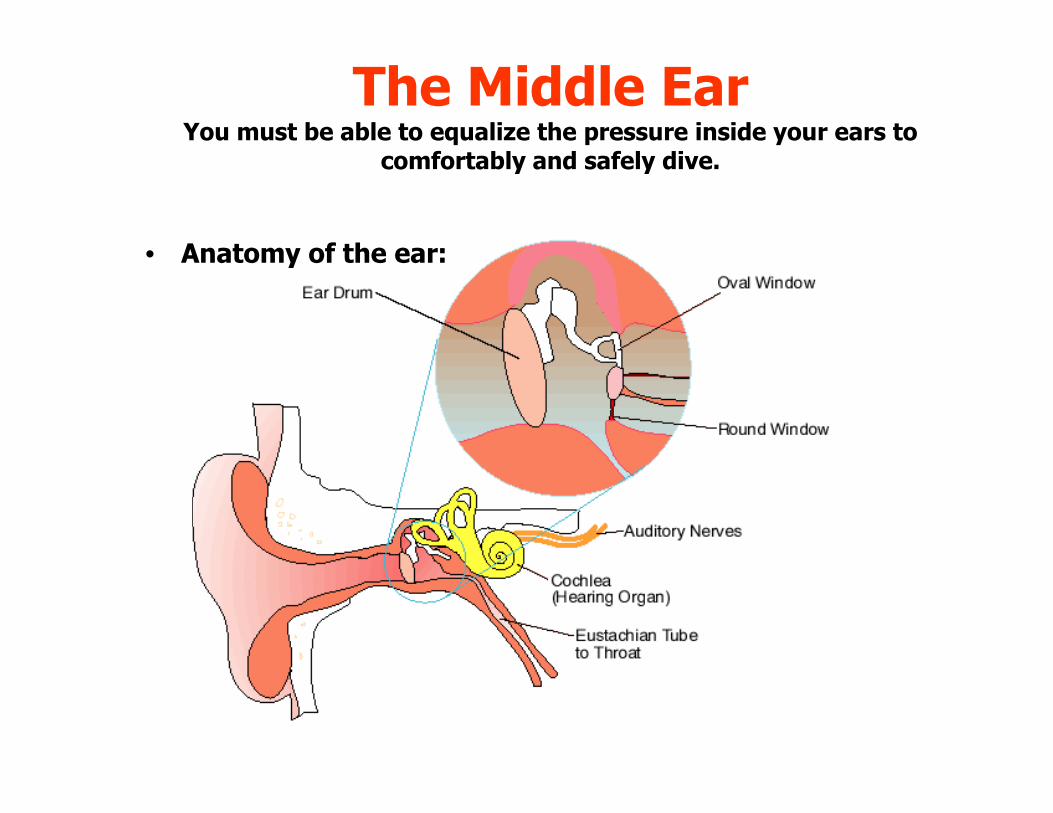
The Middle EarYou must be able to equalize the pressure inside your ears to
comfortably and safely dive.
• Anatomy of the ear:
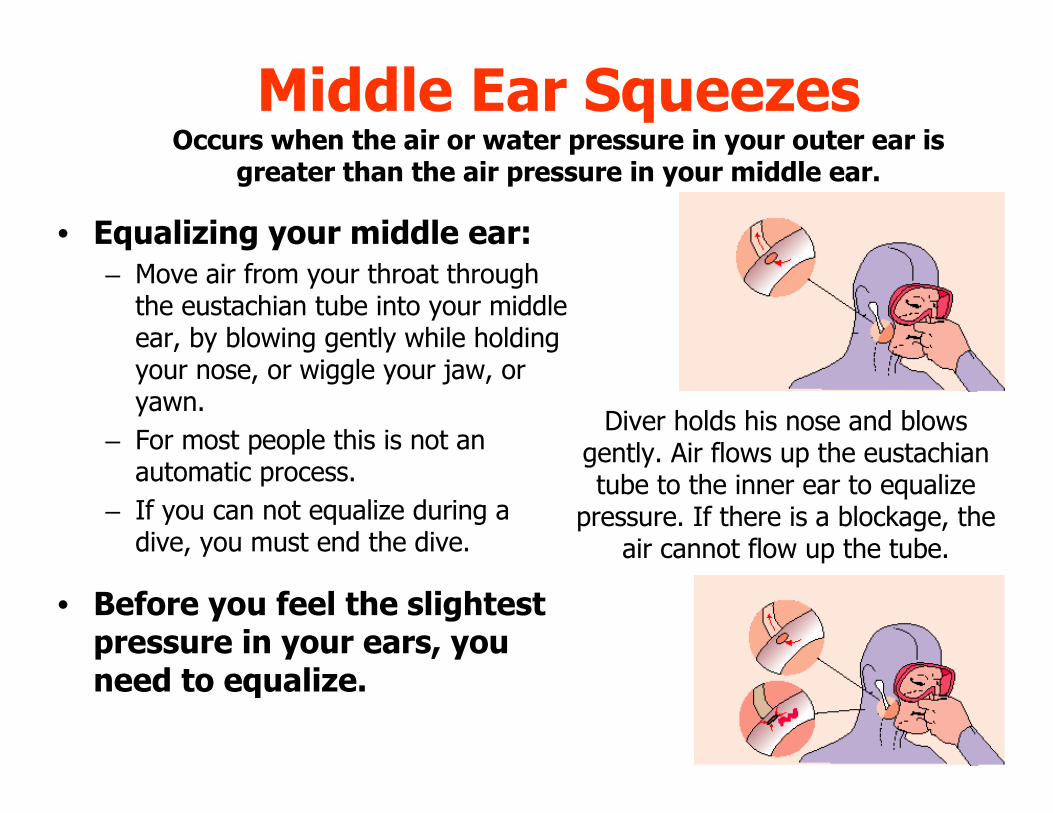
Middle Ear SqueezesOccurs when the air or water pressure in your outer ear is
greater than the air pressure in your middle ear.
• Equalizing your middle ear:
– Move air from your throat through the eustachian tube into your middle ear, by blowing gently while holding your nose, or wiggle your jaw, or yawn.
– For most people this is not an automatic process.
– If you can not equalize during a dive, you must end the dive.
• Before you feel the slightest pressure in your ears, you need to equalize.
Diver holds his nose and blows gently. Air flows up the eustachiantube to the inner ear to equalize
pressure. If there is a blockage, the air cannot flow up the tube.
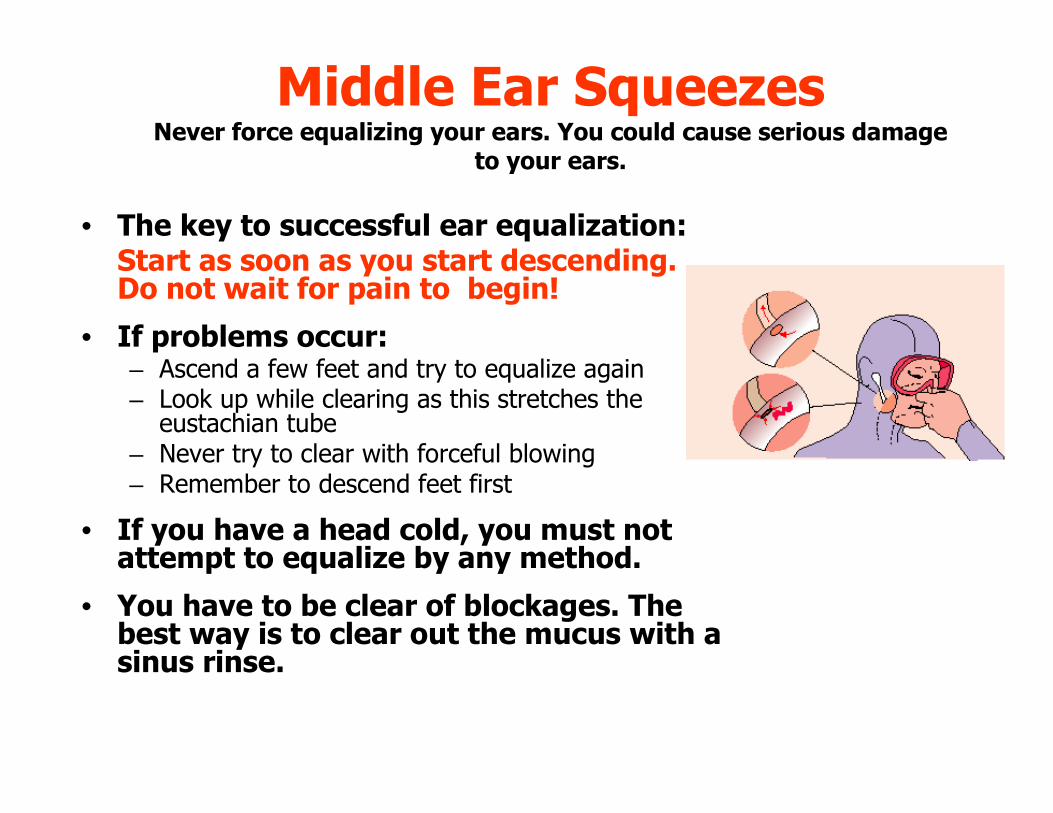
Middle Ear SqueezesNever force equalizing your ears. You could cause serious damage
to your ears.
• The key to successful ear equalization: Start as soon as you start descending. Do not wait for pain to begin!
• If problems occur:– Ascend a few feet and try to equalize again– Look up while clearing as this stretches the
eustachian tube– Never try to clear with forceful blowing– Remember to descend feet first
• If you have a head cold, you must not attempt to equalize by any method.
• You have to be clear of blockages. The best way is to clear out the mucus with a sinus rinse.
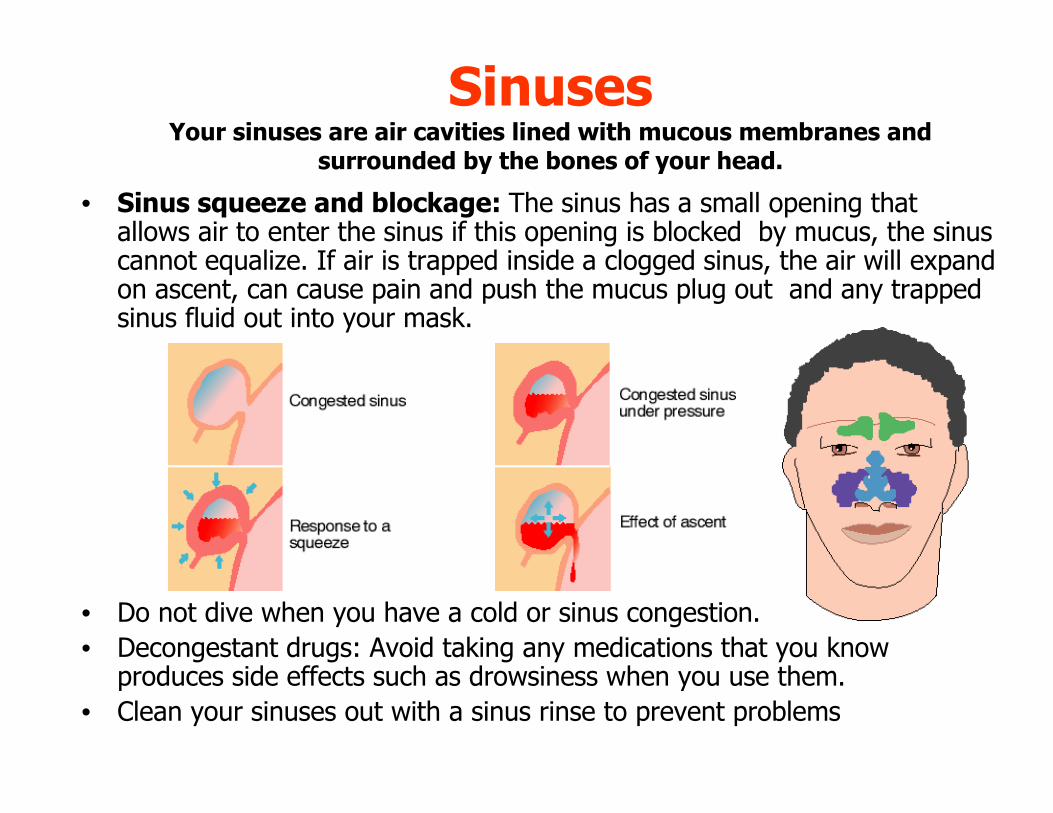
SinusesYour sinuses are air cavities lined with mucous membranes and
surrounded by the bones of your head.
• Sinus squeeze and blockage: The sinus has a small opening that allows air to enter the sinus if this opening is blocked by mucus, the sinus cannot equalize. If air is trapped inside a clogged sinus, the air will expand on ascent, can cause pain and push the mucus plug out and any trapped sinus fluid out into your mask.
• Do not dive when you have a cold or sinus congestion.
• Decongestant drugs: Avoid taking any medications that you know produces side effects such as drowsiness when you use them.
• Clean your sinuses out with a sinus rinse to prevent problems
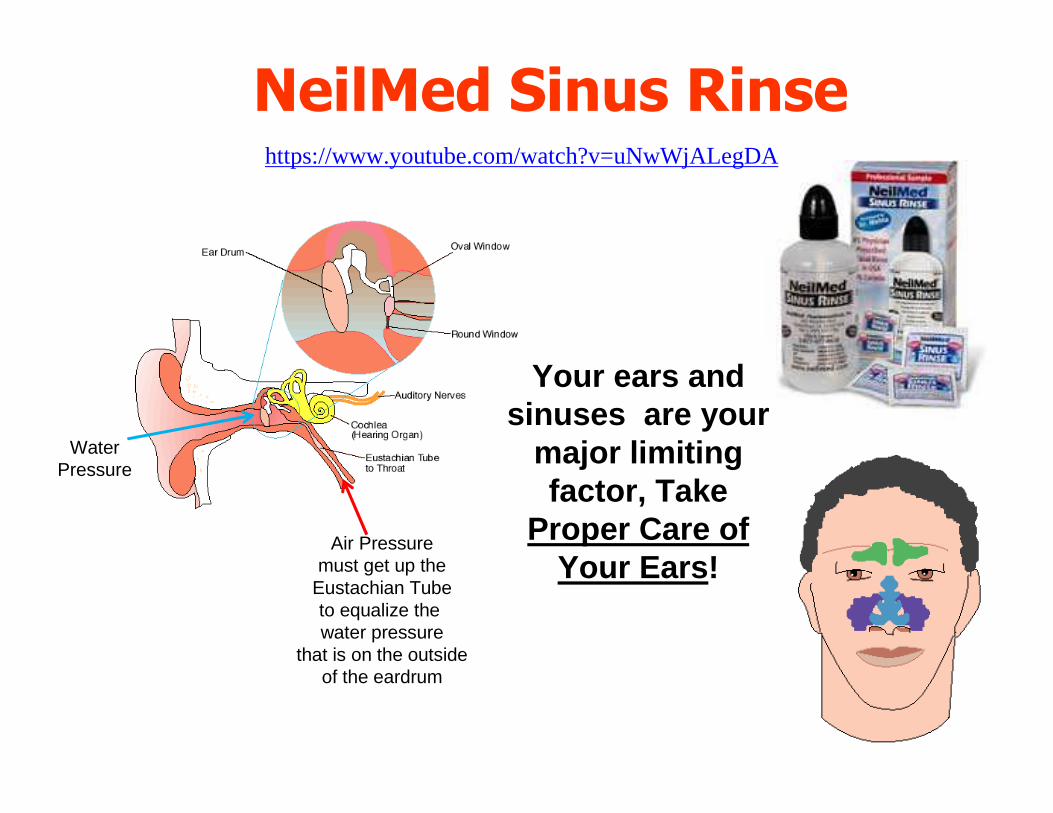
NeilMed Sinus Rinsehttps://www.youtube.com/watch?v=uNwWjALegDA
WaterPressure
Air Pressuremust get up the
Eustachian Tubeto equalize the water pressure
that is on the outsideof the eardrum
Your ears and sinuses are your
major limiting factor, Take
Proper Care ofYour Ears!
Swimmer’s EarThe diving has been great all week. Now, while sitting in your room, you notice that one of your ears itches and the ear canal feels wet. You look in the mirror and don't see any problem, so you go to bed. Next morning when you wake up, you feel a fullness in your ear and a twinge of pain. What a time for an earache!
You wonder if you should cancel the day's diving. Your problem is probably otitis externa, a fancy name for an external ear infection sometimes called swimmers ear. As the name implies, it's usually associated with someone who swims a lot - and divers certainly fit that bill on dive-intensive scuba holidays.
Swimmer’s EarThe CauseDespite what most people believe, otitis externa is not caused by bacteria in the water: instead, it's triggered by the bacteria normally found in your external ear canal. Here's how these normally innocuous bacteria can become troublesome.With frequent immersion, water swells the cells lining the ear canal. Eventually, these cells pull apart - far enough for the bacteria normally found on the surface of your ear canal to get underneath the skin, where they find a nice warm environment and start to multiply.Next thing you know, your ear canal itches, is sore and becomes inflamed. If left untreated, the swelling can spread to the nearby lymph nodes and cause enough pain that moving your jaw becomes uncomfortable. At this point, the only treatment is antibiotics, and diving is definitely out.
Swimmer’s EarPreventionMedical papers have stressed that it is the acidic pH that is the most important feature of solutions used for prevention of swimmer’s ear. A 2 percent acetic acid solution has a pH of 3.0 and was found to drop the ear canal pH to 4-5: bactericidal to the normally found bacteria in the ear canal. White wine vinegar is 4-6 percent acetic acid, and if it's mixed with an equal amount of isopropyl alcohol, it would probably work fine. Using undiluted vinegar may make the solution too acidic and cause irritation. Using less alcohol may be wise if you find that the 50:50 mix provides too much drying - this can make your ear canal sore after several days of use. You can add water if you are using the solution for an extended trip. I use a 50:50 mix.
Swimmer’s EarUsing the Solution: The head is tilted to one side and the external ear canal gently filled with the solution, which must remain in the canal for five minutes. The head is then tilted tothe other side, the solution allowed to run out, and the procedure repeated for the other ear. The five-minute duration must be timed with a watch. If the solution does not remain in the ear a full five minutes, the effectiveness of the procedure is greatly reduced. -From the U.S. Navy Diving Manual
No matter what solution you use, remember its effectiveness is drastically reduced unless it remains in the ear canal a full five minutes. Another caution: the above solutions are for use in theotherwise normal ear with an intact eardrum. If there is any hint that the eardrum may be torn, do not use these solutions as they may cause damage to middle ear structures. And if any solution causes irritation, stop using it.
Other Air SpacesAny air space trapped in or around your body will be affected.
• Teeth: Air at depth can seep into a cracked tooth or filling and cause pain or can expand during ascent and cause pain. Make sure your teath are in good condition.
• Mask space: Simply exhale once in a while from your nose into the mask to equalize the closed space in the mask. If you do not, you can get a mask squeeze, also known as a giant hickie of the face.

The Anatomy of Your LungsYour lungs consist of millions of tiny air sacs, called alveoli.If the pressure outside these sacs increases, the sacs will
expand and rupture, causing serious injury!
Lung over-expansion injuries:
• Air Embolism
• Pneumothorax
• Tissue Emphysema

Lung over-expansion injuriesAir embolism: The most serious injury..
If You Hold your Breath while Ascending:
– Air in an aveoli expands and ruptures, allowing air to enter the blood stream.
– These bubbles pass through the blood stream and finally get to the brain, expand there and cause a blockage.
– Can cause unconsciousness, paralysis, brain damage, and even death.
Lung over-expansion injuriesAir embolism: The most serious injury..
ALWAYS BREATH NORMALLY
INHALE, FOLLOWED BY A NORMAL EXHALE
NEVER HOLD YOUR BREATH!ALWAYS, BREATH NORMALLY
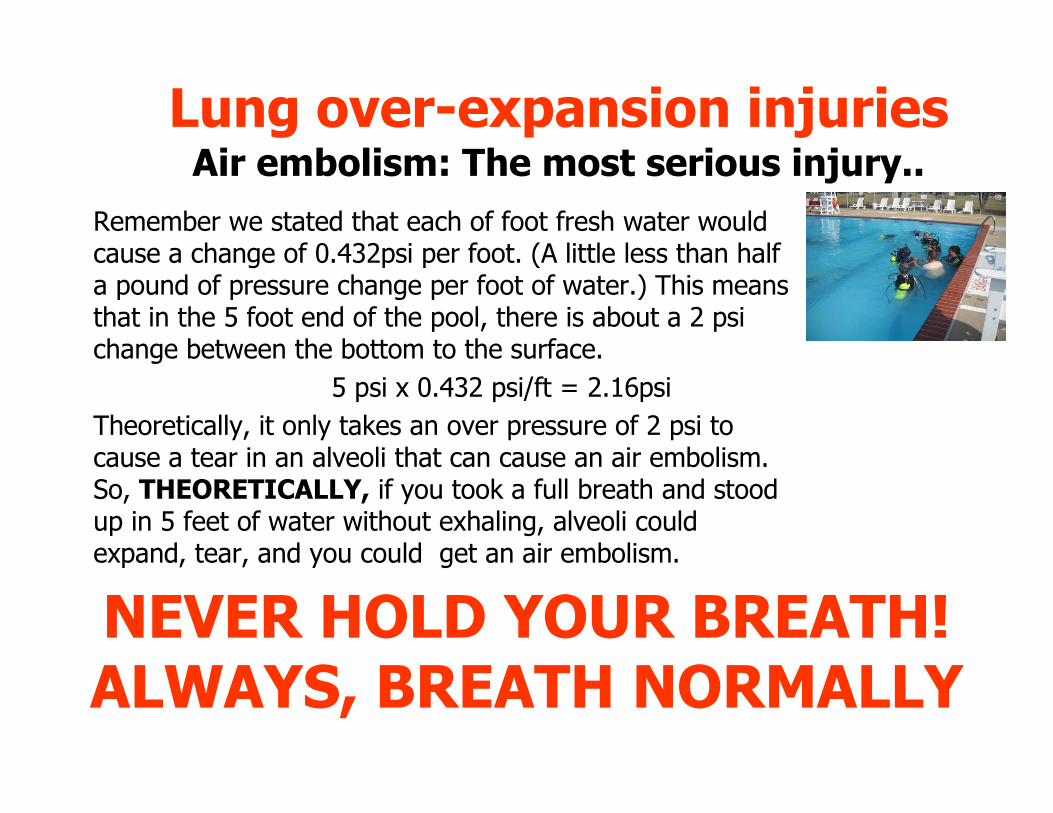
Lung over-expansion injuriesAir embolism: The most serious injury..
Remember we stated that each of foot fresh water would cause a change of 0.432psi per foot. (A little less than half a pound of pressure change per foot of water.) This means that in the 5 foot end of the pool, there is about a 2 psi change between the bottom to the surface.
5 psi x 0.432 psi/ft = 2.16psi
Theoretically, it only takes an over pressure of 2 psi to cause a tear in an alveoli that can cause an air embolism. So, THEORETICALLY, if you took a full breath and stood up in 5 feet of water without exhaling, alveoli could expand, tear, and you could get an air embolism.
NEVER HOLD YOUR BREATH!ALWAYS, BREATH NORMALLY
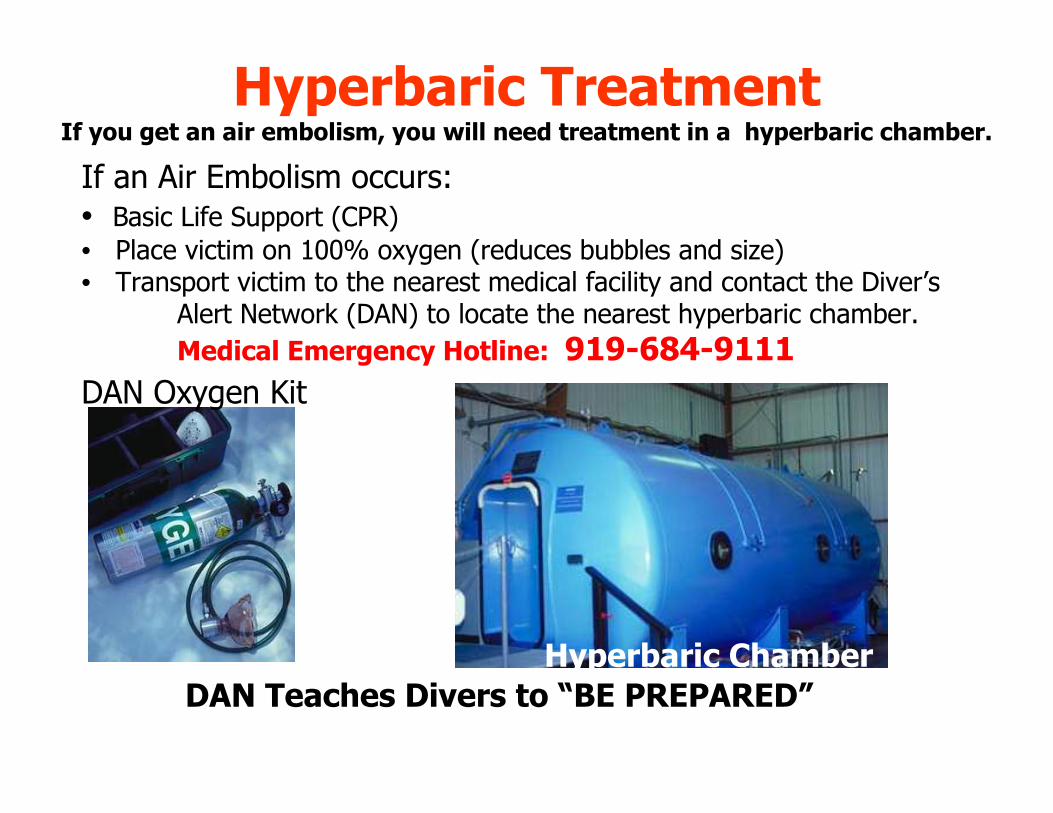
Hyperbaric TreatmentIf you get an air embolism, you will need treatment in a hyperbaric chamber.
DAN Oxygen Kit
Hyperbaric Chamber
DAN Teaches Divers to “BE PREPARED”
If an Air Embolism occurs:• Basic Life Support (CPR)
• Place victim on 100% oxygen (reduces bubbles and size)• Transport victim to the nearest medical facility and contact the Diver’s
Alert Network (DAN) to locate the nearest hyperbaric chamber.
Medical Emergency Hotline: 919-684-9111
Review on Lungs and BreathingWhat have you learned so far?
� Describe the cause of lung over-expansion injuries.
� Describe what your lung volume should be during ascent.
� Describe the proper way of breathing on scuba.
Review on Lungs and BreathingWhat have you learned so far?
� Describe the cause of lung over-expansion injuries.
Holding your breath while ascending on SCUBA
� Describe what your lung volume should be during ascent.
Remain normal size
� Describe the proper way of breathing on scuba.
Breathe in and out normally,
DO NOT HOLD YOUR BREATH!
Diver First Aid and SafetyDivers must be prepared to handle emergencies. NAUI teaches divers
how to prevent accidents and manage emergency situations.
• Divers participate in activities in remote areas.
• Divers must be prepared to be self-reliant.
• NAUI teaches Self-Reliance - “BE PREPARED”
• NAUI incorporates rescue training and awareness at all levels of training
• NAUI First Aid Courses:
– First Aid
– CPR
– Oxygen Provider
– Hazardous Marine Life Injuries
– Automatic External Defibrillators
– Blood-borne Pathogens
Who Makes the Decision If You Make a Dive That You Are Qualified to Make?
You and you alone have the final decision as to whether you will or will not make a specific dive.
If you are not feeling well, or do not feel good about the dive that is planned, do not be afraid to ask to go to a different dive site.
If the 1st dive of the day for your dive boat is to be an 80 foot dive and you do not want to make an 80 foot dive, move to another boat that is making a shallow reef dive. Never allow other members of your group to “talk you into” diving in conditions that you do not feel comfortable with.
This could be because you did not get a good night’s sleep or you are having ear problems. You always have the last word!
Hypothermia
1.Heat transfers from your body 26 times faster to water than to air.2.When you are in water that is 95 degrees of less, you are loosing body heat. 3.Hypothermia occurs as the body is robbed of heat by the water.4.Reflexes are slowed, shivering starts, thinking is impaired
Hyperventilation
Over breathing which is caused by overexertion. This can happen if you are swimming against a strong current. Never put yourself in this situation. If there is a current, you should swim as close to the bottom as possible where the effects are less. Always maintain contact with the anchor/mooring line. Modern balanced regulators will deliver as much air as you will need, but you should never put yourself in this situation. If you get “winded”, let your buddy know, stop, get control, and you may need to end the dive.
Hyperventilation before making free (snorkel) dives is dangerous because it can lead to shallow water blackout. Never take more than 3 deep breaths before doing a breath hold, snorkel dive.

Decompression Illness
As we go deeper, we absorb more and more nitrogen with each breath we take. The regulator is delivering us air at the surrounding (ambient) pressure. Our body utilizes the oxygen in the air, but the nitrogen is just absorbed and stored by the tissue. When we ascend to the surface our tissue must get rid of this absorbed nitrogen. As long as the nitrogen passes out of the tissue back into the blood stream as a dissolved gas, everything is OK. The problem comes when the nitrogen forms bubbles in the tissue or blood stream. This is when we have “Decompression Illness” also called the “Bends”.
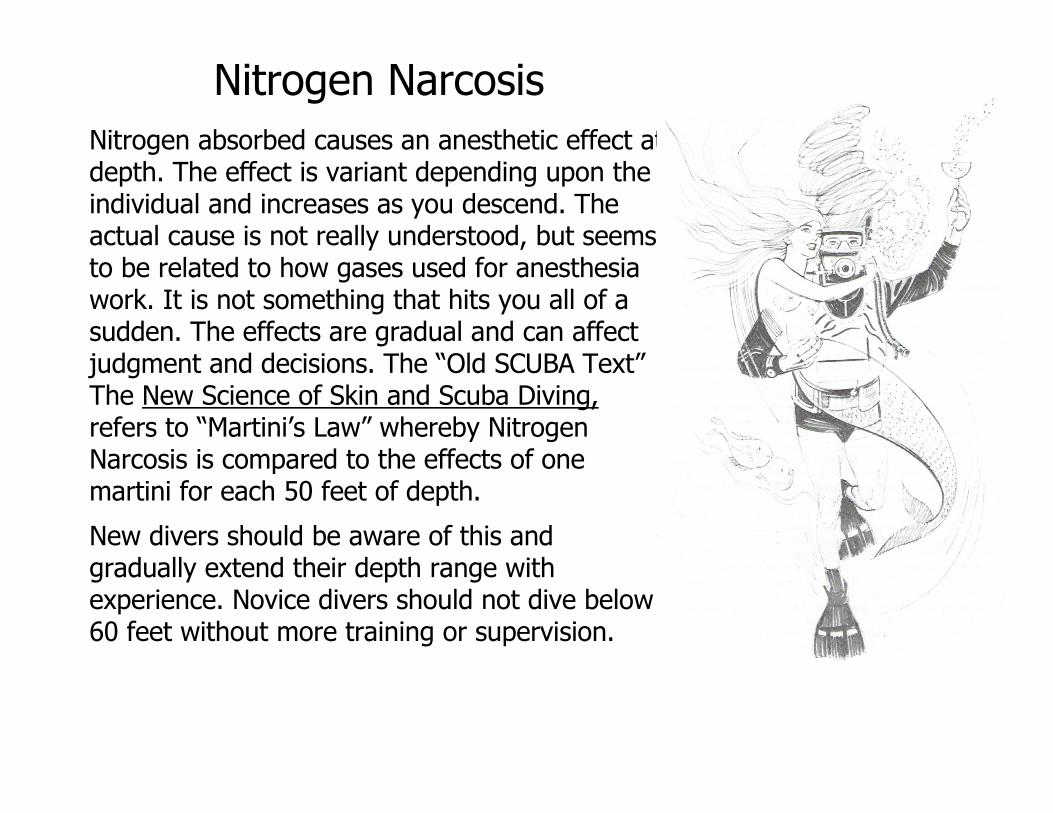
Nitrogen Narcosis
Nitrogen absorbed causes an anesthetic effect at depth. The effect is variant depending upon the individual and increases as you descend. The actual cause is not really understood, but seems to be related to how gases used for anesthesia work. It is not something that hits you all of a sudden. The effects are gradual and can affect judgment and decisions. The “Old SCUBA Text”The New Science of Skin and Scuba Diving,refers to “Martini’s Law” whereby Nitrogen Narcosis is compared to the effects of one martini for each 50 feet of depth.
New divers should be aware of this and gradually extend their depth range with experience. Novice divers should not dive below 60 feet without more training or supervision.
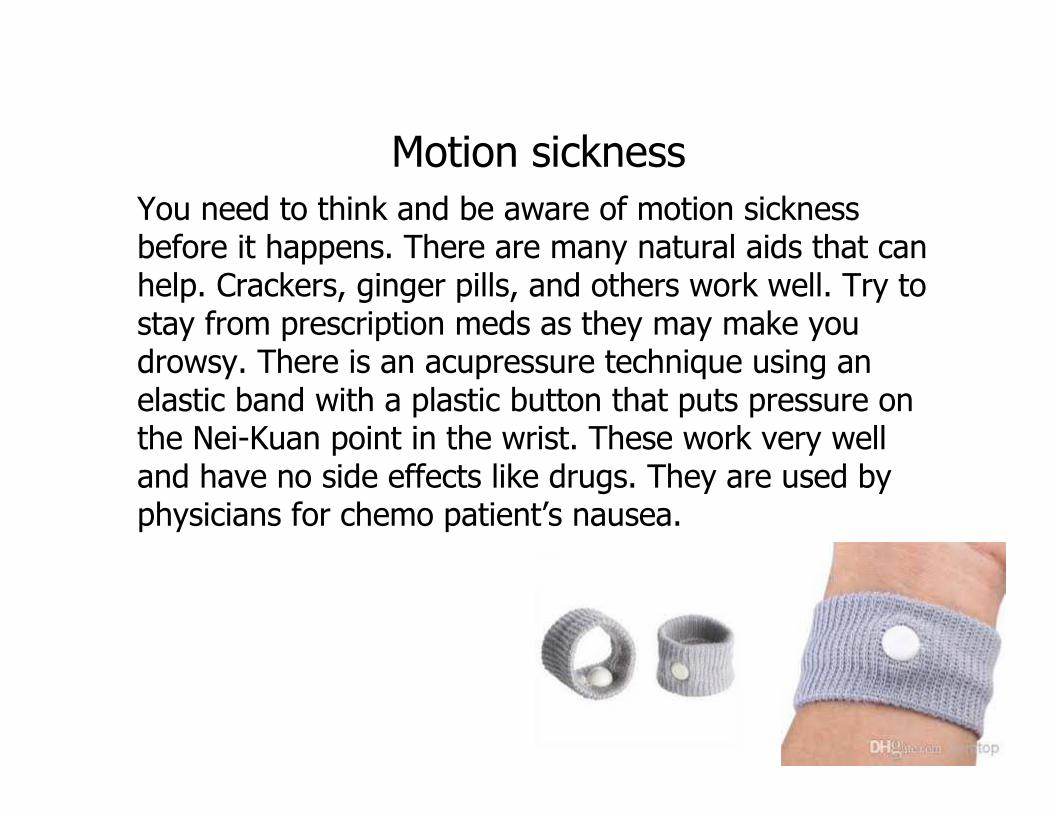
Motion sickness
You need to think and be aware of motion sickness before it happens. There are many natural aids that can help. Crackers, ginger pills, and others work well. Try to stay from prescription meds as they may make you drowsy. There is an acupressure technique using an elastic band with a plastic button that puts pressure on the Nei-Kuan point in the wrist. These work very well and have no side effects like drugs. They are used by physicians for chemo patient’s nausea.
Fatigue and OverexertionScuba diving can be a strenuous activity. Water’s density makes it harder to move through than air. Moving slowly and steadily underwater will help you conserve energy. Do not dive over weighted. Avoid rapid or jerky movements that waste energy and cause you to use air faster. If you try to maintain a high activity level while diving by, for example, swimming against a current, swimming long distances, or carrying excessive weight, you may experience fatigue or overexertion. The symptoms include tiredness, labored breathing, a feeling of suffocation, weakness, anxiety, headache, muscle cramping, or a tendency to panic. If you experience fatigue or overexertion at the surface, put enough air in your BC to make you buoyant and stop moving. Rest and catch your breath. Signal for help if you need it. Once you recover, continue at a slower pace. If you experience fatigue or overexertion underwater, stop all activity, breathe deeply, and rest. It may help to hold on to an object for support.
NEVER LOOK UP TO THE SURFACE IN A PROBLEM SITUATION, WORK IT OUT ON THE BOTTOM,
THEN MAKE YOUR ASCENT.
Heat reactions
Heat exhaustion and heatstroke result when the body can’t keep itself cool enough. Typical symptoms for heat exhaustion include dizziness, nausea, muscle cramps, and a rapid pulse. A person with heat exhaustion should lie down in a cool, shady place and raise the feet. Loosen or remove your diving exposure suit and cool off with a damp cloth or fan. Heatstroke is much more serious than heat exhaustion. Symptoms include hot, sweaty, red skin, confusion, and disorientation. A person suffering from heatstroke must be cooled immediately. Loosen clothing, fan the person, and apply wet towels and ice packs.
Dehydration
When you are scuba diving, it is easy to forget the importance of staying well-hydrated. You are, after all, surrounded by water, and you may not feel as though you need to take a drink. Whether it is hot or cool out, drink plenty of fluids and eat enough throughout the day to keep your body well-balanced. Remember that each breath you exhale through your regulator is dehydrating your body because the air you are breathing has had most of the moisture removed! Your body is re-hydrating the air. This dehydration makes you more prone to decompression sickness.
HYDRATE! HYDRATE! HYDRATE!

Marine Life InjuriesCause:
• Careless divers bumping into or handling marine animals
• Animals defending themselvesor their territory if it has been invaded
General care• Clean the wound
• Use clean fresh water, sterile water or saline, and flush (irrigate) the wound
• Use sea water to flush jelly fish tentacles away, not fresh water
First aid (dependent on injury type)• Heat
• Vinegar or other neutralizer
• Immobilization
Marine Life Injuries continued
Treating by Applying Heat
• Injected toxins from urchins, fish spines, etc. are heat
labile (break down from heat).
• Immerse the wounded area in hot water - not scalding
(110°–113° F or 43°–45° C).
• Soak for 30 to 90 minutes; be sure the water stays as hot
as can be tolerated.
• Repeat above step until the pain diminishes.
• For spines that have broken off in the tissue, use vinegar
soaks.
• Transport the victim to medical attention as the wound
may need medical attention.
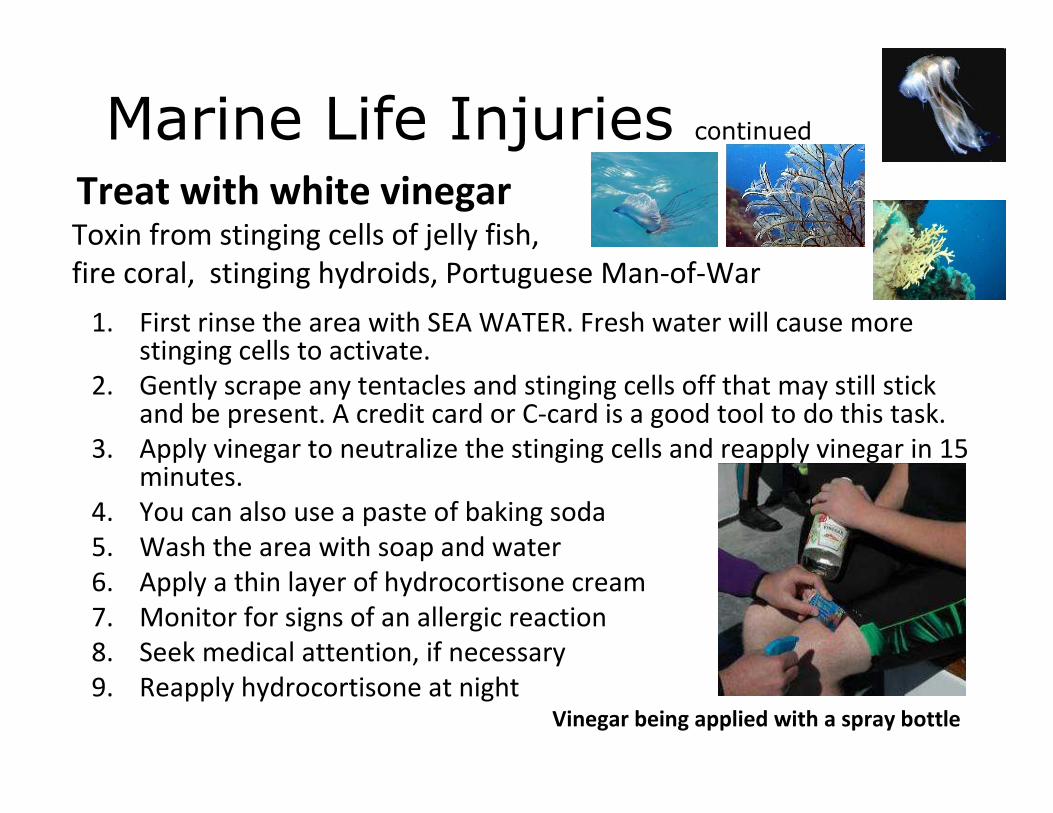
Treat with white vinegarToxin from stinging cells of jelly fish,
fire coral, stinging hydroids, Portuguese Man-of-War
1. First rinse the area with SEA WATER. Fresh water will cause morestinging cells to activate.
2. Gently scrape any tentacles and stinging cells off that may still stick and be present. A credit card or C-card is a good tool to do this task.
3. Apply vinegar to neutralize the stinging cells and reapply vinegar in 15 minutes.
4. You can also use a paste of baking soda
5. Wash the area with soap and water
6. Apply a thin layer of hydrocortisone cream
7. Monitor for signs of an allergic reaction
8. Seek medical attention, if necessary
9. Reapply hydrocortisone at night Vinegar being applied with a spray bottle
Marine Life Injuries continued
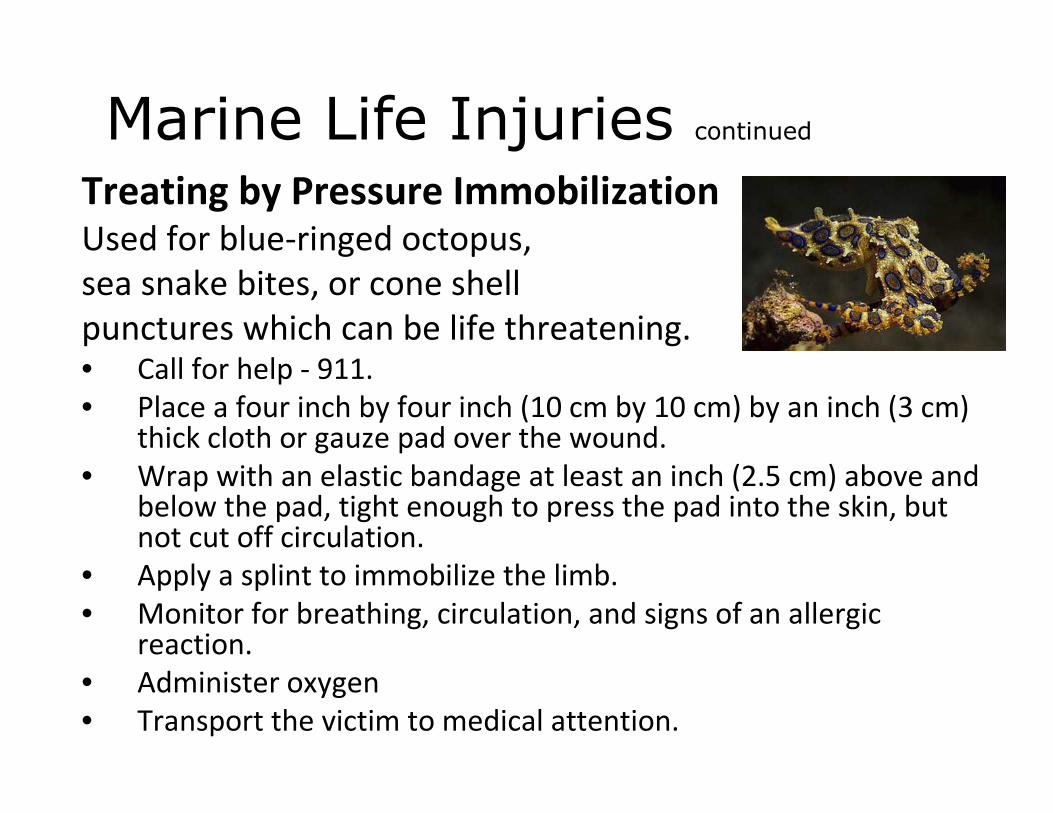
Treating by Pressure Immobilization Used for blue-ringed octopus,
sea snake bites, or cone shell
punctures which can be life threatening.• Call for help - 911.
• Place a four inch by four inch (10 cm by 10 cm) by an inch (3 cm) thick cloth or gauze pad over the wound.
• Wrap with an elastic bandage at least an inch (2.5 cm) above andbelow the pad, tight enough to press the pad into the skin, but not cut off circulation.
• Apply a splint to immobilize the limb.
• Monitor for breathing, circulation, and signs of an allergic reaction.
• Administer oxygen
• Transport the victim to medical attention.
Marine Life Injuries continued
Marine Life Injuries continued
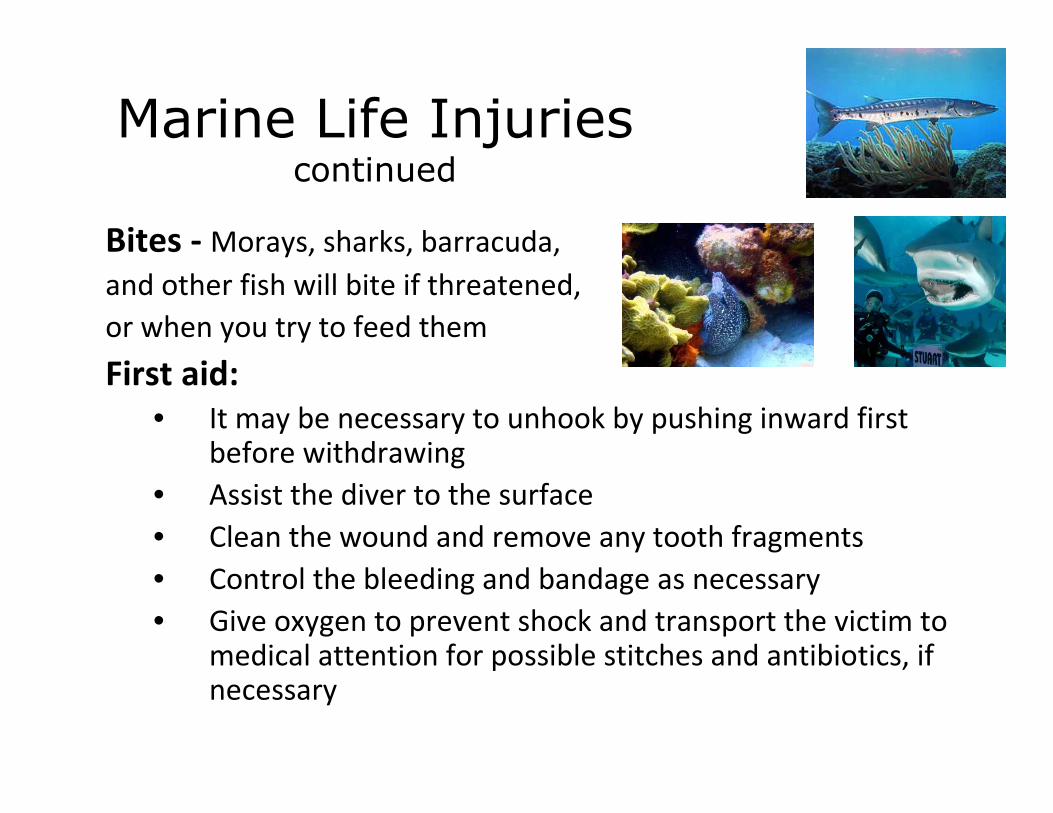
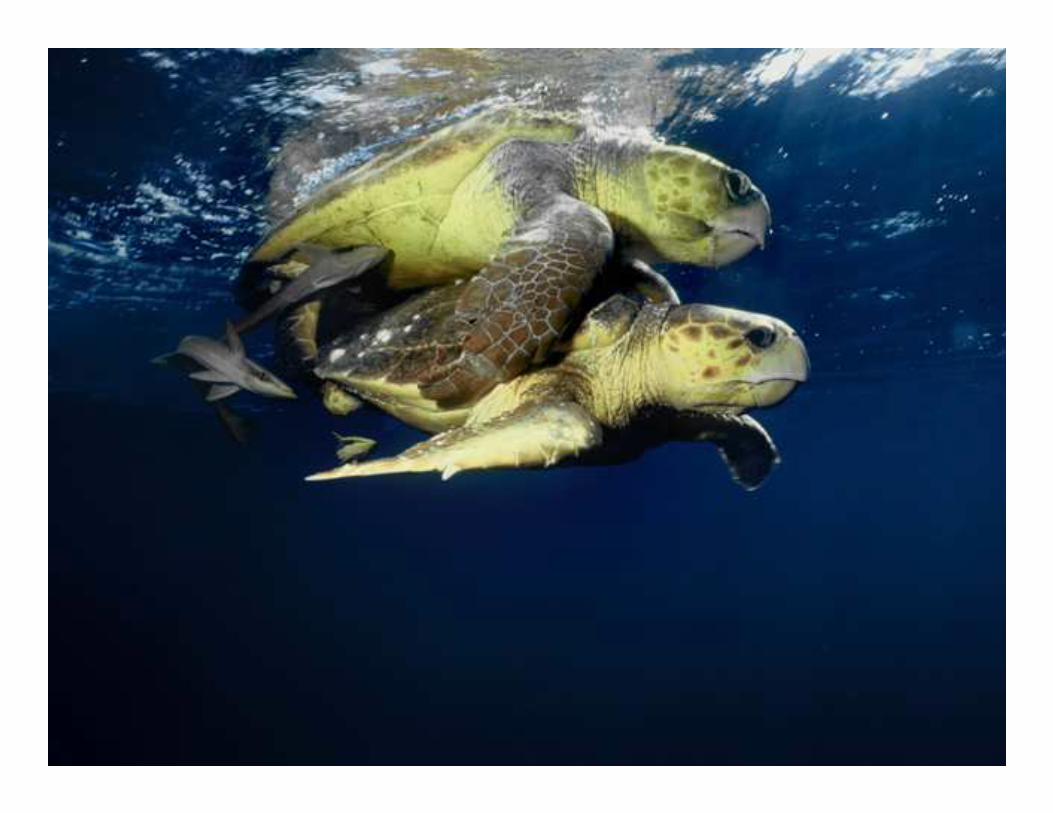
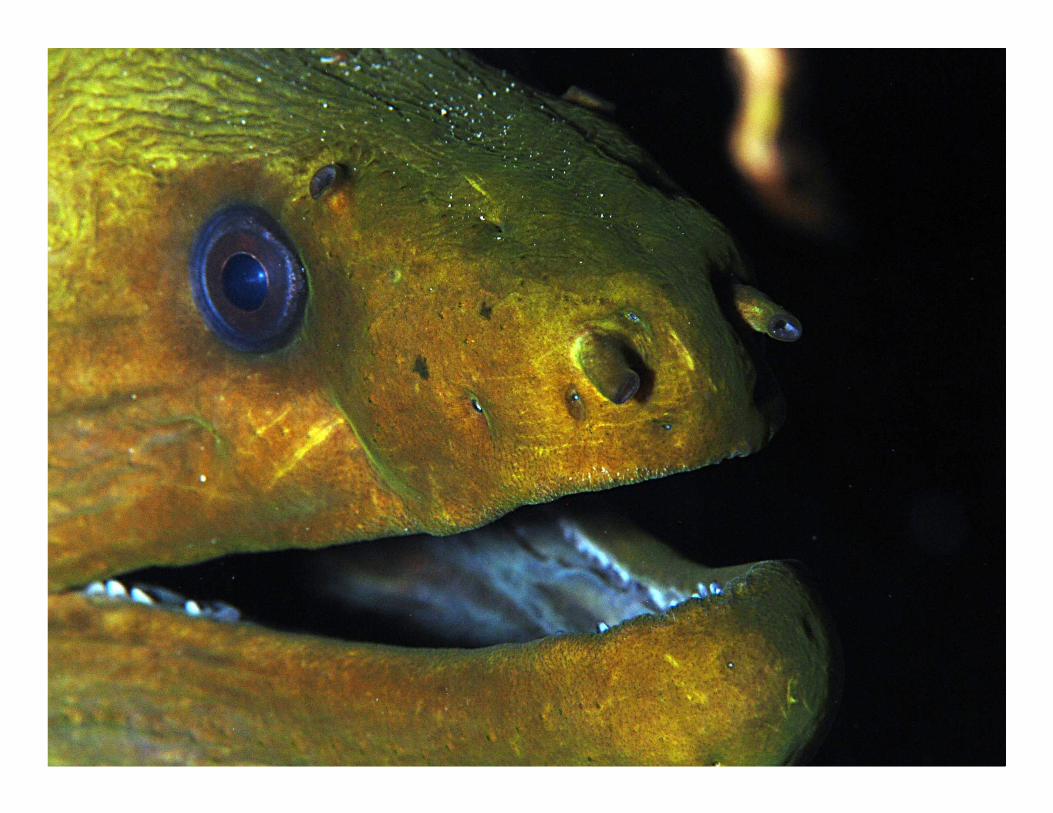
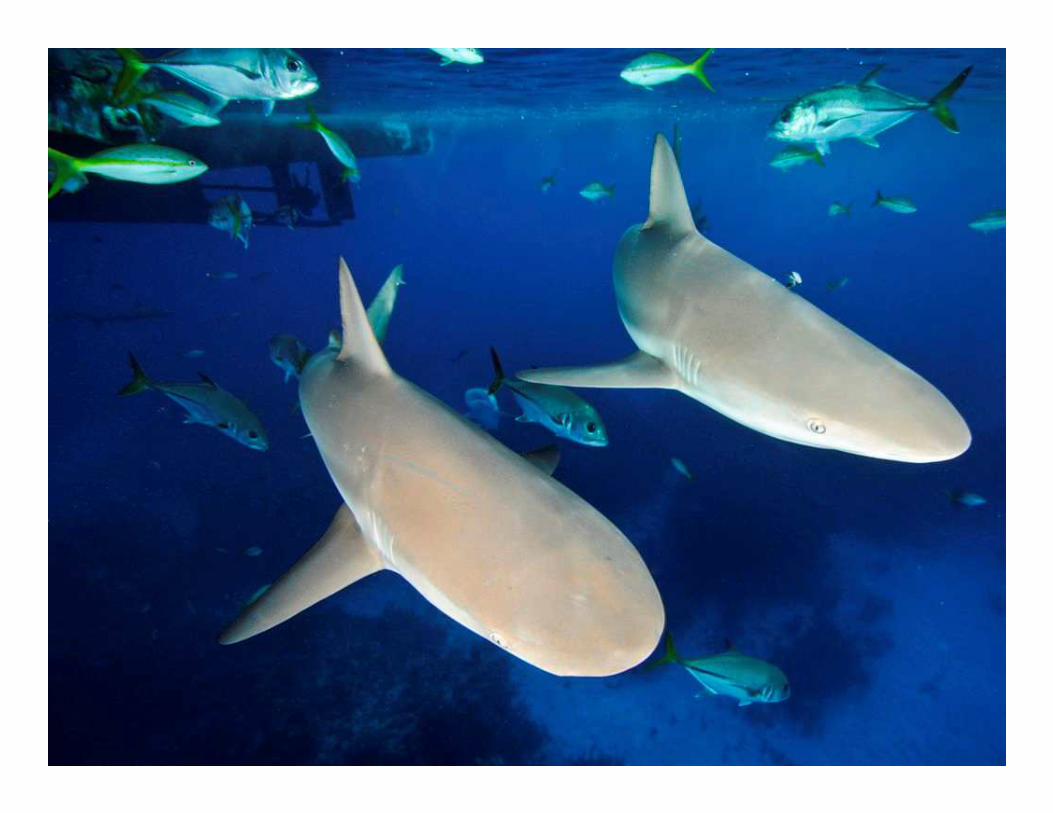
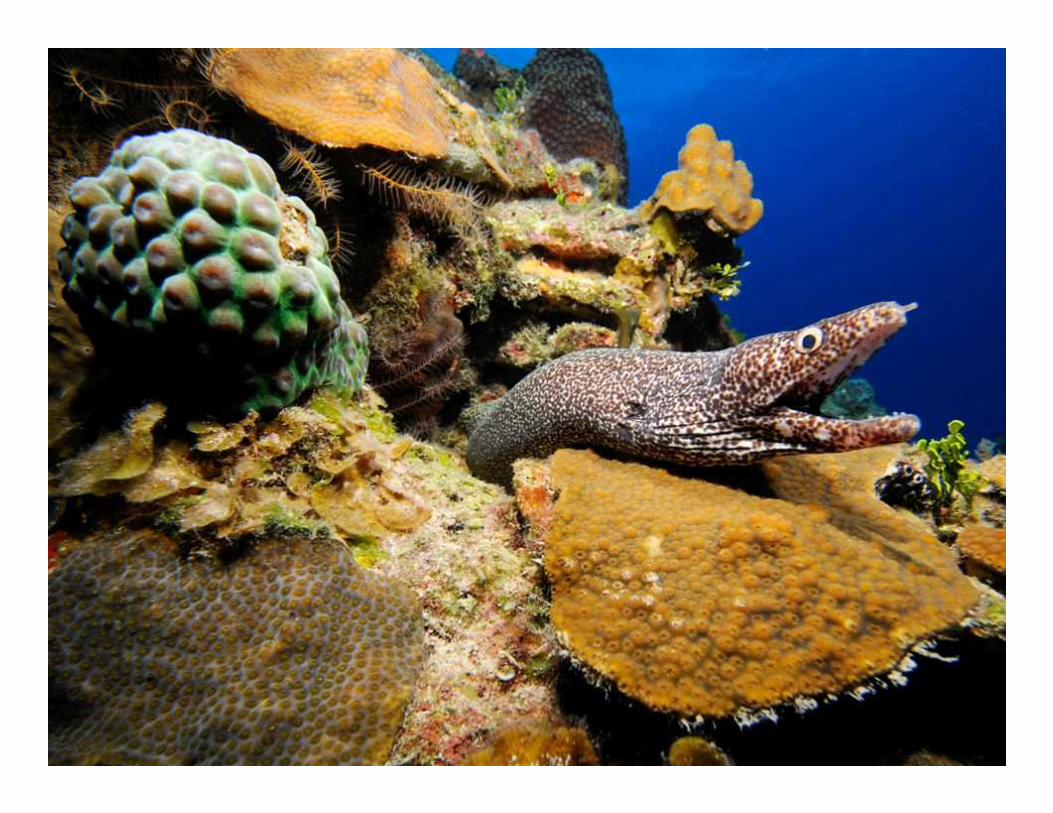
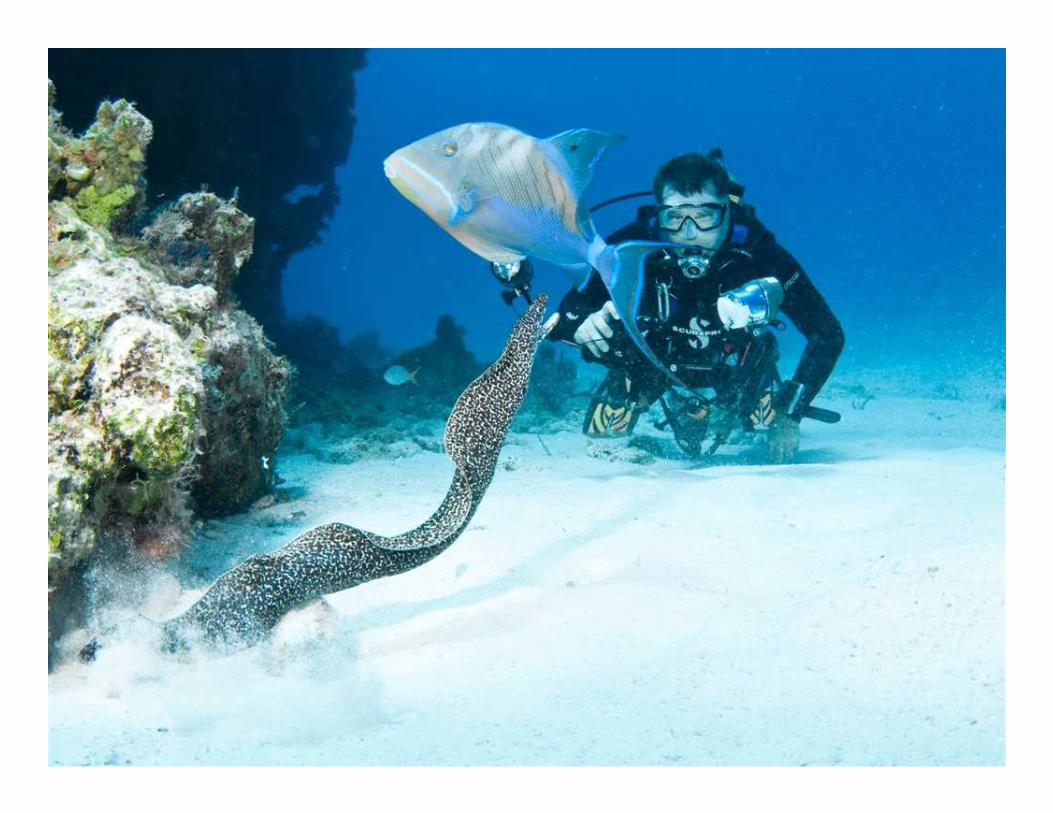
Bites - Morays, sharks, barracuda,
and other fish will bite if threatened,
or when you try to feed them
First aid:
• It may be necessary to unhook by pushing inward first before withdrawing
• Assist the diver to the surface
• Clean the wound and remove any tooth fragments
• Control the bleeding and bandage as necessary
• Give oxygen to prevent shock and transport the victim to medical attention for possible stitches and antibiotics, if necessary
Marine Life Injuries continued
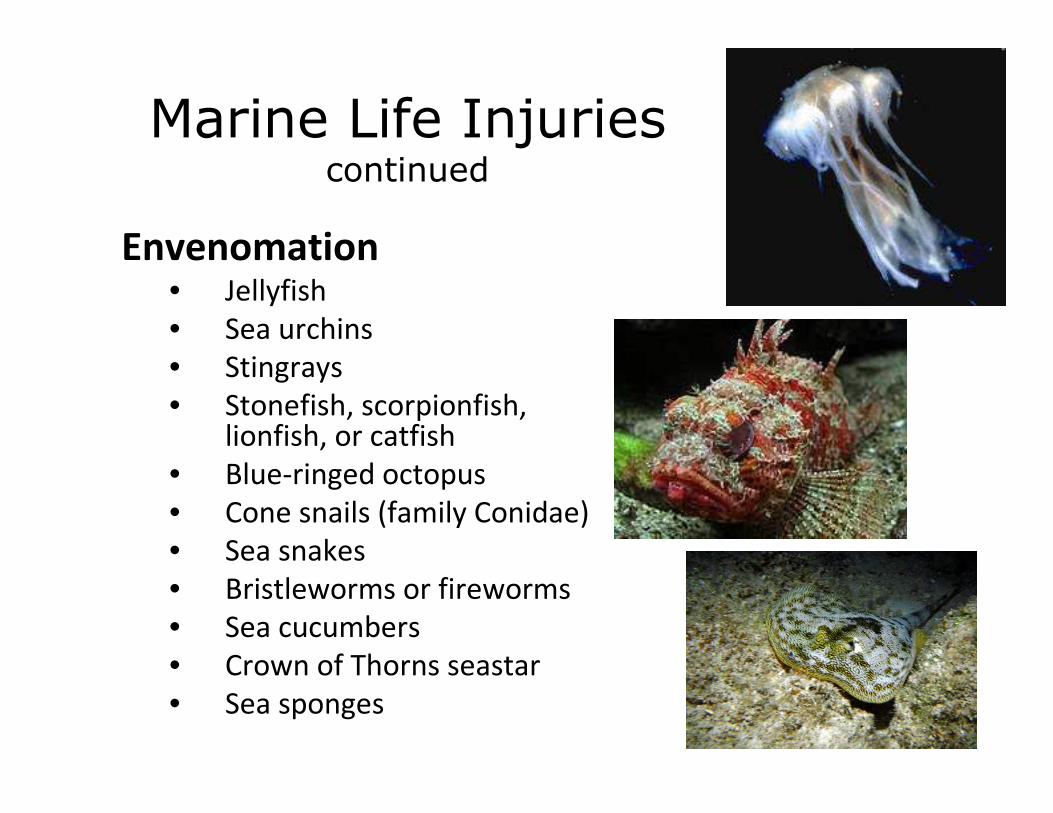
Envenomation• Jellyfish
• Sea urchins
• Stingrays
• Stonefish, scorpionfish,lionfish, or catfish
• Blue-ringed octopus
• Cone snails (family Conidae)
• Sea snakes
• Bristleworms or fireworms
• Sea cucumbers
• Crown of Thorns seastar
• Sea sponges
Marine Life Injuriescontinued
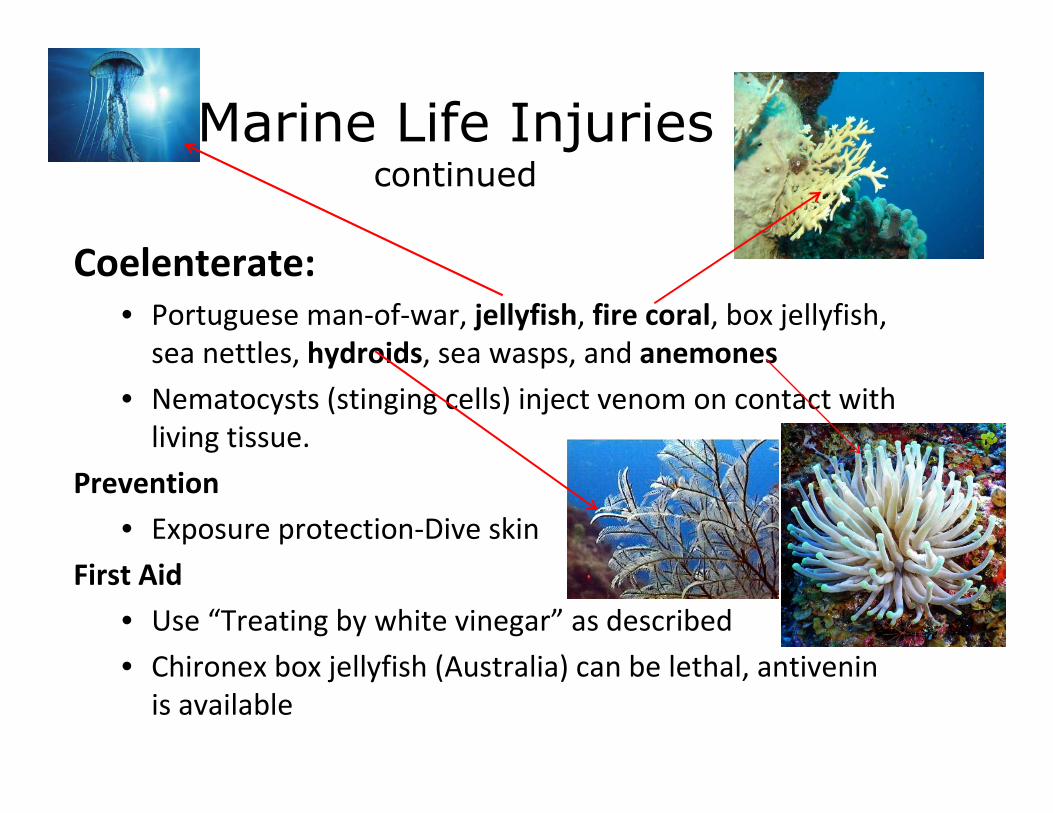
Coelenterate:
• Portuguese man-of-war, jellyfish, fire coral, box jellyfish,
sea nettles, hydroids, sea wasps, and anemones
• Nematocysts (stinging cells) inject venom on contact with
living tissue.
Prevention
• Exposure protection-Dive skin
First Aid
• Use “Treating by white vinegar” as described
• Chironex box jellyfish (Australia) can be lethal, antivenin
is available
Marine Life Injuriescontinued
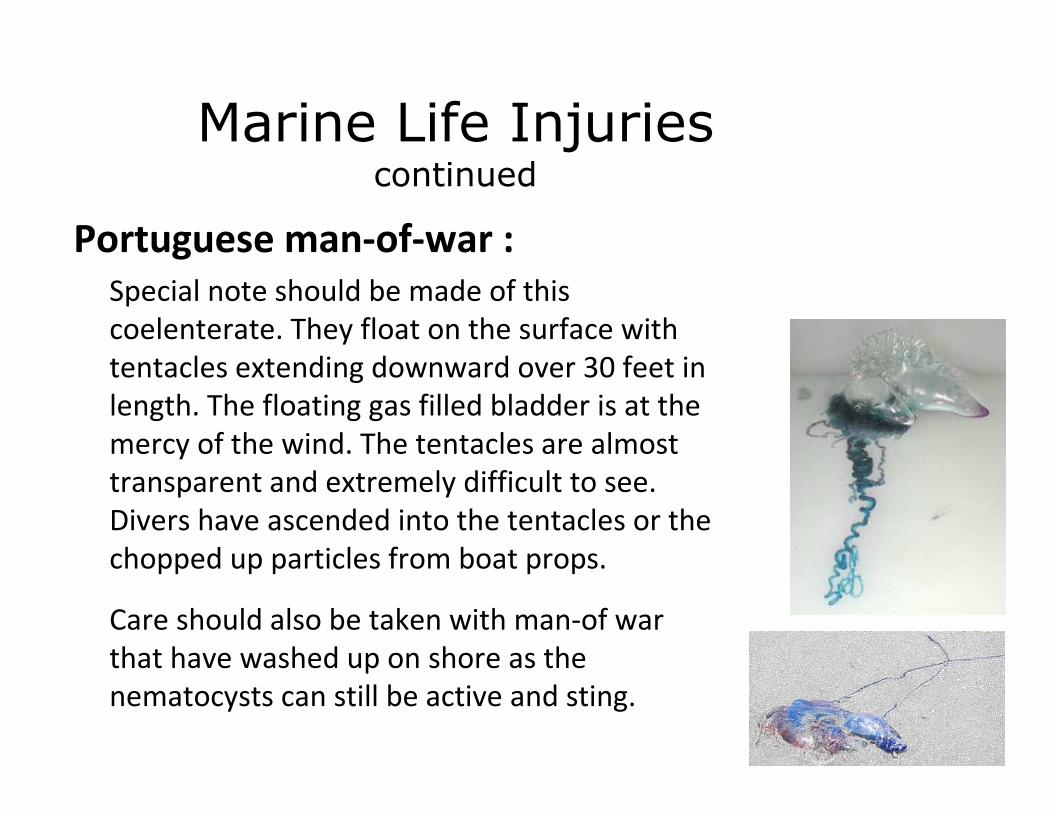
Portuguese man-of-war :
Special note should be made of this
coelenterate. They float on the surface with
tentacles extending downward over 30 feet in
length. The floating gas filled bladder is at the
mercy of the wind. The tentacles are almost
transparent and extremely difficult to see.
Divers have ascended into the tentacles or the
chopped up particles from boat props.
Care should also be taken with man-of war
that have washed up on shore as the
nematocysts can still be active and sting.

Marine Life Injuriescontinued
Sea Urchin Puncture: • Spines remain embedded, and can pierce gloves or wetsuit
Treatment
• Use “Treating by Heat” as described
• Attempt to remove spines
• Deeply embedded spines may require medical treatment/removal
Stingray Puncture:• barbed spine in their tails injures leg or foot when stepped upon,
usually in shallow waters.
Treatment
• Local lidocane, use “Treating by Heat”
• Seek medical attention to avoid infection/complications
Marine Life Injuriescontinued
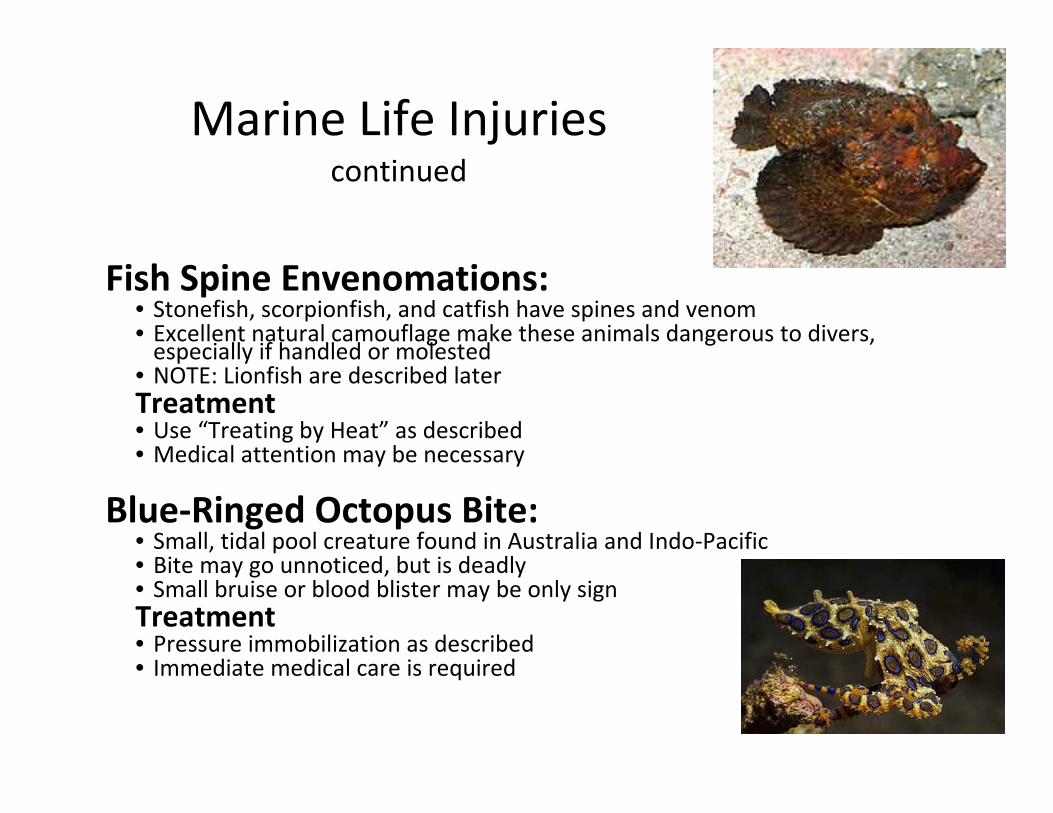
Fish Spine Envenomations:• Stonefish, scorpionfish, and catfish have spines and venom • Excellent natural camouflage make these animals dangerous to divers,
especially if handled or molested • NOTE: Lionfish are described later
Treatment• Use “Treating by Heat” as described• Medical attention may be necessary
Blue-Ringed Octopus Bite:• Small, tidal pool creature found in Australia and Indo-Pacific• Bite may go unnoticed, but is deadly• Small bruise or blood blister may be only sign
Treatment• Pressure immobilization as described • Immediate medical care is required
Marine Life Injuriescontinued
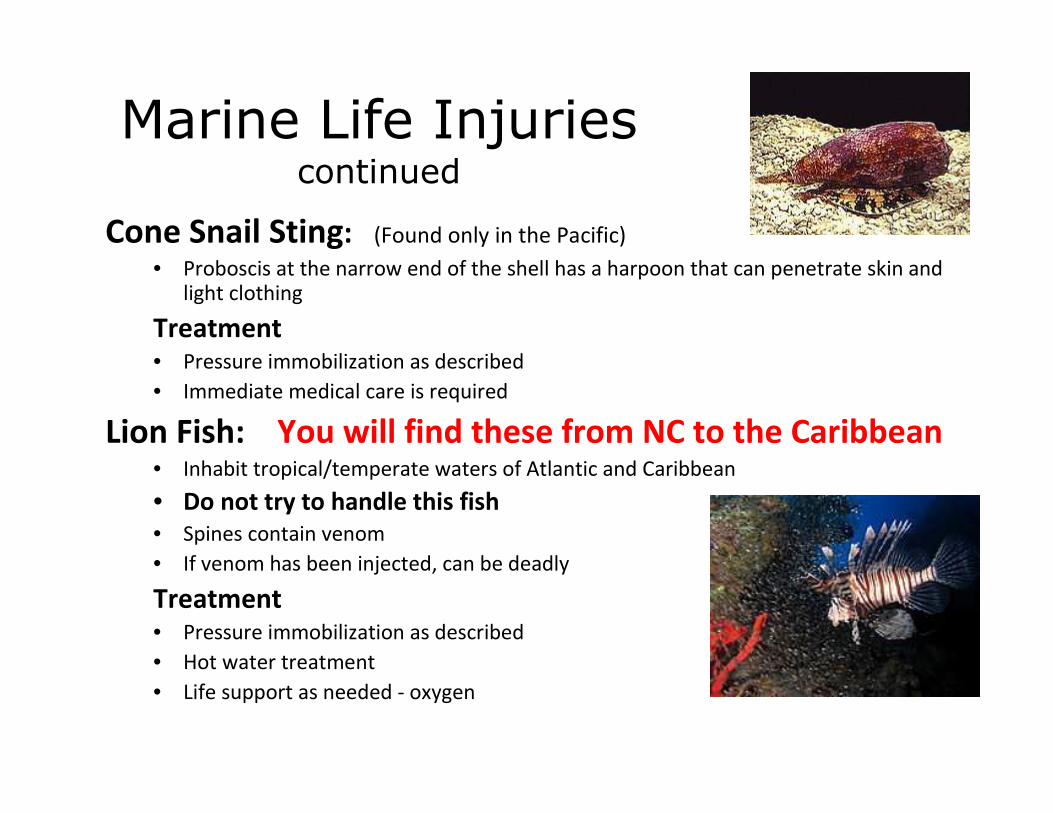
Cone Snail Sting: (Found only in the Pacific)
• Proboscis at the narrow end of the shell has a harpoon that can penetrate skin and light clothing
Treatment• Pressure immobilization as described
• Immediate medical care is required
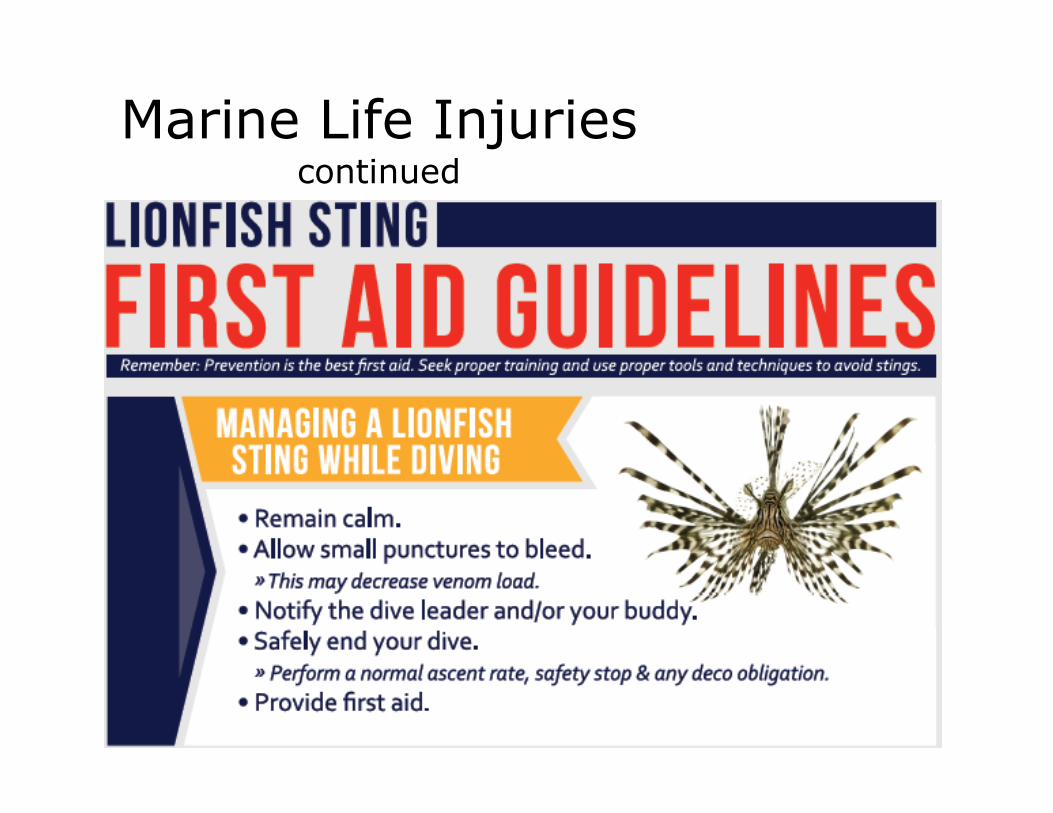
Lion Fish: You will find these from NC to the Caribbean• Inhabit tropical/temperate waters of Atlantic and Caribbean
• Do not try to handle this fish
• Spines contain venom
• If venom has been injected, can be deadly
Treatment• Pressure immobilization as described
• Hot water treatment
• Life support as needed - oxygen
Marine Life Injuriescontinued
Marine Life Injuriescontinued
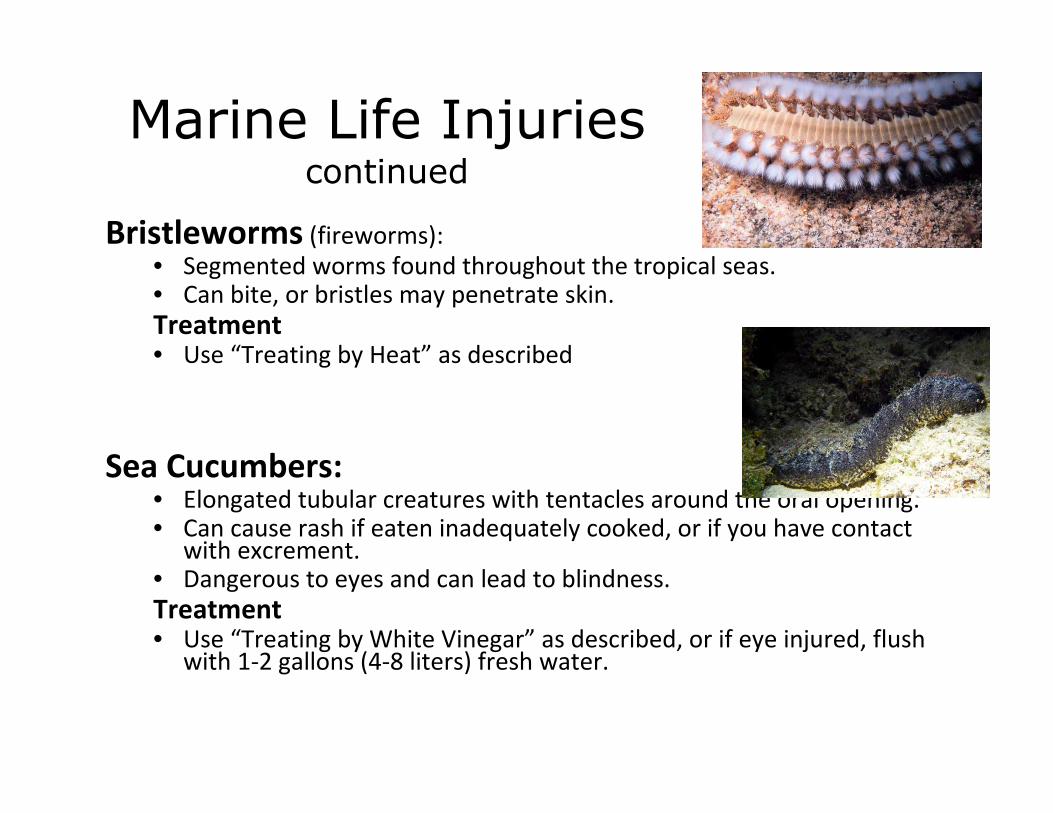
Bristleworms (fireworms):
• Segmented worms found throughout the tropical seas.• Can bite, or bristles may penetrate skin.
Treatment • Use “Treating by Heat” as described
Sea Cucumbers: • Elongated tubular creatures with tentacles around the oral opening.• Can cause rash if eaten inadequately cooked, or if you have contact
with excrement.• Dangerous to eyes and can lead to blindness.
Treatment • Use “Treating by White Vinegar” as described, or if eye injured, flush
with 1-2 gallons (4-8 liters) fresh water.
Marine Life Injuriescontinued
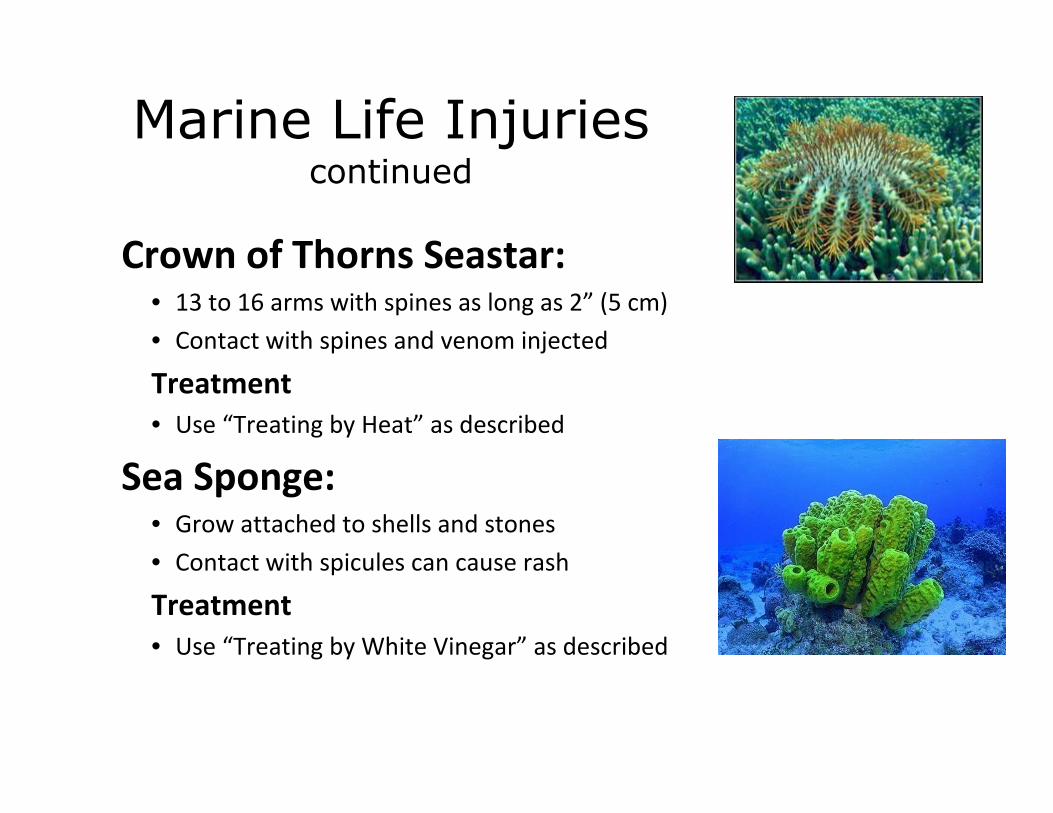
Crown of Thorns Seastar:• 13 to 16 arms with spines as long as 2” (5 cm)
• Contact with spines and venom injected
Treatment
• Use “Treating by Heat” as described
Sea Sponge:• Grow attached to shells and stones
• Contact with spicules can cause rash
Treatment
• Use “Treating by White Vinegar” as described
Marine Life Injuries continued
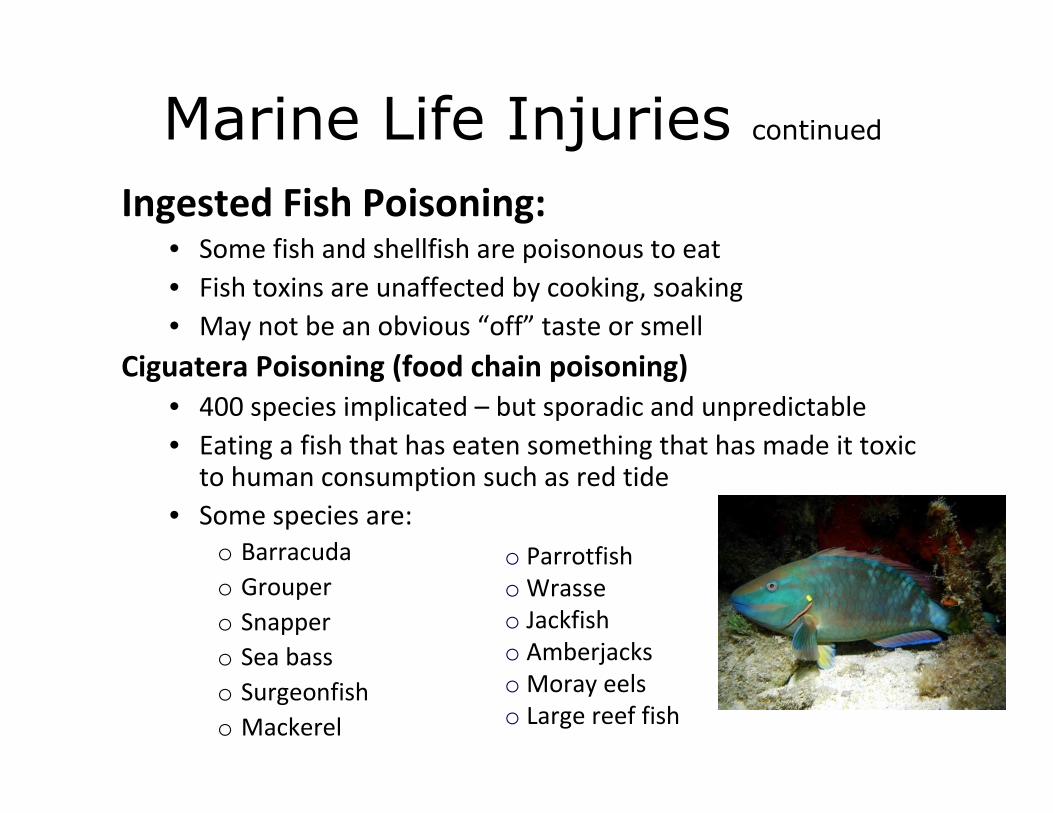
Ingested Fish Poisoning:• Some fish and shellfish are poisonous to eat
• Fish toxins are unaffected by cooking, soaking
• May not be an obvious “off” taste or smell
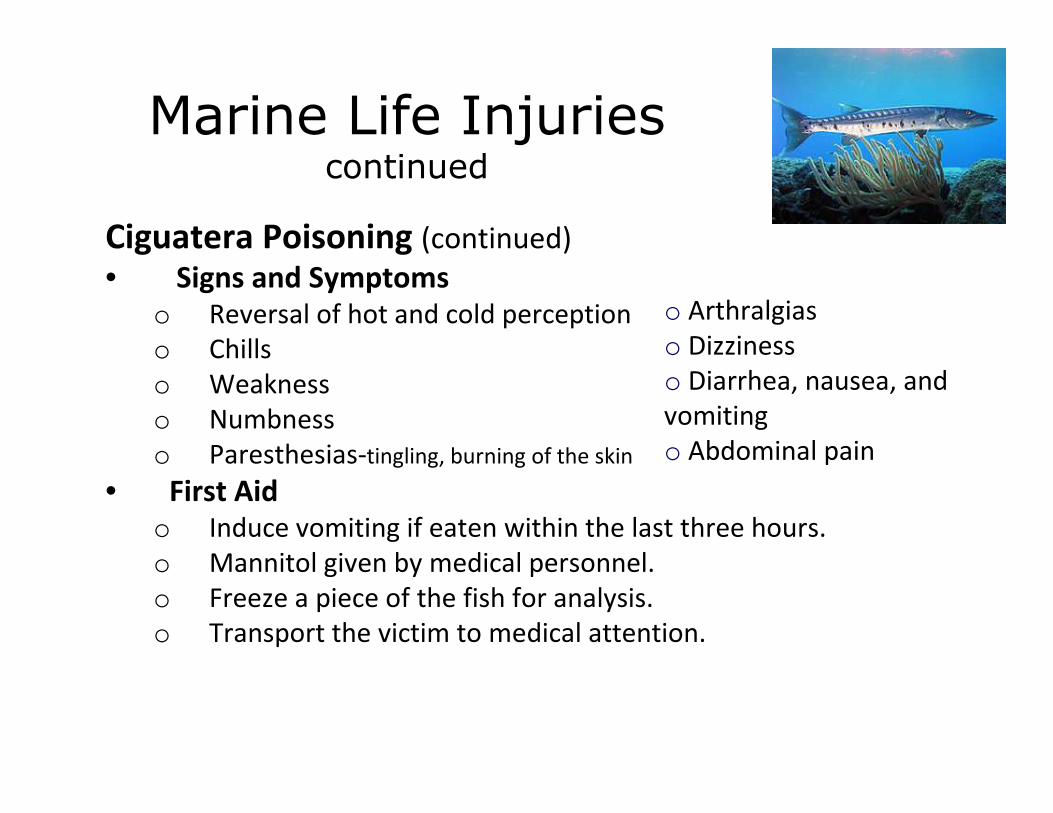
Ciguatera Poisoning (food chain poisoning)
• 400 species implicated – but sporadic and unpredictable
• Eating a fish that has eaten something that has made it toxic to human consumption such as red tide
• Some species are:
o Barracuda
o Grouper
o Snapper
o Sea bass
o Surgeonfish
o Mackerel
o Parrotfish
o Wrasse
o Jackfish
o Amberjacks
o Moray eels
o Large reef fish
Marine Life Injuries continued
Ciguatera Poisoning (continued)
• Signs and Symptoms
o Reversal of hot and cold perception
o Chills
o Weakness
o Numbness
o Paresthesias-tingling, burning of the skin
• First Aid
o Induce vomiting if eaten within the last three hours.
o Mannitol given by medical personnel.
o Freeze a piece of the fish for analysis.
o Transport the victim to medical attention.
o Arthralgias
o Dizziness
o Diarrhea, nausea, and
vomiting
o Abdominal pain

Marine Life Injuries continued
Scombroid Poisoning
• Results from eating fish not preserved or refrigerated after
caught and includes:
o Albacore, bluefin, and yellowfin tuna
o Mackerel
o Wahoo
o Skipjack
o Bonito
o Bluefish
o Dolphinfish (mahi-mahi)
o Sardines
o Anchovies
o Amberjack
o Herring
Marine Life Injuries continued
Scombroid Poisoning (continued)• Signs and Symptoms
oFlushed skin of the face, neck, and upper torso that gets worse with exposure to the sun
oSensation of warmth but normal temperature
oItching or hives
oRed eyes
oPuffy face and hands
oDifficulty breathing with wheezing
oNausea, vomiting
oHeadache
oThirst
oDifficulty swallowing
• First AidoInduce vomiting if eaten within the last three hours
oTransport the victim to medical attention
Marine Life Injuries continued
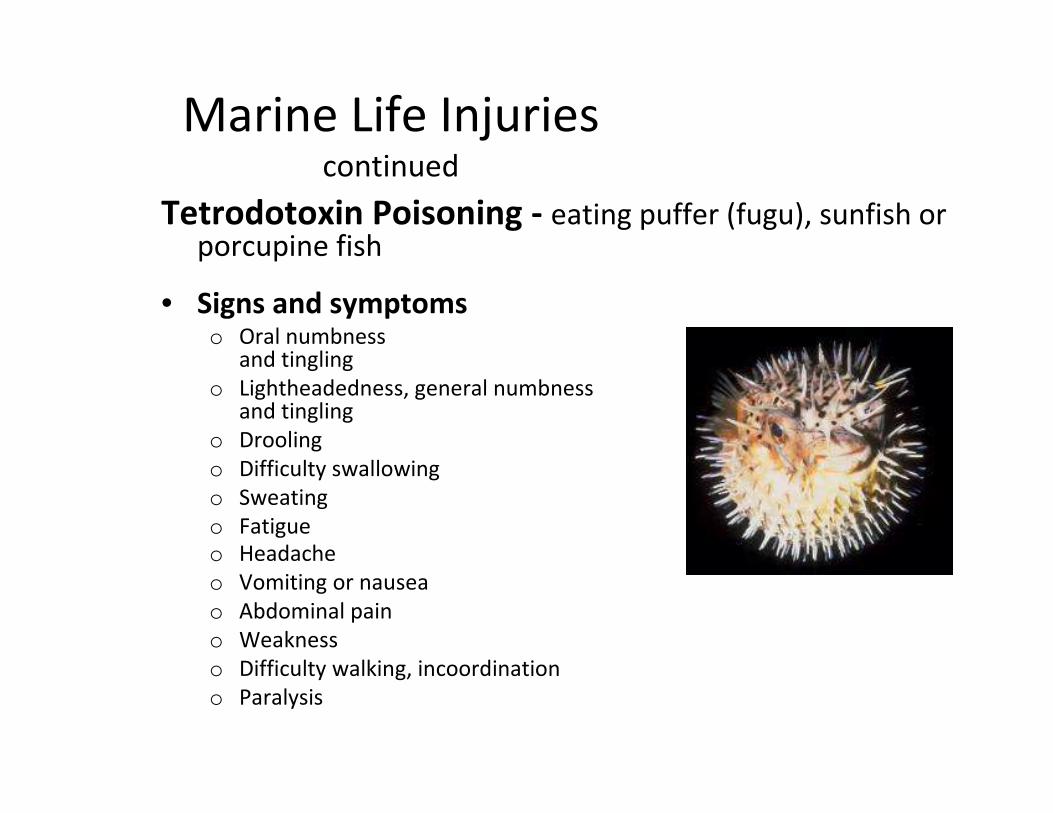
Tetrodotoxin Poisoning - eating puffer (fugu), sunfish or porcupine fish
• Signs and symptomso Oral numbness
and tingling
o Lightheadedness, general numbness and tingling
o Drooling
o Difficulty swallowing
o Sweating
o Fatigue
o Headache
o Vomiting or nausea
o Abdominal pain
o Weakness
o Difficulty walking, incoordination
o Paralysis
Marine Life Injuries continued
Tetrodotoxin Poisoning (continued)
• Prevention
o Do not eat fish without scales.
o Only eat Fugu prepared by a licensed chef.
• First Aid
o Induce vomiting if the victim ate the fish within the last
three hours.
o Perform artificial respiration if the victim is not
breathing.
o Seek immediate medical attention.
Marine Life Injuriescontinued
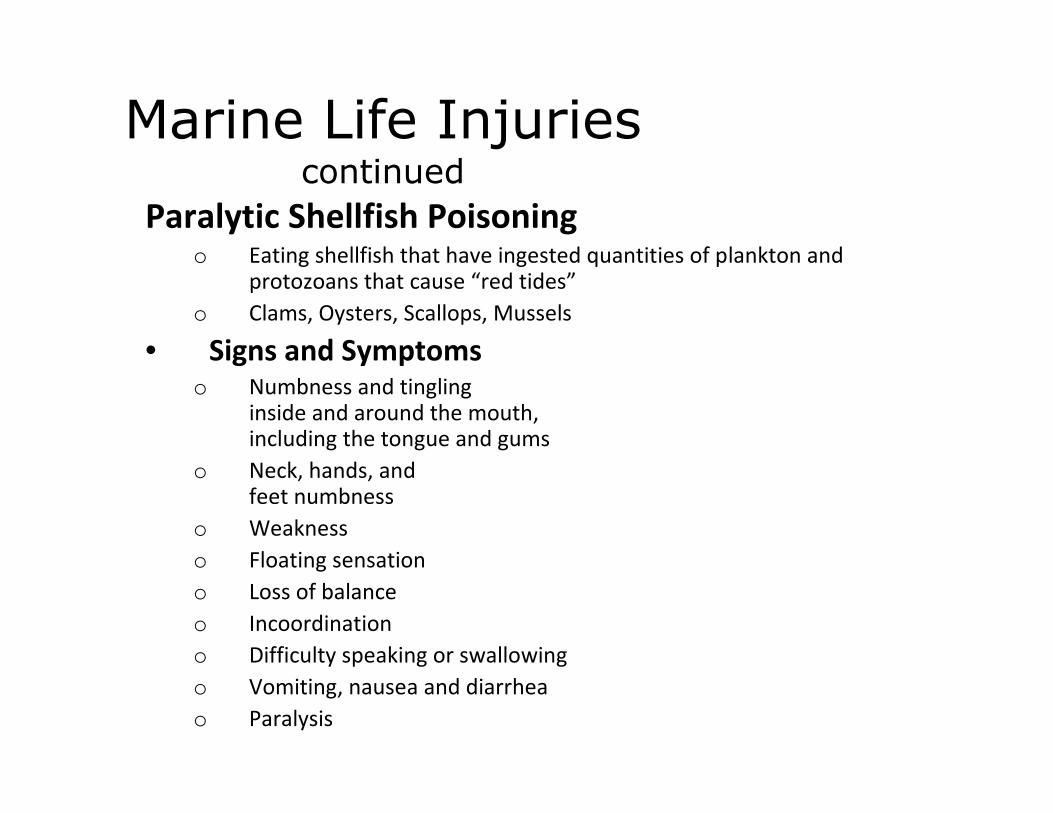
Paralytic Shellfish Poisoning o Eating shellfish that have ingested quantities of plankton and
protozoans that cause “red tides”
o Clams, Oysters, Scallops, Mussels
• Signs and Symptomso Numbness and tingling
inside and around the mouth, including the tongue and gums
o Neck, hands, and feet numbness
o Weakness
o Floating sensation
o Loss of balance
o Incoordination
o Difficulty speaking or swallowing
o Vomiting, nausea and diarrhea
o Paralysis
Marine Life Injuriescontinued
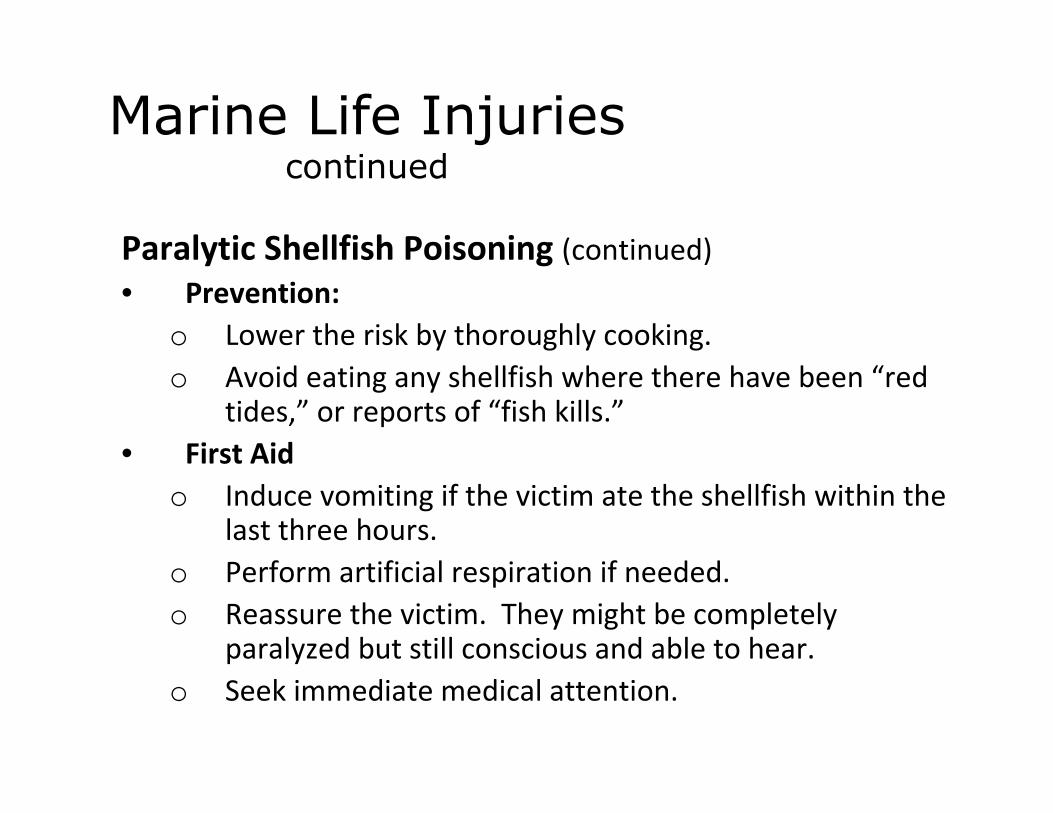
Paralytic Shellfish Poisoning (continued)
• Prevention:
o Lower the risk by thoroughly cooking.
o Avoid eating any shellfish where there have been “red tides,” or reports of “fish kills.”
• First Aid
o Induce vomiting if the victim ate the shellfish within the last three hours.
o Perform artificial respiration if needed.
o Reassure the victim. They might be completely paralyzed but still conscious and able to hear.
o Seek immediate medical attention.
Cuts and scrapes
Cuts and scrapes while diving must be attended to as they are more susceptible to infection than an ordinary cut or scrape due to all of the micro organisms in the marine environment. This is especially true if the wound is from an encounter with live coral. This means that actual polyp tissue and stinging cells are in the wound.
Wounds must be cleaned with soap and water and antibiotic ointment out on them. Failure to do this can result in a small wound getting infected and becoming a large problem. All divers should travel with a first aid kit as described at the beginning of this program. DO NOT DEPEND ON SOMEONE ELSE FOR YOUR CARE.
CPR
Every diver should take a CPR course. If you have not taken a CPR course, you can still administer “Hands Only CPR”
https://www.youtube.com/watch?v=-Yqk5cHXsko
These are the steps for a lay, non-CPR trained person.
After you have watched the video, you must practice “Hands Only CPR” on a manikin with your SCUBA Merit Badge Counselor as required under 1b if you have not had CPR training.
NOTE: You should NEVER do rescue breathing without a barrier or CPR mask.


https://www.youtube.com/watch?v=wSSbvfgdgkI
https://www.youtube.com/watch?v=sO7CrfVtHIs
www.stuartcove.com
Ultimate Dive Adventure!Stuart Cove’s Dive Bahamas
LET’S GO
DIVING!
SCUBA, OK!
THIS IS YOUR NAUI SCUBA CERTIFICATION COURSE!

This Presentation Brought to You by:
www.bahamasscubaadventures.com
and