Embed Size (px)
Citation preview
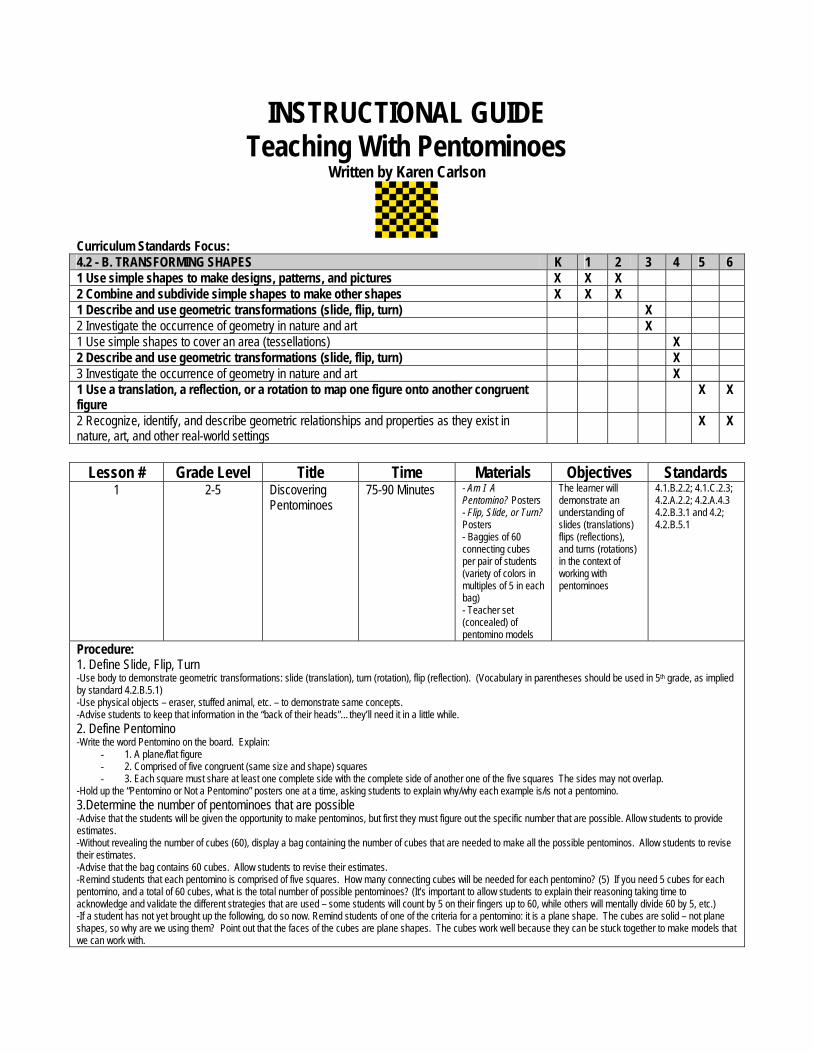
INSTRUCTIONAL GUIDE Teaching With Pentominoes
Written by Karen Carlson
Curriculum Standards Focus: 4.2 - B. TRANSFORMING SHAPES K 1 2 3 4 5 6 1 Use simple shapes to make designs, patterns, and pictures X X X 2 Combine and subdivide simple shapes to make other shapes X X X 1 Describe and use geometric transformations (slide, flip, turn) X 2 Investigate the occurrence of geometry in nature and art X 1 Use simple shapes to cover an area (tessellations) X 2 Describe and use geometric transformations (slide, flip, turn) X 3 Investigate the occurrence of geometry in nature and art X 1 Use a translation, a reflection, or a rotation to map one figure onto another congruent figure
X X
2 Recognize, identify, and describe geometric relationships and properties as they exist in nature, art, and other real-world settings
X X
Lesson # Grade Level Title Time Materials Objectives Standards
1 2-5 Discovering Pentominoes
75-90 Minutes - Am I A Pentomino? Posters - Flip, Slide, or Turn? Posters - Baggies of 60 connecting cubes per pair of students (variety of colors in multiples of 5 in each bag) - Teacher set (concealed) of pentomino models
The learner will demonstrate an understanding of slides (translations) flips (reflections), and turns (rotations) in the context of working with pentominoes
4.1.B.2.2; 4.1.C.2.3; 4.2.A.2.2; 4.2.A.4.3 4.2.B.3.1 and 4.2; 4.2.B.5.1
Procedure: 1. Define Slide, Flip, Turn -Use body to demonstrate geometric transformations: slide (translation), turn (rotation), flip (reflection). (Vocabulary in parentheses should be used in 5th grade, as implied by standard 4.2.B.5.1) -Use physical objects – eraser, stuffed animal, etc. – to demonstrate same concepts. -Advise students to keep that information in the “back of their heads”…they’ll need it in a little while. 2. Define Pentomino -Write the word Pentomino on the board. Explain:
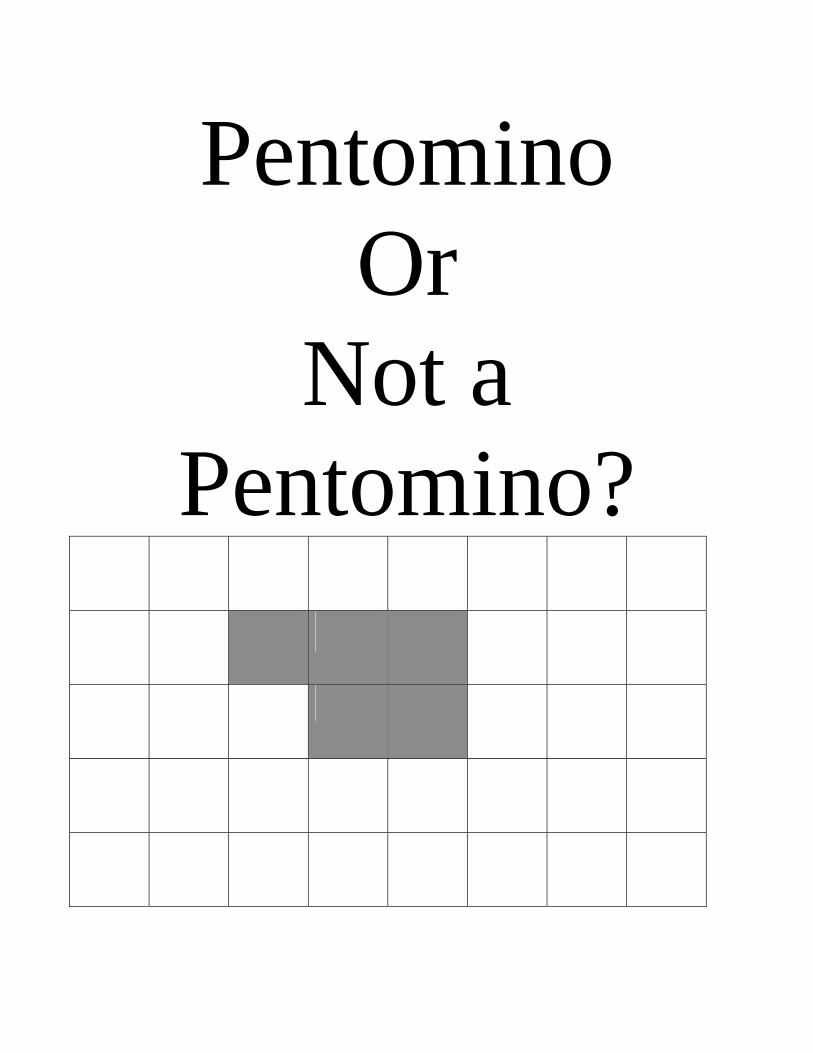
- 1. A plane/flat figure - 2. Comprised of five congruent (same size and shape) squares - 3. Each square must share at least one complete side with the complete side of another one of the five squares The sides may not overlap.
-Hold up the “Pentomino or Not a Pentomino” posters one at a time, asking students to explain why/why each example is/is not a pentomino. 3.Determine the number of pentominoes that are possible -Advise that the students will be given the opportunity to make pentominos, but first they must figure out the specific number that are possible. Allow students to provide estimates. -Without revealing the number of cubes (60), display a bag containing the number of cubes that are needed to make all the possible pentominos. Allow students to revise their estimates. -Advise that the bag contains 60 cubes. Allow students to revise their estimates. -Remind students that each pentomino is comprised of five squares. How many connecting cubes will be needed for each pentomino? (5) If you need 5 cubes for each pentomino, and a total of 60 cubes, what is the total number of possible pentominoes? (It’s important to allow students to explain their reasoning taking time to acknowledge and validate the different strategies that are used – some students will count by 5 on their fingers up to 60, while others will mentally divide 60 by 5, etc.) -If a student has not yet brought up the following, do so now. Remind students of one of the criteria for a pentomino: it is a plane shape. The cubes are solid – not plane shapes, so why are we using them? Point out that the faces of the cubes are plane shapes. The cubes work well because they can be stuck together to make models that we can work with.
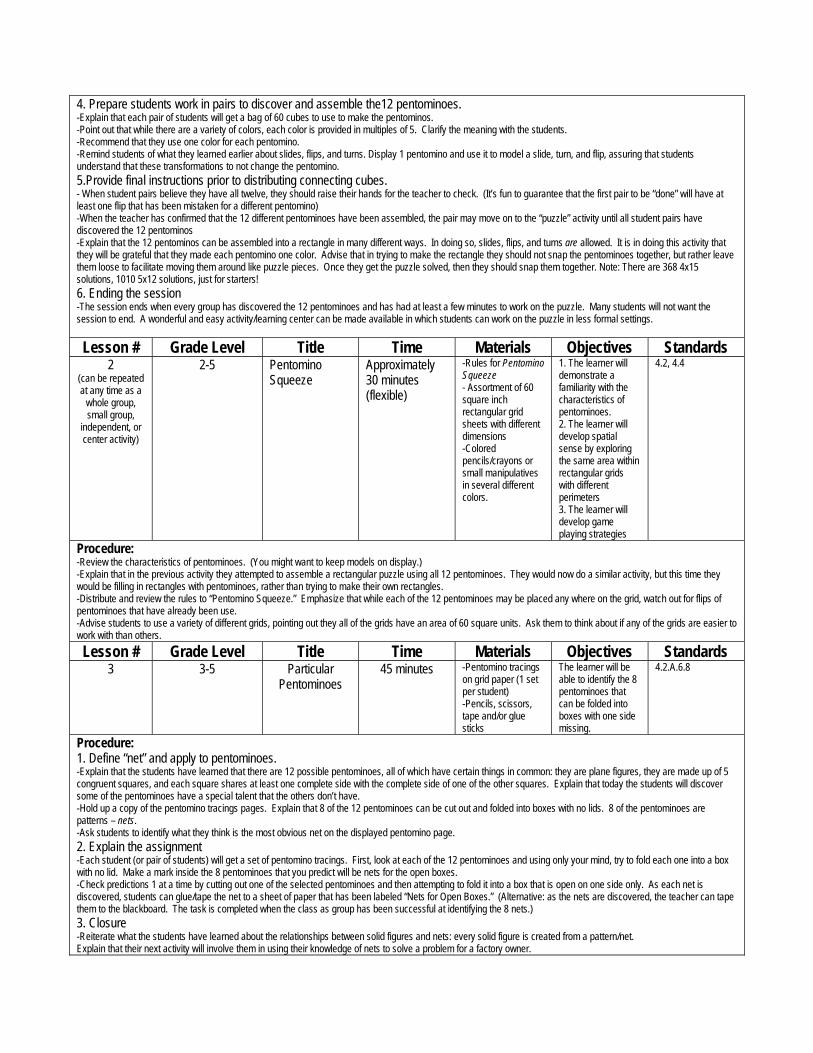
4. Prepare students work in pairs to discover and assemble the12 pentominoes. -Explain that each pair of students will get a bag of 60 cubes to use to make the pentominos. -Point out that while there are a variety of colors, each color is provided in multiples of 5. Clarify the meaning with the students. -Recommend that they use one color for each pentomino. -Remind students of what they learned earlier about slides, flips, and turns. Display 1 pentomino and use it to model a slide, turn, and flip, assuring that students understand that these transformations to not change the pentomino. 5.Provide final instructions prior to distributing connecting cubes. - When student pairs believe they have all twelve, they should raise their hands for the teacher to check. (It’s fun to guarantee that the first pair to be “done” will have at least one flip that has been mistaken for a different pentomino) -When the teacher has confirmed that the 12 different pentominoes have been assembled, the pair may move on to the “puzzle” activity until all student pairs have discovered the 12 pentominos -Explain that the 12 pentominos can be assembled into a rectangle in many different ways. In doing so, slides, flips, and turns are allowed. It is in doing this activity that they will be grateful that they made each pentomino one color. Advise that in trying to make the rectangle they should not snap the pentominoes together, but rather leave them loose to facilitate moving them around like puzzle pieces. Once they get the puzzle solved, then they should snap them together. Note: There are 368 4x15 solutions, 1010 5x12 solutions, just for starters! 6. Ending the session -The session ends when every group has discovered the 12 pentominoes and has had at least a few minutes to work on the puzzle. Many students will not want the session to end. A wonderful and easy activity/learning center can be made available in which students can work on the puzzle in less formal settings. Lesson # Grade Level Title Time Materials Objectives Standards
2 (can be repeated at any time as a
whole group, small group,
independent, or center activity)
2-5 Pentomino Squeeze
Approximately 30 minutes (flexible)
-Rules for Pentomino Squeeze - Assortment of 60 square inch rectangular grid sheets with different dimensions -Colored pencils/crayons or small manipulatives in several different colors.
1. The learner will demonstrate a familiarity with the characteristics of pentominoes. 2. The learner will develop spatial sense by exploring the same area within rectangular grids with different perimeters 3. The learner will develop game playing strategies
4.2, 4.4
Procedure: -Review the characteristics of pentominoes. (You might want to keep models on display.) -Explain that in the previous activity they attempted to assemble a rectangular puzzle using all 12 pentominoes. They would now do a similar activity, but this time they would be filling in rectangles with pentominoes, rather than trying to make their own rectangles. -Distribute and review the rules to “Pentomino Squeeze.” Emphasize that while each of the 12 pentominoes may be placed any where on the grid, watch out for flips of pentominoes that have already been use. -Advise students to use a variety of different grids, pointing out they all of the grids have an area of 60 square units. Ask them to think about if any of the grids are easier to work with than others. Lesson # Grade Level Title Time Materials Objectives Standards
3 3-5 Particular Pentominoes
45 minutes -Pentomino tracings on grid paper (1 set per student) -Pencils, scissors, tape and/or glue sticks
The learner will be able to identify the 8 pentominoes that can be folded into boxes with one side missing.
4.2.A.6.8
Procedure: 1. Define “net” and apply to pentominoes. -Explain that the students have learned that there are 12 possible pentominoes, all of which have certain things in common: they are plane figures, they are made up of 5 congruent squares, and each square shares at least one complete side with the complete side of one of the other squares. Explain that today the students will discover some of the pentominoes have a special talent that the others don’t have. -Hold up a copy of the pentomino tracings pages. Explain that 8 of the 12 pentominoes can be cut out and folded into boxes with no lids. 8 of the pentominoes are patterns – nets. -Ask students to identify what they think is the most obvious net on the displayed pentomino page. 2. Explain the assignment -Each student (or pair of students) will get a set of pentomino tracings. First, look at each of the 12 pentominoes and using only your mind, try to fold each one into a box with no lid. Make a mark inside the 8 pentominoes that you predict will be nets for the open boxes. -Check predictions 1 at a time by cutting out one of the selected pentominoes and then attempting to fold it into a box that is open on one side only. As each net is discovered, students can glue/tape the net to a sheet of paper that has been labeled “Nets for Open Boxes.” (Alternative: as the nets are discovered, the teacher can tape them to the blackboard. The task is completed when the class as group has been successful at identifying the 8 nets.) 3. Closure -Reiterate what the students have learned about the relationships between solid figures and nets: every solid figure is created from a pattern/net. Explain that their next activity will involve them in using their knowledge of nets to solve a problem for a factory owner.
Lesson # Grade Level Title Time Materials Objectives Standards 4 3-5 Designing Boxes 45-60 minutes -Can You Design a
Net for Cube sheet -Pencils, scissors, glue -Game Board 1
The learner will be able to design a net for a cube
4.2.A.6.8
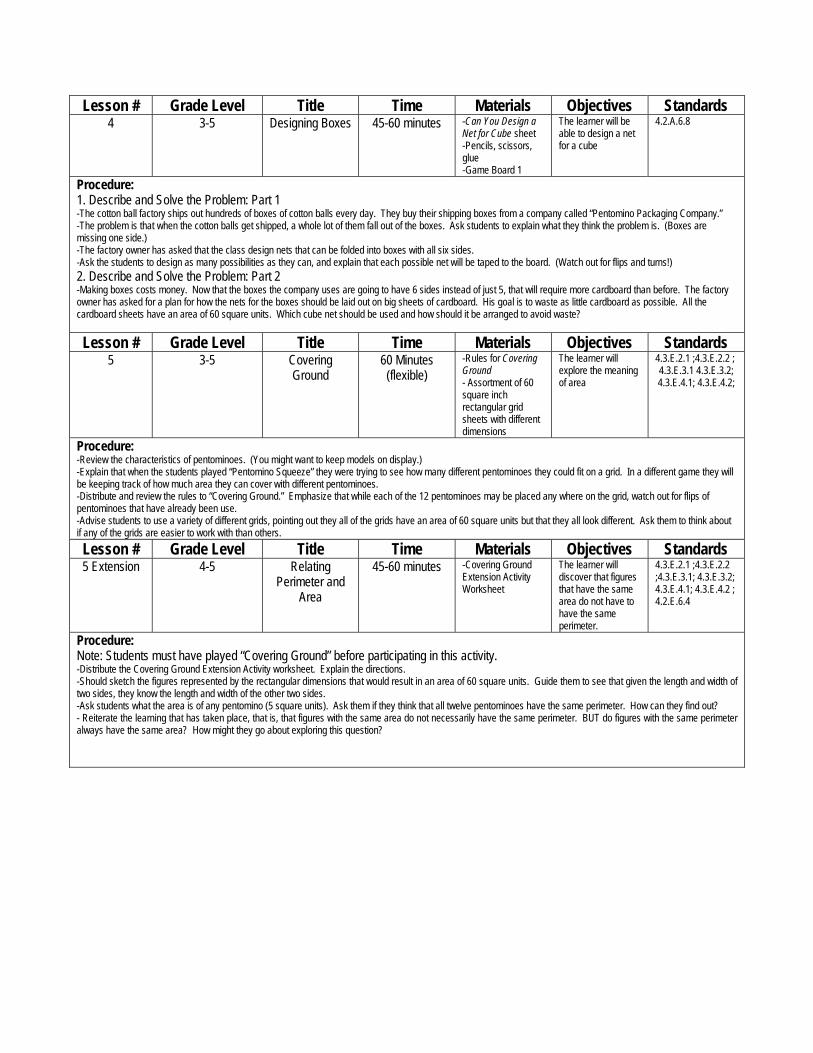
Procedure: 1. Describe and Solve the Problem: Part 1 -The cotton ball factory ships out hundreds of boxes of cotton balls every day. They buy their shipping boxes from a company called “Pentomino Packaging Company.” -The problem is that when the cotton balls get shipped, a whole lot of them fall out of the boxes. Ask students to explain what they think the problem is. (Boxes are missing one side.) -The factory owner has asked that the class design nets that can be folded into boxes with all six sides. -Ask the students to design as many possibilities as they can, and explain that each possible net will be taped to the board. (Watch out for flips and turns!) 2. Describe and Solve the Problem: Part 2 -Making boxes costs money. Now that the boxes the company uses are going to have 6 sides instead of just 5, that will require more cardboard than before. The factory owner has asked for a plan for how the nets for the boxes should be laid out on big sheets of cardboard. His goal is to waste as little cardboard as possible. All the cardboard sheets have an area of 60 square units. Which cube net should be used and how should it be arranged to avoid waste? Lesson # Grade Level Title Time Materials Objectives Standards
5 3-5 Covering Ground
60 Minutes (flexible)
-Rules for Covering Ground - Assortment of 60 square inch rectangular grid sheets with different dimensions
The learner will explore the meaning of area
4.3.E.2.1 ;4.3.E.2.2 ; 4.3.E.3.1 4.3.E.3.2; 4.3.E.4.1; 4.3.E.4.2;
Procedure: -Review the characteristics of pentominoes. (You might want to keep models on display.) -Explain that when the students played “Pentomino Squeeze” they were trying to see how many different pentominoes they could fit on a grid. In a different game they will be keeping track of how much area they can cover with different pentominoes. -Distribute and review the rules to “Covering Ground.” Emphasize that while each of the 12 pentominoes may be placed any where on the grid, watch out for flips of pentominoes that have already been use. -Advise students to use a variety of different grids, pointing out they all of the grids have an area of 60 square units but that they all look different. Ask them to think about if any of the grids are easier to work with than others. Lesson # Grade Level Title Time Materials Objectives Standards 5 Extension 4-5 Relating
Perimeter and Area
45-60 minutes -Covering Ground Extension Activity Worksheet
The learner will discover that figures that have the same area do not have to have the same perimeter.
4.3.E.2.1 ;4.3.E.2.2 ;4.3.E.3.1; 4.3.E.3.2; 4.3.E.4.1; 4.3.E.4.2 ; 4.2.E.6.4
Procedure: Note: Students must have played “Covering Ground” before participating in this activity. -Distribute the Covering Ground Extension Activity worksheet. Explain the directions. -Should sketch the figures represented by the rectangular dimensions that would result in an area of 60 square units. Guide them to see that given the length and width of two sides, they know the length and width of the other two sides. -Ask students what the area is of any pentomino (5 square units). Ask them if they think that all twelve pentominoes have the same perimeter. How can they find out? - Reiterate the learning that has taken place, that is, that figures with the same area do not necessarily have the same perimeter. BUT do figures with the same perimeter always have the same area? How might they go about exploring this question?
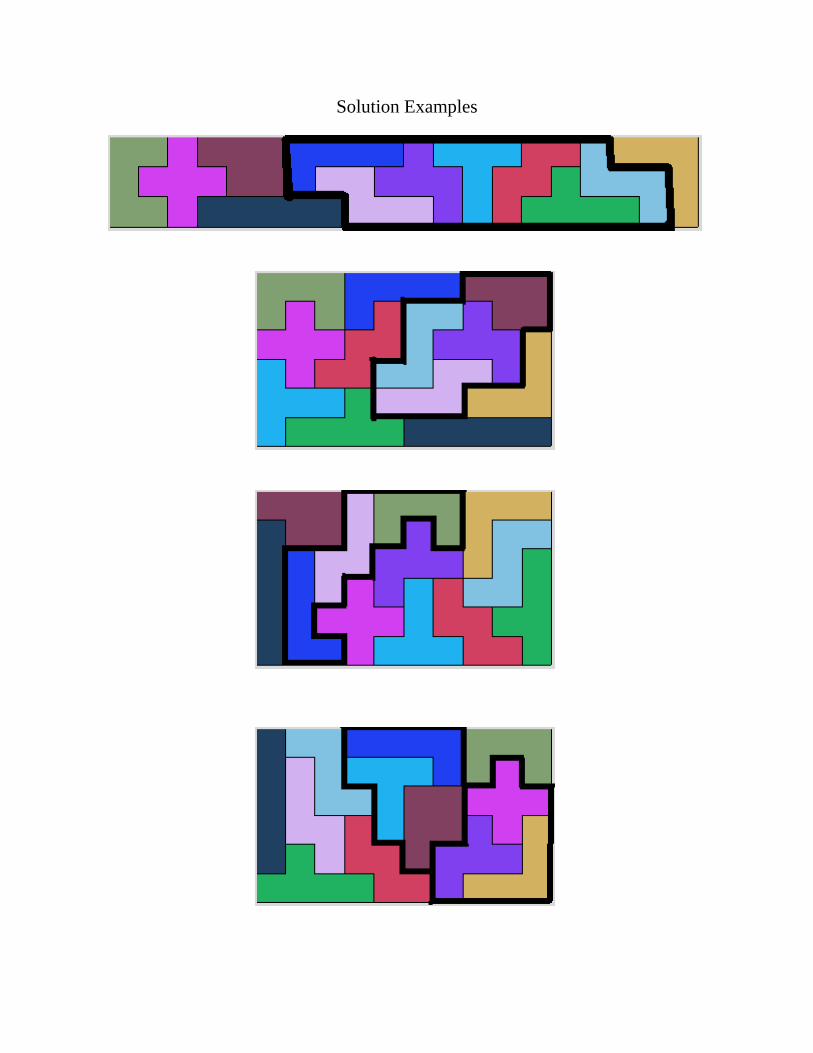
Solution Examples
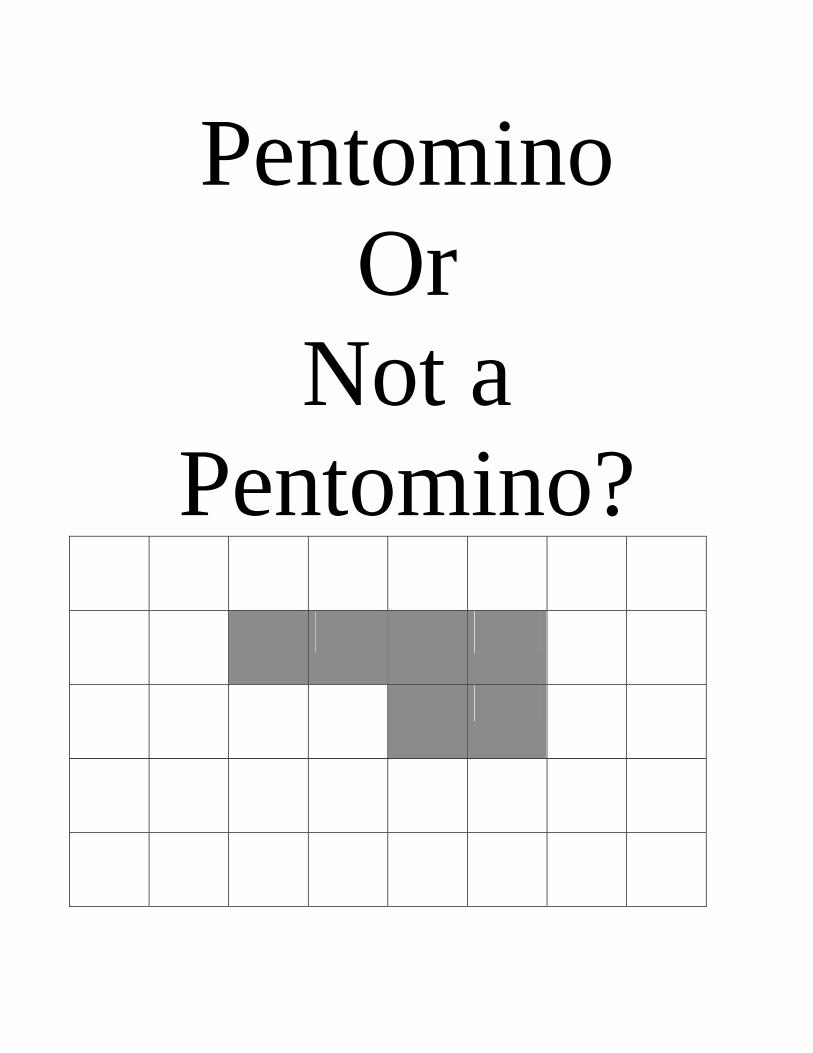
Pentomino Or
Not a Pentomino?
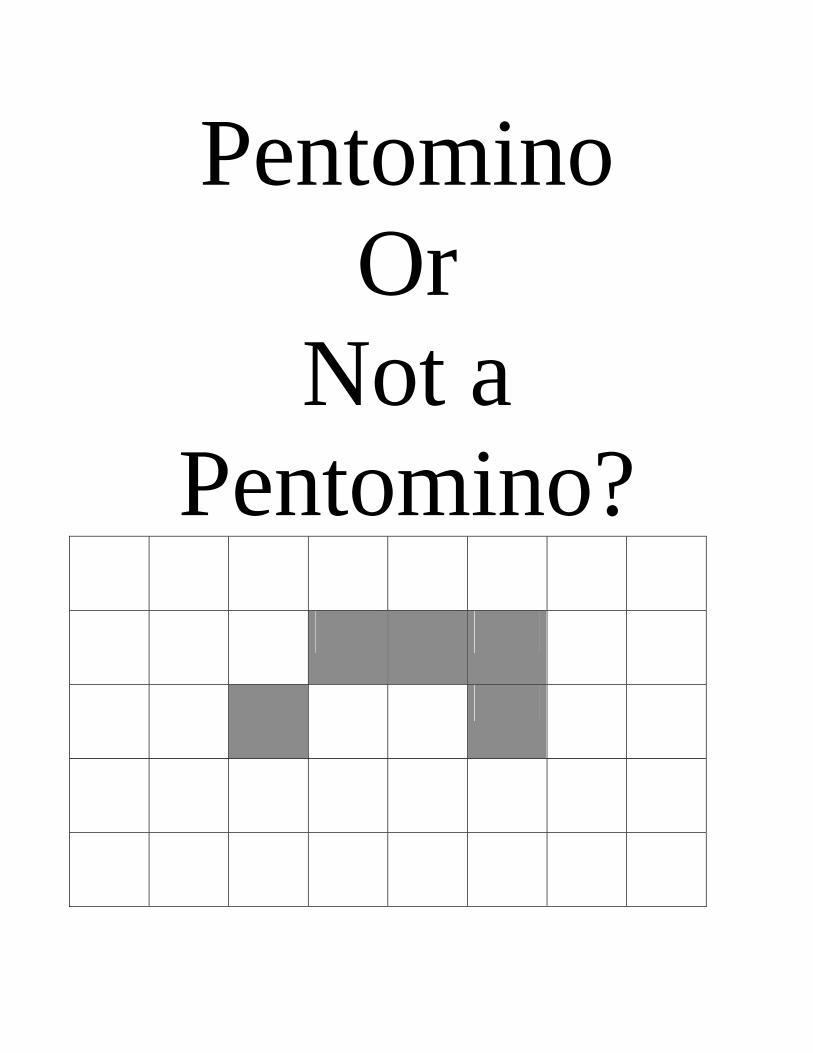
Pentomino Or
Not a Pentomino?
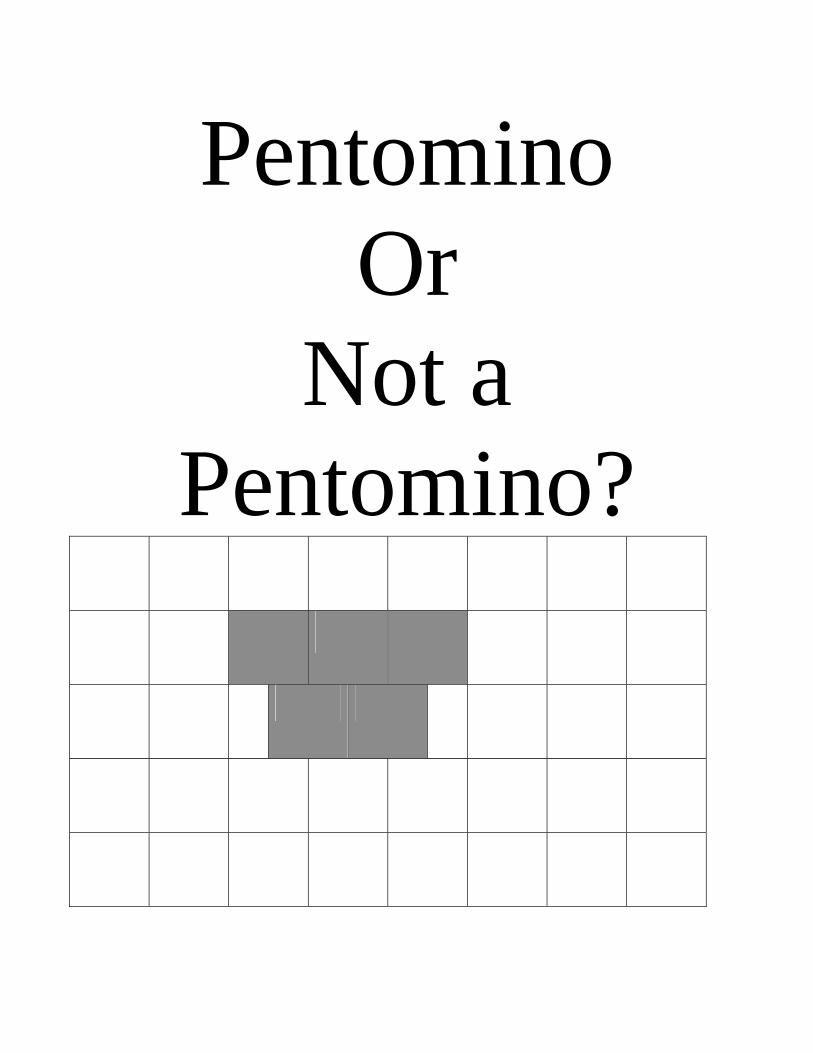
Pentomino Or
Not a Pentomino?
Pentomino Or
Not a Pentomino?
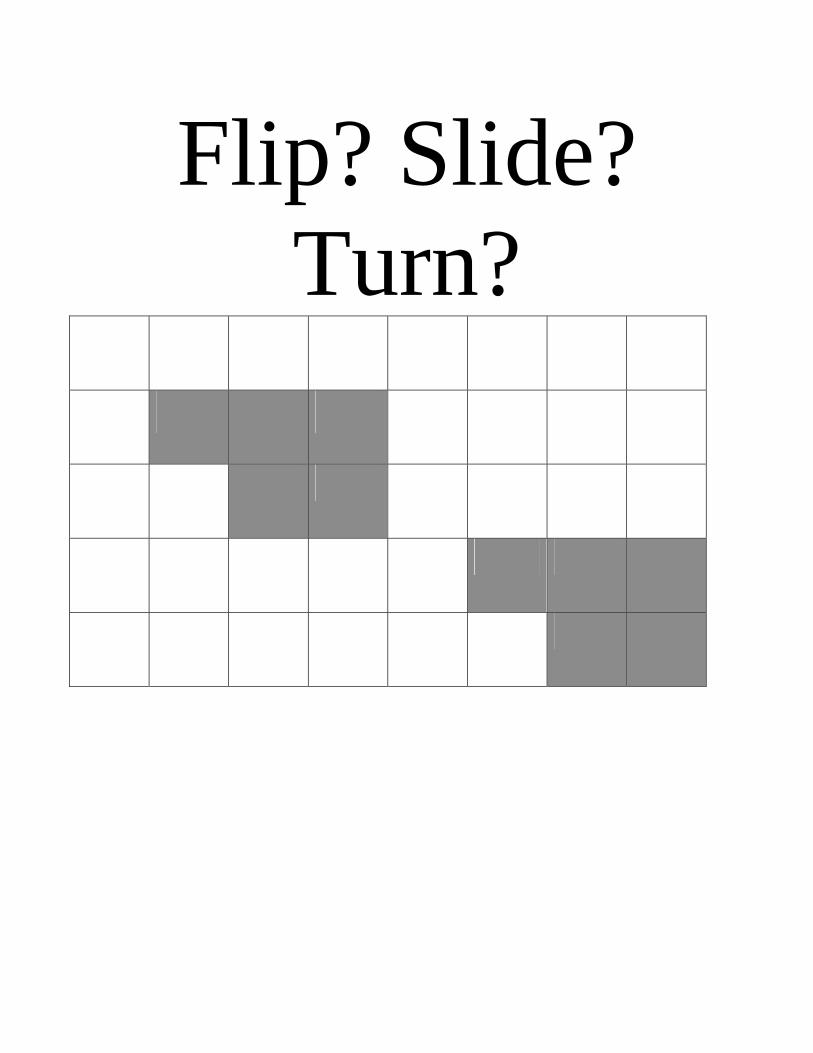
Flip? Slide? Turn?
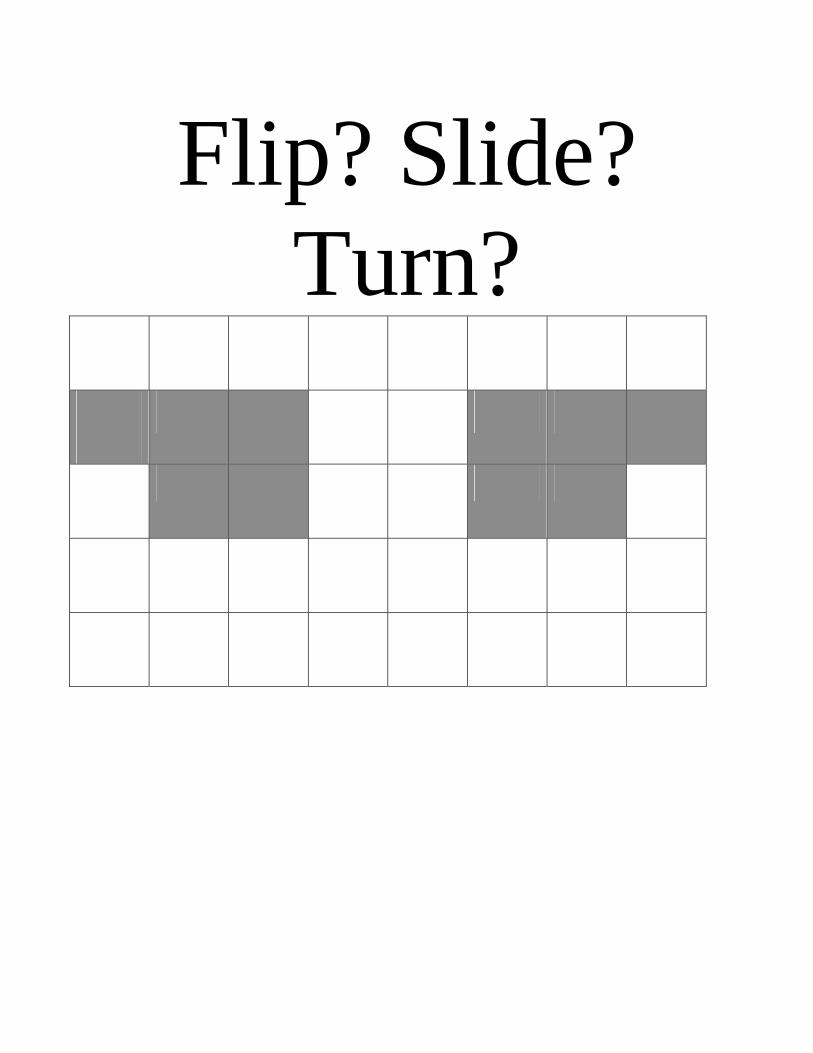
Flip? Slide? Turn?

Flip? Slide? Turn?
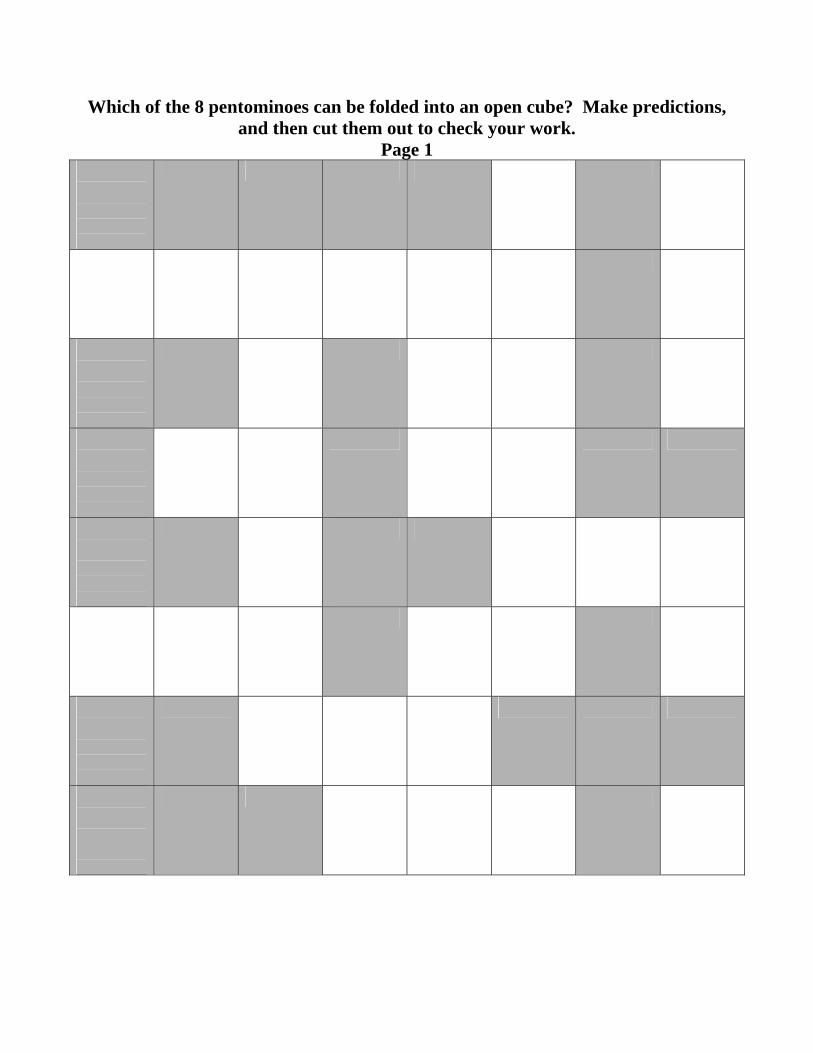
Which of the 8 pentominoes can be folded into an open cube? Make predictions, and then cut them out to check your work.
Page 1
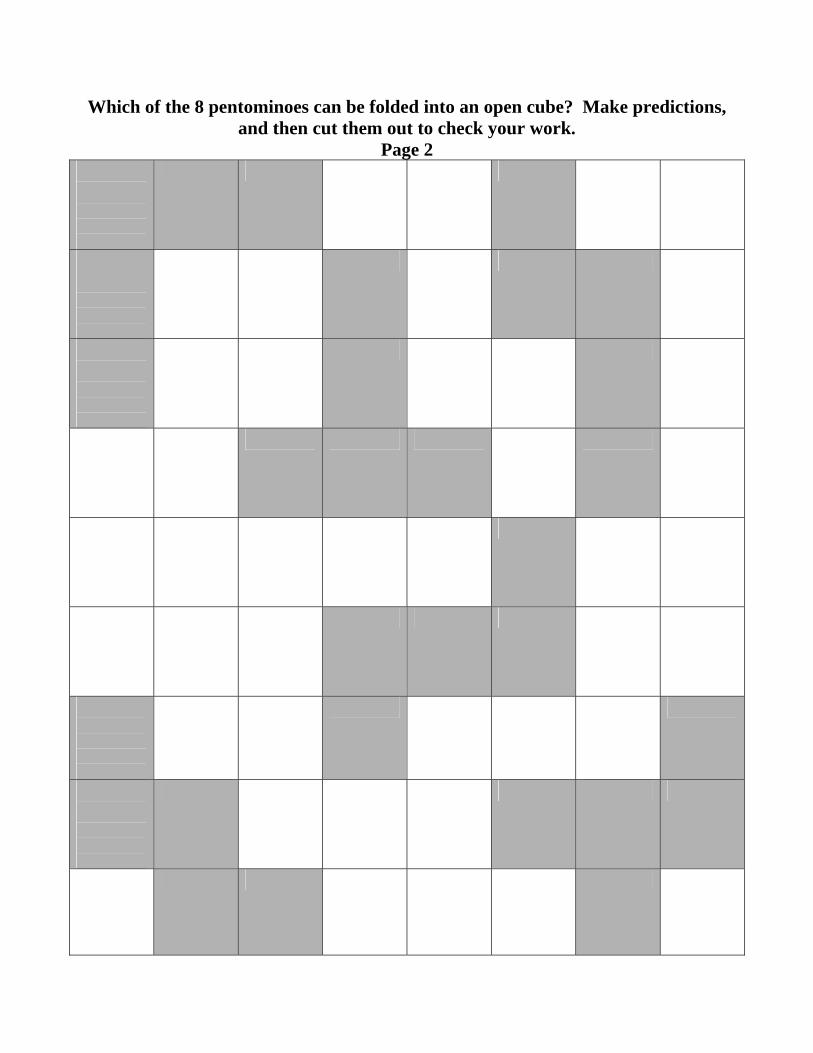
Which of the 8 pentominoes can be folded into an open cube? Make predictions, and then cut them out to check your work.
Page 2
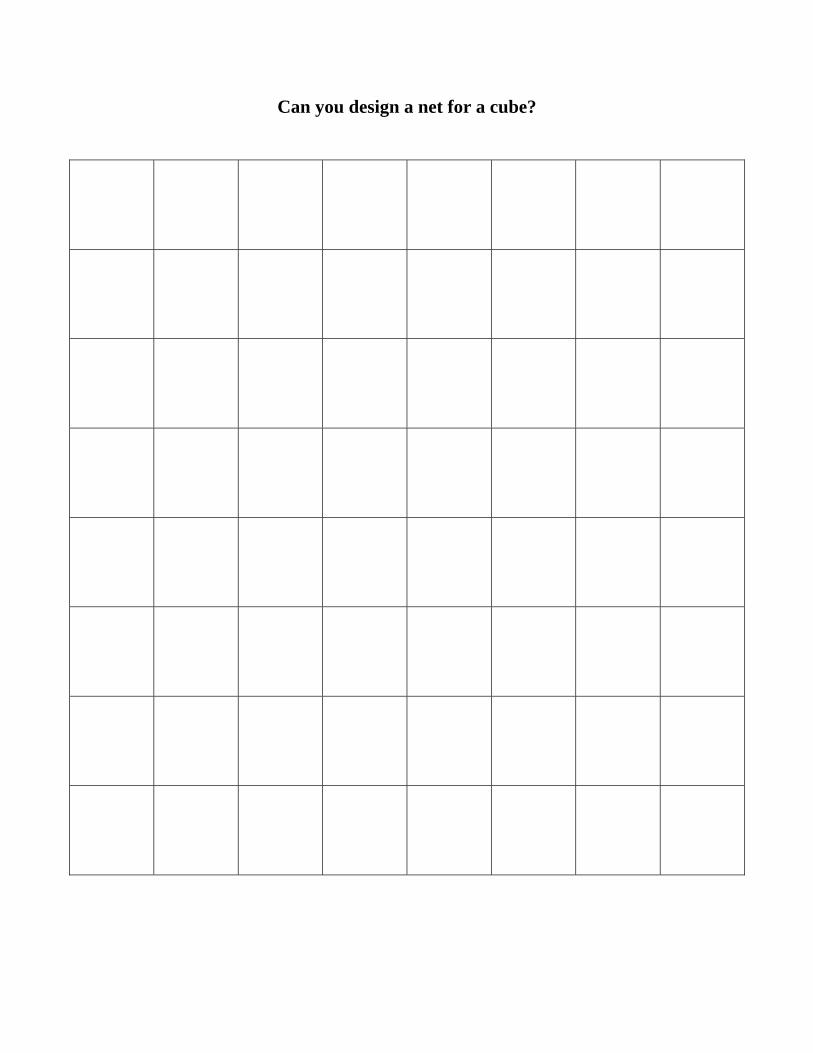
Can you design a net for a cube?
Pentomino Squeeze A Cooperative Activity
For 1, 2, or 3 Players Materials:
- Pencils and erasers - Any pentomino playing grid - Crayons - Pentomino models/pictures (optional)
Directions:
- Players take turns drawing pentominoes in pencil. Cooperative thinking is allowed! When you are satisfied that you have drawn a pentomino that is not already on the grid, color it (use a different color for each pentomino).
- The round ends when there is no room available for another pentomino. - Record the number of pentominoes created by your team. This is your “Squeeze
Me Score.” - Play another round using any of the blank pentomino playing grids. The goal is
to beat your team’s “Squeeze Me Score.” If your do, give yourselves a squeeze! - Continue playing additional rounds, adjusting the “Squeeze Me Score” so that the
goal is to “squeeze” your team’s best score. o Remember…no two pentominoes can share a square! o Remember…each of the 12 pentominoes may be used only once! Caution: Watch out for slides, flips, and turns!!!
Covering Ground A Cooperative Activity
For 1, 2, or 3 Players Materials:
- Pencils and erasers - Crayons - Any pentomino playing grid - Pentomino models/pictures (optional) - A Covering Ground scoring sheet
Directions: - Players take turns drawing pentominoes in pencil. Remember…no two
pentominoes can share a square, and each of the 12 pentominoes may be used only once. Watch out for slides (translations), flips (reflections), and turns (rotations). Color the pentominoes as they are completed.
- When it is no longer possible to fit any more pentominoes in the grid, the players calculate the area of the pentominoes they created.
- Complete the information on the Covering Ground scoring sheet before play continues.
- Use a different pentomino playing grid for each round of play. The goal is to keep increasing the “Covered Ground” score.
Do all the grids work equally well?
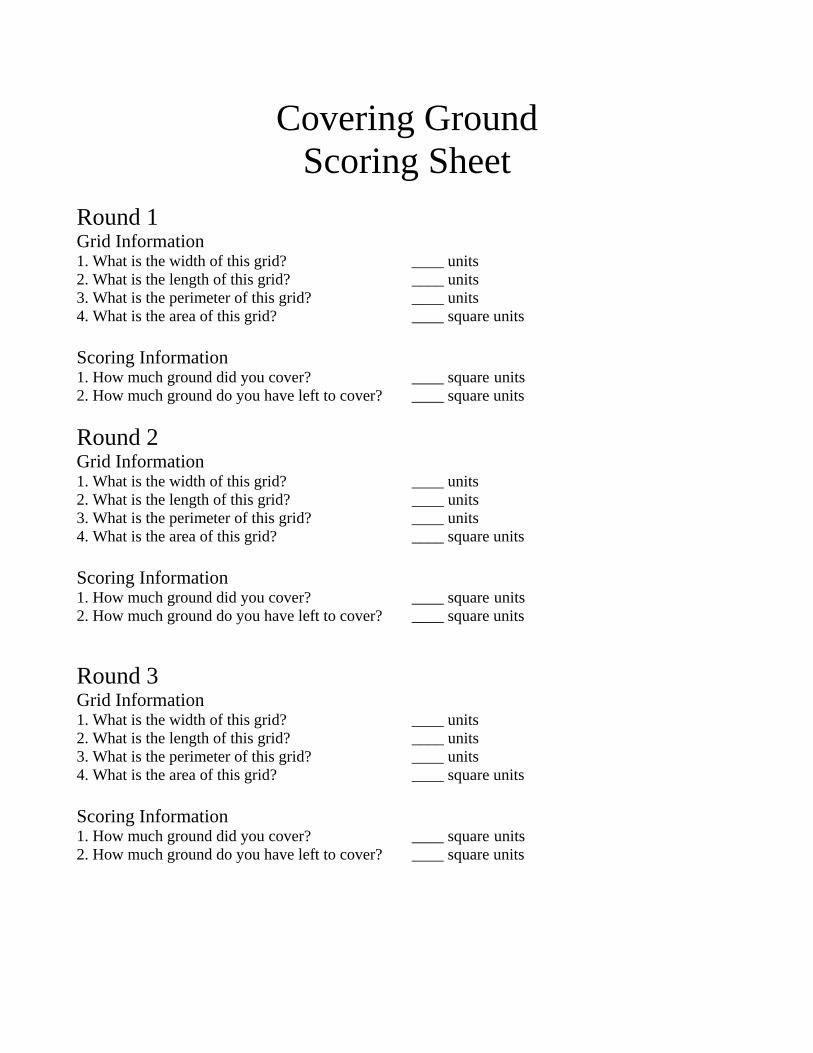
Covering Ground Scoring Sheet
Round 1 Grid Information 1. What is the width of this grid? ____ units 2. What is the length of this grid? ____ units 3. What is the perimeter of this grid? ____ units 4. What is the area of this grid? ____ square units Scoring Information 1. How much ground did you cover? ____ square units 2. How much ground do you have left to cover? ____ square units Round 2 Grid Information 1. What is the width of this grid? ____ units 2. What is the length of this grid? ____ units 3. What is the perimeter of this grid? ____ units 4. What is the area of this grid? ____ square units Scoring Information 1. How much ground did you cover? ____ square units 2. How much ground do you have left to cover? ____ square units Round 3 Grid Information 1. What is the width of this grid? ____ units 2. What is the length of this grid? ____ units 3. What is the perimeter of this grid? ____ units 4. What is the area of this grid? ____ square units Scoring Information 1. How much ground did you cover? ____ square units 2. How much ground do you have left to cover? ____ square units
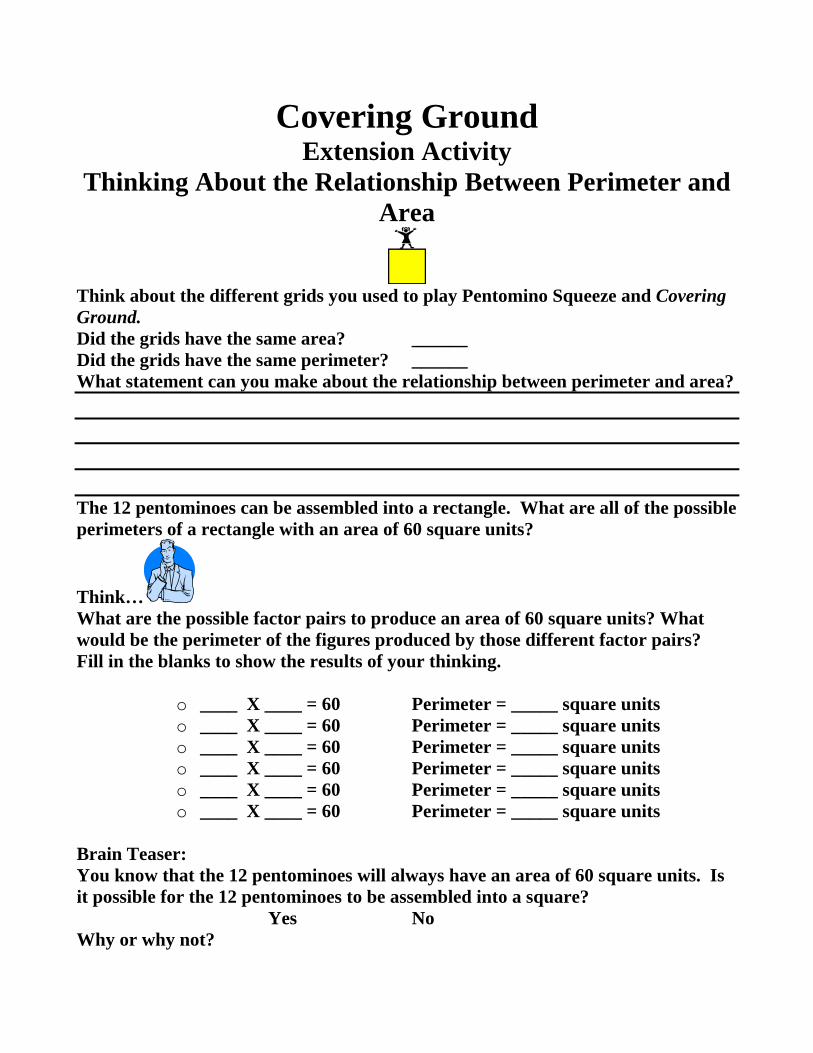
Covering Ground Extension Activity
Thinking About the Relationship Between Perimeter and Area
Think about the different grids you used to play Pentomino Squeeze and Covering Ground. Did the grids have the same area? ______ Did the grids have the same perimeter? ______ What statement can you make about the relationship between perimeter and area? The 12 pentominoes can be assembled into a rectangle. What are all of the possible perimeters of a rectangle with an area of 60 square units?
Think… What are the possible factor pairs to produce an area of 60 square units? What would be the perimeter of the figures produced by those different factor pairs? Fill in the blanks to show the results of your thinking.
o ____ X ____ = 60 Perimeter = _____ square units o ____ X ____ = 60 Perimeter = _____ square units o ____ X ____ = 60 Perimeter = _____ square units o ____ X ____ = 60 Perimeter = _____ square units o ____ X ____ = 60 Perimeter = _____ square units o ____ X ____ = 60 Perimeter = _____ square units
Brain Teaser: You know that the 12 pentominoes will always have an area of 60 square units. Is it possible for the 12 pentominoes to be assembled into a square? Yes No Why or why not?
Game Board 1
Game Board 1
Game Board 2
Game Board 2
Game Board 2
Game Board 3
Game Board 3
Game Board 3
Game Board 3

Game Board 4
Game Board 4
Game Board 4
Game Board 4
Game Board 4
Game Board 4
Game Board 5
Game Board 5
Game Board 5
Game Board 5
Game Board 5
Game Board 5
Game Board 5
Game Board 5
Game Board 1
Game Board 2
Game Board 3
Game Board 4
Game Board 5