Embed Size (px)
Citation preview
95
WWrriittiinngg::CCoommmmuunniiccaattiinngg HHiissttoorriiccaall RReesseeaarrcchh
This section provides ideas for organizing field journals andactivities for soundly communicating historical findings to othersthrough narrative/historical writing. This section also providesassistance with some technical aspects of writing such as in-textcitation and bibliography writing.
WWRRIITTIINNGG 11Field Journals: An essential research tool
Most high school students have had some experience with journal writing. During the LatinoCommunity History Project, we found that this introductory activity was necessary in orderto introduce youth historians to the importance of field journals as a place 1) to gather andorganize incoming information from oral history interviews and archival research, 2) tosummarize and analyze findings, and 3) to strategize next steps in the research process. Everyfield journal also acts as an important record of student learning.
Suggested Materials:
• Journal or loose-leaf binder or folder
A notebook or binder with subject tabs will help youth toorganize their research.
Vocabulary: journal: A notebook that is used on a regular basis to record experiences, ideas, impressions,emotions, questions, information, and/or to do assigned writing on a specific topic and thatmay include prose, poetry, sketches, charts, newspaper clippings, and photos.
diary: Daily records that are usually a personal record of events, experiences, andobservations. Diaries about a person’s life can provide interesting and invaluableobservations rich in historical content about the daily life and the era in which one lived (i.e.,Anne Frank’s diary).
log: A record of the performance or the progress of an undertaking. They are usually moreconcise, outlining events in the form of a dated and timed list (i.e., a sea captain’s log or acomputer log).
travel narrative: This may include descriptive writings and sketches of a place, the people,and the types of activities a person encounters on a trip. Often, these writings shed light oncultures that have since changed dramatically (i.e., Christopher Columbus’ travel narrative).
Since these records may be personal accounts, there are many factorsthat influence them, including national and ethnic origin, education,social class, geographic region, etc. Historians who use thesedocuments must take these perspectives into account in order to viewthem objectively.
96 Collecting Community History: A Training Handbook for Educators
Procedure:1. Ask youth if they keep records of their own life experiences. People keep records invarious forms, such as journals, diaries, logs, and travel narratives.
If you would like your group to appreciate the differences of thesetypes of records, show different examples of them and ask youth towrite about their daily life in these various forms.
2. Give each individual a field journal to use daily throughout the project as an essentialresearch tool. Discuss with youth how they could utilize the journals during the researchprocess. Ask youth, “What might you include in your field journal?” Tell them to be sure todate and cite the location in each entry or day of note taking. Together, decide how thejournals will be divided. As new information is gathered, prompt youth to decide where theywill store it. Help youth develop a habit of being organized in their research.
3. Encourage youth historians to illustrate their journal covers and title page in creative waysso that they can begin to individualize and transform their journals into personal, importantplaces for research, reflection, questions and new ideas.
Remember that the notes you take must record the most importantinformation from the interview in case the audiotape is lost ordamaged. Imagine that a hundred years from now, the notes you leavewill be the only record of this person’s life.
97Writing: Communicating the Historical Research

Organizing field journals Youth might divide their “tabbed” journal or binder into these suggested sections:
Background research: Include timelines, notes from secondary sources, creative summaries,notes from visits to historical sites, other information gathered duringthe first phase of “context gathering.”
Interviews: Include questions for the interview subject, biographical information,notes from the interview, striking quotes, sketches, photographs. It isimportant to take notes during the actual interview in order to keeptrack of what you’ve learned, frame your next questions, make notesof items to return to, and keep the overall story in front of you as youproceed through the interview. It is also a backup for the tapedversion.
Archival research: Include information gathered at local archives, photograph studies,artifact studies, copies of important documents and photographs,sketches.
Research planning: List your research questions and research strategies. Identify next stepsin the process, for example, “investigate microfilm files of the OaklandTribune for May 1945, and look for articles relating to the Zoot SuitRiots.” When one line of investigation runs dry, you will have otherleads to follow. Even if you don’t end up having time to follow all ofthem, you will have created a resource for future researchers andsaved them some time.
Source citation: List all primary and secondary sources utilized during the researchprocess. Include title, author, publication, dates, publisher, call number,archive or library, location or collection within that archive or library,so that you don’t need to retrace your own steps to find somethingyou “remember reading somewhere.” In historical work, you need tobe able to show that your information came from a reliable source andwas not just hearsay. Your final product will include some of thesesources so that other researchers can build on the work you havedone.
Research summary & analysis: This is a place for written reports that synthesize research findings.
Reflections: Includes daily journal entries with topics selected by educator (i.e.,What does the word “history” mean to you?). It is important to spendtime immediately after an interview and throughout the researchprocess writing down impressions and reflecting on both the contentand process of researching. Did the interview go well? Why or whynot? Were there questions that you thought of but didn’t find anappropriate time to ask or forgot about? Are they worth followingup? How did you feel about your own participation? Did you noticea skill you’re developing or one that you need help with? All theseimpressions can fade very quickly. Field notes help you evaluate thework as you do it, so that you can plan the next interview better, askfor help or clarification about things that trouble you, or decide to doa follow-up interview with someone, but also so that you can trackyour own process of learning and remember moments of insight thatmatter to you.
98 Collecting Community History: A Training Handbook for Educators
WWRRIITTIINNGG 22Narrative Writing Introduction and Practice
The writing component of this project focuses on narrative and/or historical writing. Sinceall writing is based upon historical findings and oral history interviews, the educator must beaware that students will be telling a story, not explaining historical occurrences as inexpository writing.
Estimated Time: Day one – 60 minutes; Day two – 75 minutes
Suggested Materials:
• Highlighters
• Copies of oral history transcripts (enough for one per student)
If oral history transcripts are not available for students’ use, you mayadapt this lesson by having the students construct narratives based onfield notes of their research. It may also be possible to write narrativesbased on listening to an audiotaped oral history interview.
Procedures:1. Narrative writing is writing that tells a story or provides a personal account of an event.A great deal of what we are doing in this project is rewriting history; in other words, tellingpeople’s stories before they are lost. Narrative writing is also a necessary component of theculminating project. Providing interesting, compelling writing based on our research is oneof our major goals of this project.
2. The easiest way to begin writing narratives is to write one about yourself. Tell the youthhistorians they will write a short narrative on the following prompt:
Describe the story of how your ancestors or family came to the United States or migrated totheir current location. If you experienced this trip firsthand, try to use as many details asyou can to accurately express your experience. If you have only been told about this story,do your best to remember the facts and imagine what it must have been like for your familyor ancestors to take this journey.
3. Before the youth historians begin writing, write the following aspects of narrative writing tokeep in mind on the chalkboard; youth should write this information in their journals. Theseaspects come from the California English-Language Arts Content Standards for Grades 11-12.
• Narrate the events in a sequence, the order in which they occurred.Communicate their significance to the audience.
• Locate scenes and incidents in specific places.
• Describe using details: sight, sound, smells; also depict characters’ feelings usingwhat they were thinking and gestures they may have used.
99Writing: Communicating the Historical Research
• Pace the presentation of actions to accommodate temporal, spatial, and mood changes.
• This is a first draft. Don’t worry about spelling, grammar, etc. Just get the ideas down.
4. Allow the youth historians a few minutes to quietly brainstorm and organize theirthoughts on paper before they begin writing. Then, the students are given fifteen to twentyminutes to write their narratives. Monitor time, and indicate how much time has passed atregular intervals, so youth can pace their writing accordingly.
5. Once the time is up, ask youth historians to volunteer to share their writing. The groupshould give the youth feedback on the narrative. Discuss the challenges to narrative writingand also reiterate necessary writing components that are being overlooked.
Day Two1. Youth historians will take their writing a step further by writing a narrative based onanother’s life experience. Instead of being given the writing prompt, the youth historiansmust look for a story or personal account that should be told from a transcript.
2. The youth historians will each be given a transcript of an oral history interview. Theymust read through the transcript for a quote or event that they can turn into a narrative.They are to look for an aspect of the interview that is interesting and/or emotionallycompelling. Use the Summarizing Information and Finding Gems in Written Texts (page 65)to aid youth in finding an appropriate narrative topic.
3. Once the youth historians have selected the segment of the transcript that will be thebasis for their narrative, they can begin writing. Youth must use the actual informa-tion given in the transcript as the focus of their writing, but may also have to infer thedetails that are not provided in the transcript. Youth should refer to their notes fromDay One’s lesson.
4. The youth historians are given twenty to twenty-five minutes to write their narra-tives. Monitor time, and indicate how much time has passed at regular intervals, sothey can pace their writing accordingly.
During the summer project, we did not focus enough on writing.Since a large part of our culminating project was based on narrativewriting, we realized that youth needed extra practice with writing andretelling in a narrative manner. This lesson was implemented in theafter-school project along with a greater focus on writing, and as aresult the after-school project’s culminating project writings were moresubstantial and thoughtful.
100 Collecting Community History: A Training Handbook for Educators
5. Once the time is up, ask youth historians to volunteer to share their writing. Thegroup will give the youth historians feedback on their narratives. Discuss the chal-lenges they experienced as well as the things that they are going well.
6. As a wrap-up, ask youth historians to reflect in their journals on this topic: Afterwriting two narratives, what are some aspects of narrative writing that you wish toimprove on through the course of this project?
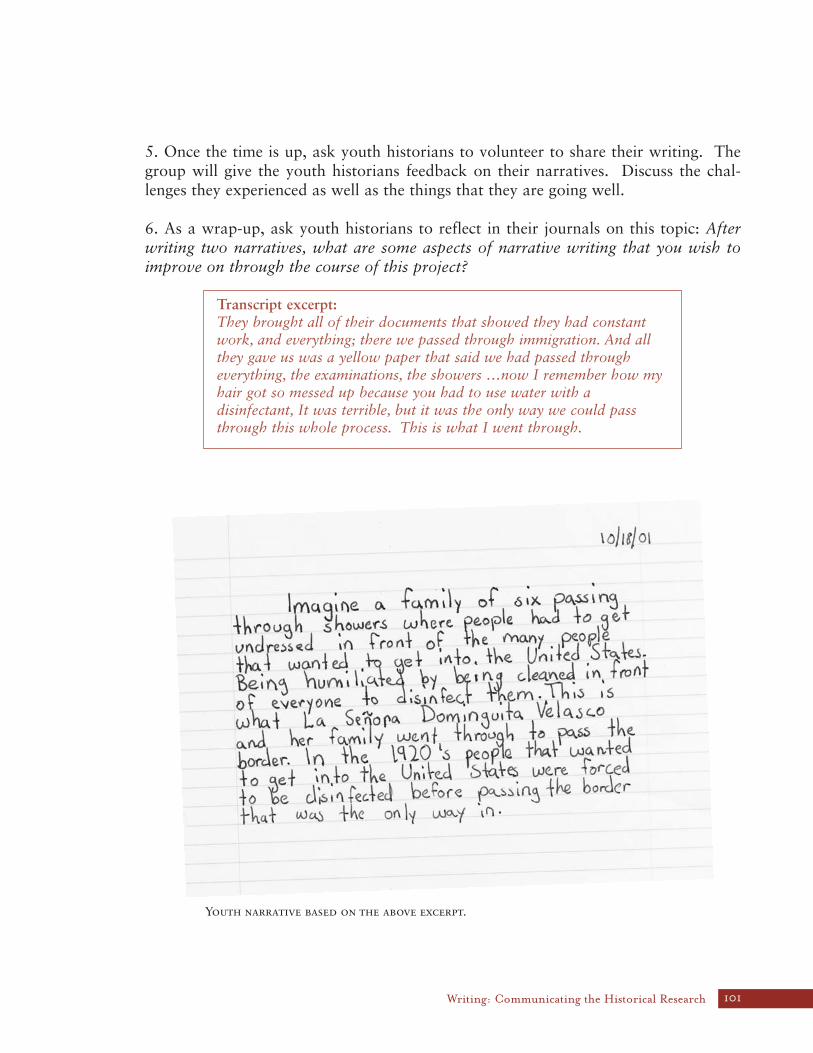
Transcript excerpt:They brought all of their documents that showed they had constantwork, and everything; there we passed through immigration. And allthey gave us was a yellow paper that said we had passed througheverything, the examinations, the showers …now I remember how myhair got so messed up because you had to use water with adisinfectant, It was terrible, but it was the only way we could passthrough this whole process. This is what I went through.
101Writing: Communicating the Historical Research
Youth narrative based on the above excerpt.
WWRRIITTIINNGG 33Creating a Bibliography
Estimated Time: 75 minutes
Suggested Materials:
• Examples of each type of resource: book, magazine, reference books,newspaper/magazines
Procedures:1. Describe a bibliography as a way of citing what sources were used in the research process.Without a bibliography, research validity may be called into question. Therefore, the youthhistorians are expected to keep track of their sources and make a bibliography along with theculminating project.
Youth historians will want to work with multiple sources in order tocreate their own historical narratives. These sources can includemuseums, historical societies, textbooks and other secondary sources,as well as various primary sources. For credibility of their narrativesthey need to do two things: 1) write a bibliography of all sources theyconsult in their research, and 2) cite their sources accurately and inaccordance with the documentation format identified by the educator.When youth historians present their work to others with fulldocumentation, they will speak and be heard with strong historicalauthority. They will, in fact, sound like professional historians.
2. Carefully review the purpose of a bibliography, what writing needs to be cited, and theformat style to be used (see MLA Bibliographic Style resource). It is important to have theyouth historians note punctuation such as periods, colons, and commas that are used in eachentry. Youth should also note indentations of second lines.
3. For book sources, define the publisher, place of publication, and copyright and showyouth historians how to locate this information. For magazine and reference sources, defineeditions and volumes, and show youth how to locate this information. The same process isrepeated for electronic sources, defining and locating medium, information supplier, availableprotocol, access date, and Web address.
4. Give the youth historians each a different type of source and ask them to write a citationentry for their source on the chalkboard. As the youth historians are writing their answerson the chalkboard, give them additional help locating needed items, correctly sequencingentry components, and punctuating each entry correctly.
5. Once everyone has completed their entry, ask students to look at all the results on theboard. Discuss any problems experienced during the process.
6. Youth historians use their own resources and begin collecting bibliographic information,writing this information in their journals.
7. As a wrap-up, ask youth historians to write a rough draft of the bibliography in MLAstyle in their journals. Use the examples of bibliographic style provided below to assess theyouths’ bibliographies.
102 Collecting Community History: A Training Handbook for Educators
Modern Languages Association Bibliographic Style
The word, plagiarism, which derives from the Latin word for “kidnapping,” refers to theunacknowledged use of another’s words, ideas, or information. Students sometimes get intotrouble because they mistakenly assume that plagiarizing occurs only when another writer’sexact words are used without acknowledgement. Keep in mind, however, that you need toindicate the source of any ideas or information you take note of when preparing any projectwhich requires some form of research, even if you have paraphrased or summarized another’swords rather than copied down direct quotations.
Although there is no universally agreed upon system for acknowledging sources, there isagreement on both the need for documentation and the items that should be included.Writers must acknowledge sources for two reasons: to give credit to those sources and toenable readers to consult the sources for further information. For our project, we will beusing the MLA bibliographic formatting style.
Bibliographic Information — Information should be organized in alphabetical order,according to the author’s last name. There should be no separate categories for various typesof sources used. If an author’s name is not provided, begin with the title of the source, andalphabetize it according to the title.
BooksAuthor’s last name, first name. Title of Book. Place of publication: publisher, copyright
year.
Alvarez, Julia. In the Time of Butterflies. New York: Plume publications, 1994.
Books with two or more authors/editorsAuthor’s last name, first initial & author’s last name, first initial. Title of Book. Place of
publication: publisher, copyright year.
Adey, P. & Shayer, M. Really Raising Standards: Cognitive Intervention & AcademicAchievement. London: Routledge, 1994.
Books with six or more authors/editorsFirst author’s last name, first initial. et al. Title of Book. Place of publication: publisher,
copyright year.
Roeder, K. et al. Nerve Cells and Insect Behavior. Cambridge, MA: Harvard University Press, 1967.
103Writing: Communicating the Historical Research
Newspaper/Magazine ArticleAuthor’s last name, first name. “Title of Article.” Title of Newspaper/Magazine. Date
Month Year: volume (paper), pages.
Glastris, Paul. “The New Way to Get Rich.” U.S. News & World Report. 7 May 1990: 26-36.
Electronic Sources: Internet Author/editor. Title of Electronic Work. Medium. Information supplier. Available
protocol: site/pate/file. Access date.
Pritzker, Thomas. An Early Fragment from Central Nepal. Online. Internet. Ingree Communications. Availablehttp://www.ingress.com/~astanart/pritzker/pritzker.html. 8 June 1995.
Oral History InterviewInterview with person’s name on date of interview and location of interview.
Interview with Carey Fruzza on August 15, 2001 in her office at the Oakland Museum ofCalifornia.
In-text Citations Remember to cite sources in your writings using in-text citation.
Example of direct quote citation: “I think people should be kind to each other and share what they have” (Alvarez, 123).
Example of an indirect quote citation:The Mirabel sisters fought with courage and conviction to overthrow Trujillo’s tyrannicalrule. (Alvarez, 5)
104 Collecting Community History: A Training Handbook for Educators
WWRRIITTIINNGG 44Identifying Our Audience
Estimated Time: 30 minutes
Every good writer knows their audience; therefore, it is imperative thatthe youth in this project understand who their audience is andeffectively address their needs and desires. If we do not write in a waythat is educational and provocative, many of our findings may not beunderstood, appreciated, or enjoyed. We wanted to be as mindful ofthis as possible. The students addressed audience again when creatingthe culminating project poster.
Procedures:1. Ask the youth historians to brainstorm/discuss responses to the following questions as awhole group. As the youth respond, write their responses to each category on thechalkboard. Youth historians should take notes in journals based on the information on thechalkboard as well as aspects of the discussion that they want to keep in mind for theirindividual project. Possible questions/prompts may include the following:
Audience: Who is our audience? Who do we plan or hope to educate through our work? How old are they?Are they in school or in the workplace? Are they in both?How will they come into contact with our products?How do they get news?
Likes/Dislikes: What types of reading/information attracts our audience?What types of reading/information does our audience shy away from?What other things are interesting to our audience that we may includein our final products?What do we want to be sure to avoid?What aspects of the topic will interest them?
Ability: What level of reading is our audience capable of?What length of readings is our audience capable of?How much and what type of exposure to our topics has our audience had?How familiar is our audience with the subject/topic?Does our audience adhere to any commonly held beliefs or misconceptionsabout the subject/topic?
105Writing: Communicating the Historical Research
Uses: How might our products be used? What things should we do to make our culminating products more versatile?
Considerations:What other considerations/accommodations should we try to make so that our culminating products are used and enjoyed by our audience?
3. Ask the youth historians if there are any other aspects of the audience that they feel theyneed to address. Finish the discussion, reminding the youth to always keep the audience inmind while they are working on their projects, so they stay focused.
4. As a wrap-up, ask youth historians to reflect on this topic in their journals: Given yourspecific topic, what do you need to keep in mind about your audience? Think in terms ofcontent, writing, knowledge, design, and presentation. How will you continue to attempt toconvey/communicate the key points of your research focus?
106 Collecting Community History: A Training Handbook for Educators
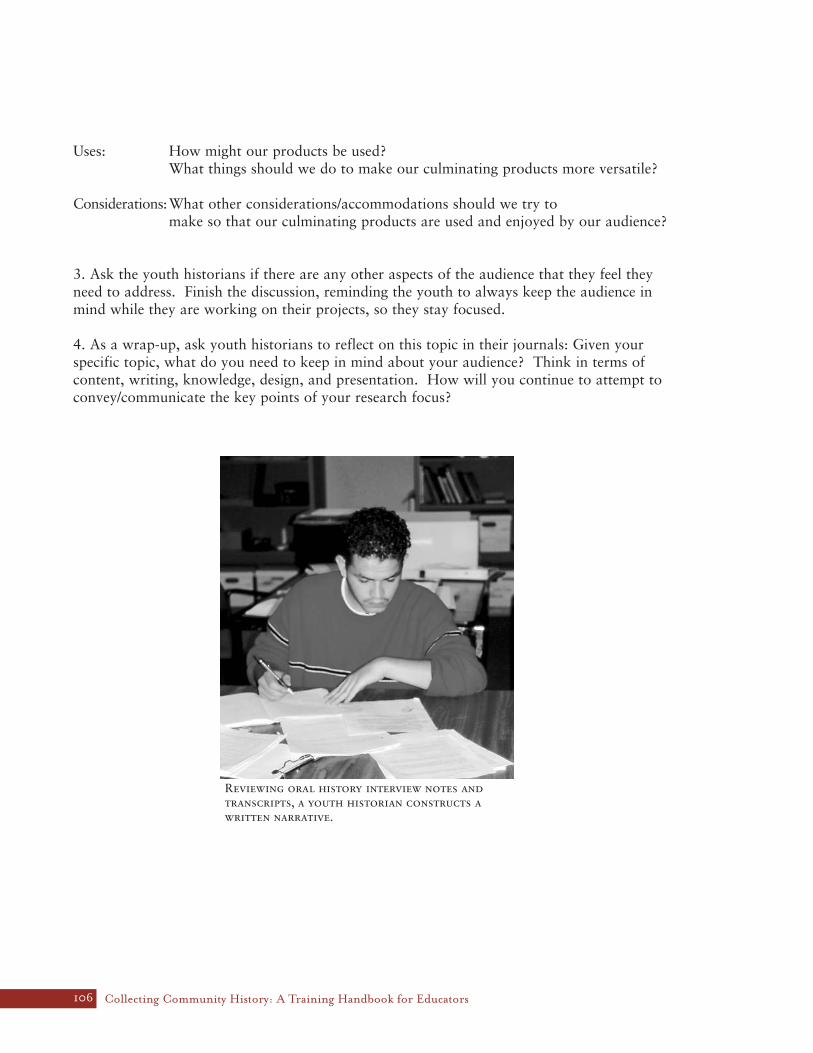
Reviewing oral history interview notes andtranscripts, a youth historian constructs awritten narrative.
WWRRIITTIINNGG 55Process Writing: Editing Your Work
Estimated Time: This process takes place over thecourse of five to six days, with approximately 60minutes per day to edit.
Suggested Materials:
• Rough drafts
• Access to various knowledgeable staff members
• Computers with printers and paper
• Computer disks (one per student)
Procedures:Youth historians will be engaging in multiple editingphases of their writing known in education circles asthe “writing process.” This process will take placeover the course of a number of days, and will involvea great deal of writing. The youth historians nowhave the first draft of the writings for theirculminating project. This is the time the editingprocess begins.
1. Begin by defining what a rough draft is and what it means to revise something.
rough draft: A piece of writing that is unfinished; it contains errors and is most likelydisorganized. The writings the youth historians have now are rough drafts. Agraphic organizer is helpful in beginning the drafting process.
revise: To edit a draft is to make REAL changes to it in terms of organization,paragraph structure, content, supporting examples and quotes, thesis statement,grammatical and mechanics mistakes, etc. These changes may come about as a resultof another person’s input or as a result of a youth’s own understanding of theshortcomings of his or her writing. The editing process is a lengthy one; usually fourto five revisions must take place before the writing achieves the concise, polishednature that is desired.
2. The youth historians exchange rough drafts with another youth historian. Youth areencouraged to edit honestly – not being too easy or hard on the writings. It is only throughhonest feedback that the writings can truly be improved. Each youth historian is told to readthe writing through once. After the first reading, youth are to edit the writing using the PeerEditing Checklist Worksheet provided and following the directions outlined. Monitor youthhistorians and answer their questions regarding the writings they are evaluating. Once thestudents have completed the checklist, they return the writings with the checklist to theiroriginal owner.
107Writing: Communicating the Historical Research
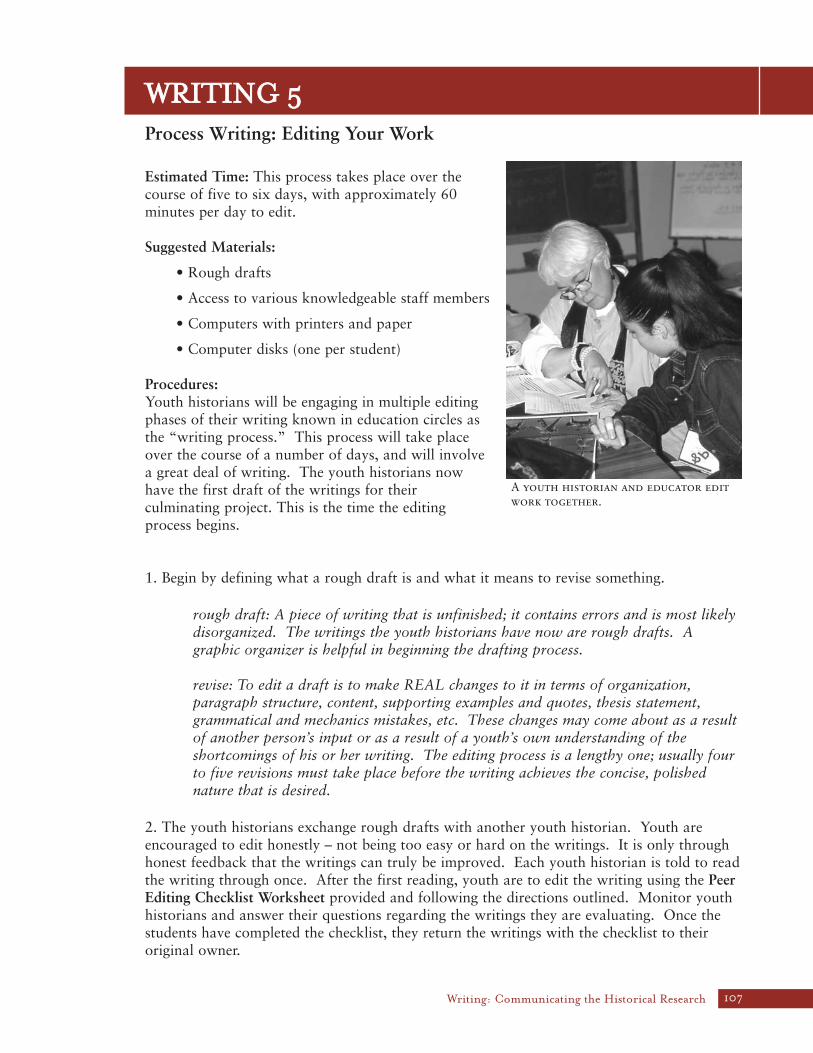
A youth historian and educator editwork together.

3. Each youth historian reads through the checklist and feedback from their writing andtakes notes on the improvements they must make in their journals. Also, the youth historianmay notice something that the youth editor did not. Any additional changes that the writerwants to make should also be noted in the journals. The checklist should be kept with thewriting for future reference.
4. Youth historians then rewrite their drafts, keeping in mind the editor’s input outlined onthe checklist and their notes.
Over the course of the next week or so…The educator(s) edits the youths’ second drafts. After the draft is read and edited, the youthhistorian revises/rewrites the draft based on the advice given to them. Youth type theirwritings on the computer and save their work on disks.Youth make revisions to their savedwork and print out another draft for the next editing round.
Continue to read and edit the youths’ writing, and youth continue to revise/rewrite theirdrafts. At the end of the process, each youth should have four to five separate revisions ofhis or her first draft. Each revision should be an improvement upon the earlier draft. It isbeneficial to the youth to have a variety of knowledgeable people to read and edit his or herwriting in order to get input and suggestions from different people who will notice differentthings about their writing.
Wrap-up:Youth put final touches on the last revision, type it (if they haven’t already), and print a hardcopy. These final touches may include changes to content, mechanics, grammar,organization, sentence structure, and length.
In both projects, we did not provide ample time for students tocomplete their culminating projects, informational posters. Wededicated a great deal of time on the visual characteristics of theposters, as this is a powerful communicative aspect. Youth werechallenged artistically and worked diligently to ensure their posters’attractiveness. As our deadline quickly approached, youth becameextremely stressed and rushed. Much of the writing revision fell by thewayside in an attempt to finish the posters’ visuals. In the timeallotted, youth were only able to focus on content revisions of theirwritings, so the final products had grammatical and mechanical errors.Later on, the youth were able to correct these errors with a tutor.
If your culminating project requires more than one component, havethe youth do the components one at a time. Think about whatcomponent is most important or significant to your project and havestudents complete that first. It is suggested that you decide upon thelength of the writings and provide plenty of time for students to dowritings and revisions completely.
108 Collecting Community History: A Training Handbook for Educators
Peer Editing Checklist
Author’s Name _________________________________
Your Name ____________________________________
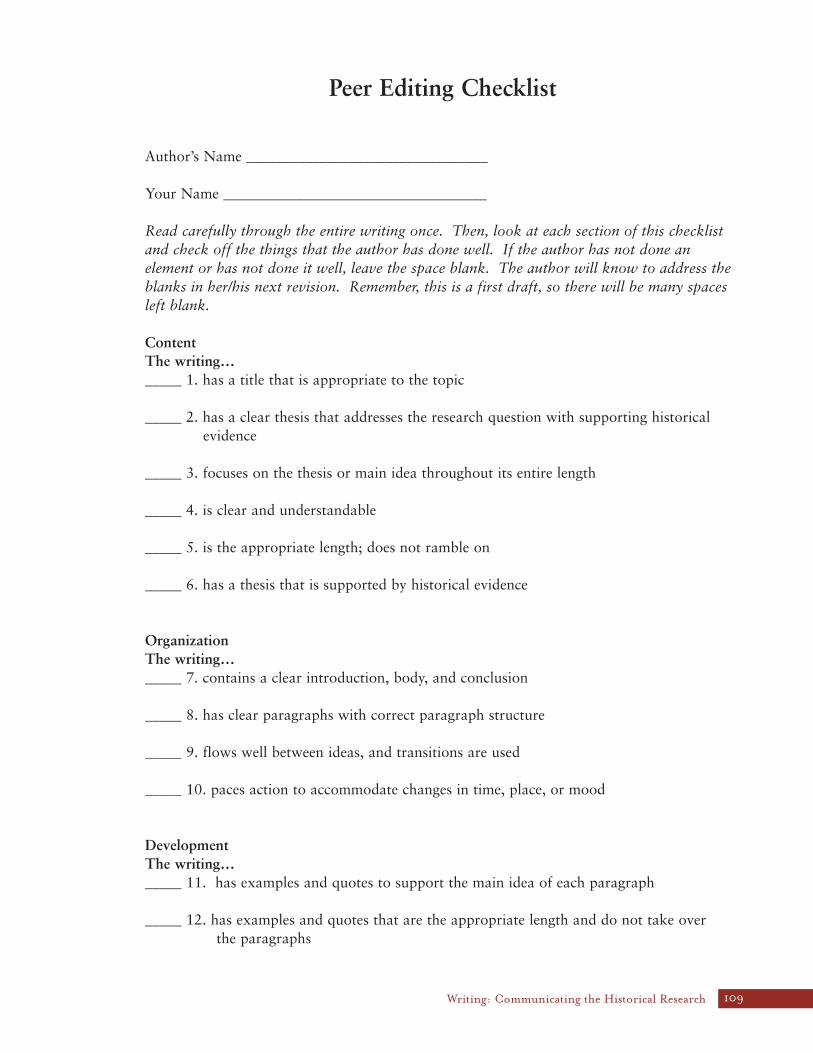
Read carefully through the entire writing once. Then, look at each section of this checklistand check off the things that the author has done well. If the author has not done anelement or has not done it well, leave the space blank. The author will know to address theblanks in her/his next revision. Remember, this is a first draft, so there will be many spacesleft blank.
ContentThe writing…_____ 1. has a title that is appropriate to the topic
_____ 2. has a clear thesis that addresses the research question with supporting historical evidence
_____ 3. focuses on the thesis or main idea throughout its entire length
_____ 4. is clear and understandable
_____ 5. is the appropriate length; does not ramble on
_____ 6. has a thesis that is supported by historical evidence
OrganizationThe writing…_____ 7. contains a clear introduction, body, and conclusion
_____ 8. has clear paragraphs with correct paragraph structure
_____ 9. flows well between ideas, and transitions are used
_____ 10. paces action to accommodate changes in time, place, or mood
DevelopmentThe writing…_____ 11. has examples and quotes to support the main idea of each paragraph
_____ 12. has examples and quotes that are the appropriate length and do not take over the paragraphs
109Writing: Communicating the Historical Research
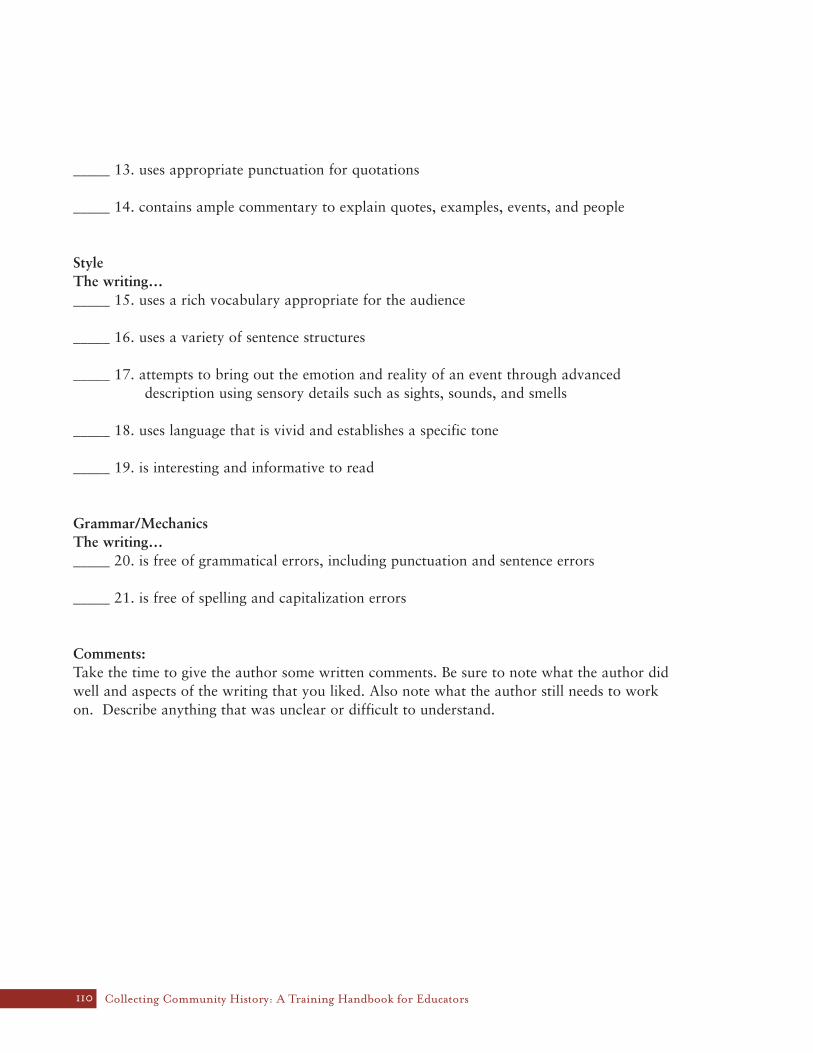
_____ 13. uses appropriate punctuation for quotations
_____ 14. contains ample commentary to explain quotes, examples, events, and people
StyleThe writing…_____ 15. uses a rich vocabulary appropriate for the audience
_____ 16. uses a variety of sentence structures
_____ 17. attempts to bring out the emotion and reality of an event through advanceddescription using sensory details such as sights, sounds, and smells
_____ 18. uses language that is vivid and establishes a specific tone
_____ 19. is interesting and informative to read
Grammar/MechanicsThe writing…_____ 20. is free of grammatical errors, including punctuation and sentence errors
_____ 21. is free of spelling and capitalization errors
Comments:Take the time to give the author some written comments. Be sure to note what the author didwell and aspects of the writing that you liked. Also note what the author still needs to workon. Describe anything that was unclear or difficult to understand.
110 Collecting Community History: A Training Handbook for Educators