Embed Size (px)
Citation preview
Wikis
•Collaboration
•Resource Sharing
What is a Wiki?
• An online space for collaboration.
• Watch this short tutorial
Wikis in Plain English by Lee Lefever
Wiki Examples
• Example of teacher collaboration
Lower Moreland Tech/Library Committee
• Example of student collaboration
Civil War Wiki Grade 8
How to Make a Wiki
STEP 1Set up an account with a wiki hosting service such
as Wikispaces www.wikispaces.com
Educators may set up a free public or protected account. Private accounts are charged a small monthly fee.
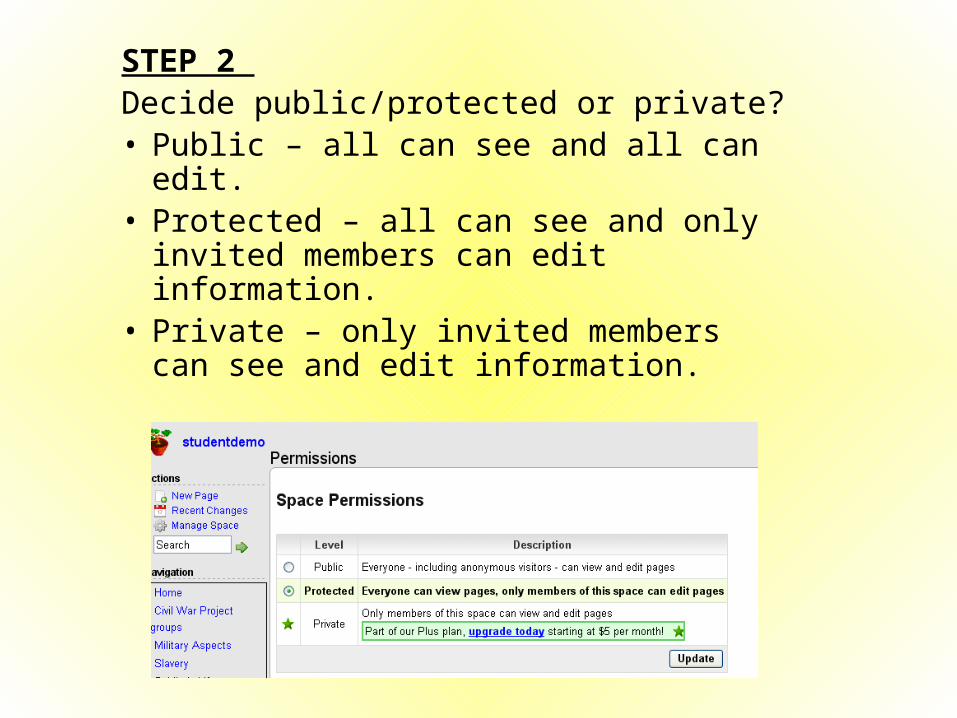
STEP 2 Decide public/protected or private?• Public – all can see and all can edit.• Protected – all can see and only
invited members can edit information.• Private – only invited members can
see and edit information.
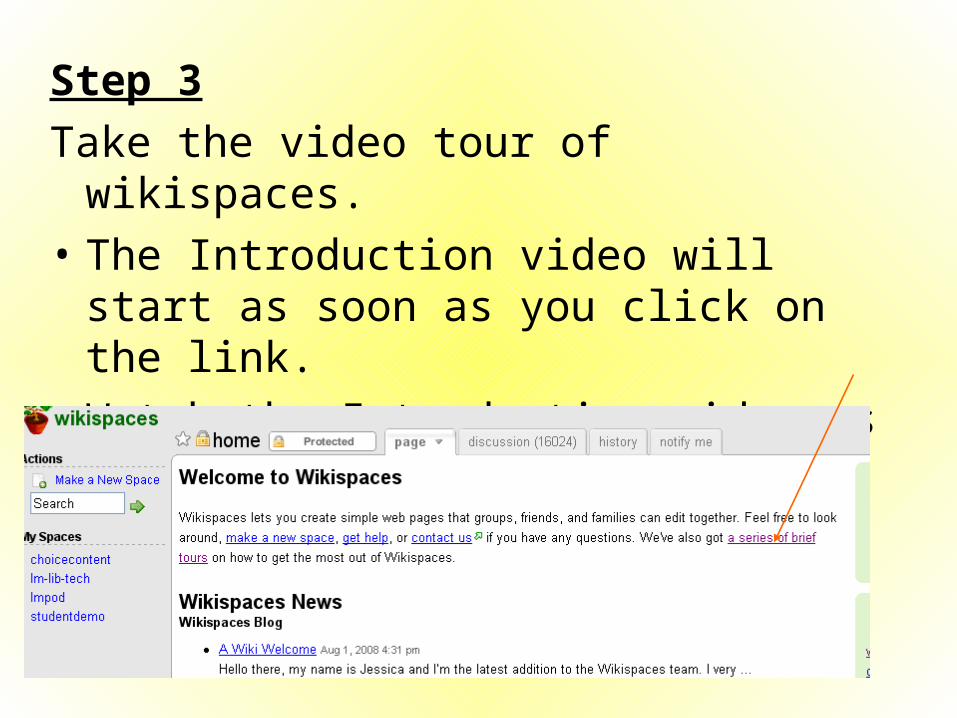
Step 3
Take the video tour of wikispaces.
• The Introduction video will start as soon as you click on the link.
• Watch the Introduction video as many times as you want.
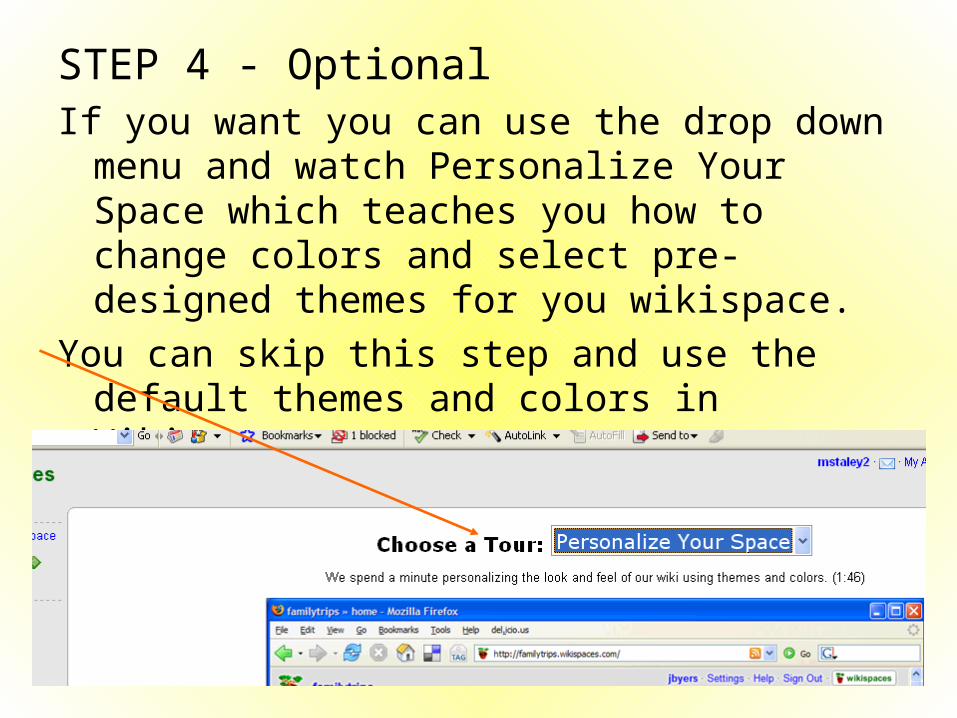
STEP 4 - OptionalIf you want you can use the drop down menu and
watch Personalize Your Space which teaches you how to change colors and select pre-designed themes for you wikispace.
You can skip this step and use the default themes and colors in Wikispaces.
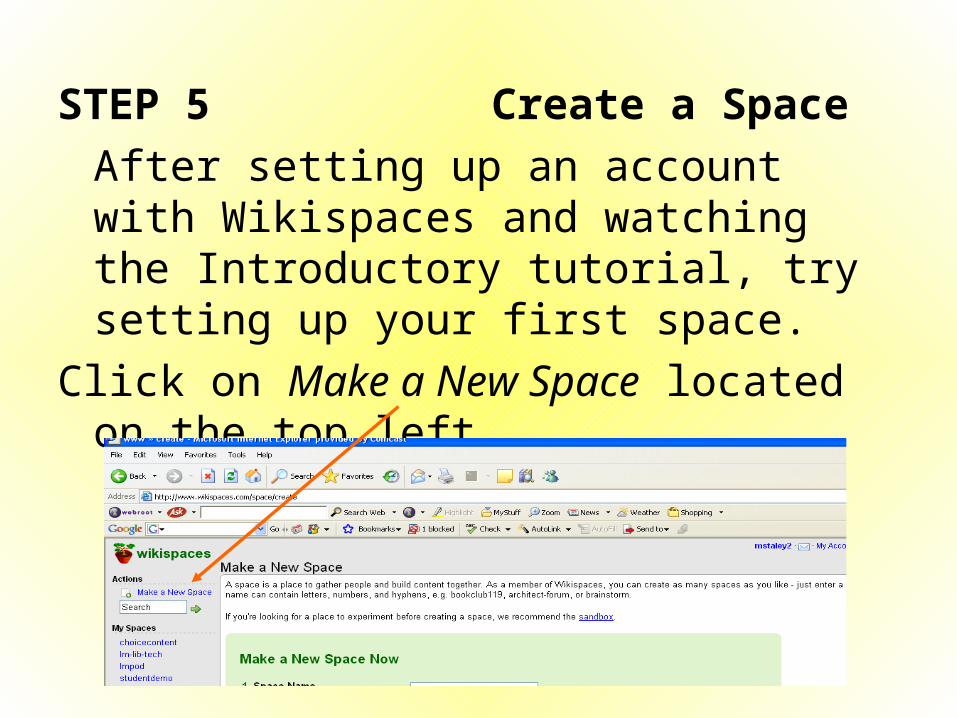
STEP 5 Create a Space
After setting up an account with Wikispaces and watching the Introductory tutorial, try setting up your first space.
Click on Make a New Space located on the top left.
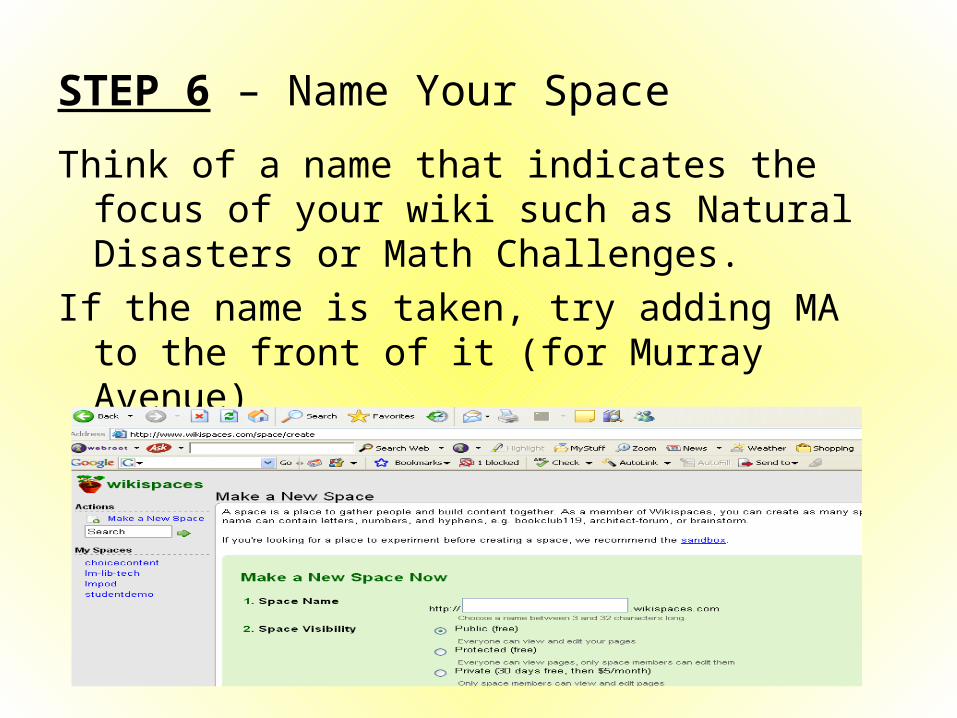
STEP 6 – Name Your Space
Think of a name that indicates the focus of your wiki such as Natural Disasters or Math Challenges.
If the name is taken, try adding MA to the front of it (for Murray Avenue)
STEP 7 Plan the layout of your wiki
Think about the categories that will make up your wiki. If Natural Disasters is your wiki, do you want several pages, one for each type of disaster?
Use your Home page space to provide an overview of the wiki and to give directions to your students.
STEP 8 Edit This Page
• Most important button to remember (other than Save).
• Clicking on this tab allows you to enter text, upload images, insert files.
• Use the video tutorials as needed.
• MAKE SURE YOU SAVE anytime you leave the Edit Page.

STEP 9 History Tab
• Each time you make changes to the wiki, a snapshot of that version is taken and stored.
• If someone makes unwanted changes to the wiki, you can click on the History tab and revert to an earlier version of the wiki.
Finishing Up
Discussion of permissions (public vs. protected vs. private)
Setting up student accounts
Wikispaces icon Help User Accounts
Questions?