Embed Size (px)
DESCRIPTION
technology newsletter
Citation preview
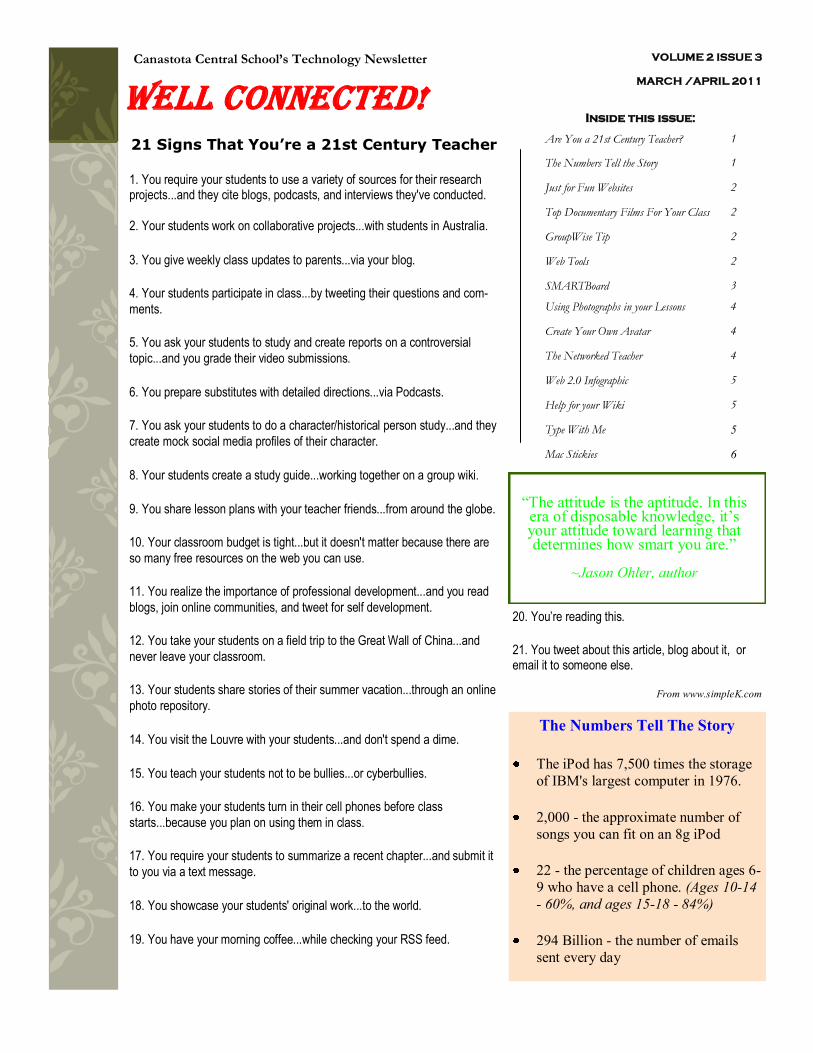
Inside this issue:
Are You a 21st Century Teacher? 1
The Numbers Tell the Story 1
Just for Fun Websites 2
Top Documentary Films For Your Class 2
GroupWise Tip 2
Web Tools 2
SMARTBoard 3
Using Photographs in your Lessons 4
Create Your Own Avatar 4
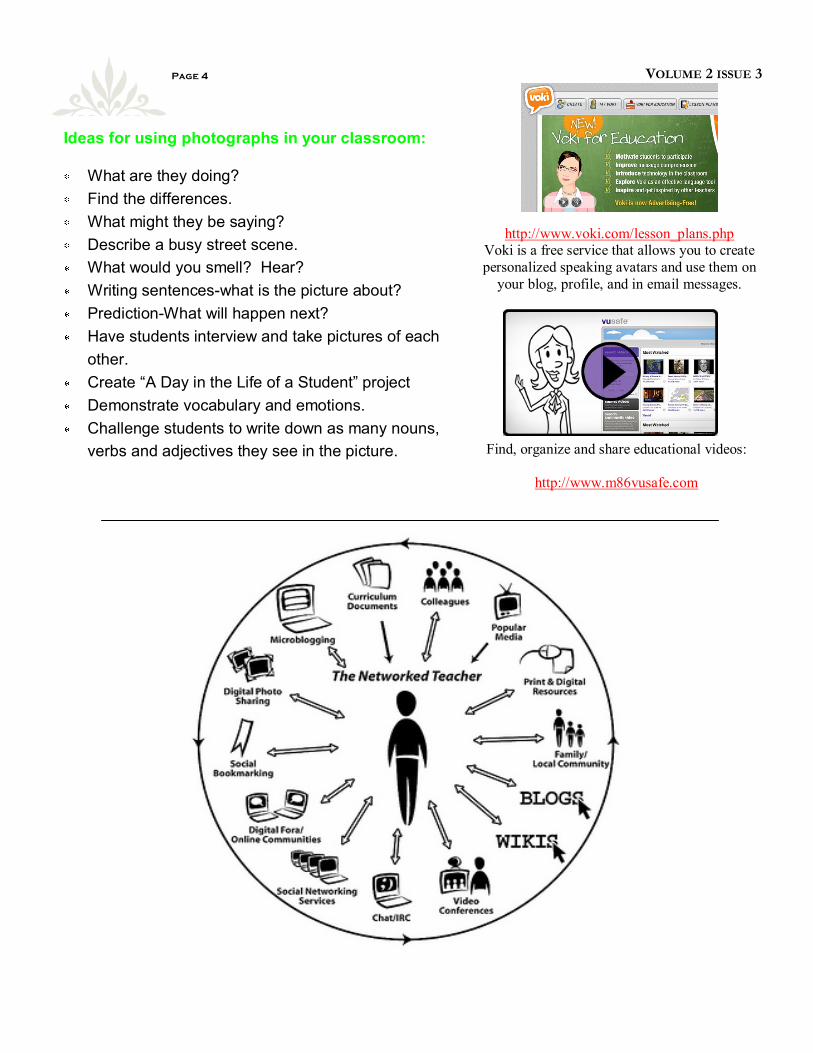
The Networked Teacher 4
Web 2.0 Infographic 5
Help for your Wiki 5
Type With Me 5
Mac Stickies 6
Canastota Central School’s Technology Newsletter
Well Connected! VOLUME 2 ISSUE 3
MARCH /APRIL 2011
“The attitude is the aptitude. In this era of disposable knowledge, it‟s your attitude toward learning that determines how smart you are.”
~Jason Ohler, author
The Numbers Tell The Story
The iPod has 7,500 times the storage
of IBM's largest computer in 1976.
2,000 - the approximate number of
songs you can fit on an 8g iPod
22 - the percentage of children ages 6-
9 who have a cell phone. (Ages 10-14
- 60%, and ages 15-18 - 84%)
294 Billion - the number of emails
sent every day
21 Signs That You’re a 21st Century Teacher
1. You require your students to use a variety of sources for their research projects...and they cite blogs, podcasts, and interviews they've conducted.
2. Your students work on collaborative projects...with students in Australia.
3. You give weekly class updates to parents...via your blog.
4. Your students participate in class...by tweeting their questions and com-
ments.
5. You ask your students to study and create reports on a controversial
topic...and you grade their video submissions.
6. You prepare substitutes with detailed directions...via Podcasts.
7. You ask your students to do a character/historical person study...and they
create mock social media profiles of their character.
8. Your students create a study guide...working together on a group wiki.
9. You share lesson plans with your teacher friends...from around the globe.
10. Your classroom budget is tight...but it doesn't matter because there are
so many free resources on the web you can use.
11. You realize the importance of professional development...and you read
blogs, join online communities, and tweet for self development.
12. You take your students on a field trip to the Great Wall of China...and
never leave your classroom.
13. Your students share stories of their summer vacation...through an online
photo repository.
14. You visit the Louvre with your students...and don't spend a dime.
15. You teach your students not to be bullies...or cyberbullies.
16. You make your students turn in their cell phones before class
starts...because you plan on using them in class.
17. You require your students to summarize a recent chapter...and submit it
to you via a text message.
18. You showcase your students' original work...to the world.
19. You have your morning coffee...while checking your RSS feed.
20. You’re reading this.
21. You tweet about this article, blog about it, or email it to someone else.
From www.simpleK.com
WELL CONNECTED! Page 2
GroupWise Tip: Setting up a group A group is a collection of email addresses created so that a message can be sent to those in the group without having to select them one at a time each time you send an email. 1. Open your Address Book and click the personal address
book where you want to add this group. 2. On the Toolbar, click on the small triangle to the right of
New and select Group. 3. Type a name for the group and any descriptive comments
to help you remember exactly what the list is for. 4. Click on Members and select the contacts you want to add
by clicking on their name and then on “To.” (Note you can also choose to CC or BC contacts within a group).
5. Once all of the names are listed, click OK. 6. Click on OK to save the group. 7. The next time you want to send an email to everyone in the
group simply choose the group name.
Just for fun… http://lendle.me/ - Borrow and lend books for your Kindle http://calibre-ebook.com/ - Manage your ebook library. http://fastflip.googlelabs.com/ - A quick look at today’s news http://www.sandiegozoo.org/videos/ - Watch the elephants, bears and apes at the San Diego Zoo. http://www.gizmag.com/ - The absolute newest in technology inventions.
ClipCube is a tiny clipboard history tool under
development for Windows: it sits in the system
tray, recording copied text for later use. Allows
viewing saved items and re-copying them to the
clipboard.
http://clipcube.wikispaces.com/
http://topdocumentaryfilms.com/
„TDF offers full documentaries and information on docu-mentaries by quoting reviews from trusted sources. Docu-
mentaries are classified in categories and you can easily find
what you are looking for among the more than 1500 docu-mentaries available.
Searching for text within a webpage?
Depress the keys "Ctrl" and "F". This will bring up the Find function in your web browser. Type in the
word or phrase you’re looking for and each instance will be highlighted.
“Innovation has nothing to do with how many R&D dollars you have. When Apple
came up with the Mac, IBM was spending at least 100 times more on R&D. It's not about money. It's about the people you have, how
you're led, and how much you get it.”
~ Steve Jobs, Apple Computers
Page 3 VOLUME 2 ISSUE 3
Tips for a SMARTer classroom!
http://www.kidsknowit.com/
A free children’s
learning network - per-
fect for integration with
your SMARTBoard.
Page
The
Did you know you can use the circle and tap feature to easily
erase a large area on a SMART
Board?
Pick up the eraser, encircle the
area you want to erase, and then
tap in the middle of the area.
To Set your Default Text:
On the toolbar you should see an icon that looks like an “A” with a red underline, this is the font tool.
Press this button and you will see 6 font types. The first one is the default font. Make sure this one is
pressed down. Then go to your properties button. From here you can change the line style and text
style. It‟s best to make the font at least size 28. Finally, press the save button on the bottom and you
will be all set!
http://www.storyit.com/wgames/wgames.htm
Word Magnets - Vocabulary - Word Blocks -
Sight Words - Much more!
http://teacher.scholastic.com/writewit/poetry/
flash_pie.htm
Online poetry creator-great for
use with your SMARTBoard!
If you haven‟t checked
out Tequipment‟s Educa-
tor Resource Center
lately plan to do so soon.
You‟ll find many ready-made SMART-
Board lessons for all curriculum areas
(including some from our own staff
members!)
http://community.teqsmart.org/
download.php
Use the Screen Shade to hide content on the screen until you‟re ready to reveal it.
Press the SMART Board icon in the system
tray, and select Other SMART Tools >
Screen Shade. The entire screen is then cov-ered by a shade. Handles at the top, bottom
and both sides of the shade allow you to
drag it to selectively reveal the screen con-tents from any direction. To remove the
Screen Shade, press the Close button in its
upper-right corner.
VOLUME 2 ISSUE 3 Page 4
http://www.voki.com/lesson_plans.php Voki is a free service that allows you to create
personalized speaking avatars and use them on
your blog, profile, and in email messages.
Find, organize and share educational videos:
http://www.m86vusafe.com
Ideas for using photographs in your classroom:
What are they doing?
Find the differences.
What might they be saying?
Describe a busy street scene.
What would you smell? Hear?
Writing sentences-what is the picture about?
Prediction-What will happen next?
Have students interview and take pictures of each
other.
Create “A Day in the Life of a Student” project
Demonstrate vocabulary and emotions.
Challenge students to write down as many nouns,
verbs and adjectives they see in the picture.
VOLUME 2 ISSUE 3 Page 5
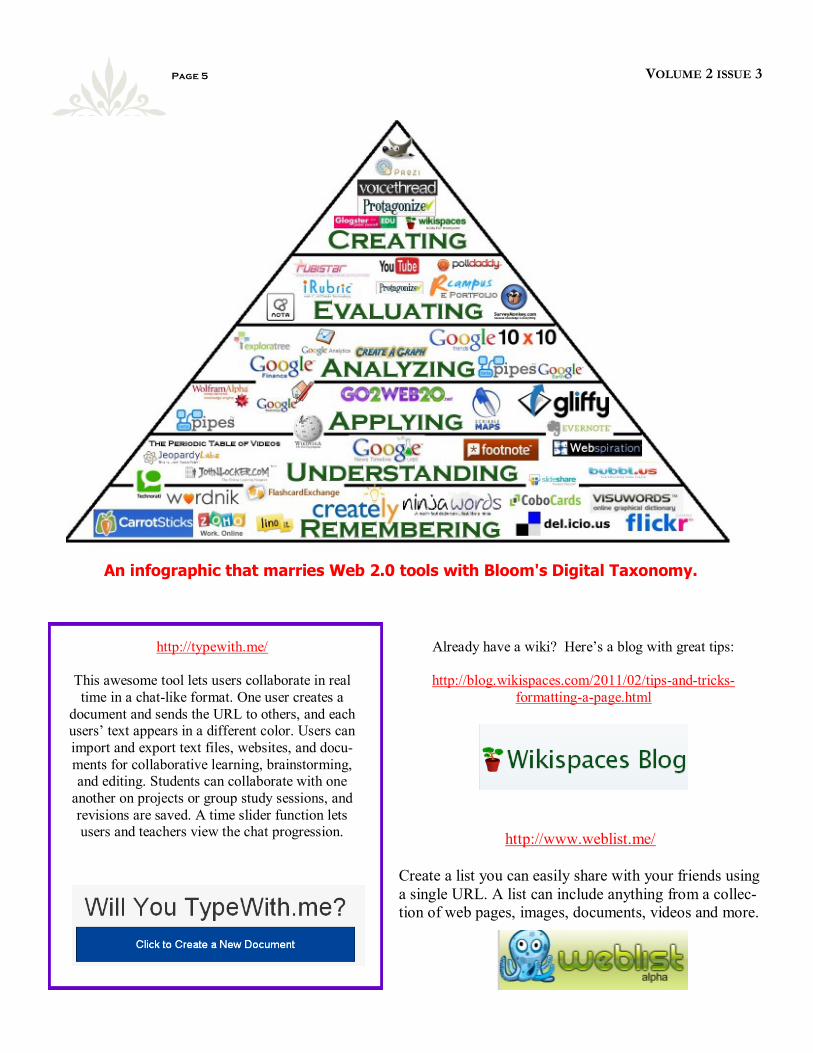
An infographic that marries Web 2.0 tools with Bloom's Digital Taxonomy.
http://typewith.me/
This awesome tool lets users collaborate in real
time in a chat-like format. One user creates a
document and sends the URL to others, and each users‟ text appears in a different color. Users can
import and export text files, websites, and docu-
ments for collaborative learning, brainstorming, and editing. Students can collaborate with one
another on projects or group study sessions, and
revisions are saved. A time slider function lets users and teachers view the chat progression.
Already have a wiki? Here‟s a blog with great tips:
http://blog.wikispaces.com/2011/02/tips-and-tricks-
formatting-a-page.html
http://www.weblist.me/
Create a list you can easily share with your friends using
a single URL. A list can include anything from a collec-
tion of web pages, images, documents, videos and more.
Page 6 VOLUME 2 ISSUE 3
Stickies - APPLE’S answer to POST-IT-NOTES
There are many ways to use Stickies:
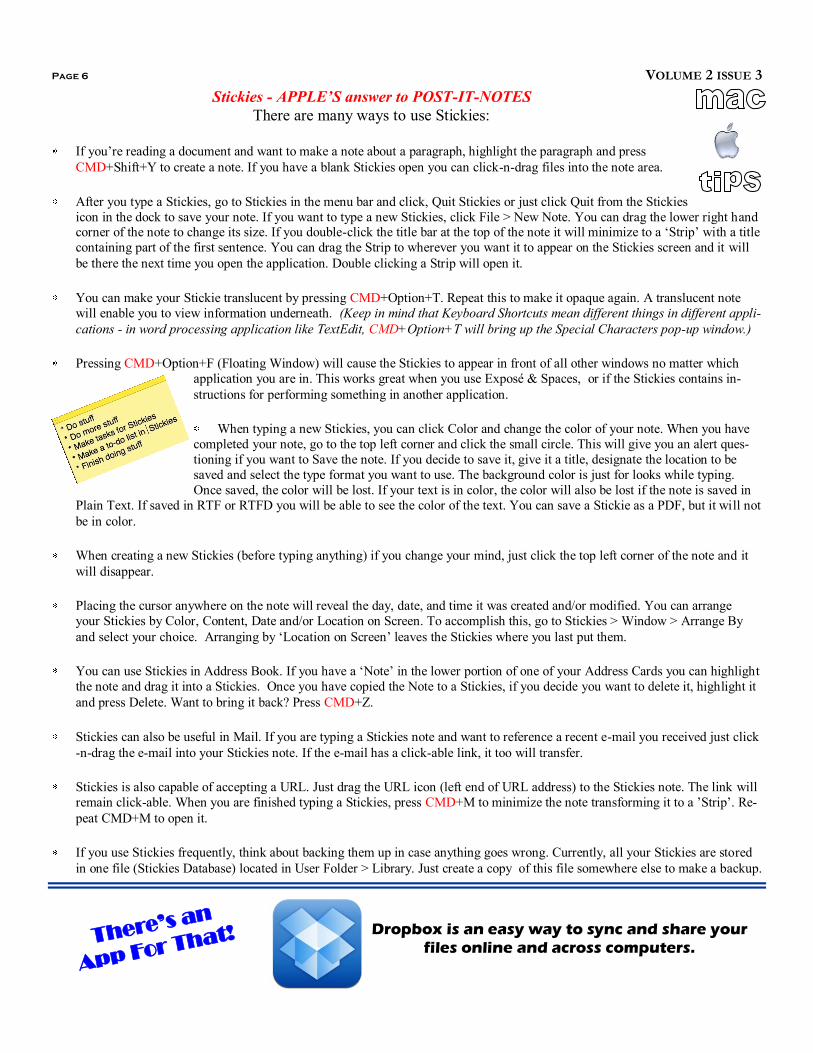
If you‟re reading a document and want to make a note about a paragraph, highlight the paragraph and press
CMD+Shift+Y to create a note. If you have a blank Stickies open you can click-n-drag files into the note area.
After you type a Stickies, go to Stickies in the menu bar and click, Quit Stickies or just click Quit from the Stickies
icon in the dock to save your note. If you want to type a new Stickies, click File > New Note. You can drag the lower right hand corner of the note to change its size. If you double-click the title bar at the top of the note it will minimize to a „Strip‟ with a title
containing part of the first sentence. You can drag the Strip to wherever you want it to appear on the Stickies screen and it will
be there the next time you open the application. Double clicking a Strip will open it.
You can make your Stickie translucent by pressing CMD+Option+T. Repeat this to make it opaque again. A translucent note
will enable you to view information underneath. (Keep in mind that Keyboard Shortcuts mean different things in different appli-
cations - in word processing application like TextEdit, CMD+Option+T will bring up the Special Characters pop-up window.)
Pressing CMD+Option+F (Floating Window) will cause the Stickies to appear in front of all other windows no matter which
application you are in. This works great when you use Exposé & Spaces, or if the Stickies contains in-
structions for performing something in another application.
When typing a new Stickies, you can click Color and change the color of your note. When you have
completed your note, go to the top left corner and click the small circle. This will give you an alert ques-
tioning if you want to Save the note. If you decide to save it, give it a title, designate the location to be
saved and select the type format you want to use. The background color is just for looks while typing.
Once saved, the color will be lost. If your text is in color, the color will also be lost if the note is saved in
Plain Text. If saved in RTF or RTFD you will be able to see the color of the text. You can save a Stickie as a PDF, but it will not
be in color.
When creating a new Stickies (before typing anything) if you change your mind, just click the top left corner of the note and it
will disappear.
Placing the cursor anywhere on the note will reveal the day, date, and time it was created and/or modified. You can arrange
your Stickies by Color, Content, Date and/or Location on Screen. To accomplish this, go to Stickies > Window > Arrange By
and select your choice. Arranging by „Location on Screen‟ leaves the Stickies where you last put them.
You can use Stickies in Address Book. If you have a „Note‟ in the lower portion of one of your Address Cards you can highlight
the note and drag it into a Stickies. Once you have copied the Note to a Stickies, if you decide you want to delete it, highlight it
and press Delete. Want to bring it back? Press CMD+Z.
Stickies can also be useful in Mail. If you are typing a Stickies note and want to reference a recent e-mail you received just click
-n-drag the e-mail into your Stickies note. If the e-mail has a click-able link, it too will transfer.
Stickies is also capable of accepting a URL. Just drag the URL icon (left end of URL address) to the Stickies note. The link will
remain click-able. When you are finished typing a Stickies, press CMD+M to minimize the note transforming it to a ‟Strip‟. Re-
peat CMD+M to open it.
If you use Stickies frequently, think about backing them up in case anything goes wrong. Currently, all your Stickies are stored
in one file (Stickies Database) located in User Folder > Library. Just create a copy of this file somewhere else to make a backup.
There’s an
App For That!
Dropbox is an easy way to sync and share your
files online and across computers.