Embed Size (px)
Citation preview
Welcome to The Bionic Gear Bag Class!
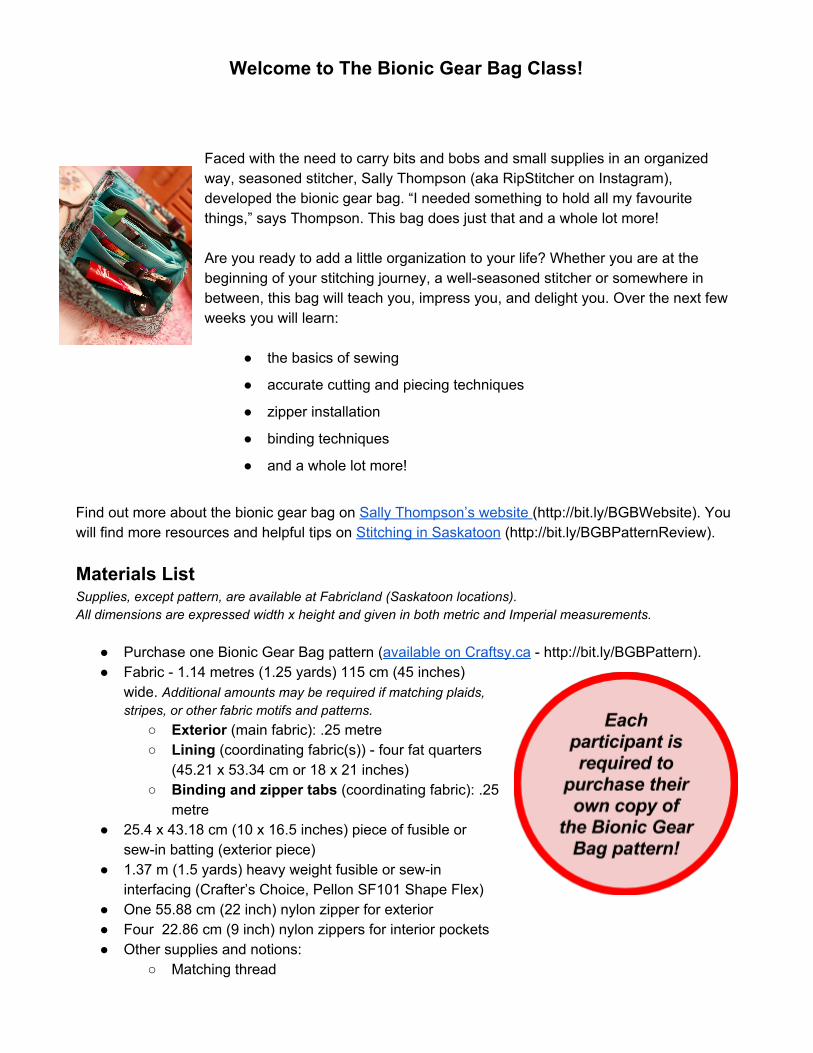
Faced with the need to carry bits and bobs and small supplies in an organized way, seasoned stitcher, Sally Thompson (aka RipStitcher on Instagram), developed the bionic gear bag. “I needed something to hold all my favourite things,” says Thompson. This bag does just that and a whole lot more! Are you ready to add a little organization to your life? Whether you are at the beginning of your stitching journey, a wellseasoned stitcher or somewhere in between, this bag will teach you, impress you, and delight you. Over the next few weeks you will learn:
the basics of sewing
accurate cutting and piecing techniques
zipper installation
binding techniques
and a whole lot more!
Find out more about the bionic gear bag on Sally Thompson’s website (http://bit.ly/BGBWebsite). You will find more resources and helpful tips on Stitching in Saskatoon (http://bit.ly/BGBPatternReview). Materials List Supplies, except pattern, are available at Fabricland (Saskatoon locations). All dimensions are expressed width x height and given in both metric and Imperial measurements.
Purchase one Bionic Gear Bag pattern (available on Craftsy.ca http://bit.ly/BGBPattern). Fabric 1.14 metres (1.25 yards) 115 cm (45 inches)
wide. Additional amounts may be required if matching plaids, stripes, or other fabric motifs and patterns.
Exterior (main fabric): .25 metre Lining (coordinating fabric(s)) four fat quarters
(45.21 x 53.34 cm or 18 x 21 inches) Binding and zipper tabs (coordinating fabric): .25
metre 25.4 x 43.18 cm (10 x 16.5 inches) piece of fusible or
sewin batting (exterior piece) 1.37 m (1.5 yards) heavy weight fusible or sewin
interfacing (Crafter’s Choice, Pellon SF101 Shape Flex) One 55.88 cm (22 inch) nylon zipper for exterior Four 22.86 cm (9 inch) nylon zippers for interior pockets Other supplies and notions:
Matching thread
Pins and/or clips Fabric marking utensil Seam ripper Zipper foot for your sewing machine Regular foot for your sewing machine Seam measurement gauge Tape measure Rotary cutters and mat Fabric scissors or shears Rulers or straight edge for accurate cutting
Preparation: In order to ensure that class time is productive and fun, please prepare your materials:
prewash and dry your main and coordinating fabrics according to the care instructions; remove wrinkles by pressing before cutting
cut out all pieces as instructed by the pattern (exterior, lining, interfacing, and batting)
mark each piece with the corresponding letter and directional arrow (on the wrong side or the interfaced side)
mark the centre of your zippers mark the centre of your pattern pieces on the wrong side (or the
interfaced side) watch the instructional videos and other tutorials embellish the exterior piece main fabric with your choice of
decorative quilting, embroidery or cross stitch, fabric painting, appliques, beadwork, or other technique
Should you have any questions or concerns during the preparation phase, please bring them to class or email your instructor prior to class.
About the Instructor: Bonnie Zink has over 30 years of stitching experience. She is a writer, a seamstress, a knitter, a
crocheter, and all around crafty gal. Bonnie lives, works, and plays in Saskatoon,
Saskatchewan. Find out more about Bonnie as a professional writer at BonnieZink.com or visit
her on Stitching in Saskatoon.
Email: [email protected]
"Stitching allows me to connect with the past, enjoy the present, and look forward to the future. I stitch with Rosemary, a 1948 Singer treadle machine (1588) machine, and Thyme, a 1936 Singer 128 electric. Together,
we create a little stitcherly magic.”