Embed Size (px)
Citation preview

- 1 -
WebEDI Service (Profile)
Operation manual
For Supplier
March 2019
© TOSHIBA Corporation 2005-2019
All Rights Reserved.

- 2 -
WebEDI Service (VMI) Operation manual for Supplier
Release Note
Revison
Date
Description
1.0
2.0
3.0
4.0
5.0
6.0
7.0
8.0
9.0
Jan-2005
Sep-2009
Apr-2010
Jun-2010
Apr-2011
Jun-2012
Aug-2013
Nov-2018
Mar-2019
English version release.
English version update.
English version update.
English version update.
English version update.
English version update.
English version update.
English version update.
English version update.

- 3 -
TABLE OF CONTENTS
1 SOFTWARE REQUIREMENT ............................................................................................................................... 6
2 THE OUTLINE OF A FUNCTION ......................................................................................................................... 8
2.1 THE MENU OF WEBEDI ............................................................................................................................................ 8
2.2 FUNCITON LIST .......................................................................................................................................................... 9
3 THE FUNCTION OF WEBEDI ............................................................................................................................. 11
3.1 LOGIN ...................................................................................................................................................................... 11
3.1.1 home page ......................................................................................................................................................... 11
3.1.2 Login ................................................................................................................................................................. 12
3.2 PROFILE MAINTENANCE MENU.............................................................................................................................. 13
3.2.1 Profile Maintenance Menu ................................................................................................................................ 13
3.3 VENDOR MAINTENANCE ......................................................................................................................................... 14
3.3.1 Vendor Update .................................................................................................................................................. 14
3.4 USER DATA MAINTENANCE MENU ......................................................................................................................... 16
3.4.1 User List ............................................................................................................................................................ 16
3.4.2 User registration ................................................................................................................................................ 18
3.4.3 Change User data .............................................................................................................................................. 20
4 ERROR MESSAGES .................................................................................................................................................. 23

- 4 -
Introduction The range of this document
This document explains the operation method of WebEDI for Supplier.
Trademark currently used in this book:
Microsoft Windows : Microsoft Corporation
Oracle : Oracle Corporation
Oracle Application Server : Oracle Corporation
Internet Explorer : Microsoft Corporation
Adobe Reader : Adobe Systems Incorporated
In addition, the name of the product generally used is used as a trademark of each company, respectively.
Manual for Common Operation
Operation manual
For supplier
Operation manual
For Buyer

- 5 -
Section 1
Software requirement

- 6 -
1 Software requirement
Client-side environment required when use of service, Please refer to the URL below.
https://wa2.edi.toshiba.co.jp/EAGLE/usage.html
Service Top Page > How to use 「Software Requirement」
※As for installation of Internet Explorer, Adobe Reader, etc., refer to “Common Edition”.

- 7 -
Section 2
Function outline

- 8 -
2 The outline of a Function
2.1 The menu of WebEDI
The menu which can use Buyer is as follows.
Top Page forAdministrator
ProfileVendor DataMaintenance
Change VendorData
User DataMaintenance
User Data Entry
User ListChange User
Data

- 9 -
2.2 Function list
Menu which can be used by each authority is the following.
Supplier (*1)
Supplier(Representative) (*2)
2nd Supplier (*3)
A(Can Use), B(Display Only), C(Can’t use)
Function Outline *1 *2 *3
Profile Maintenance Menu Show Profile Maintenance Menu C A C
Vendor Data Maintenance List register Vendor Information.
Change Vendor Information. C A C
User Data Maintenance User Data Entry Register New User Information. C A C
User List List resisted User Information. C A C
Change User
data
Change User Information. C A C

- 10 -
Section 3
The Function of WebEDI

- 11 -
3 The Function of WebEDI
3.1 Login
3.1.1 home page
Outline
The home page is entrance for you to login this System.
You can select menu and download applications required to use this system.
Sample Screen
Description
(1) When you want to start “VMI” service,
click the "VMI" button.
(2) When you want to start “Profile Maintenance” service,
click the "Profile" button.
(3) When you want to download manuals,
The manual of PDF form can be downloaded on the this screen

- 12 -
3.1.2 Login
Outline
If a button (”VMI”,”WebEDI”,”Profiel”,”VMISuperuser”) is clicked on the home page,
the following login page is displayed.
Sample Screen
Description
(1) Input User ID and Password.
Field Description
User ID Enter the User ID of those who use.
Password Enter the password of User ID.
(2) Click “OK” button to login this system.
Button Description
OK When you will login on this system, click this button.
Cancel When you will not login on this system, click this button.
- 13 -
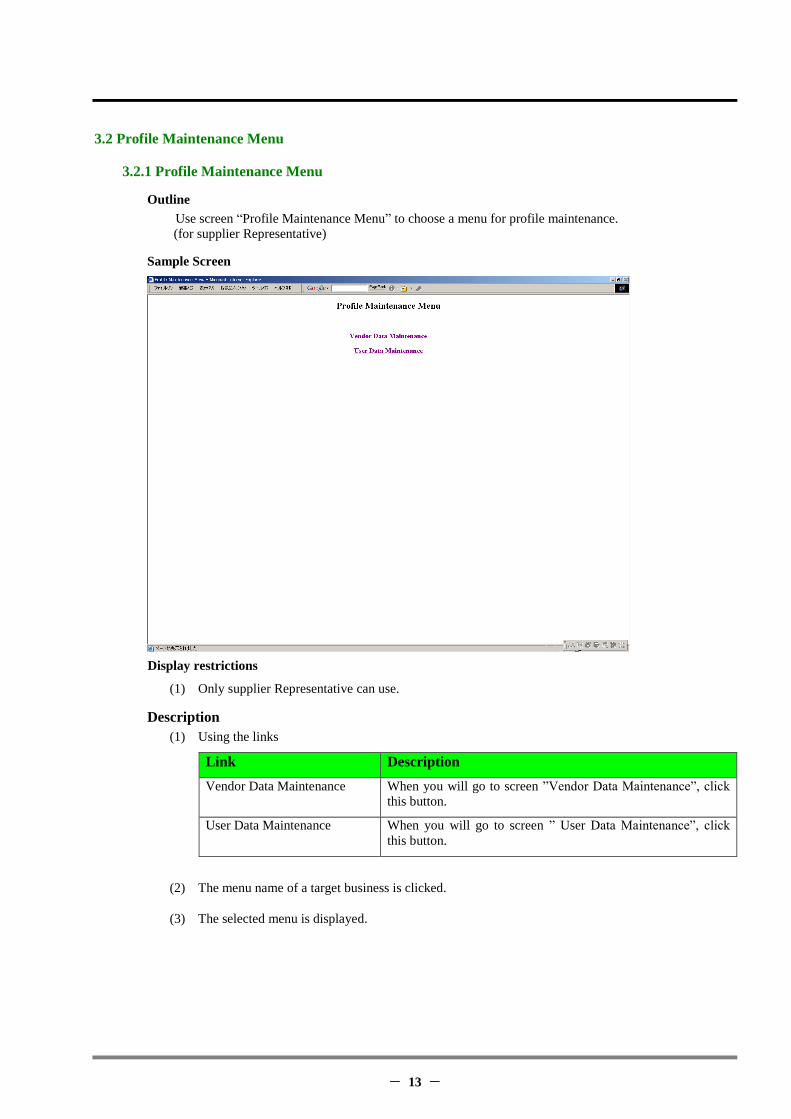
3.2 Profile Maintenance Menu
3.2.1 Profile Maintenance Menu
Outline
Use screen “Profile Maintenance Menu” to choose a menu for profile maintenance.
(for supplier Representative)
Sample Screen
Display restrictions
(1) Only supplier Representative can use.
Description
(1) Using the links
Link Description
Vendor Data Maintenance When you will go to screen ”Vendor Data Maintenance”, click
this button.
User Data Maintenance When you will go to screen ” User Data Maintenance”, click
this button.
(2) The menu name of a target business is clicked.
(3) The selected menu is displayed.

- 14 -
3.3 Vendor Maintenance
3.3.1 Vendor Update
Outline
Use Screen “Vendor registration” to change a registered vendor information.
Sample Screen
Display restrictions
(1) Only supplier Representative can use.
Description
(1) If the link [Vendor Data Maintenance] is clicked on Screen ”Change Vendor data”,
Screen “Vendor registration” will appear.
(2) Using the Buttons/Links
Button/Link Description
OK When you will enter the vendor information this system, click this
button.
Cancel When you will clear the input items, click this button.
Back to Vendor Data
Maintenance Menu
When you will back to Screen “Vendor Data Maintenance Menu”, click
this link.
(3) Display item
Item
Note:*=required
Description
Vendor Code Shows the Vendor Code. (max 12 digits)

- 15 -
Item
Note:*=required
Description
Toshiba Vendor Code Shows the Toshiba Vendor Code. (max 5 digits)
Language* Enter the language of the vendor using.
Vendor Name* Enter the Vendor Name in English. (max 50 digits)
Vendor
Name(Original) Enter the Vendor Name in Original language. (max 50 digits)
Zip Code Enter the zip code of the vendor. (max 20 digits)
Address Enter the address of the vendor in English. (max 200digits)
Address(Original) Enter the address of the vendor in Original language. (max 200 digits)
Phone No. Enter the Phone Number of the vendor. (max 30 digits)
FAX Enter the Fax Number of the vendor. (max 30digits)
Homepage Address Enter the URL of the vendor’s home page address. (max 200 digits)
(4) Enter the above items, and click the [OK] button.
The result is displayed on the lower frame of the screen.
When registered normally, the message “Vendor information change completed.(Resisted Vendor
Code:xxxx)”(“xxxx” means Vendor Code.) will be displayed in the lower frame of the screen.
When an error occurs, the error message will be displayed.
See also: Section 4. Error Message.
- 16 -
3.4 User Data Maintenance Menu
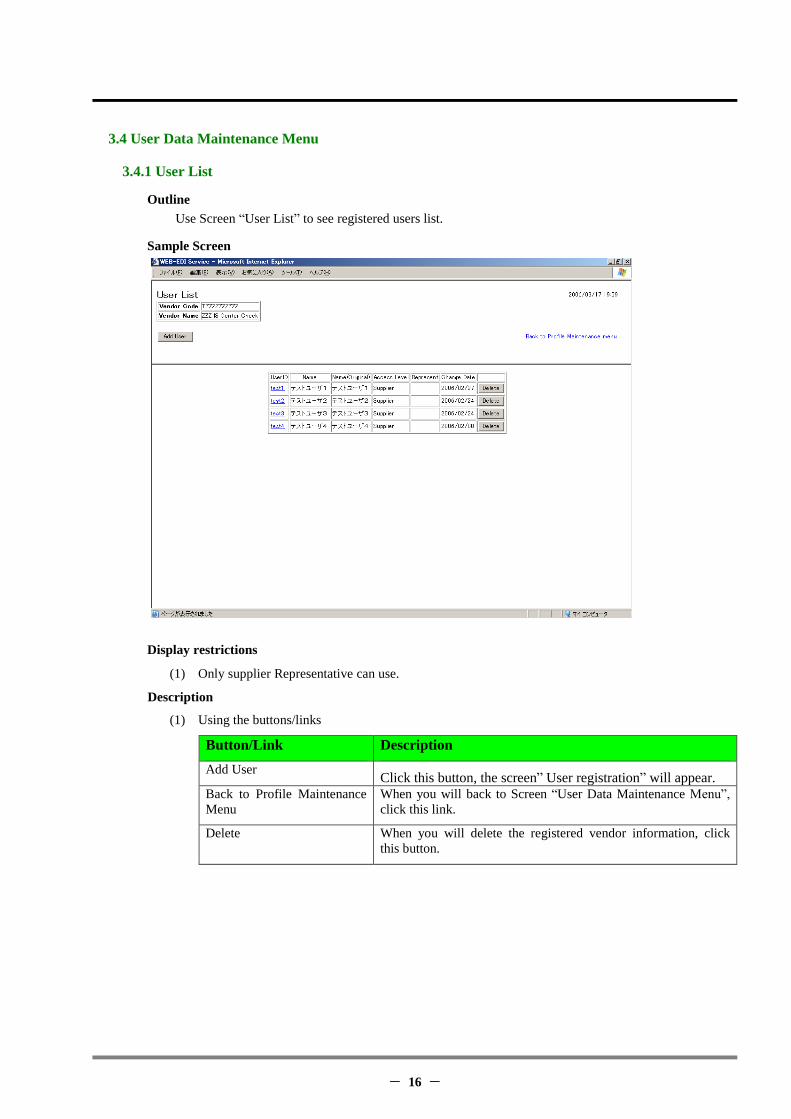
3.4.1 User List
Outline
Use Screen “User List” to see registered users list.
Sample Screen
Display restrictions
(1) Only supplier Representative can use.
Description
(1) Using the buttons/links
Button/Link Description
Add User Click this button, the screen” User registration” will appear.
Back to Profile Maintenance
Menu
When you will back to Screen “User Data Maintenance Menu”,
click this link.
Delete When you will delete the registered vendor information, click
this button.

- 17 -
(2) Display item
項目名称 説明
User ID(link) Shows the user ID of the registered user.
If you will change the user information, click the user ID link.
Name Shows the user name of the user. (max 100 digits)
Name(Original) Shows the user name of the user in Original language.
(max 100 digits)
Access Level Shows the Access Level of the user.
(3) When you will delete the vendor information, click [Delete] button.
The result is displayed on the lower frame of the screen.
When deleted normally, the message “User information was deleted.” will be displayed in the
lower frame of the screen.
When an error occurs, the error message will be displayed.
See also: Section 4. Error Message.
Note:
The deleted user ID never once gets used to use except for the case where it registers again.

- 18 -
3.4.2 User registration
Outline
Use Screen “User registration” to enter a user information.
Sample Screen
Display restrictions
(1) Only supplier Representative can use.
Description
(1) If the button [Add User] is clicked on Screen ” User Data List”, Screen “User registration” will
appear.
(2) Using the buttons
Button/Link Description
OK When you will enter the user data this system, click this button.
Cancel When you will clear the input items, click this button.
Back to User Maintenance
Menu
When you will back to Screen “User Maintenance Menu”, click this
link.

- 19 -
(3) Display item
Item
Note:*=required
Description
UserID* user ID is published automatically
Password* Assign a password to a user ID. (max 8 digits)
Name* Enter the user Name in English. (max 50 digits)
Name(Original)* Enter the user Name in Original language. (max 50 digits)
Section* Enter the section where the user belongs. (max 50 digit)
Access Level* Choose the access level of the user.
Represent Choose the existence of the representation authority of the user who
registers.
(It restricts, when the user who registers is Supplier.)
Parts Category Enter the Parts Category of the vendor user. (max 3 digits)
(It restricts, when the user who registers is Second Supplier.)
Emergency Phone No. Enter the Emergency Phone Number of the user. (max 30 digit)
E-Mail Address Enter the E-Mail Address. (max 100 digits)
E-Mail Transport Choose the E-mail Transport existence of the user who registers.
(4) Enter the above items, and click the [OK] button.
The result is displayed on the lower frame of the screen.
When registered normally, the message “UserID registration completed” will be displayed in the
lower frame of the screen.
When an error occurs, the error message will be displayed.
See also: Section 4. Error Message.
Note
User ID should input the contents according to this system employment rule.
- 20 -
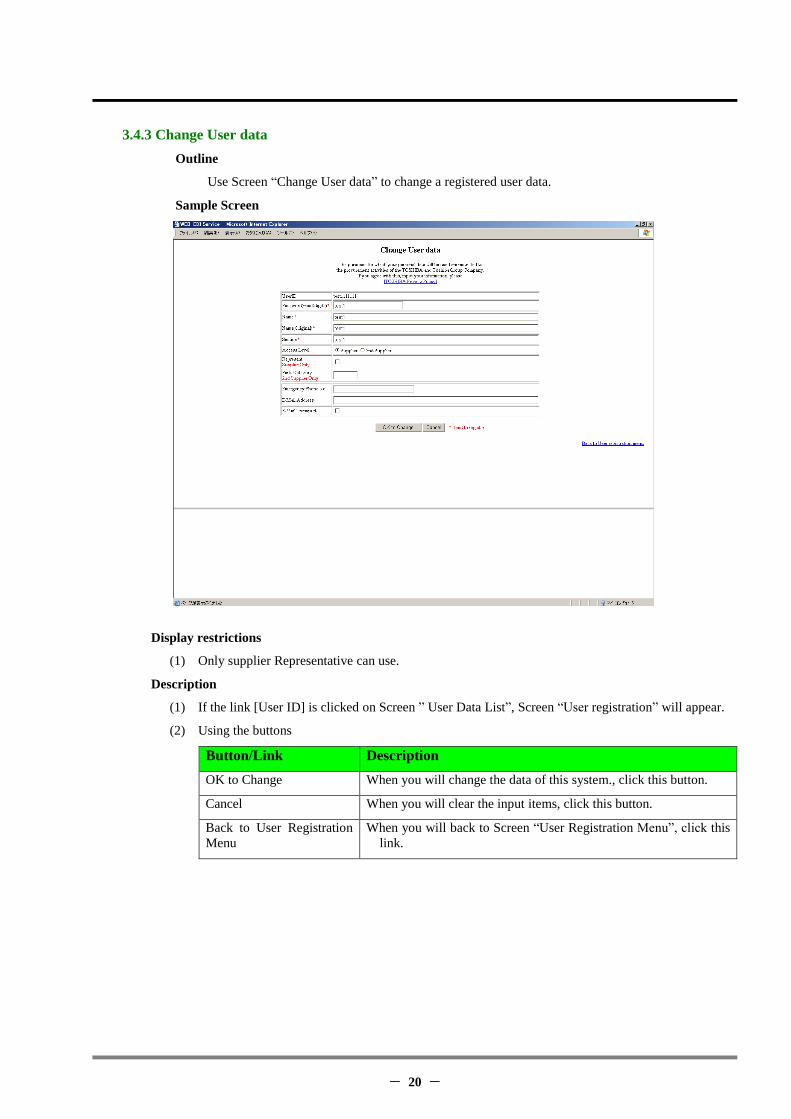
3.4.3 Change User data
Outline
Use Screen “Change User data” to change a registered user data.
Sample Screen
Display restrictions
(1) Only supplier Representative can use.
Description
(1) If the link [User ID] is clicked on Screen ” User Data List”, Screen “User registration” will appear.
(2) Using the buttons
Button/Link Description
OK to Change When you will change the data of this system., click this button.
Cancel When you will clear the input items, click this button.
Back to User Registration
Menu
When you will back to Screen “User Registration Menu”, click this
link.

- 21 -
(3) Display item
Item Description
UserID Shows the User ID.
Password Enter the new password of the user.
Name Enter the new user name of the user.
Name(Original) Enter the new user name in Original language. (max 50 digits)
Section Enter the new Section of the user.
Access Level Choose the new access level of the user.
Represent Choose the existence of the representation authority of the user who
registers.
(It restricts, when the user who registers is Supplier.)
Parts Category Enter the Parts Category of the vendor user. (max 3 digits)
(It restricts, when the user who registers is Second Supplier.)
Emergency Phone No. Enter the new Emergency Phone Number of the user. (max 30 digit)
E-Mail Address Enter the new E-Mail Address. (max 100 digits)
E-Mail Transport Choose the E-mail Transport existence of the user who registers.
(4) Edit the above items, and click the [OK to Change] button.
The result is displayed on the lower frame of the screen.
When updated normally, the message “User information was updated.” will be displayed.
When an error occurs, the error message will be displayed in the lower frame of the screen.
See also: Section 4. Error Message.
- 22 -
Section 4
Error Massages

- 23 -
4 Error Messages
Shows error messages and its solution.
Error Message Description
Unauthorized UserID. Please retry. User authentication is not performed. Please retry from login.
You have no proper access level. Please
retry.
There is no authority to use the function. Please log in by the user
with suitable authority.
Invalid Character in xxxxx. The invalid character”xxxx” is contained. (ex. characters are
mixed in a numerical item) Please retry after editing the invalid
character.
xxxxx is not entered. Please Enter. "xxxx" is not entered. Please retry after inputting "xxxx".
xxxxx is not in a valid format. “xxxxx” is not in a valid format. Please retry after correcting the
format.
Can't display xxxxx It is a system error. Please post the contents of a message and
contact an administrator by e-mail etc.
OWA????-??????? It is a system error. Please post the contents of a message and
contact an administrator by e-mail etc.