Embed Size (px)
Citation preview
PNNL-15117 Ver. 1.5.4
WebOSB™ – Operational Status Boards PC Server Installation Guide for WebOSB Version 1.5.4 May 18, 2005 Battelle – Pacific Northwest Division Richland, Washington 99352
PNNL-15117 Ver. 1.5.4
Acknowledgment The initial status board concept was developed by the Battelle – Pacific Northwest Division as a component of the Federal Emergency Management Information System (FEMIS), a part of the U.S. Army’s Chemical Stockpile Emergency Preparedness Program (CSEPP). The development of OSB, the stand-alone status board PC-based software application, was accomplished using internal funding from the Battelle – Pacific Northwest Division. The development of the web-based interface, WebOSB, was developed using internal funding from Battelle – Pacific Northwest Division. The initial PC component of this software and its documentation were produced with Government support under Contract Number DE-AC06-76RLO-1830 awarded by the United States Department of Energy. The Government retains a paid-up non-exclusive, irrevocable worldwide license to reproduce, prepare derivative works, perform publicly and display publicly by or for the Government, including the right to distribute to other Government contractors the PC-based OSB application. Battelle – Pacific Northwest Division asserts the rights to WebOSB, the web-based component of the OSB application—WebOSB and OSB comprise WebOSB™. Legal Notice
This report was prepared by Battelle Memorial Institute (Battelle) as an account of sponsored research activities. Neither Client nor Battelle nor any person acting on behalf of either: MAKES ANY WARRANTY OR REPRESENTATION, EXPRESS OR IMPLIED, with respect to the accuracy, completeness, or usefulness of the information contained in this report, or that the use of any information, apparatus, process, or composition disclosed in this report may not infringe privately owned rights; or Assumes any liabilities with respect to the use of, or for damages resulting from the use of, any information, apparatus, process, or composition disclosed in this report. Reference herein to any specific commercial product, process, or service by trade name, trademark, manufacturer, or otherwise, does not necessarily constitute or imply its endorsement, recommendation, or favoring by Battelle. The views and opinions of authors expressed herein do not necessarily state or reflect those of Battelle.
WebOSB – Operational Status Boards WebOSB PC Server Installation Guide for WebOSB Version 1.5.4 Robert A Burnett Richard J Carter Brian J Homer Sharon M Johnson Robert M Loveall W David Millard Blanche M Wood Nino Zuljevic May 18, 2005 Battelle – Pacific Northwest Division Richland, Washington 99352
iii
Preface The WebOSB™ – Operational Status Boards©(a) is an operations planning and response tool. The following documents were developed to support system users. The WebOSB Bill of Materials defines the hardware, software, and communication requirements. The OSB PC Client Software Installation Guide provides instructions for installing and configuring the OSB PC-client application. The OSB client software is used to design and administer the WebOSB system. The WebOSB UNIX Server Installation Guide provides instructions for installing and configuring the
UNIX server component of the WebOSB. The WebOSB PC Server Installation Guide provides instructions for installing and configuring the OSB PC server component of the OSB client/server software package. This WebOSB Data Management Guide provides the information needed to manage the data used to support the administrative, user-environment, database management, and operational capabilities of OSB. The WebOSB System Administration Guide provides information on Notification Service, database security, and backup strategies for OSB. The OSB Online Help System explains how to use the OSB application, which is designed to help operations personnel design and apply operational status boards. The WebOSB Help System explains how to use the web-based WebOSB application of the WebOSB.
(a) WebOSB software was copyrighted by Battelle–Pacific Northwest Division in 2004.
v
Contents
1.0 WebOSB PC Server Installation ..................................................................................................1-1
2.0 Installation of WebOSB v1.5.4 Database.....................................................................................2-1 2.1 Disk Space Required..................................................................................................................2-1 2.2 Installing Oracle8i Server or Personal Oracle Edition 8.1.7 and Patches..................................2-1 2.3 Configuring Oracle Network Components ................................................................................2-3
2.3.1 Configuring SQLNet..........................................................................................................2-3 2.3.2 Setting up Oracle Listener..................................................................................................2-4 2.3.3 Enabling NT Authentication ..............................................................................................2-4
2.4 Building the Oracle Database ....................................................................................................2-4 2.5 Creating the Database Schemas .................................................................................................2-6 2.6 Importing User Data ..................................................................................................................2-7 2.7 Enabling Rollback Segments .....................................................................................................2-8 2.8 Creating WebOSB Database Objects .......................................................................................2-8 2.9 Fixing EOC Table ......................................................................................................................2-8
3.0 WebOSB Installation....................................................................................................................3-1 3.1 Installing Java 2 SE SDK...........................................................................................................3-1
3.1.1 Running the Setup Program...............................................................................................3-1 3.1.2 Configuring the Environment ............................................................................................3-1
3.2 Generating Secure Certificate ....................................................................................................3-1 3.3 Installing and Restarting Jakarta-Tomcat Web Server...............................................................3-2
4.0 WebOSB Event Notification Service ...........................................................................................4-1 4.1 FemisEvent Service Installation.................................................................................................4-1 4.2 WebOSB Notification Service Installation...............................................................................4-1 4.3 Connecting to the URL ..............................................................................................................4-2
5.0 Checking the WebOSB Installation..............................................................................................5-1
5.1 Validating the WebOSB Installation ........................................................................................5-1 5.2 Troubleshooting Web Page Error ..............................................................................................5-1

vi
Acronyms and Definitions DBMS Database Management System EOC Emergency Operations Center OSB operational status boards PC-client application PNWD Battelle – Pacific Northwest Division UNIX Generic name for the server operating system WebOSB operational status boards web-based application WebOSB comprised of WebOSB and OSB
1-1
1.0 WebOSB PC Server Installation This document includes the WebOSB PC server installation instructions required for the WebOSB™ – Operational Status Boards©(a) released by Battelle – Pacific Northwest Division (PNWD). WebOSB allows users to simultaneously add, edit, and view dynamic information via electronic status
boards and shared reports. WebOSB allows a single status board to be updated by multiple users at multiple locations to support multiple hazards. New records and updates are immediately stored in a central database making all of the highly dynamic decisions and information available in real time to all of the users. An internal notification mechanism is used to apply a visual indicator on open status boards and shared reports to make users aware that new information or decisions have been made. WebOSB allows information to be automatically distributed across emergency operations centers (EOCs) and hazards – increasing the availability of information at an extended site. WebOSB consists of two operational status board applications: web-based WebOSB and PC-client based OSB. The WebOSB application allows users to edit and view the contents of pre-defined status boards. WebOSB also allows users to add, edit, and view shared reports via the Internet Explorer. Using a secure ID, WebOSB enables multiple users to add and update highly dynamic information to assists decision makers during an emergency. WebOSB allows users in the field to be a part of an extended, virtual EOC. The WebOSB application resides on the web server. OSB is a client/server administrative application that is physically located on a client PC. OSB includes the status board Designer feature which allows a local administrator to add new status boards and update the design of existing status boards. Newly created or updated status boards are immediately available to the extended user group via WebOSB. OSB not only includes the ability to add, edit, and view status boards and shared reports – it also includes extended query, reporting, and administrative functions. For more information, see the WebOSB website (http://webosb.pnl.gov). If you have questions or need additional copies of this document, please contact W. David Millard Battelle – Pacific Northwest Division P.O. Box 999, MS K7-28 Richland, WA 99352 Phone: (509) 375-2947 E-mail: [email protected]
(a) WebOSB software was copyrighted by Battelle–Pacific Northwest Division in 2004.
WebOSB – Operational Status Boards Web OSB PC Server Installation Guide Version 1.5.4 May 18, 2005
1-2
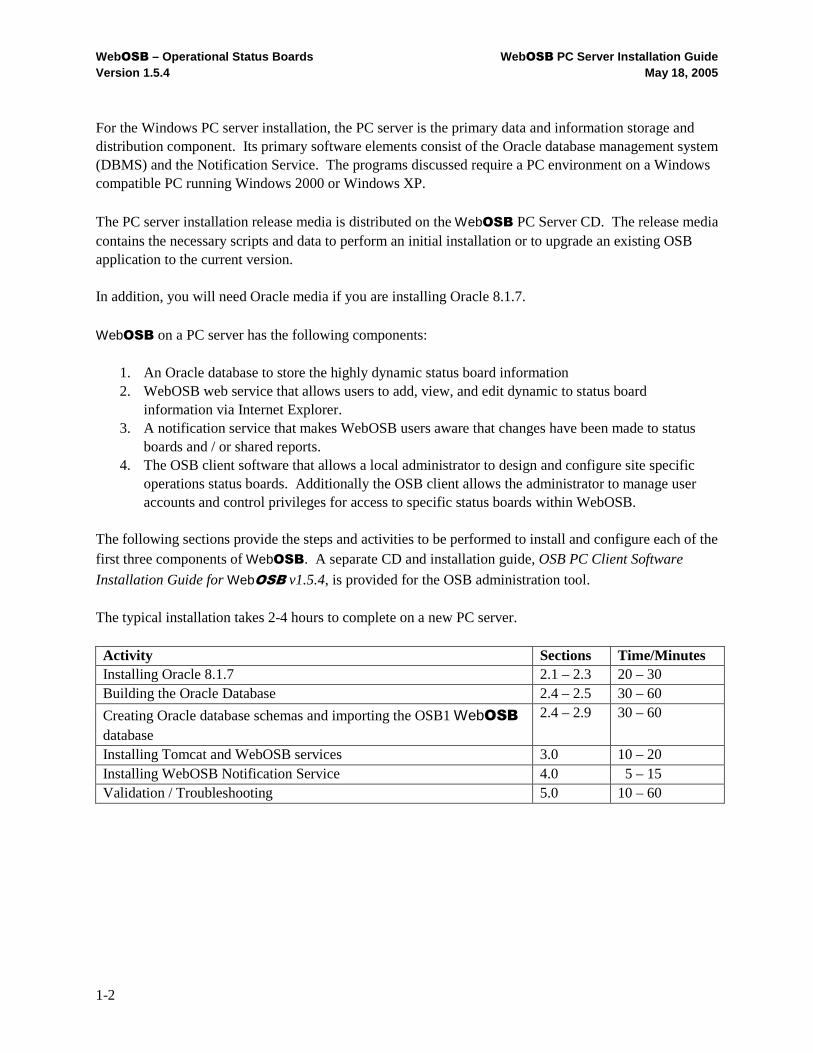
For the Windows PC server installation, the PC server is the primary data and information storage and distribution component. Its primary software elements consist of the Oracle database management system (DBMS) and the Notification Service. The programs discussed require a PC environment on a Windows compatible PC running Windows 2000 or Windows XP. The PC server installation release media is distributed on the WebOSB PC Server CD. The release media contains the necessary scripts and data to perform an initial installation or to upgrade an existing OSB application to the current version. In addition, you will need Oracle media if you are installing Oracle 8.1.7. WebOSB on a PC server has the following components:
1. An Oracle database to store the highly dynamic status board information 2. WebOSB web service that allows users to add, view, and edit dynamic to status board
information via Internet Explorer. 3. A notification service that makes WebOSB users aware that changes have been made to status
boards and / or shared reports. 4. The OSB client software that allows a local administrator to design and configure site specific
operations status boards. Additionally the OSB client allows the administrator to manage user accounts and control privileges for access to specific status boards within WebOSB.
The following sections provide the steps and activities to be performed to install and configure each of the first three components of WebOSB. A separate CD and installation guide, OSB PC Client Software
Installation Guide for WebOSB v1.5.4, is provided for the OSB administration tool. The typical installation takes 2-4 hours to complete on a new PC server. Activity Sections Time/Minutes Installing Oracle 8.1.7 2.1 – 2.3 20 – 30 Building the Oracle Database 2.4 – 2.5 30 – 60
Creating Oracle database schemas and importing the OSB1 WebOSB database
2.4 – 2.9 30 – 60
Installing Tomcat and WebOSB services 3.0 10 – 20 Installing WebOSB Notification Service 4.0 5 – 15 Validation / Troubleshooting 5.0 10 – 60

2-1
2.0 Installation of Web OSB v1.5.4 Database The following section contains instructions on the installation of an Oracle database and the configuration of the WebOSB v1.5.4 database on the system. Items that will be required to complete this installation are as follows:
• Oracle8i v8.1.7 Server or Personal Oracle Edition • WebOSB v1.5.4 PC Server Installation CD
• WebOSB v1.5.4 PC Server SITE Database CD (optional).
2.1 Disk Space Required
The database requires that Oracle8i v8.1.7 database software be installed on the PC. The amount of disk space required for a minimal installation of these products is • ~586 MB for Oracle8i or Personal Oracle8i • ~500 MB-900 MB for WebOSB data files.
2.2 Installing Oracle8i Server or Personal Oracle Edition 8.1.7 and Patches
Complete the following the steps to Install Oracle8i Server or Personal Oracle Edition 8.1.7: 1. Insert the Oracle installation CD into the CD drive.
2. Select Install/Deinstall Products on the window that appears.
Note: If window does not start automatically upon inserting the CD, click Start � Run , and enter <CD DRIVE>:\SETUP.EXE .
3. Click Next in the Oracle Universal Installer – Welcome window.
4. Verify the destination Name and Path of the Oracle Home directory (typically
C:\ORACLE\ORA81), and click Next . 5. Select Oracle8i or Personal Oracle8i Edition, and click Next .
6. Select Custom in Installation Types window, and click Next . 7. Select/deselect the following recommended components for the WebOSB database in the
Available Product Components window.

WebOSB – Operational Status Boards Web OSB PC Server Installation Guide Version 1.5.4 May 18, 2005
2-2
� Oracle8i Server 8.1.7.0.0
+� Oracle HTTP Server 1.3.12.0.1a
+� Oracle Product Options 8.1.7.0.0
+� Net 8 Products 8.1.7.0.0
+� Oracle Utilities 8.1.7.0.0
+� Oracle Java Products 8.1.7.0.0
+� Oracle Enterprise Manager Products 8.1.7.0.0 +� Oracle Configuration Assistants 8.1.7.0.0
+� Oracle Development Tools 8.1.7.0.0 –� Oracle Installation Products 8.1.7.0.0 � Oracle Universal Installer 1.7.1.9.0
+� Oracle Migration Workbench 1.3.0.0.0 +� Oracle Services for Microsoft Transaction Server 8. 1.7.0.0 +� Oracle Administration Assistant for Windows NT 8.1. 7.0.0 +� Oracle8i Windows Documentation 8.1.7.0.0
Click Next. 8. Click Next in the Component Locations window. 9. Select No in the Create Database window, and click Next .
10. Click Install in the Summary window.
11. Click Cancel on the Net8 Configuration Assistant Welcome window that displays after the
installation is complete.
12. Click OK on the Error window that follows.
13. Click Next on the Configuration Tools window.
14. Click Exit on the End of Installation window.
Installing Oracle8i Patch Set 8.1.7.4 The Oracle8i patch set 8.1.7.4 must be installed after Oracle8i Server or Personal Oracle Edition 8.1.7.0.0 has been installed. 1. Click Start �Run, and enter services.msc 2. Stop all Oracle services that may be running. Oracle services start with OracleOra .
3. Insert the WebOSB PC Server Installation CD.
WebOSB – Operational Status Boards Web OSB PC Server Installation Guide Version 1.5.4 May 18, 2005
2-3
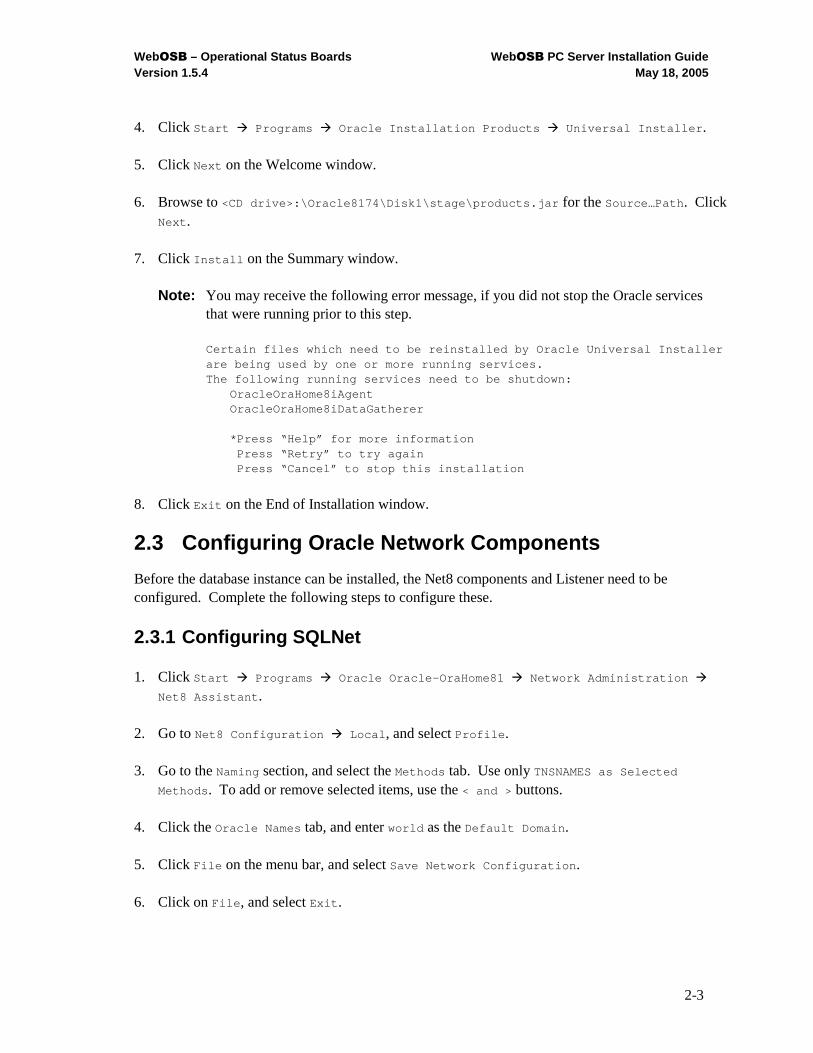
4. Click Start � Programs � Oracle Installation Products � Universal Installer .
5. Click Next on the Welcome window.
6. Browse to <CD drive>:\Oracle8174\Disk1\stage\products.jar for the Source…Path . Click Next .
7. Click Install on the Summary window.
Note: You may receive the following error message, if you did not stop the Oracle services that were running prior to this step.
Certain files which need to be reinstalled by Oracl e Universal Installer are being used by one or more running services. The following running services need to be shutdown:
OracleOraHome8iAgent OracleOraHome8iDataGatherer *Press “Help” for more information Press “Retry” to try again Press “Cancel” to stop this installation
8. Click Exit on the End of Installation window.
2.3 Configuring Oracle Network Components
Before the database instance can be installed, the Net8 components and Listener need to be configured. Complete the following steps to configure these.
2.3.1 Configuring SQLNet 1. Click Start � Programs � Oracle Oracle-OraHome81 � Network Administration �
Net8 Assistant . 2. Go to Net8 Configuration � Local , and select Profile . 3. Go to the Naming section, and select the Methods tab. Use only TNSNAMES as Selected
Methods . To add or remove selected items, use the < and > buttons. 4. Click the Oracle Names tab, and enter world as the Default Domain . 5. Click File on the menu bar, and select Save Network Configuration . 6. Click on File , and select Exit .

WebOSB – Operational Status Boards Web OSB PC Server Installation Guide Version 1.5.4 May 18, 2005
2-4
2.3.2 Setting up Oracle Listener 1. Click Start � Programs � Oracle Oracle-OraHome81 � Network Administration �
Net8 Configuration Assistant . 2. Select Listener Configuration in the Net8 Configuration Assistant: Welcome window, and
click Next . 3. Select Add, and click Next . 4. Use the default Listener name, LISTENER, and click Next . 5. Verify TCP is the only item in the Selected Protocols field on the Select Protocols window.
Use the < and > buttons to add or remove Selected Protocols. Click Next . 6. Use the standard port number of 1521 for the TCP/IP port number. Click Next . 7. Select No for Would you like to configure another listener? Click Next .
8. Click Next for Listener configuration complete! You will be returned to the Net8
Configuration Assistant: Welcome window. 9. Click Finish .
2.3.3 Enabling NT Authentication To enable NT Authentication, complete the following steps. 1. Use a text file editor (such as WordPad) to edit the
C:\Oracle\ora81\network\ADMIN\sqlnet.ora file. 2. Add the following parameter: SQLNET.AUTHENTICATION_SERVICES = (NTS) to the list of
parameters. 3. Save and close the file.
2.4 Building the Oracle Database
Complete the following steps to build the database for WebOSB v1.5.4. 1. Verify the user account you will use to build and administer the database is a member of the
ORA_DBA group account. The user account that installed Oracle is added to this group automatically.
WebOSB – Operational Status Boards Web OSB PC Server Installation Guide Version 1.5.4 May 18, 2005
2-5
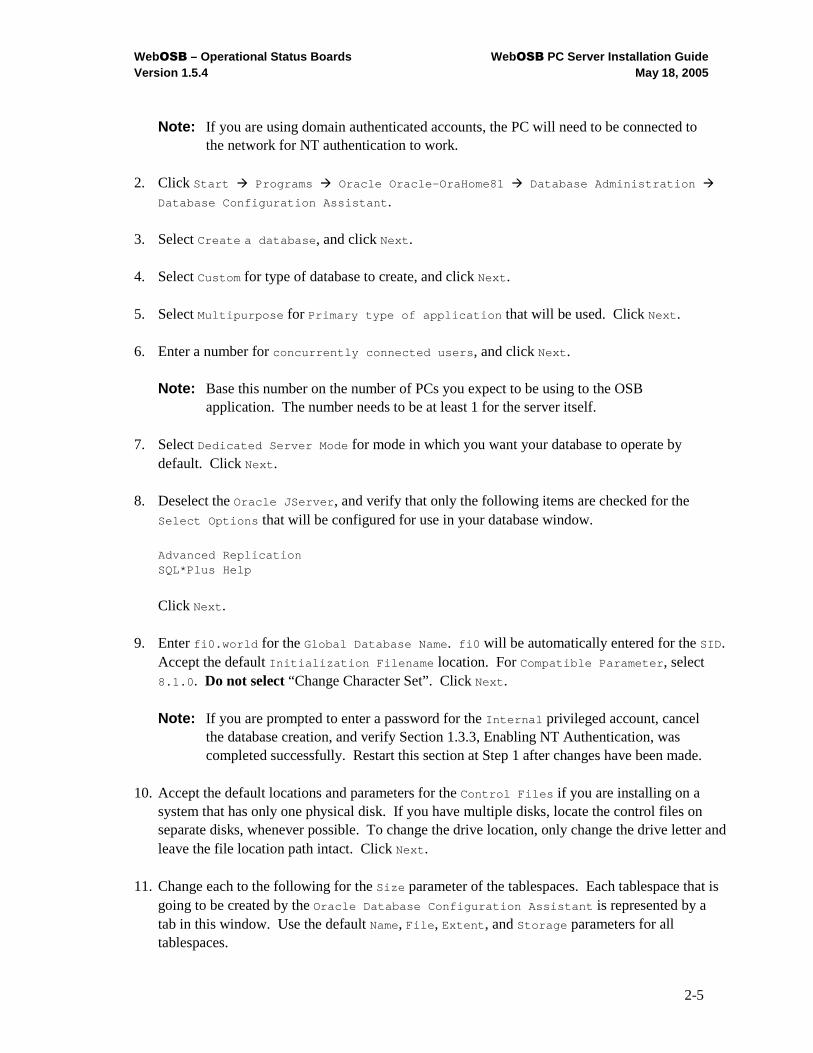
Note: If you are using domain authenticated accounts, the PC will need to be connected to the network for NT authentication to work.
2. Click Start � Programs � Oracle Oracle-OraHome81 � Database Administration �
Database Configuration Assistant .
3. Select Create a database , and click Next .
4. Select Custom for type of database to create, and click Next . 5. Select Multipurpose for Primary type of application that will be used. Click Next . 6. Enter a number for concurrently connected users , and click Next .
Note: Base this number on the number of PCs you expect to be using to the OSB application. The number needs to be at least 1 for the server itself.
7. Select Dedicated Server Mode for mode in which you want your database to operate by
default. Click Next . 8. Deselect the Oracle JServer , and verify that only the following items are checked for the
Select Options that will be configured for use in your database window. Advanced Replication SQL*Plus Help
Click Next .
9. Enter fi0.world for the Global Database Name . fi0 will be automatically entered for the SID .
Accept the default Initialization Filename location. For Compatible Parameter , select 8.1.0 . Do not select “Change Character Set”. Click Next . Note: If you are prompted to enter a password for the Internal privileged account, cancel
the database creation, and verify Section 1.3.3, Enabling NT Authentication, was completed successfully. Restart this section at Step 1 after changes have been made.
10. Accept the default locations and parameters for the Control Files if you are installing on a
system that has only one physical disk. If you have multiple disks, locate the control files on separate disks, whenever possible. To change the drive location, only change the drive letter and leave the file location path intact. Click Next .
11. Change each to the following for the Size parameter of the tablespaces. Each tablespace that is going to be created by the Oracle Database Configuration Assistant is represented by a tab in this window. Use the default Name, File , Extent , and Storage parameters for all tablespaces.
WebOSB – Operational Status Boards Web OSB PC Server Installation Guide Version 1.5.4 May 18, 2005
2-6
System - 100MB Tools – 3MB User – 3MB Rollback – 50MB Index – 3MB Temporary – 20MB
Click Next .
12. Accept the default location and parameters for the Redo Logs . If you have multiple disks, locate
the Redo Logs on the separate disks, whenever possible. To change the drive location, only change the drive letter, and leave the file location path intact. Click Next .
13. Accept the defaults Checkpoint Interval , Checkpoint Timeout , and Archive Log . Click Next .
14. Accept the default SGA parameter information, and click Next .
15. Accept the default Trace File Directory locations, and click Next .
16. Check Create database now . Click Finish . 17. Click Yes on the Message box that follows to create the instance.
Note: The database creation process will take some time. 18. Click OK in the Oracle Database Configuration Assistant Alert window.
2.5 Creating the Database Schemas
WebOSB requires the creation of additional tables, schemas, and public rollback segments in the Oracle database. Complete the following steps to create the database schemas: 1. Copy the osb directory on the WebOSB v1.5.4 PC Server CD to a new directory on the server
called C:\osb . Note: C:\osb must be the installation directory otherwise the configuration would need to
be drastically modified.
2. Copy the directories in the OSB1 Database directory on the WebOSB v1.5.4 PC Server CD. If
you have a SITE database, copy the directories on your WebOSB v1.5.4 PC Server SITE Database CD to the C:\osb directory.
3. Locate the C:\osb directory using Windows Explorer, right-click on it with your mouse, and then select Properties.
WebOSB – Operational Status Boards Web OSB PC Server Installation Guide Version 1.5.4 May 18, 2005
2-7
4. Uncheck the Read-only in the Attribute section, and click Apply. 5. Select Apply changes to the folder, subfolders and files on the Confirm Attribute
Changes window, and click OK to apply the changes. 6. Click OK to close the osb folder Properties window.
7. Browse to the C:\osb\eocdba directory.
8. Edit the cr_db_ts.sql file as necessary to ensure that the file names are in the correct locations,
and modify, if necessary, the path locations for the FMAIN, FINDEX, and FLOB DATAFILES to be located in the ORADATA folders created by the instance installation. If you have multiple hard drives on which to install, preferably locate them on drives other than the drive where Oracle was installed. If you had three drives, for example: Oracle installed drive C:\ORACLE\ORA81 FMAIN D:\ORACLE\ORADATA\FI0\FMAIN01.DBF FLOB D:\ORACLE\ORADATA\FI0\FLOB01.DBF FINDEX E:\ORACLE\ORADATA\FI0\FINDEX01.DBF
Note: If you changed the location of the datafiles, ensure the paths specified in the
cr_db_ts.sql exist. If not, create them. 9. Change directory (cd ) to the C:\osb\eocdba directory from the Command Prompt window.
10. Run the Master Create Database script by entering the following:
C:\osb\eocdba>sqlplus /nolog SQL> @master_cr_db.sql
When prompted, enter <Sys Password> . Note: The default sys password is change_on_install .
Note: This script creates the new tablespaces and schemas. You may have error messages
stating that a table or sequence being dropped do not exist. Disregard these messages.
2.6 Importing User Data
The master_cr_db.sql script created the tables and users needed to operate the WebOSB database. The OSB1 user needs to be populated with data from an export in the eocdba directory. Perform this by entering the following:
WebOSB – Operational Status Boards Web OSB PC Server Installation Guide Version 1.5.4 May 18, 2005
2-8
1. Change to the C:\osb\exports directory from a command prompt window.
C:>cd c:\osb\exports
2. Import the data from the database export.
C:\osb\exports>imp osb1/osb1 file=osb1_data.dmp log =osb1_data_import.log
Note: If you received a custom WebOSB Data CD, this directory may contain multiple
user data exports. Import each user database export as above substituting osb1 with the name of the user on the export file. (Example: If the exports directory has a file called abcd_data.dmp , use the command imp abcd/abcd file=abcd_data.dmp
log=abcd_data_import.log , and repeat this for each export.)
2.7 Enabling Rollback Segments
The database rollback segments which are created with the database are not enabled when the database starts. To ensure these will be enabled when the database is restarted complete the following. 1. Locate the Instance initialization file, initfi0.ora , which is located in the <INSTALL
DRIVE>:\oracle\admin\fi0\pfile . 2. Edit the initfi0.ora with a text editor (such as WordPad). Enable private rollback segments
by removing the # from the beginning of the rollback_segments parameter, and modify it to match the following:
rollback_segments = (RBS0, RBS1, RBS2, RBS3, RBS4, RBS5)
2.8 Creating Web OSB Database Objects
From a command prompt in the eocdba directory, enter the following:
C:\osb\eocdba>sqlplus /nolog @master_cr.sql
You will need to watch its progress and occasionally press Enter when prompted. If errors occur, use Ctrl-C to stop the script so you can determine what caused the errors. Ignore the “Warning: Procedure created with compilation errors” messages.
2.9 Fixing EOC Table
Run the following script to correct the notification information and the server name in the database:
C:\osb\eocdba>fixeoc.bat

WebOSB – Operational Status Boards Web OSB PC Server Installation Guide Version 1.5.4 May 18, 2005
2-9
Note: If the system password is other than the default password (manager ), modify fixeoc.bat to use the correct password.

3-1
3.0 WebOSB Installation
3.1 Installing Java 2 SE SDK
WebOSB requires the J2SDK be installed. Use the java installation program located on the
WebOSB PC Server Installation CD-ROM to ensure WebOSB runs correctly.
3.1.1 Running the Setup Program 1. Insert the WebOSB PC Server Installation CD into the CD-ROM drive. 2. Run the Java installation program <CD drive>:\j2sdk-1_4_2_03-windows-i586-p.exe. 3. Install the product in the default location C:\j2sdk1.4.2_03 . 4. Register the Plug-in with Internet Explorer. 5. Copy the files classes12.zip and nls_charset12.zip located on the OSB Server CD
<CD-ROM>:/ext directory to the C:\j2sdk1.4.2_03\jre\lib\ext directory.
3.1.2 Configuring the Environment 1. Click Start �Control Panel �System . 2. Select the Advanced tab, and click on Environment Variables . 3. Click on PATH in the System variables section, and click the Edit button below. Add
C:\j2sdk1.4.2_03\bin; to the beginning of the Variable value , and click OK.
Note: Directories need be separated by semicolons (;) 4. Click New under System variables . In Variable name, enter JAVA_HOME and in Variable
value , enter C:\j2sdk1.4.2_03 . Click OK. 5. Click OK to close the Environment Variables widow.
3.2 Generating Secure Certificate
The website needs a secure certificate generated to allow secure connections. To generate a certificate for your web server, complete the following steps.
WebOSB – Operational Status Boards Web OSB PC Server Installation Guide Version 1.5.4 May 18, 2005
3-2
1. Click Start �Run, and enter the following in the Open box:
%JAVA_HOME%\bin\keytool -genkey -alias tomcat -keya lg RSA -keystore C:\WINDOWS\system32\config\systemprofile\.keystore
2. Enter the password changeit , when prompted for the keystore password. 3. Enter the name of the server and fully qualified domain (i.e., acme.com ) you are installing on
when prompted for “What is your first and last name?”. 4. Answer the remaining questions as asked. 5. Press Enter at the Enter key password for <tomcat> prompt.
3.3 Installing and Restarting Jakarta-Tomcat Web Se rver
1. Insert the WebOSB Server Installation CD into the CD-ROM drive. 2. Run the Jakarta-Tomcat installation program <CD drive>:\jakarta-tomcat-4.1.30.exe . 3. Click OK as the Apache Tomcat should use the Java Installed in C:\j2sdk1.4.2_03. 4. Check the NT Service option in the optional components, and click Next . 5. Select an installation directory or use the default, and click Install . 6. Click Skip in the Testing Installer Options. 7. Click Close when setup has completed. 8. Copy the <CD drive>:\conf\server.xml to the Tomcat 4.1 installation conf directory. The
default location is C:\Program Files\Apache Group\Tomcat 4.1\conf.
Restarting Apache Tomcat 4.1 Service 1. Click Start �Run, and enter services.msc . 2. Click on the Apache Tomcat 4.1 service, the Action menu item, and click Restart .
4-1
4.0 WebOSB Event Notification Service The WebOSB application uses FEMIS Event Notification application to notify a client when data has been modified. The web service requires a Java application which communicates with FEMIS Event Notification and notifies web users of data changes. The FEMIS Event application and WebOSB Java application run as services on the WebOSB PC Server.
Note: If you are installing using the OSB1 database, the service names installed will be FemisEvent9021 and OSB1WebNotify . If you have a SITE database CD, a FemisEvent and WebOSB Notification service is installed for each data owner.
4.1 FemisEvent Service Installation
The FemisEvent service executes the srvany.exe program in the C:\osb\bin directory. The srvany.exe file is distributed by Microsoft with the Windows NT Resource Kit. The srvany.exe program executes the femis_event.exe applications with custom parameters allowing it to run as a service. 1. Run the C:\osb\etc\femis_event.bat . This will open a Command Prompt window to execute
the batch command. 2. Verify the service started at the end of the batch script’s execution; press any key to close the
Command Prompt window.
4.2 WebOSB Notification Service Installation
The WebNotify service is installed using the Java Service Wrapper program distributed by http://wrapper.tanukisoftware.org. 1. Open the folder C:\osb\webnotify using Windows Explorer.
2. Use a text file editor (such as WordPad) to edit the OSB1wrapper.conf file.
Note: If you are using a custom data CD, there will be a NAMEwrapper.conf for each data owner installed. Modify each file as stated in Step 3, and start each service when doing Step 6.
3. Modify the wrapper.app.parameter.4=https://localhost , and change localhost to be your
computername.domain (i.e., osb1server.acme.com ).
4. Install the Service by running the InstallClientInfo-NT.bat batch file.
WebOSB – Operational Status Boards Web OSB PC Server Installation Guide Version 1.5.4 May 18, 2005
4-2
5. Click Start �Run, and enter services.msc . 6. Click on the WebOSB OSB1 Notification service, the Action menu item, and click Start .
4.3 Connecting to the URL
Verify you can connect to the website. 1. Open Internet Explorer by selecting Start �Programs �Internet Explorer . 2. Enter https://<server.domain>/webosb in the address menu. Be sure to substitute your
server and domain in the address. Click Go.
If you get a security alert indicating the URL is not from a trusted authority, click Yes to proceed.
Note: To avoid this message in the future, when the Alert appears, click View
Certificate , and then click Install Certificate . Follow the prompts in the Certificate Import Wizard to add the certificate to your system.
3. Use the OSB1 database default user name of admin with the password femis to enter the
website. If you have a custom database, this account may not exist.
5-1
5.0 Checking the Web OSB Installation The OSB1 WebOSB database comes with a default user and sample status boards that can be used to
validate the installation of WebOSB on your PC server. These sample status boards also allow you to get
a hands-on feel for the functionality and use of WebOSB.
5.1 Validating the Web OSB Installation
1. Open Internet Explorer. 2. Access the WebOSB web-based services on the PC server by entering the name of the server and
WebOSB service. The default access path for WebOSB is provided below: https:// <server.domain>/webosb
This will bring up the WebOSB login screen.
3. Login to WebOSB using the demonstration user code and password. rjc / femis This will place you in the Select Mode window.
4. Click the Get List button to see the two demonstration status boards provided in the OSB1 WebOSB database.
5.2 Troubleshooting Web Page Error
If you receive a web page error after attempting to log in (java.lang.NoClassDeffoundError:
oracle/jdbc/driver/OracleDriver ), verify the files on the WebOSB Server CD ext directory were copied to the C:\j2sdk1.4.2_03\jre\lib\ext directory and the JAVA_HOME environment variable is correct. If JAVA_HOME environment was not correct during the Apache-Tomcat installation, you will need to reinstall the Apache-Tomcat software after this variable is correct (see Section 3.3, Installing and Restarting Jakarta –Tomcat Service).