Embed Size (px)
Citation preview

VISION SCREENING IN MANITOBA SCHOOLS
DIRECTIONS FOR Kindergarten, Grades 1, 3, 5, 7, 9, 11
Manitoba Education and Advanced Learning Program and Student Services Branch
Room 204 1181 Portage Avenue
Winnipeg, Manitoba R3G 0T3 Phone: 204-945-7916 Fax: 204-948-3229
Refurbishing, Forms & Parts Phone: 204-945-7835 Toll free: 1-800-282-8069 ext. 7835
Revised 2013

2
IMPORTANT TO READ AND FOLLOW THESE SUGGESTIONS: ♦ Parents should be notified in advance that the screening is scheduled. Vision
Screening is not compulsory for any student. ♦ This is a Vision Screening not an eye test or vision test. It is designed to assist in the
detection of possible unidentified vision difficulties. Eye tests are only done by optometrists or ophthalmologists. Because it is a screening only, it is designed not to miss any students therefore you can expect a 15% - 20% rate of over-referral. Note: There is no cost for children under 19 years for an eye examination by an optometrist in Manitoba.
♦ This is not a pass/fail situation as in other types of tests. Students are given positive
feedback for cooperation and are not informed as to whether they have been "passed" or "referred".
♦ Screening is not designed for students who wear glasses. If however a decision is
made to test such a student, the test should be done with the student wearing his/her glasses.
♦ In addition to testing the grades outlined in the Directions many schools also screen
students who are new to the school and also students whose parents or teacher request it.
♦ Vision is not static and can change quite dramatically without the individual
necessarily being aware of it. Older students can be particularly at risk because of hormonal changes and "growth spurts", therefore, it is important that older students receive regular eye examinations.
♦ All equipment (particularly lenses) should be cleaned immaculately and constantly.
Equipment should be thoroughly tested and assembled before student screening commences.
♦ Testing environment should be free of glare from windows, overhead lights, and
shiny reflective surfaces. ♦ Testing environment should be quiet and free from distractions. The equipment
should be set up so that children waiting their turn cannot observe the tests and memorize the charts.
♦ Assess the suitability of the screening environment by sitting and viewing the test
items at precisely the same distance and viewing height as outlined in this guide. ♦ Always confirm that the student you are screening is the same student that you have
listed on the sheet!
3
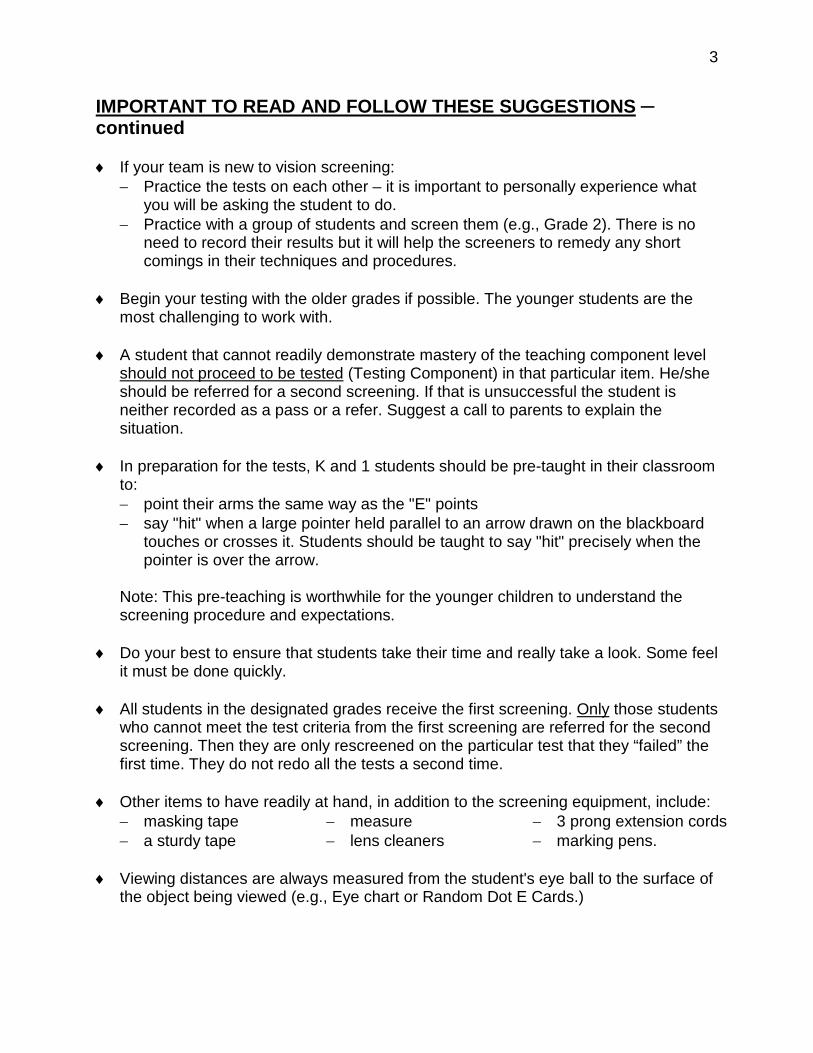
IMPORTANT TO READ AND FOLLOW THESE SUGGESTIONS ─ continued ♦ If your team is new to vision screening:
− Practice the tests on each other – it is important to personally experience what you will be asking the student to do.
− Practice with a group of students and screen them (e.g., Grade 2). There is no need to record their results but it will help the screeners to remedy any short comings in their techniques and procedures.
♦ Begin your testing with the older grades if possible. The younger students are the
most challenging to work with. ♦ A student that cannot readily demonstrate mastery of the teaching component level
should not proceed to be tested (Testing Component) in that particular item. He/she should be referred for a second screening. If that is unsuccessful the student is neither recorded as a pass or a refer. Suggest a call to parents to explain the situation.
♦ In preparation for the tests, K and 1 students should be pre-taught in their classroom
to: − point their arms the same way as the "E" points − say "hit" when a large pointer held parallel to an arrow drawn on the blackboard
touches or crosses it. Students should be taught to say "hit" precisely when the pointer is over the arrow.
Note: This pre-teaching is worthwhile for the younger children to understand the screening procedure and expectations.
♦ Do your best to ensure that students take their time and really take a look. Some feel
it must be done quickly. ♦ All students in the designated grades receive the first screening. Only those students
who cannot meet the test criteria from the first screening are referred for the second screening. Then they are only rescreened on the particular test that they “failed” the first time. They do not redo all the tests a second time.
♦ Other items to have readily at hand, in addition to the screening equipment, include:
− masking tape − a sturdy tape
− measure − lens cleaners
− 3 prong extension cords − marking pens.
♦ Viewing distances are always measured from the student's eye ball to the surface of the object being viewed (e.g., Eye chart or Random Dot E Cards.)

4
THE RANDOM DOT E TEST ─ For Kindergarten and Grade 1 Only
− Not used for any other grades − Tests for depth perception − Testing distance is 50 cm. (twenty inches) for the teaching component and one
metre (39 inches) for the testing component Teaching Component 1. Have the student put on the M A G I C G L A S S E S (small black plastic glasses
with 3D lenses). 2. Show the student the "Model E" Card at very close visual range and have the
student trace the "E" with his/her finger. 3. At 50 centimeters (20 inches) distance from the student's eyes, present together
several times the "Model E" Card along with the "Stereo Blank" Card. It is important to hold both cards in exactly the same manner and at the student's eye level, approximately 10 - 15 cm. (4" - 6") apart – no further. The student: "Show me which card has the E." (Student points to the "Model E" Card). Student must be able to demonstrate that they can correctly choose the "E" card consistently over several attempts.
4. Put the "Model E" Card away. Present the "Raised E" Card at very close visual
range. When the student finds it (sometimes it seems to be "hiding") have the student trace the "Raised E" with his/her finger. (Remember to use the card with the words "Raised E" printed at the top of the card on the reverse side. The words "Recessed E" should be at the bottom of the card and appear upside down).
Testing Component 1. Move the cards ("Stereo Blank" and "Raised E") further away from the students eyes
to a distance of one metre (39 inches). Present the "Raised E" Card and the "Stereo Blank" Card simultaneously using exactly the same method as in the Teaching Component above. Ask the student to: "Show me which card has the E." (Student points to the Raised E Card for a correct response).
2. Present the cards a total of 4 times in succession and in random order. PASS OR REFER CRITERIA Pass − identifies the "Raised E" Card 4 out of 4 times (no errors) Refer − unable to identify the "Raised E" Card 4 out of 4 times (one or more errors
is a "refer")
5
THE INSTA-LINE TESTS Note: As of January 2013 there are three generations of the Instaline. All are current, but there are differences in the control/remote and the electronics. The 1st generation – the tester suppresses switches on the control panel. If using the newer remote versions, buttons are activated. The 3rd generation of installine requires charging for 24 hours or overnight. There is still the option to plug in if needed. The 1st generation (brown veneer box) must be plugged in. The 2nd generation (beige metal container) must be plugged in but not the remote.
− use only the "E" chart, not the alphabet letters for these grades − two different tests are done with this instrument − distance from chart to eye = 10 feet (3 metres) − the "Vision ON" switch at the top of the control-panel box must be activated
before any of the other buttons will work (Old instaline units) Kindergarten and Grade 1 Teaching Component ─ covers both tests #1 and #2 that follow 1. Tester to sit facing the student, not the eye chart. (The control panel/remote is “in
synch” with the eye chart). The student faces the eye chart. 2. Determine correctness of student responses according to the buttons depressed on
the control-panel/remotex. (Avoid reading the E Chart to determine whether the student is correct as this technique will cause errors.)
3. Introduce the student to the chart by using the top row of marked buttons on the
control-panel box (highlighting the largest letters on the eye chart) and direct the student to: "Show me which way the E points."
4. This several times, with the "E" facing different directions, until you are satisfied the
student clearly can demonstrate their ability to point his/her arms in the exact same direction that you called for on the control-panel/remote.
TEST #1 MYOPIA
− a test to check the ability to see at a distance − sometimes referred to as "short sighted" − only one eye at a time is permitted to view the chart
6
INSTA-LINE TESTS (K-1) ─ continued Testing Component 1. Have the student cover one eye with an occluder (eye patch) and highlight the four
different positions of the letter "E" bottom set of marked buttons). At each different position the student should be asked to point in the same direction as the "E" points.
2. After a brief rest period to allow the covered eye to clear itself, cover the other eye
with an occluder and present the four positions of the letter "E" in a different sequence, using again the bottom set of marked buttons. Ask the student in each case to show you which way the "E" is pointing.
PASS OR REFER CRITERIA Pass ─ can identify 3 out of 4 positions with one eye (note: both eyes must be
screened). Refer ─ 2 or more errors in one eye TEST #2 HYPEROPIA
− A test to check the ability to focus both eyes together at near distance − +2.25 lenses (the children's glasses)
Testing Component 1. Have the student put on the +2.25 lenses (glasses). 2. Highlight the testing line (bottom marked buttons). Ask the student to show you
which way the "E" points in each of the four different positions. 3. If the student has been unable to see with the glasses on have the student remove
the glasses; then quickly show them the largest "E's" on the eye chart several times (top marked buttons of the control-panel/remote) to reduce student anxiety. Provide reassurance to the student that he/she has done a great job. Never explain to the student that "he/she was not supposed to be able to see with these thick glasses on."
PASS OR REFER CRITERIA Note: In this test the student is referred if they are able to see with the special
glasses on. This is a reversal of the way in which the results are interpreted for all of the other tests.
Pass ─ cannot identify 3 out of 4 positions of the "E" with the +2.25 glasses on Refer ─ can identify at least 2 out of 4 positions of the "E" with the +2.25 glasses on
7
THE INSTA ─ LINE TESTS ─ Grade 3 and Up
− use the alphabet chart for most students. The "E" chart should only be used with students who are EAL or developmentally delayed
− two different tests are done with this instrument − testing distance from eye to chart = 10 feet (3 metres) − no teaching component necessary for most students − the "vision on" switch at the top of the control-panel/remote must be activated
before any of the switches will work (old instaline only). Test #1 Hyperopia
− test to check the ability to focus both eyes together at near distance +2.25 lenses (hand-held glasses)
− conducted before the myopia test to reduce the opportunities for the student to memorize the chart
Testing Component 1. Tester to sit facing the student not the eye chart. Have the student hold the +2.25
hand-held glasses to his/her eyes and face the eye chart. 2. Highlight the testing line the bottom marked buttons of the older Instalines) using
four different positions using random order selection. Ask the student to read the letters at each highlighted position. Identifying any of the letters is considered a mistake.
3. Have the student remove the hand-held glasses. Ask the student to read the top row
of letters (highlighted) on the chart (top marked buttons/ on the control – panel/remote). This technique reduces anxiety for students who have been unable to read the letters with the glasses on. They should never be told that "they were not supposed to be able to see with those glasses on.”
PASS OR REFER CRITERIA Note: In this test the student is referred if they are able to see with the special
glasses on. This is a reversal of the way in which the results are interpreted for the other test.
Pass ─ Cannot identify 3 out of 4trials with +2.25 glasses on Refer ─ Can identify at least 2 out of 4 trials with +2.25 glasses on
8
THE INSTA ─ LINE TESTS - (Grade 3 and Up) ─ continued Test #2 Myopia
− a test to check the ability to see at a distance − sometimes referred to as "short-sighted" − only one eye at a time is permitted to view the chart
Testing Component Have the student cover one eye with the occluder (eye patch). Highlight the testing lines. The bottom marked buttons on the panel/remote using four different positions. After a brief rest period to allow the covered eye to clear itself, cover the other eye. Repeat the process. PASS OR REFER CRITERIA Pass ─ can identify 3 out of 4trials with one eye (note: both eyes must be screened)
(a total of one error per eye is permitted). Refer ─ more than one error per eye. THE BIOPTER TESTS ─ Using the 3 Circle Target Cards
− All grades − Tests the ability of the 2 eyes together to focus simultaneously − Three different tests are done with this instrument
Note: There are 3 generations of the biopter. All are still current. − The first generation is metal with a black screw-in handle for adjustment. There is
no longer a need to plug in the unit. − The second generation is plastic and uses a spring clip. − The third generation is also plastic but has a screw to adjust height.
Preparation ♦ There is no longer any requirement to turn on the biopter lights. In fact they can
cause dangerous over heating of the metal shields. The new models of the biopter do not come equipped with lights. A good, glare free source of regular lighting is sufficient.
♦ The black plastic card holder is placed on the shaft by squeezing together the spring
clip (or by using the screw to adjust the card holder. The card holder will be moved to near and far marked positions as indicated by the test.

9
THE BIOPTER TESTS ─ Using the 3 Circle Target Cards ─ continued Preparation ─ continued ♦ The Circle Target Card Booklet is then inserted into the slot on the card holder. (or
between the ridges on the newer models). It is very important that every page in the booklet – including the one that is currently being viewed – is inserted into the slot on the card holder each time a page is turned. This will prevent the page, being viewed, from protruding forward and thus not be straight or at a precise distance from the student's eyes.
♦ Have the student stabilize his/her position at the biopter by placing both hands over
the base of the instrument with the forearms and elbows on the table. Many testers choose to secure the biopter base to the table with masking tape.
♦ Have the student lean forward and look through the biopter lenses without pressing
his/her eyes against the lens piece or without being too far back. ♦ The forehead should contact the "rest" comfortably. ♦ It is the responsibility of the tester to raise or lower the angle (height) of the metal
biopter (to suit the student and to ensure that the student's eyes are at a correct distance from the lens at all times. The plastic biopter can be adjusted by pulling (stretching apart). The metal biopter uses the black handle and screw to adjust.
♦ Student should be instructed to focus on the arrow on the card and not attempt to
visually follow the moving pointer stick. ♦ Should the masking tape/plastic tabsat either end of the shaft become damaged or
inadvertently removed it must be replaced in precisely the following manner:
− at the bottom end of the shaft place a ½ inch section of masking tape wound around the shaft several times, between the letter "B" and the letter "C". For the correct position the card itself will then rest on the card holder exactly on the "O" mark.
− at the top end of the shaft place a ½ inch section of masking tape, wound around the shaft several times, centered over the number 12. For the correct position the card itself will then rest on the card holder exactly on the "10" mark.
10
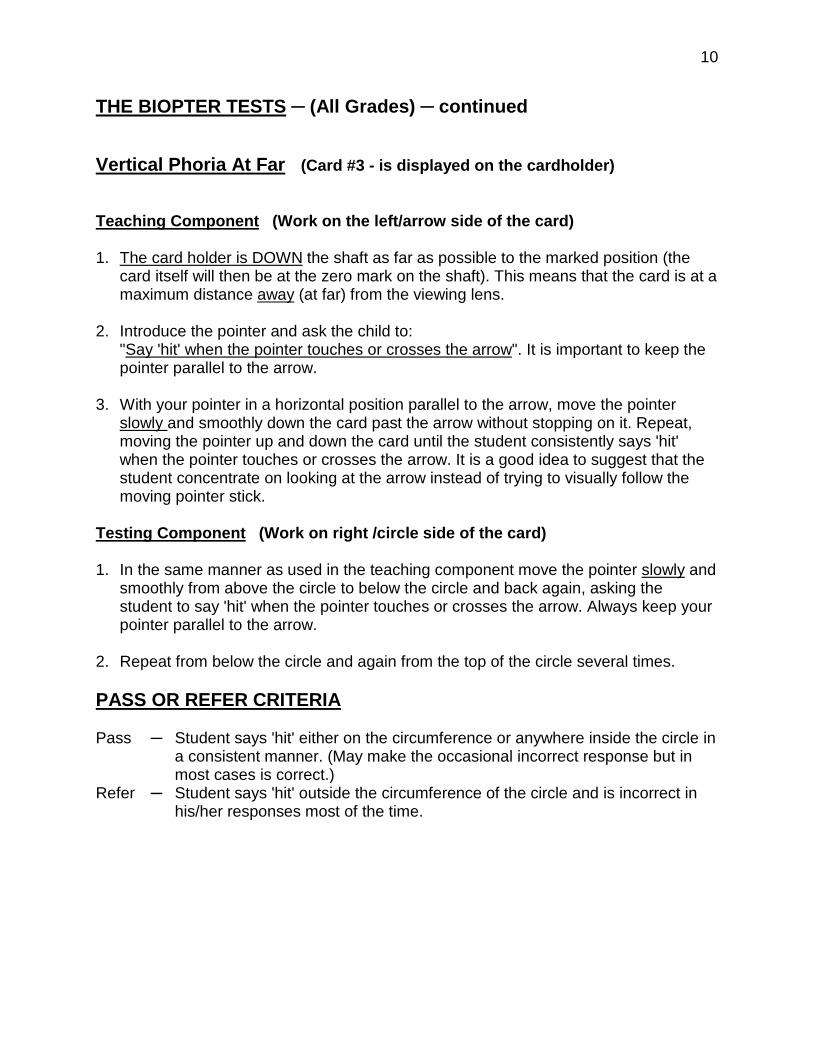
THE BIOPTER TESTS ─ (All Grades) ─ continued Vertical Phoria At Far (Card #3 - is displayed on the cardholder) Teaching Component (Work on the left/arrow side of the card) 1. The card holder is DOWN the shaft as far as possible to the marked position (the
card itself will then be at the zero mark on the shaft). This means that the card is at a maximum distance away (at far) from the viewing lens.
2. Introduce the pointer and ask the child to:
"Say 'hit' when the pointer touches or crosses the arrow". It is important to keep the pointer parallel to the arrow.
3. With your pointer in a horizontal position parallel to the arrow, move the pointer
slowly and smoothly down the card past the arrow without stopping on it. Repeat, moving the pointer up and down the card until the student consistently says 'hit' when the pointer touches or crosses the arrow. It is a good idea to suggest that the student concentrate on looking at the arrow instead of trying to visually follow the moving pointer stick.
Testing Component (Work on right /circle side of the card) 1. In the same manner as used in the teaching component move the pointer slowly and
smoothly from above the circle to below the circle and back again, asking the student to say 'hit' when the pointer touches or crosses the arrow. Always keep your pointer parallel to the arrow.
2. Repeat from below the circle and again from the top of the circle several times. PASS OR REFER CRITERIA Pass ─ Student says 'hit' either on the circumference or anywhere inside the circle in
a consistent manner. (May make the occasional incorrect response but in most cases is correct.)
Refer ─ Student says 'hit' outside the circumference of the circle and is incorrect in his/her responses most of the time.
11
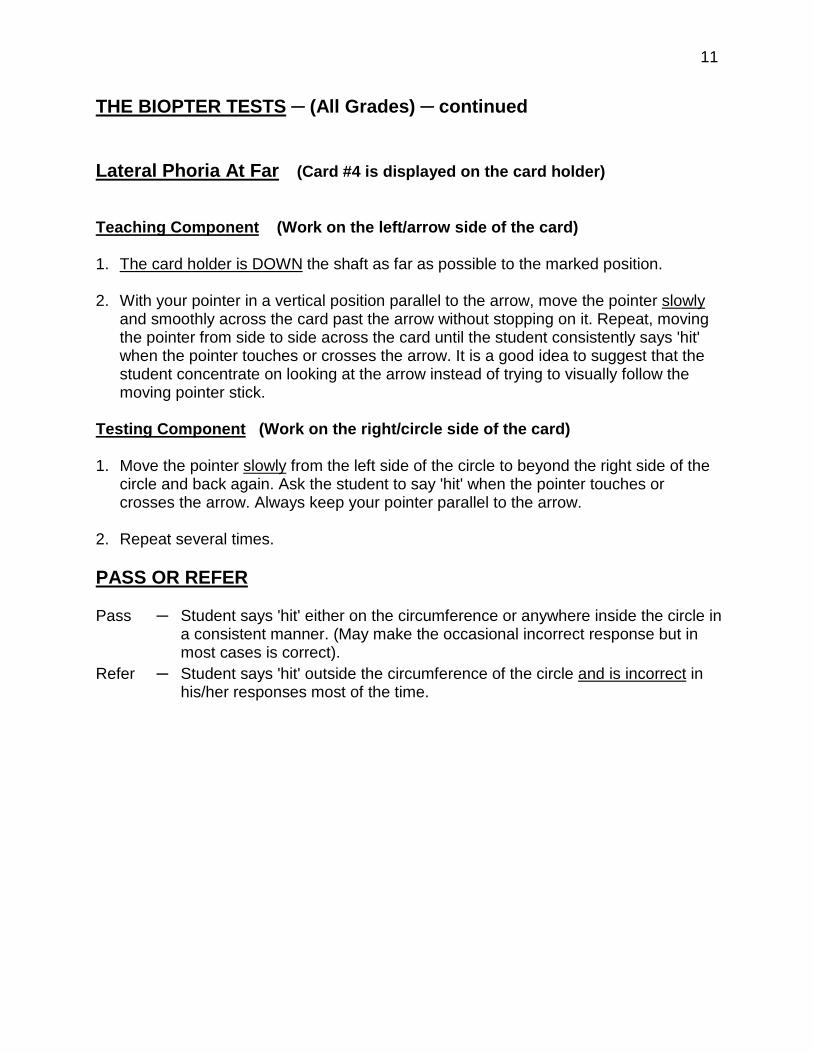
THE BIOPTER TESTS ─ (All Grades) ─ continued Lateral Phoria At Far (Card #4 is displayed on the card holder) Teaching Component (Work on the left/arrow side of the card) 1. The card holder is DOWN the shaft as far as possible to the marked position. 2. With your pointer in a vertical position parallel to the arrow, move the pointer slowly
and smoothly across the card past the arrow without stopping on it. Repeat, moving the pointer from side to side across the card until the student consistently says 'hit' when the pointer touches or crosses the arrow. It is a good idea to suggest that the student concentrate on looking at the arrow instead of trying to visually follow the moving pointer stick.
Testing Component (Work on the right/circle side of the card) 1. Move the pointer slowly from the left side of the circle to beyond the right side of the
circle and back again. Ask the student to say 'hit' when the pointer touches or crosses the arrow. Always keep your pointer parallel to the arrow.
2. Repeat several times. PASS OR REFER Pass ─ Student says 'hit' either on the circumference or anywhere inside the circle in
a consistent manner. (May make the occasional incorrect response but in most cases is correct).
Refer ─ Student says 'hit' outside the circumference of the circle and is incorrect in his/her responses most of the time.
12
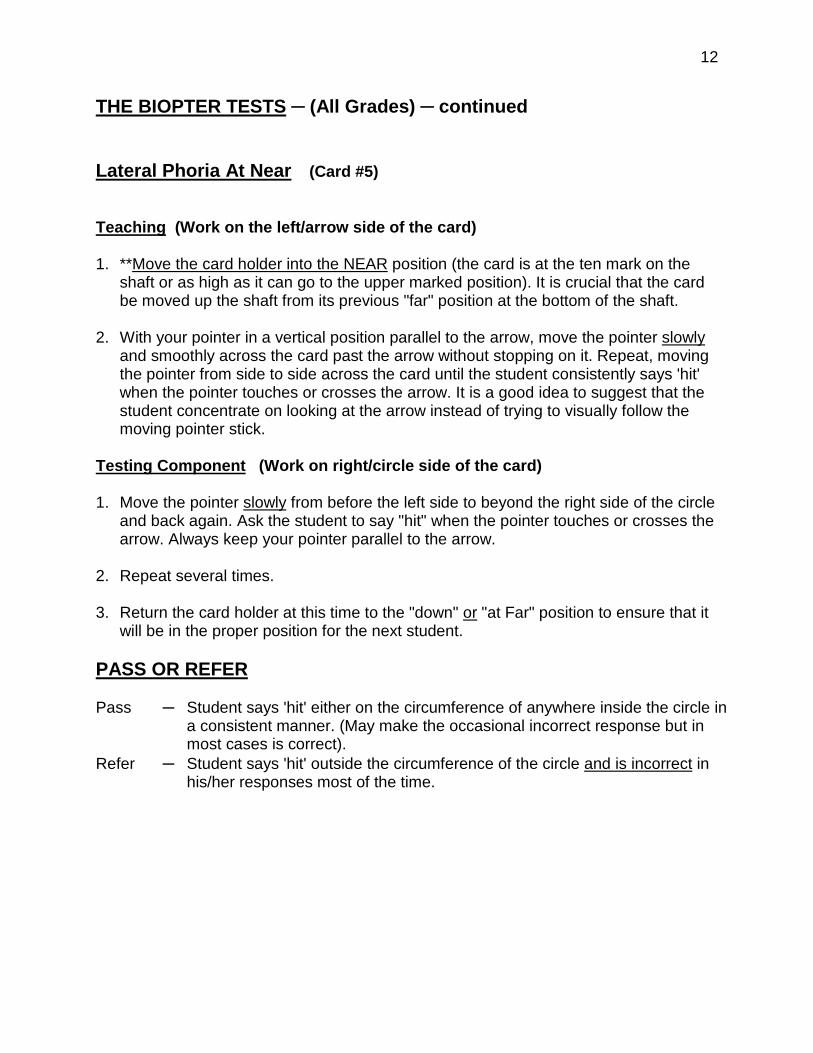
THE BIOPTER TESTS ─ (All Grades) ─ continued Lateral Phoria At Near (Card #5) Teaching (Work on the left/arrow side of the card) 1. **Move the card holder into the NEAR position (the card is at the ten mark on the
shaft or as high as it can go to the upper marked position). It is crucial that the card be moved up the shaft from its previous "far" position at the bottom of the shaft.
2. With your pointer in a vertical position parallel to the arrow, move the pointer slowly
and smoothly across the card past the arrow without stopping on it. Repeat, moving the pointer from side to side across the card until the student consistently says 'hit' when the pointer touches or crosses the arrow. It is a good idea to suggest that the student concentrate on looking at the arrow instead of trying to visually follow the moving pointer stick.
Testing Component (Work on right/circle side of the card) 1. Move the pointer slowly from before the left side to beyond the right side of the circle
and back again. Ask the student to say "hit" when the pointer touches or crosses the arrow. Always keep your pointer parallel to the arrow.
2. Repeat several times. 3. Return the card holder at this time to the "down" or "at Far" position to ensure that it
will be in the proper position for the next student. PASS OR REFER Pass ─ Student says 'hit' either on the circumference of anywhere inside the circle in
a consistent manner. (May make the occasional incorrect response but in most cases is correct).
Refer ─ Student says 'hit' outside the circumference of the circle and is incorrect in his/her responses most of the time.
13
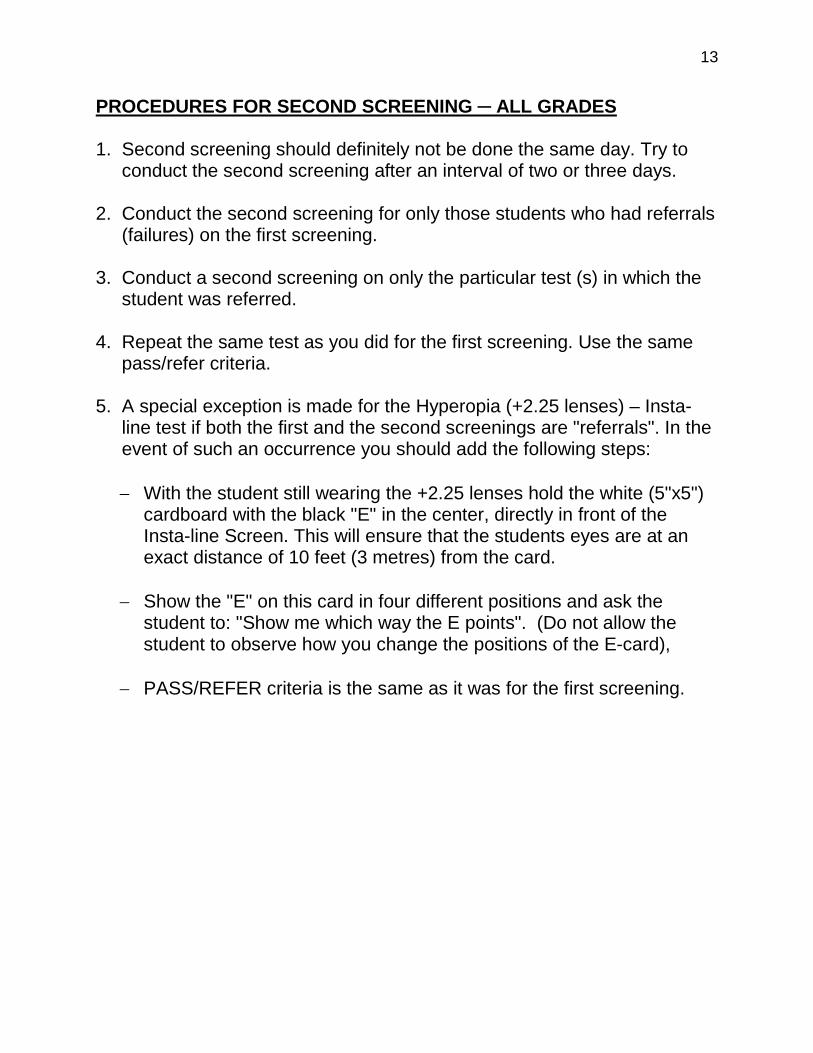
PROCEDURES FOR SECOND SCREENING ─ ALL GRADES 1. Second screening should definitely not be done the same day. Try to
conduct the second screening after an interval of two or three days. 2. Conduct the second screening for only those students who had referrals
(failures) on the first screening. 3. Conduct a second screening on only the particular test (s) in which the
student was referred. 4. Repeat the same test as you did for the first screening. Use the same
pass/refer criteria. 5. A special exception is made for the Hyperopia (+2.25 lenses) – Insta-
line test if both the first and the second screenings are "referrals". In the event of such an occurrence you should add the following steps:
− With the student still wearing the +2.25 lenses hold the white (5"x5")
cardboard with the black "E" in the center, directly in front of the Insta-line Screen. This will ensure that the students eyes are at an exact distance of 10 feet (3 metres) from the card.
− Show the "E" on this card in four different positions and ask the student to: "Show me which way the E points". (Do not allow the student to observe how you change the positions of the E-card),
− PASS/REFER criteria is the same as it was for the first screening.
14
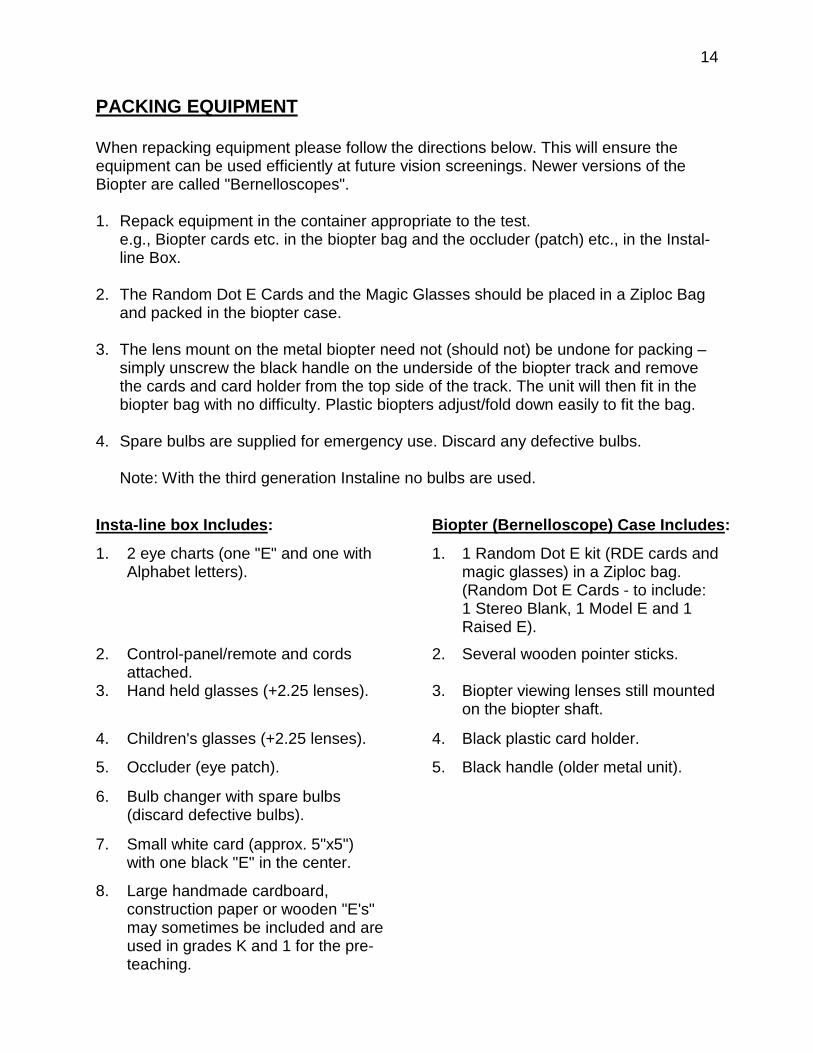
PACKING EQUIPMENT When repacking equipment please follow the directions below. This will ensure the equipment can be used efficiently at future vision screenings. Newer versions of the Biopter are called "Bernelloscopes". 1. Repack equipment in the container appropriate to the test.
e.g., Biopter cards etc. in the biopter bag and the occluder (patch) etc., in the Instal-line Box.
2. The Random Dot E Cards and the Magic Glasses should be placed in a Ziploc Bag
and packed in the biopter case. 3. The lens mount on the metal biopter need not (should not) be undone for packing –
simply unscrew the black handle on the underside of the biopter track and remove the cards and card holder from the top side of the track. The unit will then fit in the biopter bag with no difficulty. Plastic biopters adjust/fold down easily to fit the bag.
4. Spare bulbs are supplied for emergency use. Discard any defective bulbs.
Note: With the third generation Instaline no bulbs are used.
Insta-line box Includes: Biopter (Bernelloscope) Case Includes:
1. 2 eye charts (one "E" and one with Alphabet letters).
1.
1 Random Dot E kit (RDE cards and magic glasses) in a Ziploc bag. (Random Dot E Cards - to include: 1 Stereo Blank, 1 Model E and 1 Raised E).
2. Control-panel/remote and cords attached.
2. Several wooden pointer sticks.
3. Hand held glasses (+2.25 lenses). 3. Biopter viewing lenses still mounted on the biopter shaft.
4. Children's glasses (+2.25 lenses). 4. Black plastic card holder.
5. Occluder (eye patch). 5. Black handle (older metal unit).
6. Bulb changer with spare bulbs (discard defective bulbs).
7. Small white card (approx. 5"x5") with one black "E" in the center.
8. Large handmade cardboard, construction paper or wooden "E's" may sometimes be included and are used in grades K and 1 for the pre-teaching.

Page 1 VISION SCREENING RESULTS FOR SCHOOL YEAR ____________ DATE _____________ SCHOOL DIVISION NAME AND NUMBER ___________________________________________ SCHOOL NAME ________________________________________________________________ CLASSROOM TEACHER _________________________ ROOM # ______ GRADE: ______
RANDOM DOT E TEST (Kindergarten and Grade 1 only)
Υ = Pass R = Refer
STUDENT NAME
FIRST SCREENING
SECOND SCREENING
REFERRED FOR PROFESSIONAL EXAMINATION
STUDENT TOTAL
(…over) Page 2
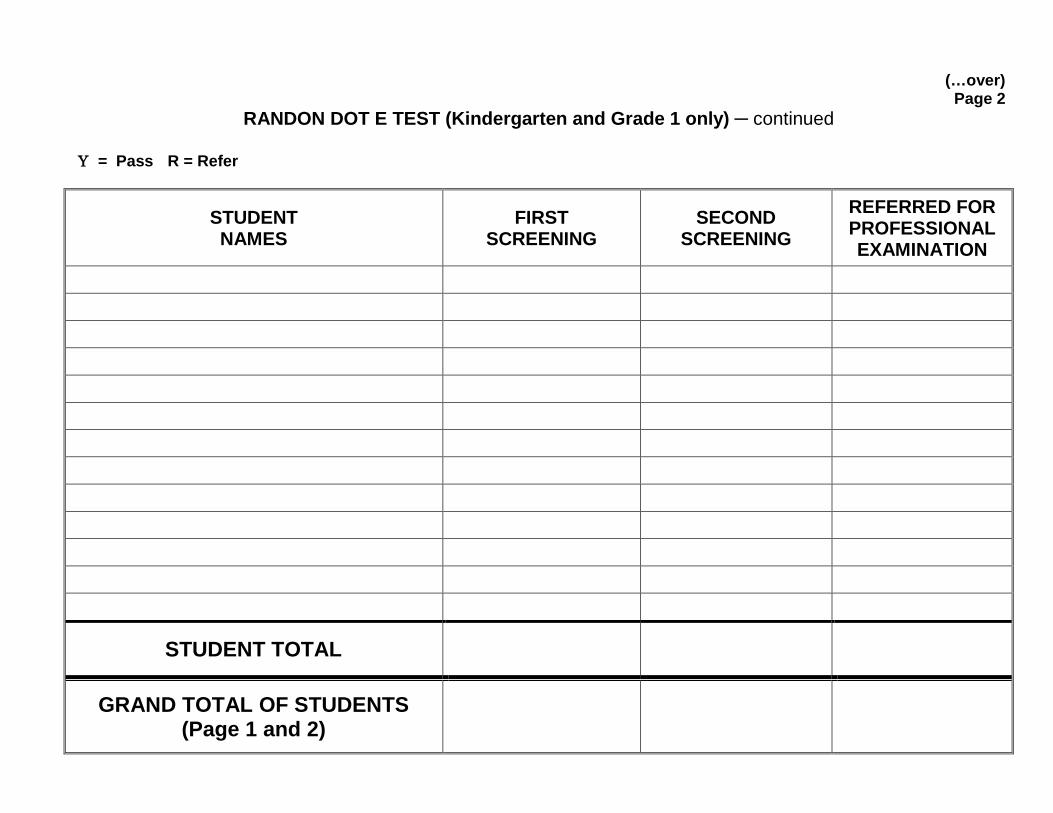
RANDON DOT E TEST (Kindergarten and Grade 1 only) ─ continued Υ = Pass R = Refer
STUDENT NAMES
FIRST SCREENING
SECOND SCREENING
REFERRED FOR PROFESSIONAL EXAMINATION
STUDENT TOTAL
GRAND TOTAL OF STUDENTS (Page 1 and 2)
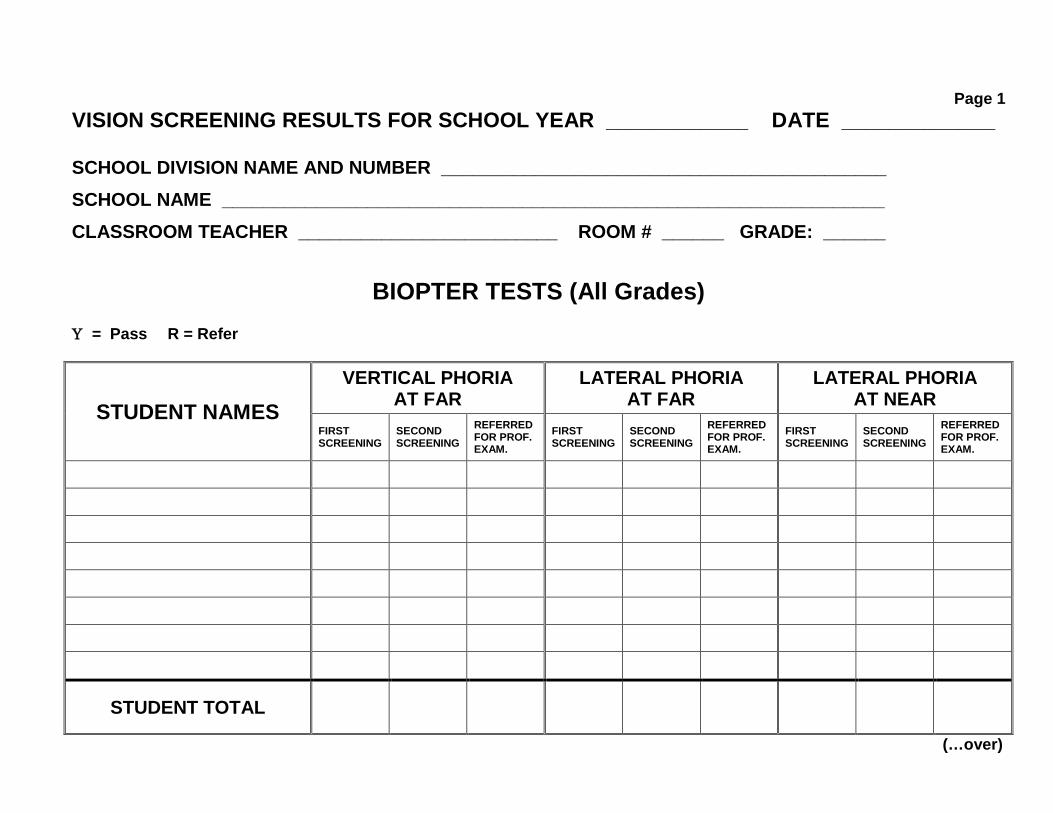
Page 1
VISION SCREENING RESULTS FOR SCHOOL YEAR ____________ DATE _____________ SCHOOL DIVISION NAME AND NUMBER ___________________________________________ SCHOOL NAME ________________________________________________________________ CLASSROOM TEACHER _________________________ ROOM # ______ GRADE: ______
BIOPTER TESTS (All Grades)
Υ = Pass R = Refer
STUDENT NAMES VERTICAL PHORIA
AT FAR LATERAL PHORIA
AT FAR LATERAL PHORIA
AT NEAR FIRST SCREENING
SECOND SCREENING
REFERRED FOR PROF. EXAM.
FIRST SCREENING
SECOND SCREENING
REFERRED FOR PROF. EXAM.
FIRST SCREENING
SECOND SCREENING
REFERRED FOR PROF. EXAM.
STUDENT TOTAL
(…over)
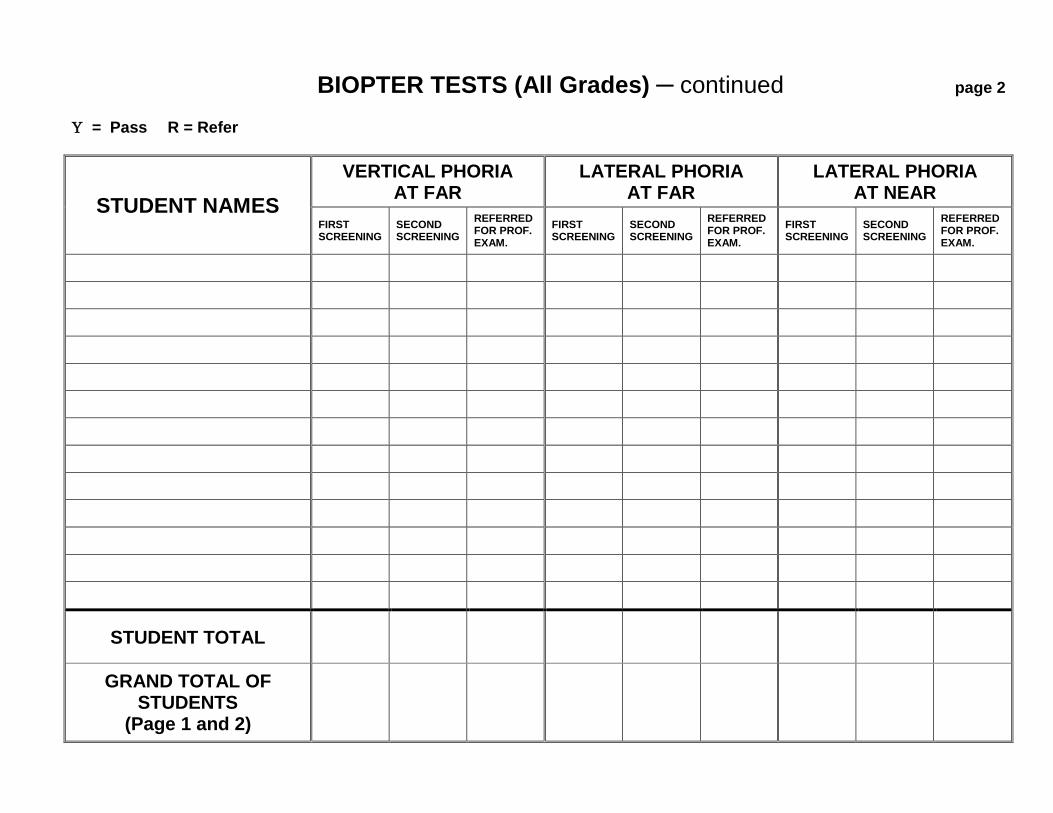
BIOPTER TESTS (All Grades) ─ continued page 2 Υ = Pass R = Refer
STUDENT NAMES VERTICAL PHORIA
AT FAR LATERAL PHORIA
AT FAR LATERAL PHORIA
AT NEAR FIRST SCREENING
SECOND SCREENING
REFERRED FOR PROF. EXAM.
FIRST SCREENING
SECOND SCREENING
REFERRED FOR PROF. EXAM.
FIRST SCREENING
SECOND SCREENING
REFERRED FOR PROF. EXAM.
STUDENT TOTAL
GRAND TOTAL OF STUDENTS
(Page 1 and 2)

Page 1 VISION SCREENING RESULTS FOR SCHOOL YEAR ____________ DATE _____________ SCHOOL DIVISION NAME AND NUMBER ___________________________________________ SCHOOL NAME ________________________________________________________________ CLASSROOM TEACHER _________________________ ROOM # ______ GRADE: ______
INSTA-LINE TESTS (All Grades)
Υ = Pass R = Refer
STUDENT NAMES MYOPIA TEST HYPEROPIA TEST
FIRST SCREENING
SECOND SCREENING
REFERRED FOR PROF. EXAM.
FIRST SCREENING
SECOND SCREENING
REFERRED FOR PROF. EXAM.
STUDENT TOTAL
(…Over)

INSTA-LINE TESTS (All Grades) page 2 Υ = Pass R = Refer
STUDENT NAMES MYOPIA TEST HYPEROPIA TEST
FIRST SCREENING
SECOND SCREENING
REFERRED FOR PROF. EXAM.
FIRST SCREENING
SECOND SCREENING
REFERRED FOR PROF. EXAM.
STUDENT TOTAL
GRAND TOTAL OF STUDENTS (Page 1 and 2)
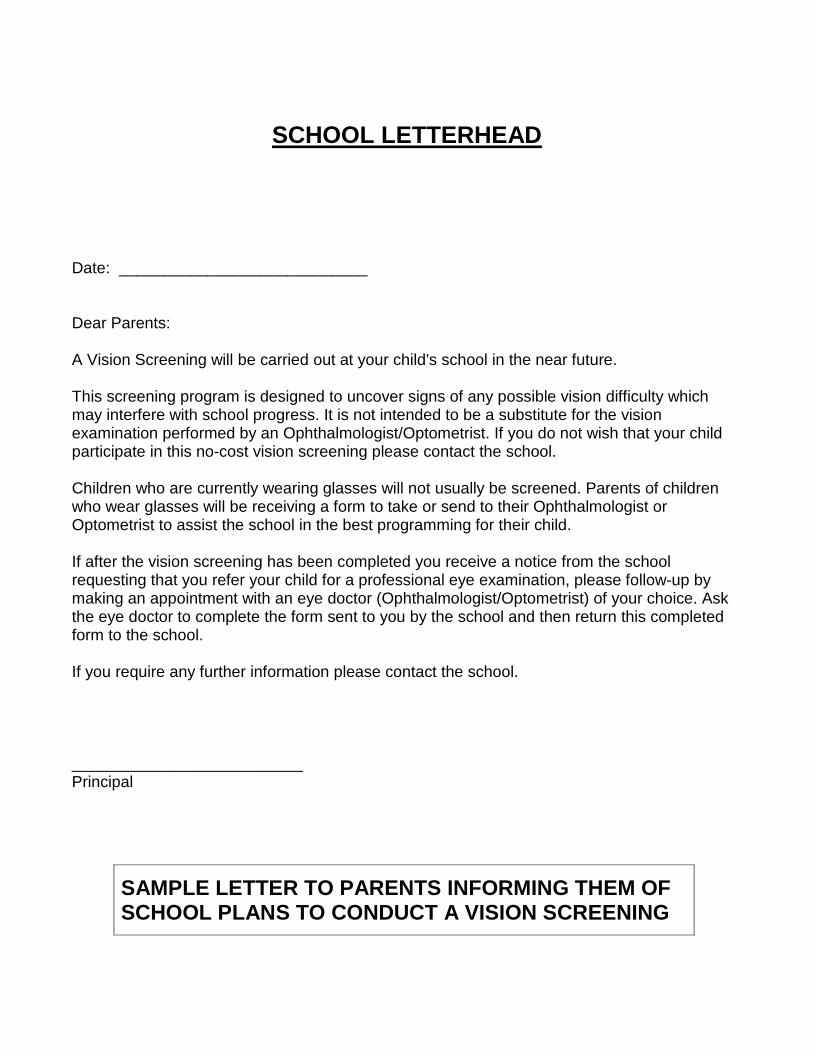
SCHOOL LETTERHEAD Date: ____________________________ Dear Parents: A Vision Screening will be carried out at your child's school in the near future. This screening program is designed to uncover signs of any possible vision difficulty which may interfere with school progress. It is not intended to be a substitute for the vision examination performed by an Ophthalmologist/Optometrist. If you do not wish that your child participate in this no-cost vision screening please contact the school. Children who are currently wearing glasses will not usually be screened. Parents of children who wear glasses will be receiving a form to take or send to their Ophthalmologist or Optometrist to assist the school in the best programming for their child. If after the vision screening has been completed you receive a notice from the school requesting that you refer your child for a professional eye examination, please follow-up by making an appointment with an eye doctor (Ophthalmologist/Optometrist) of your choice. Ask the eye doctor to complete the form sent to you by the school and then return this completed form to the school. If you require any further information please contact the school. __________________________ Principal
SAMPLE LETTER TO PARENTS INFORMING THEM OF SCHOOL PLANS TO CONDUCT A VISION SCREENING

SCHOOL LETTERHEAD
Dear Parent: Student Name: ____________________________________________________________________________ (Full Name Printed Clearly) Date: _______________________________________ Grade: ____________________________ While conducting our Vision Screening we noted that your child is wearing glasses. Children wearing glasses are not usually tested since it is assumed that they are already receiving professional eye care from either an ophthalmologist or an optometrist. We would like the Ophthalmologist/Optometrist who prescribed glasses for your child to complete the attached form. If the visit to the eye doctor has been recent, you may send the form directly to the Ophthalmologist/Optometrist's office for completion. If it has been over 1 year since your child has been seen by an Ophthalmologist/Optometrist, an appointment is in order. Whichever, course of action is appropriate please ask the Ophthalmologist/Optometrist to complete the following form and send it to your child's school. Dear Ophthalmologist/Optometrist: When doing the Vision Screening in this students' school it was noted that this child was wearing glasses. We request your cooperation in answering the questions with respect to this child who is one of your patients.
For Completion by the Ophthalmologist/Optometrist Please Circle Your Responses 1. Should this student wear glasses all the time in school?
If sometimes, when? YES NO
_______________________________________________________ 2. Should this student have some special seating arrangement?
If yes, please specify. YES NO
____________________________________________________________
3. Should the Resource Teacher from the school contact you? YES NO
____________________________________________________________
4. Comments (use the reverse side if more space is required).
** Please complete and return this form to the student's
school as listed at the top of the page. ______________________________
Ophthalmologist/Optometrist Signature Please print doctors name or use office stamp here.
SAMPLE LETTER TO PARENTS OF STUDENTS WHO WEAR GLASSES
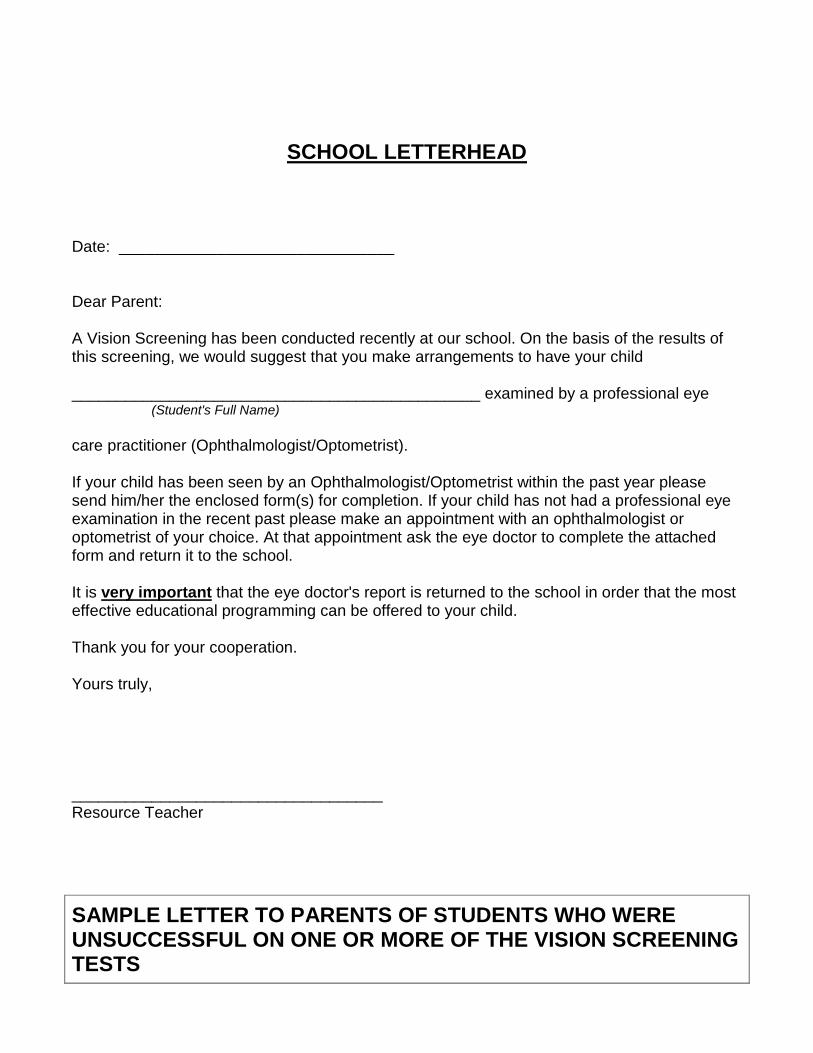
SCHOOL LETTERHEAD Date: _______________________________ Dear Parent: A Vision Screening has been conducted recently at our school. On the basis of the results of this screening, we would suggest that you make arrangements to have your child ______________________________________________ examined by a professional eye (Student's Full Name) care practitioner (Ophthalmologist/Optometrist). If your child has been seen by an Ophthalmologist/Optometrist within the past year please send him/her the enclosed form(s) for completion. If your child has not had a professional eye examination in the recent past please make an appointment with an ophthalmologist or optometrist of your choice. At that appointment ask the eye doctor to complete the attached form and return it to the school. It is very important that the eye doctor's report is returned to the school in order that the most effective educational programming can be offered to your child. Thank you for your cooperation. Yours truly, ___________________________________ Resource Teacher
SAMPLE LETTER TO PARENTS OF STUDENTS WHO WERE UNSUCCESSFUL ON ONE OR MORE OF THE VISION SCREENING TESTS

SCHOOL LETTERHEAD TO BE COMPLETED BY THE SCHOOL Date ________________________ NAME OF STUDENT ____________________________________ GRADE ________ (Full Name Printed Clearly) This student is being referred on the basis of being unable to correctly respond to the following test/tests. (Teachers should mark those tests failed with an "R"). 1. Random Dot E ( ) 4. Biopter-Vertical Phoria at Far ( )
2. Insta-Line – Myopia (Visual Acuity) ( ) 5. Biopter-Lateral Phoria at Far ( )
3. Insta-Line – Hyperopia (+2.25 lens) ( ) 6. Biopter-Lateral Phoria at Near ( ) ------------------------------------------------------------------------------------------------------------------------------------------------------- RECOMMENDATION FROM OPHTHALMOLOGIST/OPTOMETRIST Eye doctor please indicate with either an "X" (disagree) or a "Υ" (agree) beside any of the above items that are marked with an "R". A. Are glasses recommended? ______________ If so,
PLEASE CIRCLE YOUR RESPONSES:
1. Should this student wear glasses all the time in school? YES NO
If sometimes when? ___________________________________________________
2. Should this student have some special seating arrangements? YES NO
If yes, please specify. __________________________________________________
3. Should the Resource Teacher from the school contact you? YES NO
B. At Risk ─ Want to see in 6 months ______ Want to see in 12 months ______ No Problem ______ C. Comments ─ (may also use reverse side) _____________________________________________________ ___________________________________ ____________________________________________ Date Professional Signature ** Please use Office Stamp or Print Doctor's name here.
SAMPLE FORM TO BE COMPLETED AND SENT HOME FOR ANY STUDENT WHO FAILS BOTH FIRST AND SECOND SCREENINGS ON ANY OF THE VISION SCREENING TESTS

VISION SCREENING RESULTS FOR SCHOOL YEAR __________________ SCHOOL DIVISION AND NUMBER _________________________________________________ SCHOOL NAME (For Division use only) ____________________________________________
RANDOM DOT E TEST (Kindergarten and Grade 1 Only)
SCREENING COMMENTS
GRADE # STUDENTS SCREENED
# STUDENTS FOR SECOND SCREENING
# REFERRED FOR PROFESSIONAL EXAMINATION
K
1
TOTAL

VISION SCREENING RESULTS FOR SCHOOL YEAR __________________ SCHOOL DIVISION AND NUMBER _________________________________________________ SCHOOL NAME (For Division use only) ____________________________________________
BIOPTER TESTS (All Grades) VERTICAL
PHORIA AT FAR LATERAL PHORIA
AT FAR LATERAL PHORIA
AT NEAR COMMENTS
GRADE # STUDENTS SCREENED
# STUDENTS FOR SECOND SCREENING
# REFERRED FOR PROF. EXAM.
# STUDENTS FOR SECOND SCREENING
# REFERRED FOR PROF. EXAM.
# STUDENTS FOR SECOND SCREENING
# REFERRED FOR PROF. EXAM.
K
1
3
5
7
S1
S3
TOTAL

VISION SCREENING RESULTS FOR SCHOOL YEAR __________________ SCHOOL DIVISION AND NUMBER _________________________________________________ SCHOOL NAME (For Division use only) ____________________________________________
INSTA-LINE TESTS (All grades)
MYOPIA TEST HYPEROPIA TEST COMMENTS
GRADE # STUDENTS SCREENED
# STUDENTS FOR SECOND SCREENING
# REFERRED FOR PROF.
EXAM.
# STUDENTS FOR SECOND SCREENING
# REFERRED FOR PROF.
EXAM.
K
1
3
5
7
S1
S3
TOTAL