Embed Size (px)
Citation preview
1
(Rev. Feb. 2017)
Virtual Private Network (VPN) Token Token:
1. To access the new Virtual Private Network (VPN) you must have a VPN token. To receive a token your supervisor will need to place an IT access request through the IT Access Request application on the intranet.
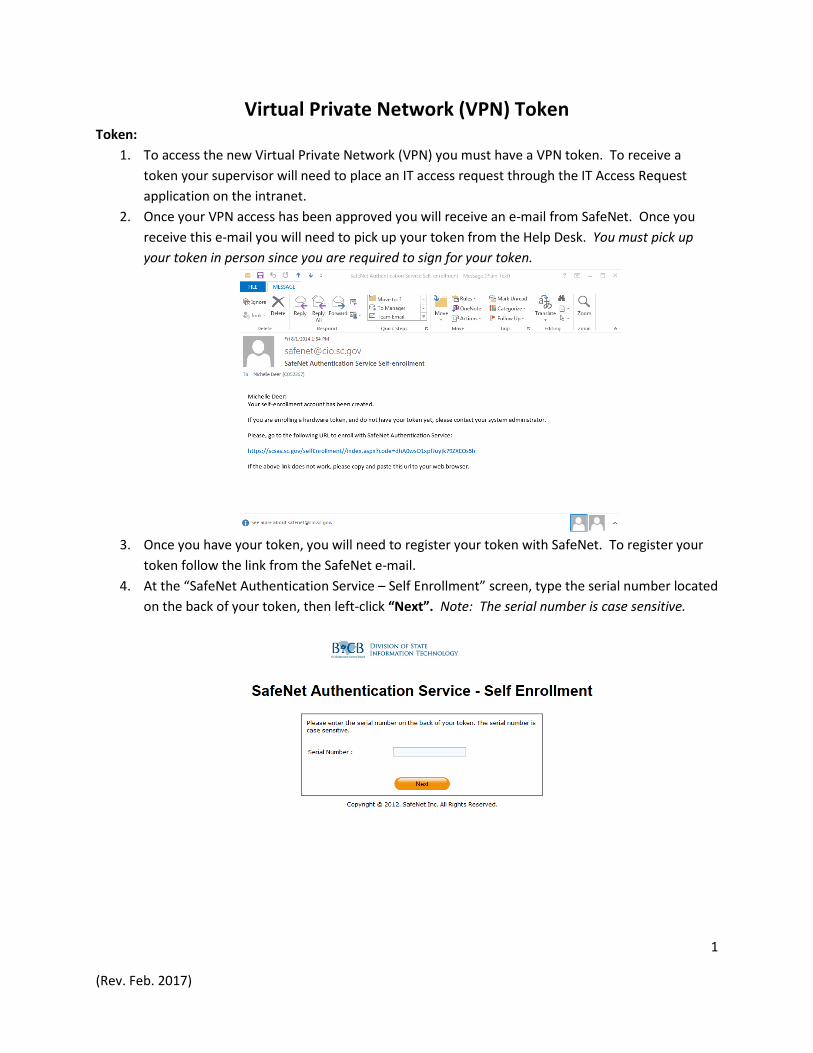
2. Once your VPN access has been approved you will receive an e-mail from SafeNet. Once you receive this e-mail you will need to pick up your token from the Help Desk. You must pick up your token in person since you are required to sign for your token.
3. Once you have your token, you will need to register your token with SafeNet. To register your
token follow the link from the SafeNet e-mail. 4. At the “SafeNet Authentication Service – Self Enrollment” screen, type the serial number located
on the back of your token, then left-click “Next”. Note: The serial number is case sensitive.
2
(Rev. Feb. 2017)
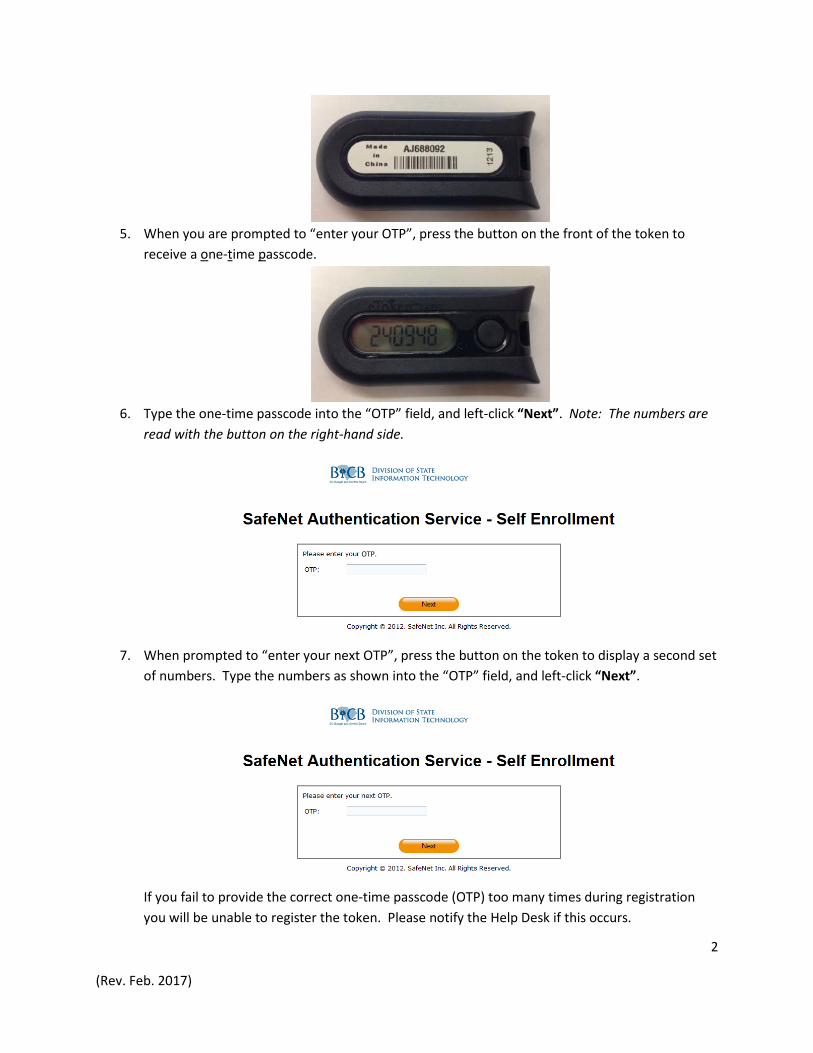
5. When you are prompted to “enter your OTP”, press the button on the front of the token to
receive a one-time passcode.
6. Type the one-time passcode into the “OTP” field, and left-click “Next”. Note: The numbers are
read with the button on the right-hand side.
7. When prompted to “enter your next OTP”, press the button on the token to display a second set
of numbers. Type the numbers as shown into the “OTP” field, and left-click “Next”.
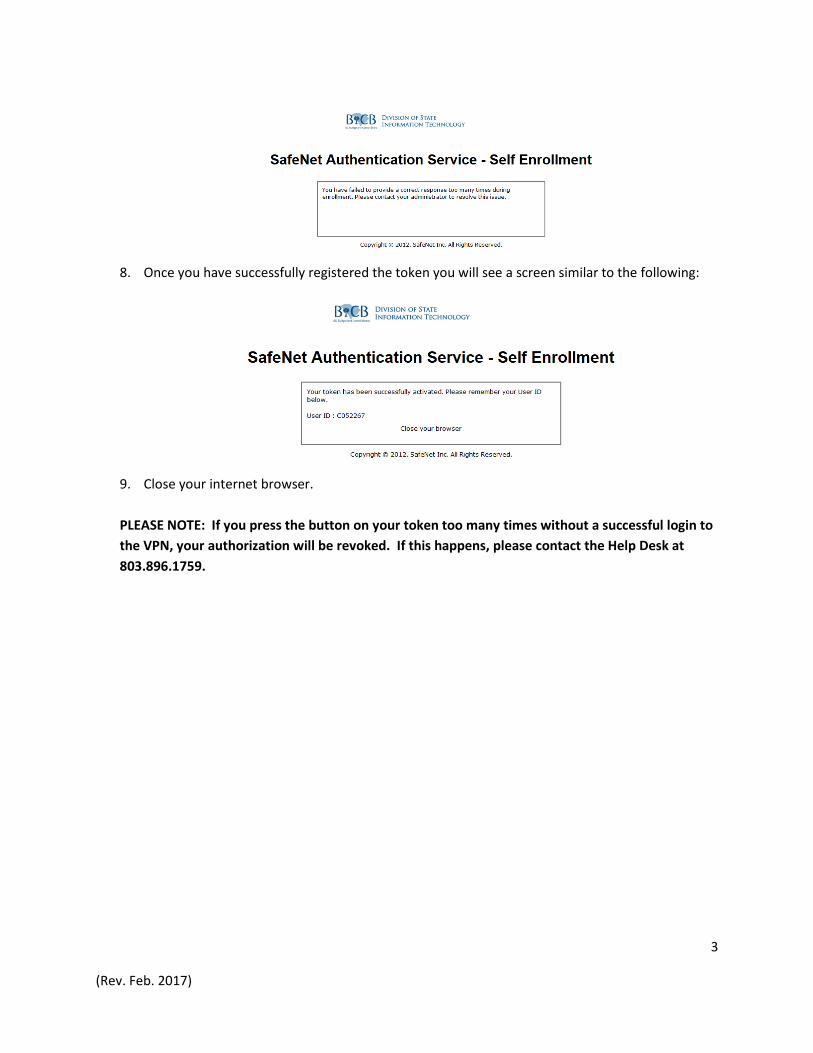
If you fail to provide the correct one-time passcode (OTP) too many times during registration you will be unable to register the token. Please notify the Help Desk if this occurs.
OTP.
3
(Rev. Feb. 2017)
8. Once you have successfully registered the token you will see a screen similar to the following:
9. Close your internet browser.
PLEASE NOTE: If you press the button on your token too many times without a successful login to the VPN, your authorization will be revoked. If this happens, please contact the Help Desk at 803.896.1759.

4
(Rev. Feb. 2017)
To access the new VPN you will need to install the VPN add-on to your computer. To install the plug-in: 1. Open Internet Explorer, and type https://vpn1.doc.sc.gov/doc-web into the URL address bar. 2. At the “Pre Sign-In Notification” screen, left-click “Proceed”.
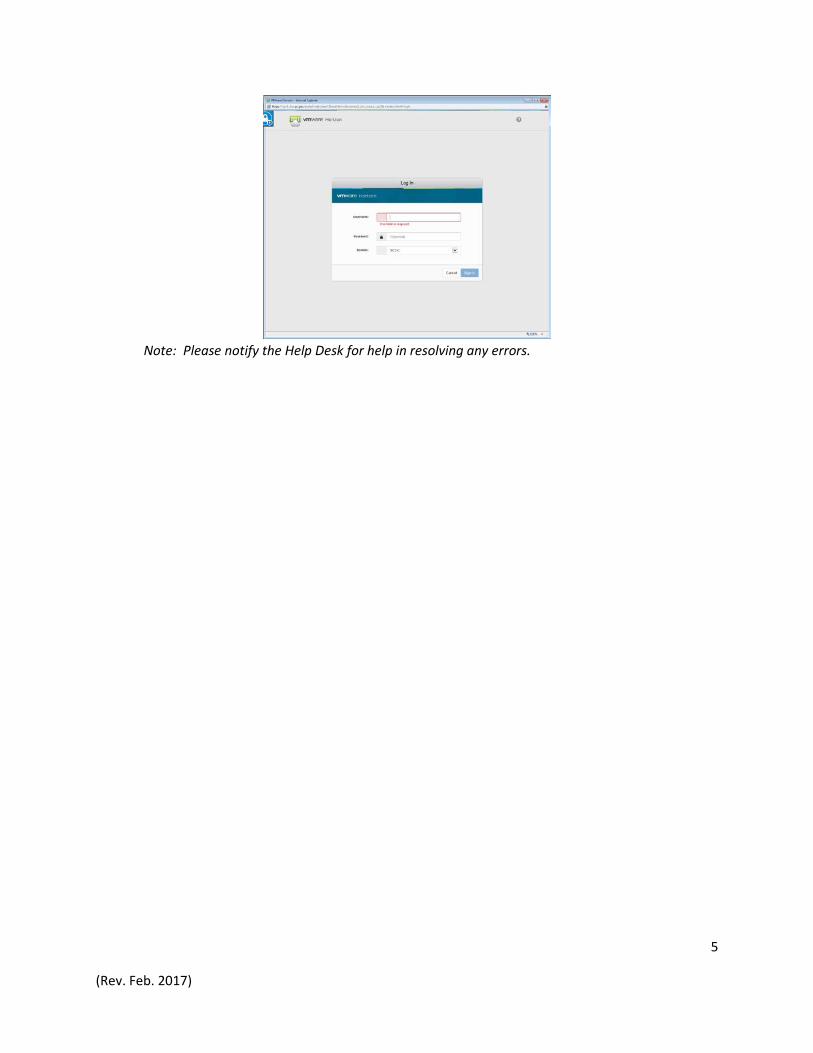
3. You will see the following screen:
i. Username – Type your SCDC username
ii. Password – Type your SCDC password
iii. Secondary username – Type your SCDC username iv. Secondary password – Press the button on your token, and type the OTP v. Left-click “Sign In”.
2. At the Welcome to Junos Pulse screen left-click “SCDC Desktop VDI HTML”.
3. At the “VMware Horizon” pop-up, type your SCDC username and password, then left-click “Sign
In”, and you will see a connecting indicator.
5
(Rev. Feb. 2017)
Note: Please notify the Help Desk for help in resolving any errors.
6
(Rev. Feb. 2017)
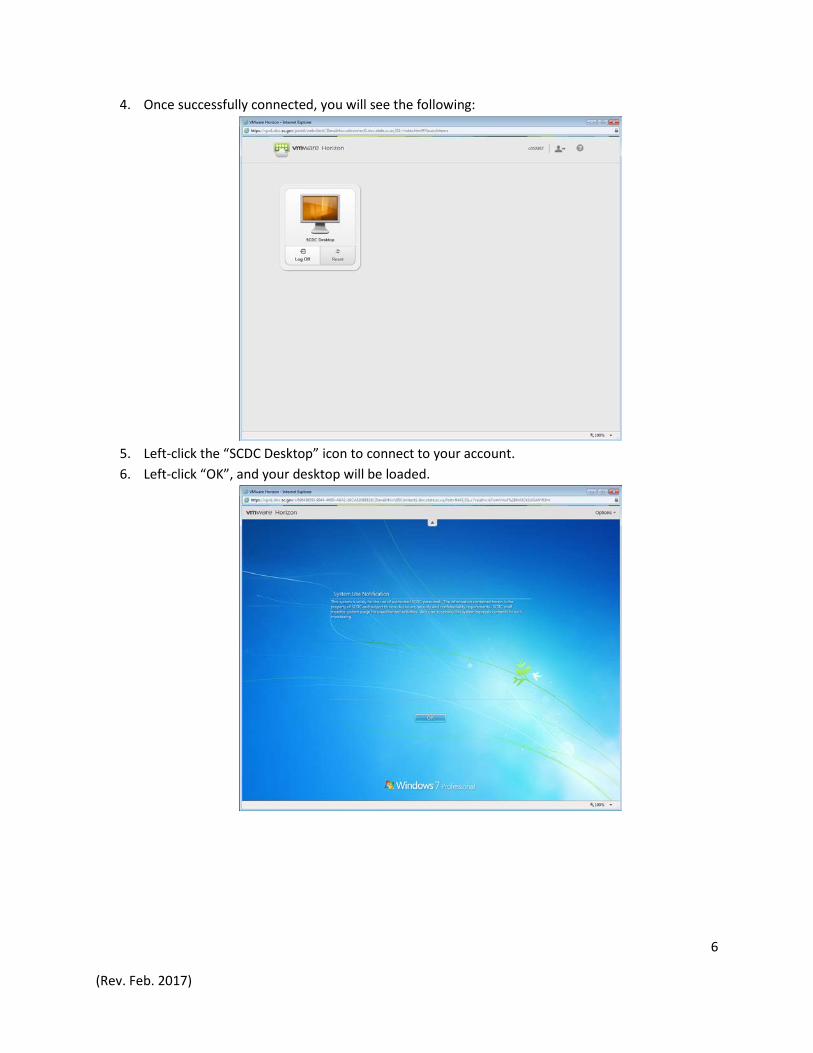
4. Once successfully connected, you will see the following:
5. Left-click the “SCDC Desktop” icon to connect to your account. 6. Left-click “OK”, and your desktop will be loaded.
7
(Rev. Feb. 2017)
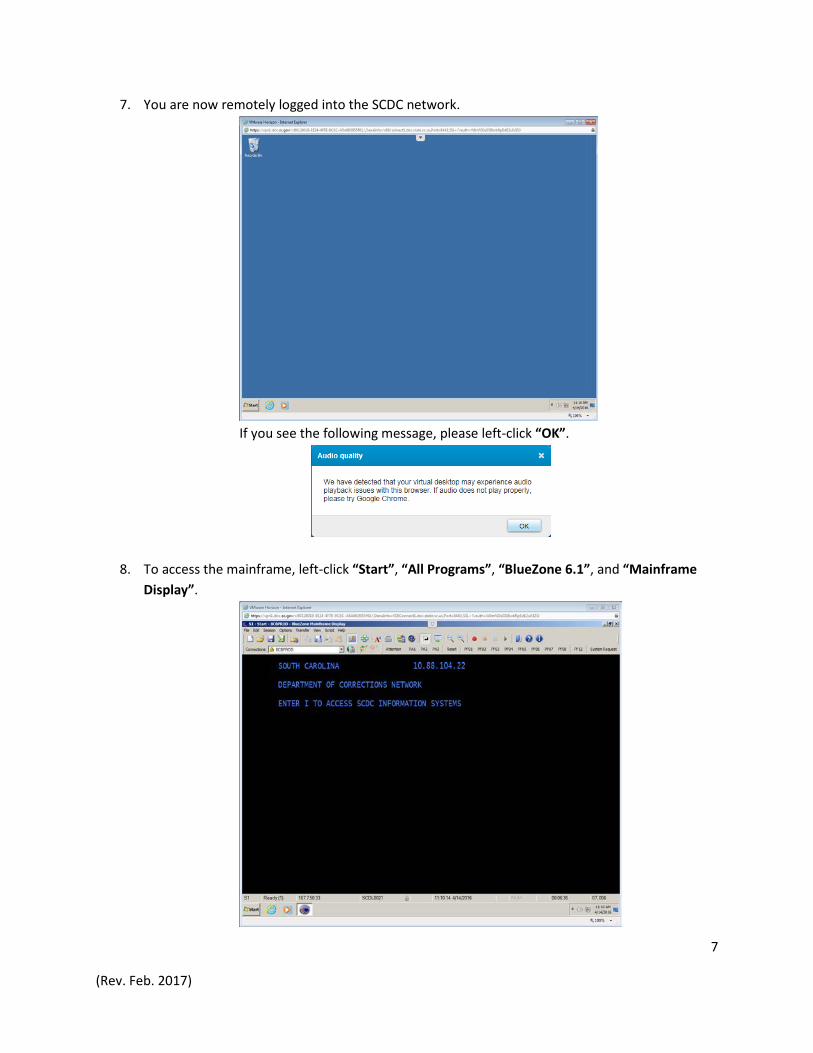
7. You are now remotely logged into the SCDC network.
If you see the following message, please left-click “OK”.
8. To access the mainframe, left-click “Start”, “All Programs”, “BlueZone 6.1”, and “Mainframe Display”.
8
(Rev. Feb. 2017)
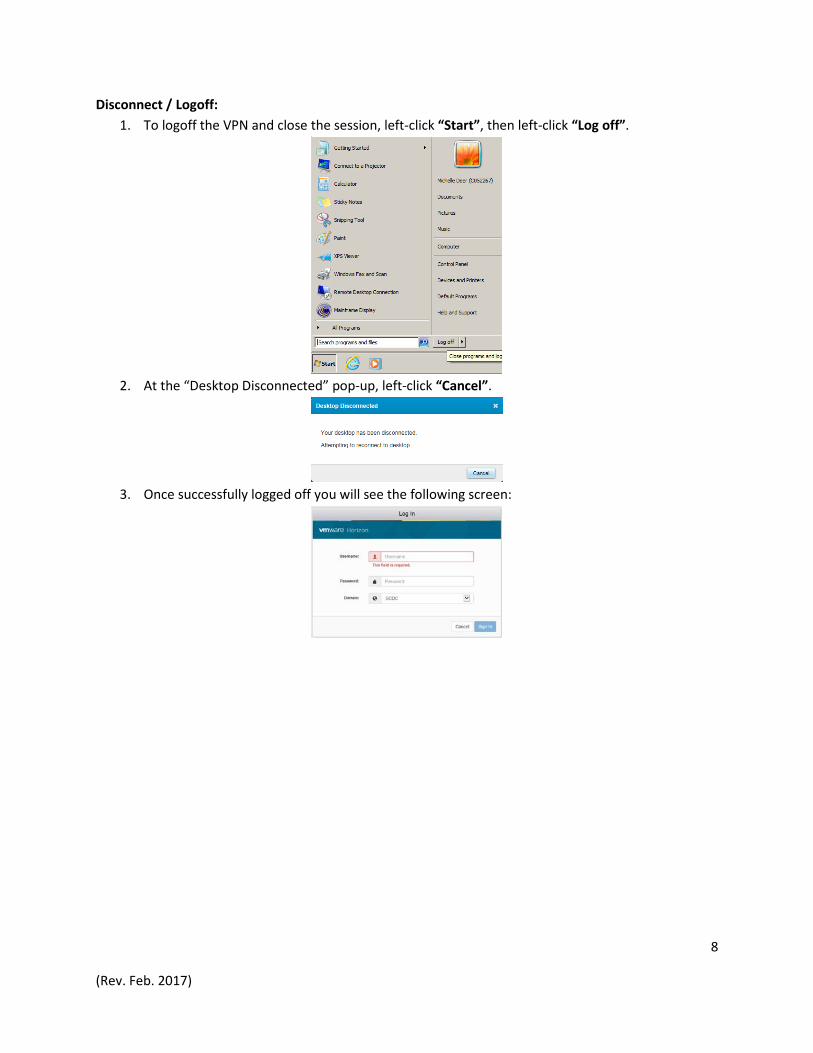
Disconnect / Logoff: 1. To logoff the VPN and close the session, left-click “Start”, then left-click “Log off”.
2. At the “Desktop Disconnected” pop-up, left-click “Cancel”.
3. Once successfully logged off you will see the following screen: