Embed Size (px)
Citation preview
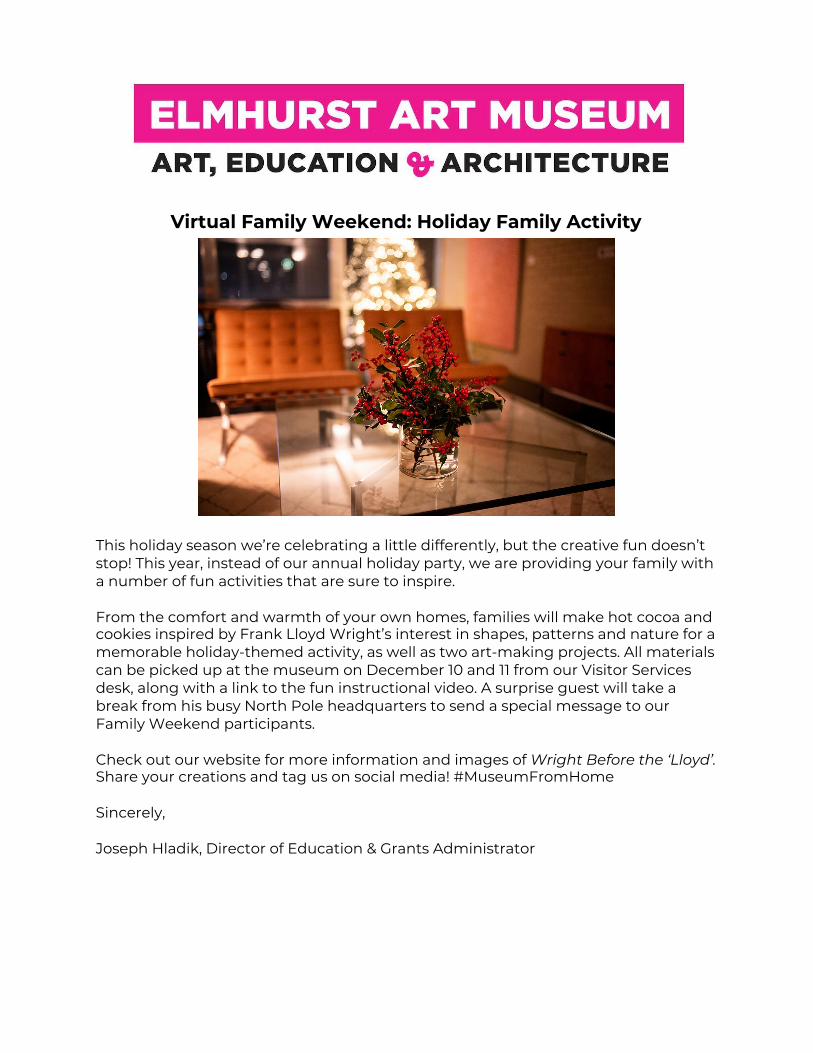
Virtual Family Weekend: Holiday Family Activity
This holiday season we’re celebrating a little differently, but the creative fun doesn’t stop! This year, instead of our annual holiday party, we are providing your family with a number of fun activities that are sure to inspire. From the comfort and warmth of your own homes, families will make hot cocoa and cookies inspired by Frank Lloyd Wright’s interest in shapes, patterns and nature for a memorable holiday-themed activity, as well as two art-making projects. All materials can be picked up at the museum on December 10 and 11 from our Visitor Services desk, along with a link to the fun instructional video. A surprise guest will take a break from his busy North Pole headquarters to send a special message to our Family Weekend participants. Check out our website for more information and images of Wright Before the ‘Lloyd’. Share your creations and tag us on social media! #MuseumFromHome Sincerely, Joseph Hladik, Director of Education & Grants Administrator
In the activity you will:
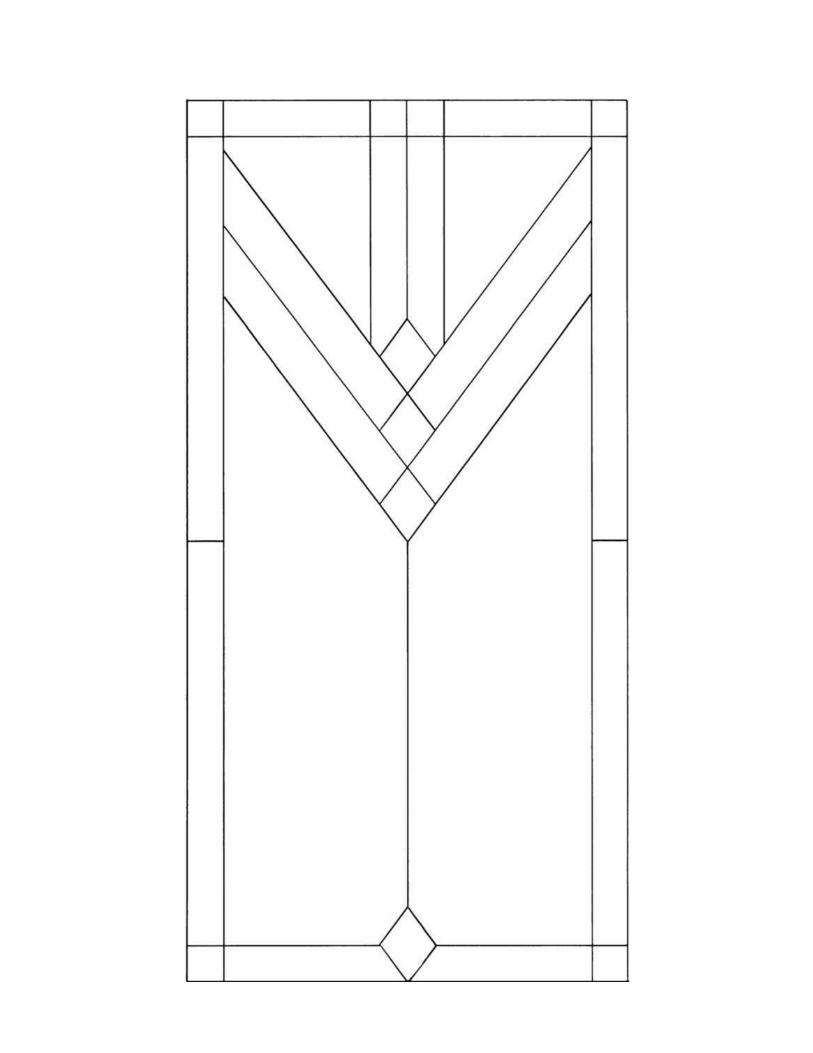
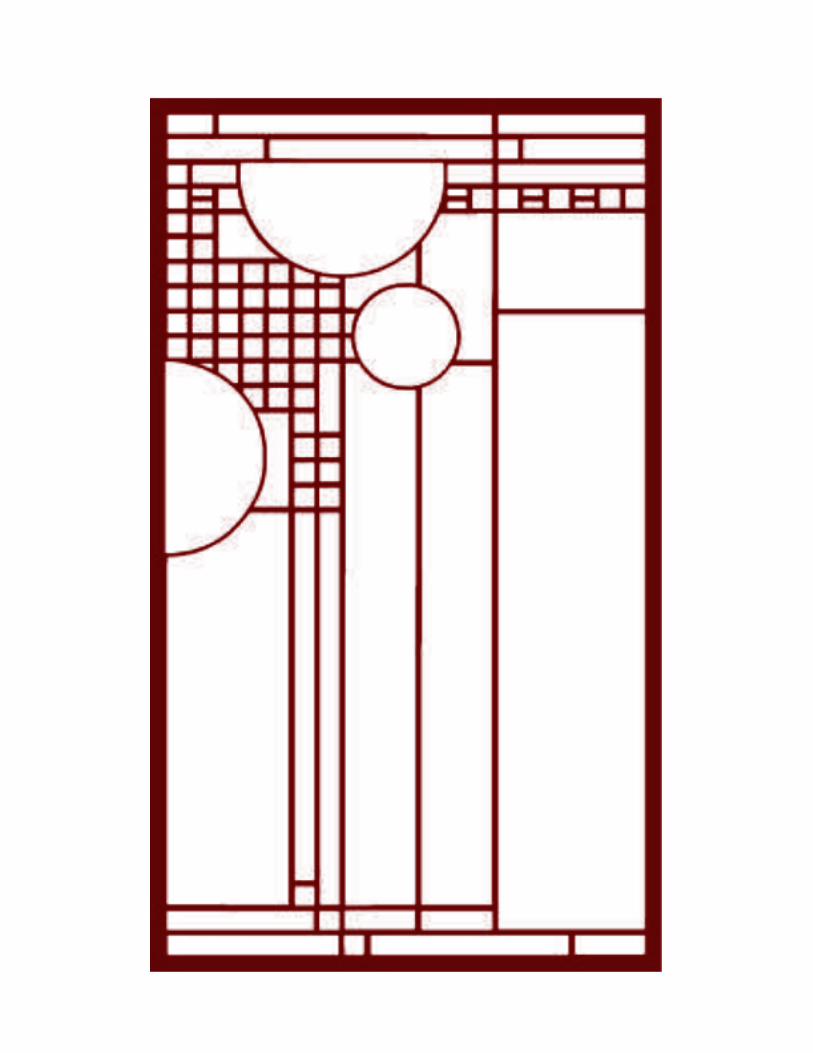
● Create original ‘stained glass’ designs inspired by Frank Lloyd Wright
● Design your own illuminated ornament ● Enjoy some holiday treats
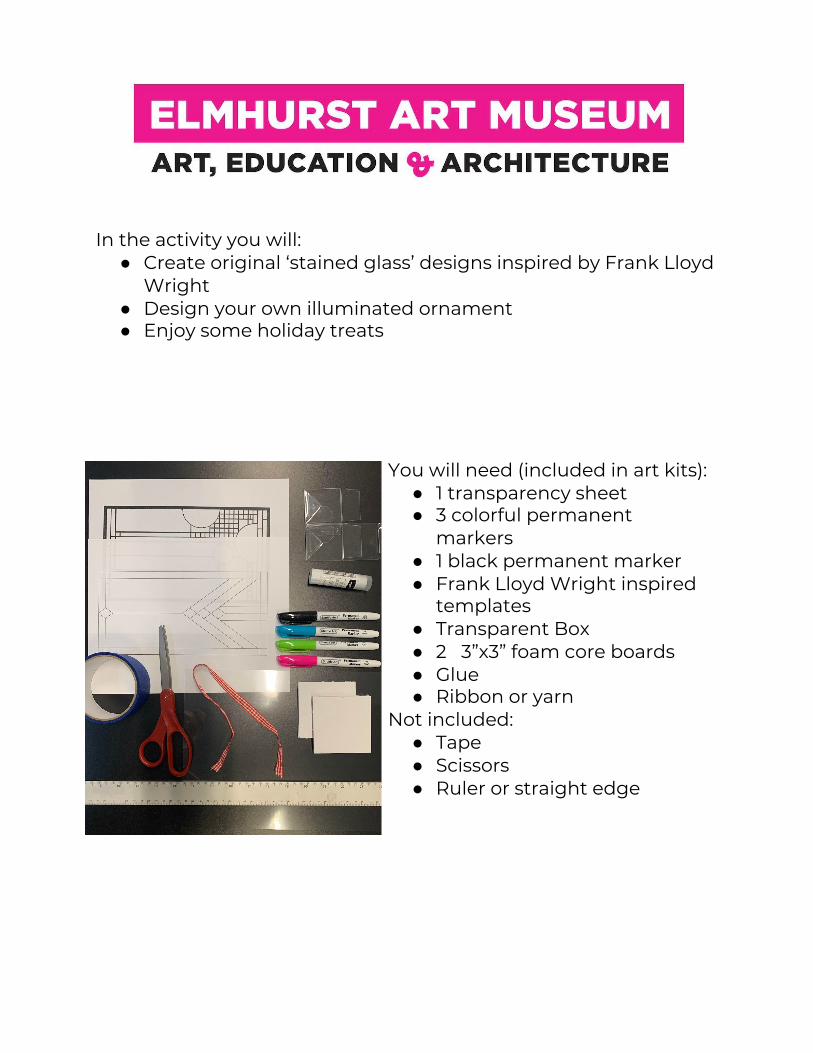
You will need (included in art kits): ● 1 transparency sheet ● 3 colorful permanent
markers ● 1 black permanent marker ● Frank Lloyd Wright inspired
templates ● Transparent Box ● 2 3”x3” foam core boards ● Glue ● Ribbon or yarn
Not included: ● Tape ● Scissors ● Ruler or straight edge
INSTRUCTIONS Activity 1: Geometric Window Design
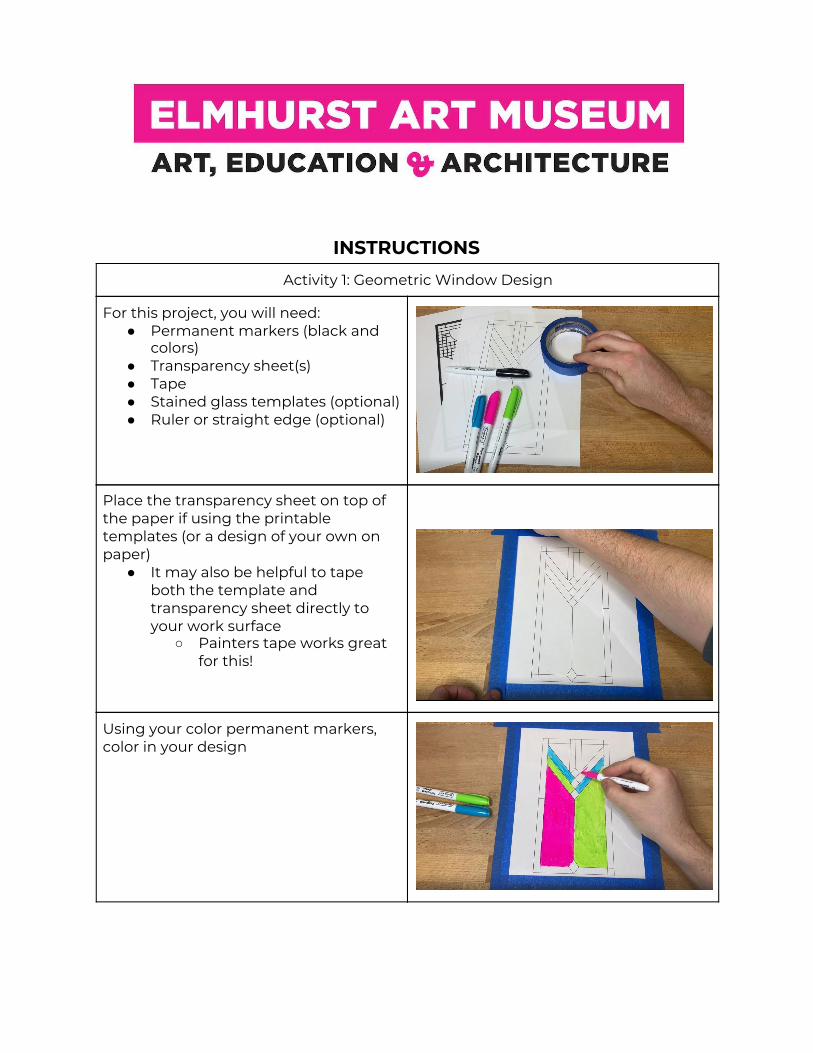
For this project, you will need: ● Permanent markers (black and
colors) ● Transparency sheet(s) ● Tape ● Stained glass templates (optional) ● Ruler or straight edge (optional)
Place the transparency sheet on top of the paper if using the printable templates (or a design of your own on paper)
● It may also be helpful to tape both the template and transparency sheet directly to your work surface
○ Painters tape works great for this!
Using your color permanent markers, color in your design
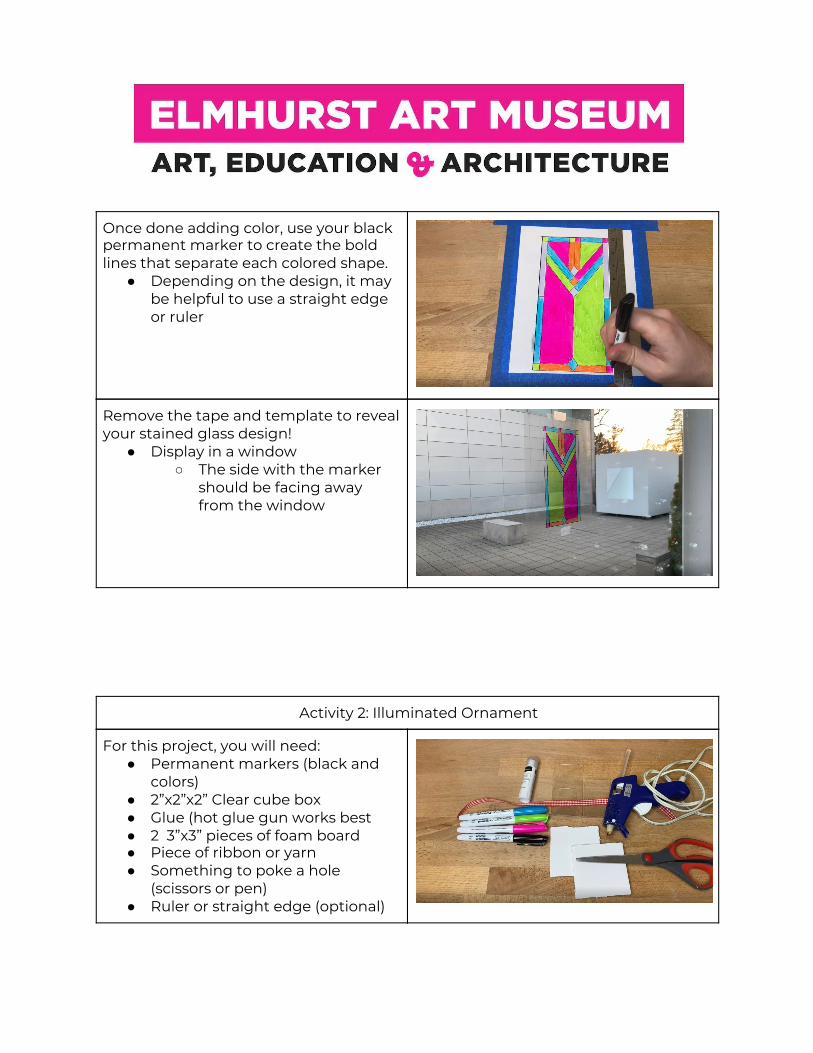
Once done adding color, use your black permanent marker to create the bold lines that separate each colored shape.
● Depending on the design, it may be helpful to use a straight edge or ruler
Remove the tape and template to reveal your stained glass design!
● Display in a window ○ The side with the marker
should be facing away from the window
Activity 2: Illuminated Ornament
For this project, you will need: ● Permanent markers (black and
colors) ● 2”x2”x2” Clear cube box ● Glue (hot glue gun works best ● 2 3”x3” pieces of foam board ● Piece of ribbon or yarn ● Something to poke a hole
(scissors or pen) ● Ruler or straight edge (optional)
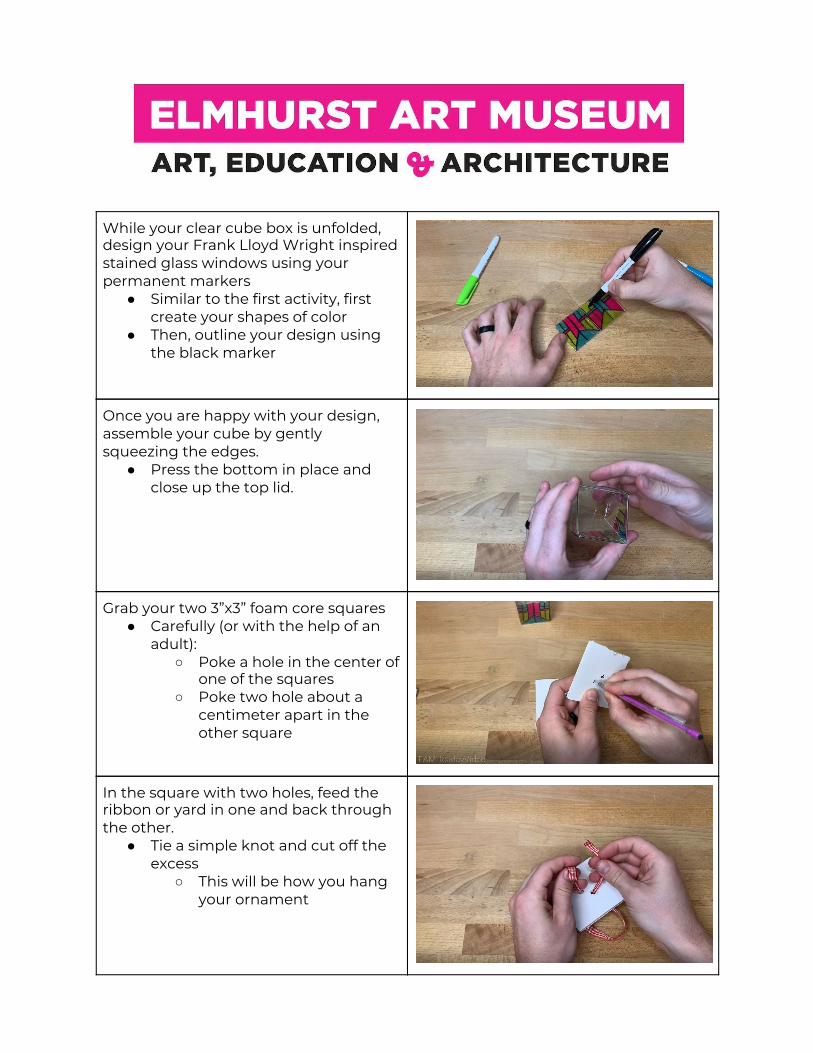
While your clear cube box is unfolded, design your Frank Lloyd Wright inspired stained glass windows using your permanent markers
● Similar to the first activity, first create your shapes of color
● Then, outline your design using the black marker
Once you are happy with your design, assemble your cube by gently squeezing the edges.
● Press the bottom in place and close up the top lid.
Grab your two 3”x3” foam core squares ● Carefully (or with the help of an
adult): ○ Poke a hole in the center of
one of the squares ○ Poke two hole about a
centimeter apart in the other square
In the square with two holes, feed the ribbon or yard in one and back through the other.
● Tie a simple knot and cut off the excess
○ This will be how you hang your ornament

Please make sure to save all unused materials and tools, you may need to use them for other projects!
Place glue (hot glue works best), on the top of the cube
● Pull the ribbon to create a loop ○ the knot should be up
against the foam board ● Attach the cube with glue to the
center of the foam board ○ The top of the cube will be
up against the knot ● Glue the square with one hole to
the bottom of the cube so that the hold lines up with the center of the bottom of the box
○ It may be helpful to use your poking tool so that the hole lines up with the middle of the box
Once the glue is dry, hang your ornament where you’d like.
● If hanging on a tree, carefully place a light from a string of lights into the hold on the bottom of the square and into the cube
○ Do not force the light, it should easily fit into the box.