Embed Size (px)
Citation preview
VINYL LINER MEASURING
•Provide guides to the proper use of available resources for measuring vinyl liners.
OBJECTIVES:
•Tips for communicating with Design Departments.
•Accurate gathering and conveying of dimensions.
•Expose the mysteries of liner manufacturing.
•Your part in the process of “Perfect Liners”
•Design Philosophy
•Vocabulary
•Keys to accurate depth and width measurements.
•Calculation of corner radii.
•Importance of measuring to an imaginary square corner.
•Special Criteria for Ovals.
•Coves, Vinyl covered stairs, both?!?!
•Understating/Overstating dimensions.
•Use of Triangulation Method for measuring Freeform Pools.
AGENDA
• To provide a finished liner with the following characteristics.
1. Smooth wrinkle free fit.
2. Minimum amount of stretch.
3. Minimum number of seams.
4. Reflect the shape of the pool exactly, without compromising quality and liner integrity.
DESIGN PHILOSOPHY:
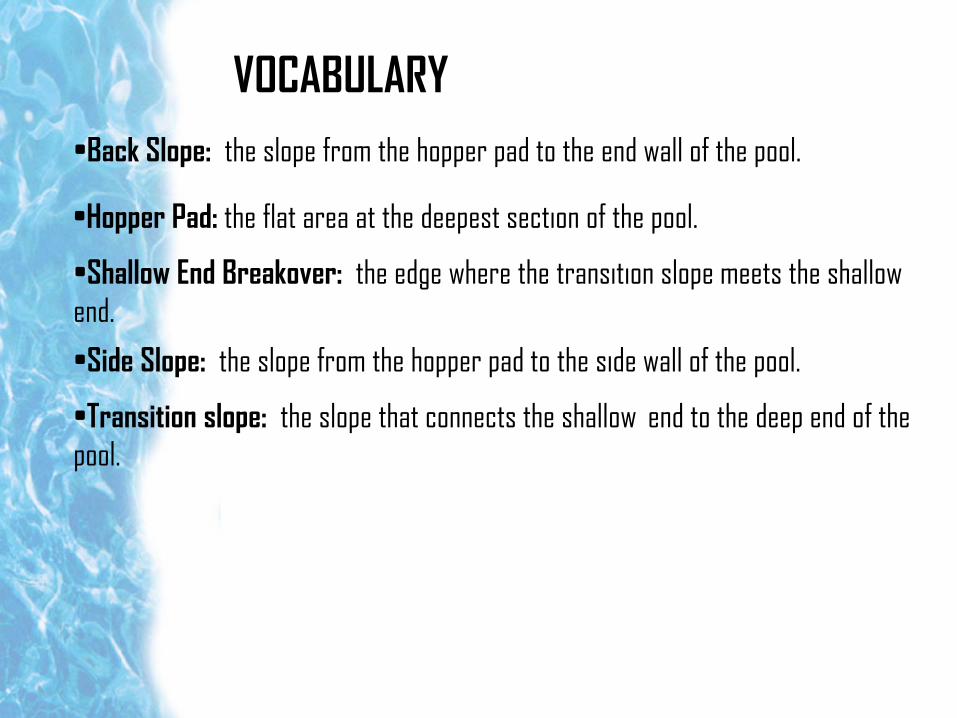
•Shallow End Breakover: the edge where the transition slope meets the shallow end.
VOCABULARY•Back Slope: the slope from the hopper pad to the end wall of the pool.
•Side Slope: the slope from the hopper pad to the side wall of the pool.
•Transition slope: the slope that connects the shallow end to the deep end of the pool.
•Hopper Pad: the flat area at the deepest section of the pool.
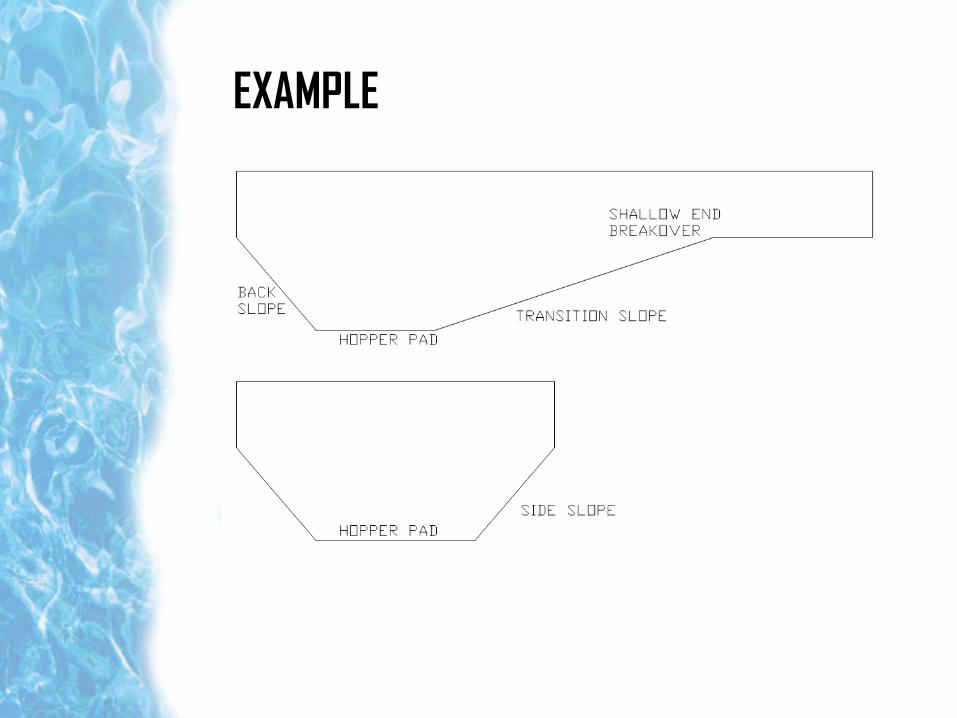
EXAMPLE
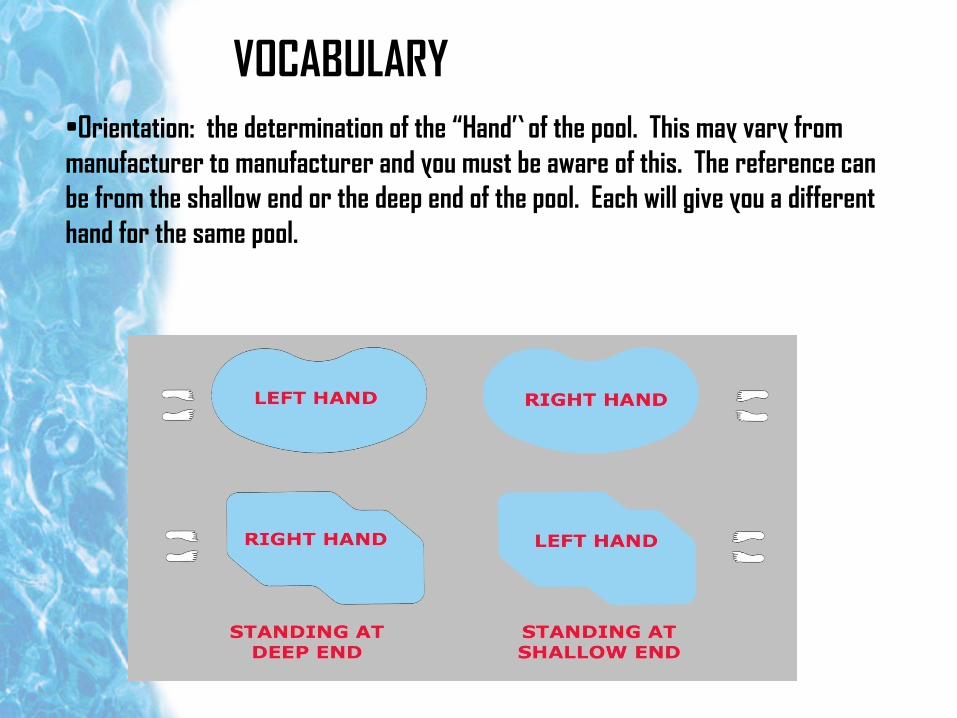
•Orientation: the determination of the “Hand” of the pool. This may vary from manufacturer to manufacturer and you must be aware of this. The reference can be from the shallow end or the deep end of the pool. Each will give you a different hand for the same pool.
VOCABULARY
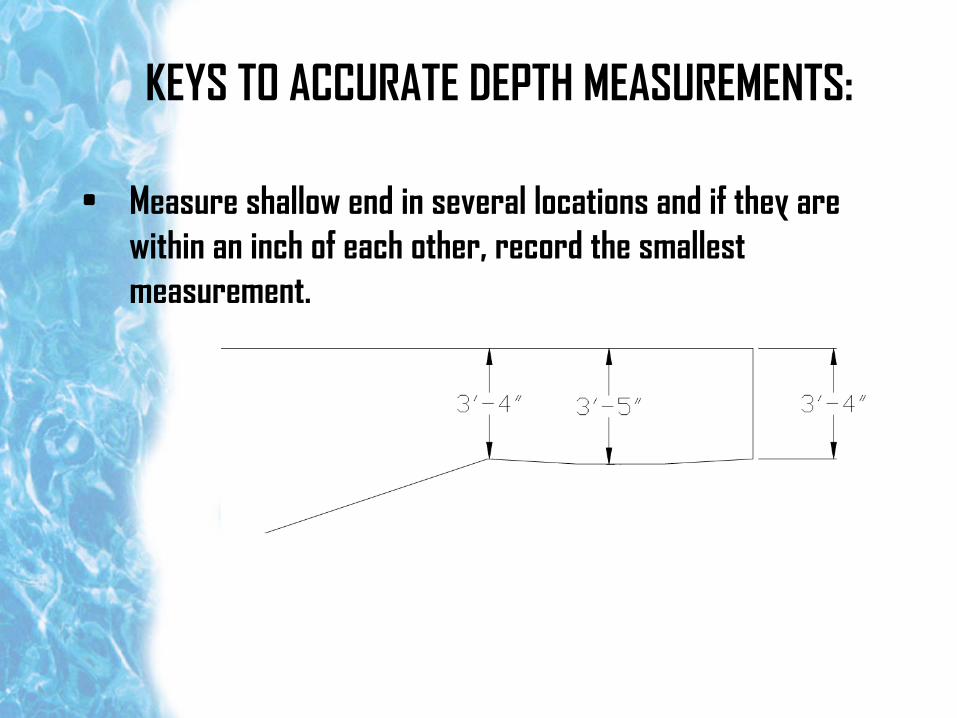
• Measure shallow end in several locations and if they are within an inch of each other, record the smallest measurement.
KEYS TO ACCURATE DEPTH MEASUREMENTS:
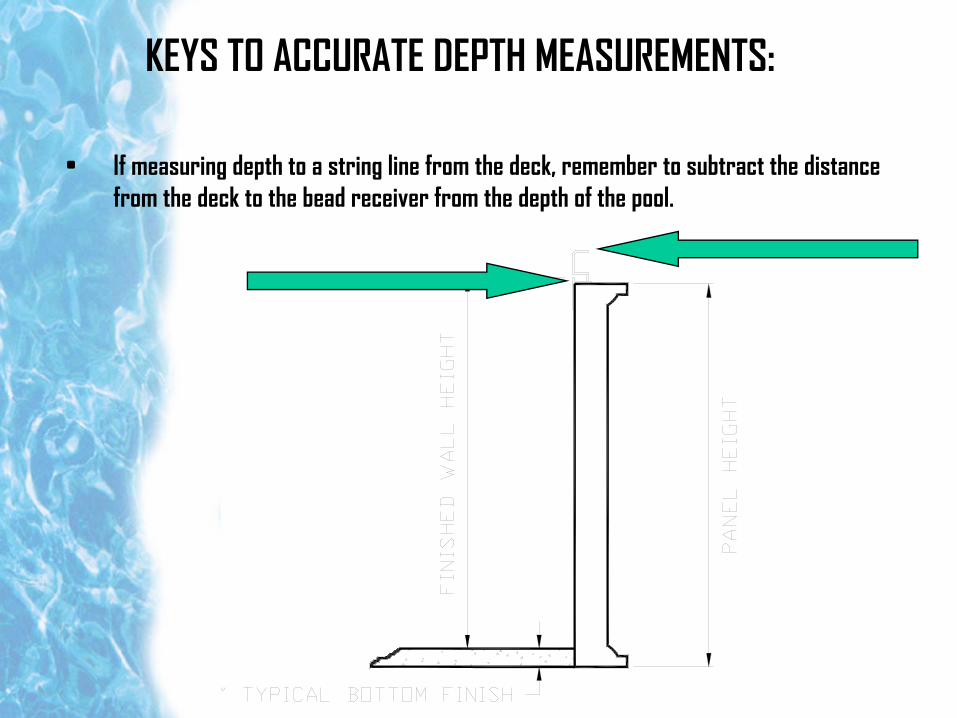
• If measuring depth to a string line from the deck, remember to subtract the distance from the deck to the bead receiver from the depth of the pool.
KEYS TO ACCURATE DEPTH MEASUREMENTS:
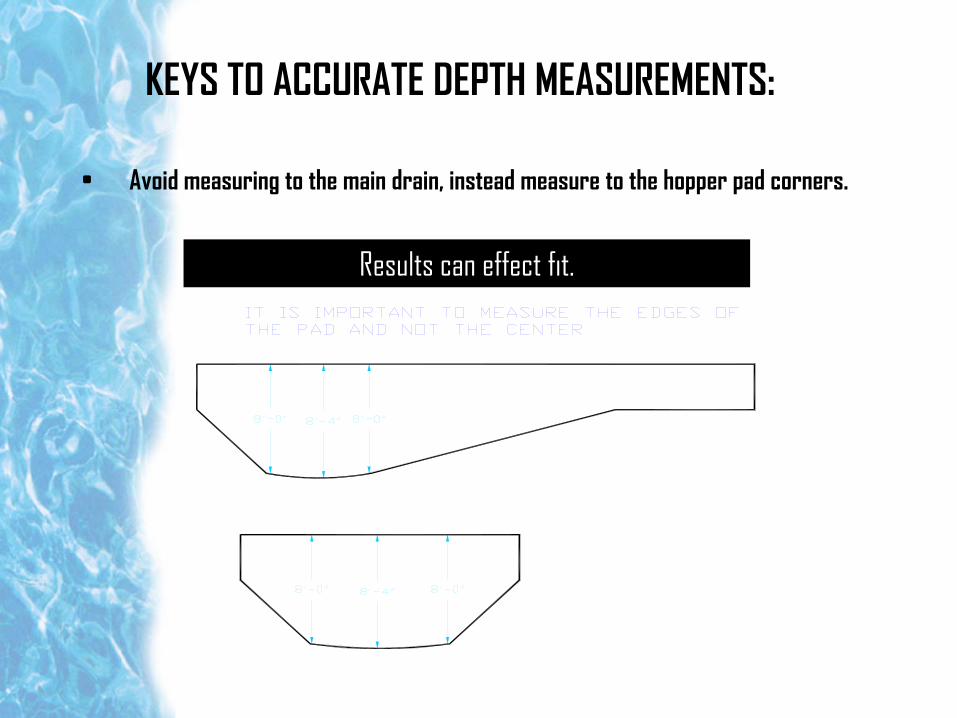
• Avoid measuring to the main drain, instead measure to the hopper pad corners.
KEYS TO ACCURATE DEPTH MEASUREMENTS:
Results can effect fit.
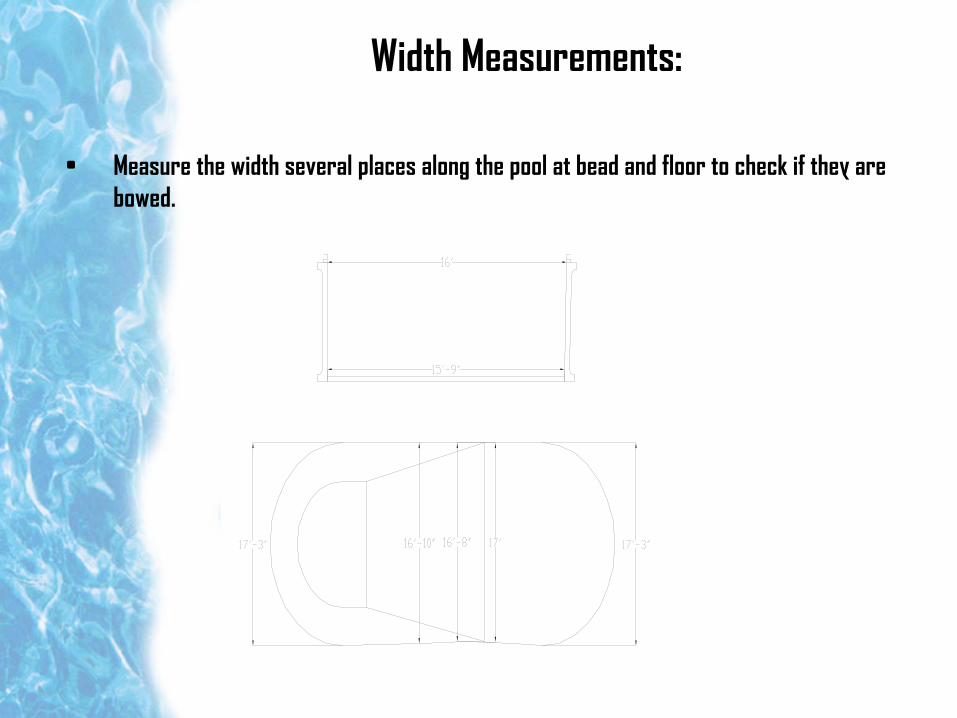
• Measure the width several places along the pool at bead and floor to check if they are bowed.
Width Measurements:
Option 1:• Measure the perimeter of the radius corner (length of the arc).
• Multiply the result by 2.
• Divide by 3.1416.
• The result is the radius of the corner.
• Example 1: (2 x 38”) divide by 3.1416 = 24 (2’ Radius corner)
• Example 2: (2 x 9.5”) divide by 3.1416=6 (6” Radius corner)
CALCULATION OF CORNER RADII:
Option 2:
• Square the corner of pool using by using string lines, tapes, or poles. Next, measurethe distance from the ninety degree corner to the start of the radius in eitherdirection. Whatever the distance you measure is equal to the radius of the corner.
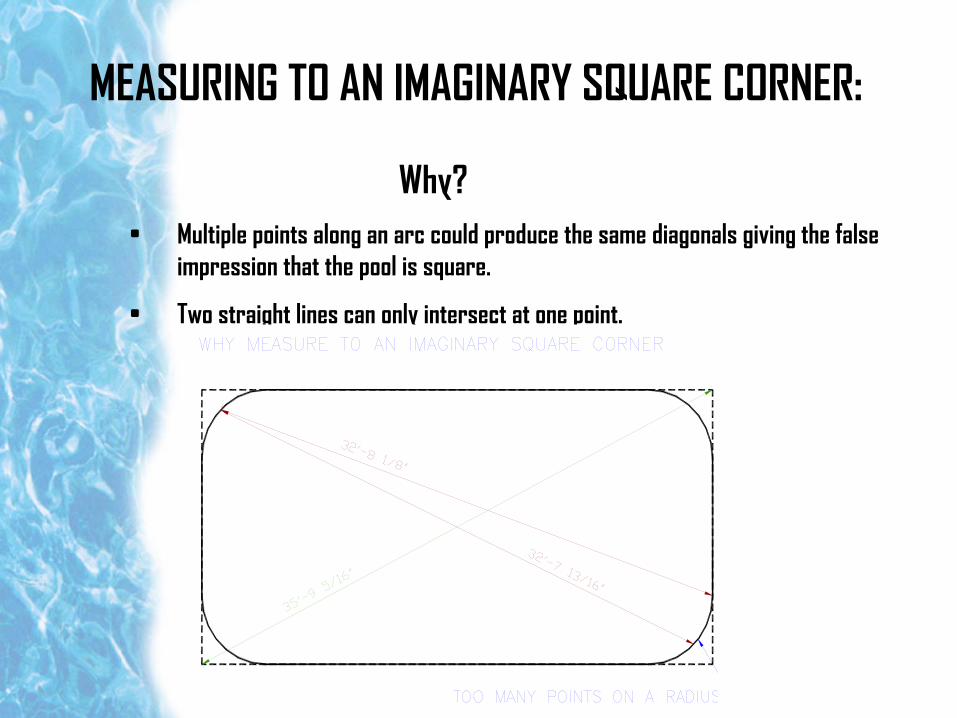
Why?• Multiple points along an arc could produce the same diagonals giving the false
impression that the pool is square.
• Two straight lines can only intersect at one point.
MEASURING TO AN IMAGINARY SQUARE CORNER:
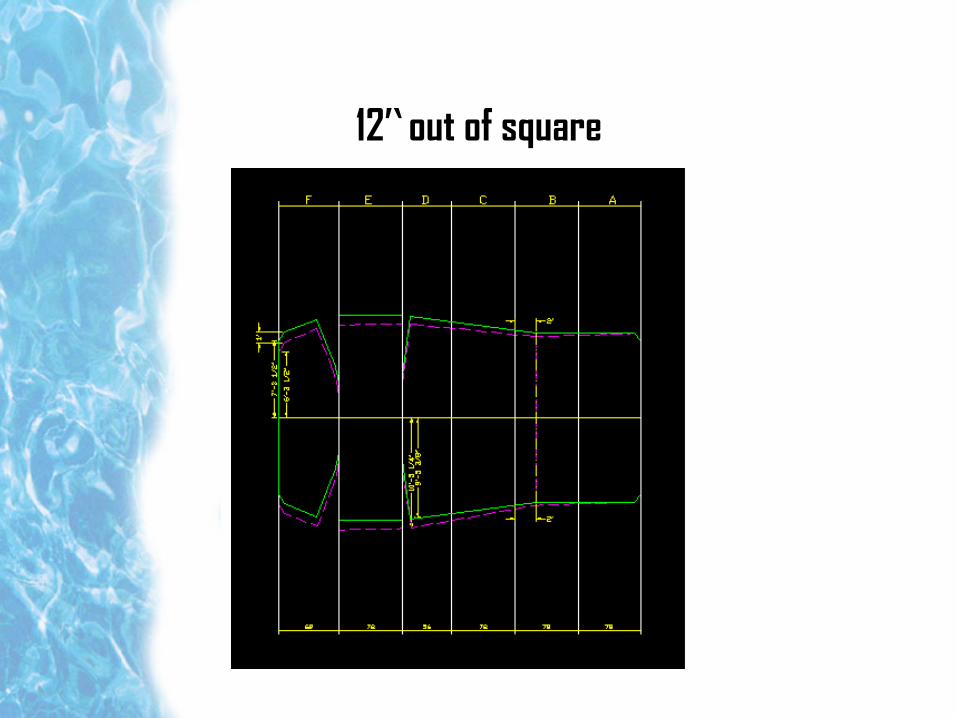
12” out of square
• Verify if the pool is out of round?
Measuring Criteria for Ovals
• If the step is straight, is the overall length measurement given to the projected radius or to the straight step?
• If the step is located off of the break, are the measurements along the wall (perimeter) or measured in a straight line?
• Where are the steps located?
• What is the width of the step?
• If there is a step, is it straight or radius?

Oval Diagonal Dimensions
Measuring Criteria for Coves
• Does the cove wrap around the entire shallow end or is it just on the back wall?
• What is the wall height around the cove and around the rest of the pool?
• What is the shallow end floor height?
• How far does the cove come out into the pool?
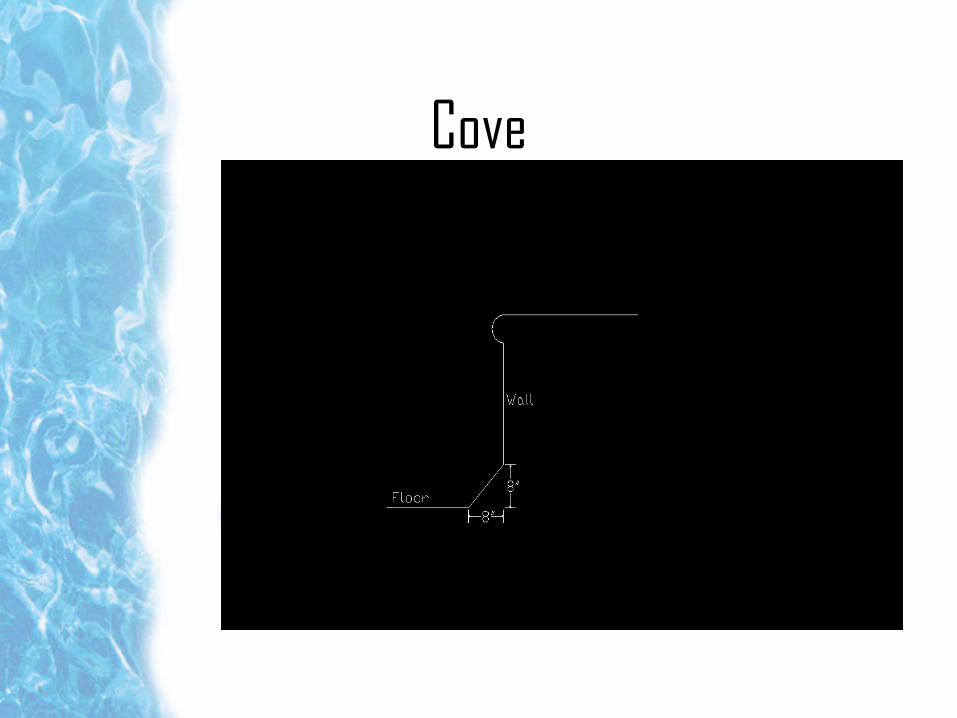
Cove
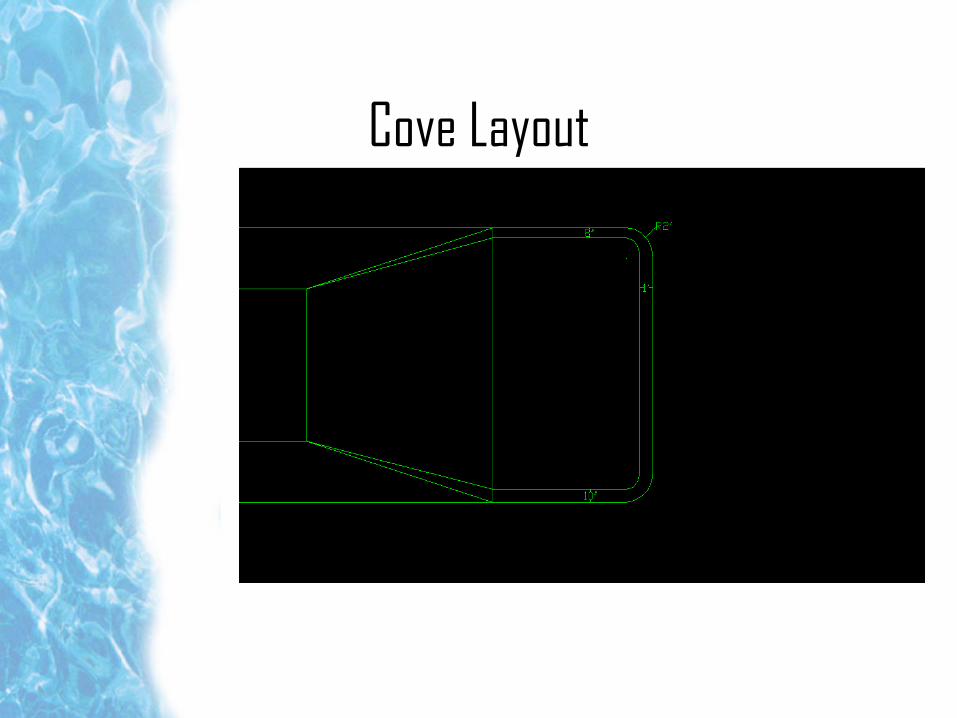
Cove Layout
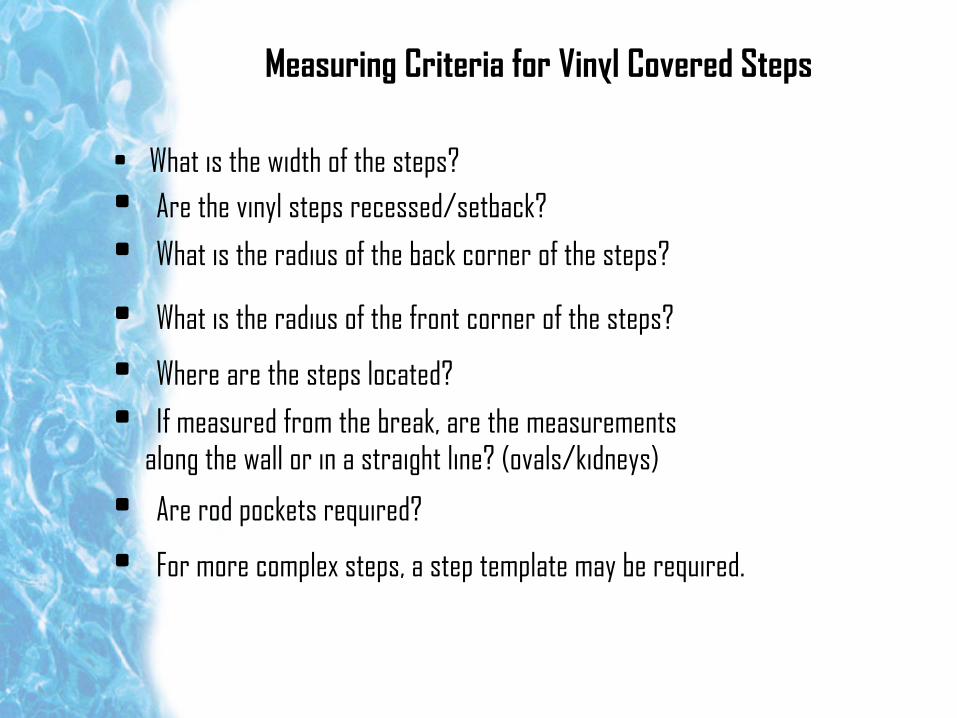
Measuring Criteria for Vinyl Covered Steps
• What is the width of the steps?• Are the vinyl steps recessed/setback?
• What is the radius of the back corner of the steps?
• What is the radius of the front corner of the steps?
• Where are the steps located?
• If measured from the break, are the measurementsalong the wall or in a straight line? (ovals/kidneys)
• Are rod pockets required?
• For more complex steps, a step template may be required.
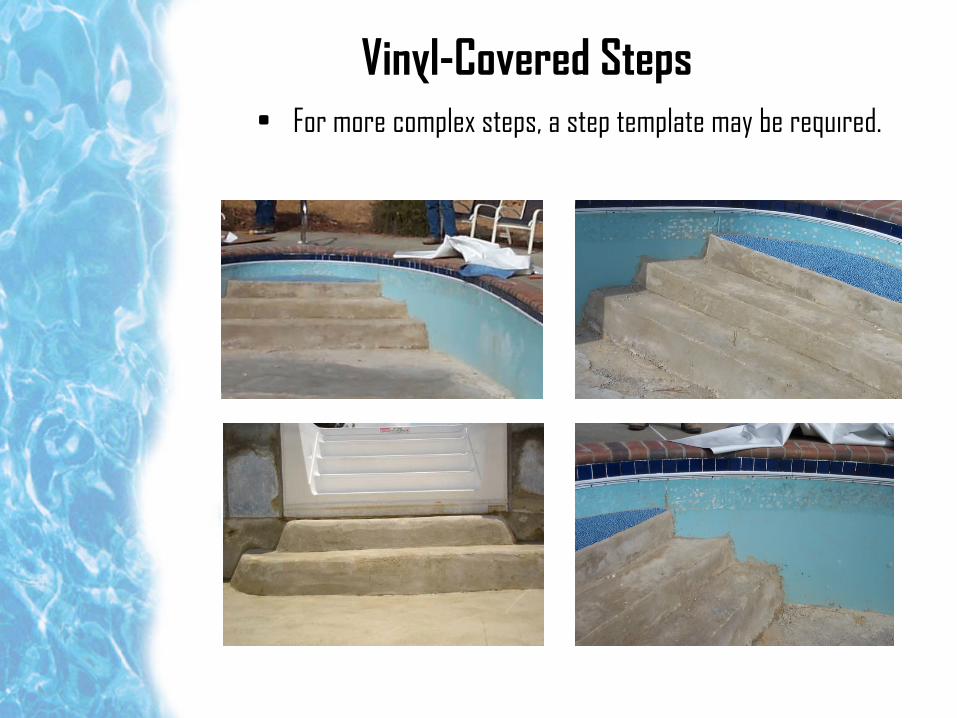
Vinyl-Covered Steps• For more complex steps, a step template may be required.
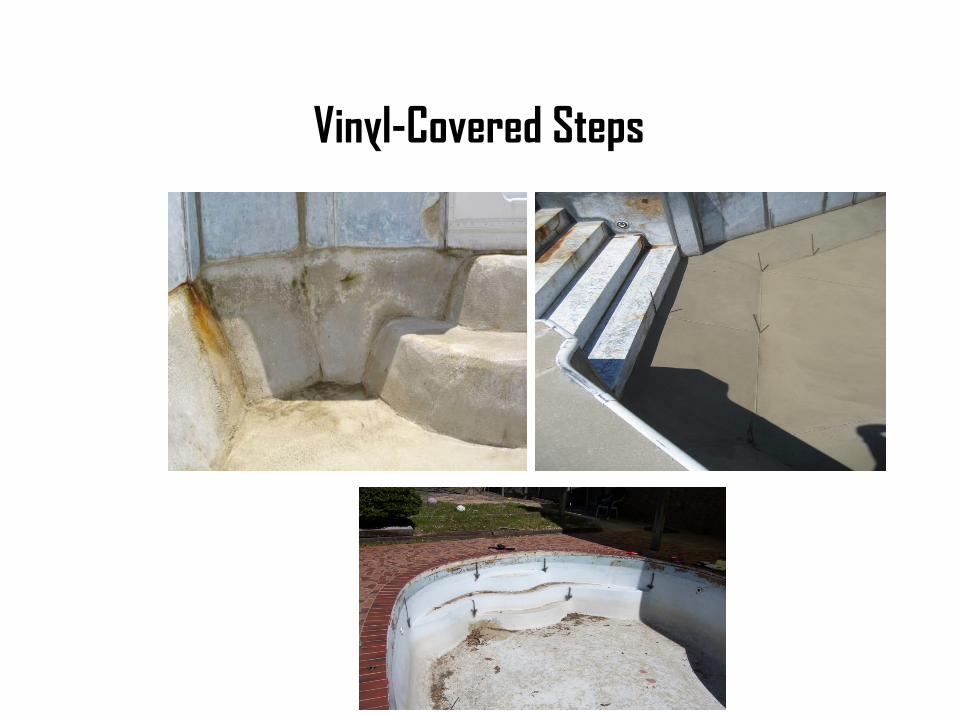
Vinyl-Covered Steps
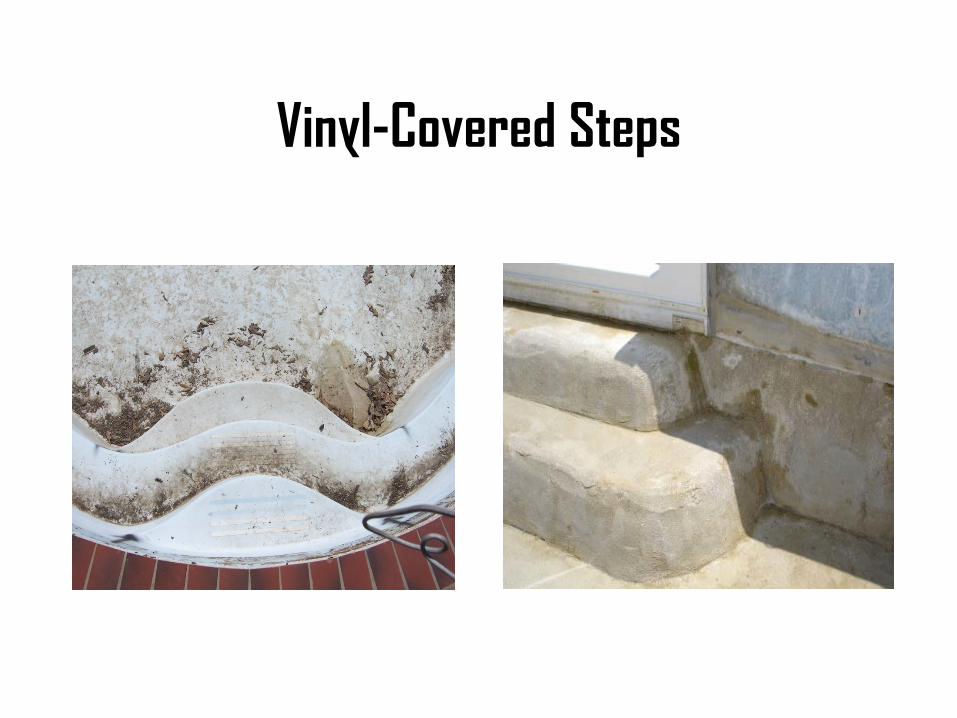
Vinyl-Covered Steps
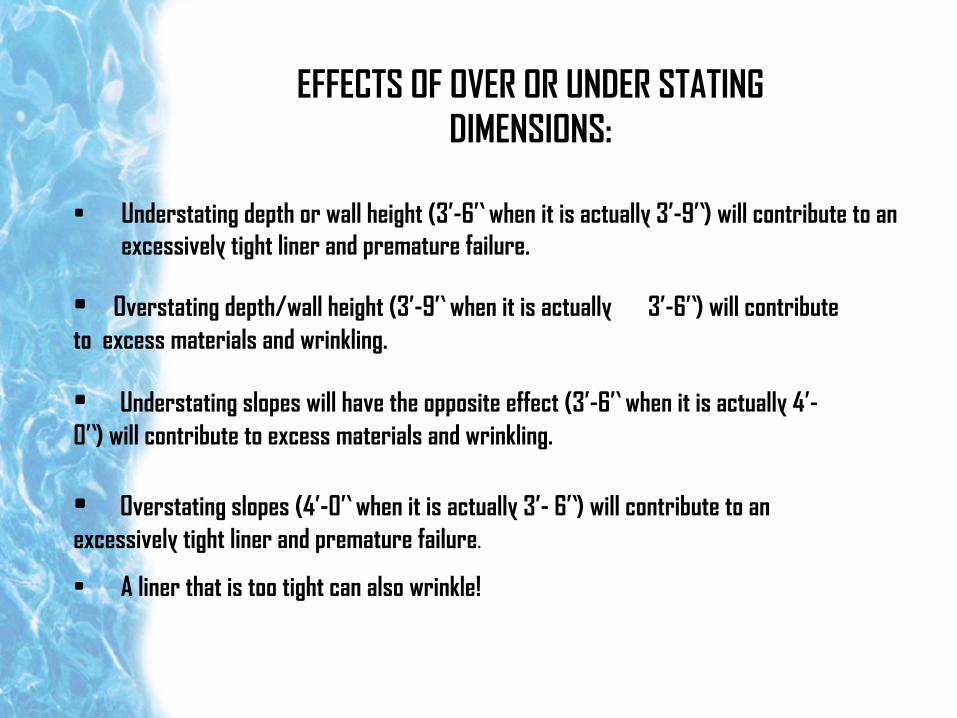
• Understating depth or wall height (3’-6” when it is actually 3’-9”) will contribute to an excessively tight liner and premature failure.
EFFECTS OF OVER OR UNDER STATING DIMENSIONS:
• Overstating depth/wall height (3’-9” when it is actually 3’-6”) will contribute to excess materials and wrinkling.
• Understating slopes will have the opposite effect (3’-6” when it is actually 4’-0”) will contribute to excess materials and wrinkling.
• Overstating slopes (4’-0” when it is actually 3’- 6”) will contribute to an excessively tight liner and premature failure.
• A liner that is too tight can also wrinkle!
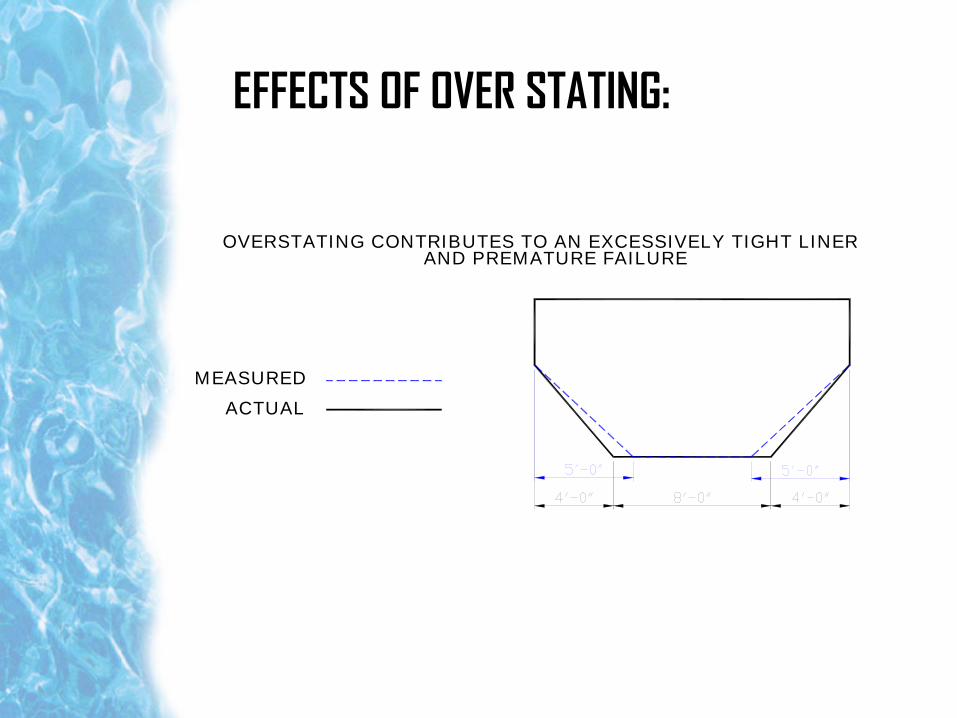
EFFECTS OF OVER STATING:
MEASUREDACTUAL
OVERSTATING CONTRIBUTES TO AN EXCESSIVELY TIGHT LINERAND PREMATURE FAILURE
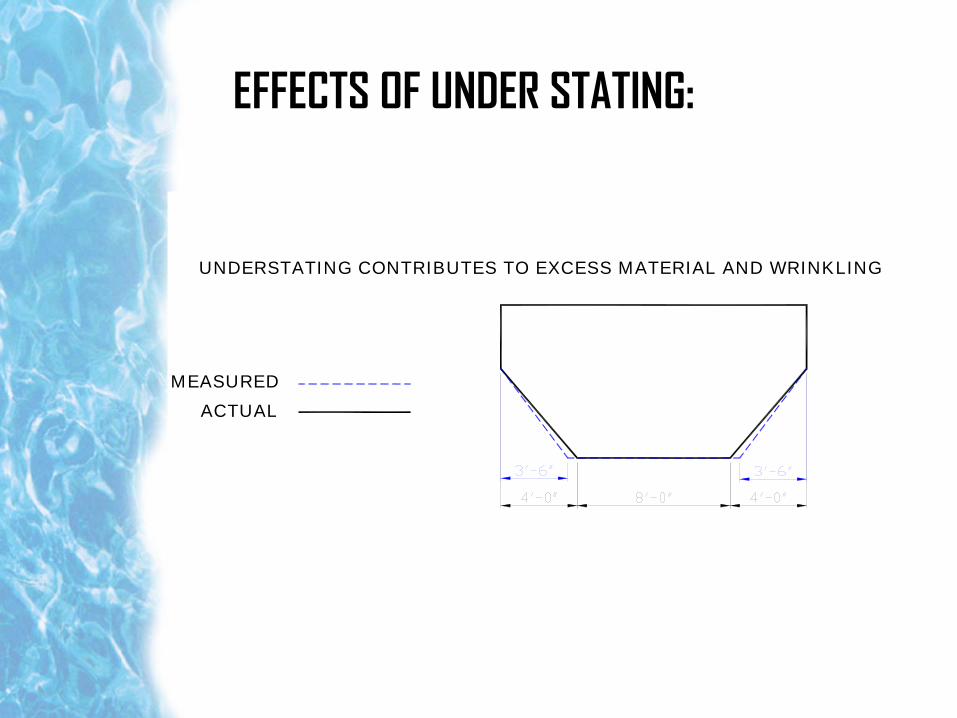
EFFECTS OF UNDER STATING:
MEASUREDACTUAL
UNDERSTATING CONTRIBUTES TO EXCESS MATERIAL AND WRINKLING
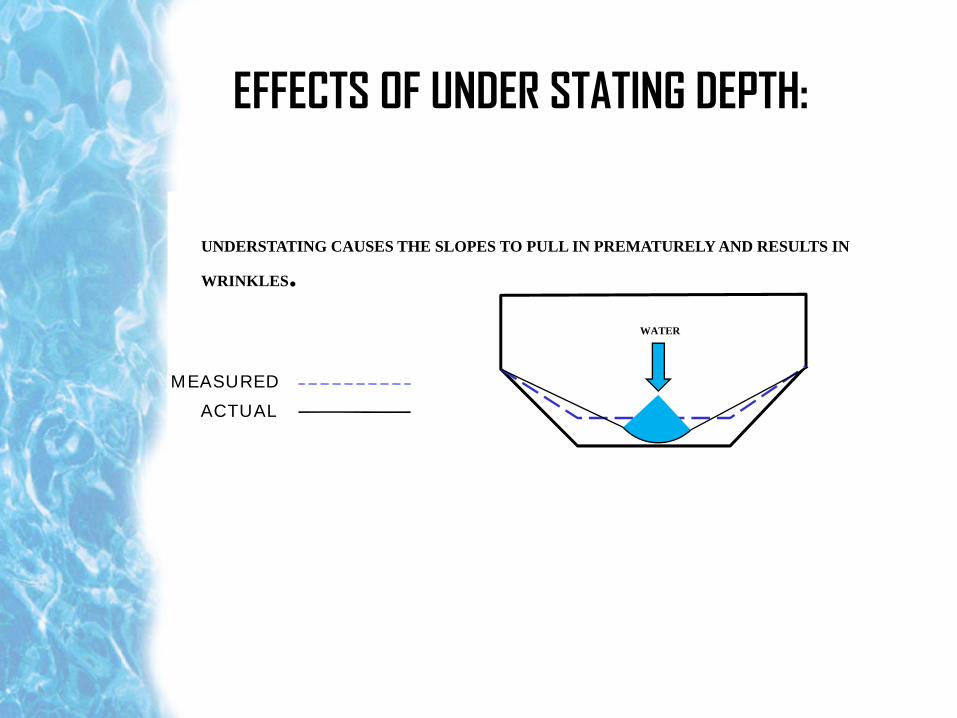
EFFECTS OF UNDER STATING DEPTH:
MEASUREDACTUAL
UNDERSTATING CONTRIBUTES TO EXCESS MATERIAL AND WRINKLINGUNDERSTATING CAUSES THE SLOPES TO PULL IN PREMATURELY AND RESULTS IN
WRINKLES.WATER
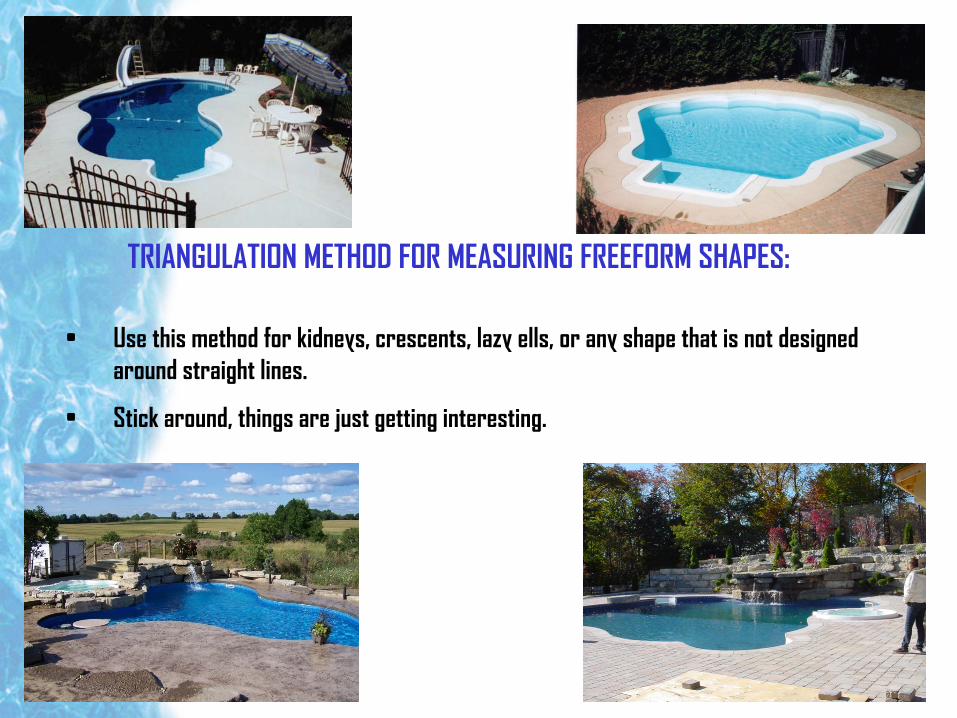
• Use this method for kidneys, crescents, lazy ells, or any shape that is not designed around straight lines.
• Stick around, things are just getting interesting.
TRIANGULATION METHOD FOR MEASURING FREEFORM SHAPES:
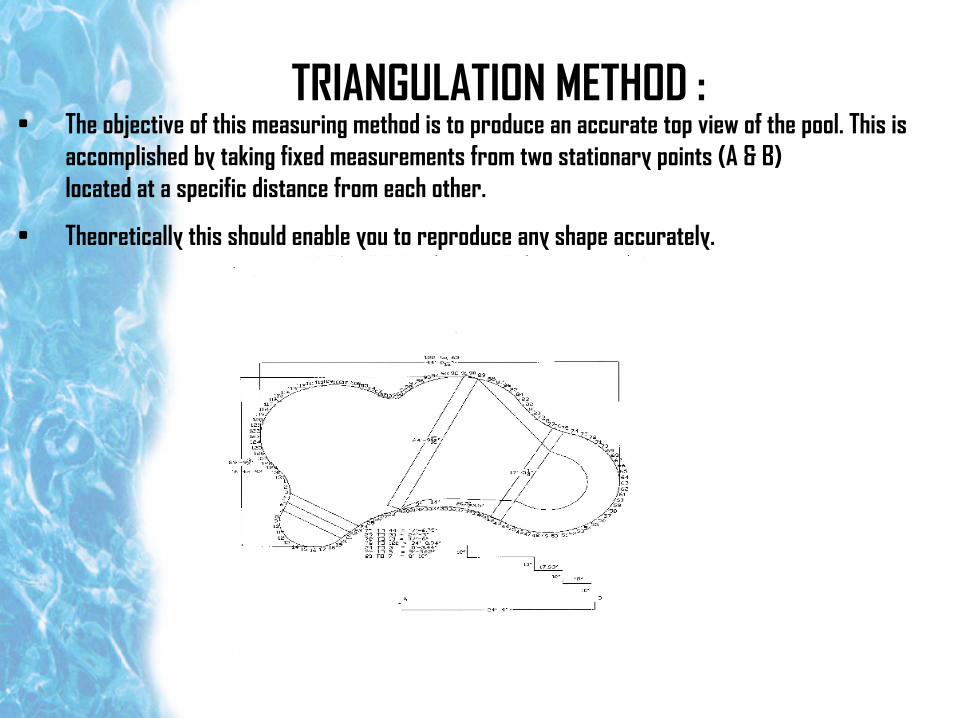
• The objective of this measuring method is to produce an accurate top view of the pool. This is accomplished by taking fixed measurements from two stationary points (A & B) located at a specific distance from each other.
• Theoretically this should enable you to reproduce any shape accurately.
TRIANGULATION METHOD :
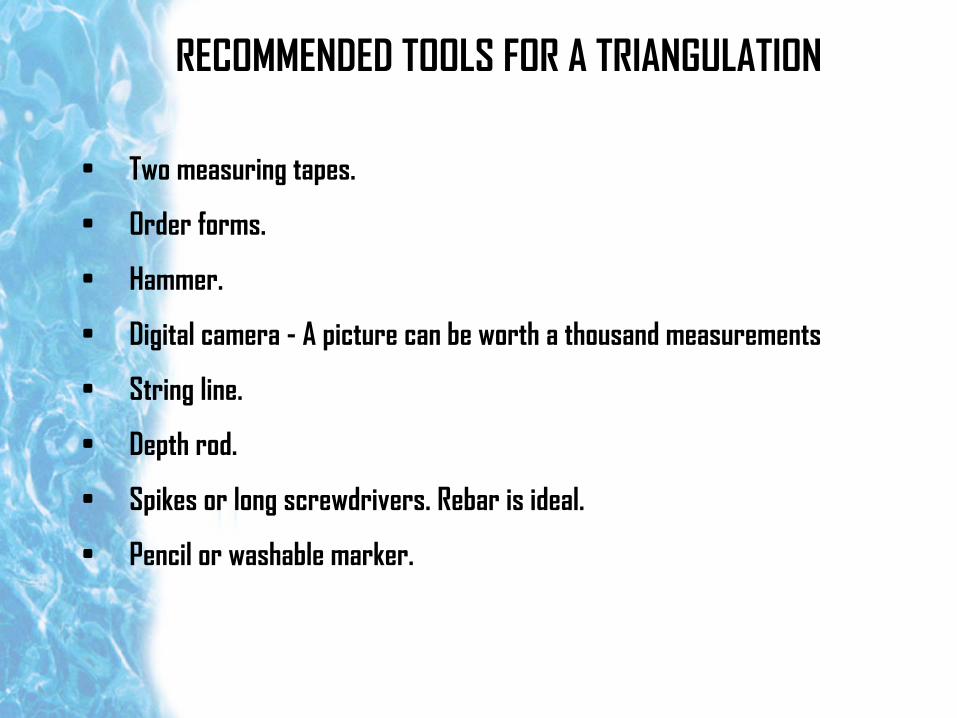
• Two measuring tapes.
• Order forms.
• Hammer.
• Digital camera - A picture can be worth a thousand measurements
• String line.
• Depth rod.
• Spikes or long screwdrivers. Rebar is ideal.
• Pencil or washable marker.
RECOMMENDED TOOLS FOR A TRIANGULATION
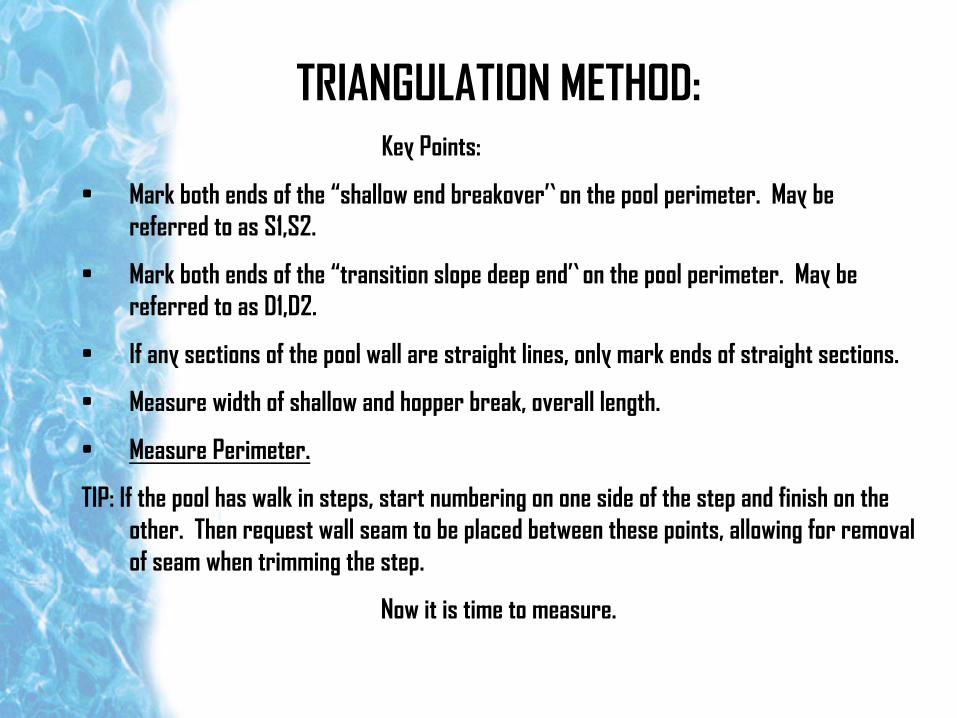
Key Points:
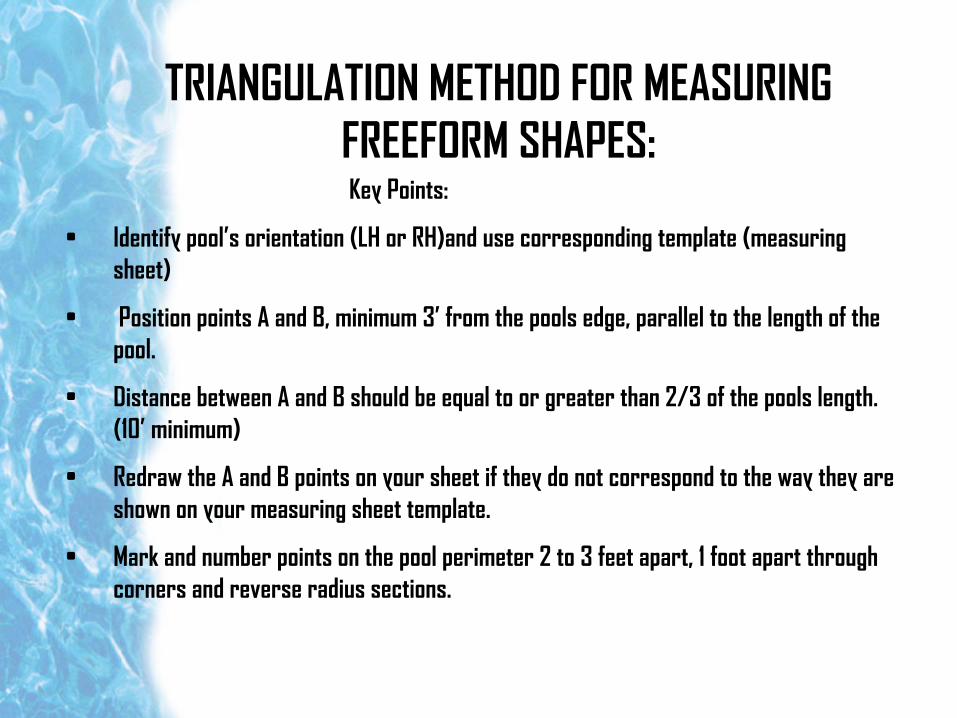
• Identify pool’s orientation (LH or RH)and use corresponding template (measuring sheet)
• Position points A and B, minimum 3’ from the pools edge, parallel to the length of the pool.
• Distance between A and B should be equal to or greater than 2/3 of the pools length. (10’ minimum)
• Redraw the A and B points on your sheet if they do not correspond to the way they are shown on your measuring sheet template.
• Mark and number points on the pool perimeter 2 to 3 feet apart, 1 foot apart through corners and reverse radius sections.
TRIANGULATION METHOD FOR MEASURING FREEFORM SHAPES:
Key Points:
• Mark both ends of the “shallow end breakover” on the pool perimeter. May be referred to as S1,S2.
• Mark both ends of the “transition slope deep end” on the pool perimeter. May be referred to as D1,D2.
• If any sections of the pool wall are straight lines, only mark ends of straight sections.
• Measure width of shallow and hopper break, overall length.
• Measure Perimeter.
TIP: If the pool has walk in steps, start numbering on one side of the step and finish on the other. Then request wall seam to be placed between these points, allowing for removal of seam when trimming the step.
Now it is time to measure.
TRIANGULATION METHOD:
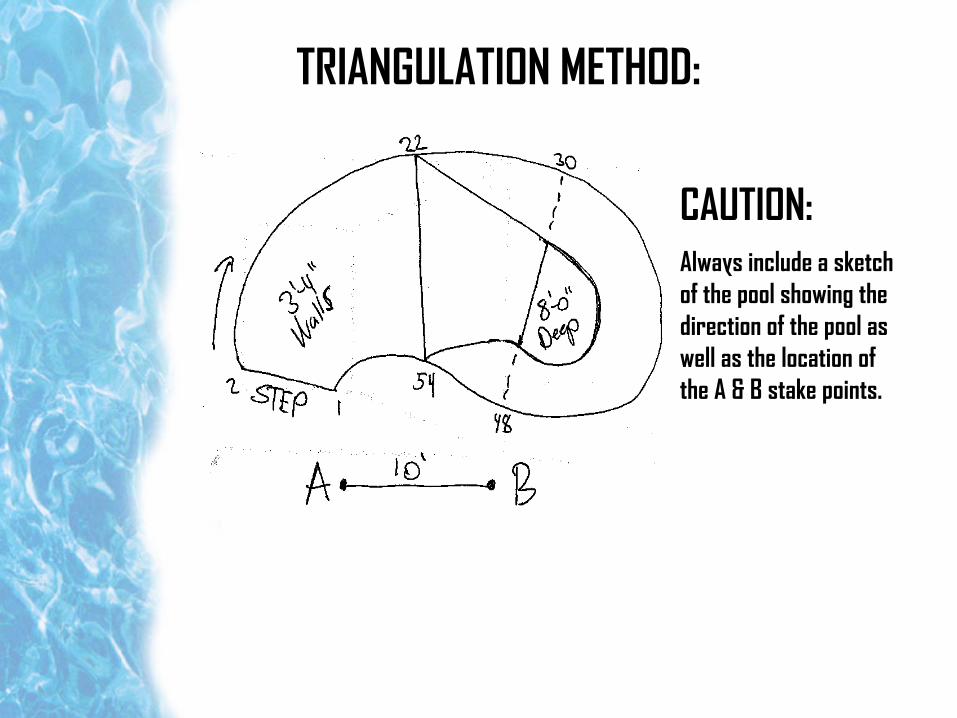
CAUTION:• Always include a sketch
of the pool showing the direction of the pool as well as the location of the A & B stake points.
TRIANGULATION METHOD:
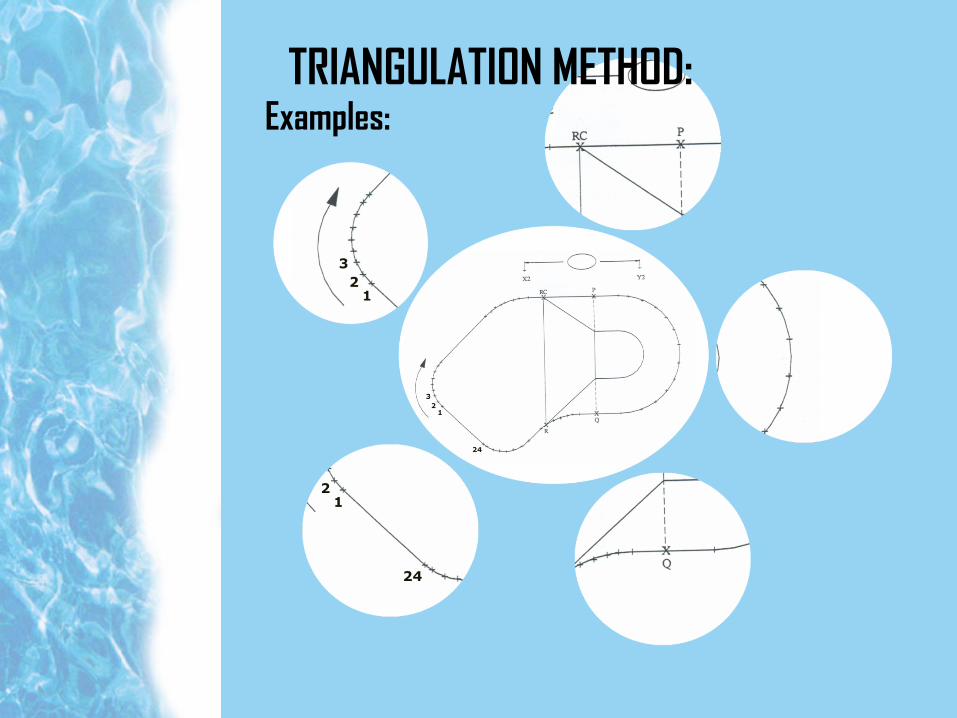
Examples:TRIANGULATION METHOD:
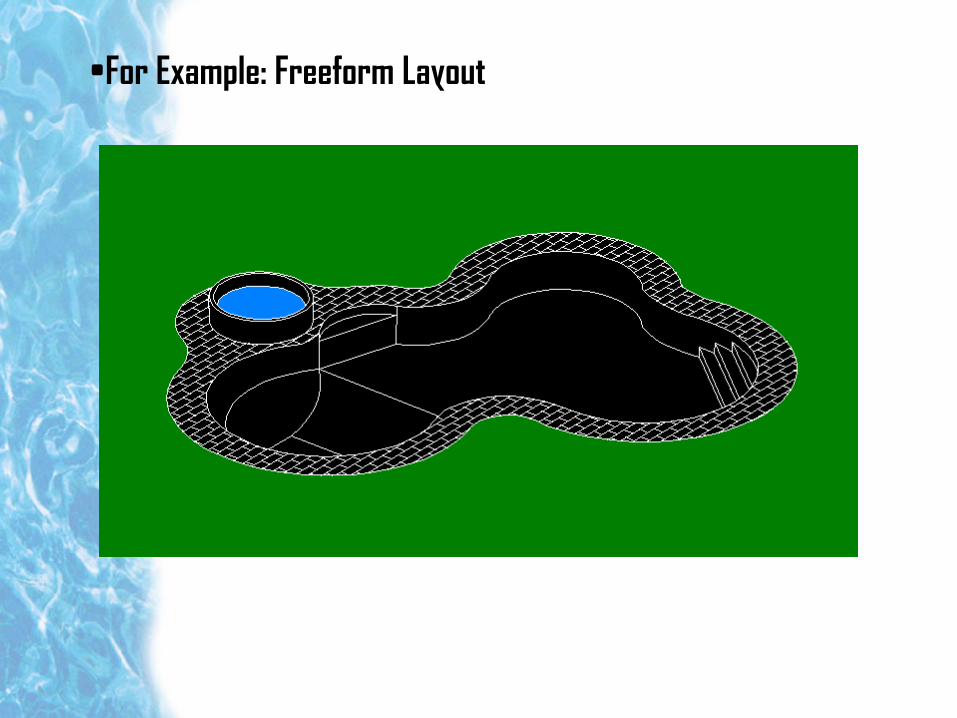
•For Example: Freeform Layout
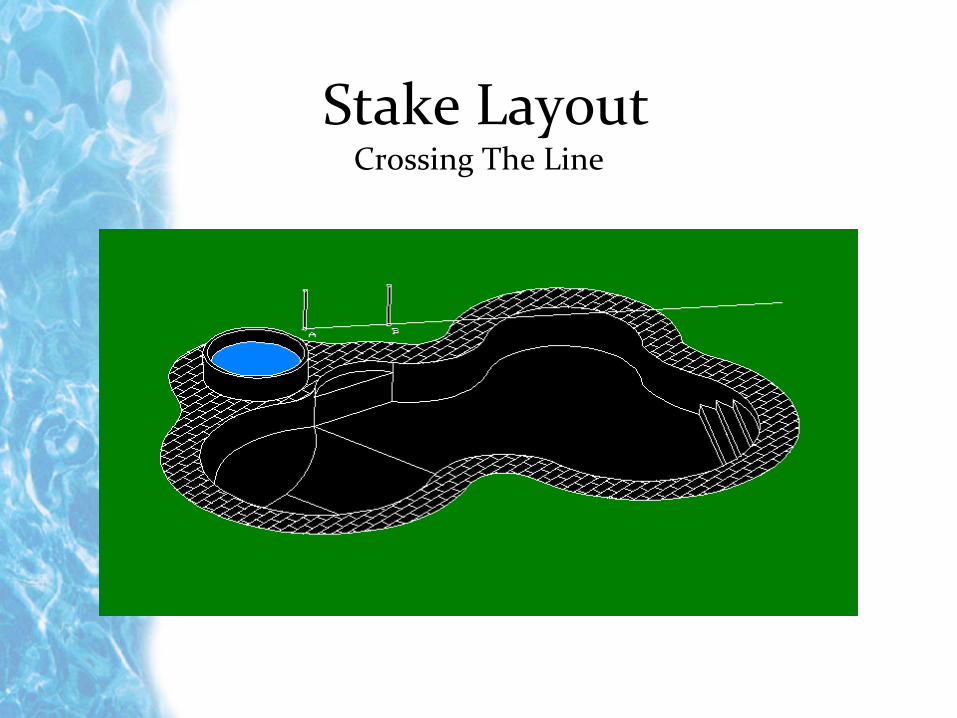
Stake LayoutCrossing The Line
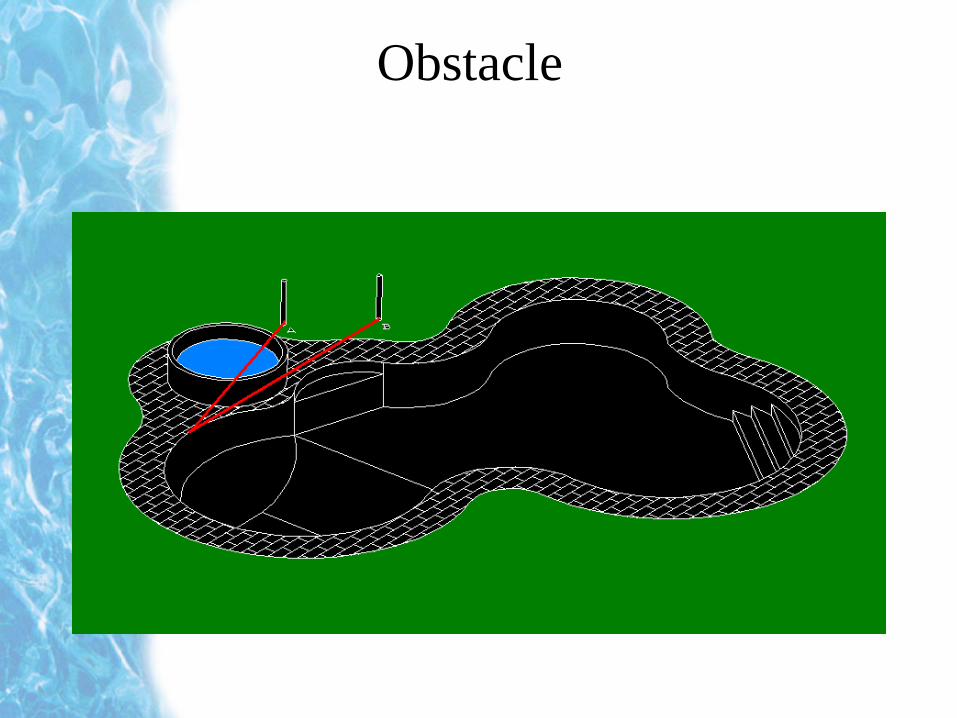
Obstacle
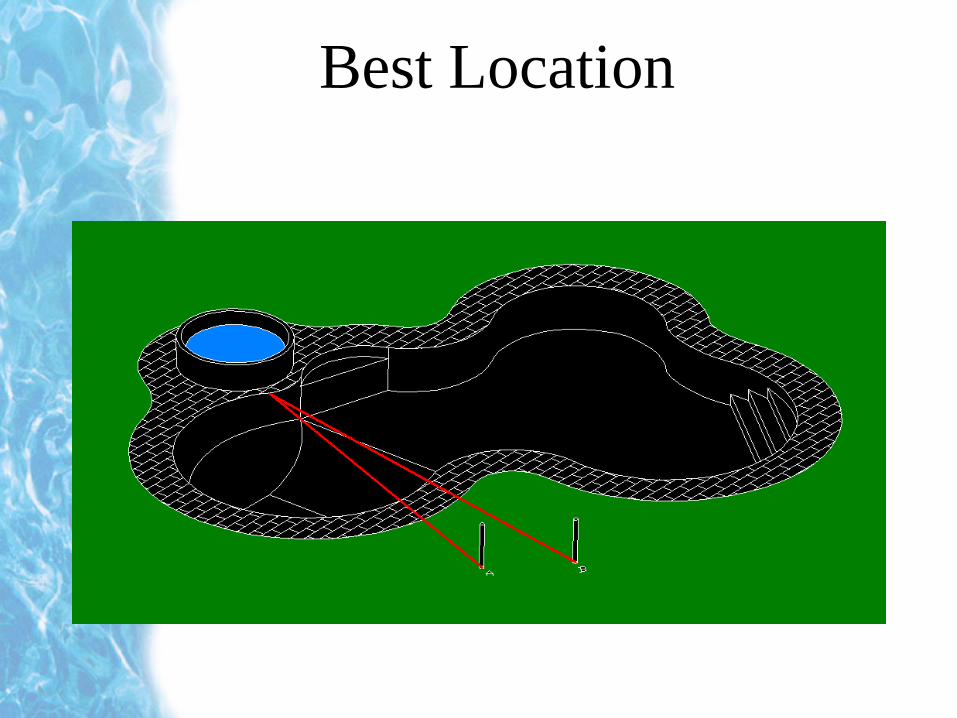
IIIBest Location
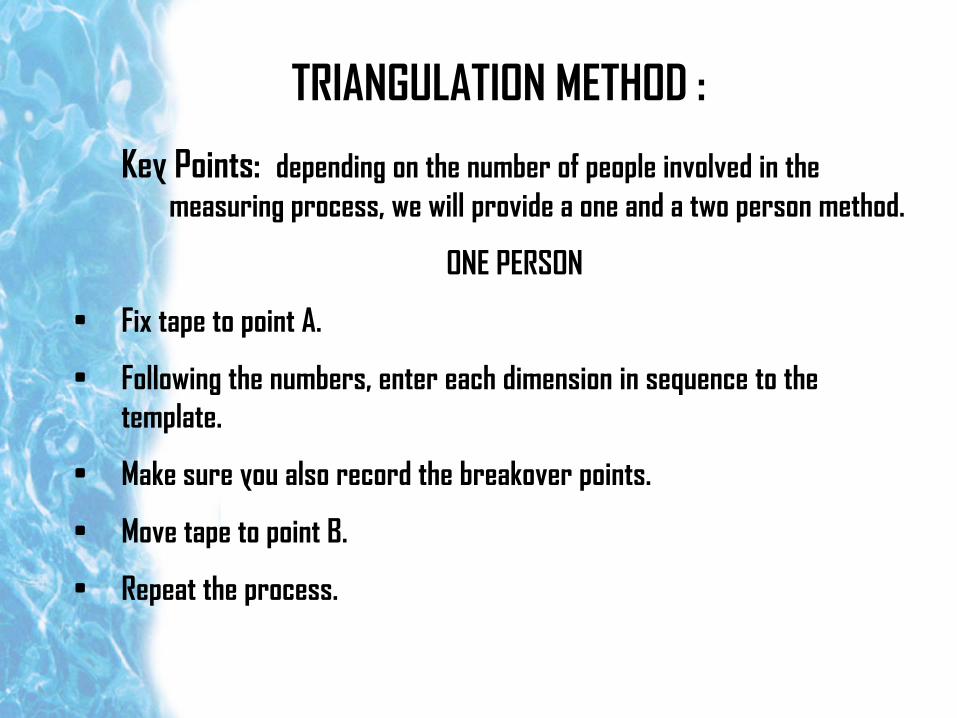
Key Points: depending on the number of people involved in the measuring process, we will provide a one and a two person method.
ONE PERSON
• Fix tape to point A.
• Following the numbers, enter each dimension in sequence to the template.
• Make sure you also record the breakover points.
• Move tape to point B.
• Repeat the process.
TRIANGULATION METHOD :

TWO PERSON
• Fix tapes to points A and B. Make sure tapes are labeled A and B or color coded to distinguish one from the other.
• One person to record measurements.
• Other person to read and call measurements to recorder.
• Following the numbers, enter each dimension in sequence to the template.
• Make sure you also record the breakover points.
TRIANGULATION METHOD:
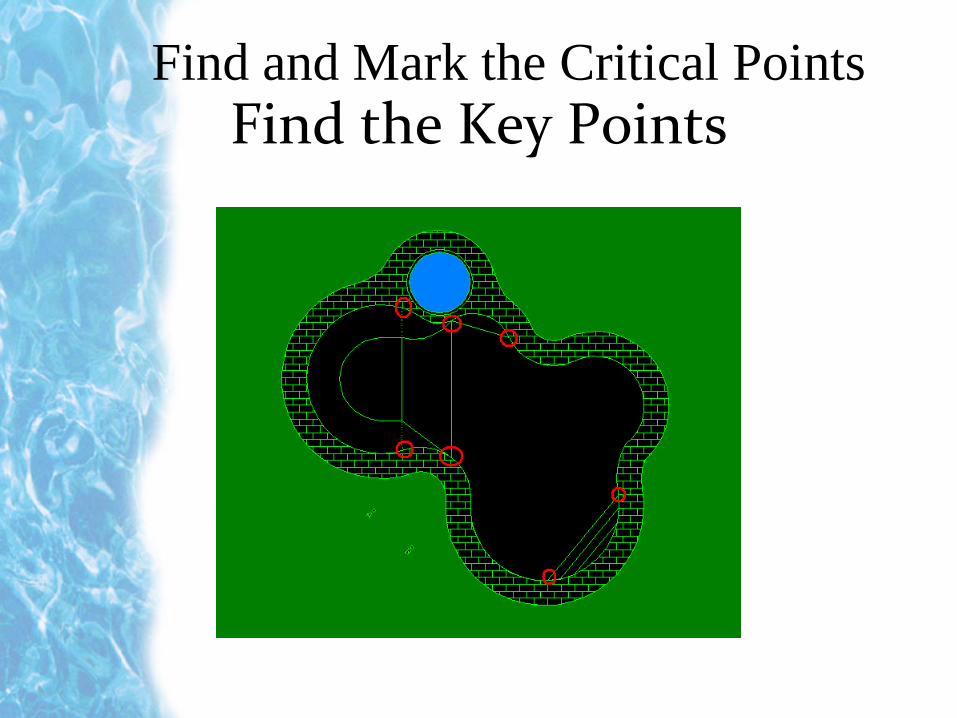
Find the Key PointsFind and Mark the Critical Points
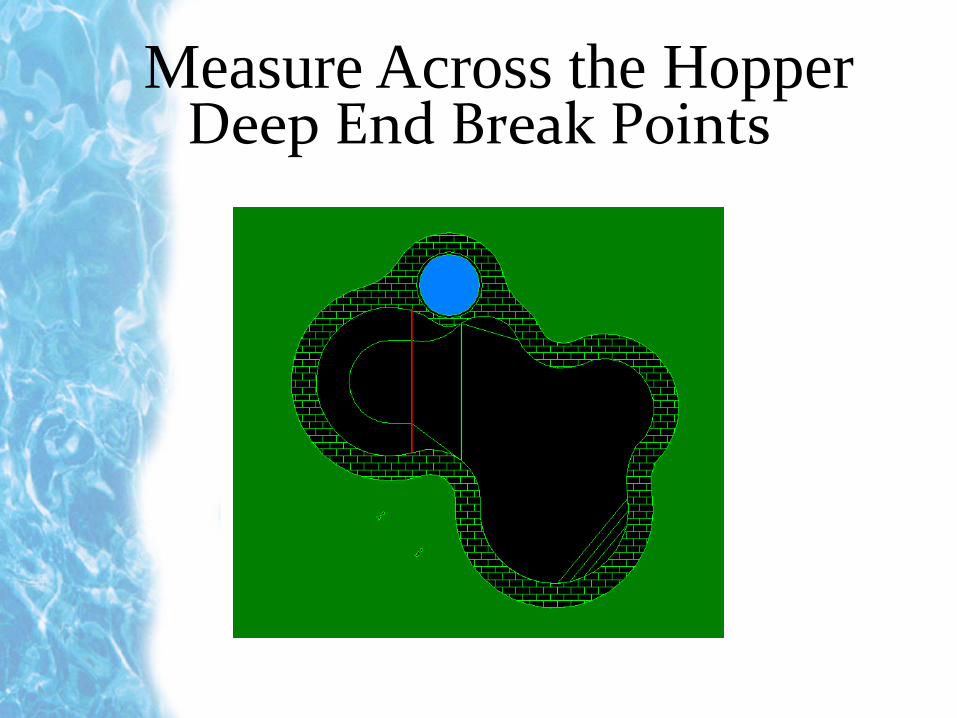
Deep End Break PointsMeasure Across the Hopper
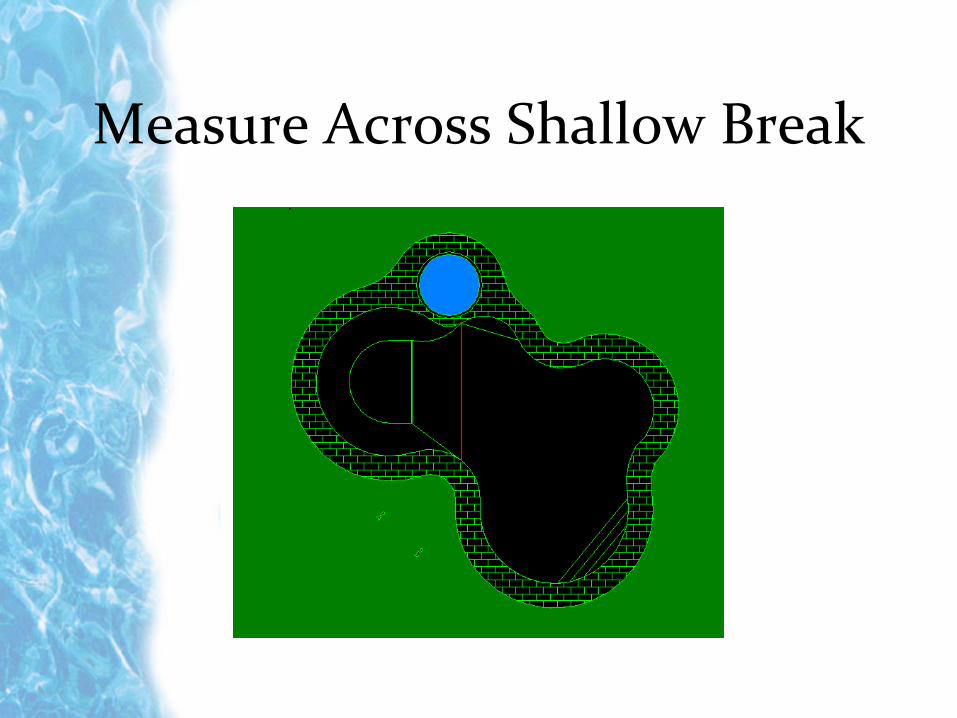
Measure Across Shallow Break
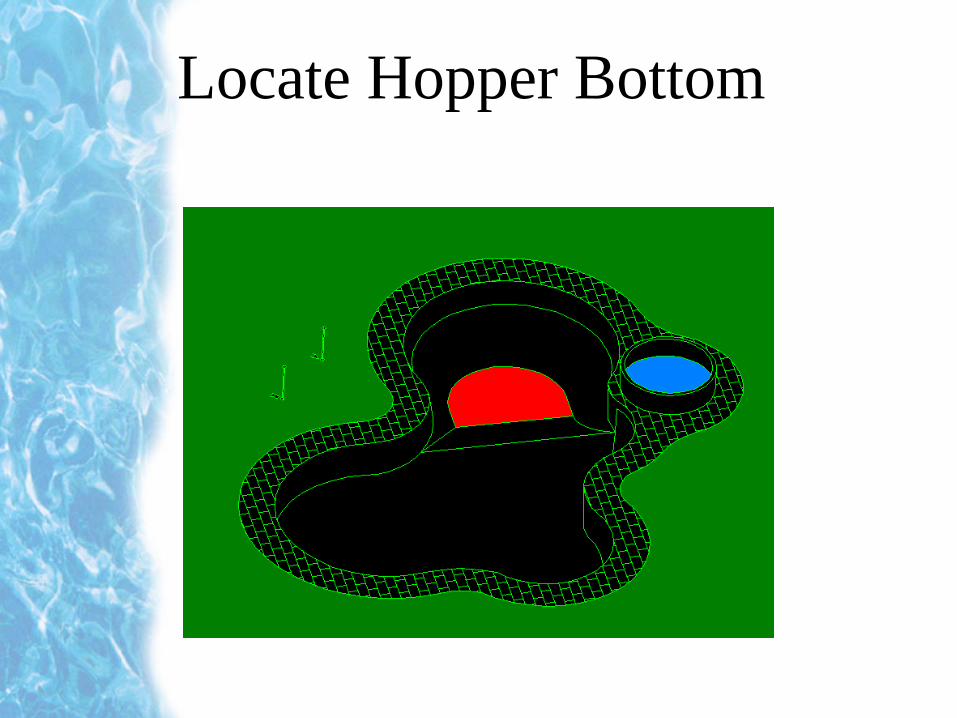
Locate Hopper Bottom
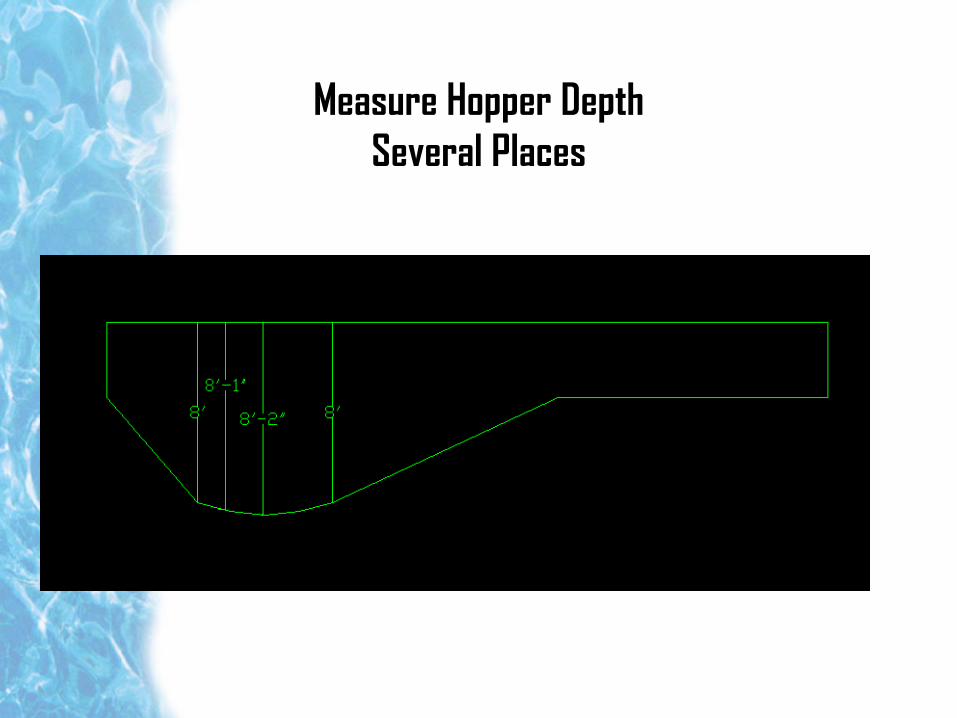
Measure Hopper DepthSeveral Places
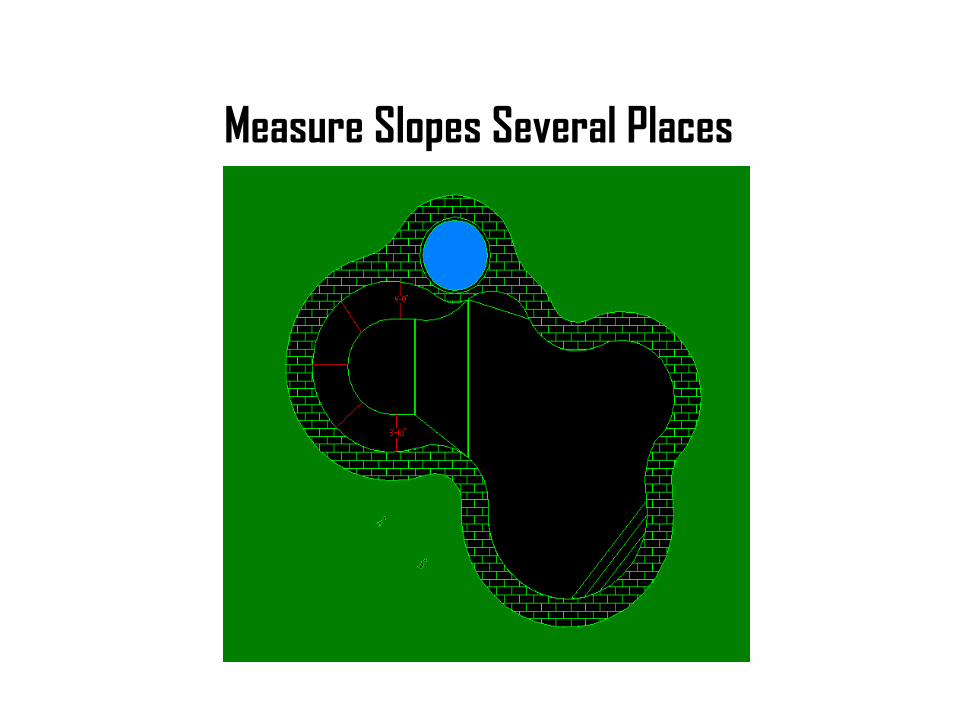
Measure Slopes Several Places
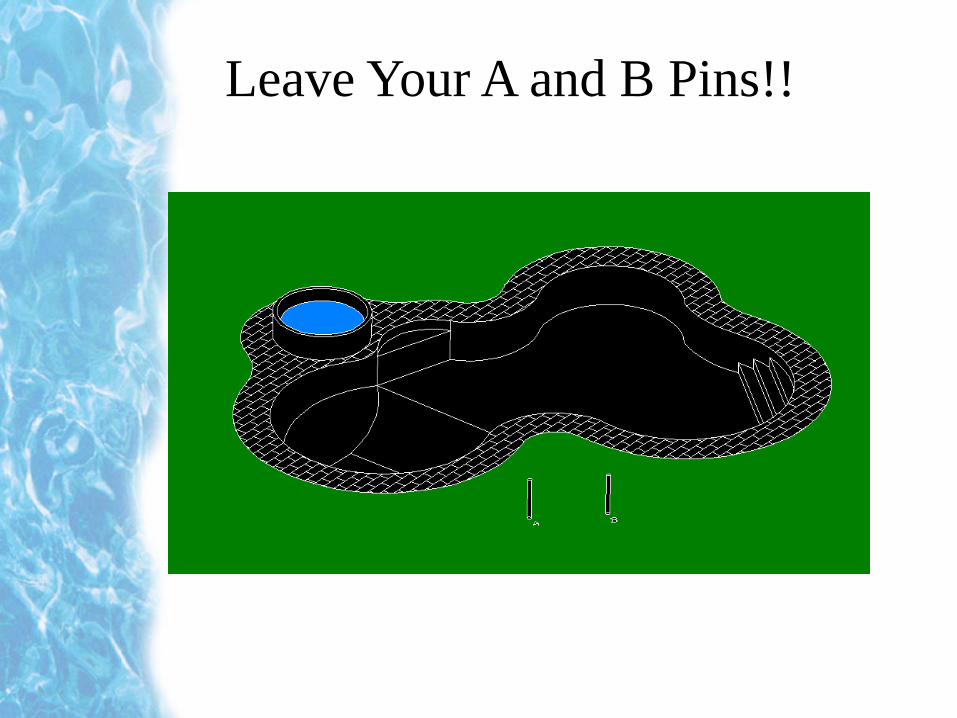
Leave Your A and B Pins!!
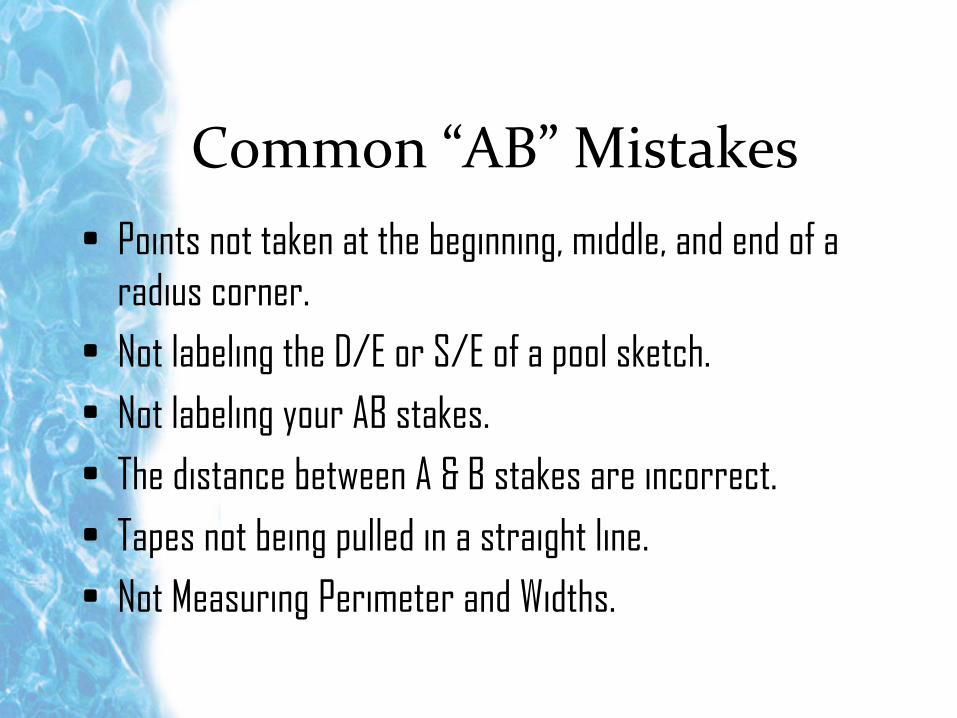
Common “AB” Mistakes• Points not taken at the beginning, middle, and end of a
radius corner.• Not labeling the D/E or S/E of a pool sketch.• Not labeling your AB stakes. • The distance between A & B stakes are incorrect.• Tapes not being pulled in a straight line.• Not Measuring Perimeter and Widths.
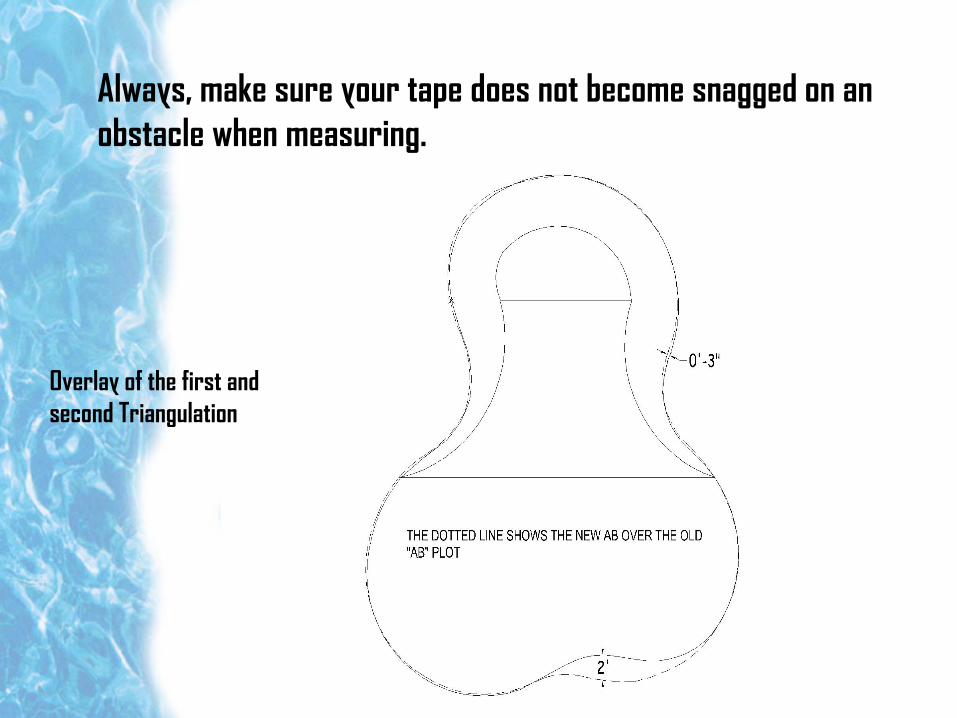
Always, make sure your tape does not become snagged on an obstacle when measuring.
Overlay of the first and second Triangulation
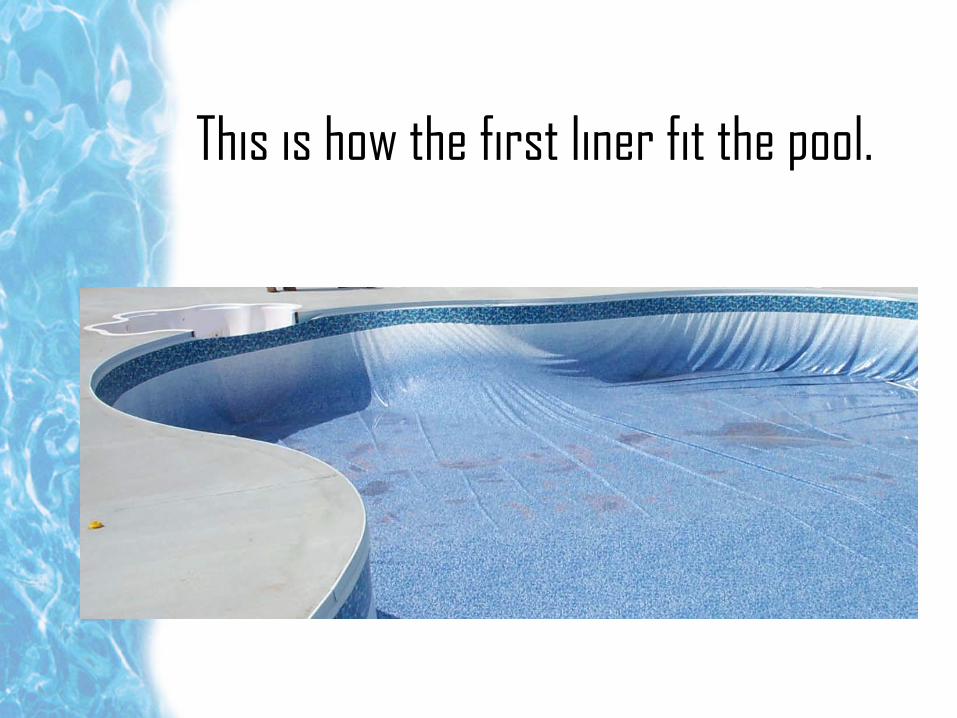
This is how the first liner fit the pool.
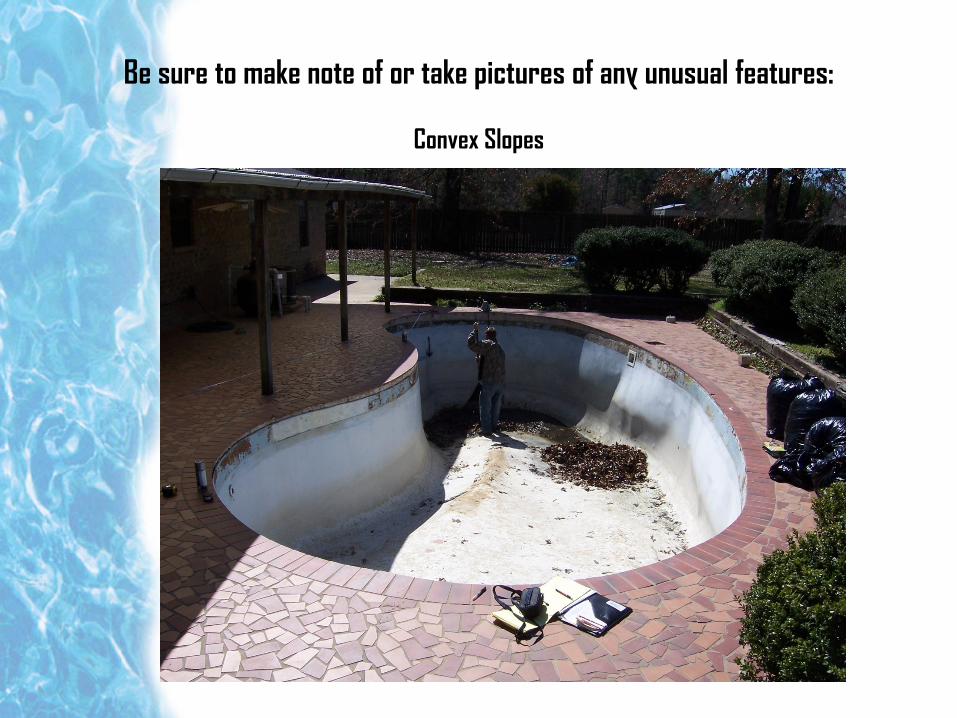
Be sure to make note of or take pictures of any unusual features:
Convex Slopes
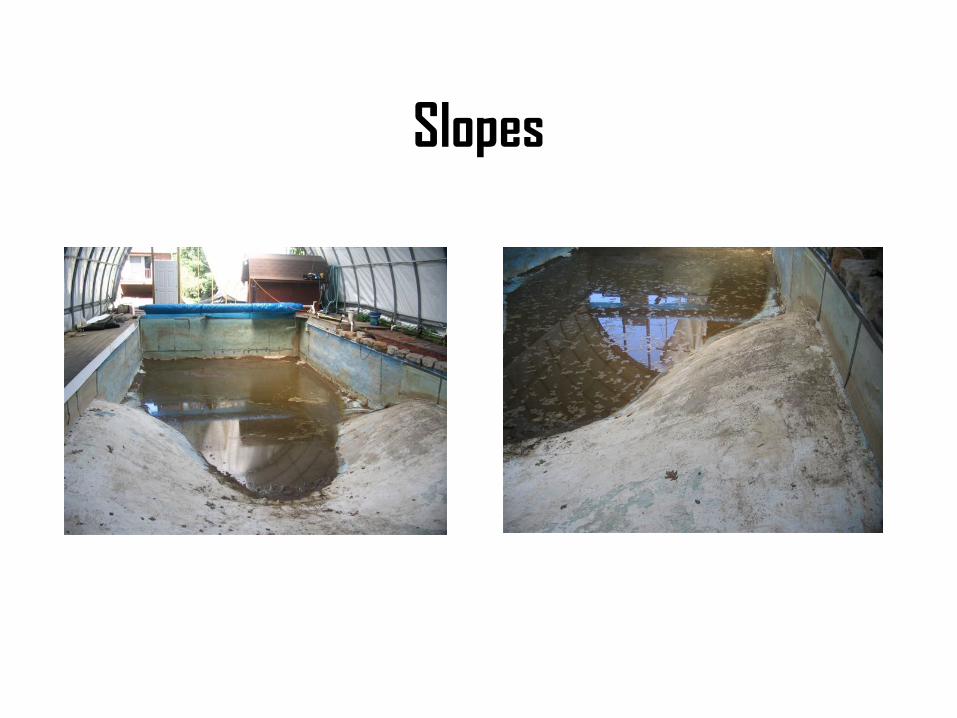
Slopes
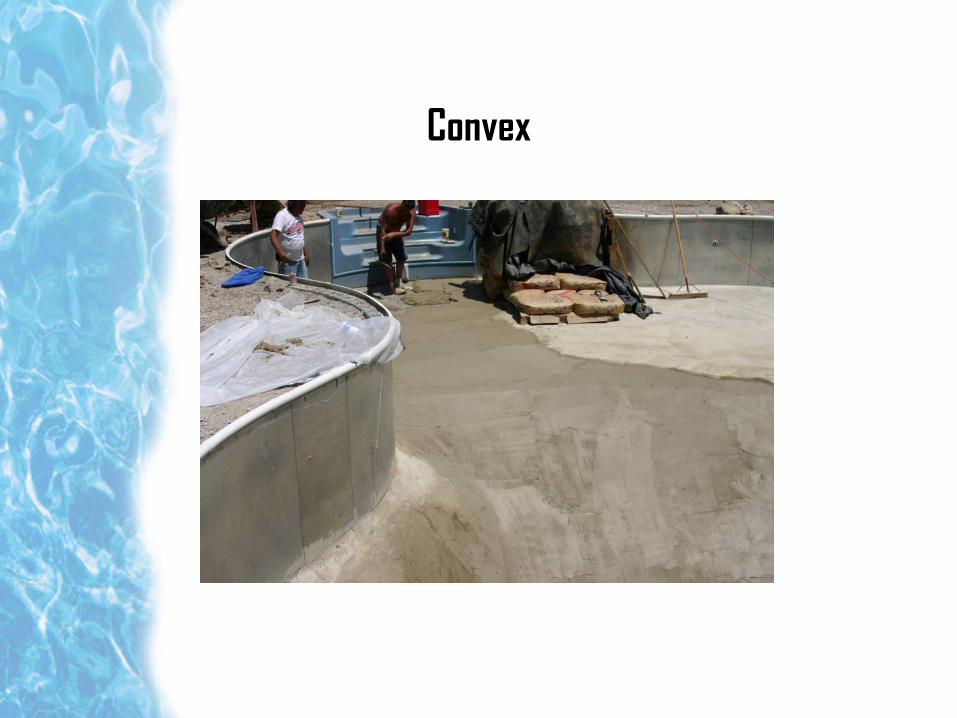
Convex
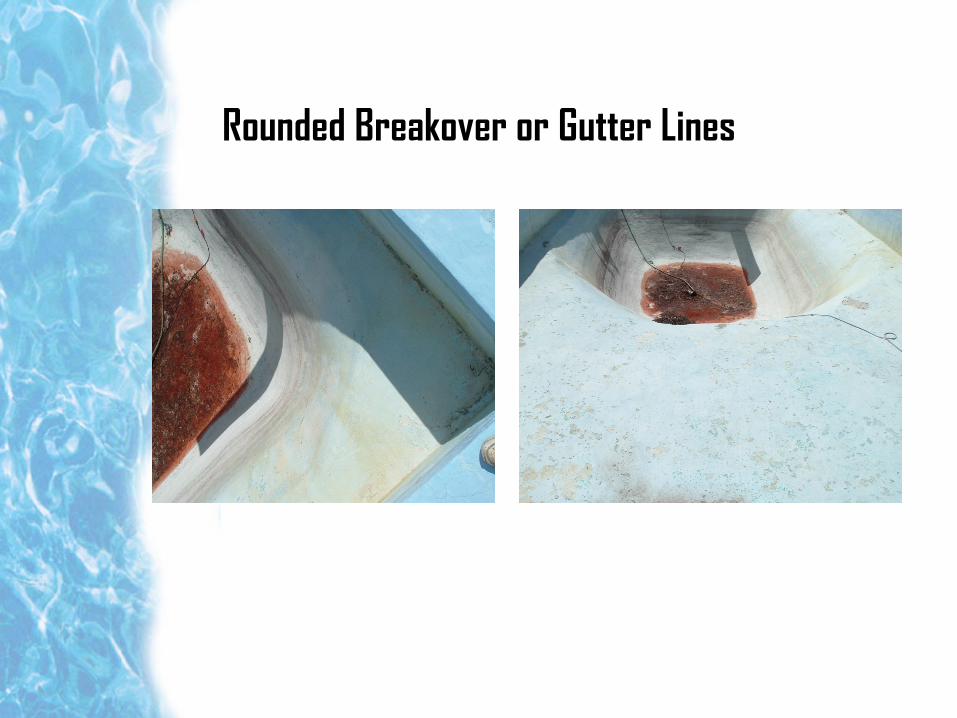
Rounded Breakover or Gutter Lines

Free-forms Check-list
• Did you measure the entire exterior perimeter?• Does the triangulation have the distance between A & B?• Did you measure distance between the critical points?• Have you confirmed deep-end depth and shallow-end wall height in several
places?• Did you draw a picture of the pool with the A-B points located?• Did you measure length and widths.

OPEN
QUESTIONS?
LET’S GET READY TO MEASURE A LINER!