Embed Size (px)
Citation preview
Installing SPSS 22 for MacintoshThis page provides instructions on how to install IBM SPSS Statistics 22 on a
computer running Mac OS X 10.7 (Lion), Mac OS X 10.8 (Mountain Lion), or Mac OS
X 10.9 (Mavericks). These instructions will work for both the version purchased
through online retailers and the version downloaded directly from ITS.
NOTE: To access the SPSS 22 download from UDO
Installation Instructions
1. Install the IBM SPSS Statistics 22 file you received
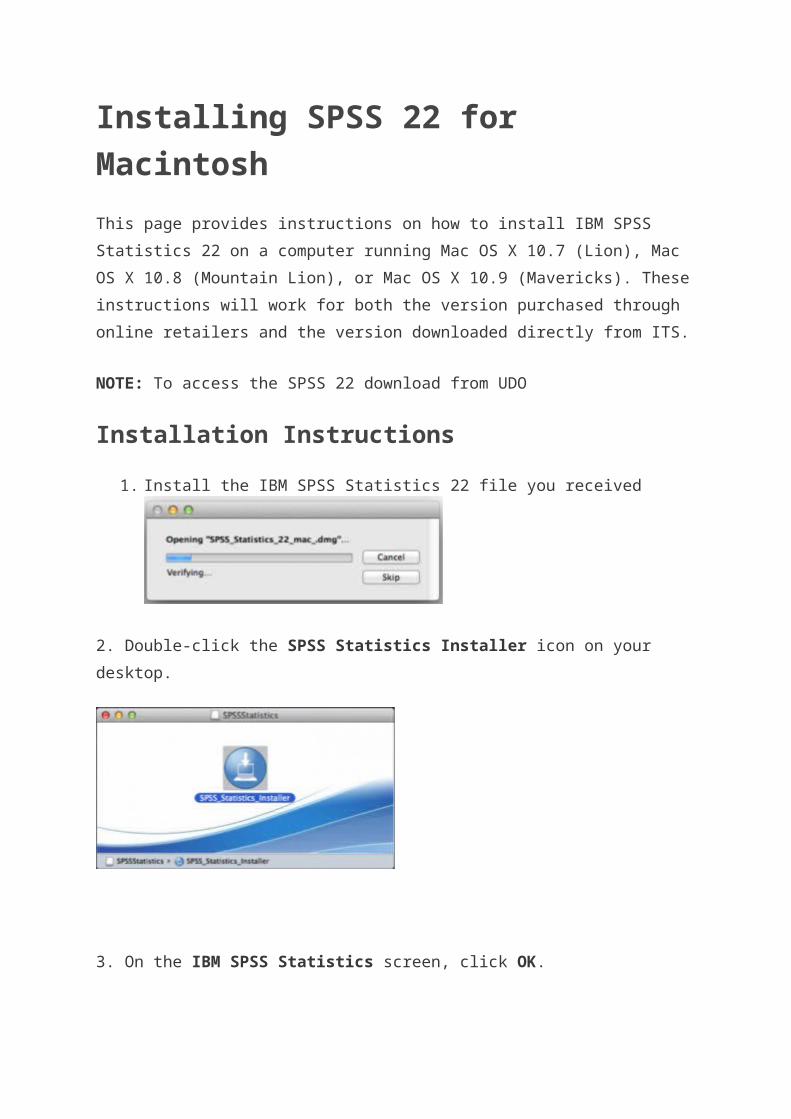
2. Double-click the SPSS Statistics Installer icon on your desktop.
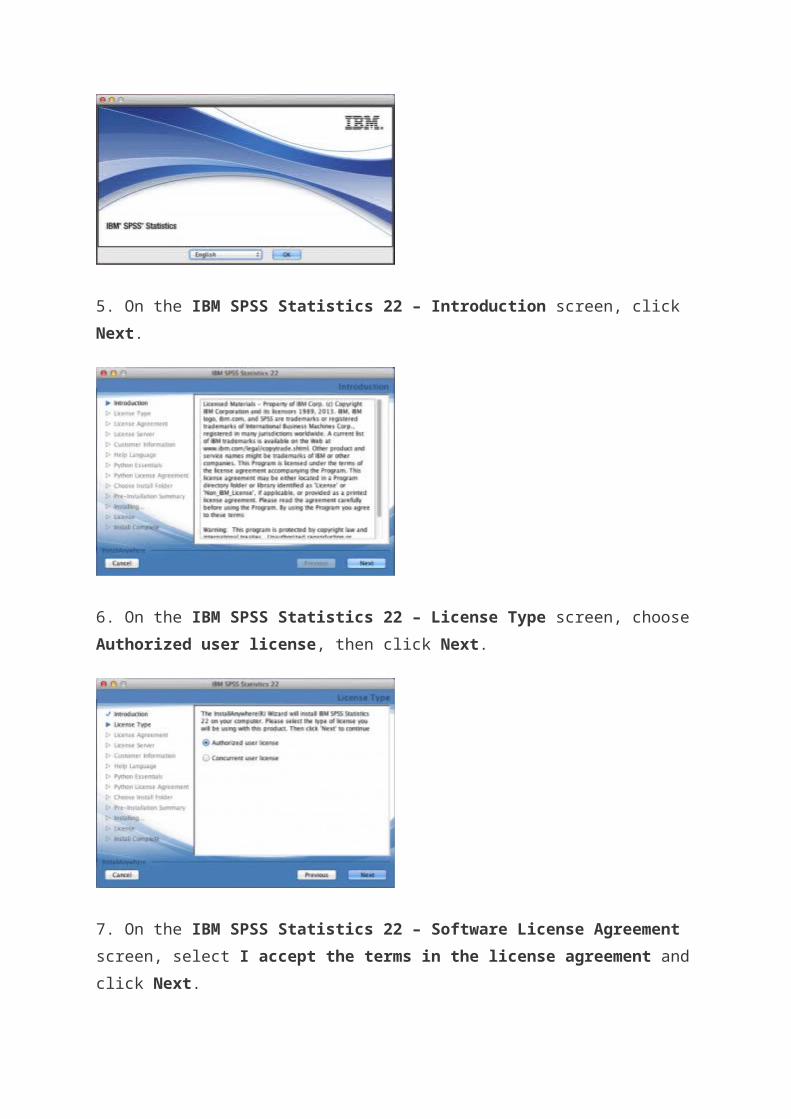
3. On the IBM SPSS Statistics screen, click OK.
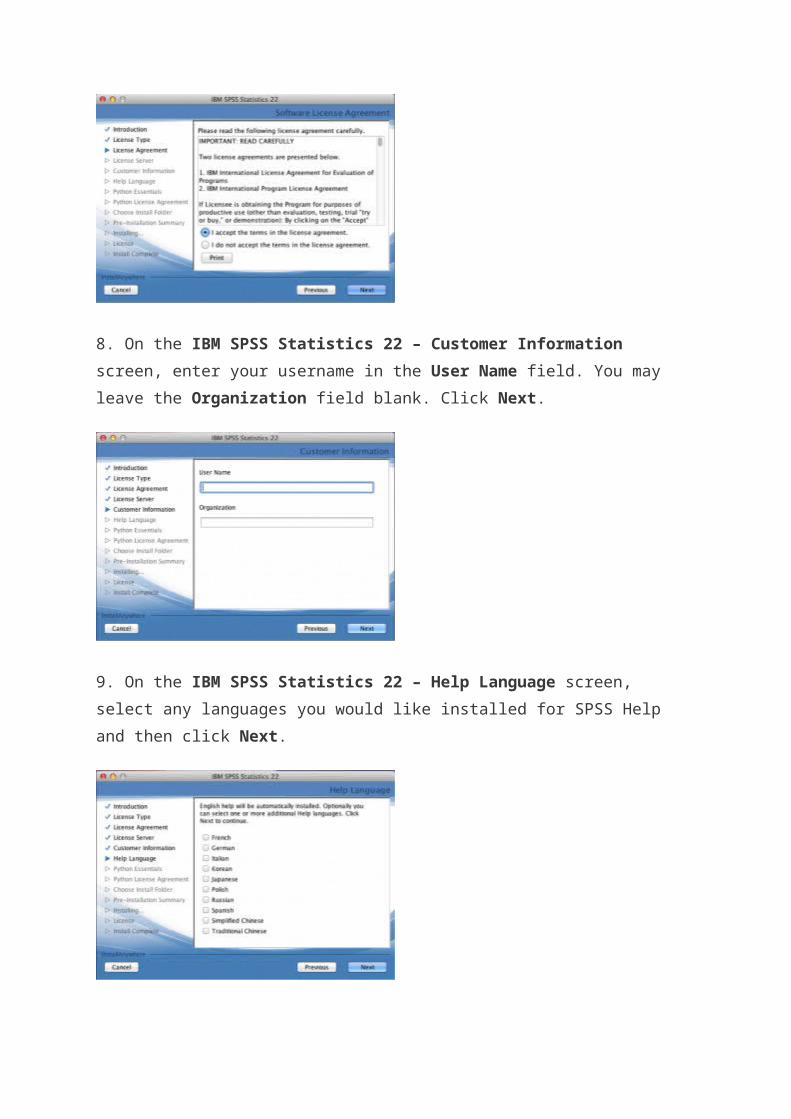
5. On the IBM SPSS Statistics 22 – Introduction screen, click Next.
6. On the IBM SPSS Statistics 22 – License Type screen, choose Authorized user license, then click Next.
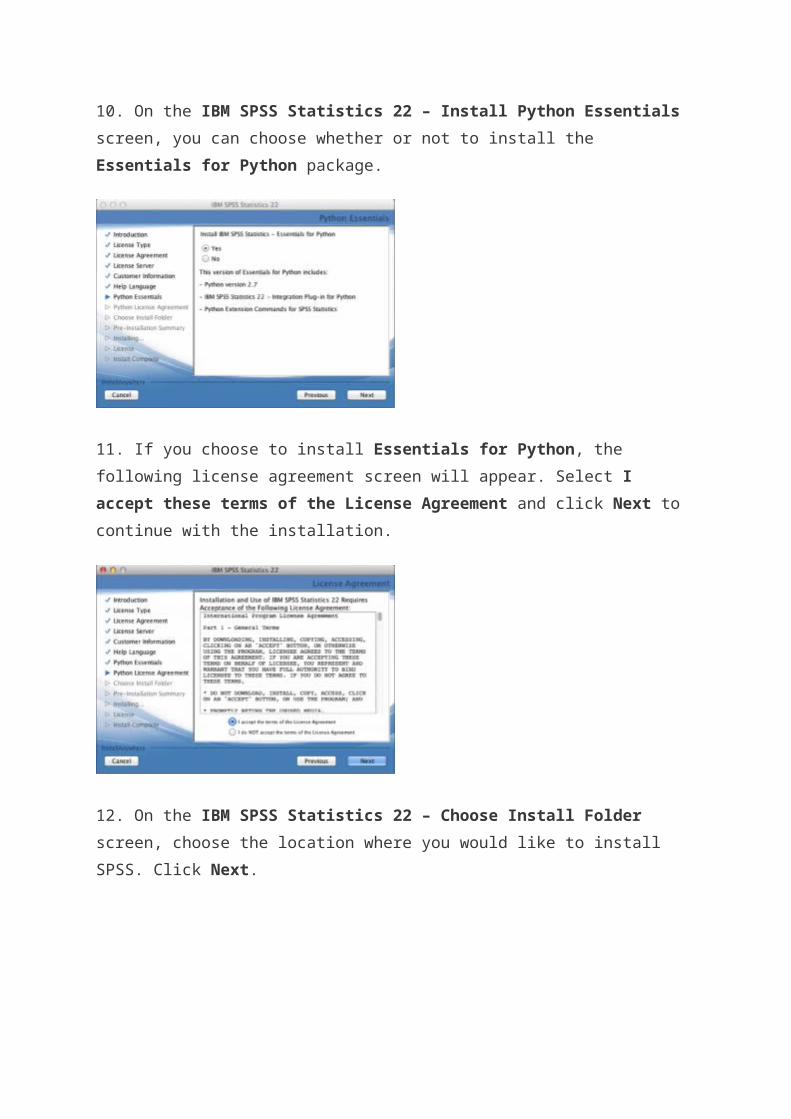
7. On the IBM SPSS Statistics 22 – Software License Agreement screen, select I accept the terms in the license agreement and click Next.
8. On the IBM SPSS Statistics 22 – Customer Information screen, enter your
username in the User Name field. You may leave the Organization field blank. Click
Next.
9. On the IBM SPSS Statistics 22 – Help Language screen, select any languages
you would like installed for SPSS Help and then click Next.
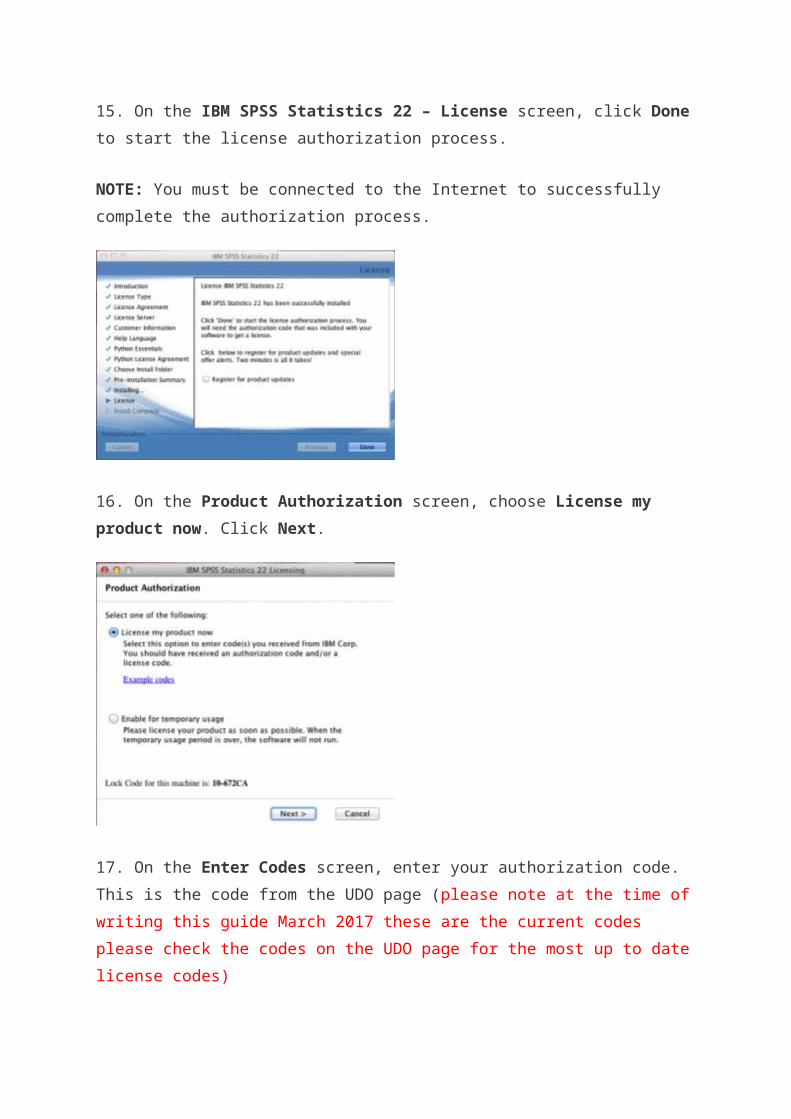
10. On the IBM SPSS Statistics 22 – Install Python Essentials screen, you can
choose whether or not to install the Essentials for Python package.
11. If you choose to install Essentials for Python, the following license agreement
screen will appear. Select I accept these terms of the License Agreement and
click Next to continue with the installation.
12. On the IBM SPSS Statistics 22 – Choose Install Folder screen, choose the
location where you would like to install SPSS. Click Next.

13. On the IBM SPSS Statistics 22 – Pre-Installation Summary screen, click
Install.
14. SPSS will now install. This process takes approximately 2-5 minutes.
15. On the IBM SPSS Statistics 22 – License screen, click Done to start the
license authorization process.
NOTE: You must be connected to the Internet to successfully complete the
authorization process.
16. On the Product Authorization screen, choose License my product now. Click
Next.
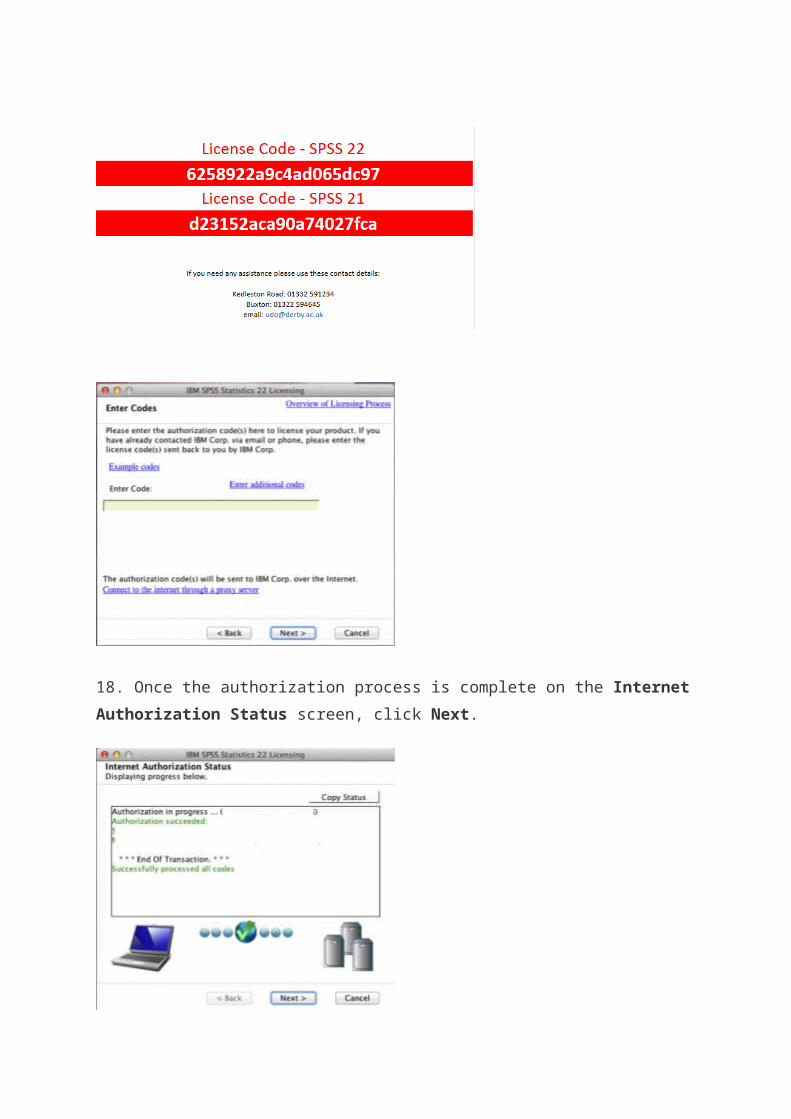
17. On the Enter Codes screen, enter your authorization code. This is the code
from the UDO page (please note at the time of writing this guide March 2017 these
are the current codes please check the codes on the UDO page for the most up to
date license codes)
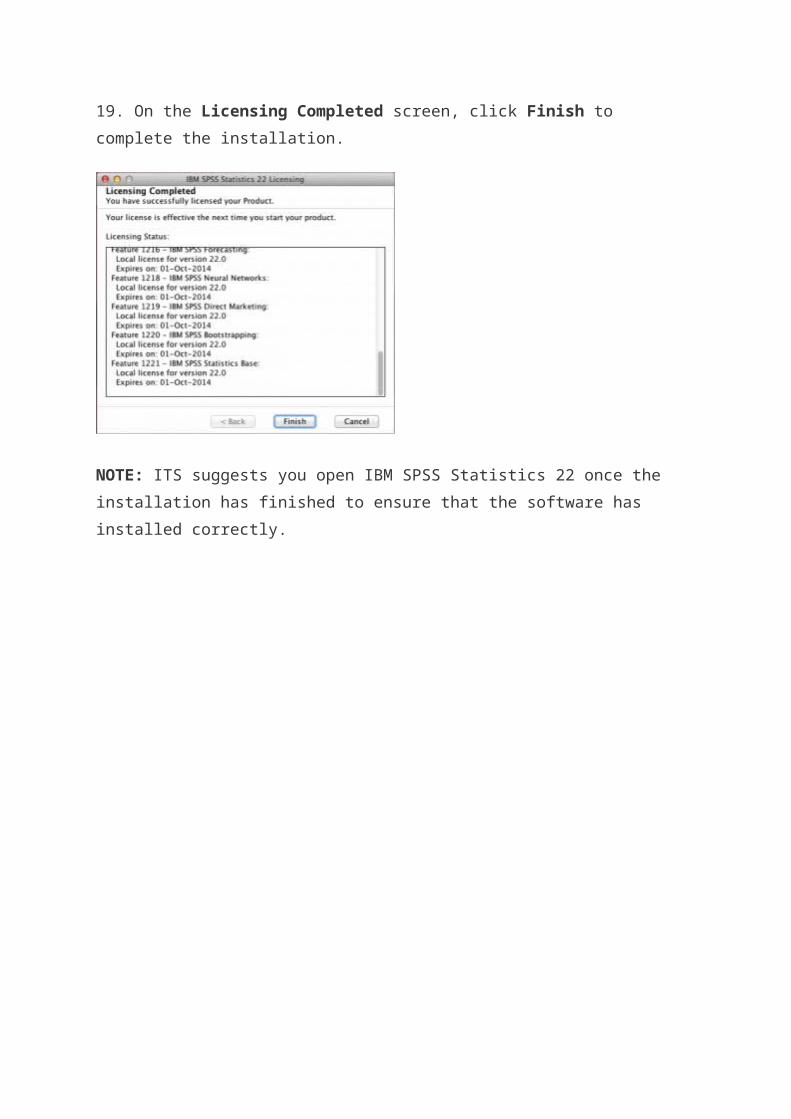
18. Once the authorization process is complete on the Internet Authorization Status screen, click Next.
19. On the Licensing Completed screen, click Finish to complete the installation.
NOTE: ITS suggests you open IBM SPSS Statistics 22 once the installation has
finished to ensure that the software has installed correctly.


![Mac OS X Shortcuts[1]](https://img.pdfslide.us/doc/110x75/54667977b4af9fa81f8b458c/mac-os-x-shortcuts1.jpg)