Embed Size (px)
Citation preview

Vex 1.0 © 2005 Carnegie Mellon Robotics Academy Inc.
Introduction to Sensors

Vex 1.0 © 2005 Carnegie Mellon Robotics Academy Inc.
What are sensors?
• Your answers here!

Vex 1.0 © 2005 Carnegie Mellon Robotics Academy Inc.
What are sensors?
• A sensor tells a robot one simple thing about it’s environment– Temperature– Distance– Light intensity
• Allow robots to see and feel the physical world through which they travel
• Two main types of sensors: digital and analog

Vex 1.0 © 2005 Carnegie Mellon Robotics Academy Inc.
Analog Sensors
• Can provide a range of feedback• The robot will interpret feedback from the sensor
as a number from 0 to a pre-defined maximum (1024 for most Vex sensors)
• A light sensor has many states:– If it is very bright, the sensor will return a number
close to 30– If it is very dark, the sensor will return a number close
to 1000

Vex 1.0 © 2005 Carnegie Mellon Robotics Academy Inc.
Digital Sensors
• Can distinguish between two different “states”• The meaning of the states depends on the
sensor• A bumper sensor has two “states”
– If it is pressed, it is a 0– If it is not pressed, it is a 1
Vex 1.0 © 2005 Carnegie Mellon Robotics Academy Inc.
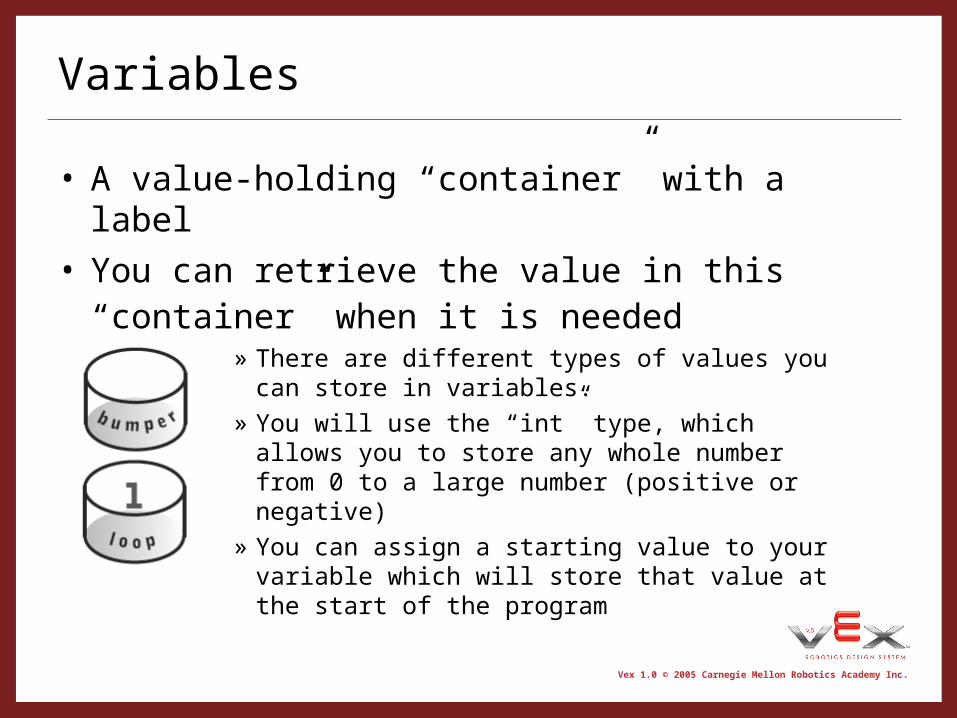
Variables
• A value-holding “container” with a label
• You can retrieve the value in this “container” when it is needed
» There are different types of values you can store in variables.
» You will use the “int” type, which allows you to store any whole number from 0 to a large number (positive or negative)
» You can assign a starting value to your variable which will store that value at the start of the program

Vex 1.0 © 2005 Carnegie Mellon Robotics Academy Inc.
Bump Sensor Introduction
• Open the project “BUMPERTEST.ECP” • Download it to your robot and open the terminal
window

Vex 1.0 © 2005 Carnegie Mellon Robotics Academy Inc.
Understanding bump sensor code
• Comments - allows you to leave notes to yourself and others about your code
• The compiler ignores comments

Vex 1.0 © 2005 Carnegie Mellon Robotics Academy Inc.
Understanding bump sensor code
• While Loop – block of code that repeats itself as long as the condition inside the parenthesis is true– The == operator returns true if both sides are equal,
and false if they are not equal– In our code loop will always equal 1, so this loop will
run forever

Vex 1.0 © 2005 Carnegie Mellon Robotics Academy Inc.
Understanding bump sensor code
• Bumper sensor – stores the value of the digital input 6 to the variable “bumper”– Now the robot knows if the bump sensor is being
pressed in (0) or not (1)

Vex 1.0 © 2005 Carnegie Mellon Robotics Academy Inc.
Understanding bump sensor code
• Print to screen – displays information in the terminal window– This particular code displays the value of the bump
sensor
For now, make sure your settings are as follows:
* Variable: the variable you want to display
* Message: the message with the variable
* Directive: %d
* Type-cast: int

Vex 1.0 © 2005 Carnegie Mellon Robotics Academy Inc.
Writing your own code
• We are going to write a program that runs one motor until a bump sensor is pressed in
• Begin by opening easyC