Embed Size (px)
Citation preview
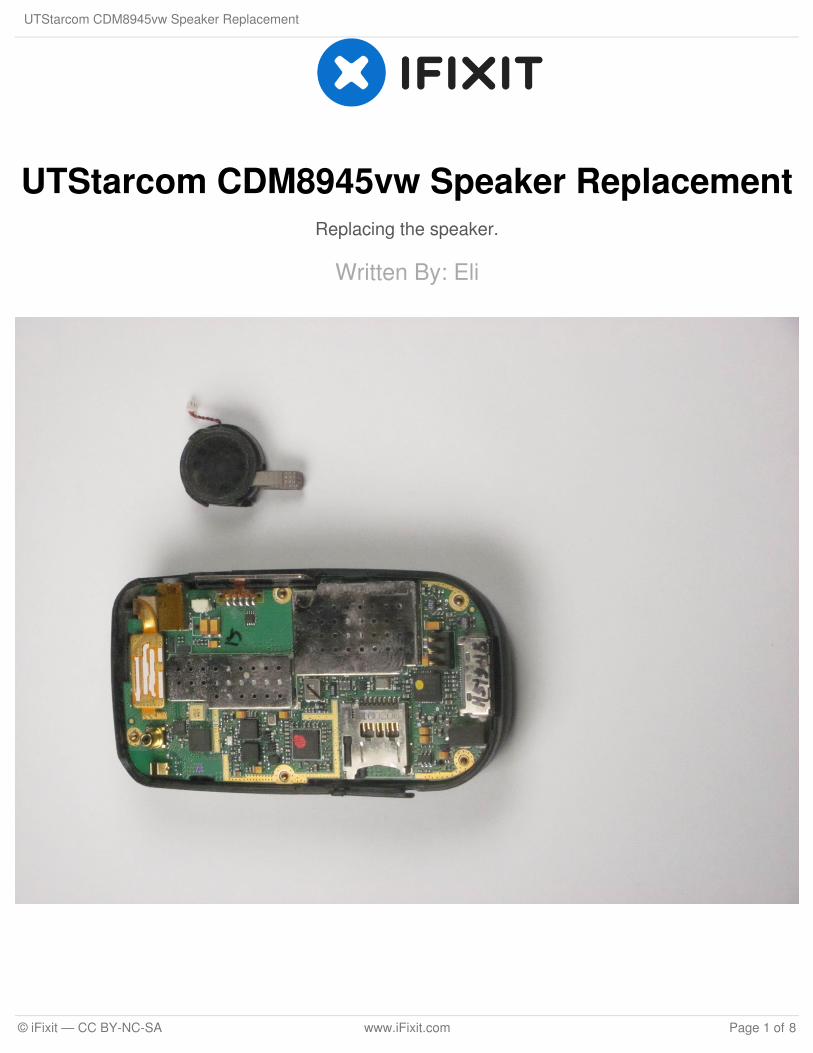
UTStarcom CDM8945vw Speaker ReplacementReplacing the speaker.
Written By: Eli
UTStarcom CDM8945vw Speaker Replacement
© iFixit — CC BY-NC-SA www.iFixit.com Page 1 of 8
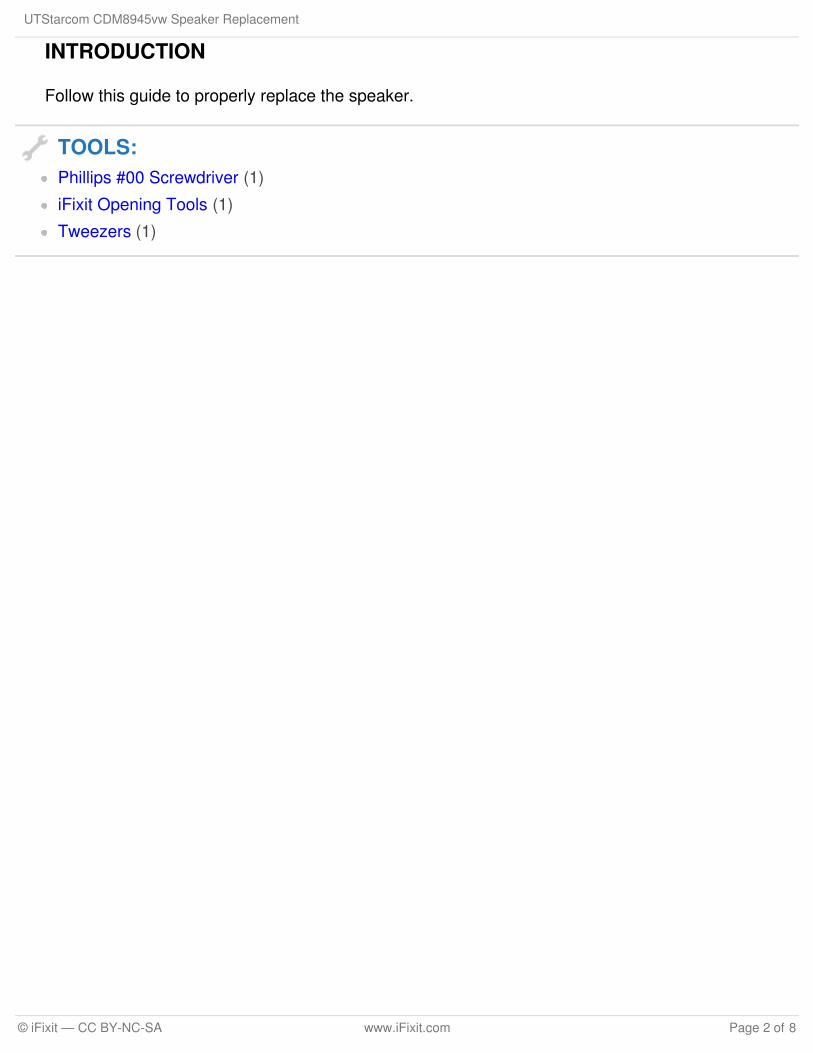
INTRODUCTION
Follow this guide to properly replace the speaker.
TOOLS:Phillips #00 Screwdriver (1)
iFixit Opening Tools (1)
Tweezers (1)
UTStarcom CDM8945vw Speaker Replacement
© iFixit — CC BY-NC-SA www.iFixit.com Page 2 of 8
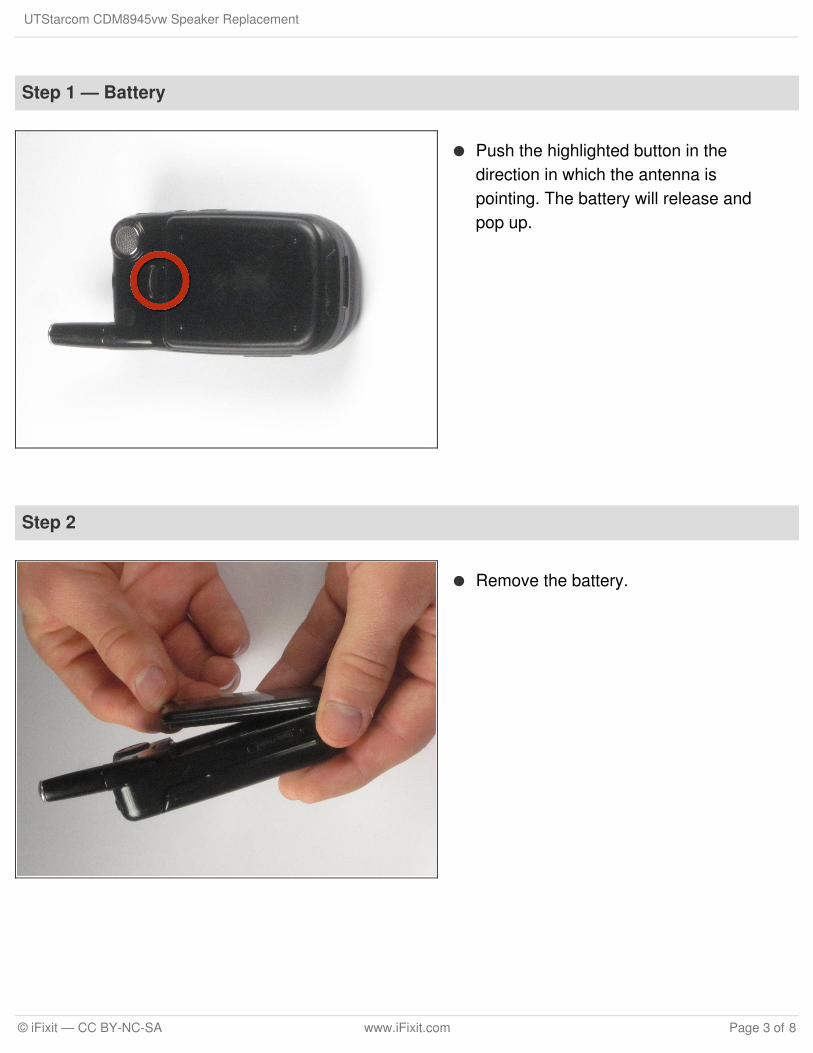
Step 1 — Battery
Push the highlighted button in thedirection in which the antenna ispointing. The battery will release andpop up.
Step 2
Remove the battery.
UTStarcom CDM8945vw Speaker Replacement
© iFixit — CC BY-NC-SA www.iFixit.com Page 3 of 8
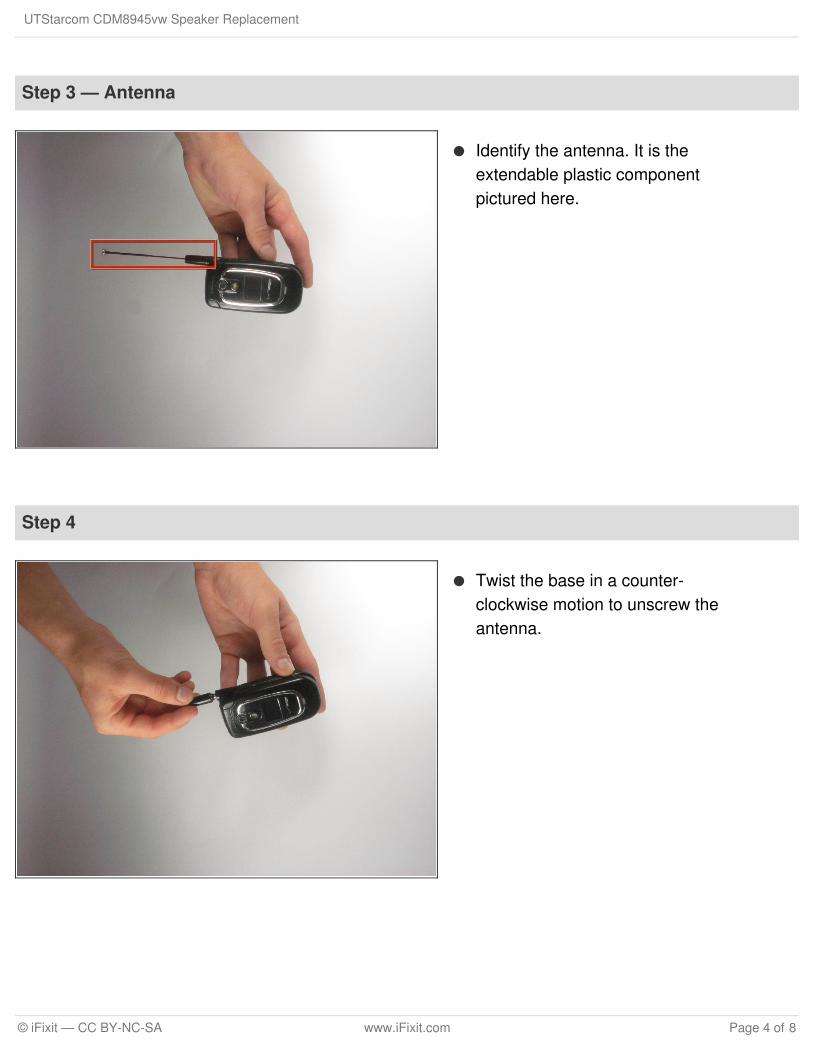
Step 3 — Antenna
Identify the antenna. It is theextendable plastic componentpictured here.
Step 4
Twist the base in a counter-clockwise motion to unscrew theantenna.
UTStarcom CDM8945vw Speaker Replacement
© iFixit — CC BY-NC-SA www.iFixit.com Page 4 of 8
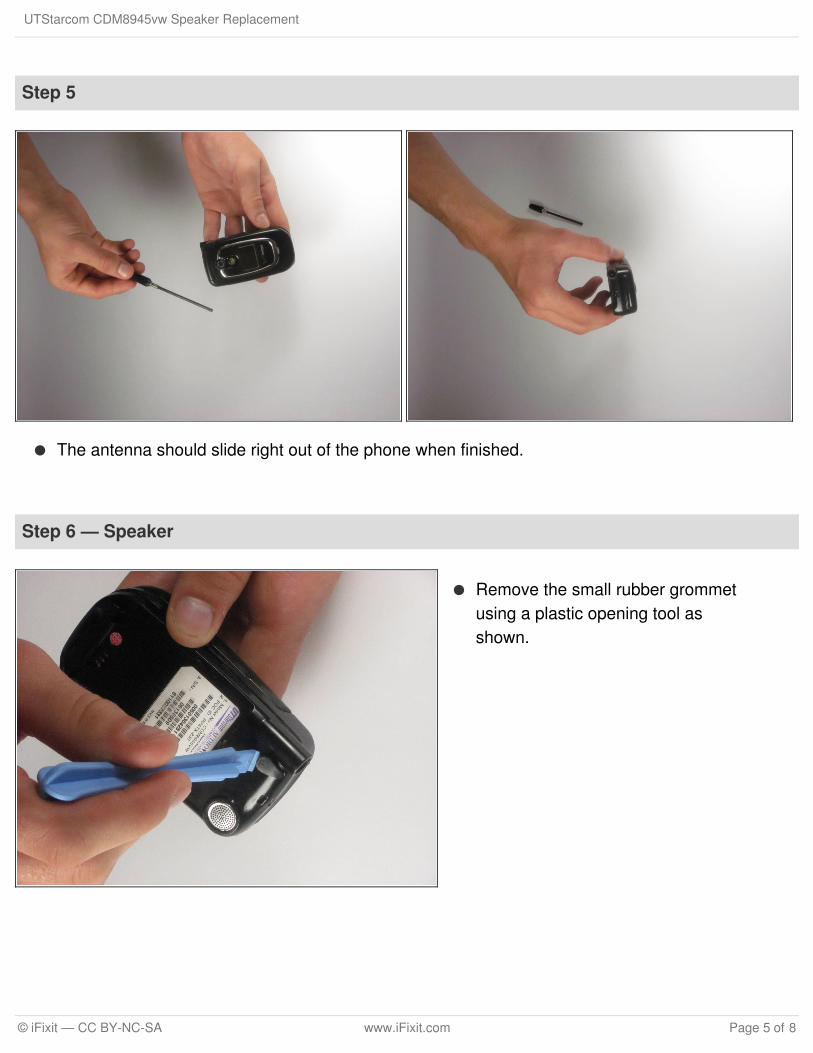
Step 5
The antenna should slide right out of the phone when finished.
Step 6 — Speaker
Remove the small rubber grommetusing a plastic opening tool asshown.
UTStarcom CDM8945vw Speaker Replacement
© iFixit — CC BY-NC-SA www.iFixit.com Page 5 of 8
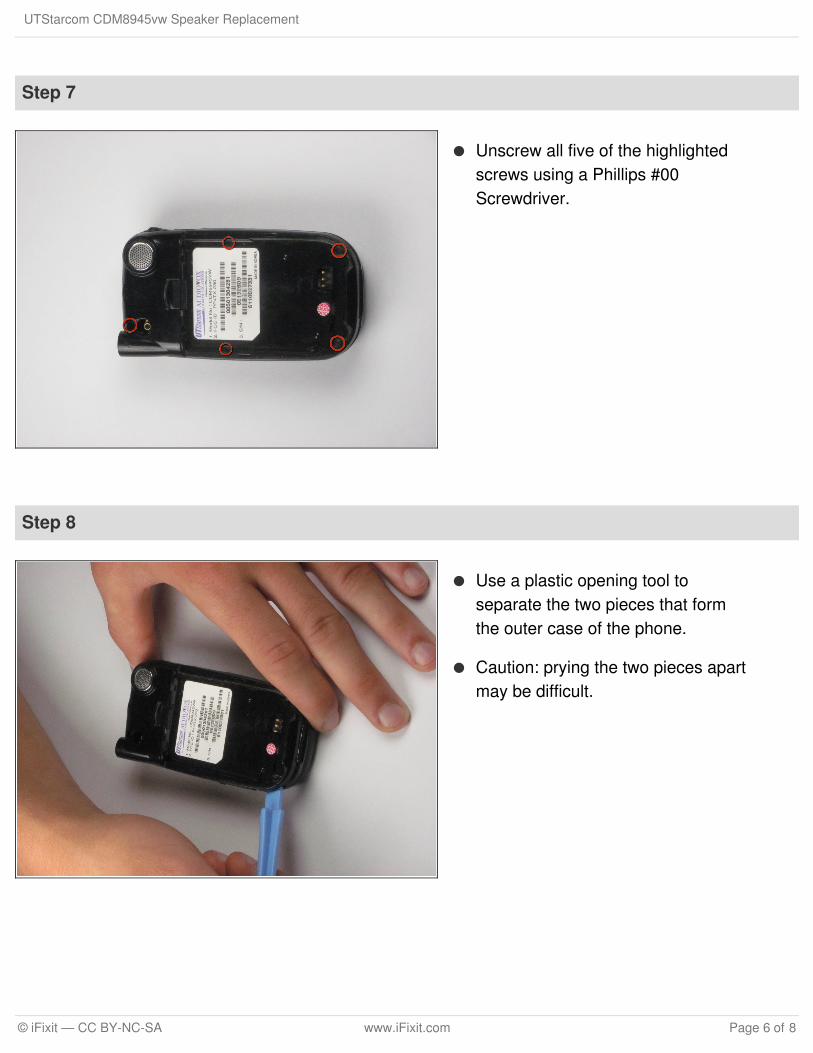
Step 7
Unscrew all five of the highlightedscrews using a Phillips #00Screwdriver.
Step 8
Use a plastic opening tool toseparate the two pieces that formthe outer case of the phone.
Caution: prying the two pieces apartmay be difficult.
UTStarcom CDM8945vw Speaker Replacement
© iFixit — CC BY-NC-SA www.iFixit.com Page 6 of 8
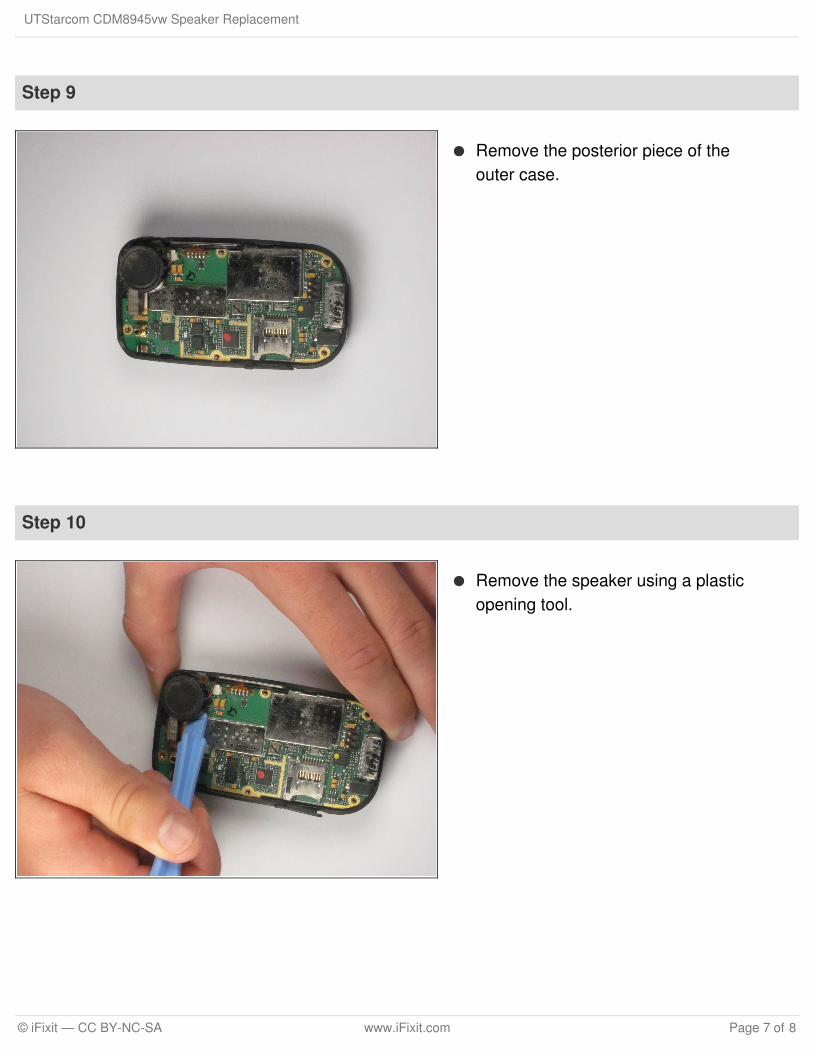
Step 9
Remove the posterior piece of theouter case.
Step 10
Remove the speaker using a plasticopening tool.
UTStarcom CDM8945vw Speaker Replacement
© iFixit — CC BY-NC-SA www.iFixit.com Page 7 of 8
To reassemble your device, follow these instructions in reverse order.
This document was last generated on 2018-07-04 01:38:07 PM.
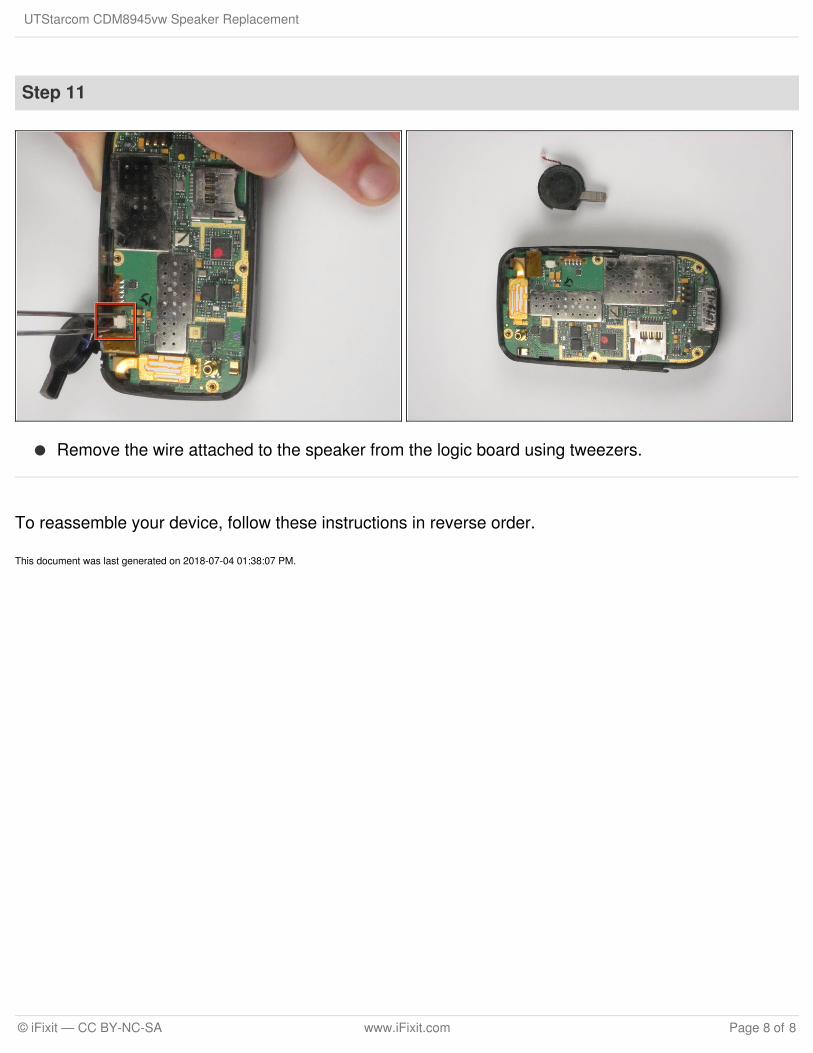
Step 11
Remove the wire attached to the speaker from the logic board using tweezers.
UTStarcom CDM8945vw Speaker Replacement
© iFixit — CC BY-NC-SA www.iFixit.com Page 8 of 8