Embed Size (px)
Citation preview
Upgrading Cisco DCNM
This chapter provides information about upgrading Cisco DCNM, and contains the following section:
• Upgrading Cisco DCNM, on page 1• Upgrading ISO or OVA through Inline Upgrade, on page 2
Upgrading Cisco DCNMBefore Cisco DCNM Release 11.0(1), DCNM OVA, and ISO supported SAN functionality. From CiscoDCNM Release 11.3(1), you can install Cisco DCNM for SAN Deployment on both OVA and ISO virtualappliances. However, there is not upgrade path for SAN OVA\ISO.
From Release 11.3(1), Cisco DCNM OVA and ISO is supported for SAN functionality.
The following table summarizes the type of upgrade that you must follow to upgrade to Release 11.3(1).
Table 1: Type of Upgrade for Classic LAN, LAN Fabric, and IP for Media (IPFM) deployments
Upgrade type to upgrade to Release 11.3(1)Current Release Number
Inline Upgrade11.2(1)
Inline Upgrade11.1(1)
11.0(1)→ 11.1(1)→ 11.3(1)
1. Upgrade to 11.1(1) using Inline Upgrade
2. Upgrade from 11.1(1) to 11.3(1) using Inline Upgrade
11.0(1)
10.4(2)→ 11.1(1)→ 11.3(1)
1. Upgrade to 11.1(1) using the DCNMUpgradeTool
2. Upgrade from 11.1(1) to 11.3(1) using Inline Upgrade
10.4(2)1
1 (This upgrade path is not supported for Cisco DCNMMedia Controller deployments)
Upgrading Cisco DCNM1
Upgrading ISO or OVA through Inline UpgradeInline upgrade allows you to upgrade DCNM by imposing the new DCNM version to the existing DCNM.After the inline upgrade, ensure that you clear your browser cache before launching the DCNM application.
When you install Cisco DCNM, a self-signed certificate is installed, by default. However, after upgrading tothe latest Cisco DCNM Release, you must restore the certificates.
Restoring certificates is a disruptive mechanism; it requires you to stop and restart applications. Restore thecertificates only when the upgraded system is stable, that is, you must be able to login to Cisco DCNMWebUI.
Note
To restore certificates after upgrade, see Restoring the certificates after an upgrade.
This section contains the procedure to upgrade the DCNM using the Inline Upgrade method.
For Classic LANDeployment upgrade, the deployment is automatically converted to LANFabric deploymentmode when you upgrade to DCNM Release 11.4(1).
Note
Inline Upgrade for DCNM Virtual Appliance in Standalone ModeInline upgrade allows you to upgrade DCNM by imposing the new DCNM version to the existing DCNM.After the inline upgrade, ensure that you clear your browser cache before launching the DCNM application.
Perform the following task to upgrade the DCNM virtual appliance in standalone mode.
Before you begin
If the Cisco DCNM setup is in clustered mode, ensure that you stop the Network Insights - Resources (NIR)2.x application. On the Cisco DCNMWeb UI, choose Applications > Catalog. On the NIR app, click Stopicon to stop the application. Click Delete to remove the application from the Catalog.
Procedure
Step 1 Log on to the Cisco DCNM appliance console.
If the system requirements does not meet the minimum resource requirements, everytime you logonto DCNM via the console or SSH, SYSTEM RESOURCE ERROR is displayed. Modify thesystem requirements logon to DCNM via Console/SSH.
Caution
• For OVA Installation: On the OVF template deployed for the host, right click and select Settings >Launch Web Console.
• For ISO Installation: Select the KVM console or UCS (Bare Metal) console.
Upgrading Cisco DCNM2
Upgrading Cisco DCNMUpgrading ISO or OVA through Inline Upgrade
Do not perform an Inline Upgrade from an SSH Session. The session may timeout and result in anincomplete upgrade.
Caution
OR
Run the following command to create a screen session.dcnm# screen
This creates a session which allows you to execute the commands. The commands continue to run even whenthe window is not visible or if you get disconnected.
Step 2 Take a backup of the application data using the appmgr backup command.dcnm# appmgr backup
Copy the backup file to a safe location outside the DCNM server.
Step 3 Unzip the dcnm-va.11.3.1.iso.zip file and upload the DCNM 11.3(1) ISO file to the /root/folder in the DCNM setup that you want to upgrade.
Step 4 Create folder that is named iso using the mkdir /mnt/iso command.dcnm# mkdir /mnt/iso
Step 5 Mount the DCNM 11.3(1) ISO file on the standalone setup in the /mnt/iso folder.mount -o loop <DCNM 11.3(1) image> /mnt/iso
dcnm# mount -o loop dcnm-va.11.3.1.iso /mnt/iso
Step 6 Navigate to /mnt/iso/packaged-files/scripts/ and run the ./inline-upgrade.sh script.dcnm# cd /mnt/iso/packaged-files/scripts/dcnm# ./inline-upgrade.shDo you want to continue and perform the inline upgrade to 11.3(1)? [y/n]: y
Step 7 Provide the new sysadmin user password at the prompt:Enter the password for the new sysadmin user: <<sysadmin_password>>Enter it again for verification: <<sysadmin_password>>
After the upgrade is complete, the appliance reboots. After reboot, the SSH \root access is disabled by default.Use sysadmin user.
Step 8 Ensure that the DCNM application is functional, by using the appmgr status all command.dcnm# appmgr status all
Step 9 To verify that you have successfully installed the Cisco DCNMRelease 11.3(1), use the appmgr show versioncommand.dcnm# appmgr show version
Cisco Data Center Network ManagerVersion: 11.3(1)Install mode: LAN FabricStandalone node. HA not enabled.
What to do next
Logon to the DCNMWeb UI with appropriate credentials.
Upgrading Cisco DCNM3
Upgrading Cisco DCNMInline Upgrade for DCNM Virtual Appliance in Standalone Mode
Click Settings icon and choose About DCNM. You can view and verify the Installation type that you havedeployed.
Inline Upgrade for DCNM Virtual Appliance in Native HA ModeInline upgrade allows you to upgrade DCNM by imposing the new DCNM version to the existing DCNM.After the inline upgrade, ensure that you clear your browser cache before launching the DCNM application.
Perform the following task to upgrade the DCNM virtual appliance in Native HA mode.
Before you begin
•• Ensure that both the Cisco DCNM 11.1(1) or Cisco DCNM 11.2(1) Active and Standby peers are up andrunning.
• If the Cisco DCNM setup is in clustered mode, ensure that you perform the following:
Inline upgrade of Cisco DCNM in Clustered mode is supported from Release11.2(1). Release 11.1(1) doesn’t support inline upgrade for DCNM in clusteredmode.
Note
• Stop the Network Insights - Resources (NIR) 2.x application. On the Cisco DCNMWeb UI, chooseApplications > Catalog. On the NIR app, click Stop icon to stop the application. Click Delete toremove the application from the Catalog.
• Stop all the applications running on the Cisco DCNM Compute nodes using the appmgr stop afwcommand.dcnm-compute# appmgr stop afw
• Check and ensure that the Active and Standby servers are operational, using the appmgr show ha-rolecommand.
Example:
On the Active node:dcnm1# appmgr show ha-roleNative HA enabled.Deployed role: ActiveCurrent role: Active
On the Standby node:dcnm2# appmgr show ha-roleNative HA enabled.Deployed role: StandbyCurrent role: Standby
Upgrading Cisco DCNM4
Upgrading Cisco DCNMInline Upgrade for DCNM Virtual Appliance in Native HA Mode
Procedure
Step 1 Unzip the dcnm-va.11.3.1.iso.zip file and upload the DCNM 11.3(1) ISO file to the /root/folder in both Active and Standby node of the DCNM setup that you want to upgrade.
For example, let us indicate Active and Standby appliances as dcnm1 and dcnm2 respectively.Note
Step 2 Log on to the Cisco DCNM appliance console.
If the system requirements does not meet the minimum resource requirements, everytime you logonto DCNM via the console or SSH, SYSTEM RESOURCE ERROR is displayed. Modify thesystem requirements logon to DCNM via Console/SSH.
Caution
• For OVA Installation: On the OVF template that is deployed for the host, right click and select Settings> Launch Web Console.
• For ISO Installation: Select the KVM console or UCS (Bare Metal) console.
Do not perform an Inline Upgrade from an SSH Session. The session may timeout and result in anincomplete upgrade.
Caution
OR
Run the following command to create a screen session.dcnm1# screendcnm2# screen
This creates a session which allows you to execute the commands. The commands continue to run even whenthe window is not visible or if you get disconnected.
Step 3 Take a backup of the application data using the appmgr backup command on both Active and Standbyappliances.dcnm1# appmgr backupdcnm2# appmgr backup
Copy the backup file to a safe location outside the DCNM server.
Step 4 On the Active node, perform the inline upgrade.a) Create a folder named iso using the mkdir /mnt/iso command.
dcnm1# mkdir /mnt/iso
b) Mount the DCNM 11.3(1) ISO file on the Active node in the /mnt/iso folder.
dcnm1# mount -o loop dcnm-va.11.3.1.iso /mnt/iso
c) (Optional) Stop the HA applications on the Standby appliance using the appmgr stop ha-apps command.dcnm2# appmgr stop ha-apps
d) Navigate to /mnt/iso/packaged-files/scripts/ location and run the ./inline-upgrade.sh script.dcnm1# cd /mnt/iso/packaged-files/scripts/dcnm1# ./inline-upgrade.sh
If some services are still running, you will receive a prompt that the services will be stopped.When prompted, press y to continue.
Note
dcnm1# Do you want to continue and perform the inline upgrade to 11.3(1)? [y/n]: y
Upgrading Cisco DCNM5
Upgrading Cisco DCNMInline Upgrade for DCNM Virtual Appliance in Native HA Mode
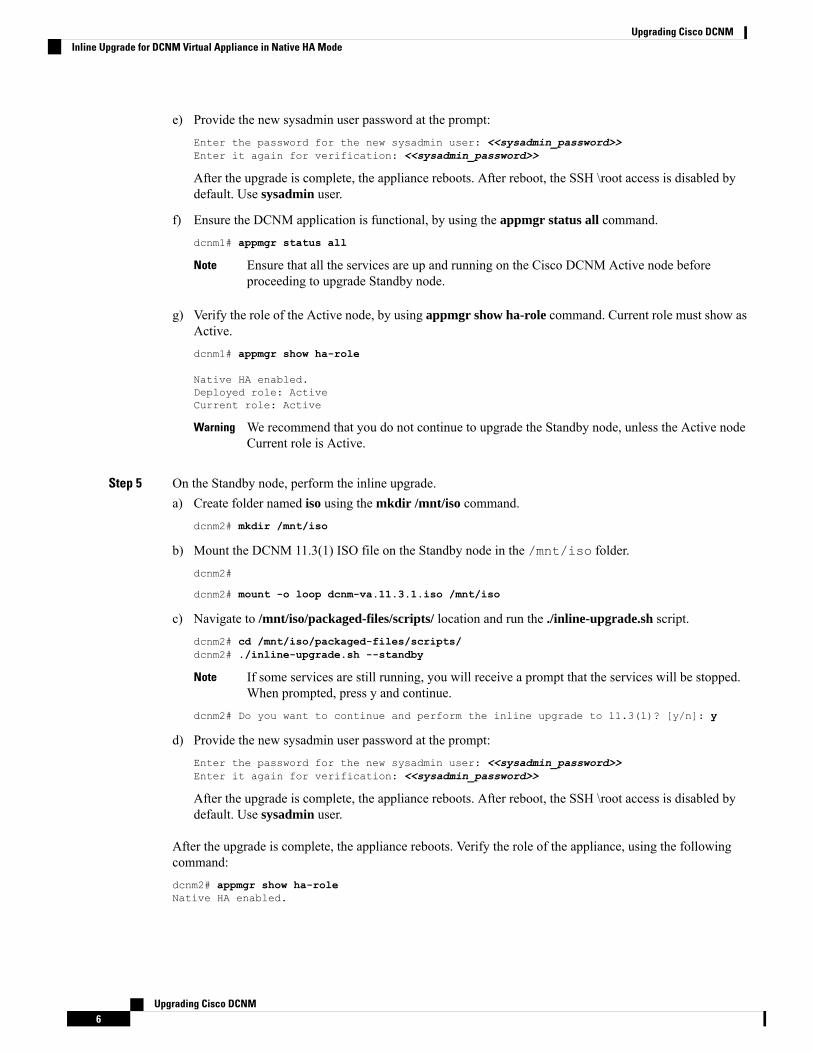
e) Provide the new sysadmin user password at the prompt:Enter the password for the new sysadmin user: <<sysadmin_password>>Enter it again for verification: <<sysadmin_password>>
After the upgrade is complete, the appliance reboots. After reboot, the SSH \root access is disabled bydefault. Use sysadmin user.
f) Ensure the DCNM application is functional, by using the appmgr status all command.dcnm1# appmgr status all
Ensure that all the services are up and running on the Cisco DCNM Active node beforeproceeding to upgrade Standby node.
Note
g) Verify the role of the Active node, by using appmgr show ha-role command. Current role must show asActive.dcnm1# appmgr show ha-role
Native HA enabled.Deployed role: ActiveCurrent role: Active
We recommend that you do not continue to upgrade the Standby node, unless the Active nodeCurrent role is Active.
Warning
Step 5 On the Standby node, perform the inline upgrade.a) Create folder named iso using the mkdir /mnt/iso command.
dcnm2# mkdir /mnt/iso
b) Mount the DCNM 11.3(1) ISO file on the Standby node in the /mnt/iso folder.dcnm2#
dcnm2# mount -o loop dcnm-va.11.3.1.iso /mnt/iso
c) Navigate to /mnt/iso/packaged-files/scripts/ location and run the ./inline-upgrade.sh script.dcnm2# cd /mnt/iso/packaged-files/scripts/dcnm2# ./inline-upgrade.sh --standby
If some services are still running, you will receive a prompt that the services will be stopped.When prompted, press y and continue.
Note
dcnm2# Do you want to continue and perform the inline upgrade to 11.3(1)? [y/n]: y
d) Provide the new sysadmin user password at the prompt:Enter the password for the new sysadmin user: <<sysadmin_password>>Enter it again for verification: <<sysadmin_password>>
After the upgrade is complete, the appliance reboots. After reboot, the SSH \root access is disabled bydefault. Use sysadmin user.
After the upgrade is complete, the appliance reboots. Verify the role of the appliance, using the followingcommand:dcnm2# appmgr show ha-roleNative HA enabled.
Upgrading Cisco DCNM6
Upgrading Cisco DCNMInline Upgrade for DCNM Virtual Appliance in Native HA Mode
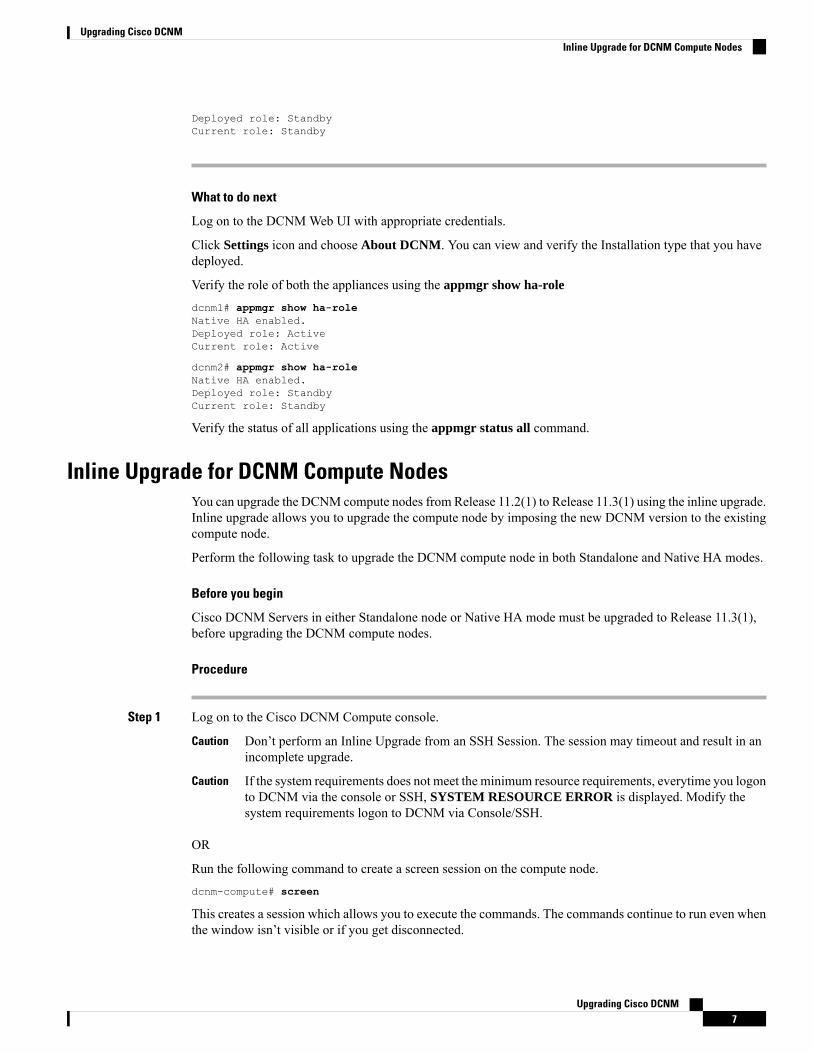
Deployed role: StandbyCurrent role: Standby
What to do next
Log on to the DCNMWeb UI with appropriate credentials.
Click Settings icon and choose About DCNM. You can view and verify the Installation type that you havedeployed.
Verify the role of both the appliances using the appmgr show ha-role
dcnm1# appmgr show ha-roleNative HA enabled.Deployed role: ActiveCurrent role: Active
dcnm2# appmgr show ha-roleNative HA enabled.Deployed role: StandbyCurrent role: Standby
Verify the status of all applications using the appmgr status all command.
Inline Upgrade for DCNM Compute NodesYou can upgrade the DCNM compute nodes from Release 11.2(1) to Release 11.3(1) using the inline upgrade.Inline upgrade allows you to upgrade the compute node by imposing the new DCNM version to the existingcompute node.
Perform the following task to upgrade the DCNM compute node in both Standalone and Native HA modes.
Before you begin
Cisco DCNM Servers in either Standalone node or Native HA mode must be upgraded to Release 11.3(1),before upgrading the DCNM compute nodes.
Procedure
Step 1 Log on to the Cisco DCNM Compute console.
Don’t perform an Inline Upgrade from an SSH Session. The session may timeout and result in anincomplete upgrade.
Caution
If the system requirements does not meet the minimum resource requirements, everytime you logonto DCNM via the console or SSH, SYSTEM RESOURCE ERROR is displayed. Modify thesystem requirements logon to DCNM via Console/SSH.
Caution
OR
Run the following command to create a screen session on the compute node.dcnm-compute# screen
This creates a session which allows you to execute the commands. The commands continue to run even whenthe window isn’t visible or if you get disconnected.
Upgrading Cisco DCNM7
Upgrading Cisco DCNMInline Upgrade for DCNM Compute Nodes
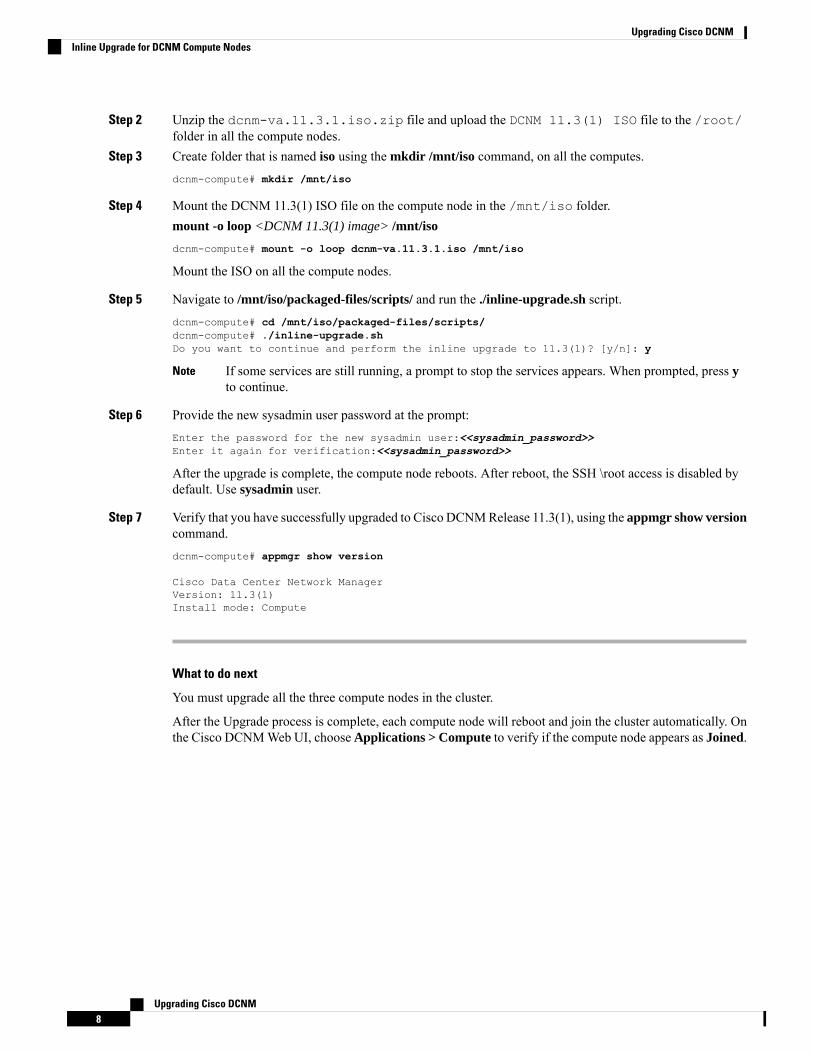
Step 2 Unzip the dcnm-va.11.3.1.iso.zip file and upload the DCNM 11.3(1) ISO file to the /root/folder in all the compute nodes.
Step 3 Create folder that is named iso using the mkdir /mnt/iso command, on all the computes.dcnm-compute# mkdir /mnt/iso
Step 4 Mount the DCNM 11.3(1) ISO file on the compute node in the /mnt/iso folder.mount -o loop <DCNM 11.3(1) image> /mnt/iso
dcnm-compute# mount -o loop dcnm-va.11.3.1.iso /mnt/iso
Mount the ISO on all the compute nodes.
Step 5 Navigate to /mnt/iso/packaged-files/scripts/ and run the ./inline-upgrade.sh script.dcnm-compute# cd /mnt/iso/packaged-files/scripts/dcnm-compute# ./inline-upgrade.shDo you want to continue and perform the inline upgrade to 11.3(1)? [y/n]: y
If some services are still running, a prompt to stop the services appears. When prompted, press yto continue.
Note
Step 6 Provide the new sysadmin user password at the prompt:Enter the password for the new sysadmin user:<<sysadmin_password>>Enter it again for verification:<<sysadmin_password>>
After the upgrade is complete, the compute node reboots. After reboot, the SSH \root access is disabled bydefault. Use sysadmin user.
Step 7 Verify that you have successfully upgraded to Cisco DCNMRelease 11.3(1), using the appmgr show versioncommand.dcnm-compute# appmgr show version
Cisco Data Center Network ManagerVersion: 11.3(1)Install mode: Compute
What to do next
You must upgrade all the three compute nodes in the cluster.
After the Upgrade process is complete, each compute node will reboot and join the cluster automatically. Onthe Cisco DCNMWeb UI, choose Applications > Compute to verify if the compute node appears as Joined.
Upgrading Cisco DCNM8
Upgrading Cisco DCNMInline Upgrade for DCNM Compute Nodes


![Slum upgrading role for housing policy and governance [trans]formation… -Thesis... · 2015-07-21 · Slum upgrading role for housing policy and governance [trans]formation[s] From](https://img.pdfslide.us/doc/110x75/5ed459c0116674658f37d7bb/slum-upgrading-role-for-housing-policy-and-governance-transformation-thesis.jpg)