Embed Size (px)
Citation preview
Unicenter NSM r11.2 SP1 CC Test Configuration Installation Guide,
V1.1 Nov 6th, 2009
Common Criteria Project for Unicenter NSM 11.2 SP1 Installation Introduction: The purpose of this document is to provide guidance into the installation and configuration of the environment used as the basis of evaluation for CA Network and Systems Management version 11.2 SP2. This environment was used to determine that CA NSM 11.2 SP2 meets the requirements of Evaluation Assurance Level (EAL) 2 from the Common Criteria Version 2.2 SCOPE: The scope of this evaluation consisted of the following components and services installed in a Microsoft Windows environment. The evaluation is testing the services provided by the listed communication methods. Other selectively installed components, or features requiring additional product licenses, are not part of this environment and are considered outside the scope of evaluation. They are part of the delivered product but, their functionality was not tested as part of this evaluation. See Appendix A for a listing of these components or contact CA, Inc. for additional information. Included in the Evaluation: User Interfaces:
Management Command Center (MCC) Unicenter Management Portal (UMP) Management Database – Common Object Repository Classic Interface – Win32 executables and Command Line Interfaces
Managers: Worldview Manager Distributed State Machine Manager (DSM) Event Manager (EM) Alert Management (AMS) Configuration Manager (UCM) Systems Performance Manager Security Management
Services: Unicenter Notification Services Dashboard Services Web Reporting Services
Secure Communication: Unicenter Distributed Intelligence Architecture (DIA) Common Communication Interface (CCI) CA Messaging (CAM)
Preinstall Info: The installation steps in this guide will require a DNS server installed on the network. If your environment does not have a DNS server, please refer to the NSM Implementation Guide for more information. Testing Platform #1 (NSMCCQA01) Management Database (MDB) WorldView Manager (WV)
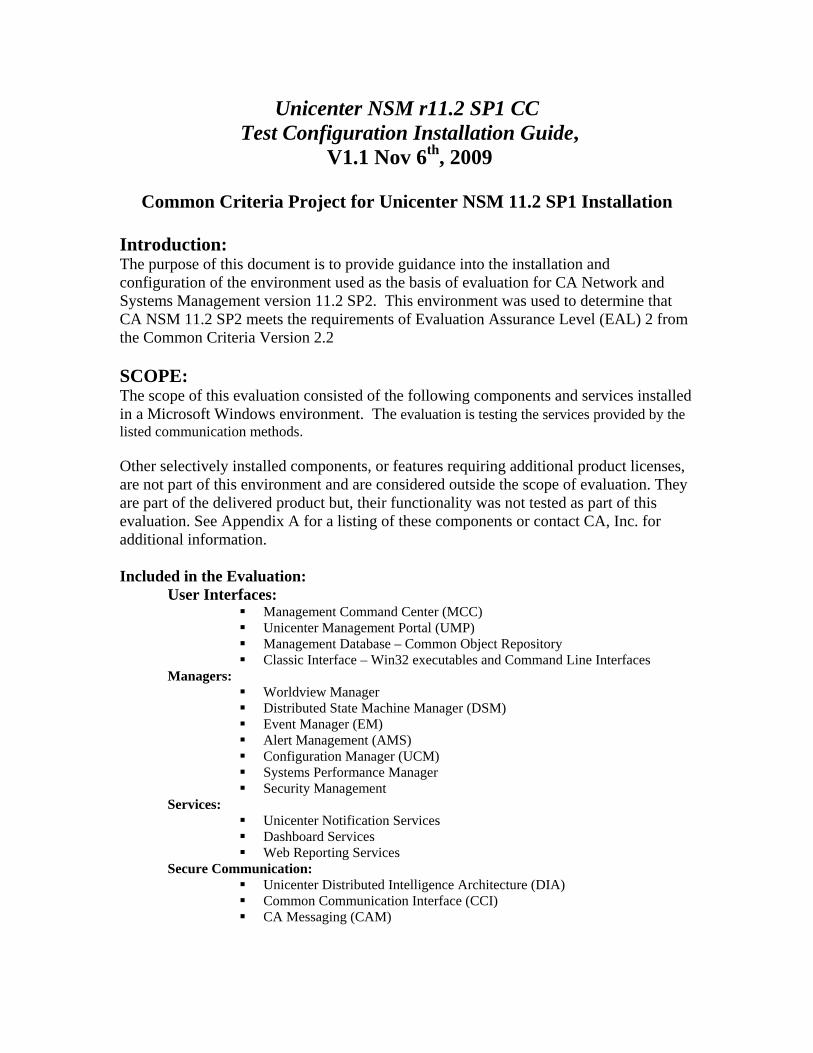
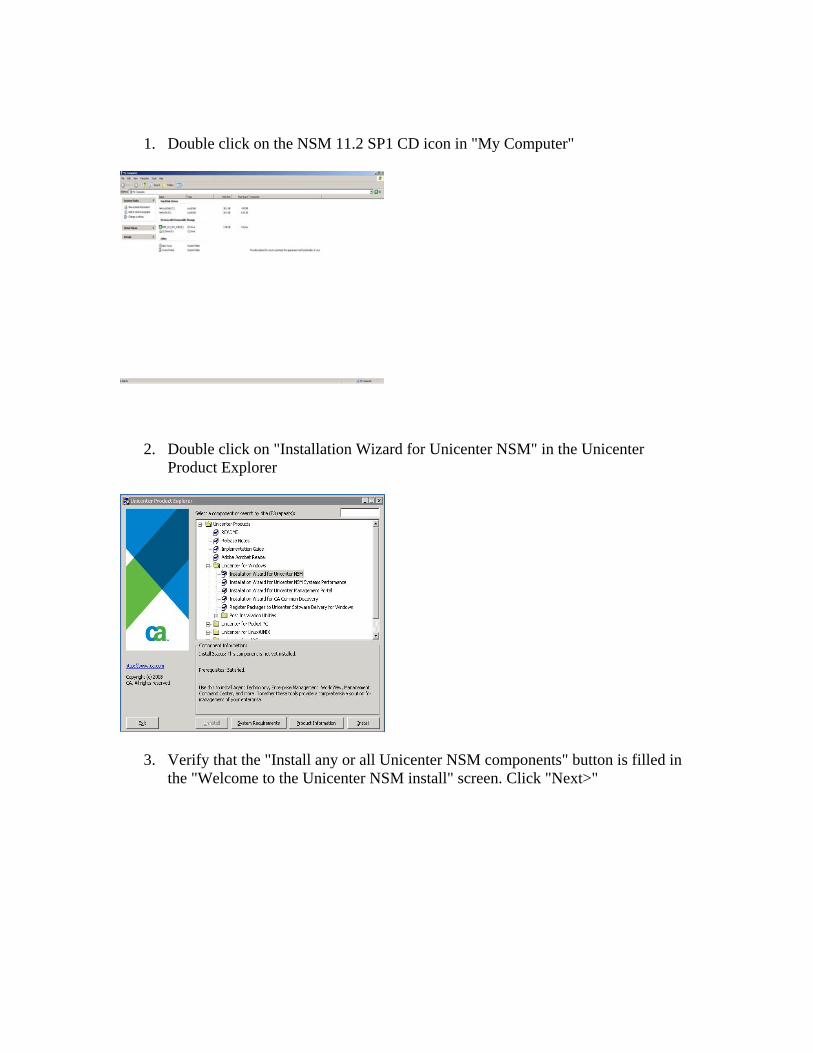
1. Double click on the NSM 11.2 SP1 CD icon in "My Computer"
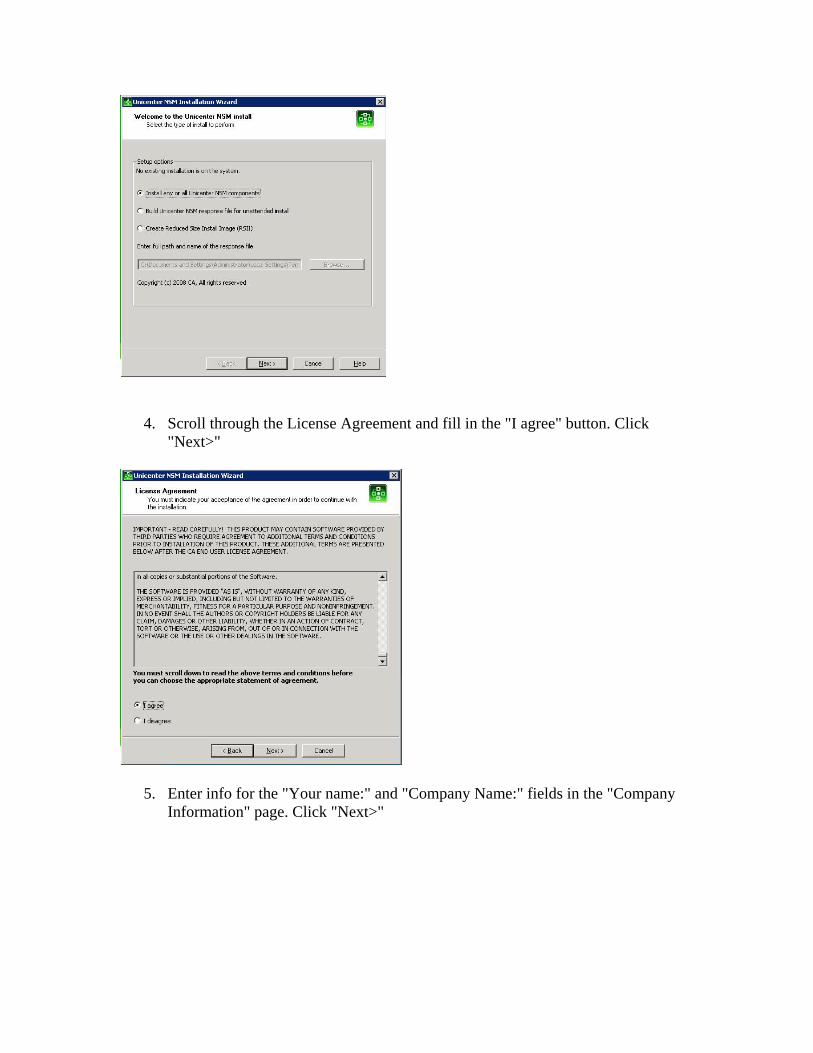
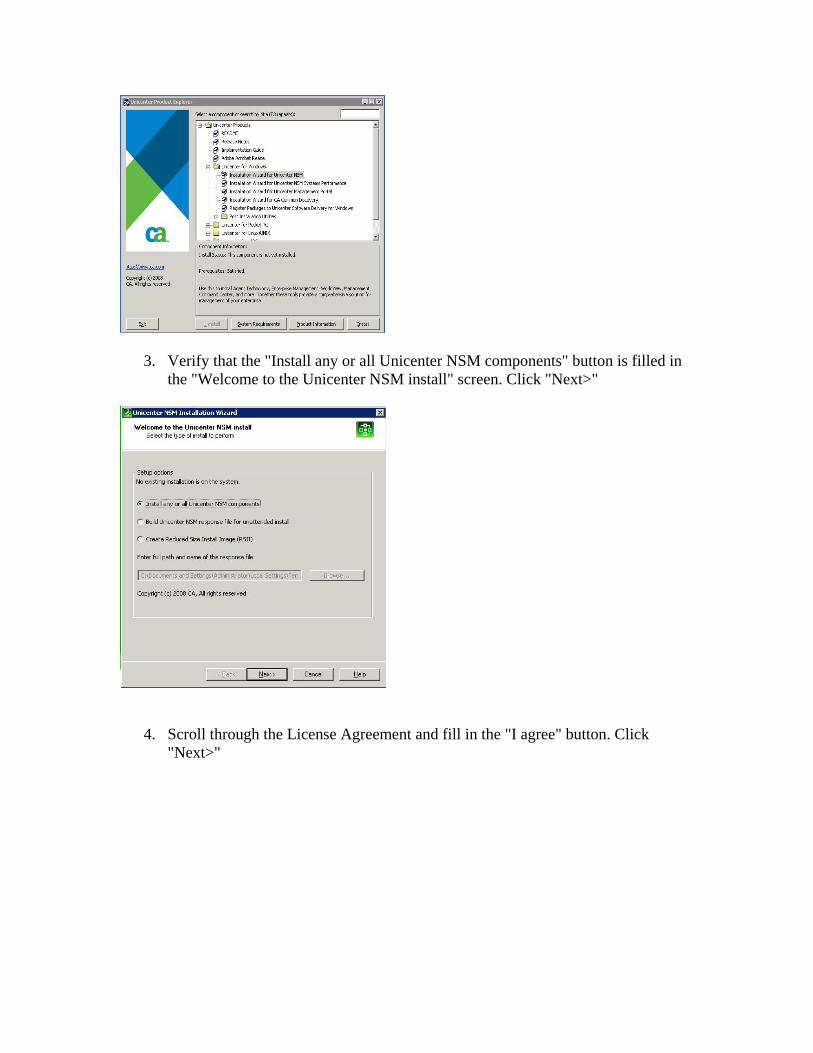
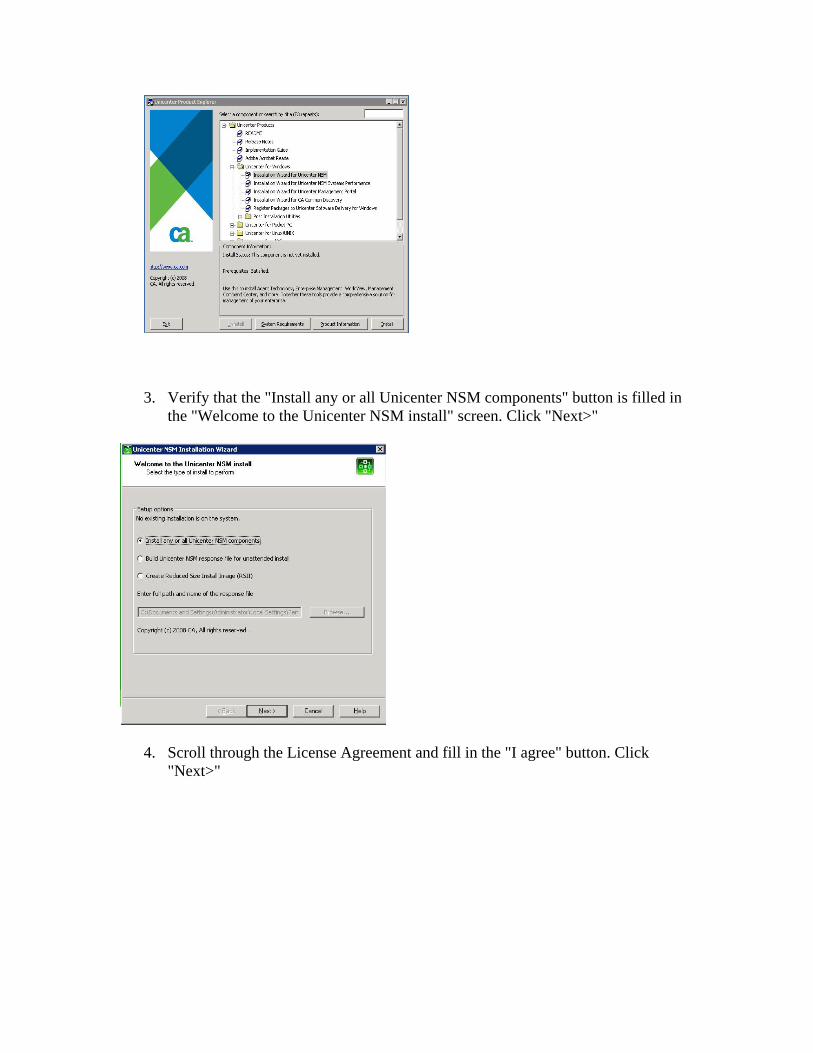
2. Double click on "Installation Wizard for Unicenter NSM" in the Unicenter Product Explorer
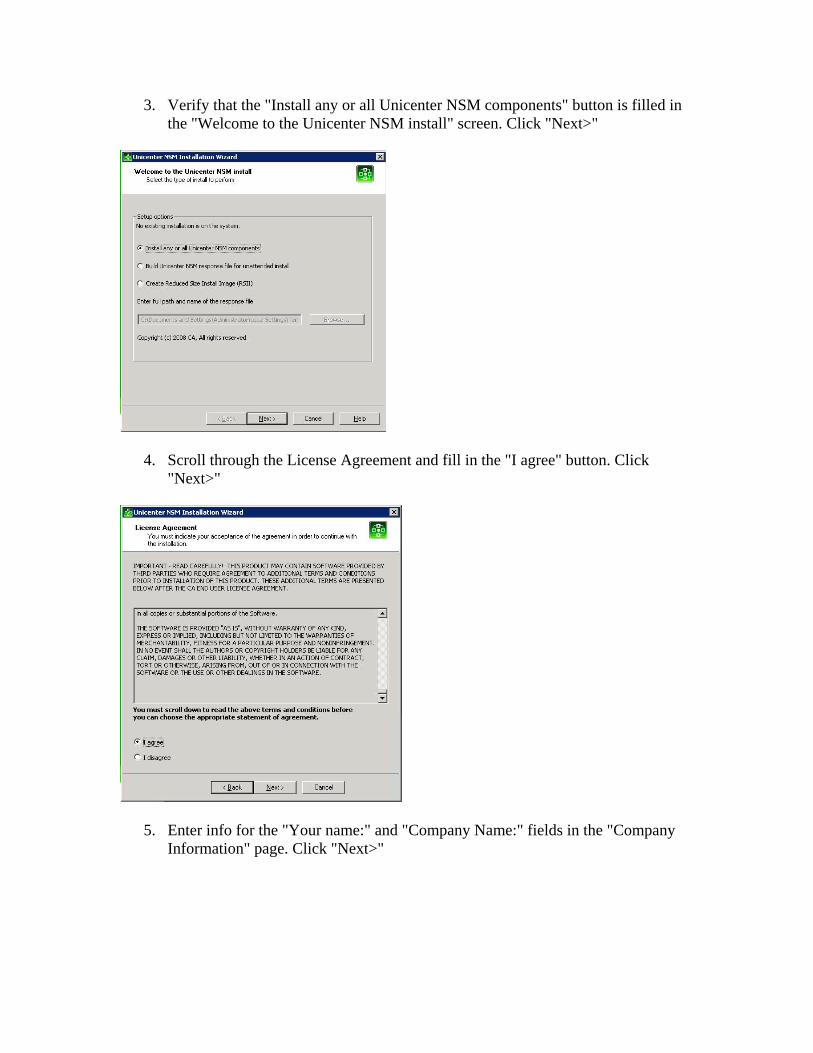
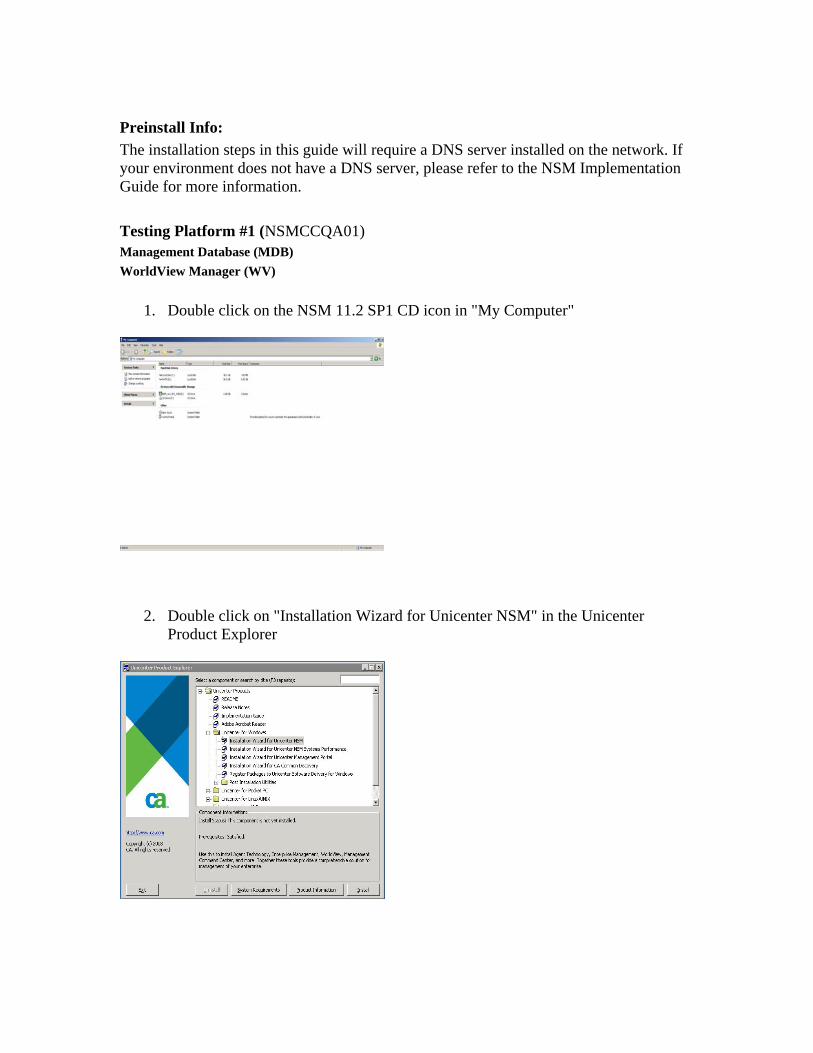
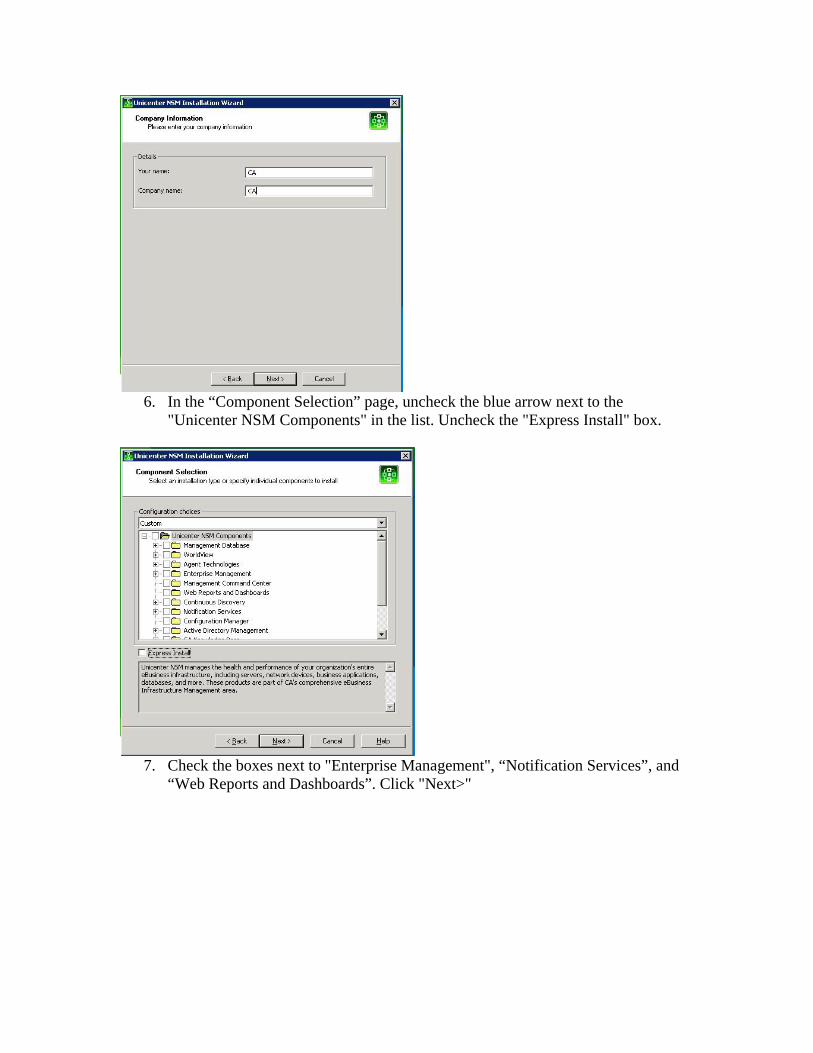
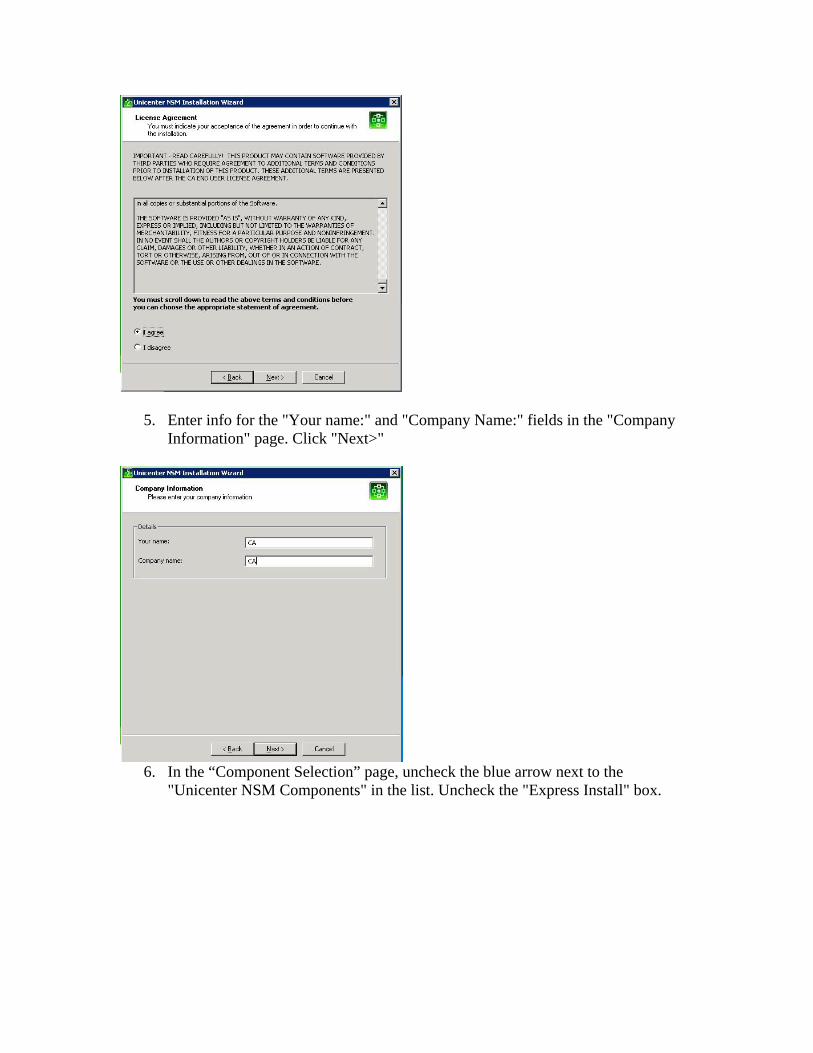
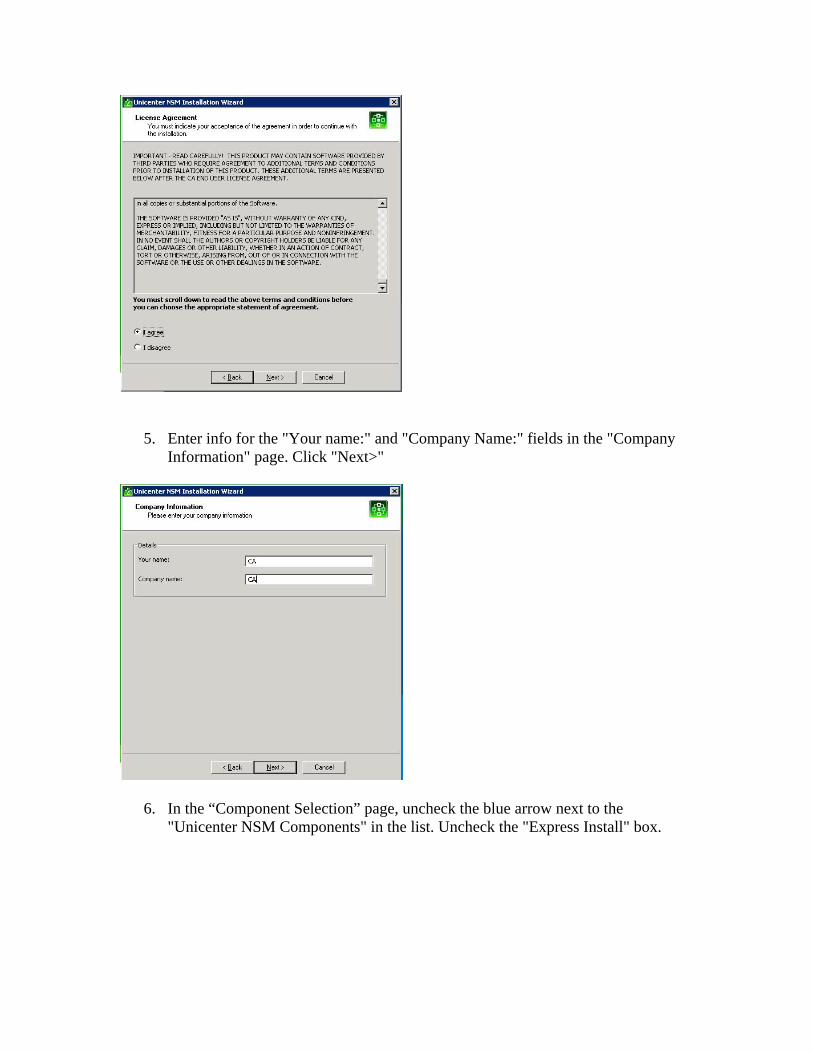
3. Verify that the "Install any or all Unicenter NSM components" button is filled in the "Welcome to the Unicenter NSM install" screen. Click "Next>"
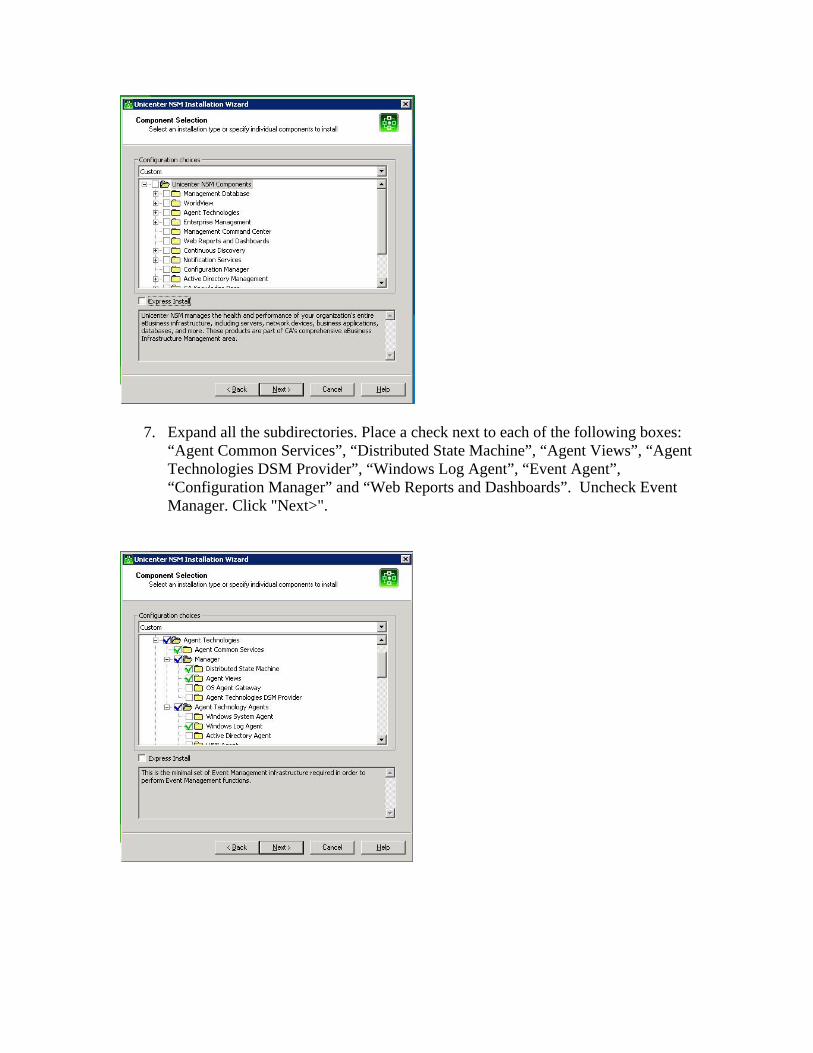
4. Scroll through the License Agreement and fill in the "I agree" button. Click "Next>"
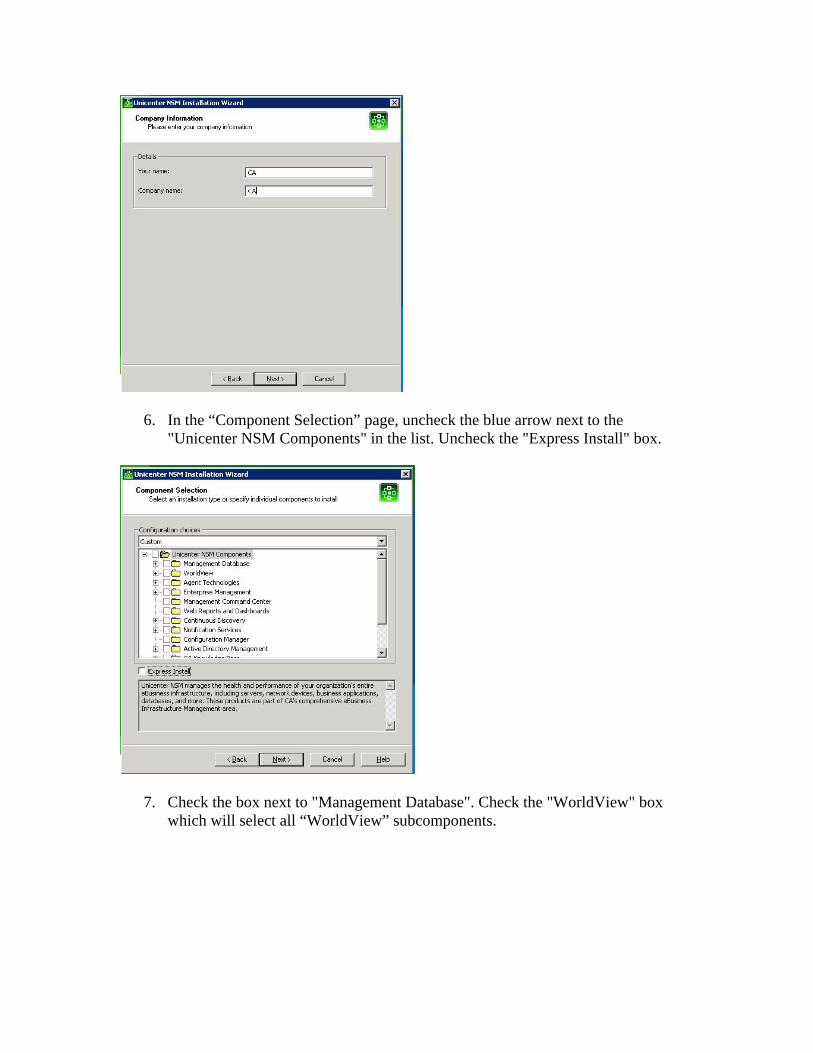
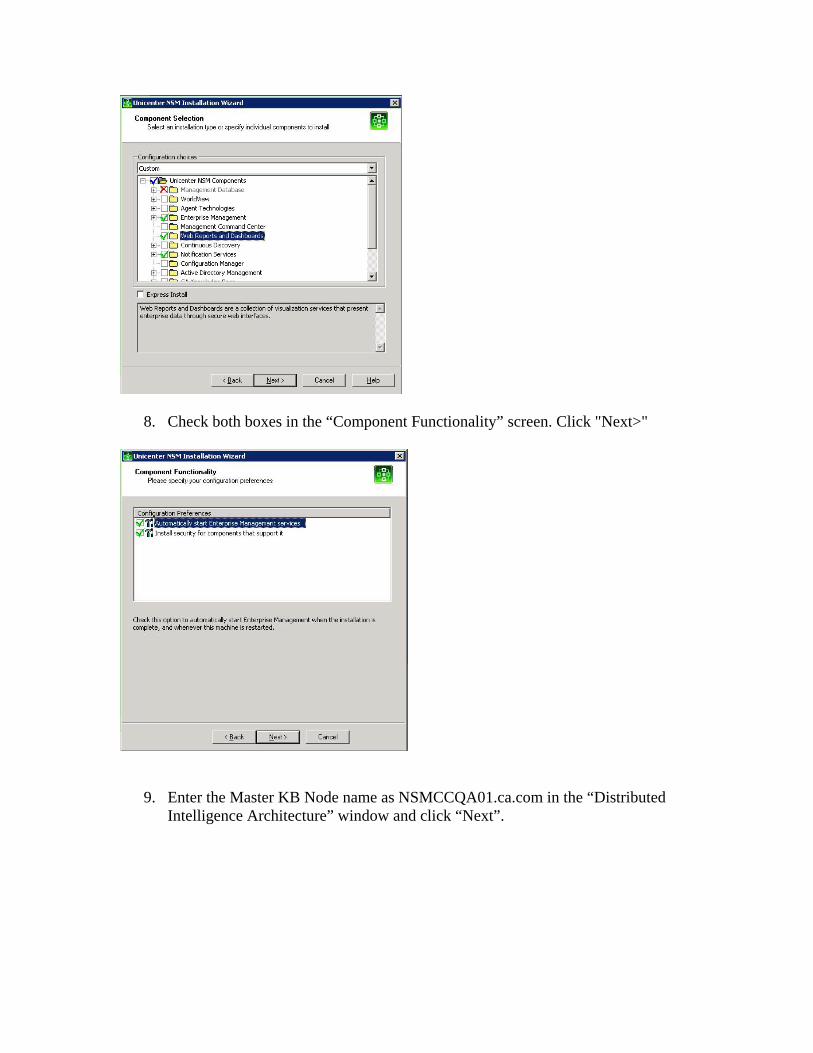
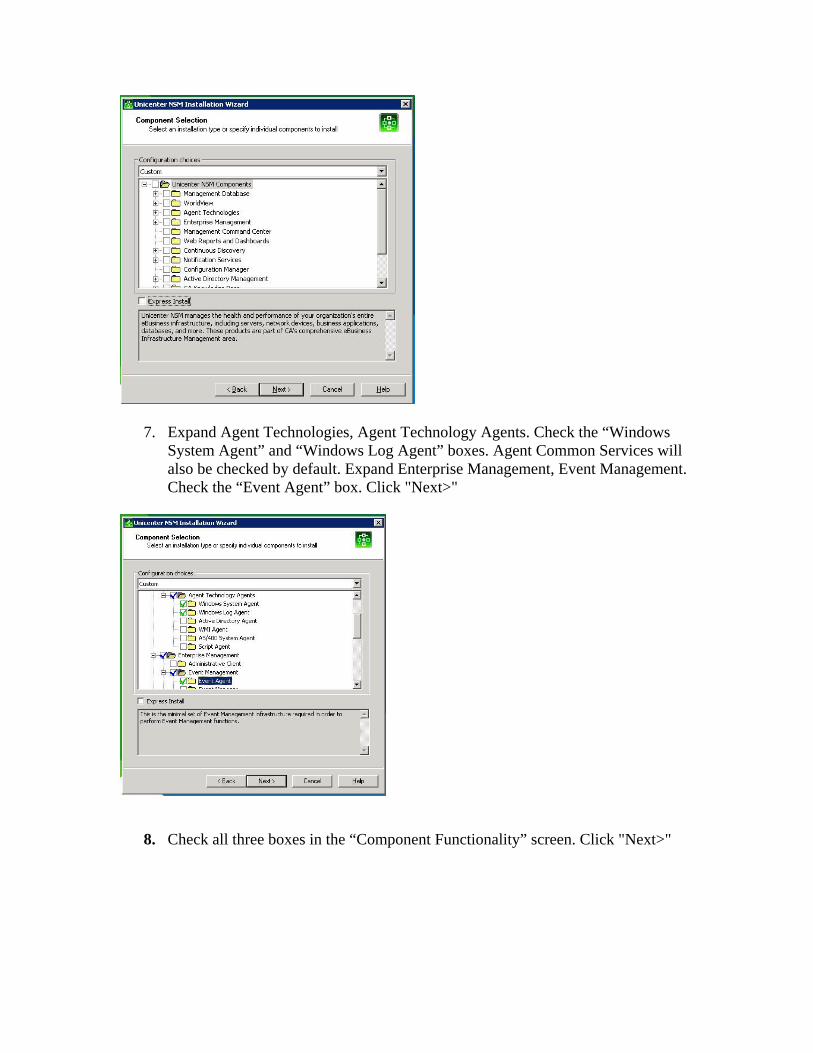
5. Enter info for the "Your name:" and "Company Name:" fields in the "Company Information" page. Click "Next>"
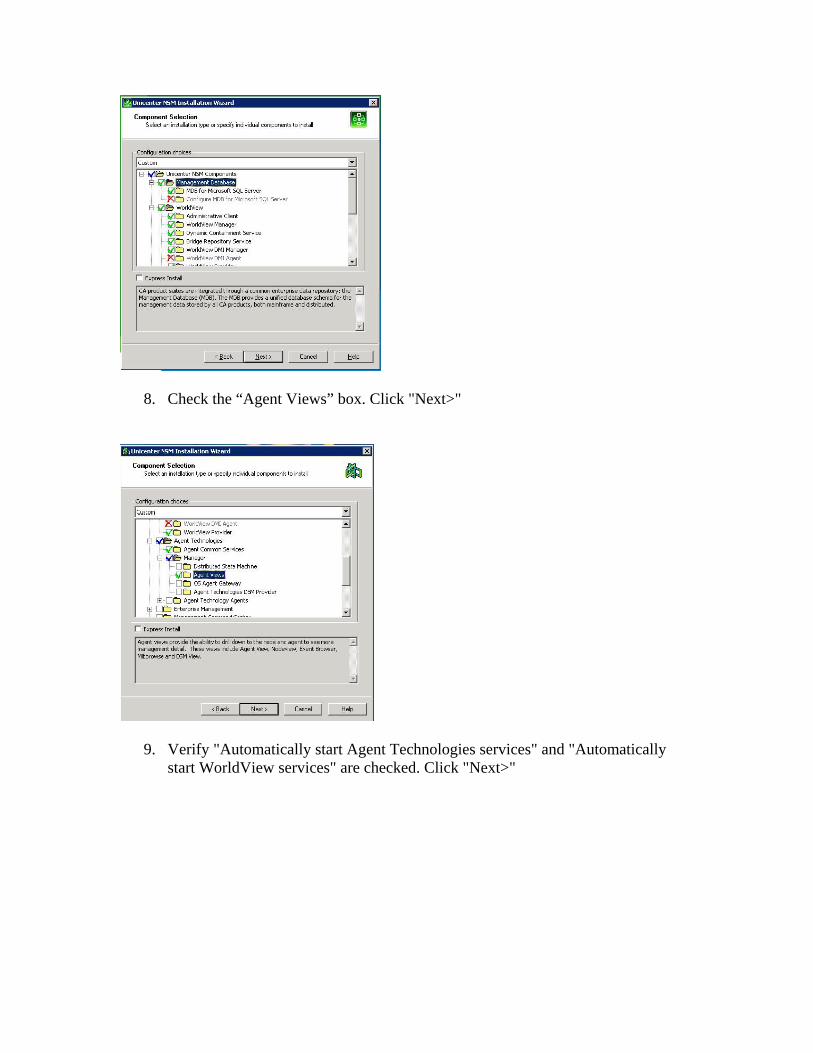
6. In the “Component Selection” page, uncheck the blue arrow next to the "Unicenter NSM Components" in the list. Uncheck the "Express Install" box.
7. Check the box next to "Management Database". Check the "WorldView" box which will select all “WorldView” subcomponents.
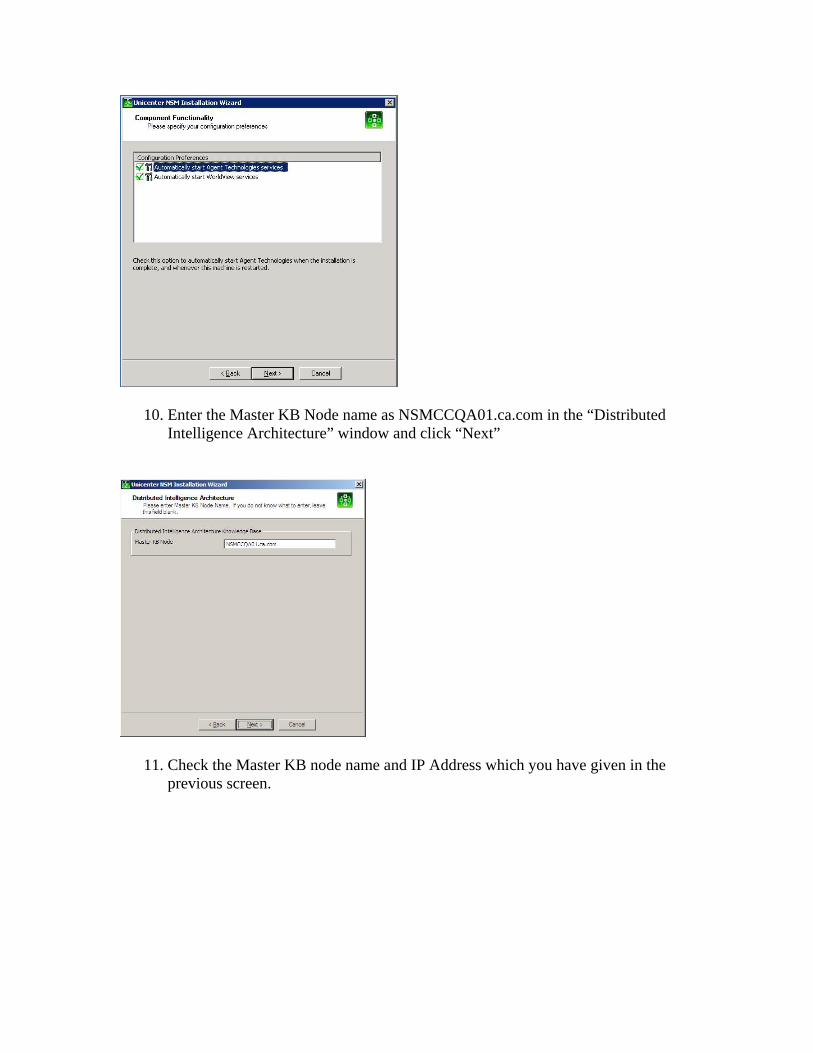
8. Check the “Agent Views” box. Click "Next>"
9. Verify "Automatically start Agent Technologies services" and "Automatically start WorldView services" are checked. Click "Next>"
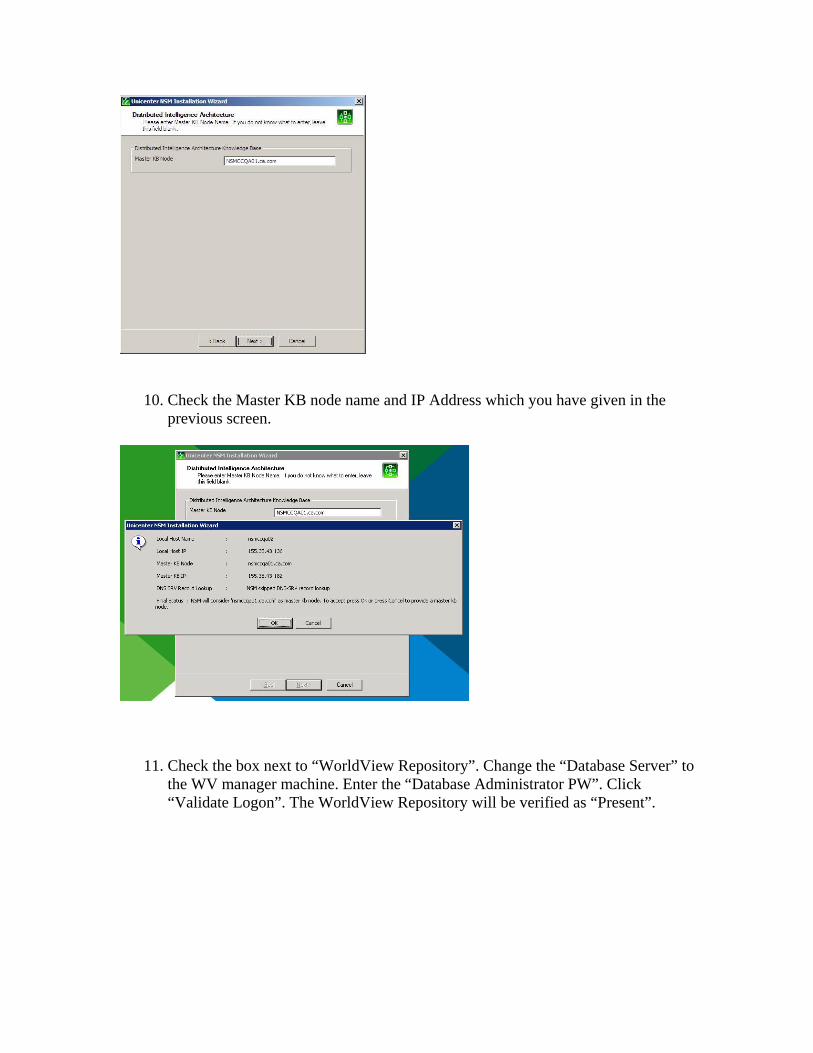
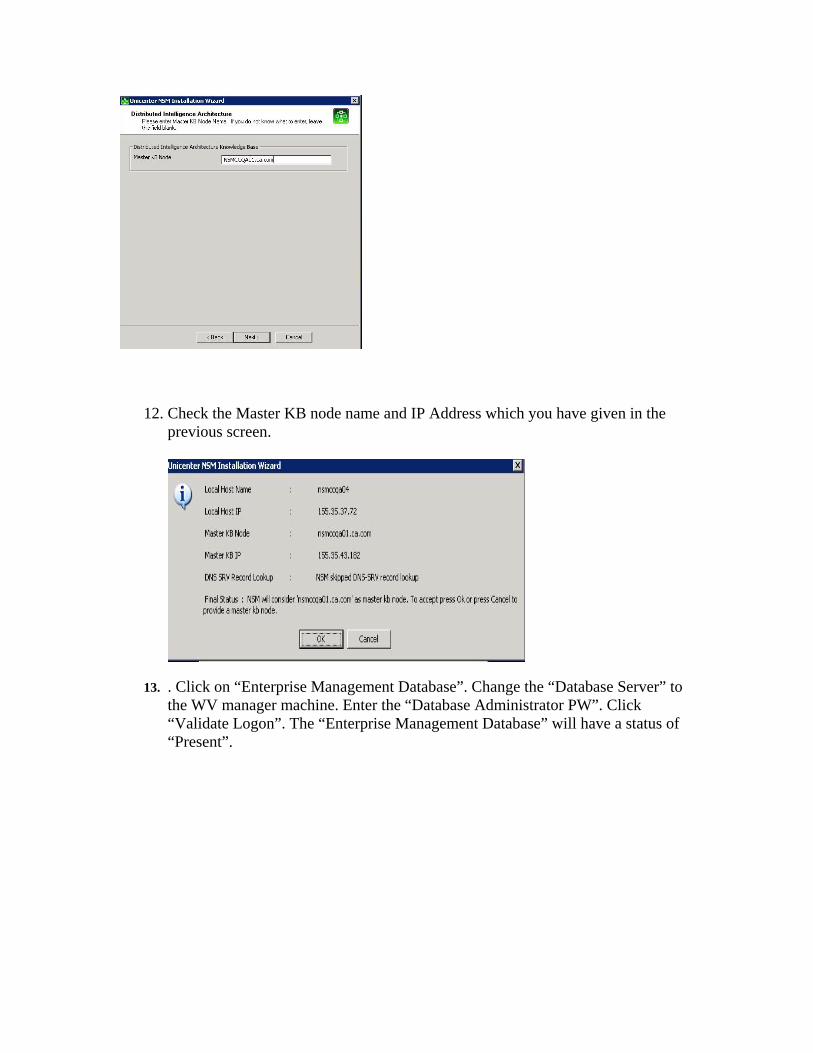
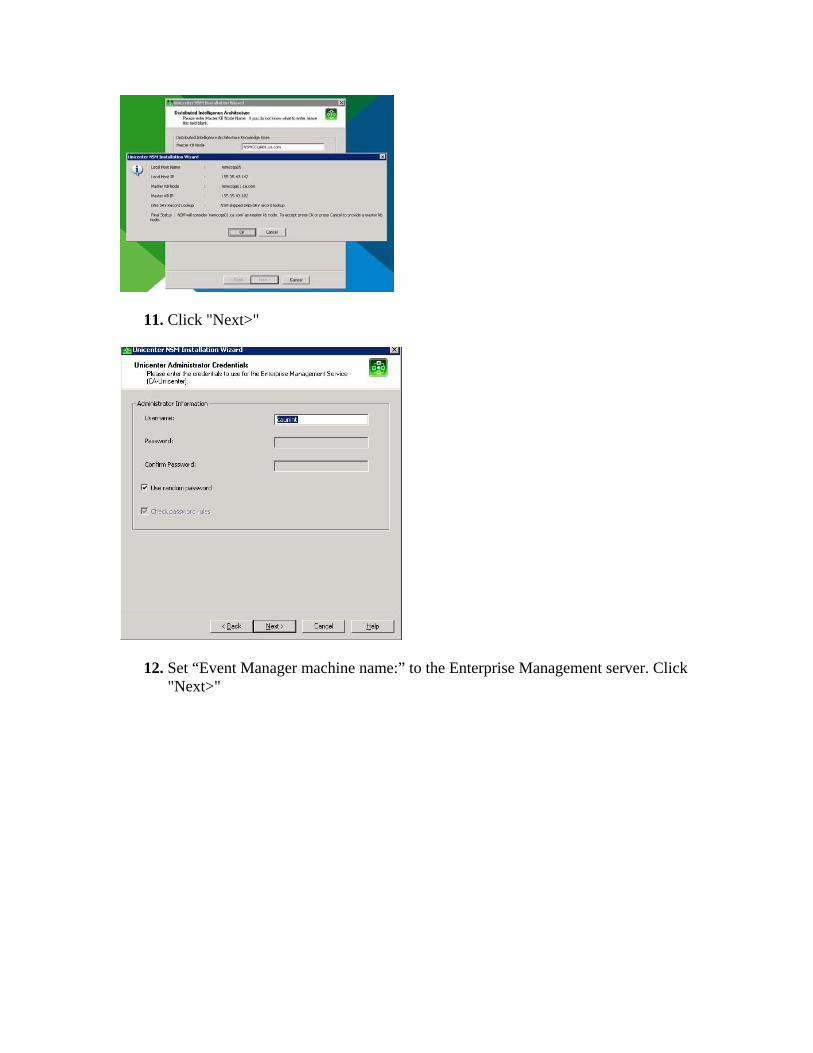
10. Enter the Master KB Node name as NSMCCQA01.ca.com in the “Distributed Intelligence Architecture” window and click “Next”
11. Check the Master KB node name and IP Address which you have given in the previous screen.
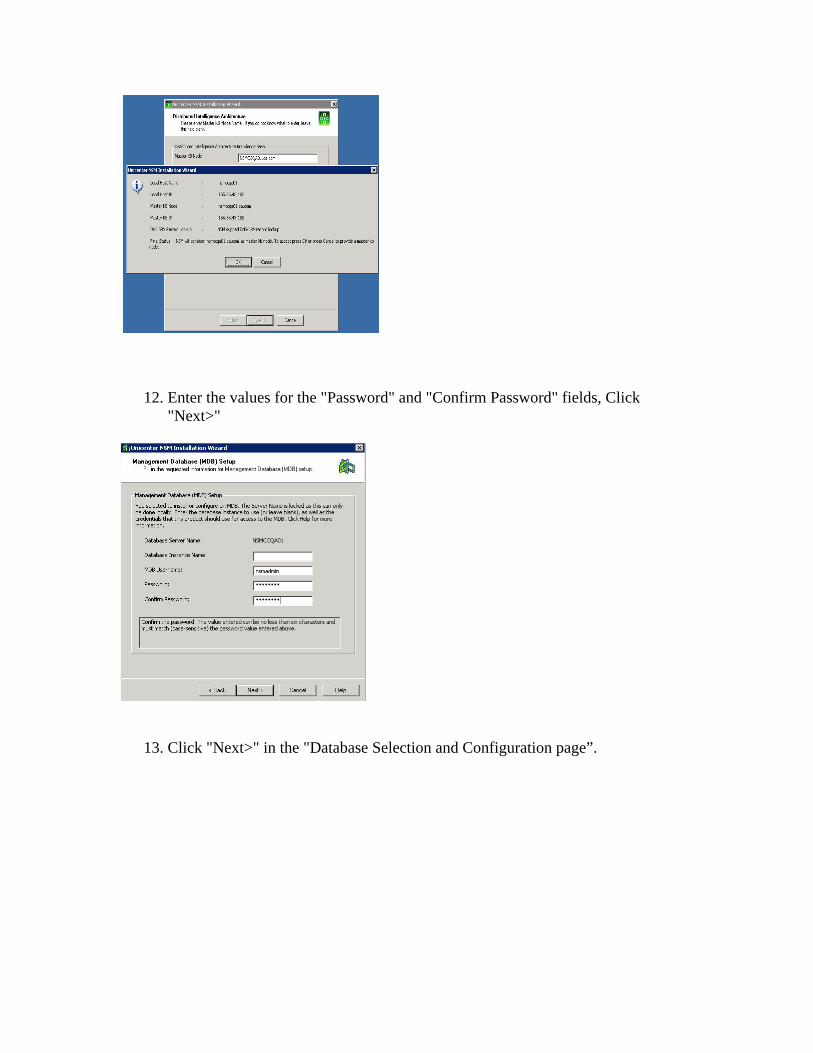
12. Enter the values for the "Password" and "Confirm Password" fields, Click "Next>"
13. Click "Next>" in the "Database Selection and Configuration page”.
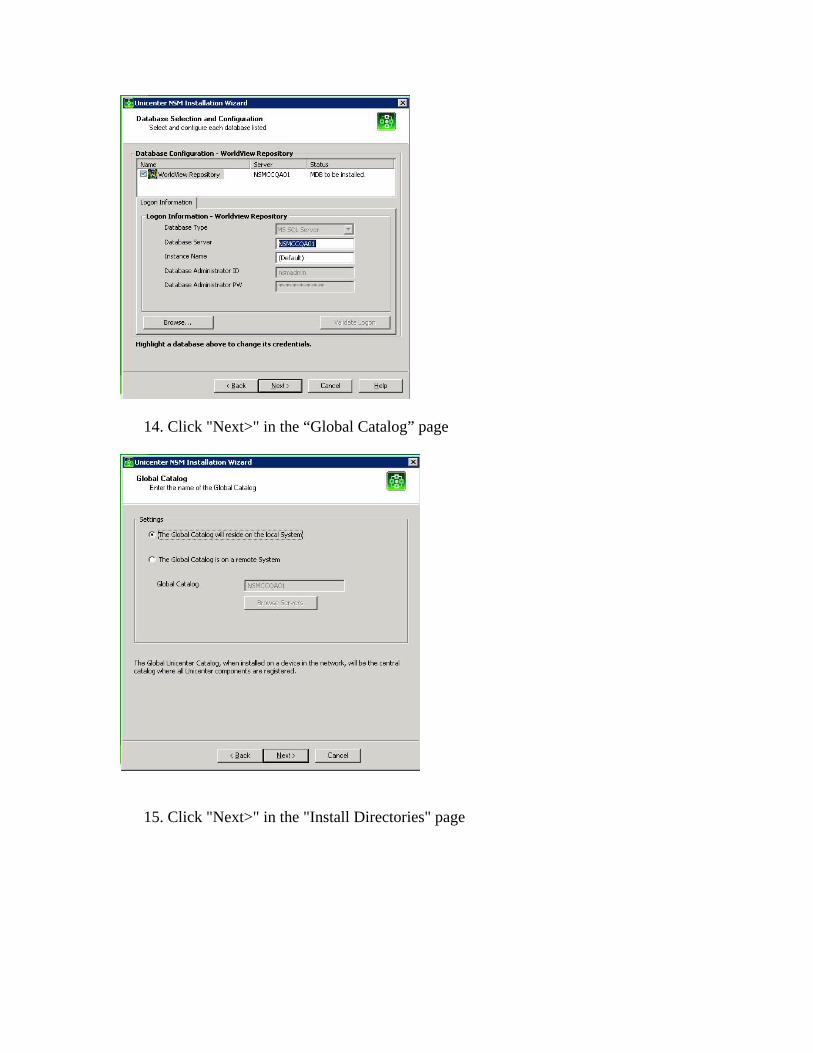
14. Click "Next>" in the “Global Catalog” page
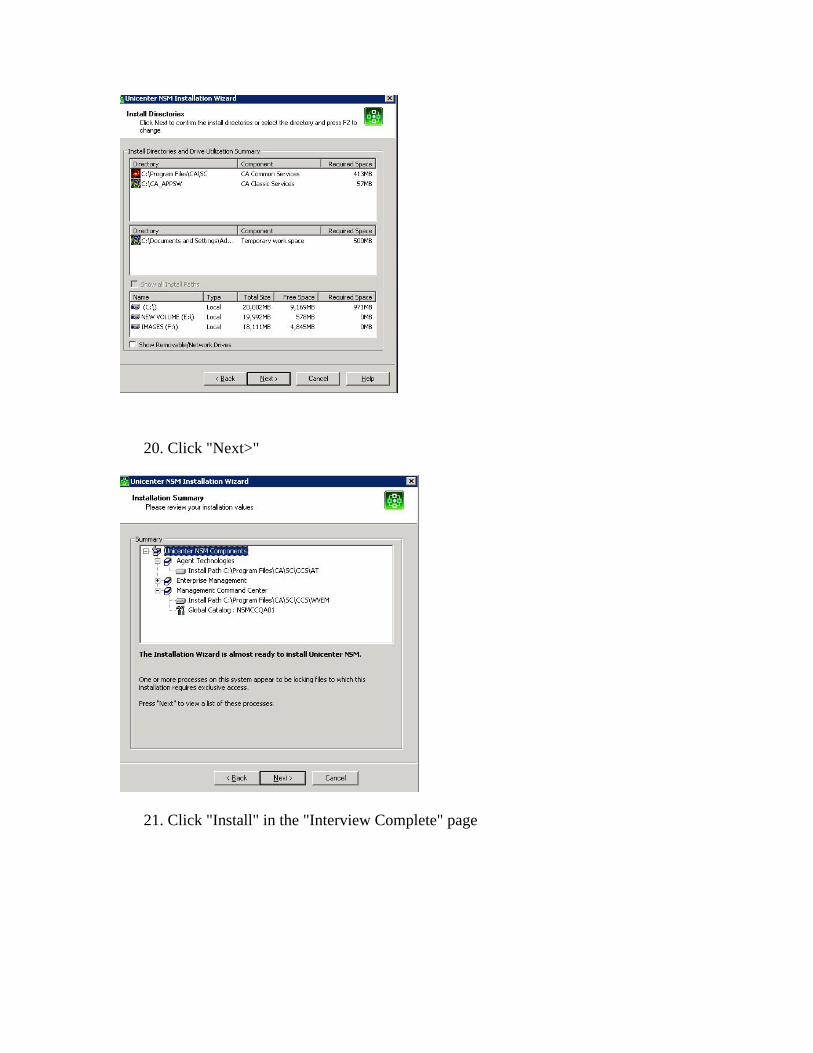
15. Click "Next>" in the "Install Directories" page
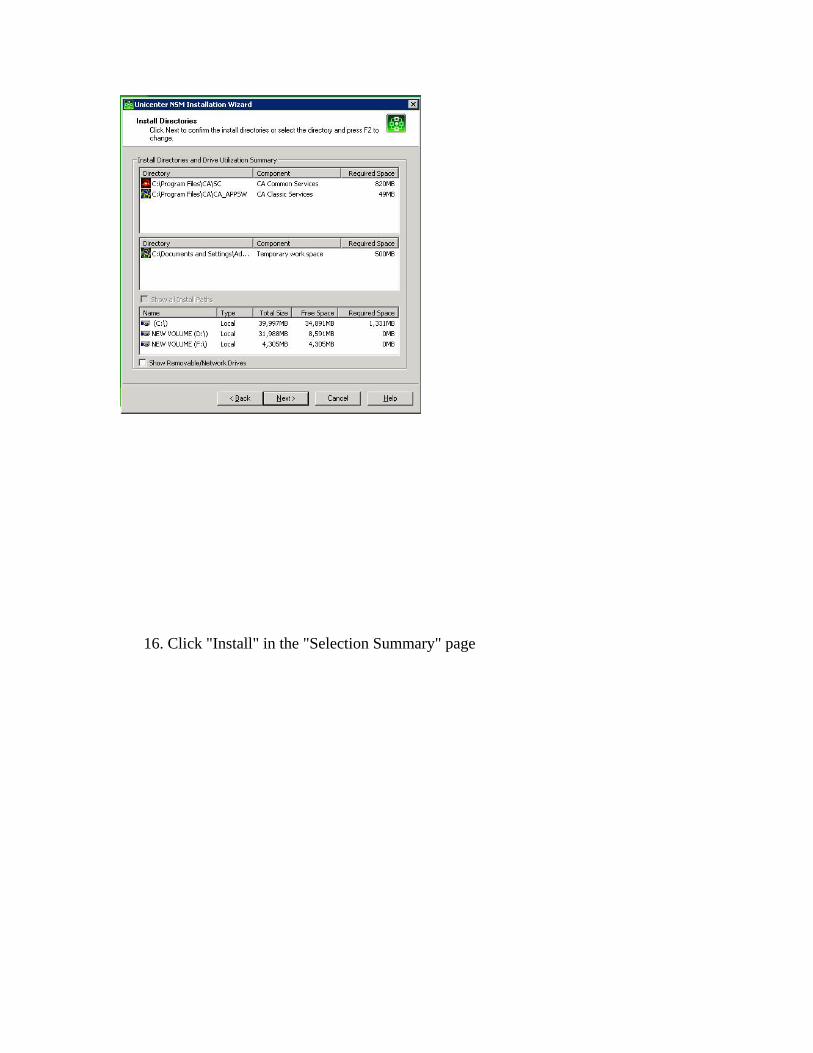
16. Click "Install" in the "Selection Summary" page
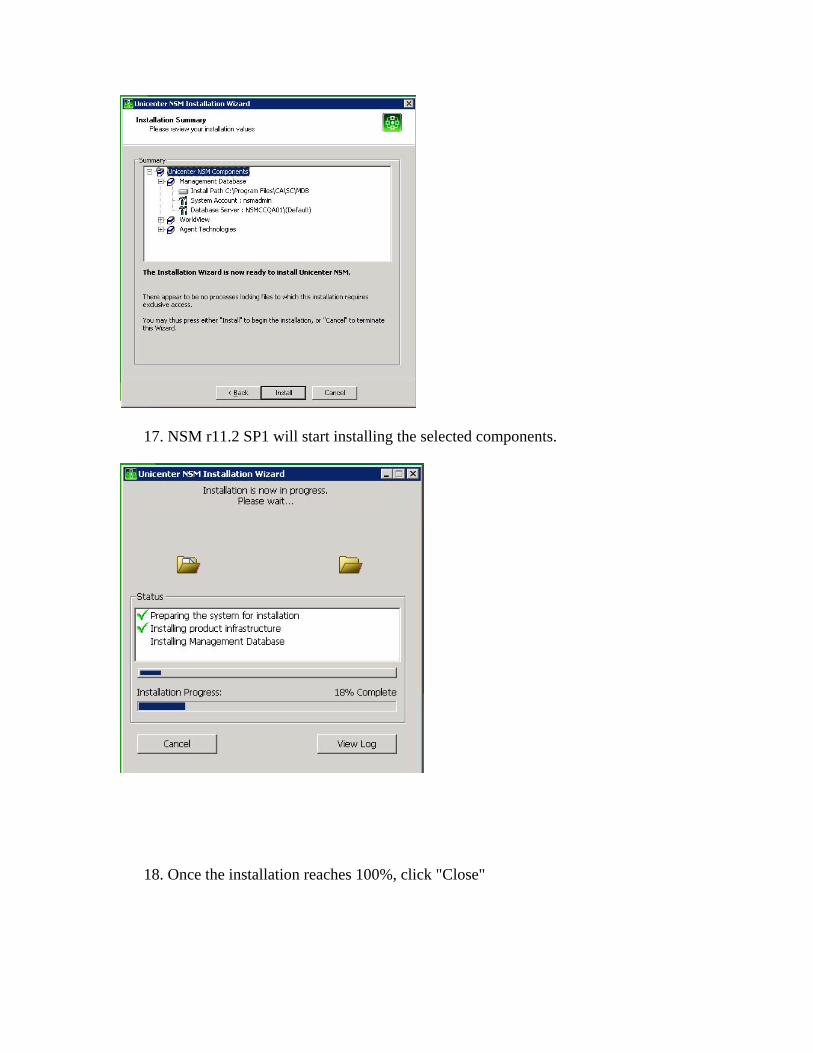
17. NSM r11.2 SP1 will start installing the selected components.
18. Once the installation reaches 100%, click "Close"
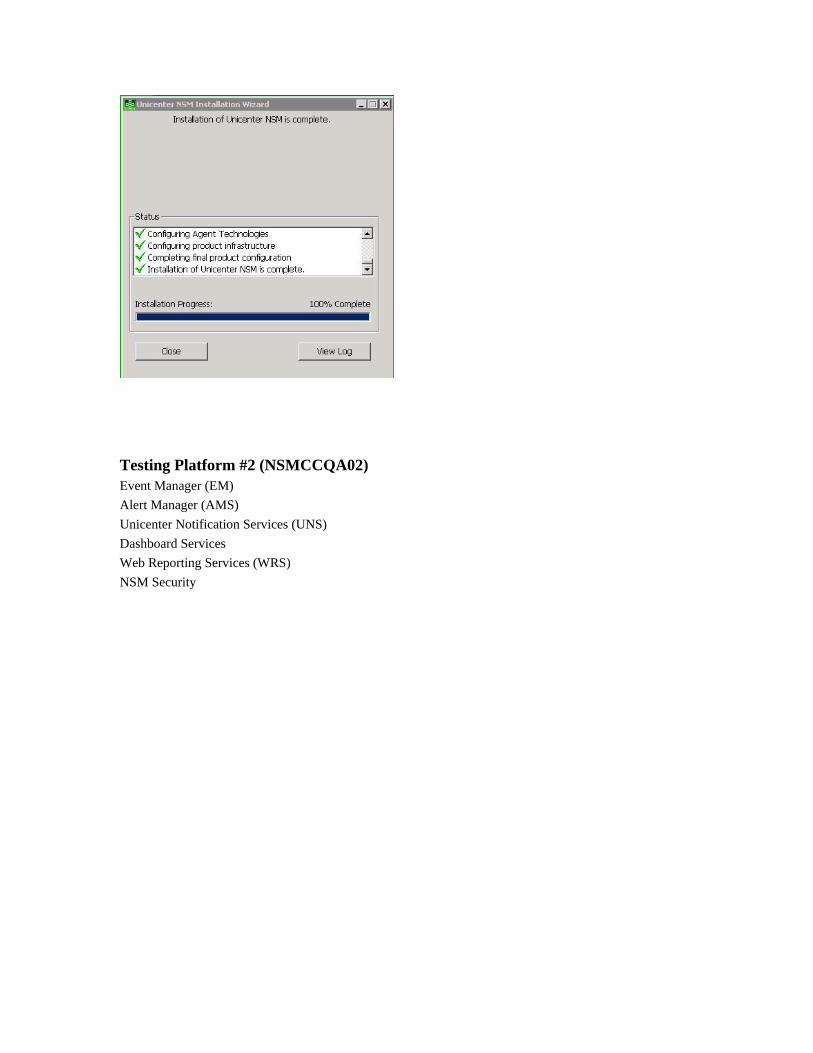
Testing Platform #2 (NSMCCQA02) Event Manager (EM) Alert Manager (AMS) Unicenter Notification Services (UNS) Dashboard Services Web Reporting Services (WRS) NSM Security
1. Double click on the NSM 11.2 SP1 CD icon in "My Computer"
2. Double click on "Installation Wizard for Unicenter NSM" in the Unicenter Product Explorer
3. Verify that the "Install any or all Unicenter NSM components" button is filled in the "Welcome to the Unicenter NSM install" screen. Click "Next>"
4. Scroll through the License Agreement and fill in the "I agree" button. Click "Next>"
5. Enter info for the "Your name:" and "Company Name:" fields in the "Company Information" page. Click "Next>"
6. In the “Component Selection” page, uncheck the blue arrow next to the
"Unicenter NSM Components" in the list. Uncheck the "Express Install" box.
7. Check the boxes next to "Enterprise Management", “Notification Services”, and
“Web Reports and Dashboards”. Click "Next>"
8. Check both boxes in the “Component Functionality” screen. Click "Next>"
9. Enter the Master KB Node name as NSMCCQA01.ca.com in the “Distributed Intelligence Architecture” window and click “Next”.
10. Check the Master KB node name and IP Address which you have given in the previous screen.
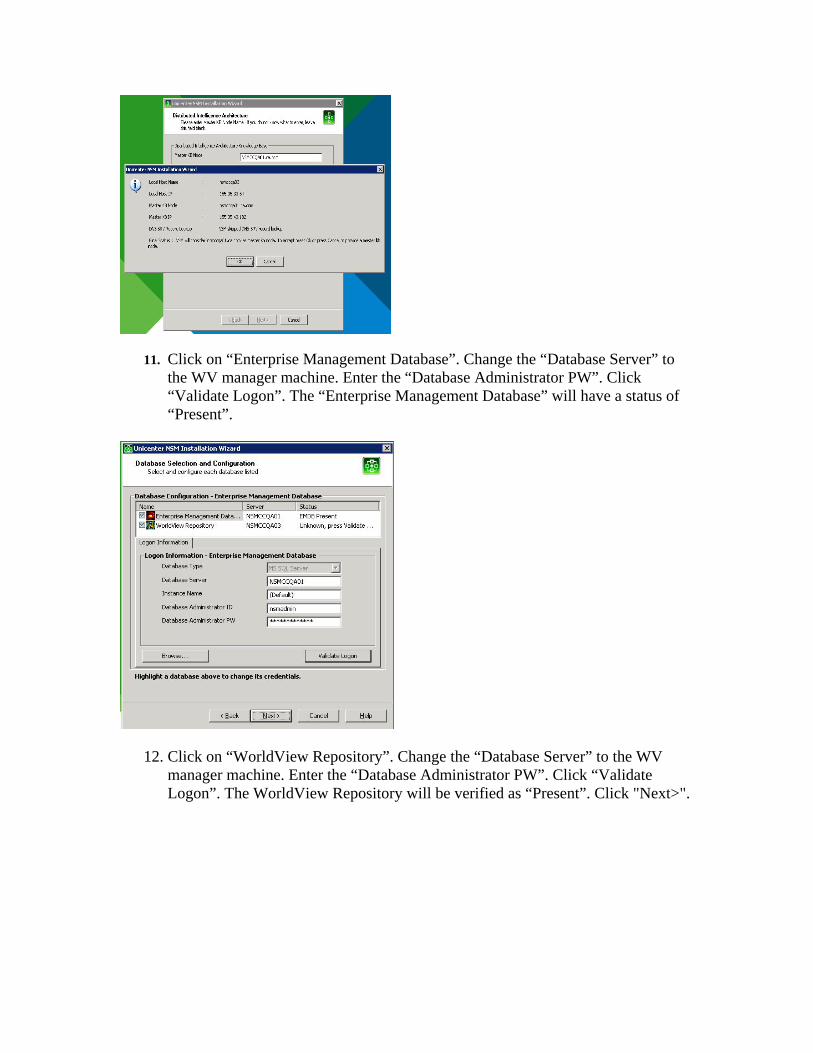
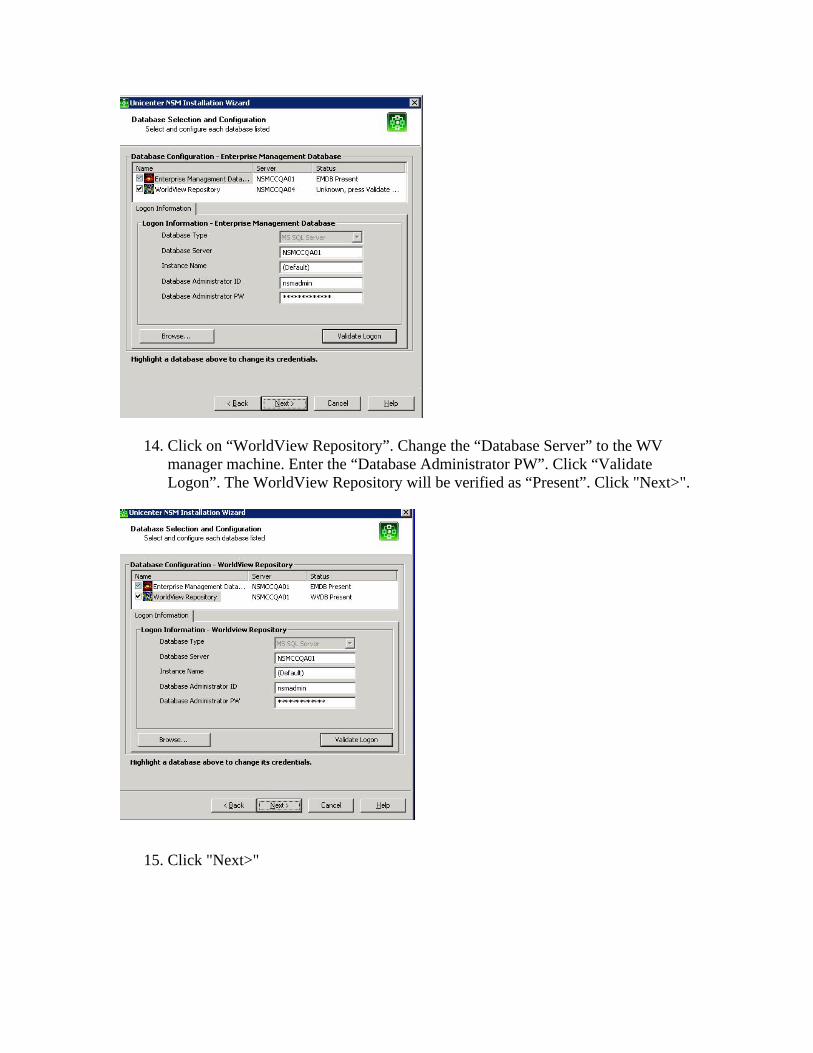
11. Check the box next to “WorldView Repository”. Change the “Database Server” to the WV manager machine. Enter the “Database Administrator PW”. Click “Validate Logon”. The WorldView Repository will be verified as “Present”.
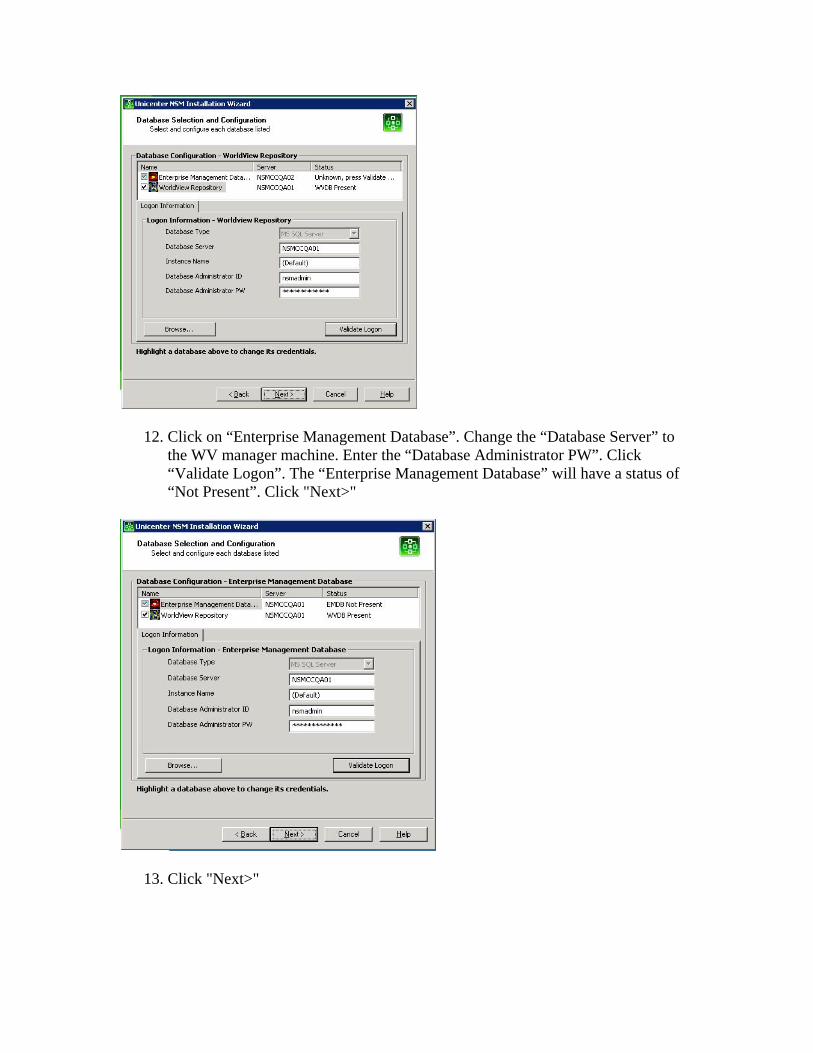
12. Click on “Enterprise Management Database”. Change the “Database Server” to the WV manager machine. Enter the “Database Administrator PW”. Click “Validate Logon”. The “Enterprise Management Database” will have a status of “Not Present”. Click "Next>"
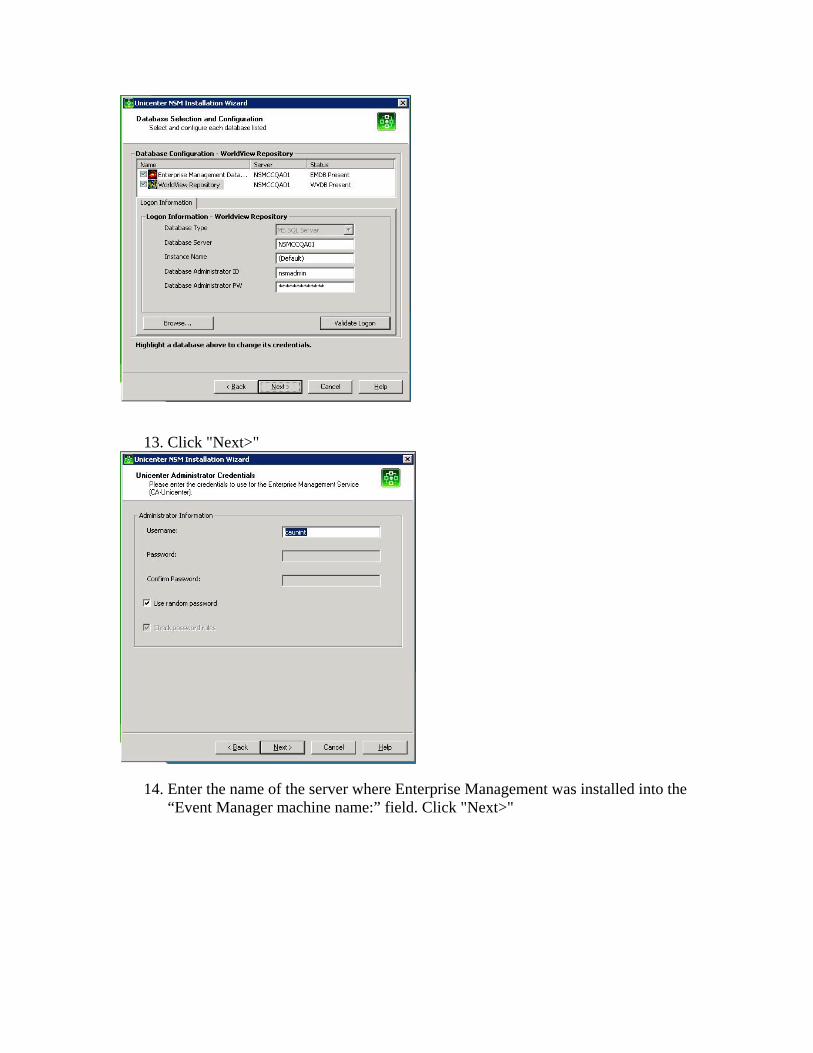
13. Click "Next>"
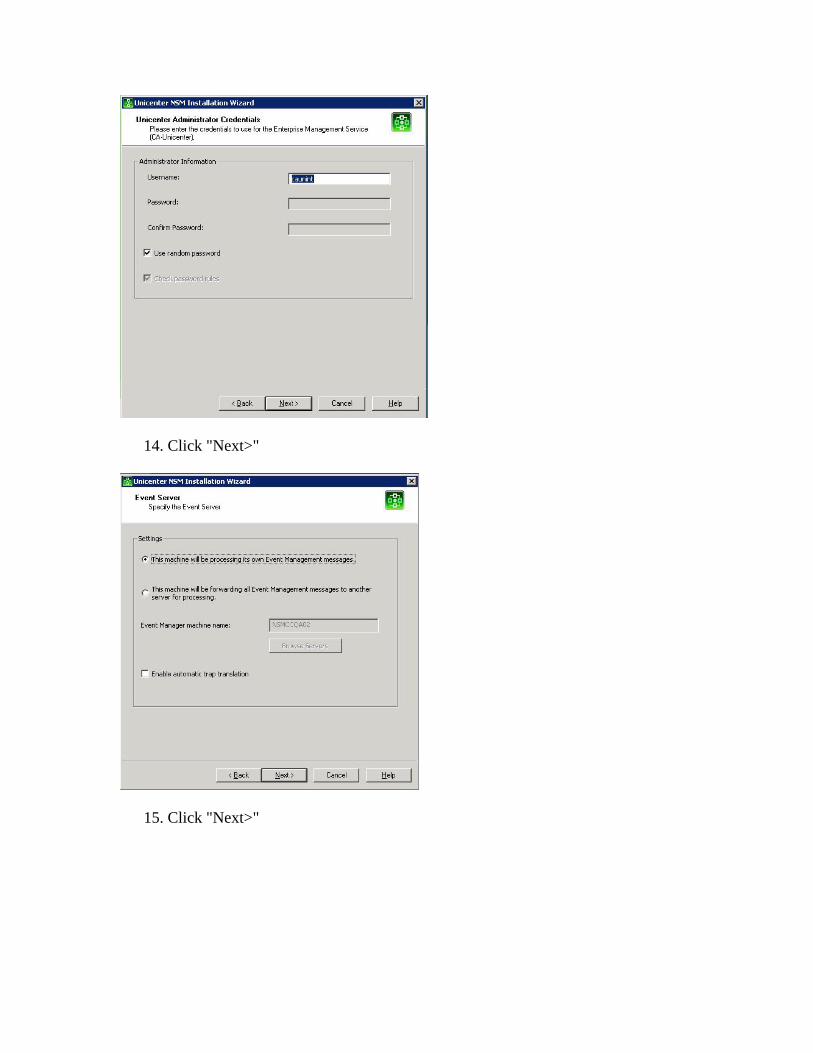
14. Click "Next>"
15. Click "Next>"
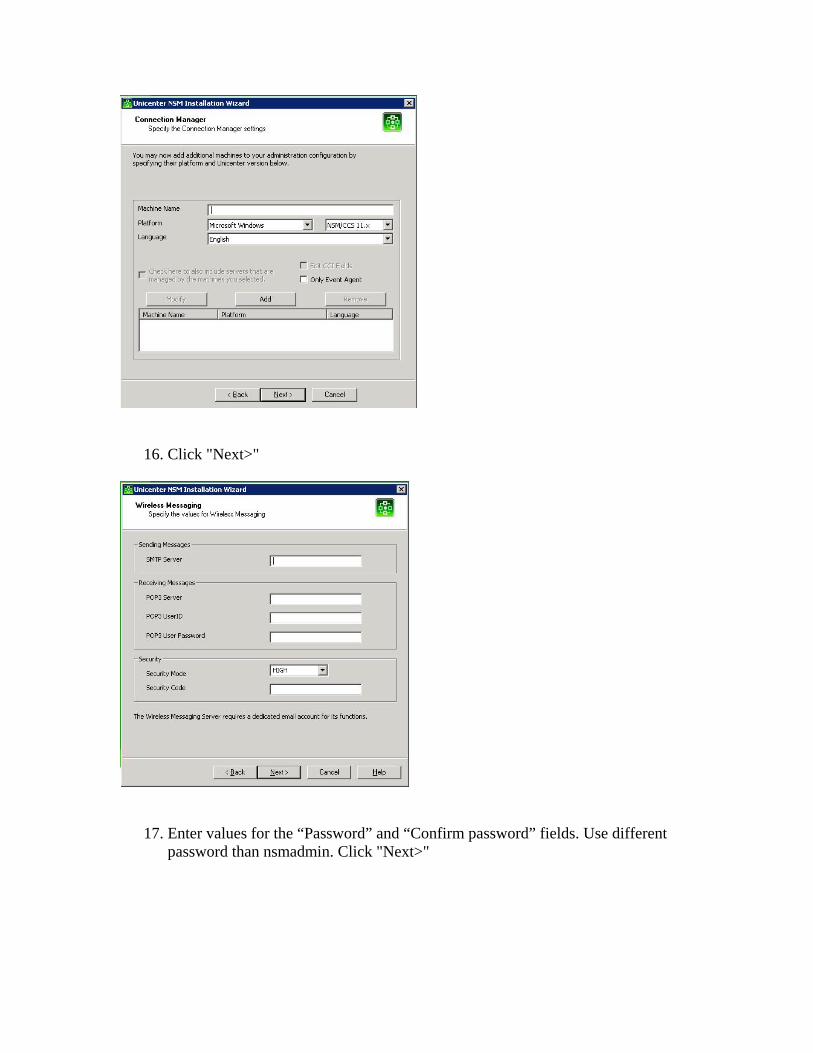
16. Click "Next>"
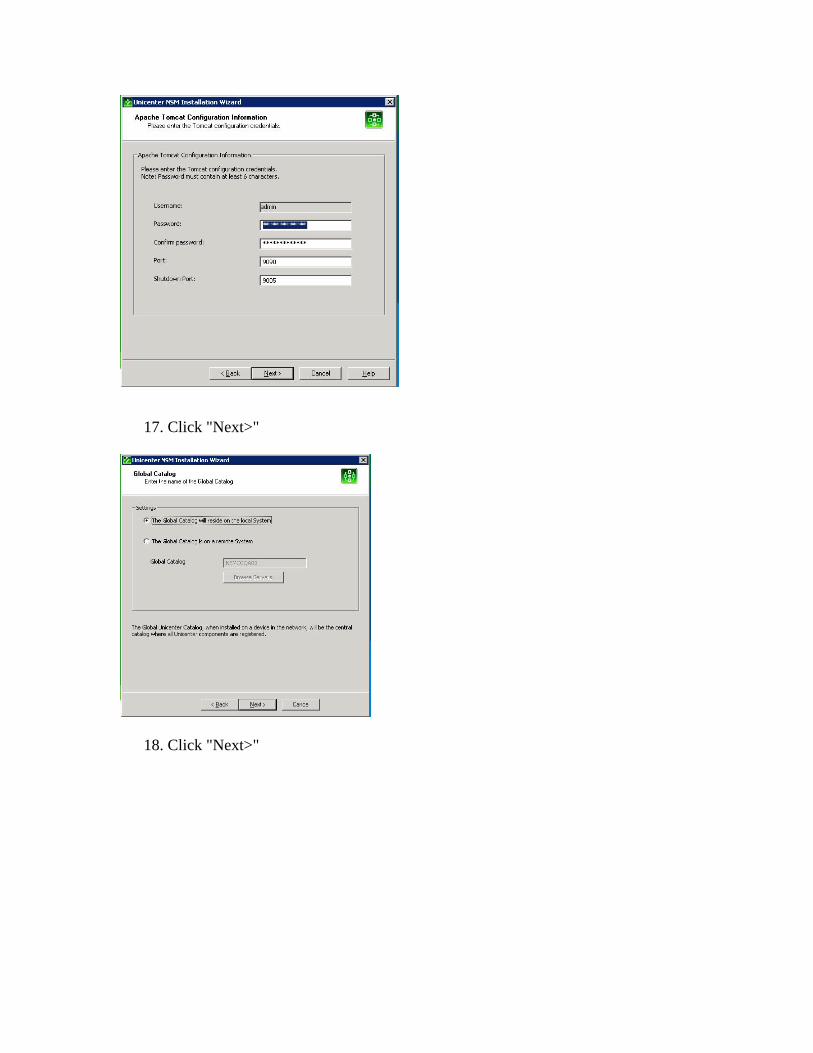
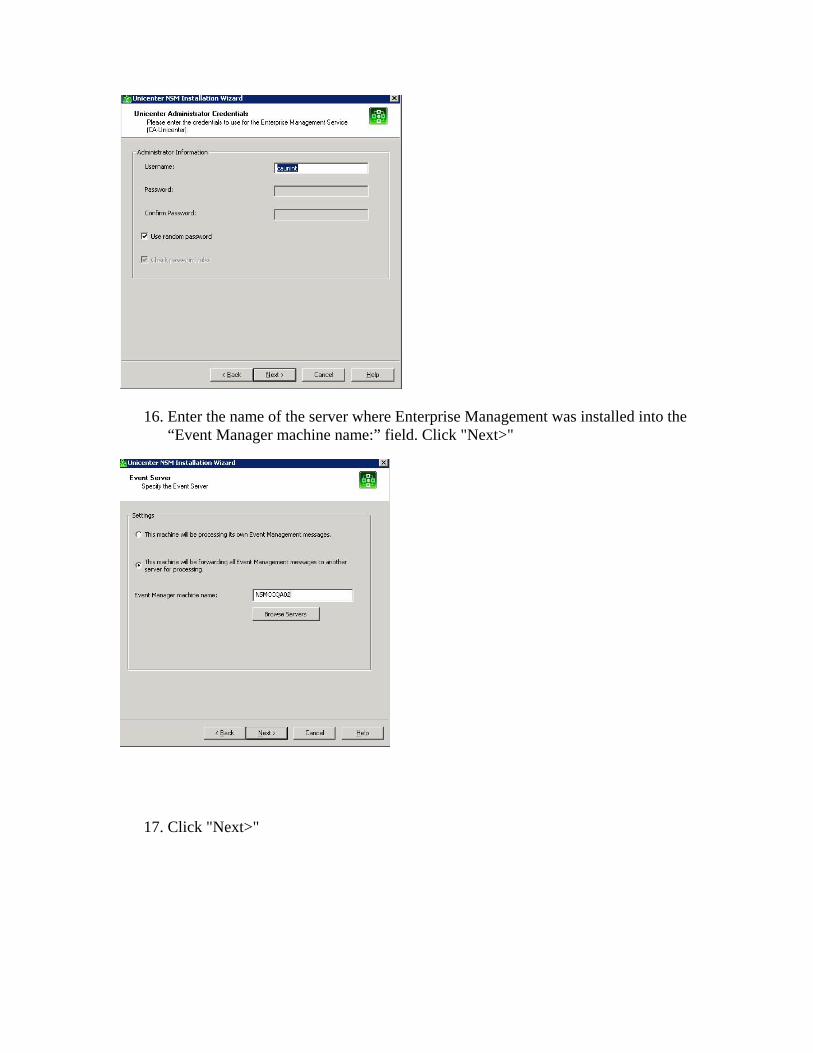
17. Enter values for the “Password” and “Confirm password” fields. Use different password than nsmadmin. Click "Next>"
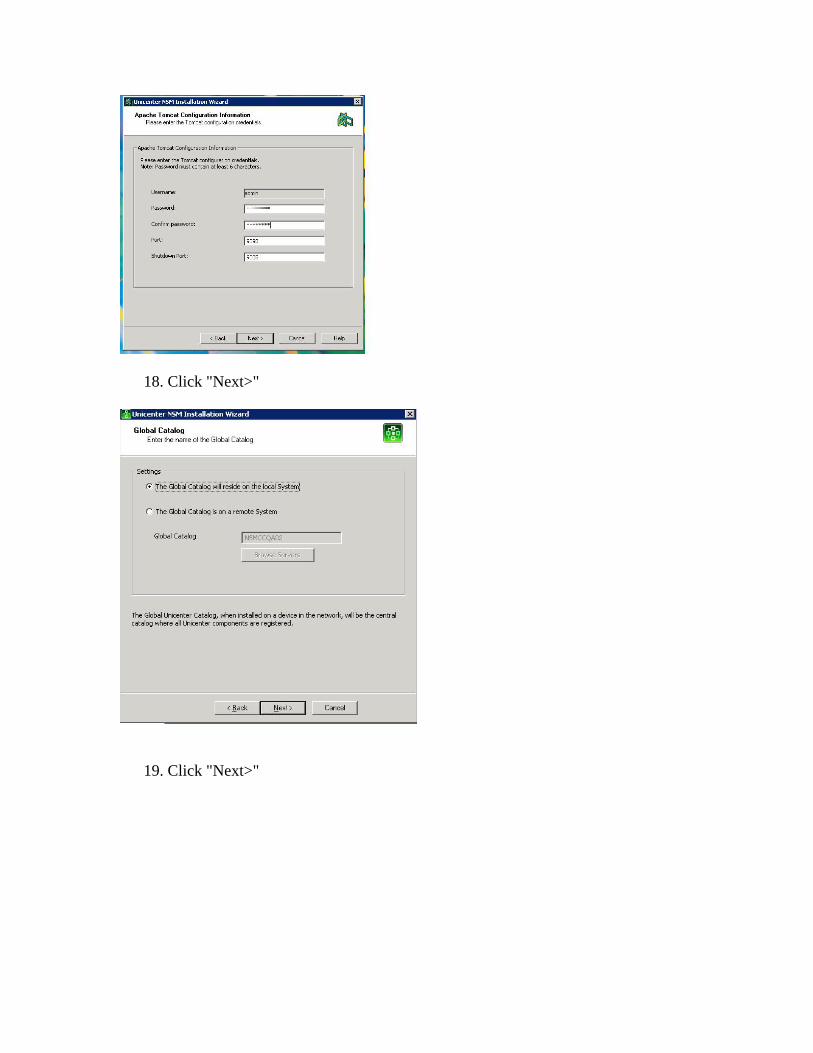
18. Click "Next>"
19. Click "Next>"
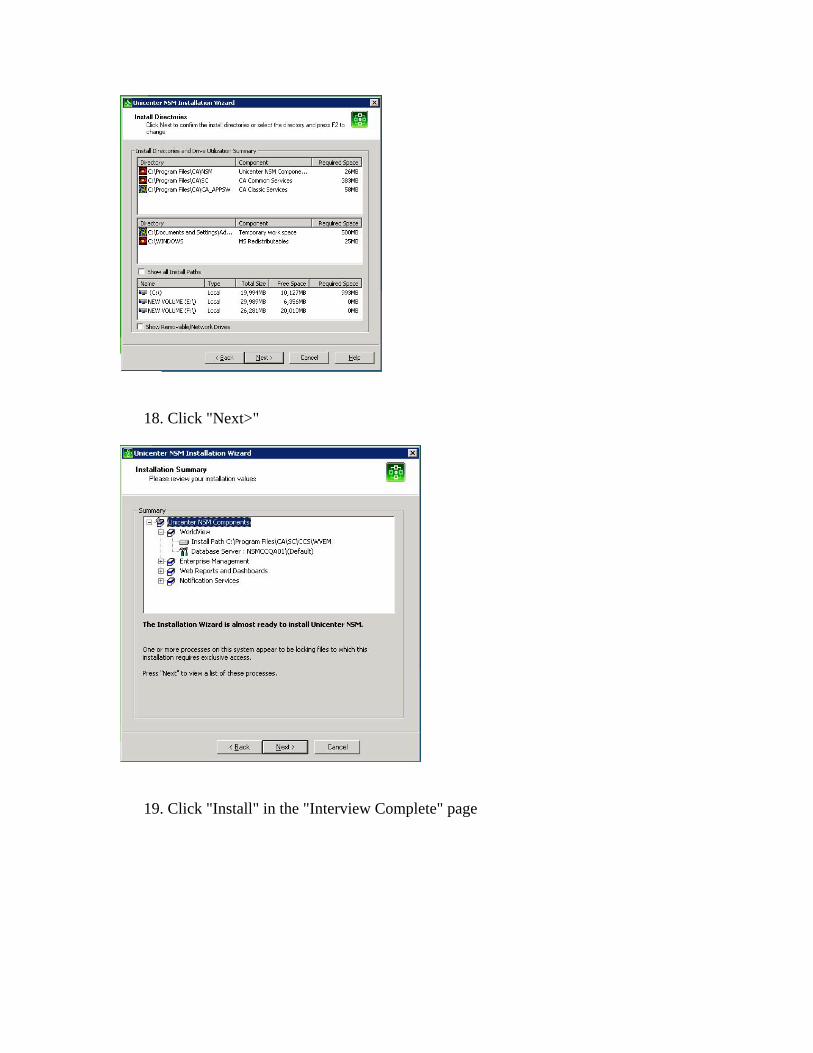
18. Click "Next>"
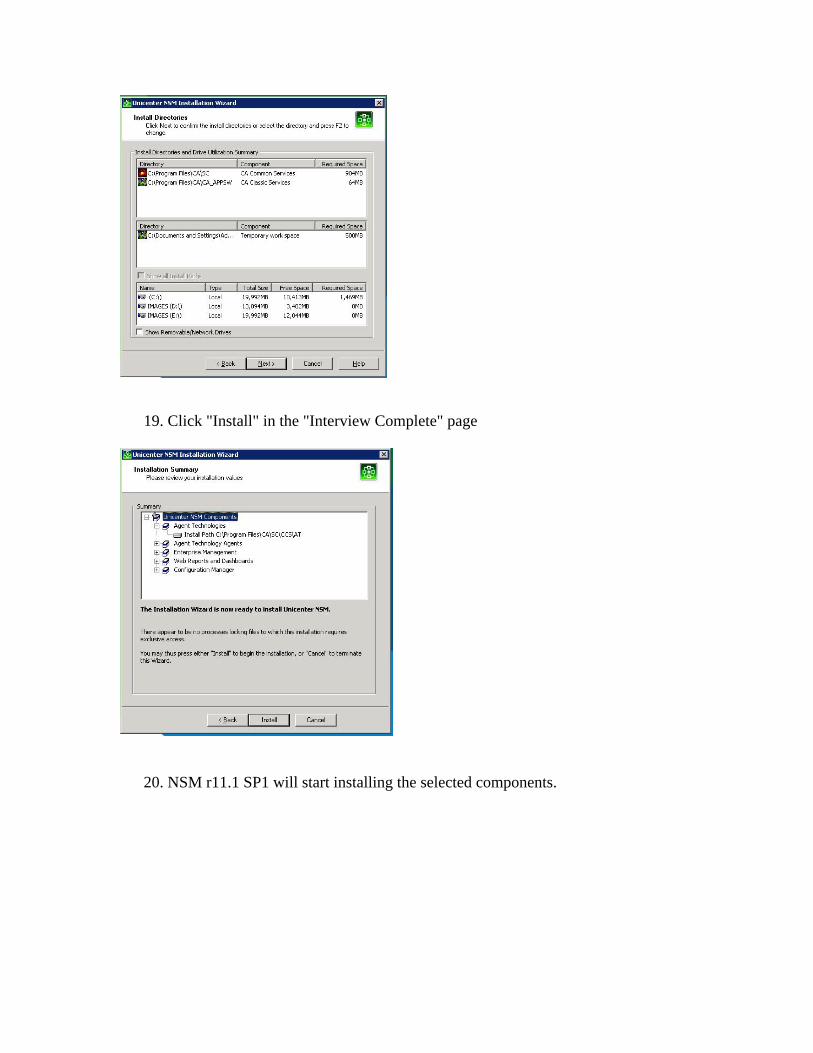
19. Click "Install" in the "Interview Complete" page
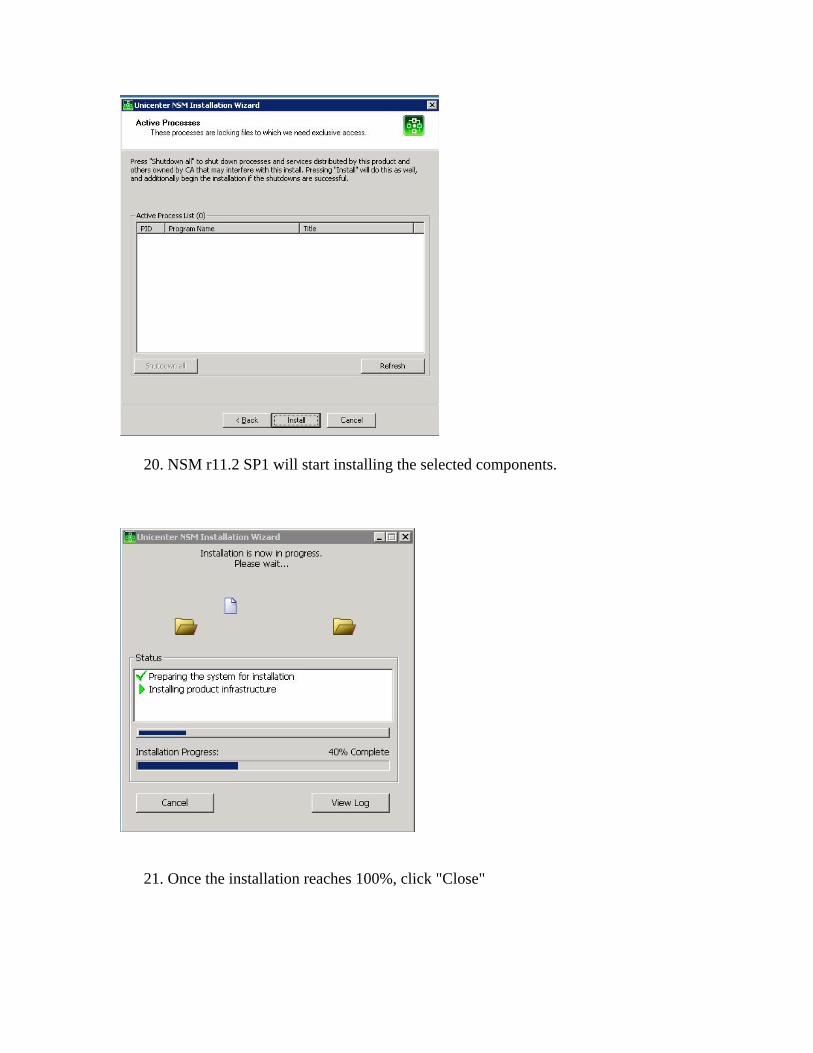
20. NSM r11.2 SP1 will start installing the selected components.
21. Once the installation reaches 100%, click "Close"
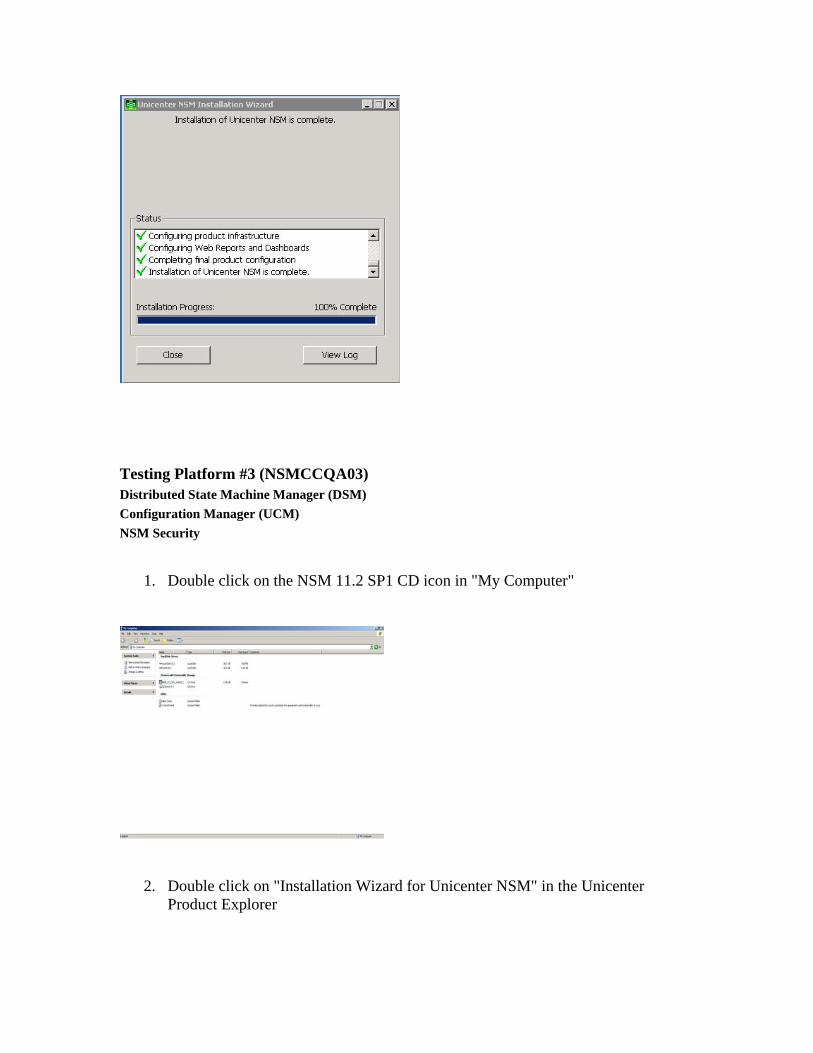
Testing Platform #3 (NSMCCQA03) Distributed State Machine Manager (DSM) Configuration Manager (UCM) NSM Security
1. Double click on the NSM 11.2 SP1 CD icon in "My Computer"
2. Double click on "Installation Wizard for Unicenter NSM" in the Unicenter Product Explorer
3. Verify that the "Install any or all Unicenter NSM components" button is filled in the "Welcome to the Unicenter NSM install" screen. Click "Next>"
4. Scroll through the License Agreement and fill in the "I agree" button. Click "Next>"
5. Enter info for the "Your name:" and "Company Name:" fields in the "Company Information" page. Click "Next>"
6. In the “Component Selection” page, uncheck the blue arrow next to the
"Unicenter NSM Components" in the list. Uncheck the "Express Install" box.
7. Expand all the subdirectories. Place a check next to each of the following boxes: “Agent Common Services”, “Distributed State Machine”, “Agent Views”, “Agent Technologies DSM Provider”, “Windows Log Agent”, “Event Agent”, “Configuration Manager” and “Web Reports and Dashboards”. Uncheck Event Manager. Click "Next>".
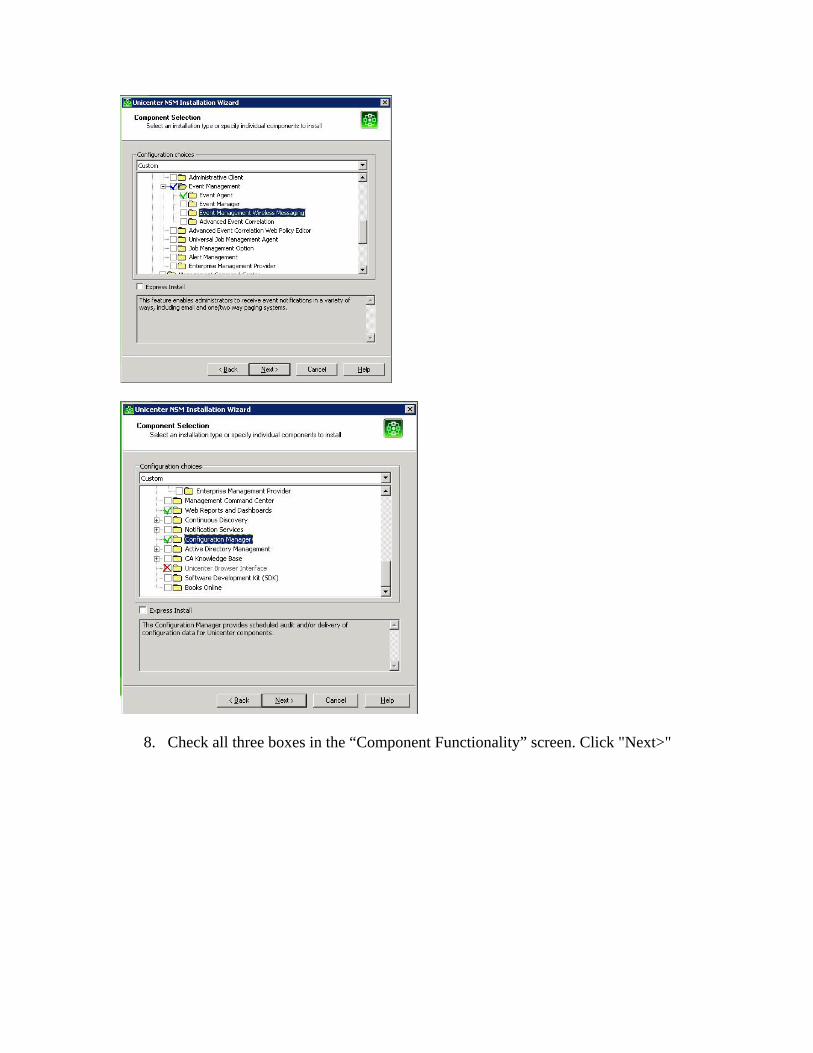
8. Check all three boxes in the “Component Functionality” screen. Click "Next>"

9. Enter the Master KB Node name as NSMCCQA01.ca.com in the “Distributed Intelligence Architecture” window and click “Next”.
10. Check the Master KB node name and IP Address which you have given in the previous screen.
11. Click on “Enterprise Management Database”. Change the “Database Server” to the WV manager machine. Enter the “Database Administrator PW”. Click “Validate Logon”. The “Enterprise Management Database” will have a status of “Present”.
12. Click on “WorldView Repository”. Change the “Database Server” to the WV manager machine. Enter the “Database Administrator PW”. Click “Validate Logon”. The WorldView Repository will be verified as “Present”. Click "Next>".
13. Click "Next>"
14. Enter the name of the server where Enterprise Management was installed into the “Event Manager machine name:” field. Click "Next>"

15. Click "Next>"
16. Enter values for the “Password” and “Confirm password” fields. Use different password than nsmadmin. Click "Next>"
17. Click "Next>"
18. Click "Next>"
19. Click "Install" in the "Interview Complete" page
20. NSM r11.1 SP1 will start installing the selected components.
21. Once the installation reaches 100%, click "Close"
Testing Platform #4 (NSMCCQA04) Management Command Center (MCC)
1. Double click on the NSM 11.2 SP1 CD icon in "My Computer"
2. Double click on "Installation Wizard for Unicenter NSM" in the Unicenter Product Explorer
3. Verify that the "Install any or all Unicenter NSM components" button is filled in the "Welcome to the Unicenter NSM install" screen. Click "Next>"

4. Scroll through the License Agreement and fill in the "I agree" button. Click "Next>"
5. Enter info for the "Your name:" and "Company Name:" fields in the "Company Information" page. Click "Next>"
6. In the “Component Selection” page, uncheck the blue arrow next to the "Unicenter NSM Components" in the list. Uncheck the "Express Install" box.
7. Check the box next to "Management Command Center".

8. Expand “Agent Technologies”, then “Manager”. Check the box next to “Agent Views”.
9. Expand Enterprise Management and then Event Management. Check the Administrative Client and Event Agent boxes. Click "Next>"
10. Check all three boxes in the “Component Functionality” screen. Click "Next>"
11. Enter the Master KB Node name as NSMCCQA01.ca.com in the “Distributed
Intelligence Architecture” window and click “Next”.
12. Check the Master KB node name and IP Address which you have given in the previous screen.
13. . Click on “Enterprise Management Database”. Change the “Database Server” to
the WV manager machine. Enter the “Database Administrator PW”. Click “Validate Logon”. The “Enterprise Management Database” will have a status of “Present”.
14. Click on “WorldView Repository”. Change the “Database Server” to the WV manager machine. Enter the “Database Administrator PW”. Click “Validate Logon”. The WorldView Repository will be verified as “Present”. Click "Next>".
15. Click "Next>"
16. Enter the name of the server where Enterprise Management was installed into the “Event Manager machine name:” field. Click "Next>"
17. Click "Next>"
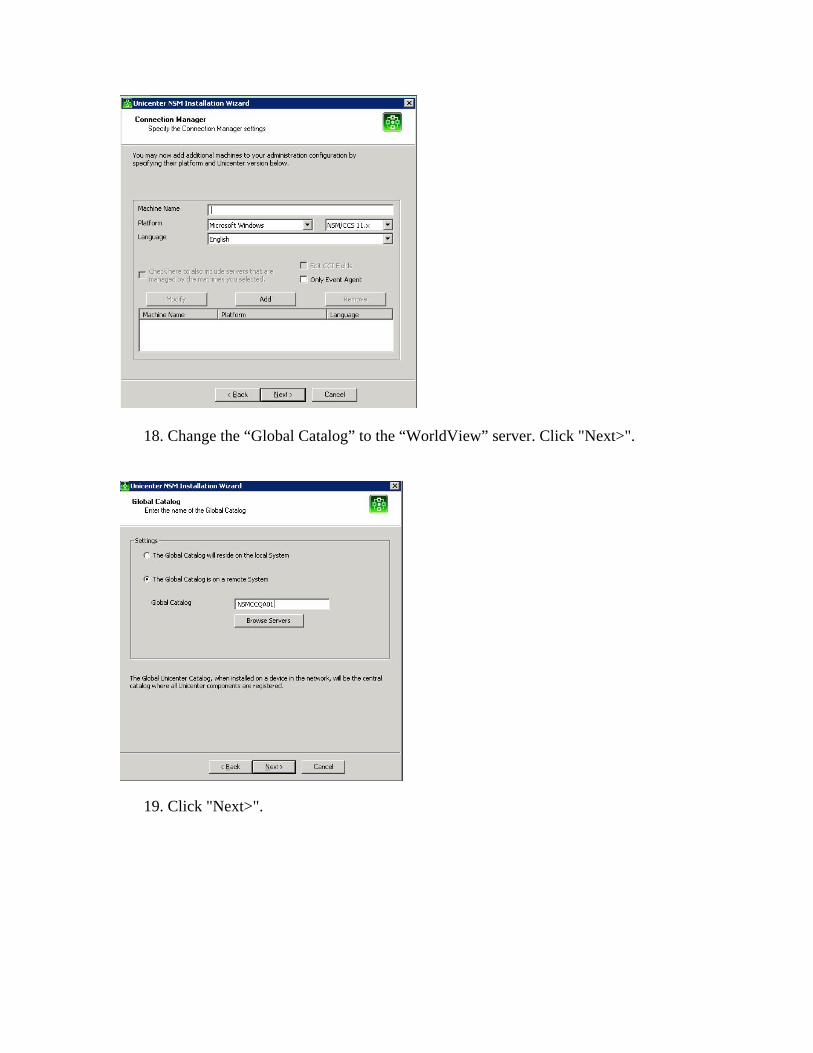
18. Change the “Global Catalog” to the “WorldView” server. Click "Next>".
19. Click "Next>".
20. Click "Next>"
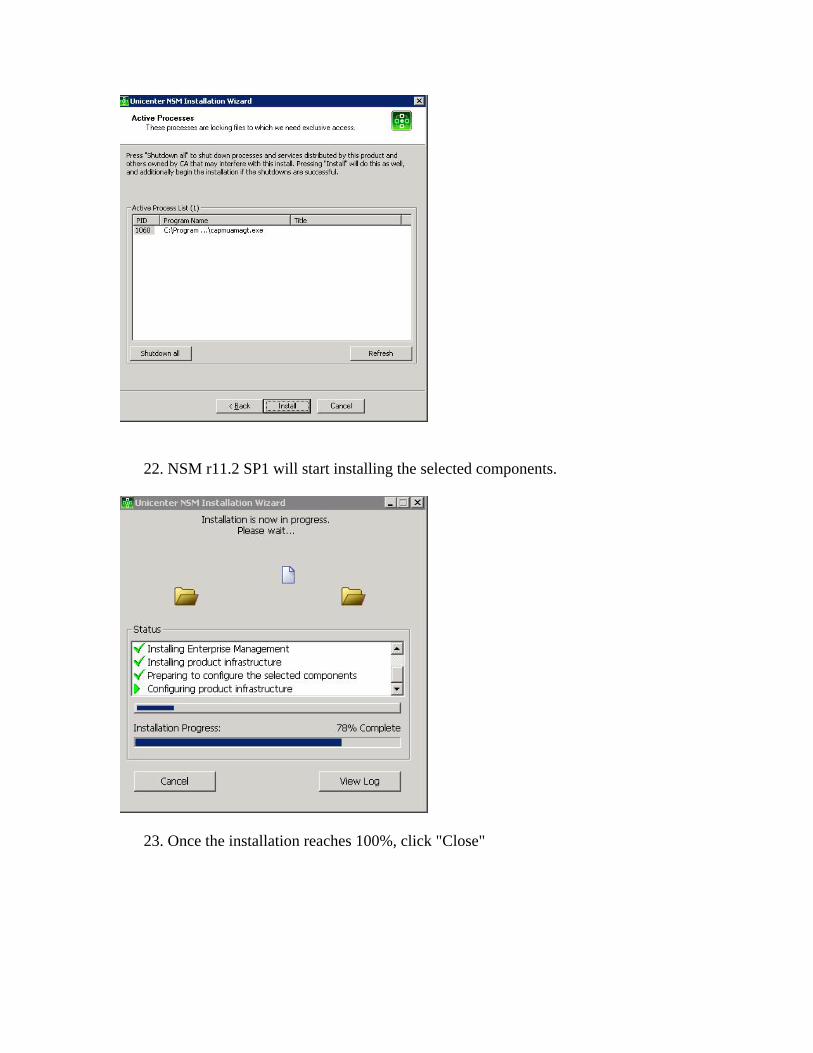
21. Click "Install" in the "Interview Complete" page
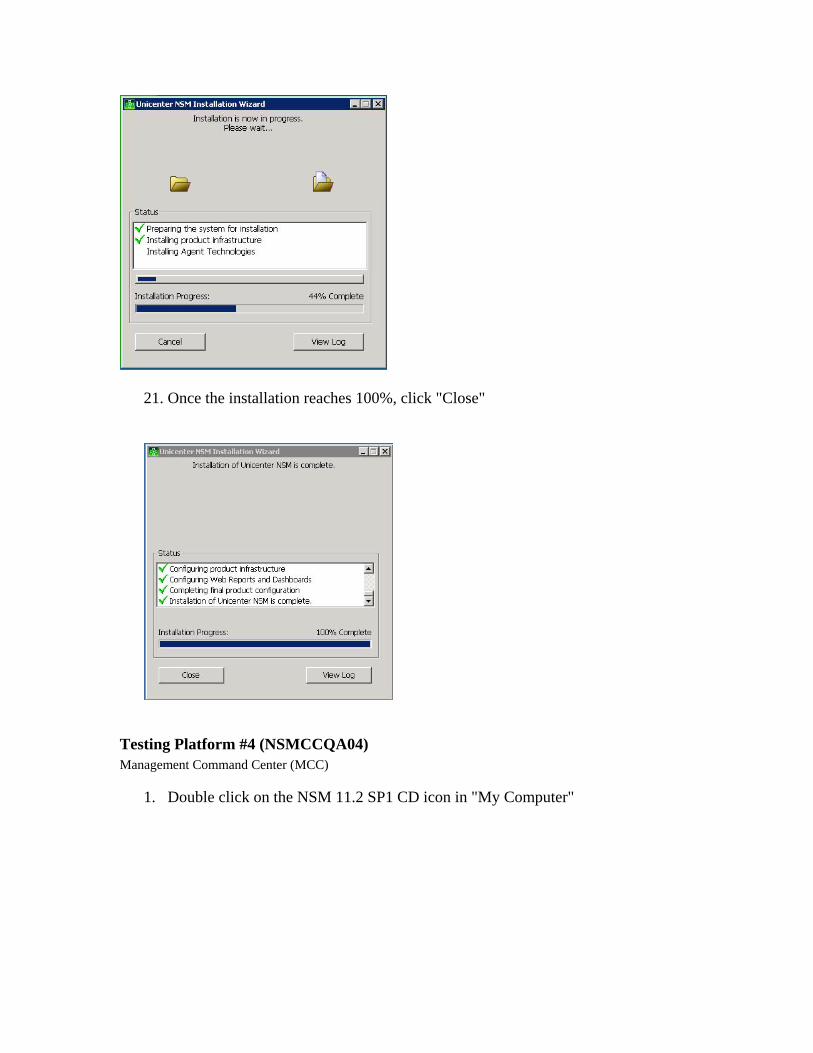
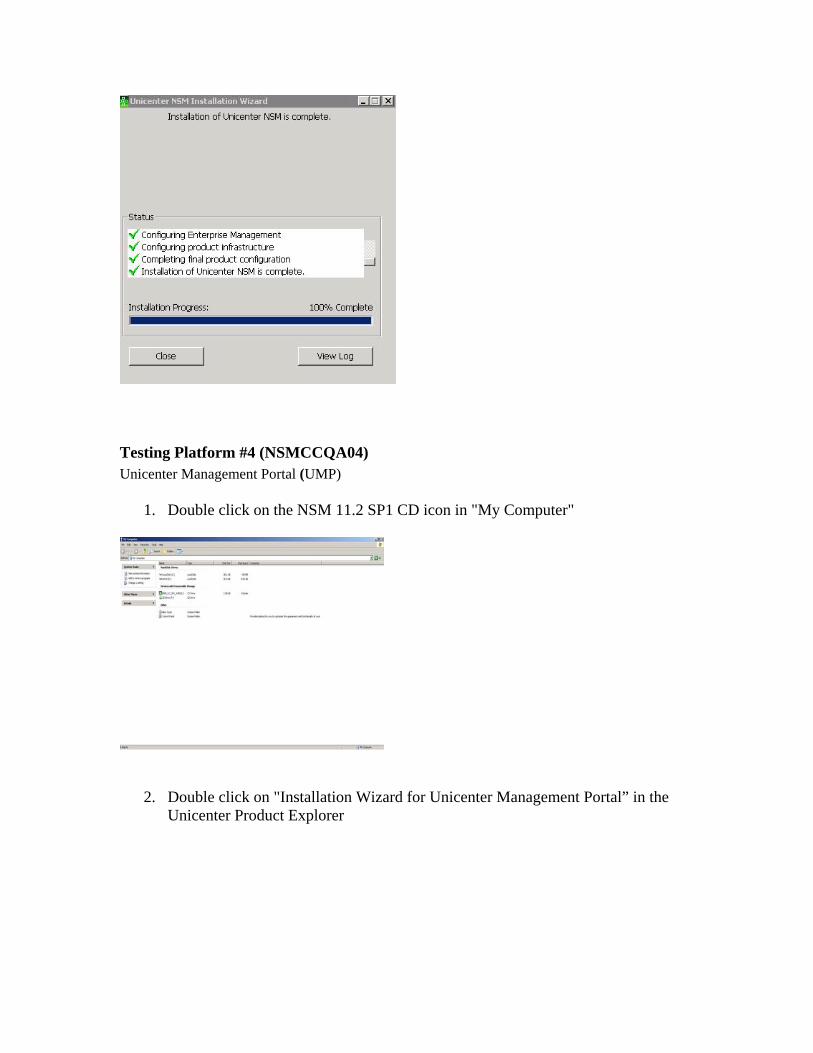
22. NSM r11.2 SP1 will start installing the selected components.
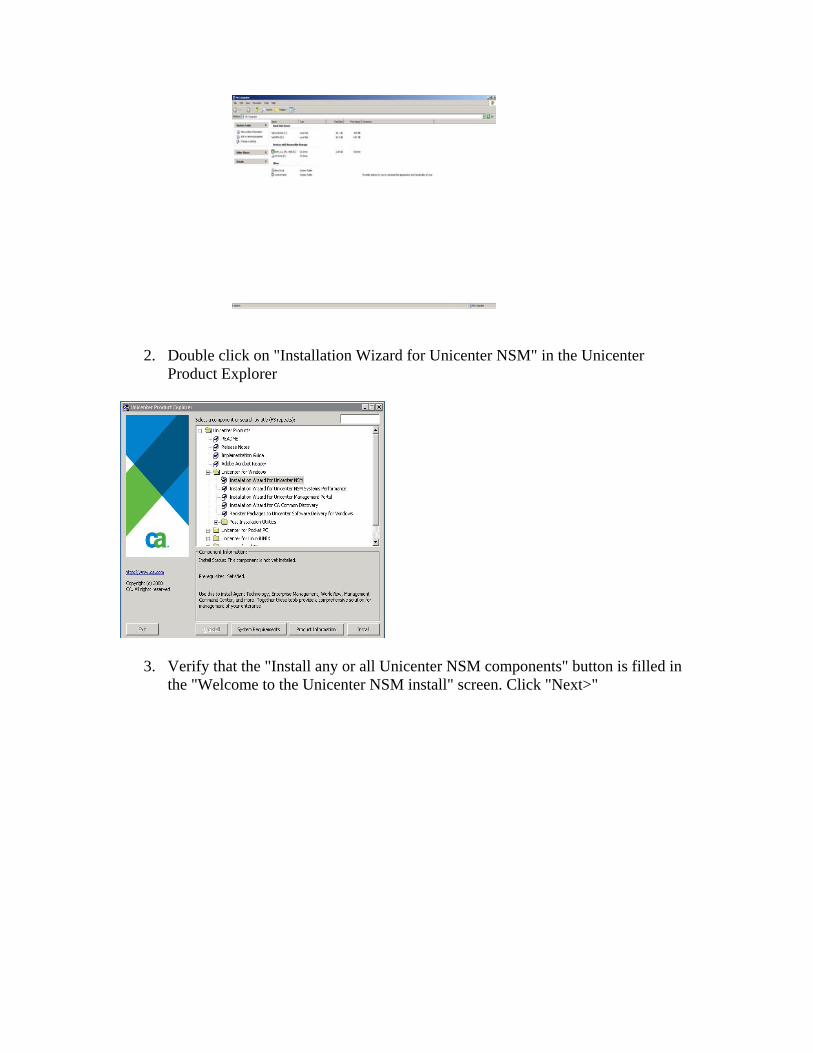
23. Once the installation reaches 100%, click "Close"
Testing Platform #4 (NSMCCQA04) Unicenter Management Portal (UMP)
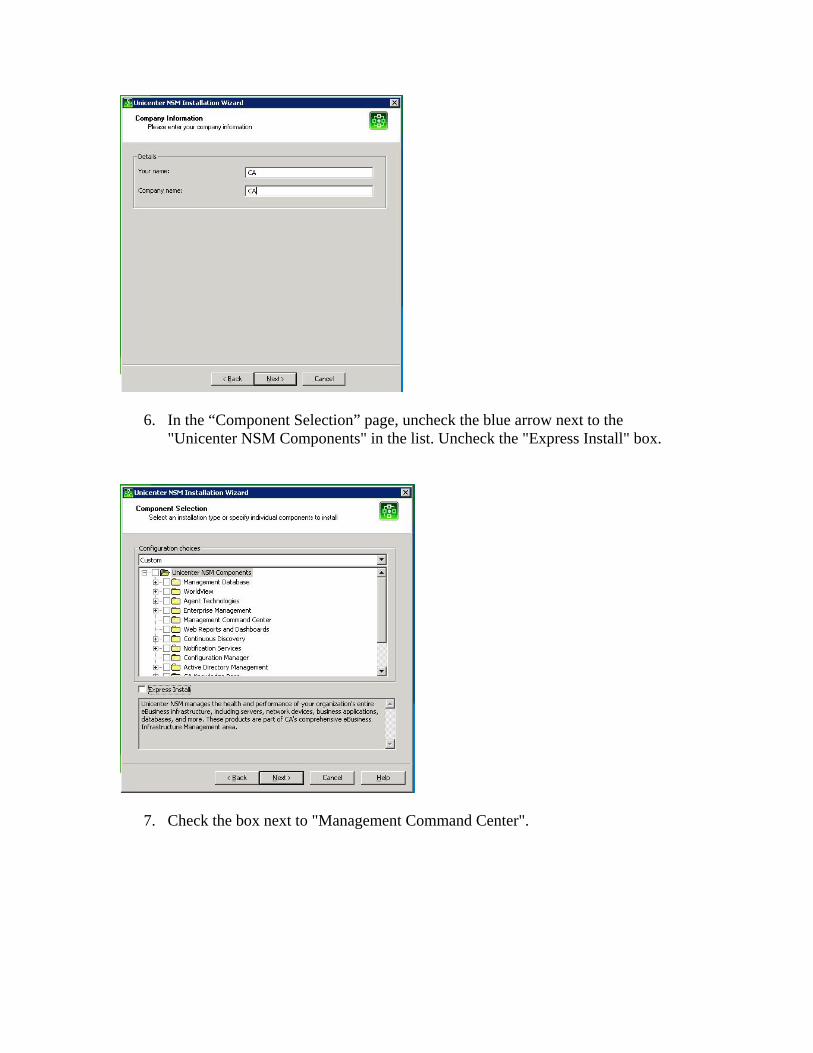
1. Double click on the NSM 11.2 SP1 CD icon in "My Computer"
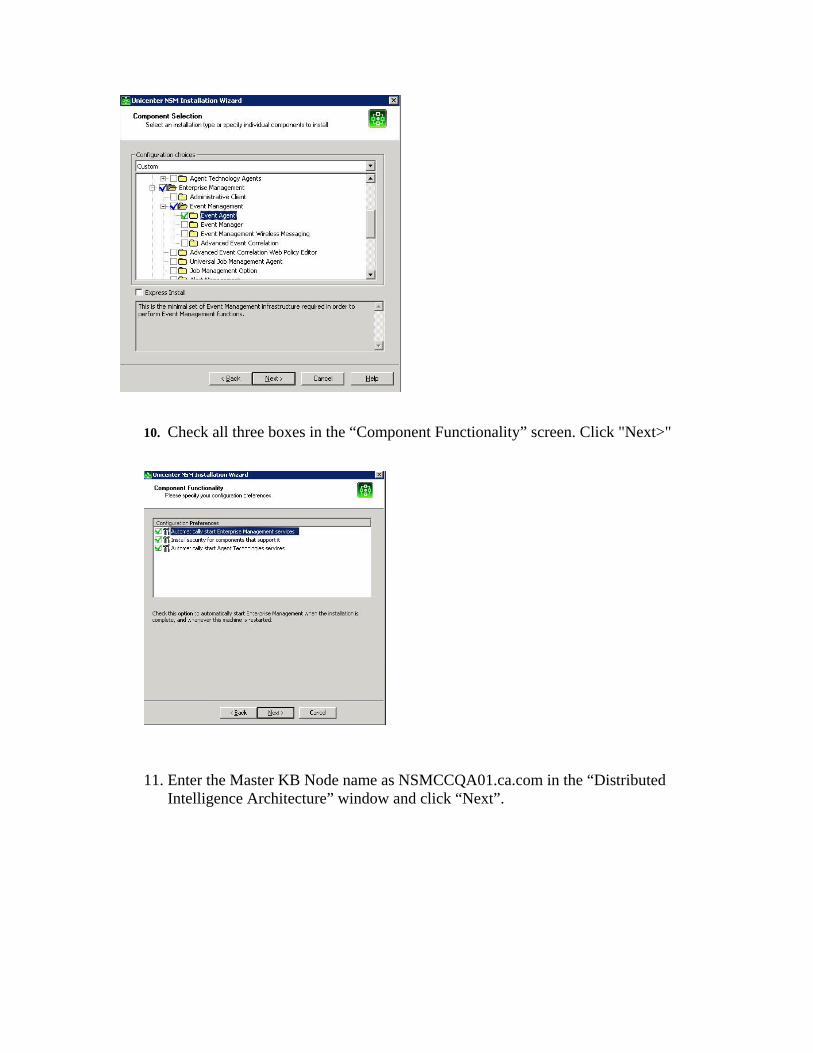
2. Double click on "Installation Wizard for Unicenter Management Portal” in the Unicenter Product Explorer
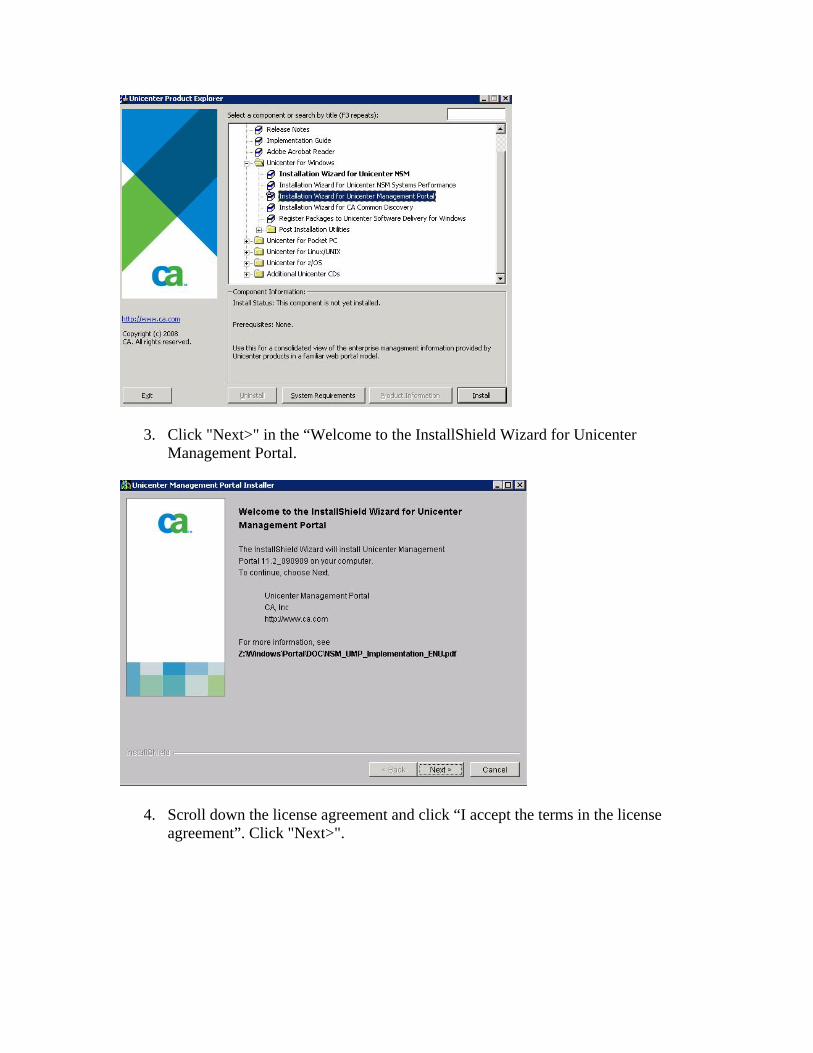
3. Click "Next>" in the “Welcome to the InstallShield Wizard for Unicenter Management Portal.
4. Scroll down the license agreement and click “I accept the terms in the license agreement”. Click "Next>".
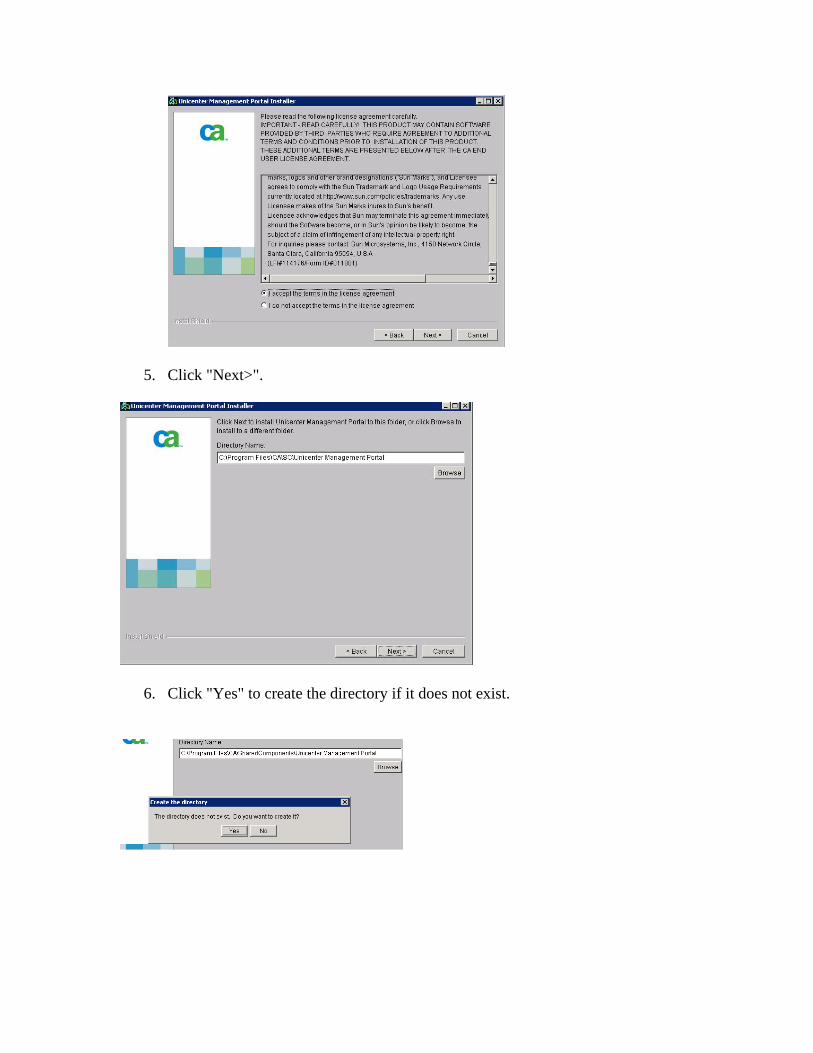
5. Click "Next>".
6. Click "Yes" to create the directory if it does not exist.
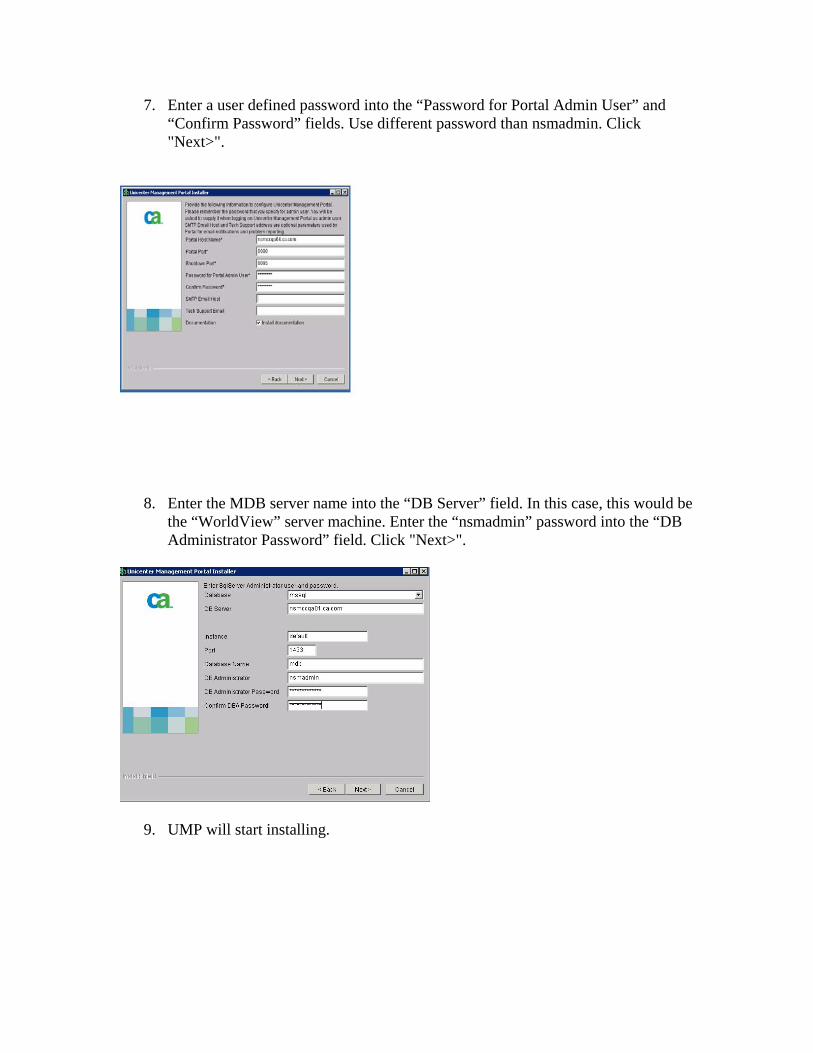
7. Enter a user defined password into the “Password for Portal Admin User” and “Confirm Password” fields. Use different password than nsmadmin. Click "Next>".
8. Enter the MDB server name into the “DB Server” field. In this case, this would be the “WorldView” server machine. Enter the “nsmadmin” password into the “DB Administrator Password” field. Click "Next>".
9. UMP will start installing.
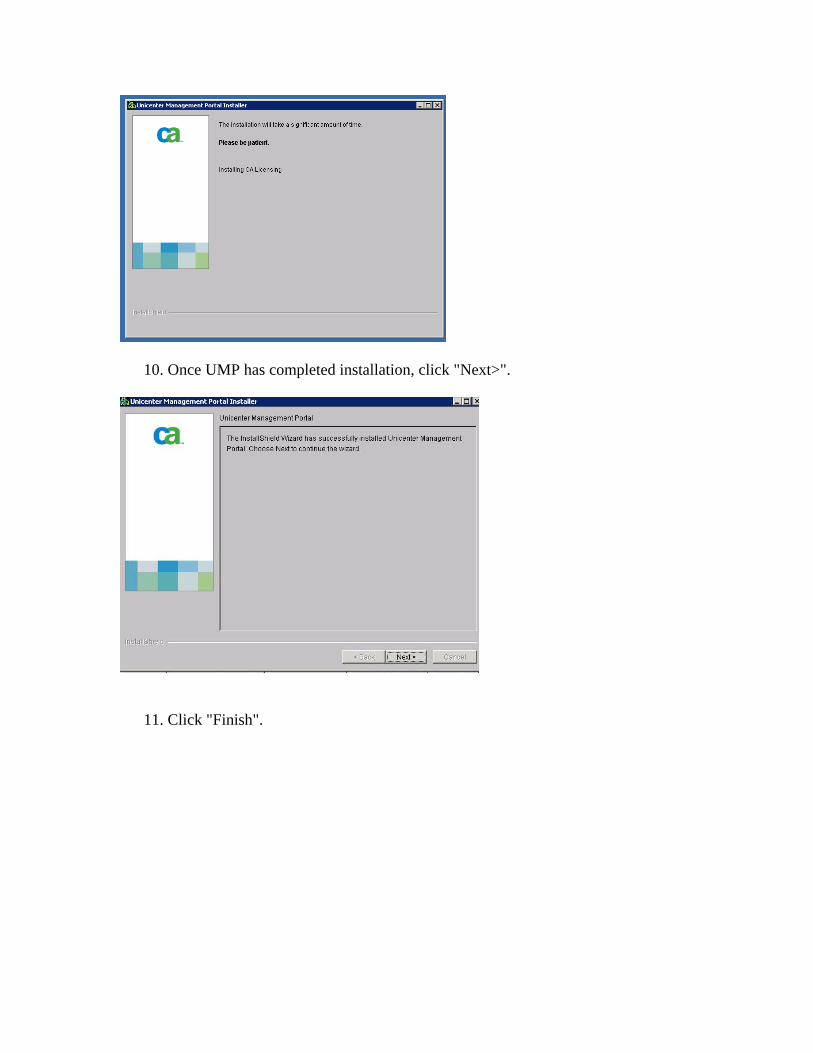
10. Once UMP has completed installation, click "Next>".
11. Click "Finish".
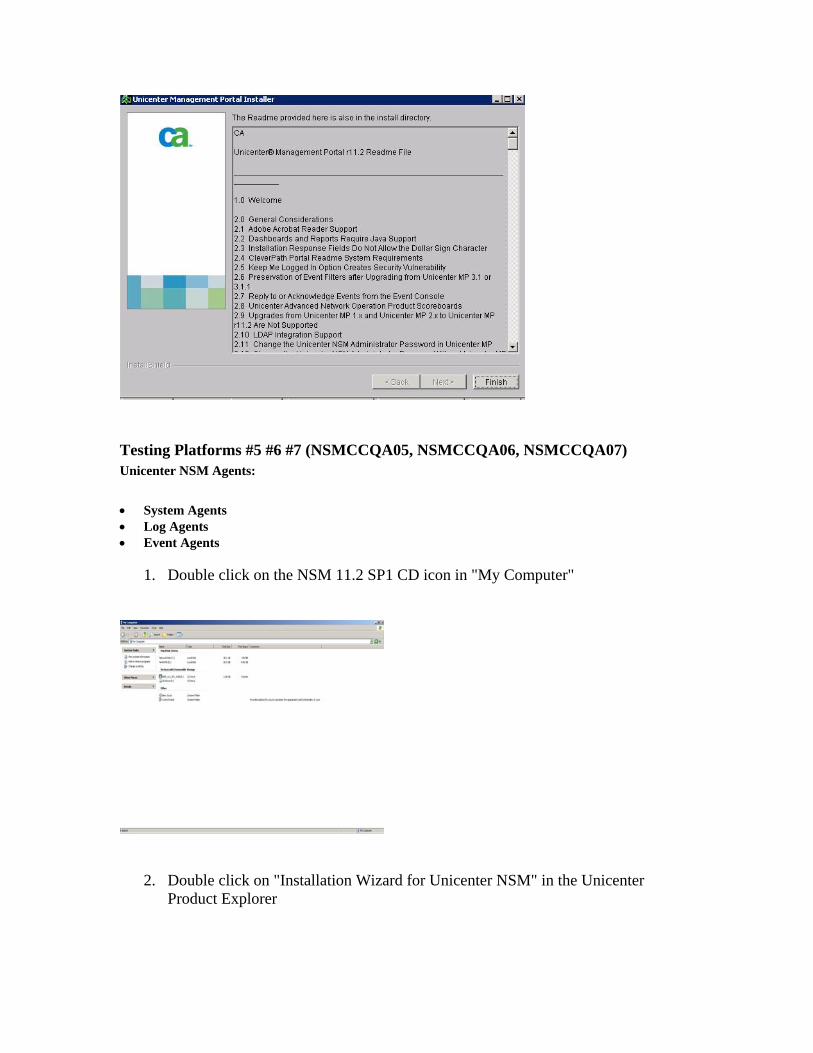
Testing Platforms #5 #6 #7 (NSMCCQA05, NSMCCQA06, NSMCCQA07) Unicenter NSM Agents: • System Agents • Log Agents • Event Agents
1. Double click on the NSM 11.2 SP1 CD icon in "My Computer"
2. Double click on "Installation Wizard for Unicenter NSM" in the Unicenter Product Explorer
3. Verify that the "Install any or all Unicenter NSM components" button is filled in the "Welcome to the Unicenter NSM install" screen. Click "Next>"
4. Scroll through the License Agreement and fill in the "I agree" button. Click "Next>"
5. Enter info for the "Your name:" and "Company Name:" fields in the "Company Information" page. Click "Next>"
6. In the “Component Selection” page, uncheck the blue arrow next to the "Unicenter NSM Components" in the list. Uncheck the "Express Install" box.
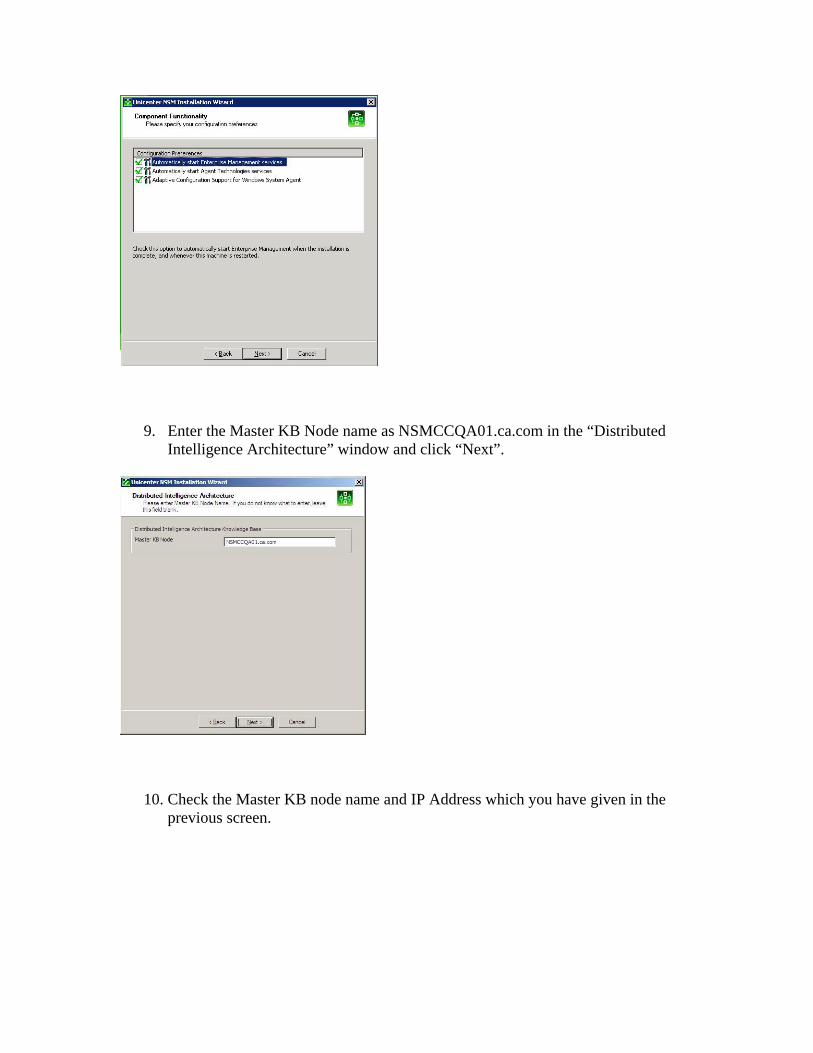
7. Expand Agent Technologies, Agent Technology Agents. Check the “Windows System Agent” and “Windows Log Agent” boxes. Agent Common Services will also be checked by default. Expand Enterprise Management, Event Management. Check the “Event Agent” box. Click "Next>"
8. Check all three boxes in the “Component Functionality” screen. Click "Next>"
9. Enter the Master KB Node name as NSMCCQA01.ca.com in the “Distributed Intelligence Architecture” window and click “Next”.
10. Check the Master KB node name and IP Address which you have given in the previous screen.
11. Click "Next>"
12. Set “Event Manager machine name:” to the Enterprise Management server. Click "Next>"
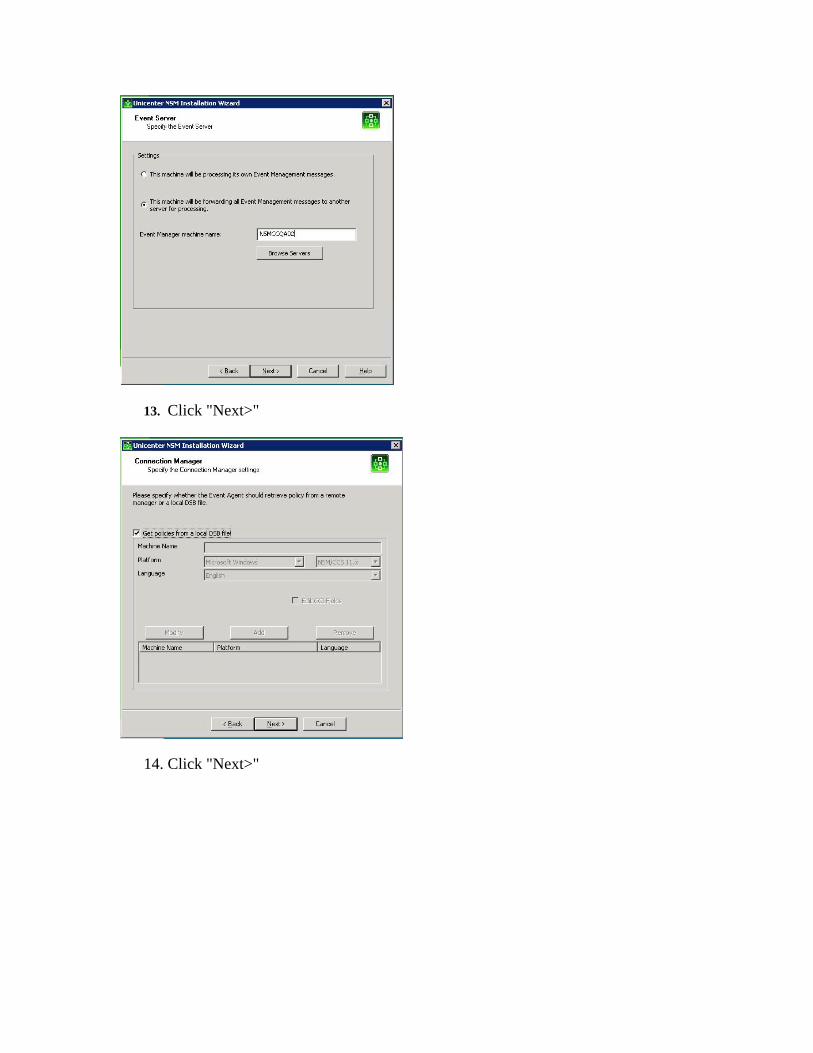
13. Click "Next>"
14. Click "Next>"
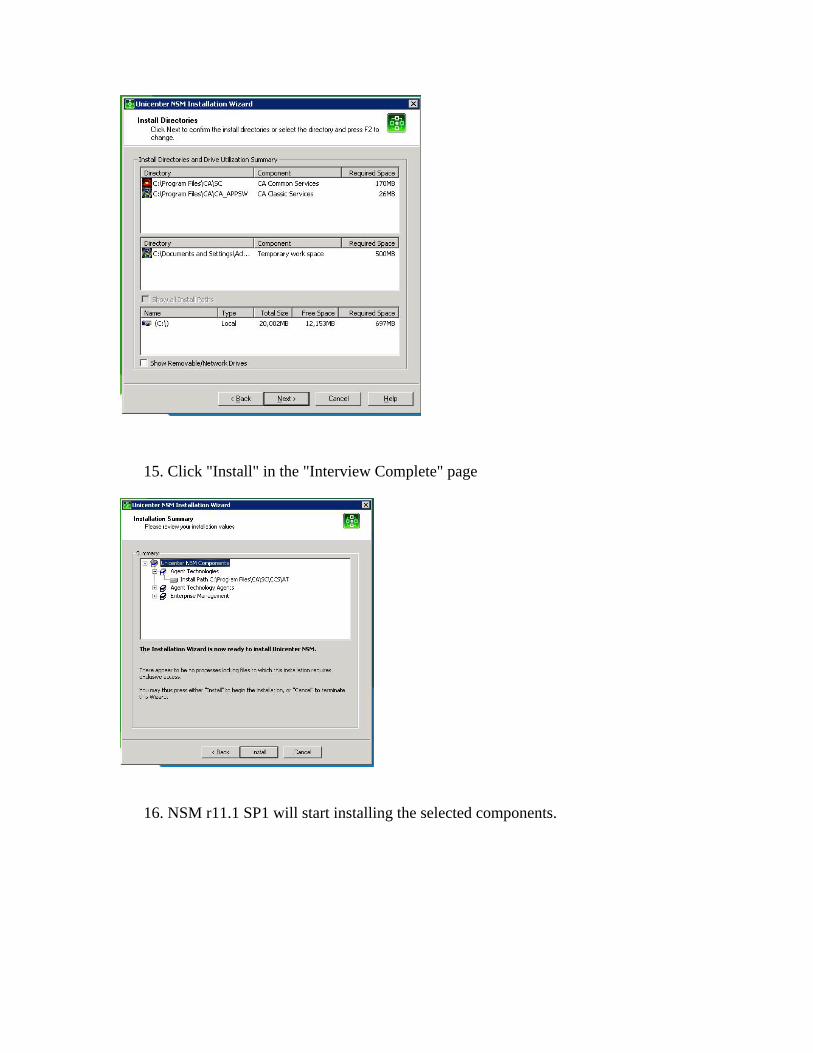
15. Click "Install" in the "Interview Complete" page
16. NSM r11.1 SP1 will start installing the selected components.
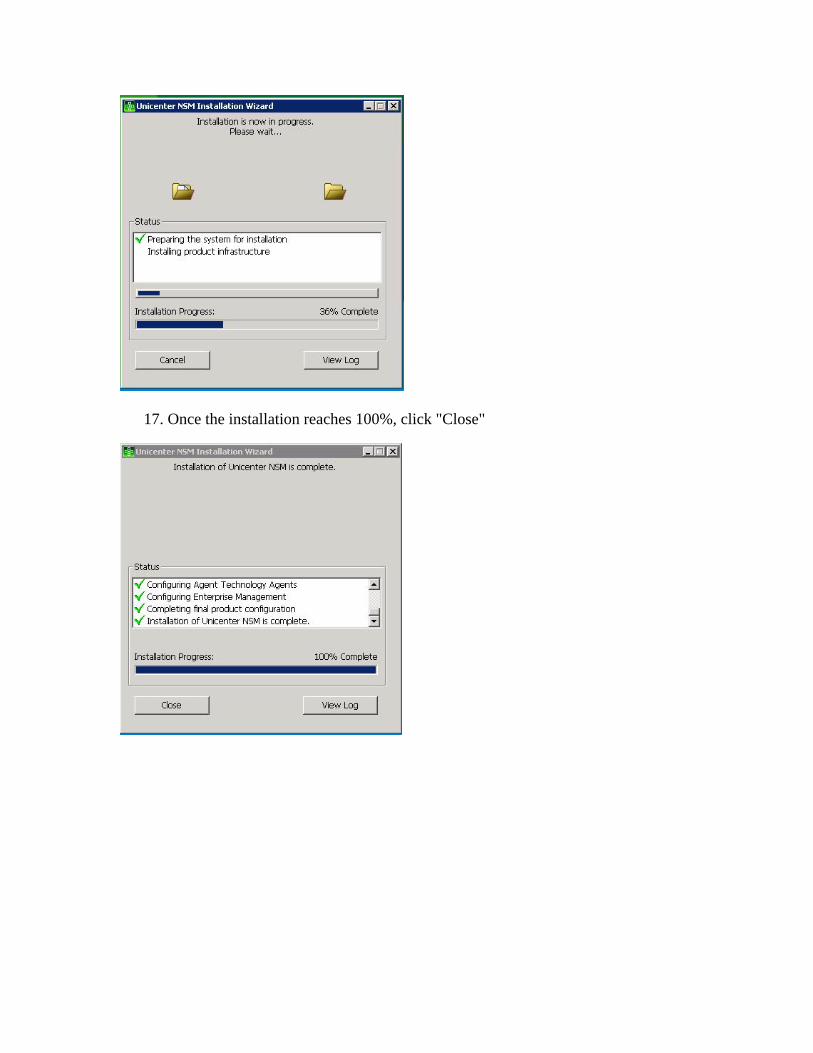
17. Once the installation reaches 100%, click "Close"
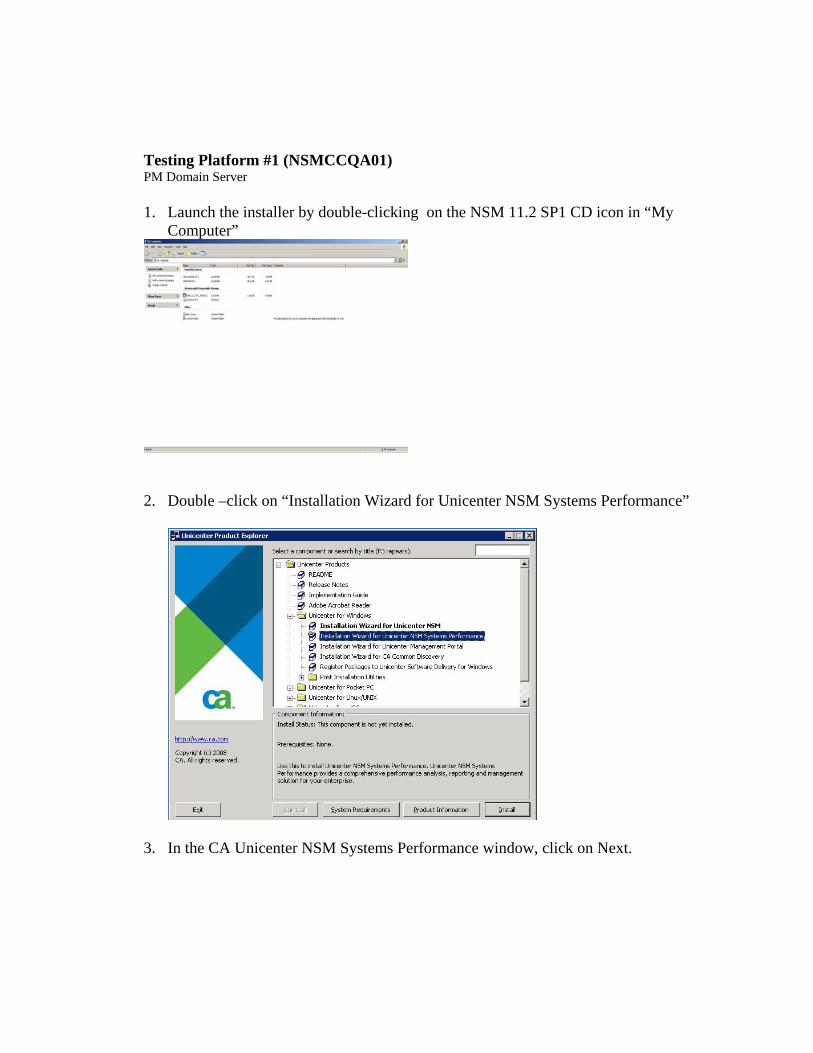
Testing Platform #1 (NSMCCQA01) PM Domain Server 1. Launch the installer by double-clicking on the NSM 11.2 SP1 CD icon in “My
Computer”
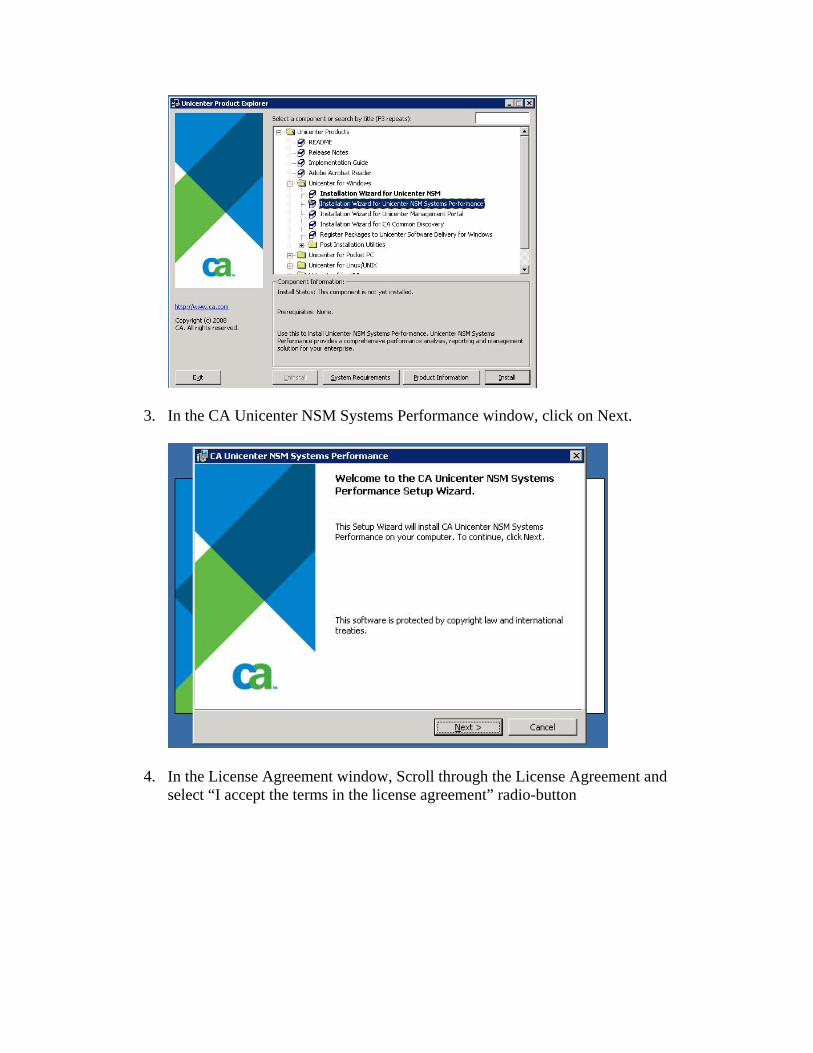
2. Double –click on “Installation Wizard for Unicenter NSM Systems Performance”
3. In the CA Unicenter NSM Systems Performance window, click on Next.

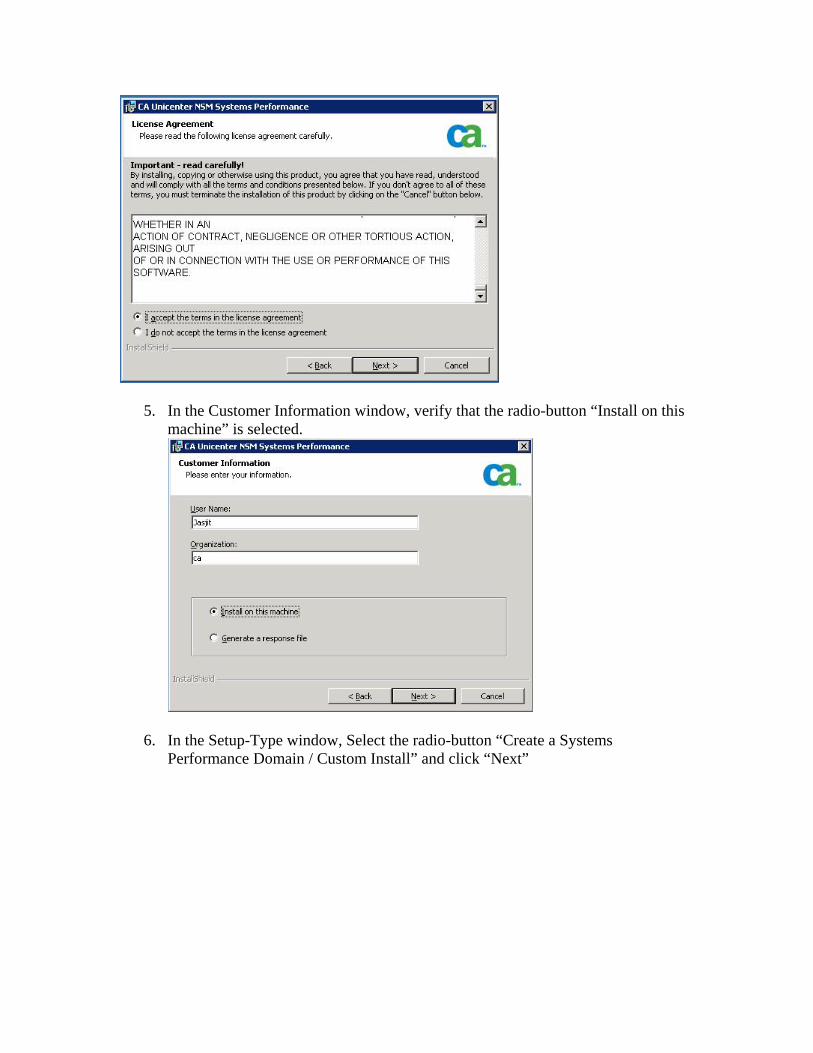
4. In the License Agreement window, Scroll through the License Agreement and select “I accept the terms in the license agreement” radio-button
5. In the Customer Information window, verify that the radio-button “Install on this machine” is selected.
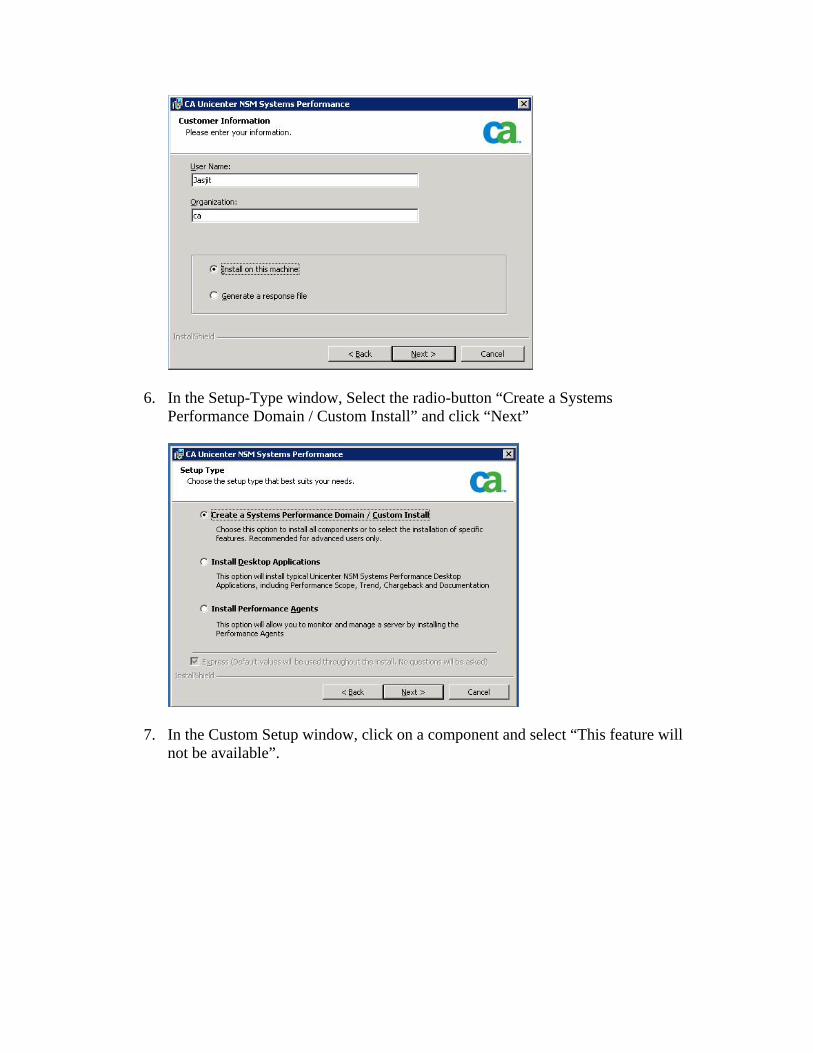
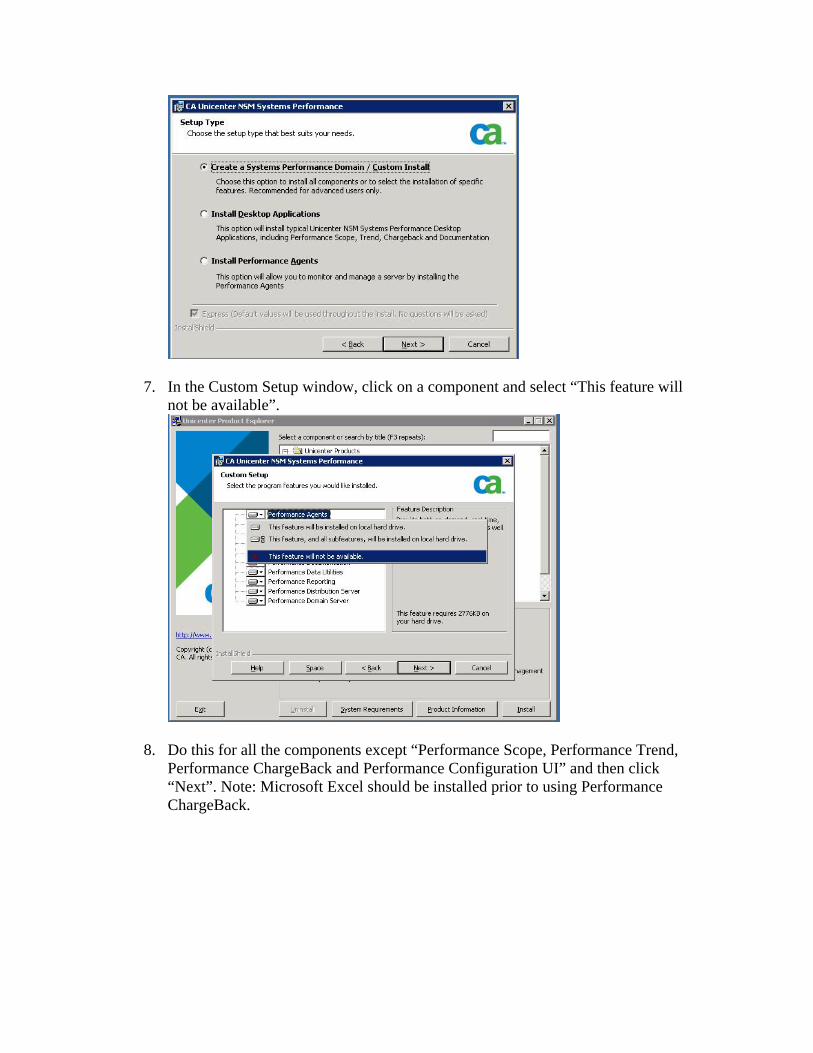
6. In the Setup-Type window, Select the radio-button “Create a Systems Performance Domain / Custom Install” and click “Next”
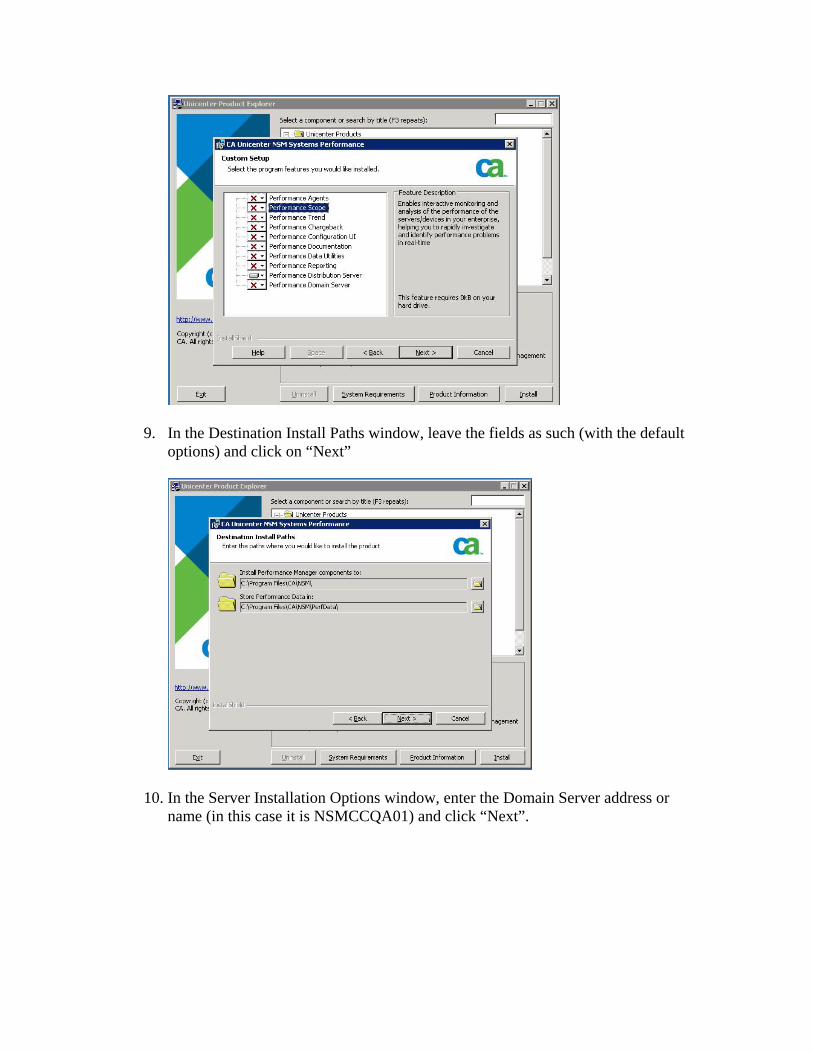
7. In the Custom Setup window, click on a component and select “This feature will not be available”.
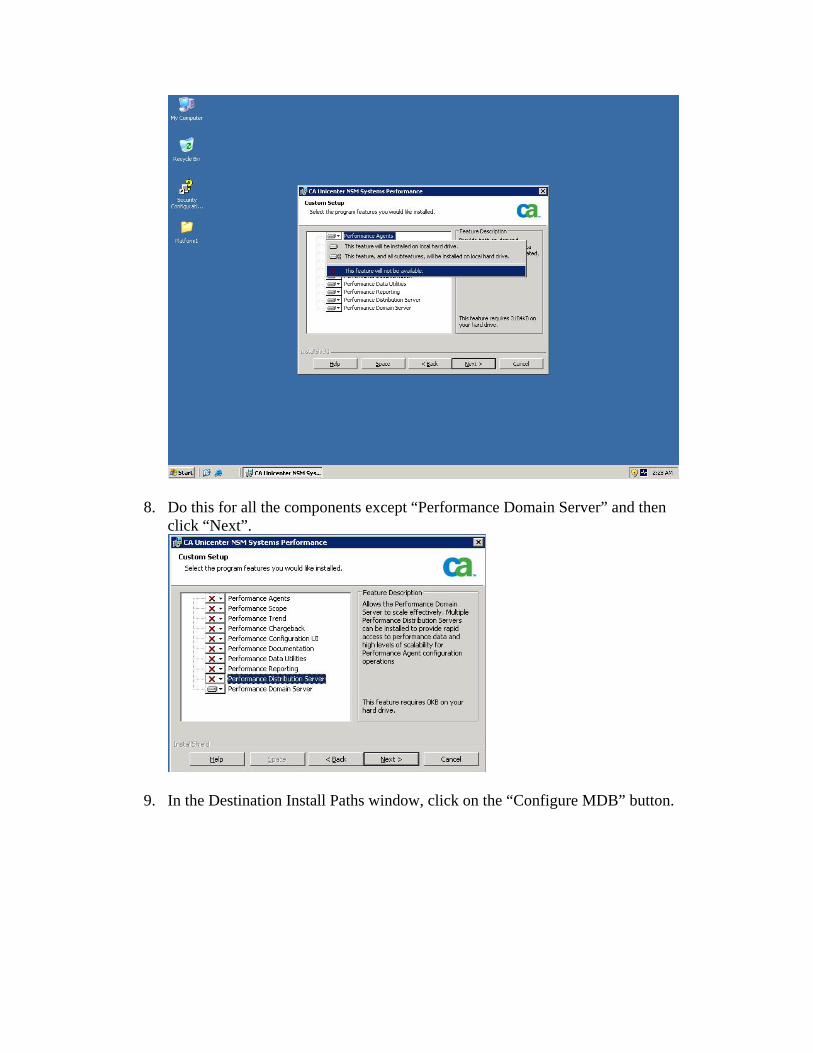
8. Do this for all the components except “Performance Domain Server” and then click “Next”.
9. In the Destination Install Paths window, click on the “Configure MDB” button.
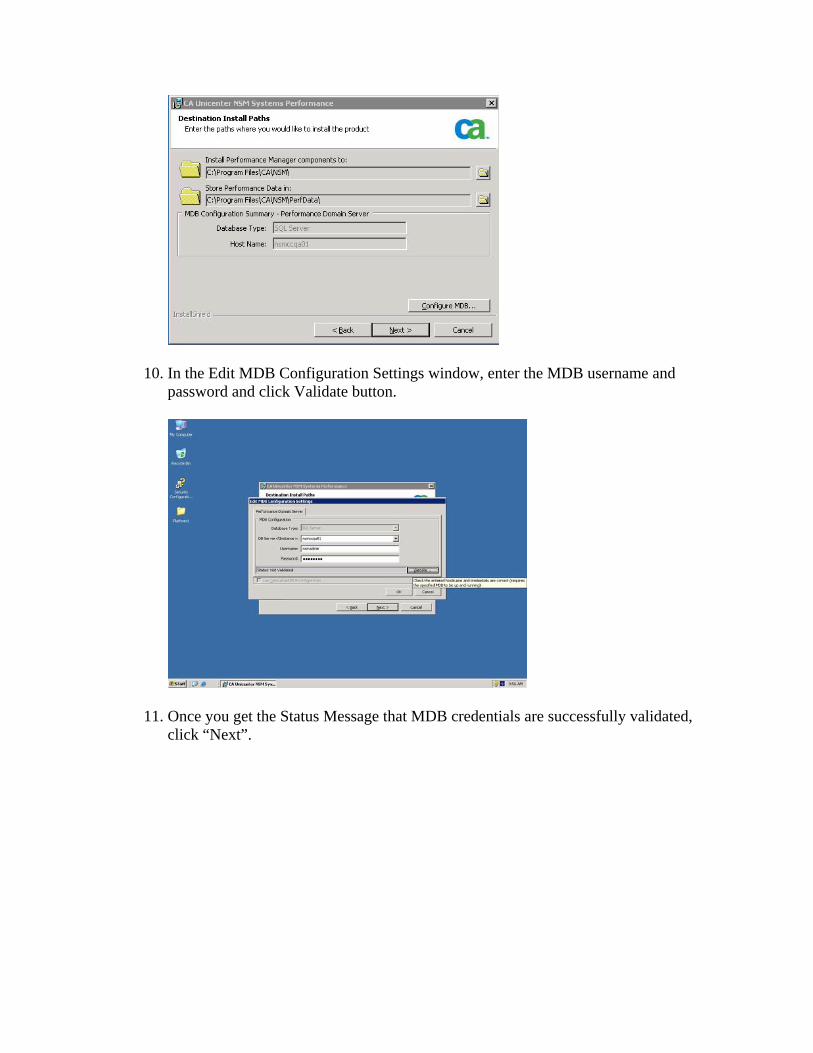
10. In the Edit MDB Configuration Settings window, enter the MDB username and password and click Validate button.
11. Once you get the Status Message that MDB credentials are successfully validated, click “Next”.

12. Now, in the Destination Install Paths window, click “Next”.
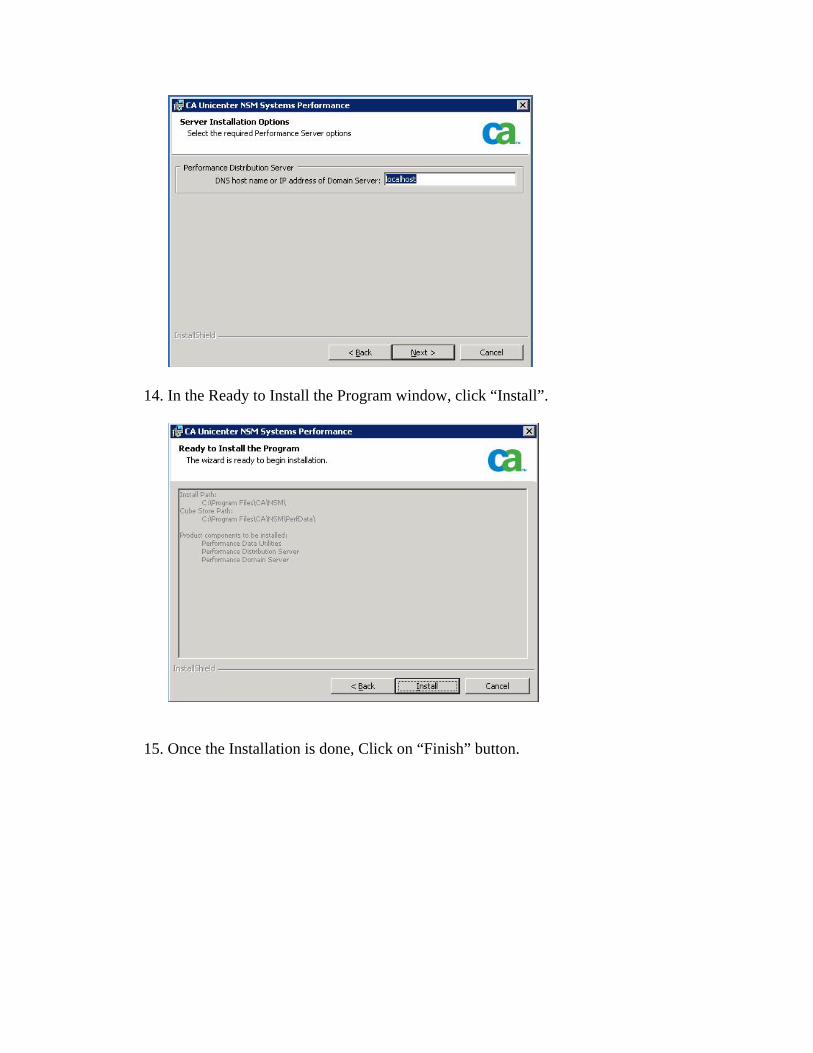
13. In the Server Installation Options window, leave the entry as “local host” and click “Next”.
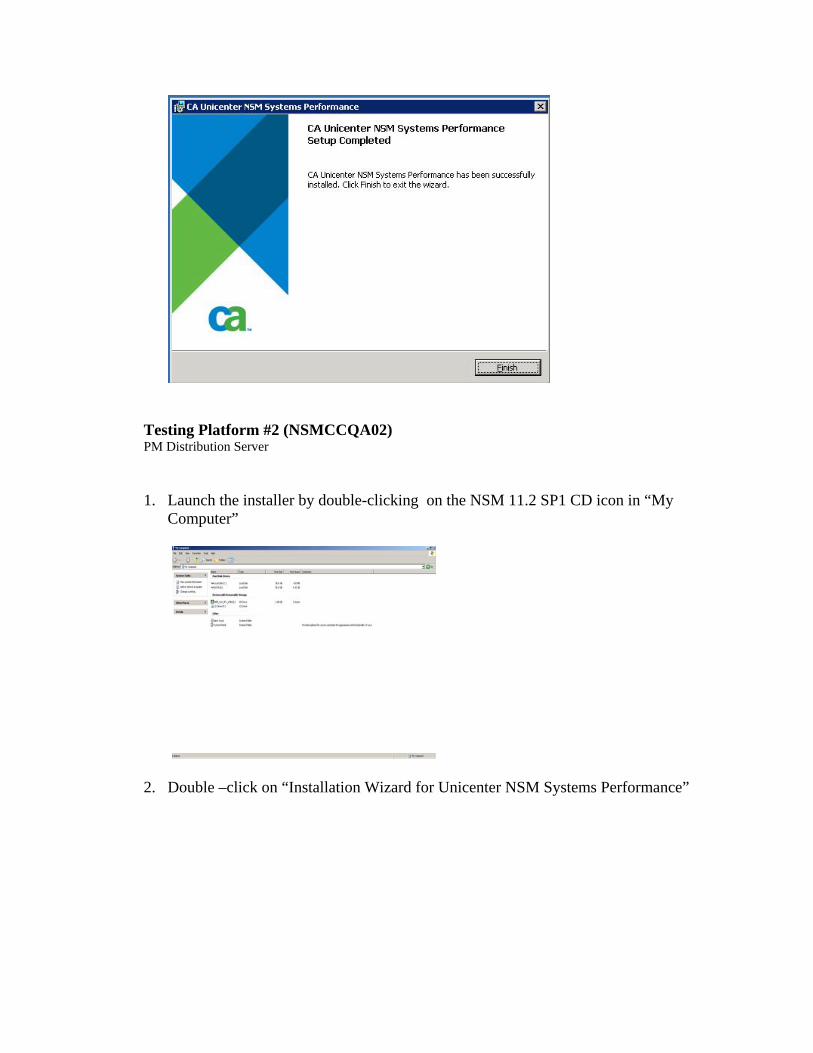
14. In the Ready to Install the Program window, click “Install”.
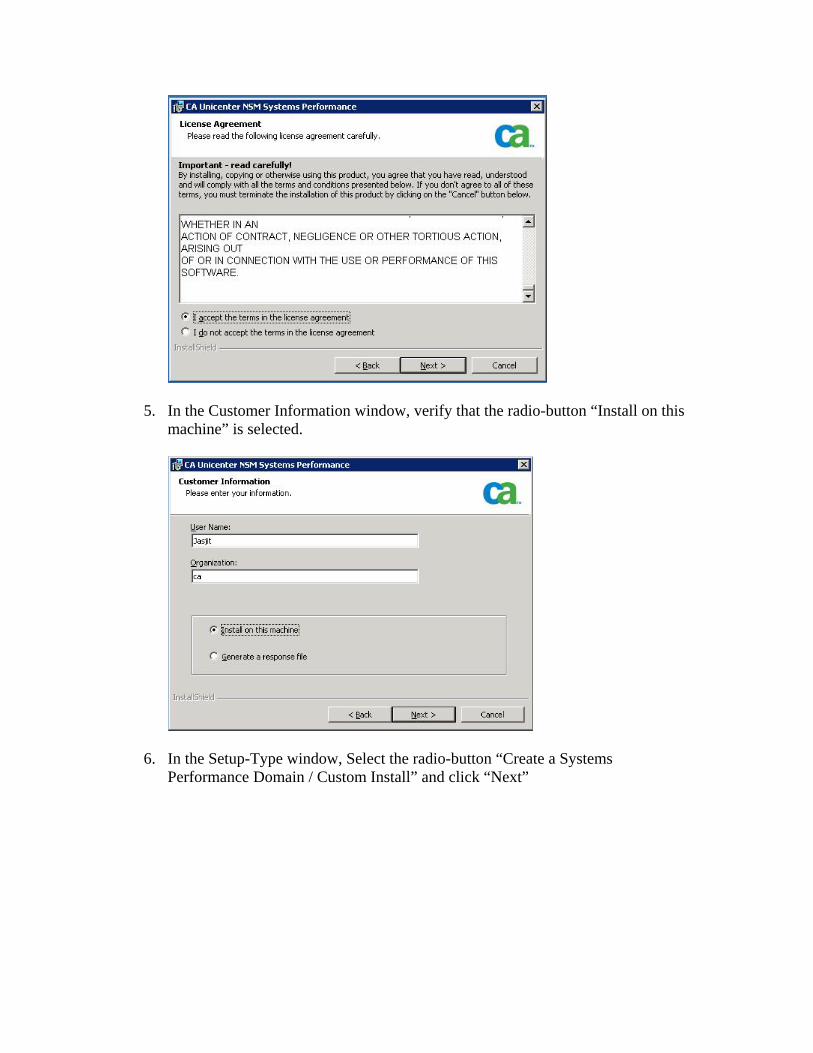
15. Once the Installation is done, Click on “Finish” button.
Testing Platform #2 (NSMCCQA02) PM Distribution Server
1. Launch the installer by double-clicking on the NSM 11.2 SP1 CD icon in “My Computer”
2. Double –click on “Installation Wizard for Unicenter NSM Systems Performance”

3. In the CA Unicenter NSM Systems Performance window, click on Next.
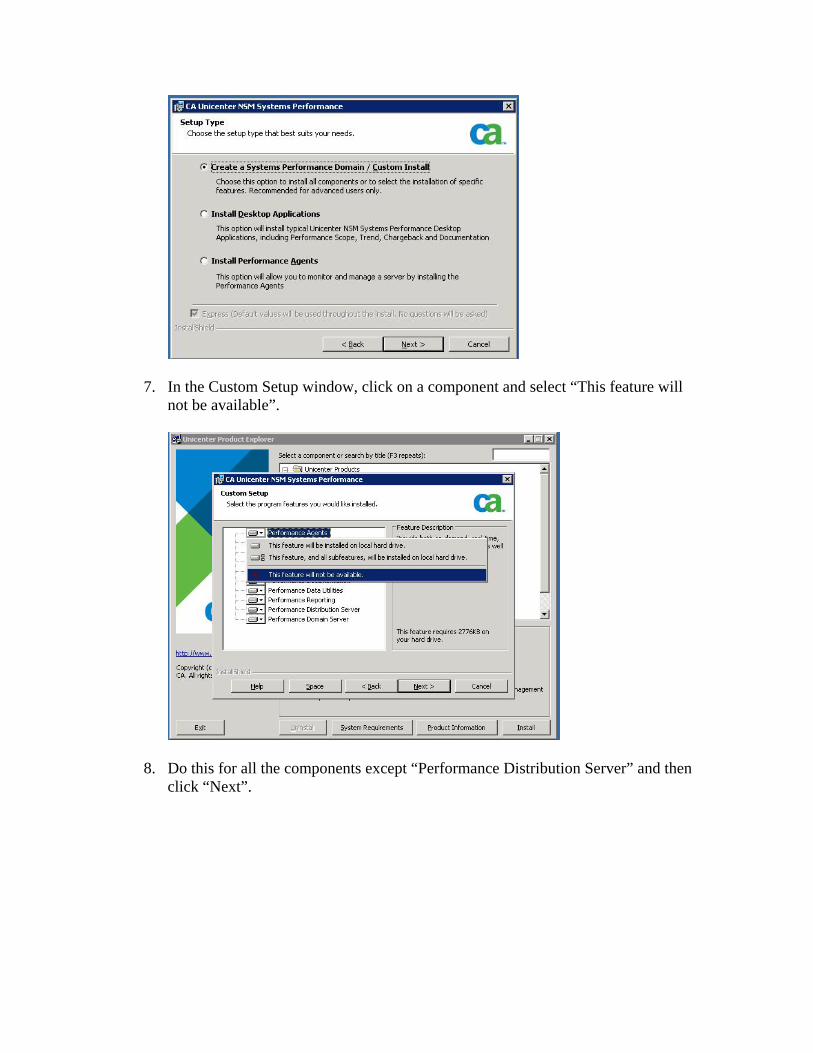
4. In the License Agreement window, Scroll through the License Agreement and select “I accept the terms in the license agreement” radio-button
5. In the Customer Information window, verify that the radio-button “Install on this machine” is selected.
6. In the Setup-Type window, Select the radio-button “Create a Systems Performance Domain / Custom Install” and click “Next”
7. In the Custom Setup window, click on a component and select “This feature will not be available”.
8. Do this for all the components except “Performance Distribution Server” and then click “Next”.
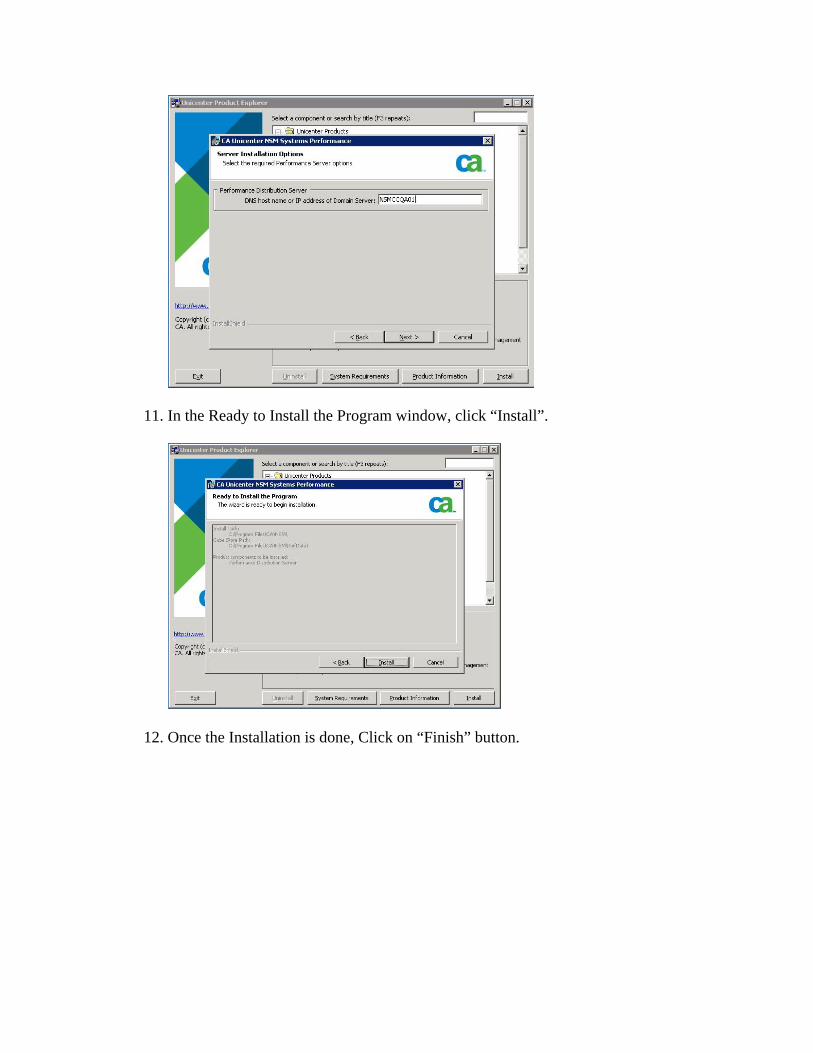
9. In the Destination Install Paths window, leave the fields as such (with the default options) and click on “Next”
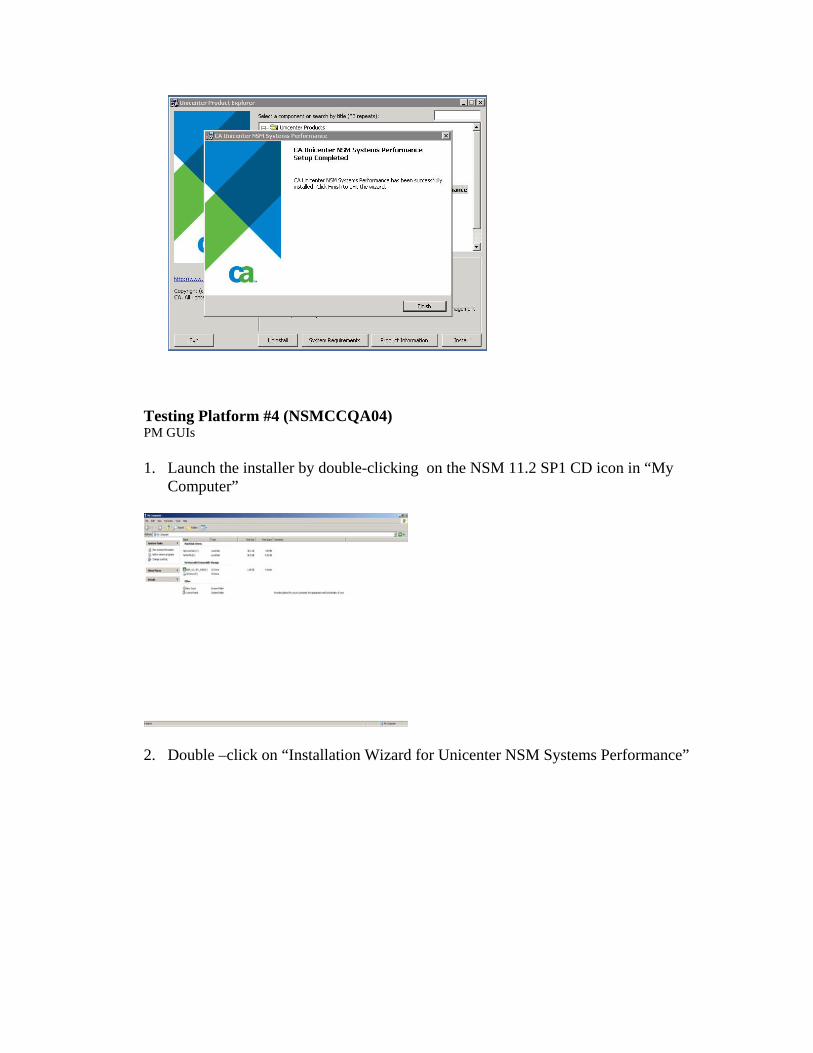
10. In the Server Installation Options window, enter the Domain Server address or name (in this case it is NSMCCQA01) and click “Next”.
11. In the Ready to Install the Program window, click “Install”.
12. Once the Installation is done, Click on “Finish” button.
Testing Platform #4 (NSMCCQA04) PM GUIs
1. Launch the installer by double-clicking on the NSM 11.2 SP1 CD icon in “My
Computer”
2. Double –click on “Installation Wizard for Unicenter NSM Systems Performance”
3. In the CA Unicenter NSM Systems Performance window, click on Next.
4. In the License Agreement window, Scroll through the License Agreement and select “I accept the terms in the license agreement” radio-button
5. In the Customer Information window, verify that the radio-button “Install on this machine” is selected.
6. In the Setup-Type window, Select the radio-button “Create a Systems Performance Domain / Custom Install” and click “Next”
7. In the Custom Setup window, click on a component and select “This feature will not be available”.
8. Do this for all the components except “Performance Scope, Performance Trend, Performance ChargeBack and Performance Configuration UI” and then click “Next”. Note: Microsoft Excel should be installed prior to using Performance ChargeBack.
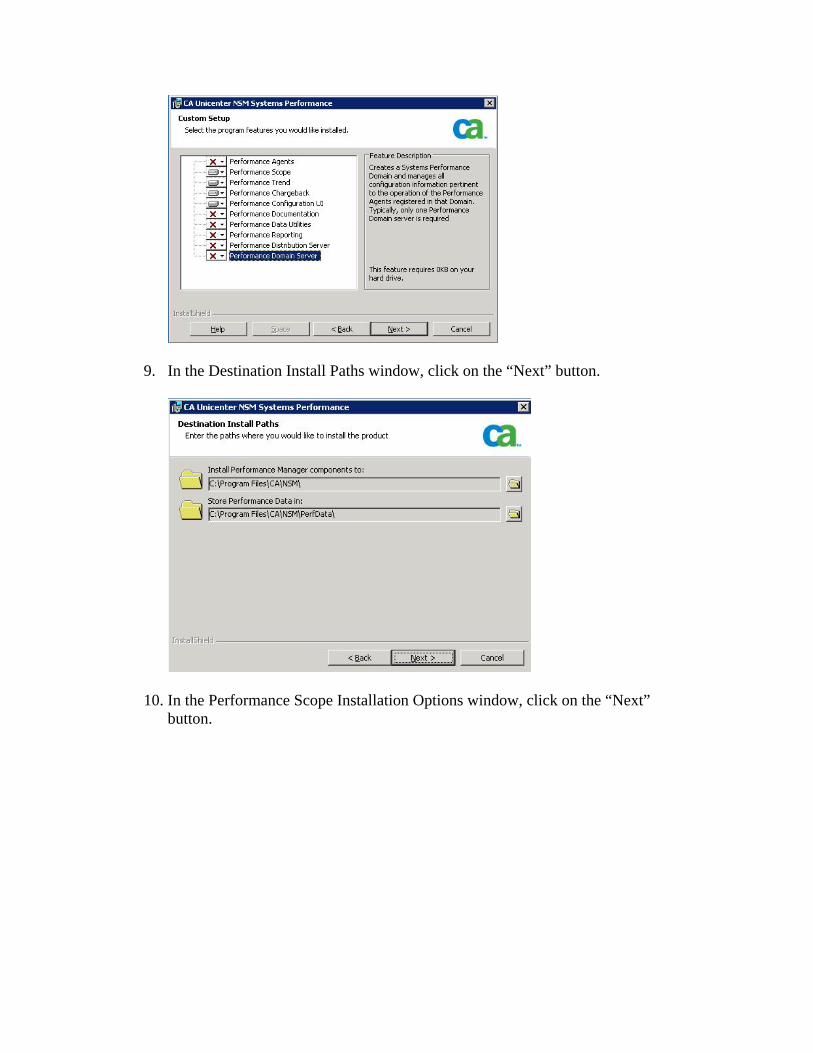
9. In the Destination Install Paths window, click on the “Next” button.
10. In the Performance Scope Installation Options window, click on the “Next” button.
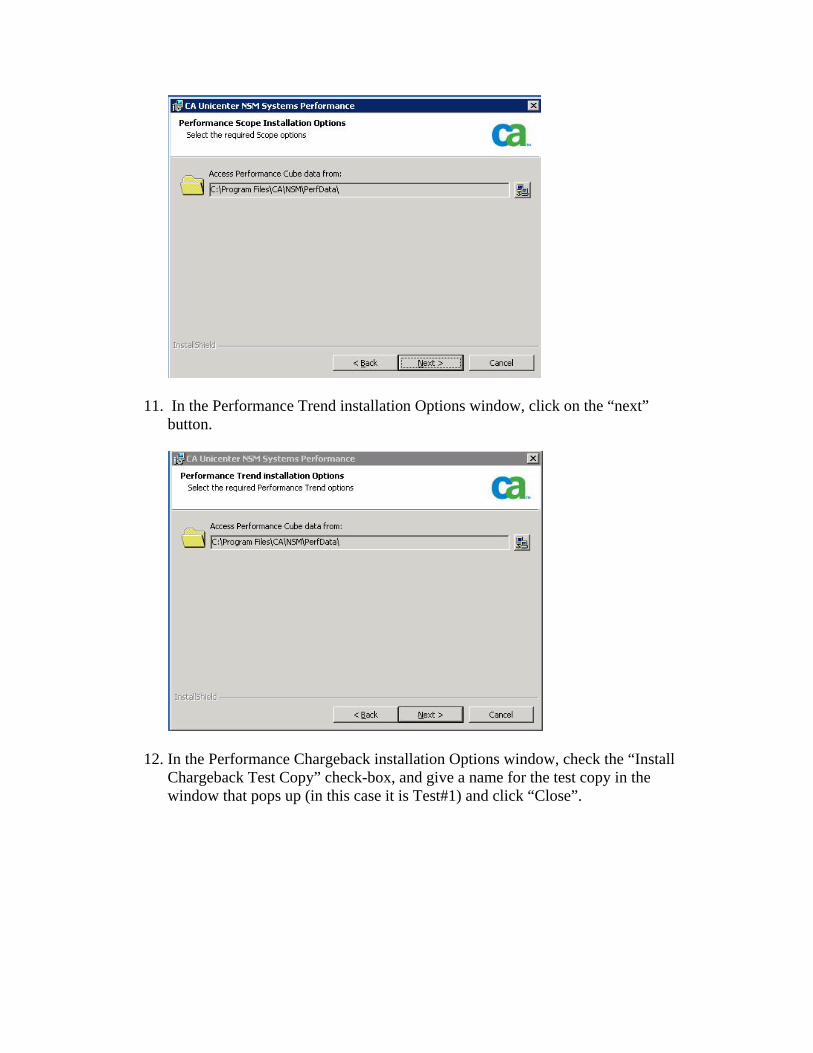
11. In the Performance Trend installation Options window, click on the “next” button.
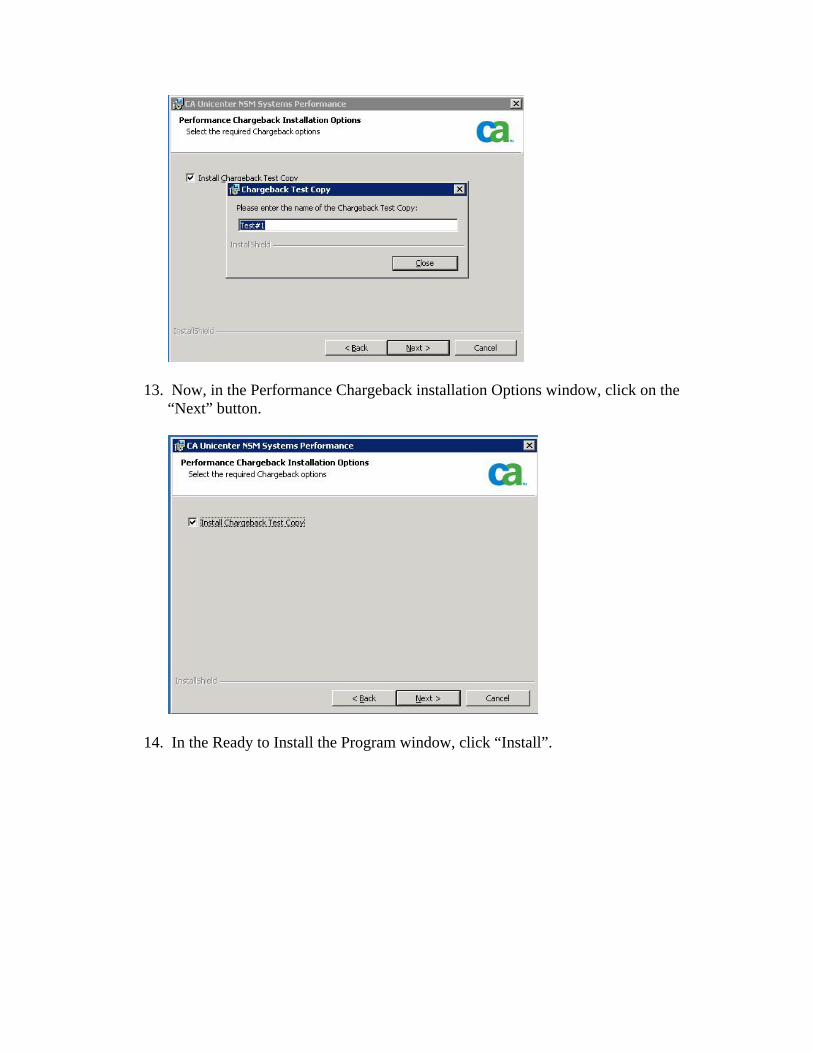
12. In the Performance Chargeback installation Options window, check the “Install Chargeback Test Copy” check-box, and give a name for the test copy in the window that pops up (in this case it is Test#1) and click “Close”.
13. Now, in the Performance Chargeback installation Options window, click on the “Next” button.
14. In the Ready to Install the Program window, click “Install”.
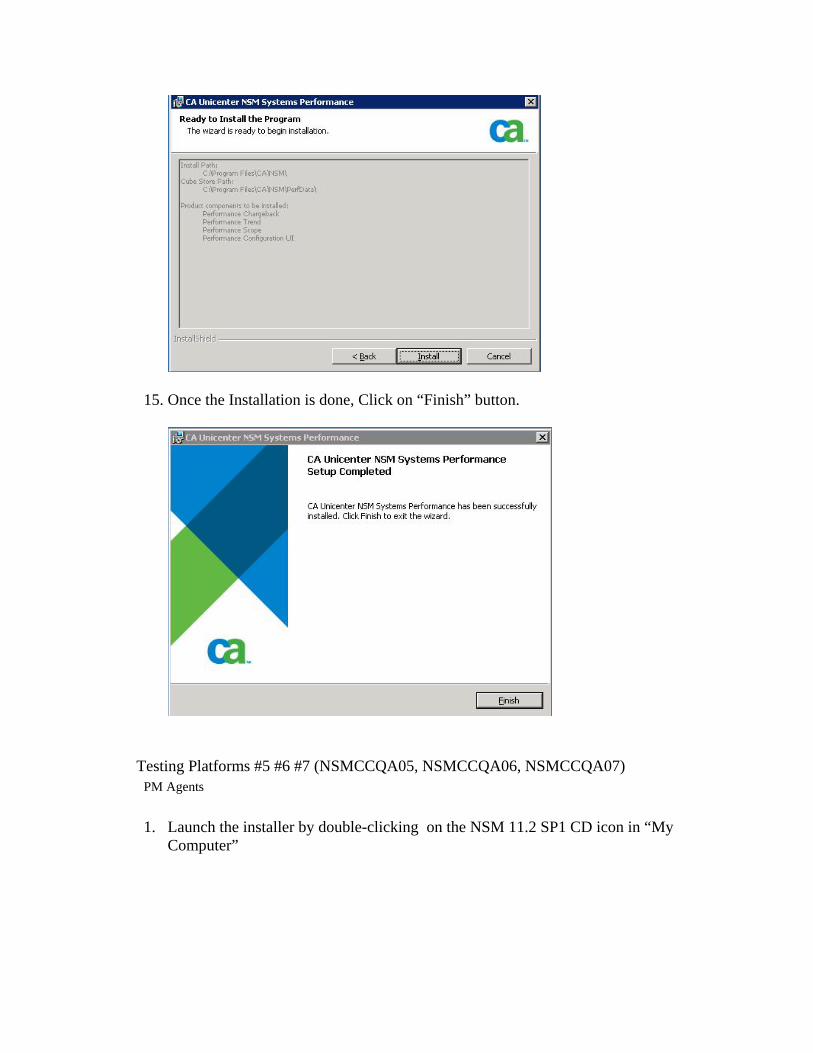
15. Once the Installation is done, Click on “Finish” button.
Testing Platforms #5 #6 #7 (NSMCCQA05, NSMCCQA06, NSMCCQA07) PM Agents
1. Launch the installer by double-clicking on the NSM 11.2 SP1 CD icon in “My Computer”
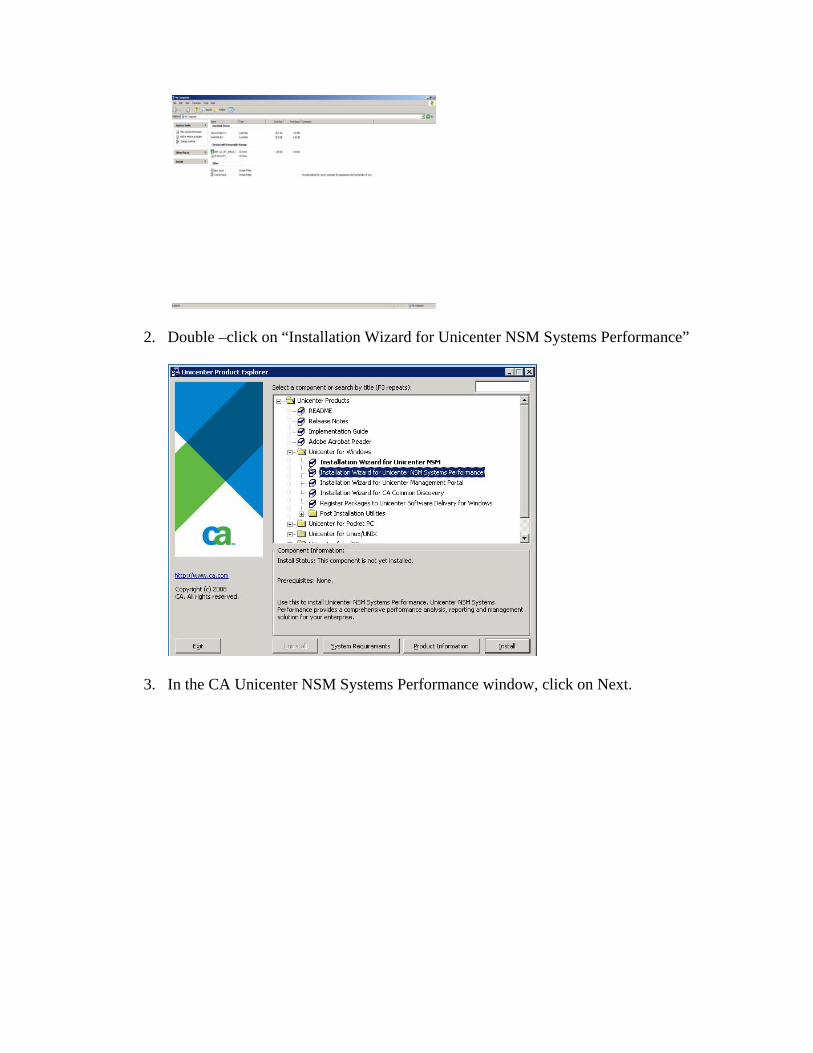
2. Double –click on “Installation Wizard for Unicenter NSM Systems Performance”
3. In the CA Unicenter NSM Systems Performance window, click on Next.
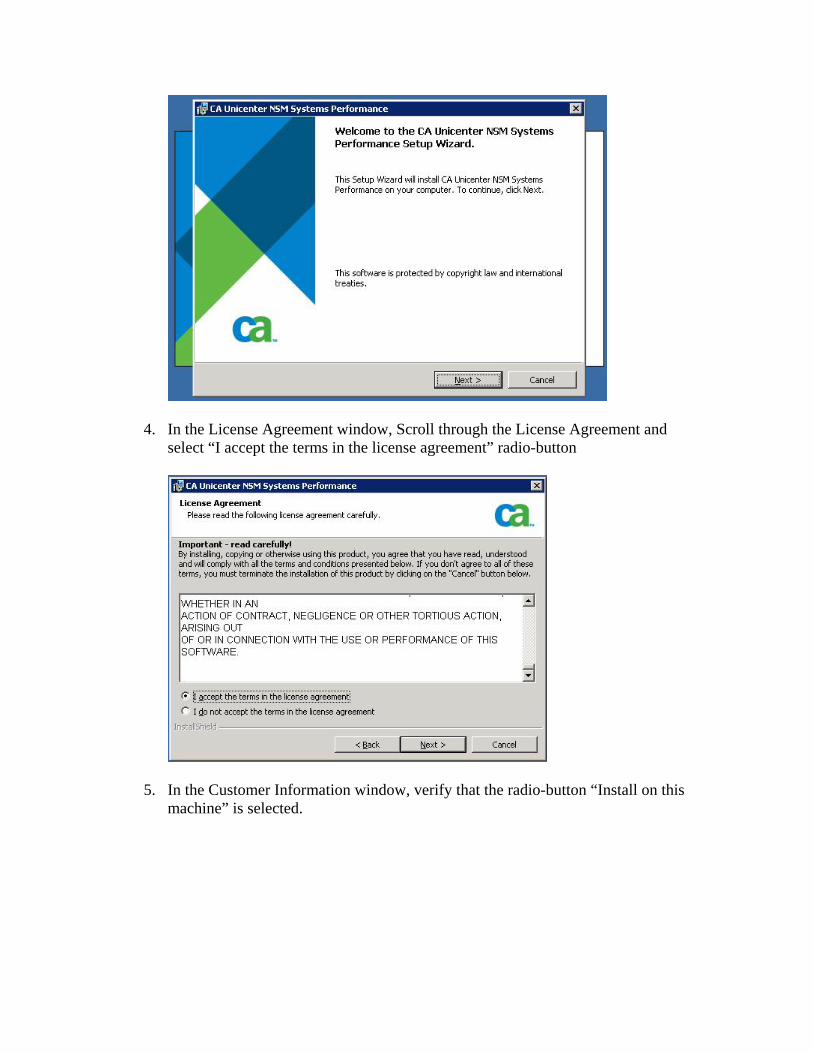
4. In the License Agreement window, Scroll through the License Agreement and select “I accept the terms in the license agreement” radio-button
5. In the Customer Information window, verify that the radio-button “Install on this machine” is selected.
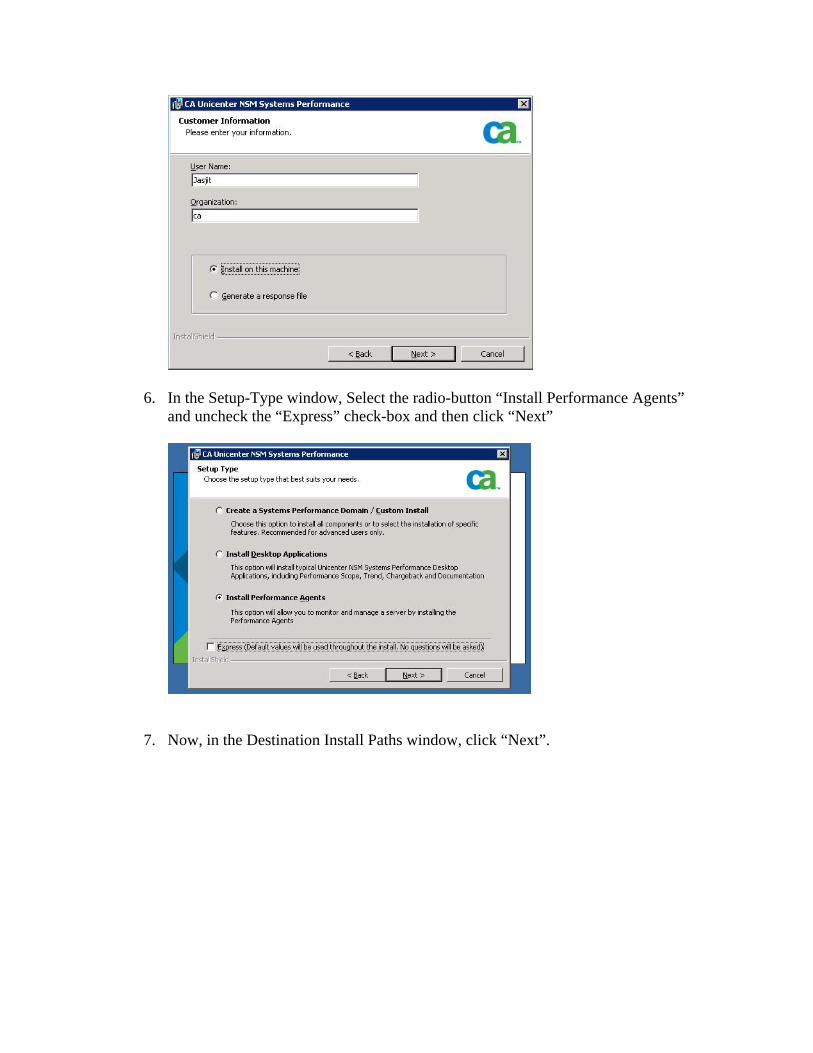
6. In the Setup-Type window, Select the radio-button “Install Performance Agents” and uncheck the “Express” check-box and then click “Next”
7. Now, in the Destination Install Paths window, click “Next”.
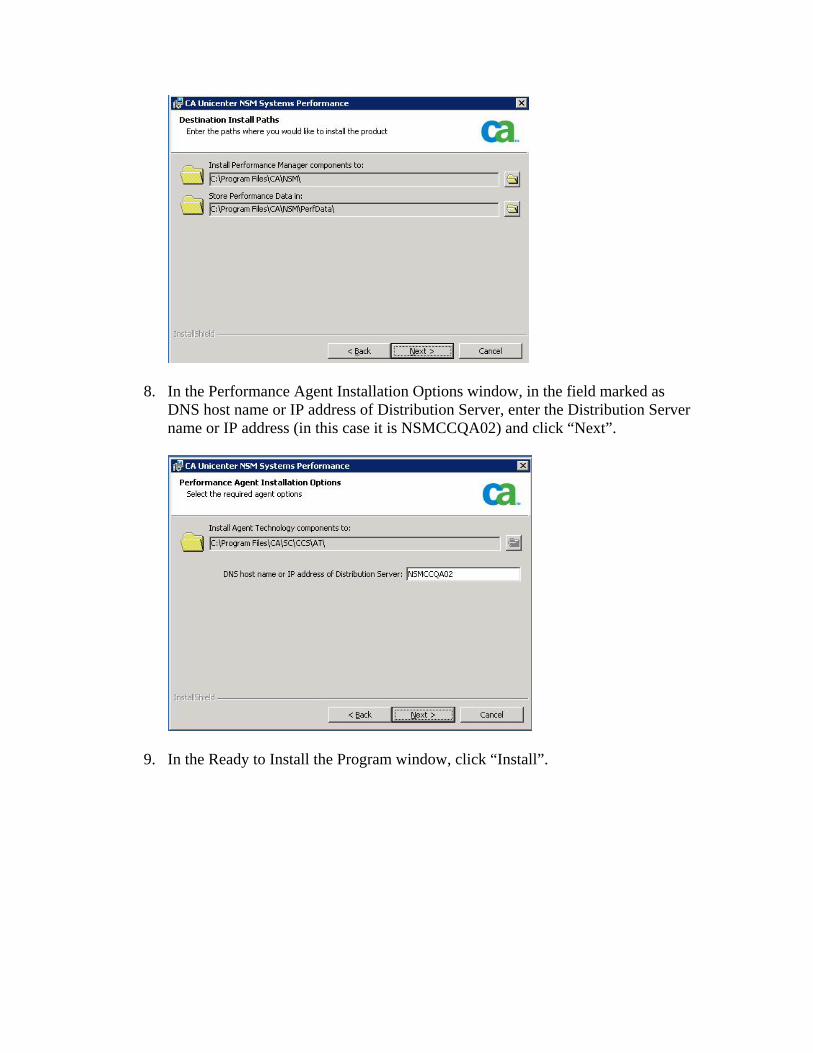
8. In the Performance Agent Installation Options window, in the field marked as DNS host name or IP address of Distribution Server, enter the Distribution Server name or IP address (in this case it is NSMCCQA02) and click “Next”.
9. In the Ready to Install the Program window, click “Install”.

10. Once the Installation is done, Click on “Finish” button.

Appendix A: Selectively installed components not part of this evaluation: Dynamic Containment Service Bridge Repository Service Worldview DMI Manager Agent Views Active Directory Agent WMI Agent AS/400 Agent Script Agent Event Management Wireless Messaging Advanced Event Correlation Universal Job Management Agent Job Management Option Continuous Discovery Active Directory Management CA Common Discovery – Required for IPv6 Support Unicenter for z/OS monitoring Post Install Utilities excluded: Cisco Integration Management for Microsoft Operations Manager Trap Manager Smart BPV Remote Monitoring Spectrum Integration Kit CA Systems Center Operations Manager Integration Installed Feature Integrations requiring addition licenses: CA eHealth Integration VPM r12 Integration CA Service Desk Integration