Embed Size (px)
Citation preview

Understanding Guide Sheet
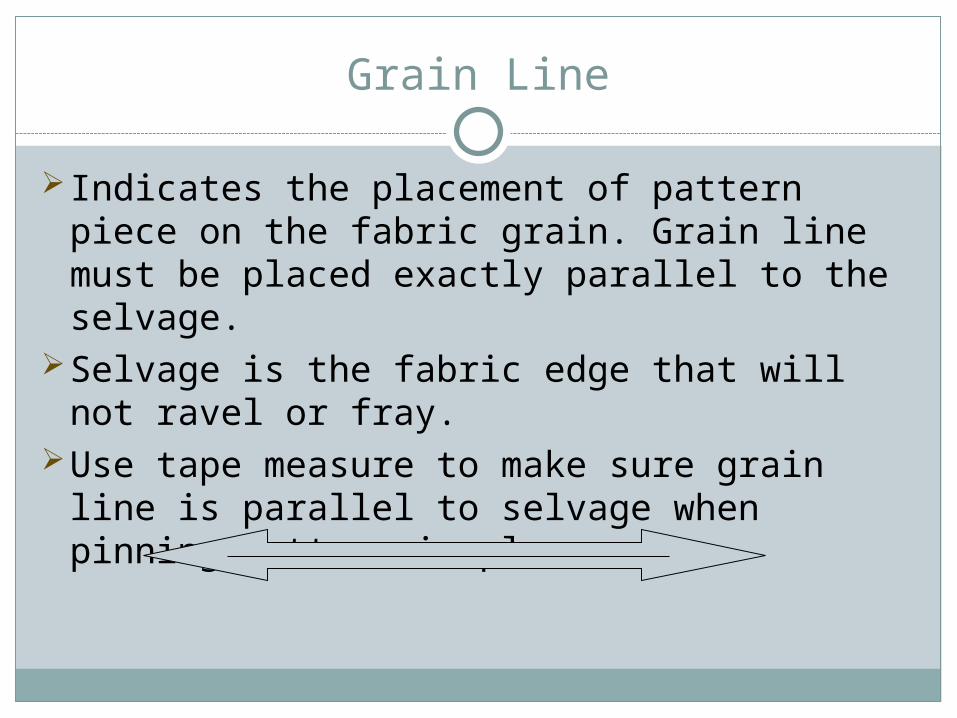
Grain Line
Indicates the placement of pattern piece on the fabric grain. Grain line must be placed exactly parallel to the selvage.
Selvage is the fabric edge that will not ravel or fray.
Use tape measure to make sure grain line is parallel to selvage when pinning pattern in place.

Place on fold/Fold line
Double arrowed bracket symbol that indicates the solid line be placed on the fold of the fabric.
Usually seen at center front or back.

Dots, Squares, or Triangles
Used to match fabric pieces together – show us what to sew together and where.
They are especially helpful in areas requiring easing like sleeves.
May be within garment piece to indicate placement of details like pockets or zippers.

Notches
Used for matching seams and joining garment pieces.
Should extend beyond the cutting line.
Garment
Cut

Double & Triple Notches
Cut them as one long block
Garment
Cut

On multi-sized patterns the notches often appear as triangles.
These notches should be cut out and away or with tiny snips to indicate where the notches are located.

Stitching line
Broken line usually 5/8” from cutting line.Indicates where to stitch fabric pieces
together Seam allowance – distance between stitching
line and cutting line. “Stitch” on the guide sheet means the
standard seam allowance of 5/8”. If it is another seam allowance it will tell you.
Will not be indicated on multi-sized patterns.
Seam allowance

Darts
Triangular folds of fabric used to control fullness.
Fold on the solid line, stitch on the broken lines.
Stitching LineFold Line

Adjustment lines
Indicates where pattern can be lengthened or shortened.
Shorten or lengthen here

Additional Information
On each pattern piece you will find: Number of pieces to cut Pattern piece name/number or letter Size
Simplicity’s Simply the Best Sewing Book
Guide Sheet
Gives you step-by-step information for cutting, marking, and sewing the fabric pieces together.
Main sections of the guide sheet are view selection, cutting layouts and sewing instructions.
In the cutting layout section, you will find the “Use pieces” information to determine which pattern pieces go with which view to be constructed.
Also included are sketches and special information.

Sketch of garment
Sketch of Pattern pieces
Special instructions
Cutting Layout
Pieces to use forEach design

Select your layout diagram based on the view you are making, your fabric width, fabric type, and size.
Circle the layout for easy reference. Simplicity’s Simply the Best Sewing Book

Fabric Grains
Selvage – two finished edges, do not ravel or fray
Lengthwise grain – runs in the same direction as the selvage, strongest threads.
Crosswise grain – runs across fabric from one selvage to the other, usually has slight stretch.
Bias – runs diagonally across the fabric. Has the most stretch.
Simplicity’s Simply the Best Sewing Book
Fabric Folds
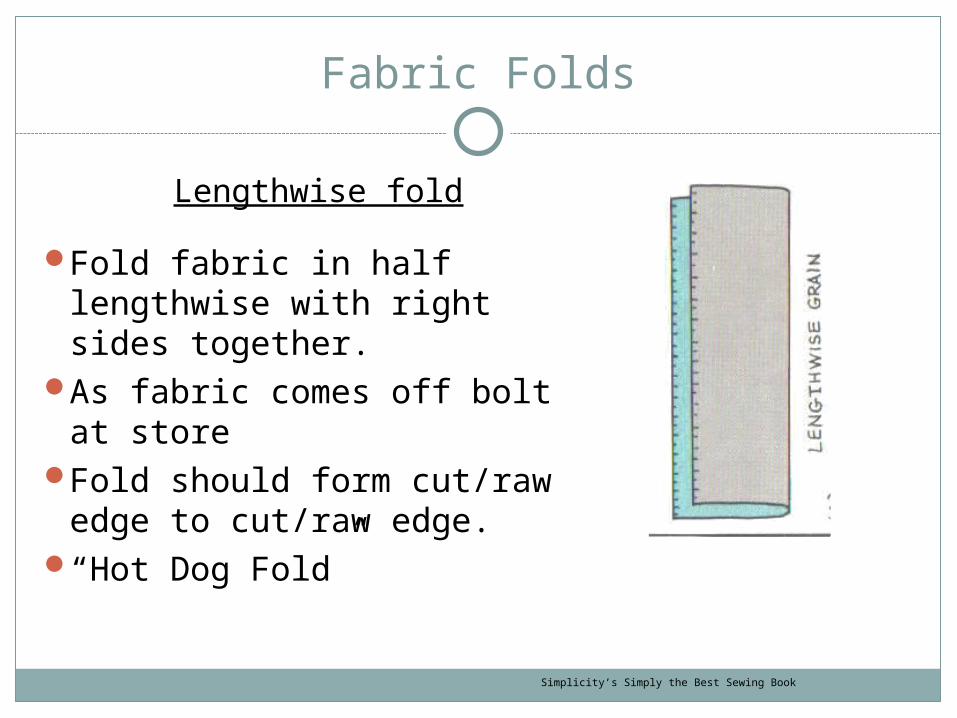
Lengthwise fold
Fold fabric in half lengthwise with right sides together.
As fabric comes off bolt at store
Fold should form cut/raw edge to cut/raw edge.
“Hot Dog Fold”
Simplicity’s Simply the Best Sewing Book

Crosswise Fold
Fold fabric in half crosswise with right sides together.
Fold should be from selvage to selvage.
“Hamburger Fold”
Simplicity’s Simply the Best Sewing Book
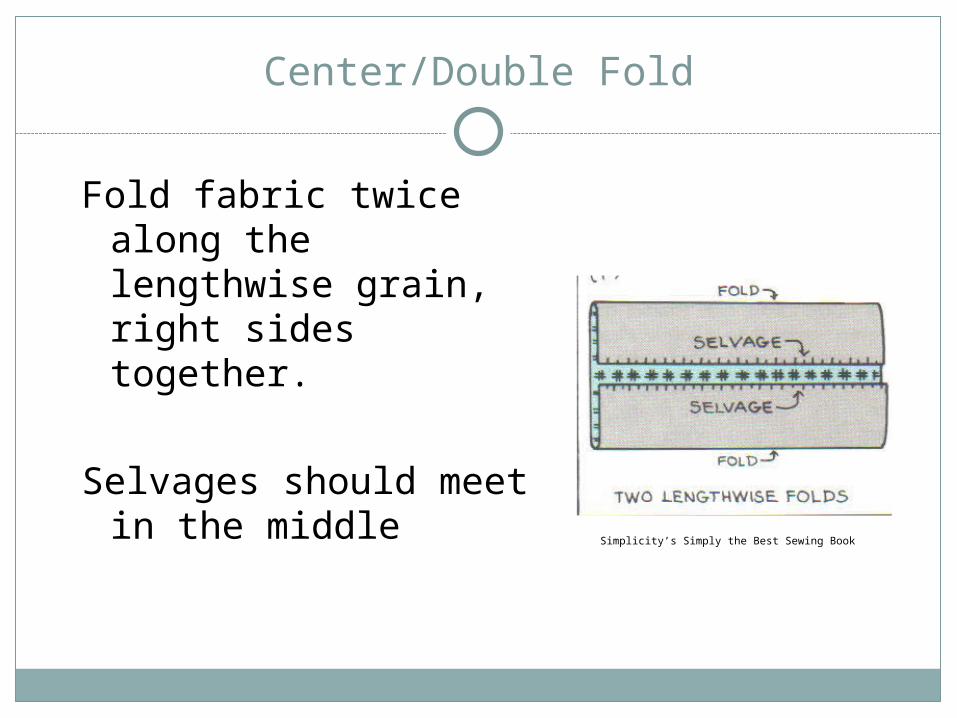
Center/Double Fold
Fold fabric twice along the lengthwise grain, right sides together.
Selvages should meet in the middle
Simplicity’s Simply the Best Sewing Book

Partial Fold
Fold fabric on the lengthwise grain, right sides together, only wide enough to fit the widest pattern piece that is to be placed on fold.
Simplicity’s Simply the Best Sewing Book
Placement of Pattern Pieces
Place the pieces on the fold or the largest pattern pieces on first.
Place all pattern pieces on fabric before pinning any to fabric.
Refer to pattern piece for number of fabric pieces to cut.
Follow layout diagram exactly to maximize fabric use.
When a pattern piece is shaded, that indicates it should be placed printed side down.
Simplicity Pattern

Placement of Pattern Pieces
Pattern pieces should be pinned perpendicular to the cutting edge every 6” – 8”. More pins may be required in curved areas.
Cut out pieces using long, smooth strokes to avoid jagged edges.
Leave pattern pieces attached to fabric until ready to sew.
Transfer dots/squares and dart markings using the marking method of your choice.
Simplicity Pattern

Sewing instructions
Follow the sequence exactlyRead the written directions.Review the pictorial directions.Refer to the special sewing information.
Simplicity Pattern