Embed Size (px)
Citation preview
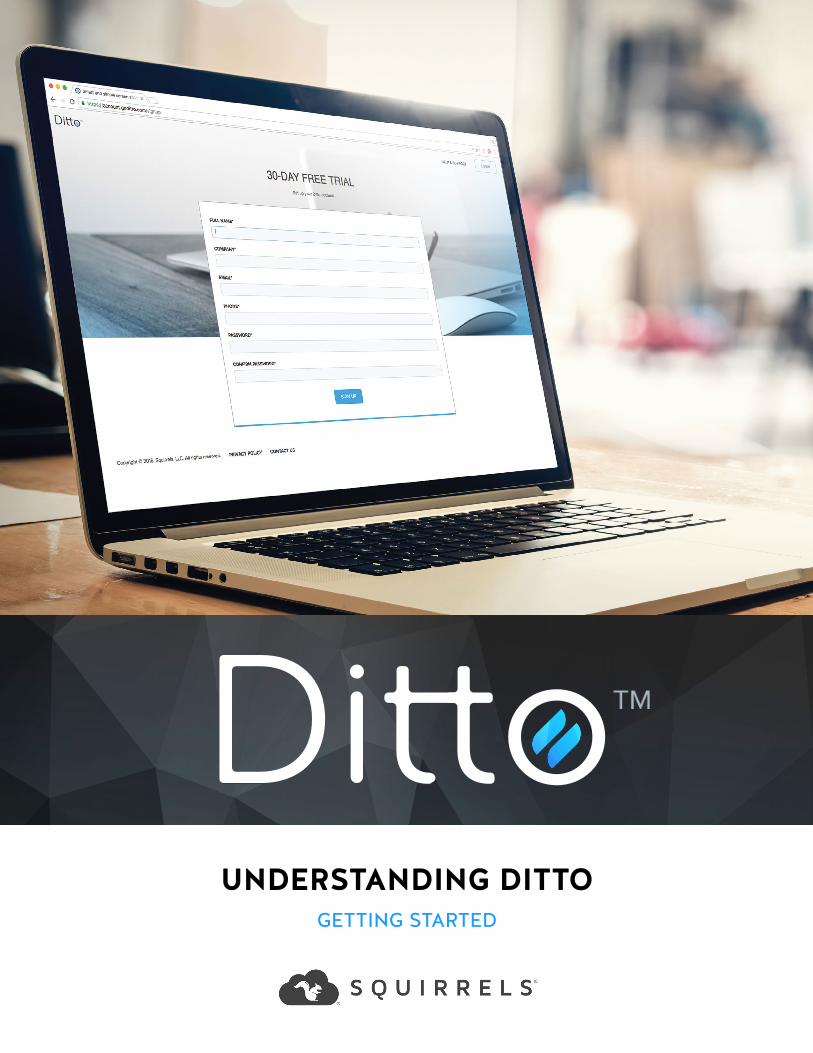
UNDERSTANDING DITTOGETTING STARTED

ABOUT DITTO
Ditto is a diverse screen-sharing solution that is designed to work for everyone. It makes
screen sharing simple, intuitive and unlimited for the end user. This document explains
the setup process required from administrators.
REV10/05/16 GODITTO.COM1
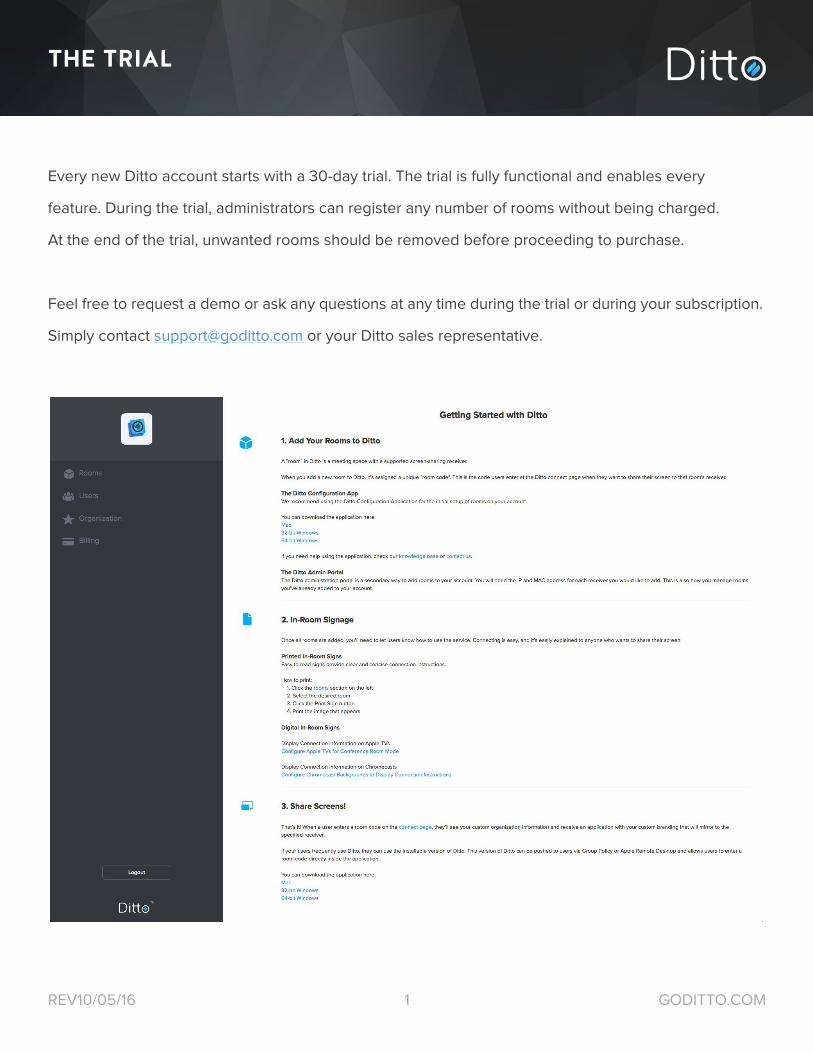
Every new Ditto account starts with a 30-day trial. The trial is fully functional and enables every
feature. During the trial, administrators can register any number of rooms without being charged.
At the end of the trial, unwanted rooms should be removed before proceeding to purchase.
Feel free to request a demo or ask any questions at any time during the trial or during your subscription.
Simply contact [email protected] or your Ditto sales representative.
THE TRIAL
REV10/05/16 GODITTO.COM2
STEP 1 – ADD ROOMS TO DITTO
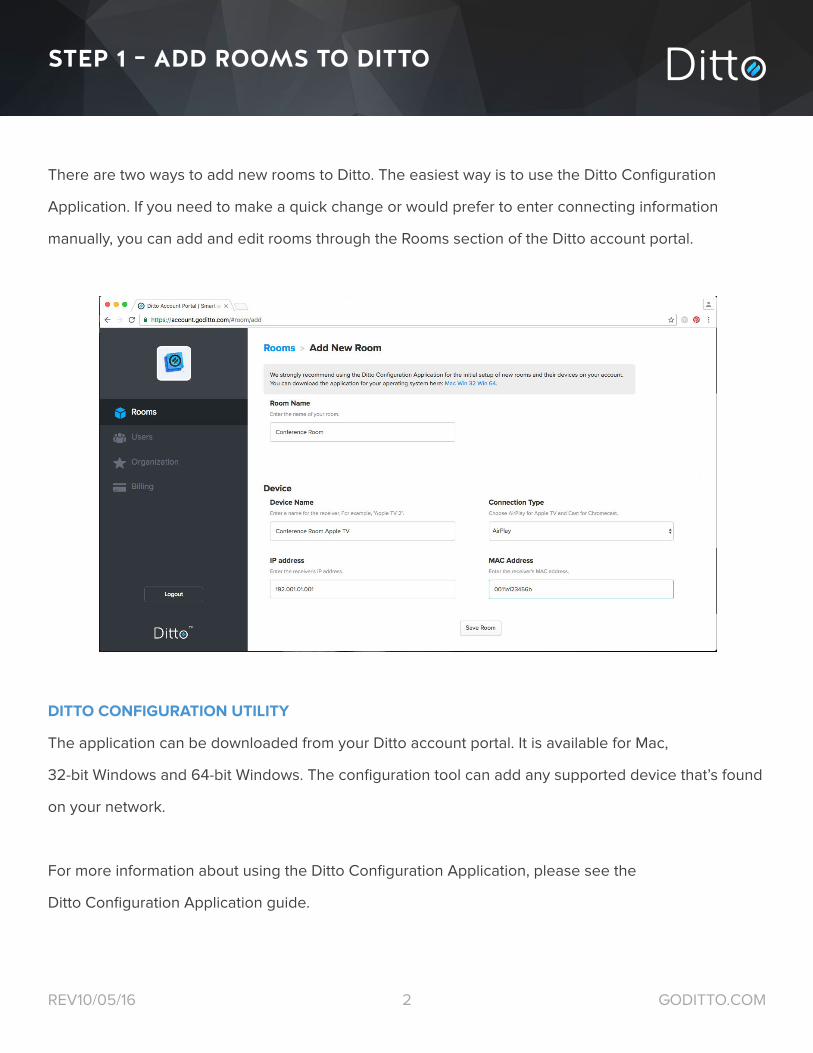
There are two ways to add new rooms to Ditto. The easiest way is to use the Ditto Configuration
Application. If you need to make a quick change or would prefer to enter connecting information
manually, you can add and edit rooms through the Rooms section of the Ditto account portal.
DITTO CONFIGURATION UTILITY
The application can be downloaded from your Ditto account portal. It is available for Mac,
32-bit Windows and 64-bit Windows. The configuration tool can add any supported device that’s found
on your network.
For more information about using the Ditto Configuration Application, please see the
Ditto Configuration Application guide.
REV10/05/16 GODITTO.COM3
STEP 2 – IN-ROOM SIGNAGE 1
Once all rooms are added, you’ll need to let users know how to use the service. Connecting to a
receiver with Ditto is easy, and it’s easily explained to anyone who wants to connect.
PRINTED IN-ROOM SIGNAGE
To print a sign for your desired room:
1. Log in to the Ditto account portal
2. Click the Rooms section at the left
3. Select your desired room
4. Click the Room Sign button
5. Print the image that appears
That’s it! This easy-to-read sign provides clear and concise connection instructions.
CONFIGURE THE APPLE TV FOR CONFERENCE ROOM MODE
Conference Room Display mode allows administrators to display instructions for connecting to the TV.
No physical printout is required if you use this Apple TV feature, and users will immediately know how
to wirelessly connect their Mac or PC screen to the Apple TV.
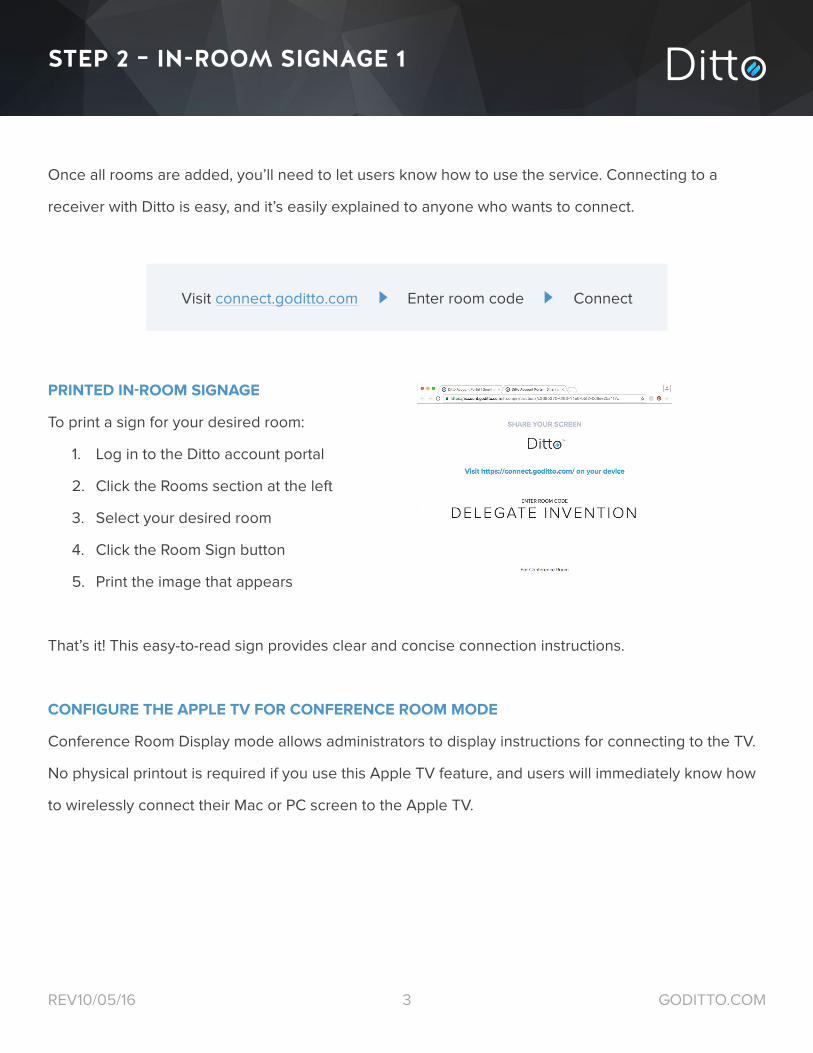
Visit connect.goditto.com Enter room code Connect
REV10/05/16 GODITTO.COM4
STEP 2 – IN-ROOM SIGNAGE 2
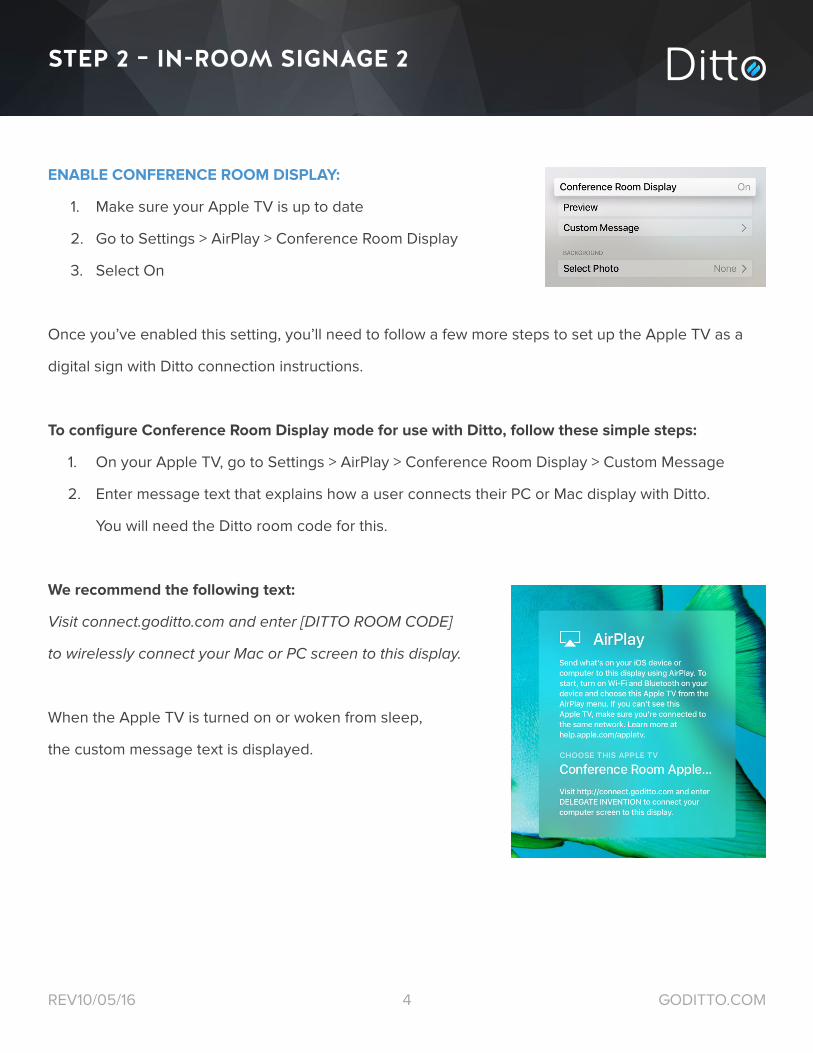
ENABLE CONFERENCE ROOM DISPLAY:
1. Make sure your Apple TV is up to date
2. Go to Settings > AirPlay > Conference Room Display
3. Select On
Once you’ve enabled this setting, you’ll need to follow a few more steps to set up the Apple TV as a
digital sign with Ditto connection instructions.
To configure Conference Room Display mode for use with Ditto, follow these simple steps:
1. On your Apple TV, go to Settings > AirPlay > Conference Room Display > Custom Message
2. Enter message text that explains how a user connects their PC or Mac display with Ditto.
You will need the Ditto room code for this.
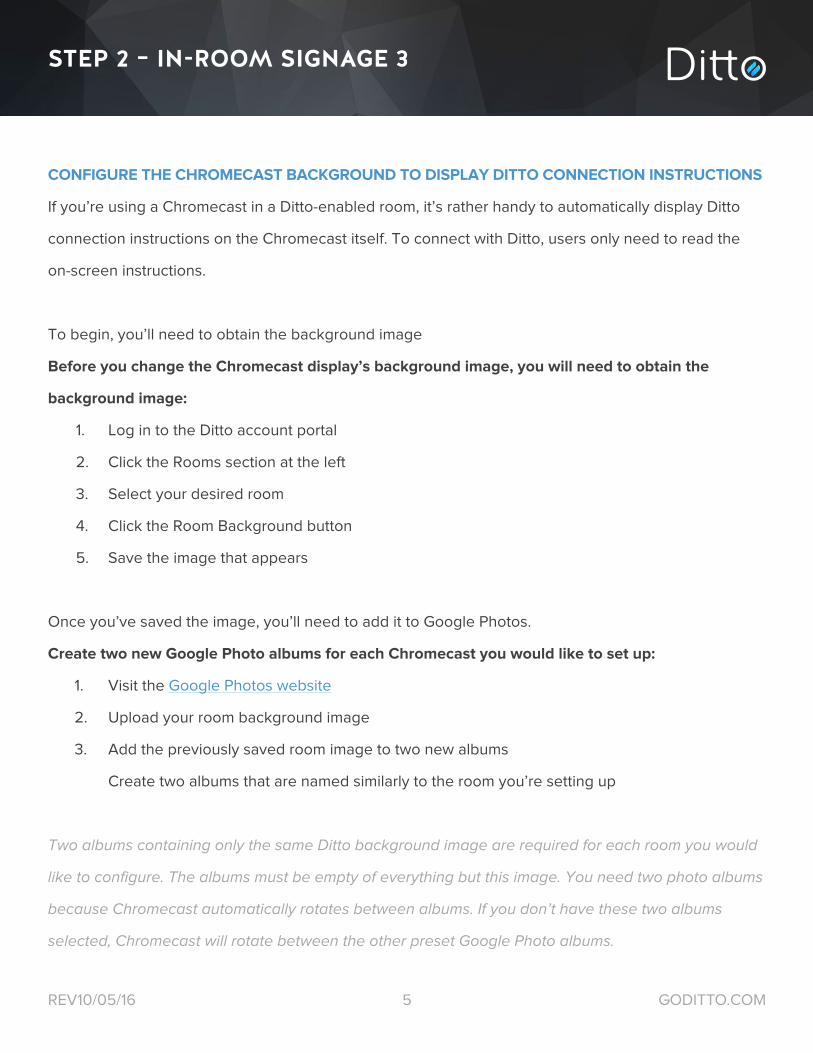
We recommend the following text:
Visit connect.goditto.com and enter [DITTO ROOM CODE]
to wirelessly connect your Mac or PC screen to this display.
When the Apple TV is turned on or woken from sleep,
the custom message text is displayed.
REV10/05/16 GODITTO.COM5
STEP 2 – IN-ROOM SIGNAGE 3
CONFIGURE THE CHROMECAST BACKGROUND TO DISPLAY DITTO CONNECTION INSTRUCTIONS
If you’re using a Chromecast in a Ditto-enabled room, it’s rather handy to automatically display Ditto
connection instructions on the Chromecast itself. To connect with Ditto, users only need to read the
on-screen instructions.
To begin, you’ll need to obtain the background image
Before you change the Chromecast display’s background image, you will need to obtain the
background image:
1. Log in to the Ditto account portal
2. Click the Rooms section at the left
3. Select your desired room
4. Click the Room Background button
5. Save the image that appears
Once you’ve saved the image, you’ll need to add it to Google Photos.
Create two new Google Photo albums for each Chromecast you would like to set up:
1. Visit the Google Photos website
2. Upload your room background image
3. Add the previously saved room image to two new albums
Create two albums that are named similarly to the room you’re setting up
Two albums containing only the same Ditto background image are required for each room you would
like to configure. The albums must be empty of everything but this image. You need two photo albums
because Chromecast automatically rotates between albums. If you don’t have these two albums
selected, Chromecast will rotate between the other preset Google Photo albums.
REV10/05/16 GODITTO.COM6
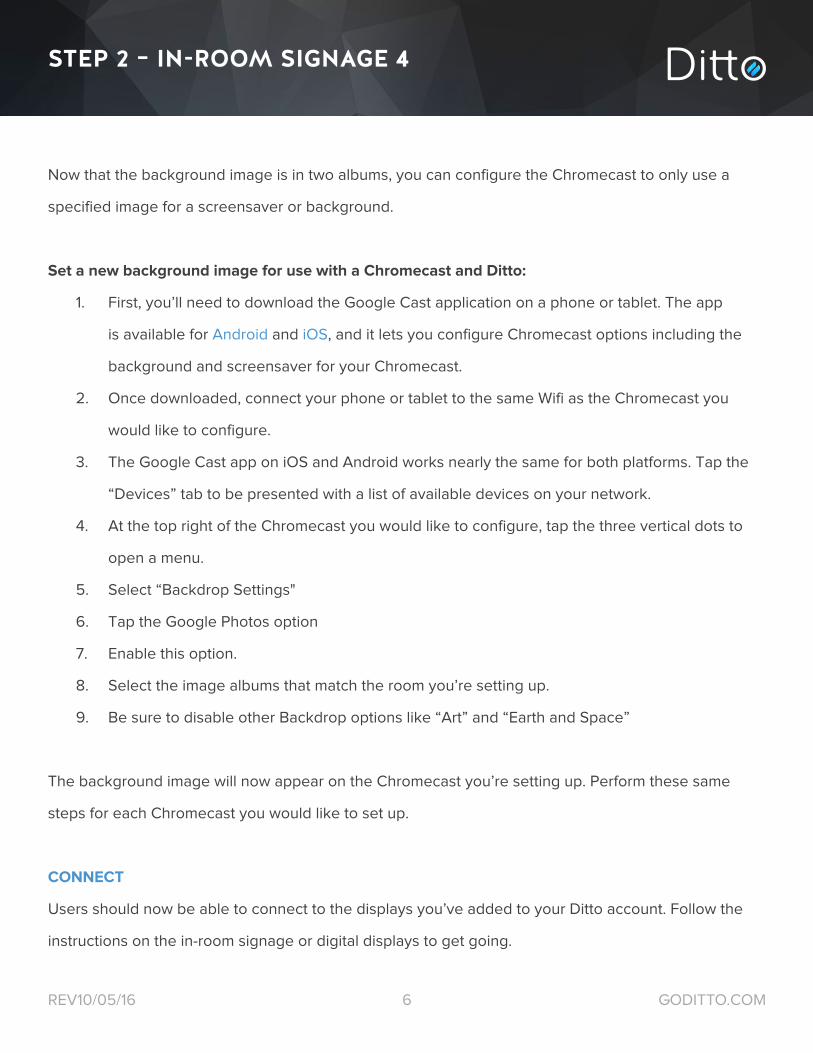
STEP 2 – IN-ROOM SIGNAGE 4
Now that the background image is in two albums, you can configure the Chromecast to only use a
specified image for a screensaver or background.
Set a new background image for use with a Chromecast and Ditto:
1. First, you’ll need to download the Google Cast application on a phone or tablet. The app
is available for Android and iOS, and it lets you configure Chromecast options including the
background and screensaver for your Chromecast.
2. Once downloaded, connect your phone or tablet to the same Wifi as the Chromecast you
would like to configure.
3. The Google Cast app on iOS and Android works nearly the same for both platforms. Tap the
“Devices” tab to be presented with a list of available devices on your network.
4. At the top right of the Chromecast you would like to configure, tap the three vertical dots to
open a menu.
5. Select “Backdrop Settings"
6. Tap the Google Photos option
7. Enable this option.
8. Select the image albums that match the room you’re setting up.
9. Be sure to disable other Backdrop options like “Art” and “Earth and Space”
The background image will now appear on the Chromecast you’re setting up. Perform these same
steps for each Chromecast you would like to set up.
CONNECT
Users should now be able to connect to the displays you’ve added to your Ditto account. Follow the
instructions on the in-room signage or digital displays to get going.
REV10/05/16 GODITTO.COM7
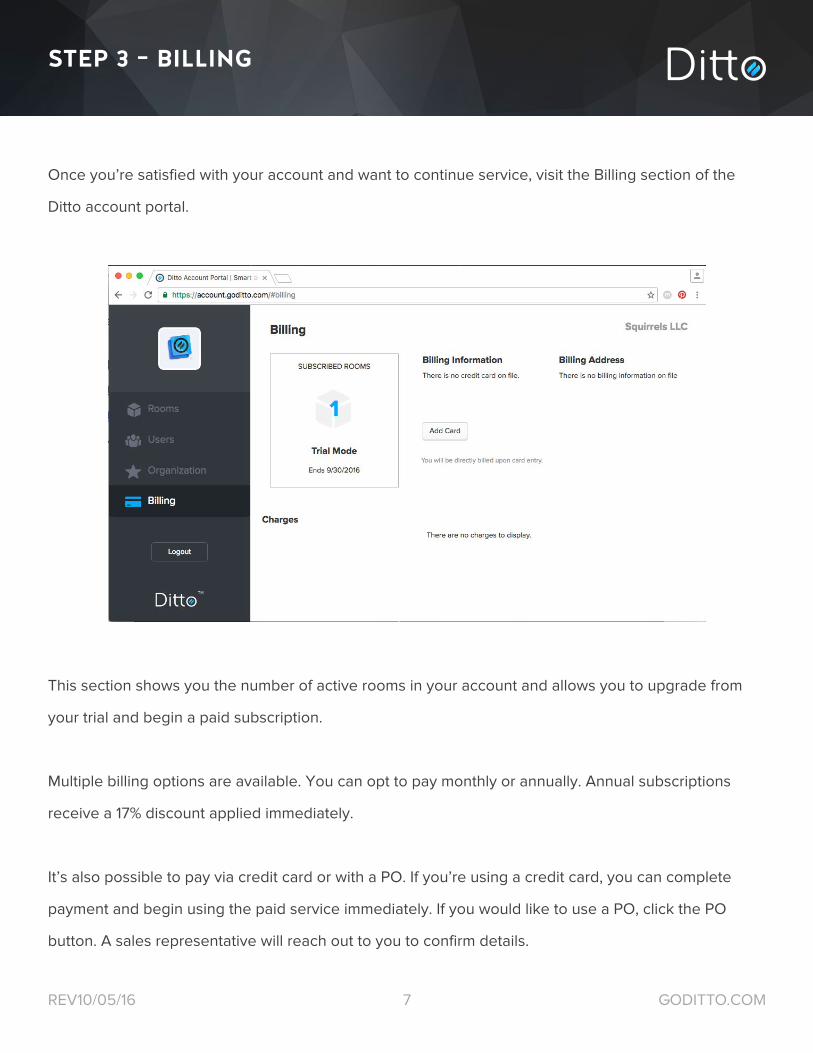
STEP 3 – BILLING
Once you’re satisfied with your account and want to continue service, visit the Billing section of the
Ditto account portal.
This section shows you the number of active rooms in your account and allows you to upgrade from
your trial and begin a paid subscription.
Multiple billing options are available. You can opt to pay monthly or annually. Annual subscriptions
receive a 17% discount applied immediately.
It’s also possible to pay via credit card or with a PO. If you’re using a credit card, you can complete
payment and begin using the paid service immediately. If you would like to use a PO, click the PO
button. A sales representative will reach out to you to confirm details.
REV10/05/16 GODITTO.COM8
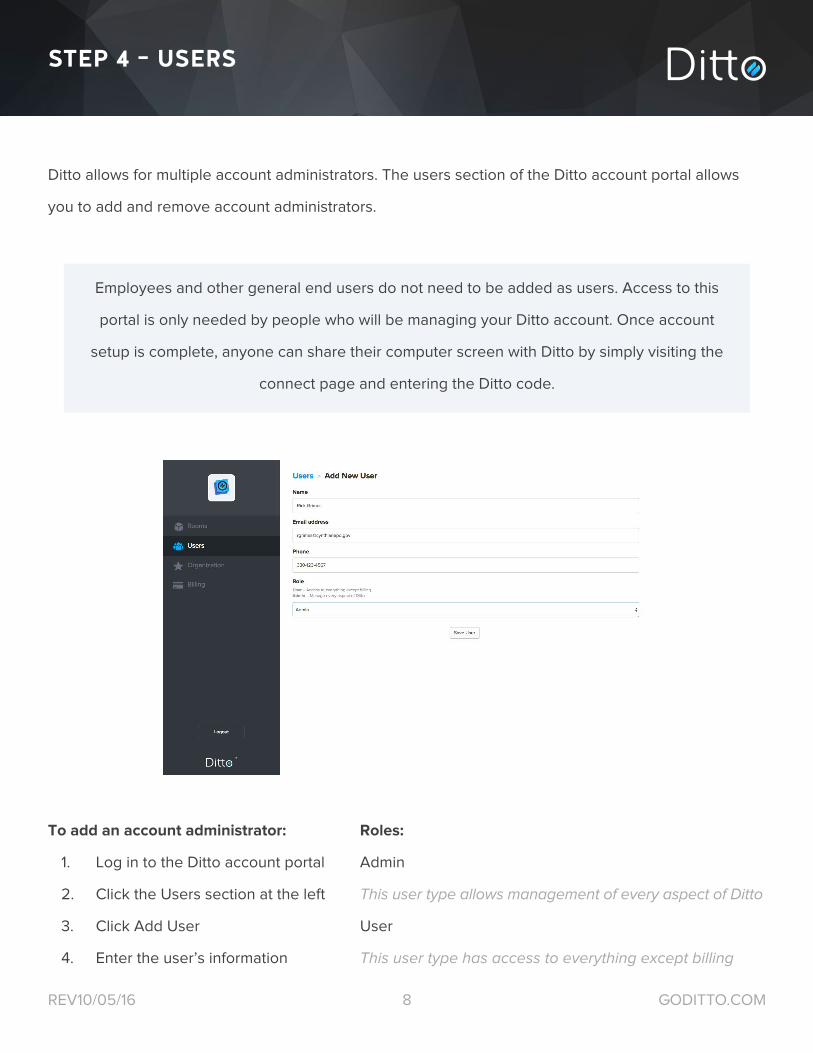
STEP 4 – USERS
Ditto allows for multiple account administrators. The users section of the Ditto account portal allows
you to add and remove account administrators.
To add an account administrator:
1. Log in to the Ditto account portal
2. Click the Users section at the left
3. Click Add User
4. Enter the user’s information
Roles:
Admin
This user type allows management of every aspect of Ditto
User
This user type has access to everything except billing
Employees and other general end users do not need to be added as users. Access to this
portal is only needed by people who will be managing your Ditto account. Once account
setup is complete, anyone can share their computer screen with Ditto by simply visiting the
connect page and entering the Ditto code.
REV10/05/16 GODITTO.COM9
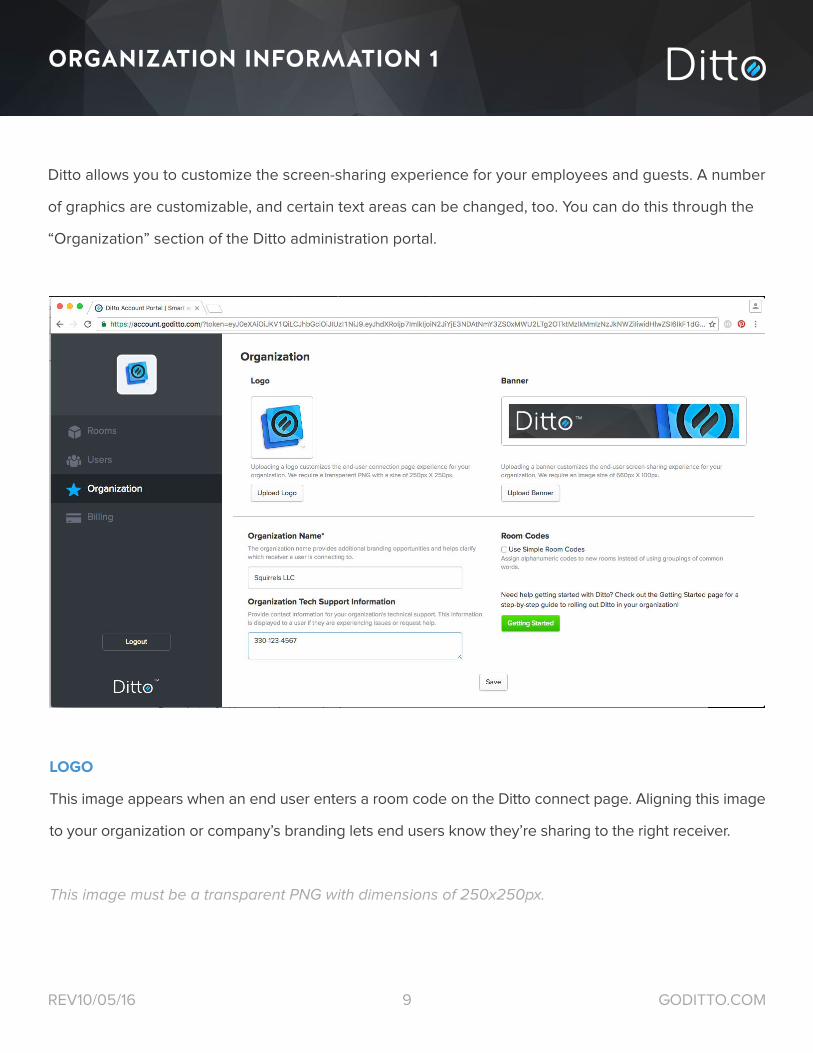
ORGANIZATION INFORMATION 1
Ditto allows you to customize the screen-sharing experience for your employees and guests. A number
of graphics are customizable, and certain text areas can be changed, too. You can do this through the
“Organization” section of the Ditto administration portal.
LOGO
This image appears when an end user enters a room code on the Ditto connect page. Aligning this image
to your organization or company’s branding lets end users know they’re sharing to the right receiver.
This image must be a transparent PNG with dimensions of 250x250px.
REV10/05/16 GODITTO.COM10
ORGANIZATION INFORMATION 2
BANNER
This image appears inside of the Ditto application and replaces the standard Ditto branding. Setting
the banner to a custom branded image ensures users know they have the right application.
This image must be a PNG with dimensions of 650x100px.
ORGANIZATION NAME
This information appears in multiple places for end users and strengthens the concept of the
destination they’re sharing a screen to.
ORGANIZATION TECH SUPPORT INFORMATION
This information is provided to a user when they request assistance within the application.
This should be set to your internal helpdesk or IT contact information.
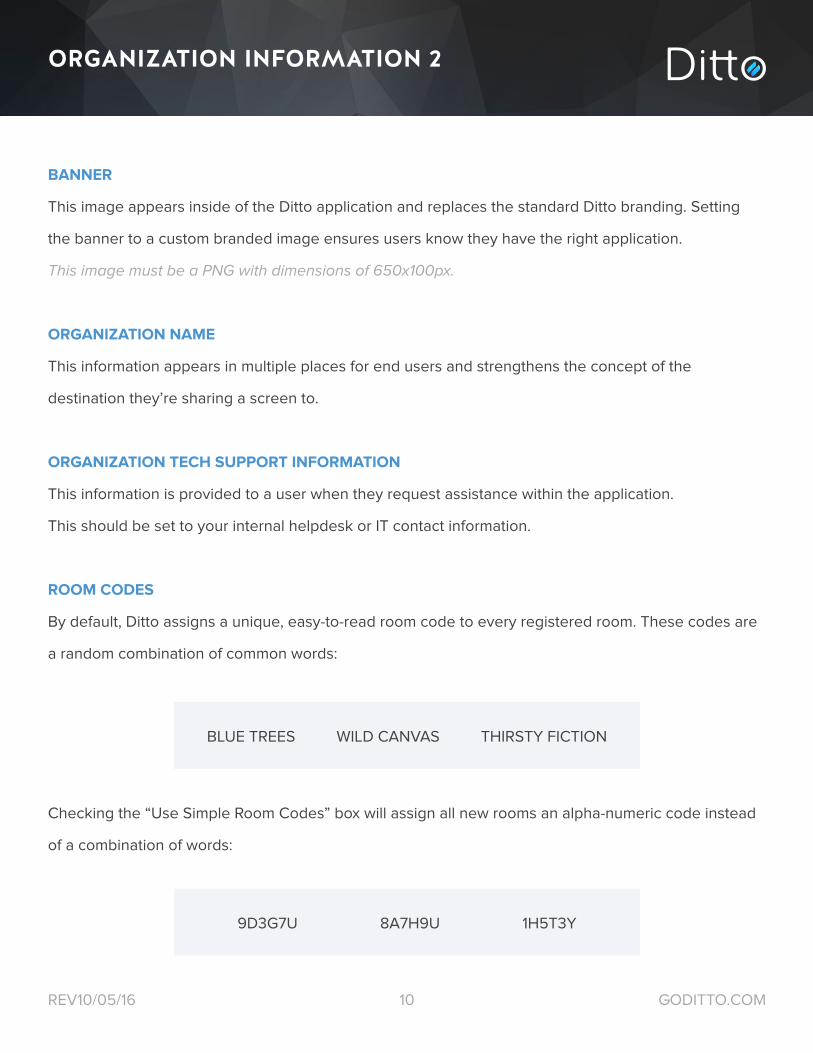
ROOM CODES
By default, Ditto assigns a unique, easy-to-read room code to every registered room. These codes are
a random combination of common words:
Checking the “Use Simple Room Codes” box will assign all new rooms an alpha-numeric code instead
of a combination of words:
9D3G7U 8A7H9U 1H5T3Y
BLUE TREES WILD CANVAS THIRSTY FICTION