Embed Size (px)
Citation preview
SHARED APPLICATIONS BROWSER SETTING REQUIREMENTS
UPDATED: JULY 2014
Shared Applications Browser Setting Requirements
Table of Contents
Secure Access Applications (Fin, HR, SA, Summit).......................................................................................4
Adding Trusted Sites................................................................................................................................4
Campus Steps......................................................................................................................................4
Google Chrome....................................................................................................................................5
President’s Office Steps.......................................................................................................................5
Google Chrome....................................................................................................................................7
Enabling Cookies......................................................................................................................................8
Internet Explorer.................................................................................................................................8
Firefox..................................................................................................................................................8
Safari....................................................................................................................................................9
Google Chrome....................................................................................................................................9
Downloading Queries............................................................................................................................10
Internet Explorer...............................................................................................................................10
Firefox................................................................................................................................................10
Safari..................................................................................................................................................11
Google Chrome..................................................................................................................................11
Enabling Java Script...............................................................................................................................12
Internet Explorer...............................................................................................................................12
Firefox................................................................................................................................................12
Safari..................................................................................................................................................12
Google Chrome..................................................................................................................................13
Updating Pop-up Blocker Settings.........................................................................................................14
Internet Explorer...............................................................................................................................14
Firefox................................................................................................................................................14
Safari..................................................................................................................................................15
Google Chrome..................................................................................................................................15
Compatibility Mode Fixes......................................................................................................................16
Windows XP / Internet Explorer 8.....................................................................................................16
2 | P a g e
Shared Applications Browser Setting Requirements
Windows 8 / Internet Explorer 10.....................................................................................................16
UMass Productivity Kit..............................................................................................................................17
Updating Internet Explorer Settings for the Do It mode........................................................................17
Internet Explorer...............................................................................................................................17
Updating Pop-up Blocker Settings.........................................................................................................18
Internet Explorer...............................................................................................................................18
Firefox................................................................................................................................................18
Safari..................................................................................................................................................19
Google Chrome..................................................................................................................................19
WorkSpaces (SharePoint)..........................................................................................................................20
Limited Access: Project Team Members Only.......................................................................................20
Applying Security Settings.....................................................................................................................20
Internet Explorer...............................................................................................................................20
Appendices................................................................................................................................................22
Appendix A: Clearing Browser History...................................................................................................22
Internet Explorer...............................................................................................................................22
Firefox................................................................................................................................................23
Safari..................................................................................................................................................23
Google Chrome..................................................................................................................................23
Appendix B: Printing a PeopleSoft Screen.............................................................................................23
Internet Explorer...............................................................................................................................23
Firefox................................................................................................................................................24
Safari..................................................................................................................................................26
3 | P a g e

Shared Applications Browser Setting Requirements
Secure Access Applications (Fin, HR, SA, Summit)
Adding Trusted SitesWhen a user adds a website as a Trusted Site, the user agrees that files he or she downloads or runs from the website will not damage his or her computer or data. Adding the below domains allows downloads and pop-up menus from PeopleSoft into the user’s browser. Most users will have this setting applied previously for the HR Direct system. However, new users or users who upgrade their systems should ensure this setting is applied.
Campus StepsCampuses should follow the below steps to add the Secure Access applications to trusted sites.
Internet Explorer
1. Click the Tools ( ) icon at the top right corner of the browser.
Note: In IE 7.0 & 8.0, you should click the Tools dropdown list in the browser menu.2. Click the Internet Options list item.3. Click the Security tab.4. Select the Trusted sites icon.5. Click the Sites button.6. Verify the Require server verification for all sites in this zone box is not selected.7. Insert the Secure Access domain in the Add this Web site to the zone field: *.umasscs.net8. Click the Add button.9. Insert the Secure Access Login domain in the Add this Website to the zone field: *.ucollaborate.net10. Click the Add button.11. Click the Close button.12. Click the OK button.
Firefox
PC Users - Version lower than 10
1. Navigate to the browser, a menu with a ‘Tools’ option should appear on the top left of the screen. If it does not, right click on the bar on the top of the browser, and select the Menu Bar option.
2. Click the Tools dropdown list.3. Click the Options tab.4. Click the Security tab.5. Click the Exceptions button6. Insert the Secure Access domain in the Address of web site field: *.umasscs.net
4 | P a g e
Shared Applications Browser Setting Requirements
Firefox
7. Click the Allow button.8. Insert the Secure Access Login domain in the Address of web site field: *.ucollaborate.net9. Click the Allow button.10. Close the Allowed Sites window.11. Close the Preferences window.
PC Users – Version 10 and higher
12. Click the Open Menu ( ) icon on the top right of the page.13. Click Options.14. Click the first Exceptions button.15. Insert the Secure Access domain in the Address of web site field: *.umasscs.net16. Click the Allow button.17. Insert the Secure Access Login domain in the Address of web site field: *.ucollaborate.net18. Click the Allow button.19. Close the Allowed Sites window.20. Close the Options window.
Mac Users
21. Click the Firefox dropdown list.22. Click the Preferences dropdown list.23. Click the Security tab.24. Click the Exceptions button at the top of the window.25. Insert the Secure Access domain in the Address of web site field: *.umasscs.net26. Click the Allow button.27. Insert the Secure Access Login domain in the Address of web site field: *.ucollaborate.net28. Click the Allow button.29. Close the Allowed Sites window.30. Close the Preferences window.
Safari
There are no Trusted Site steps for Safari. Please ensure users complete the pop-up setting steps.
Google Chrome
There are no Trusted Site steps for Google Chrome. Please ensure users complete the pop-up setting steps.
5 | P a g e

Shared Applications Browser Setting Requirements
President’s Office StepsThese steps are for President’s Office employees only.
Internet Explorer
1. Click the Tools ( ) icon at the top right corner of the browser.
Note: In IE 7.0 & 8.0, you should click the Tools dropdown list in the browser menu.2. Click the Internet Options list item.3. Click the Security tab.4. Select the Local Intranet icon.5. Click the Sites button. The Local Intranet window will open.6. Click the Advanced button.7. Verify the Require server verification for all sites in this zone box is not selected.8. Enter the Secure Access domain in the Add this Web site to the zone field: *.umasscs.net9. Click the Add button.10. Insert the Secure Access Login domain in the Add this Website to the zone field: *.ucollaborate.net11. Click the Add button.12. Click the Close button.13. Click the OK button.14. Click the OK button.
Firefox
PC Users - Version lower than 10
1. Navigate to the browser, a menu with a ‘Tools’ option should appear on the top left of the screen. If it does not, right click on the bar on the top of the browser, and select the Menu Bar option.
2. Click the Tools dropdown list.3. Click the Options tab.4. Click the Security tab.5. Click the Exceptions button6. Insert the Secure Access domain in the Address of web site field: *.umasscs.net7. Click the Allow button.8. Insert the Secure Access Login domain in the Address of web site field: *.ucollaborate.net9. Click the Allow button.10. Close the Allowed Sites window.11. Close the Preferences window.
PC Users – Version 10 and higher
12. Click the Open Menu ( ) icon on the top right of the page.
6 | P a g e
Shared Applications Browser Setting Requirements
Firefox
13. Click Options.14. Click the first Exceptions button.
Mac Users
15. Click the Firefox dropdown list.16. Click the Preferences dropdown list.17. Click the Security tab.18. Click the Exceptions button19. Insert the Secure Access domain in the Address of web site field: *.umasscs.net20. Click the Allow button.21. Insert the Secure Access Login domain in the Address of web site field: *.ucollaborate.net22. Click the Allow button.23. Close the Allowed Sites window.24. Close the Preferences window.
Safari
There are no Trusted Site steps for Safari. Please ensure users complete the pop-up setting steps.
Google Chrome
There are no Trusted Site steps for Google Chrome. Please ensure users complete the pop-up setting steps.
7 | P a g e
Shared Applications Browser Setting Requirements
Enabling CookiesWhen PeopleSoft authenticates a user, it distributes a cookie to the browser. This cookie holds user authentication information in the browser that PeopleSoft uses to verify user access. Enabling cookies allows the user to navigate freely within the system without having to provide user credentials repeatedly. Most users will have this setting applied previously for the HR Direct system. However, new users or users who upgrade their systems should ensure this setting is applied.
Internet Explorer
1. Click the Tools ( ) icon at the top right corner of the browser.
Note: In IE 7.0 & 8.0, you should click the Tools dropdown list in the browser menu.2. Click the Internet Options list item.3. Click the Privacy tab.4. Verify Cookies are set at Medium.
Firefox
PC Users - Version lower than 10
1. Navigate to the browser, a menu with a ‘Tools’ option should appear on the top left of the screen. If it does not, right click on the bar on the top of the browser, and select the Menu Bar option.
2. Click the Tools dropdown list.3. Click the Internet Options list item.4. Click the Privacy tab.5. Click the Firefox will: dropdown list in the History section.6. Select the Use custom settings for history list item.7. Verify the Accept cookies from sites box is selected.
PC Users – Version 10 and higher
8. Click the Open Menu ( ) icon on the top right of the page.9. Click Options.10. Click the Privacy tab.11. Click the Firefox will: dropdown list in the History section.12. Select the Use custom settings for history list item.13. Verify the Accept cookies from sites box is selected.
Mac Users – Version 3.614. Click the Firefox dropdown list.
8 | P a g e
Shared Applications Browser Setting Requirements
Firefox
15. Click the Preferences list item.16. Click the Privacy tab.17. Verify the Accept cookies from sites box is selected.
Mac Users – Version 7.018. Click the Firefox dropdown list.19. Click the Preferences list item.20. Click the Privacy tab.21. Click the Firefox will: dropdown list in the History section.22. Click the Use custom settings for history list item.23. Verify the Accept cookies from sites box is selected.
Safari
1. Click the Safari dropdown list.2. Click the Preferences list item.3. Click the Security tab.4. Verify the Only from sites you navigate to radio button is selected under Accept Cookies.
Google Chrome
1. Click on the Wrench ( ) icon on the right hand side.2. Click the Settings option from the dropdown list.3. Click Show advanced settings at the bottom of the list.4. In the Privacy section, click on the Content Settings button.5. In the Cookies section, click on Allow local data to be set (recommended).
9 | P a g e
Shared Applications Browser Setting Requirements
Downloading QueriesThis browser setting is only required for users that utilize the query functionality in Fin 9.1.
Internet Explorer
Apply Download Settings:
1. Click the Tools tab on the menu bar.2. Click the Internet Options list item.3. Click the Security tab.4. Click the Custom level button.5. Scroll half way down the Settings window until you see Downloads.6. Verify the File download and Font download radio buttons are set to Enable.7. Click the OK button to the close Security Settings window.8. Click the OK or Apply (if applicable) button to exit Internet Options window.
Firefox
Apply Download Settings:
PC Users - Version lower than 10
1. Navigate to the browser, a menu with a ‘Tools’ option should appear on the top left of the screen. If it does not, right click on the bar on the top of the browser, and select the Menu Bar option.
2. Click the Tools dropdown list.3. Click the Options list items.4. Click the General tab.5. Select the Show the Downloads window when downloading a file checkbox in the Downloads
section.6. Select the Save files to… radio button.7. Click the Browse… button and find the location to which you want to save downloads.8. Click the OK button.
PC Users – Version 10 and higher
1. Click the Open Menu ( ) icon on the top right of the page.2. Click Options icon.3. General tab will appear4. You will see Downloads section5. Select Save files to radio button.6. Click Browse… button and find the location to which you want to save the downloads7. Click the OK button to close out Option window.
Mac Users
10 | P a g e
Shared Applications Browser Setting Requirements
Firefox
9. Click the Firefox dropdown list.10. Click the Preferences list items.11. Click the General tab.12. Select the Show the Downloads window when downloading a file checkbox in the Downloads
section.13. Select the Save files to… radio button.14. Click the Choose… button and find the location to which you want to save downloads.15. Click the Open button.
11 | P a g e
Shared Applications Browser Setting Requirements
Safari
Apply Download Settings:
1. Click the Safari menu item.2. Click the Preferences option.3. Click the General tab.4. Click the Save downloaded files to… dropdown list and update the location, if needed.5. Close the Preferences window.
Google Chrome
1. Click on the Wrench ( ) icon on the right hand side.2. Click the Settings option from the dropdown list.3. Click Show advanced settings at the bottom of the list.4. In the Downloads section, select Ask where to save each file before downloading.
12 | P a g e
Shared Applications Browser Setting Requirements
Enabling Java ScriptAs PeopleSoft pages run Java Scripts behind the scenes, it’s important for users to enable java scripts to ensure pages are displayed properly. Most users will have this setting applied previously for the HR Direct system. However, new users or users who upgrade their systems should ensure this setting is applied.
Internet Explorer
1. Click the Tools ( ) icon at the top right corner of the browser.
Note: In IE 7.0 & 8.0, you should click the Tools dropdown list in the browser menu.2. Click the Internet Options list item.3. Click the Security tab.4. Click the Custom level… button.5. Scroll down until you find “Active Scripting” under the Scripting section.6. Verify the Enable radio button is selected.
Firefox
PC Users - Version lower than 10
1. Navigate to the browser, a menu with a ‘Tools’ option should appear on the top left of the screen. If it does not, right click on the bar on the top of the browser, and select the Menu Bar option.
2. Click the Tools dropdown list.3. Click the Options list item.4. Click the Content tab.5. Verify the Enable JavaScript box is selected.
PC Users – Version 10 and higher
1. Click the Open Menu ( ) icon on the top right of the page.2. Click Options icon.3. Click the Content tab.4. Verify the Enable JavaScript box is selected.
Mac Users
1. Click the Firefox dropdown list.2. Click the Preferences list item.3. Click the Content tab.4. Verify the Enable JavaScript box is selected.
13 | P a g e
Shared Applications Browser Setting Requirements
Safari
1. Click the Safari dropdown list.2. Click the Preferences list item.3. Click the Security tab.4. Verify the Enable JavaScript checkbox is selected.
Google Chrome
1. Click on the Wrench ( ) icon on the right hand side.2. Click the Settings option from the dropdown list.3. Click Show advanced settings at the bottom of the list.4. In the Privacy section, click on the Content Settings button.5. In the JavaScript section, select Allow all sites to run JavaScript (recommended).
14 | P a g e
Shared Applications Browser Setting Requirements
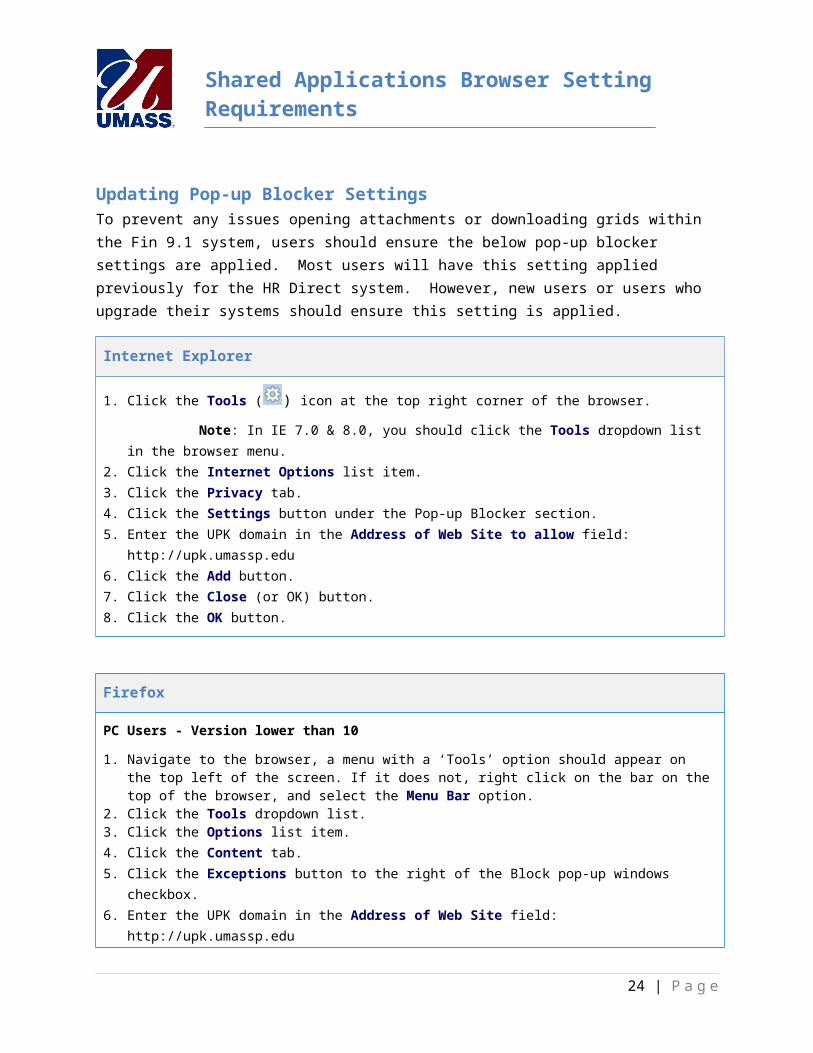
Updating Pop-up Blocker Settings To prevent any issues opening attachments or downloading grids within the Fin 9.1 system, users should ensure the below pop-up blocker settings are applied. Most users will have this setting applied previously for the HR Direct system. However, new users or users who upgrade their systems should ensure this setting is applied.
Internet Explorer
1. Click the Tools ( ) icon at the top right corner of the browser.
Note: In IE 7.0 & 8.0, you should click the Tools dropdown list in the browser menu.2. Click the Internet Options list item.3. Click the Privacy tab.4. Click the Settings button under the Pop-up Blocker section. (You may need to check the Turn on
Pop-up Blocker box in order to edit the settings.)5. Enter the Secure Access domain in the Address of Web Site to allow field: *.ucollaborate.net6. Click the Add button.7. Enter the Secure Access domain in the Address of Web Site to allow field: *.umasscs.net8. Click the Add button.9. Click the Close (or OK) button.10. Click the OK button.
Firefox
PC Users - Version lower than 10
1. Navigate to the browser, a menu with a ‘Tools’ option should appear on the top left of the screen. If it does not, right click on the bar on the top of the browser, and select the Menu Bar option
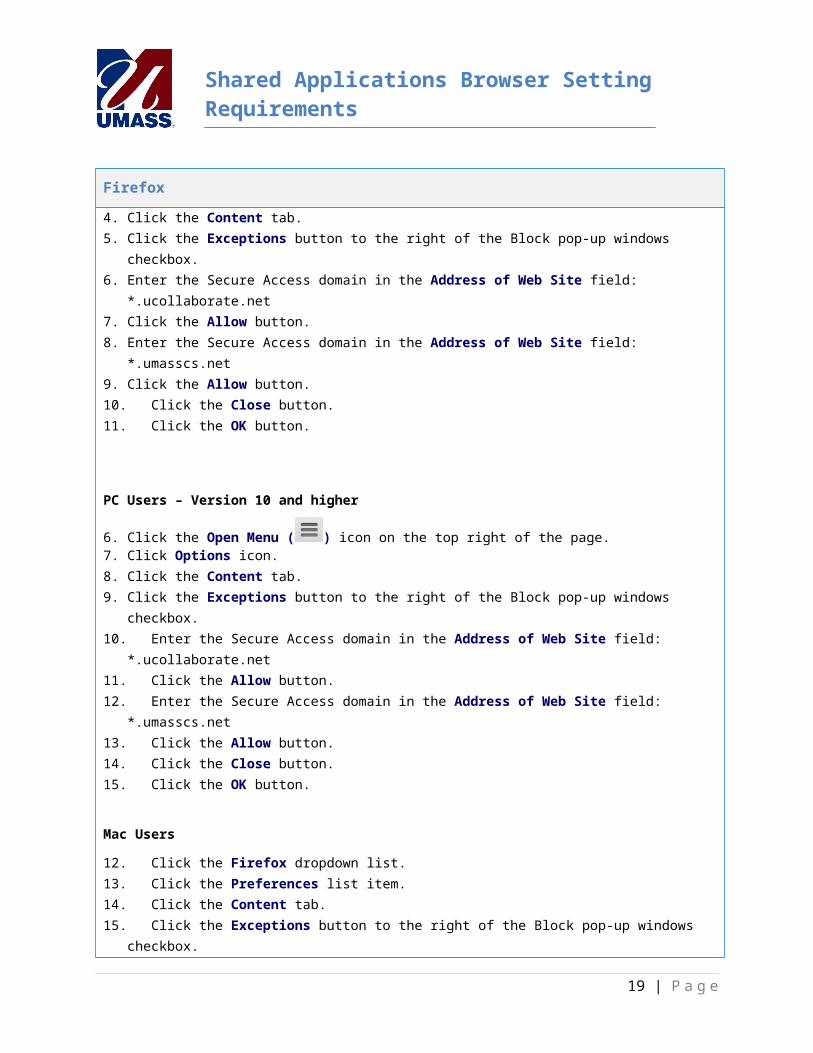
2. Click the Tools dropdown list.3. Click the Options list item.4. Click the Content tab.5. Click the Exceptions button to the right of the Block pop-up windows checkbox.6. Enter the Secure Access domain in the Address of Web Site field: *.ucollaborate.net7. Click the Allow button.8. Enter the Secure Access domain in the Address of Web Site field: *.umasscs.net9. Click the Allow button.10. Click the Close button.11. Click the OK button.
15 | P a g e
Shared Applications Browser Setting Requirements
Firefox
PC Users – Version 10 and higher
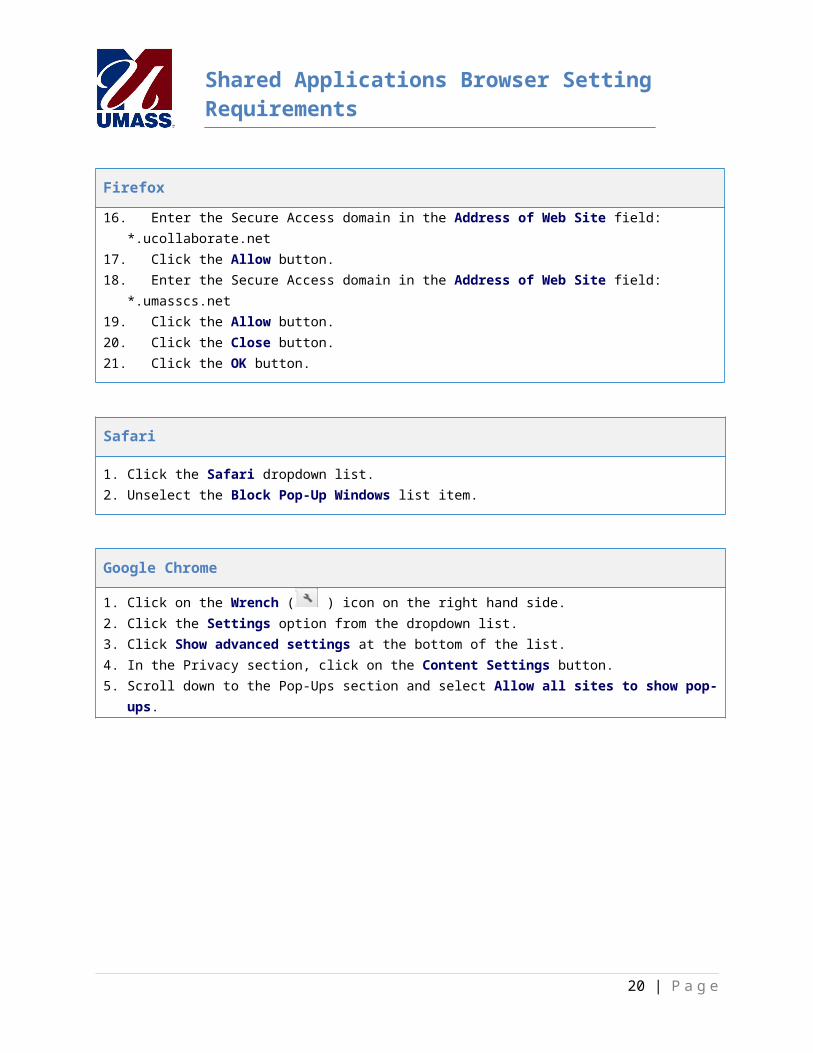
6. Click the Open Menu ( ) icon on the top right of the page.7. Click Options icon.8. Click the Content tab.9. Click the Exceptions button to the right of the Block pop-up windows checkbox.10. Enter the Secure Access domain in the Address of Web Site field: *.ucollaborate.net11. Click the Allow button.12. Enter the Secure Access domain in the Address of Web Site field: *.umasscs.net13. Click the Allow button.14. Click the Close button.15. Click the OK button.
Mac Users
12. Click the Firefox dropdown list.13. Click the Preferences list item.14. Click the Content tab.15. Click the Exceptions button to the right of the Block pop-up windows checkbox.16. Enter the Secure Access domain in the Address of Web Site field: *.ucollaborate.net17. Click the Allow button.18. Enter the Secure Access domain in the Address of Web Site field: *.umasscs.net19. Click the Allow button.20. Click the Close button.21. Click the OK button.
Safari
1. Click the Safari dropdown list.2. Unselect the Block Pop-Up Windows list item.
Google Chrome
1. Click on the Wrench ( ) icon on the right hand side.2. Click the Settings option from the dropdown list.3. Click Show advanced settings at the bottom of the list.4. In the Privacy section, click on the Content Settings button.5. Scroll down to the Pop-Ups section and select Allow all sites to show pop-ups.
16 | P a g e

Shared Applications Browser Setting Requirements
17 | P a g e

Shared Applications Browser Setting Requirements
Compatibility Mode Fixes
Windows XP / Internet Explorer 8
When opening a PDF using an XP Operating System and Internet Explorer 8.0, users may experience slow performance when the PDF goes to open. In fact, the PDF may take over a minute to open and users may assume that the PDF will not open at all and close the window.
After testing this issue with Oracle, the following resolution was determined should XP, IE8 users experience this issue.
1. Click the Tools dropdown list.2. Select the Compatibility View Settings option. The Compatibility View Settings window will open.3. Please unselect all three checkboxes at the bottom of the window (i.e., Include updated website lists
from Microsoft, Display intranet sites in Compatibility View, and Display all websites in Compatibility View).
4. Click the Close button. The Compatibility View Settings page will close.5. Close out of all Internet Explorer windows; then reopen Internet Explorer.6. Navigate back to the PeopleSoft page in which you were trying to open a PDF (e.g., Pay Advice,
Transcript).Note: Users should notice that the PDF opens in much faster than before.
Windows 8 / Internet Explorer 10
Internet Explorer 10 should install with compatibility mode turned on. PeopleSoft (PS) requires this setting to remain enabled so that the browser can determine the best way to render pages. If compatibility mode is disabled, PS pages could be severely impacted. To enable compatibility mode:
1. Check to see if the Compatibility View icon ( ) is visible on the address bar. If the Compatibility View icon is not visible, the Web page has no issues displaying in Internet Explorer 10.
2. If the Compatibility View icon is visible, click on it to display the site in Compatibility mode.
Note: Once you turn on Compatibility View, Internet Explorer will automatically show that site in Compatibility View each time you visit. You can turn it off by tapping or clicking the button again. Or, you can clear the entire list of sites using Compatibility View by deleting your browsing history.
18 | P a g e
Shared Applications Browser Setting Requirements
UMass Productivity Kit
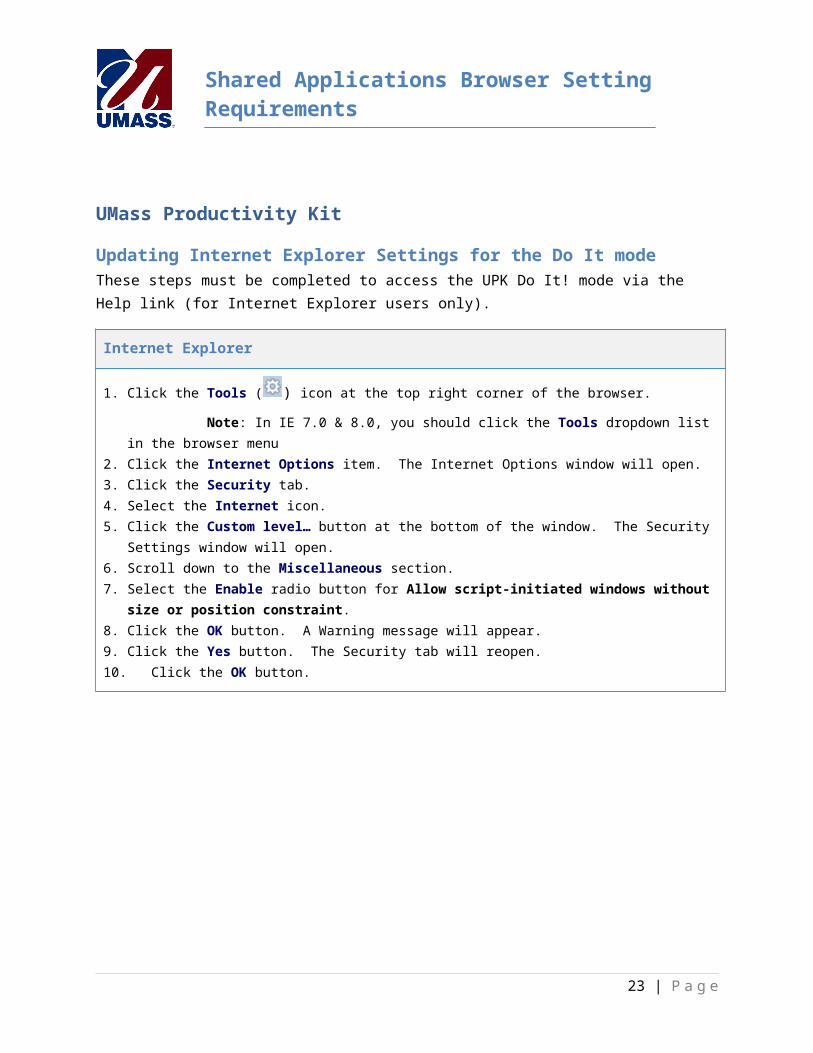
Updating Internet Explorer Settings for the Do It modeThese steps must be completed to access the UPK Do It! mode via the Help link (for Internet Explorer users only).
Internet Explorer
1. Click the Tools ( ) icon at the top right corner of the browser.
Note: In IE 7.0 & 8.0, you should click the Tools dropdown list in the browser menu2. Click the Internet Options item. The Internet Options window will open.3. Click the Security tab.4. Select the Internet icon.5. Click the Custom level… button at the bottom of the window. The Security Settings window will
open.6. Scroll down to the Miscellaneous section.7. Select the Enable radio button for Allow script-initiated windows without size or position
constraint.8. Click the OK button. A Warning message will appear.9. Click the Yes button. The Security tab will reopen.10. Click the OK button.
19 | P a g e
Shared Applications Browser Setting Requirements
Updating Pop-up Blocker Settings To prevent any issues opening attachments or downloading grids within the Fin 9.1 system, users should ensure the below pop-up blocker settings are applied. Most users will have this setting applied previously for the HR Direct system. However, new users or users who upgrade their systems should ensure this setting is applied.
Internet Explorer
1. Click the Tools ( ) icon at the top right corner of the browser.
Note: In IE 7.0 & 8.0, you should click the Tools dropdown list in the browser menu.2. Click the Internet Options list item.3. Click the Privacy tab.4. Click the Settings button under the Pop-up Blocker section.5. Enter the UPK domain in the Address of Web Site to allow field: http://upk.umassp.edu6. Click the Add button.7. Click the Close (or OK) button.8. Click the OK button.
Firefox
PC Users - Version lower than 10
1. Navigate to the browser, a menu with a ‘Tools’ option should appear on the top left of the screen. If it does not, right click on the bar on the top of the browser, and select the Menu Bar option.
2. Click the Tools dropdown list.3. Click the Options list item.4. Click the Content tab.5. Click the Exceptions button to the right of the Block pop-up windows checkbox.6. Enter the UPK domain in the Address of Web Site field: http://upk.umassp.edu7. Click the Allow button.8. Click the Close button.9. Click the OK button.
PC Users – Version 10 and higher
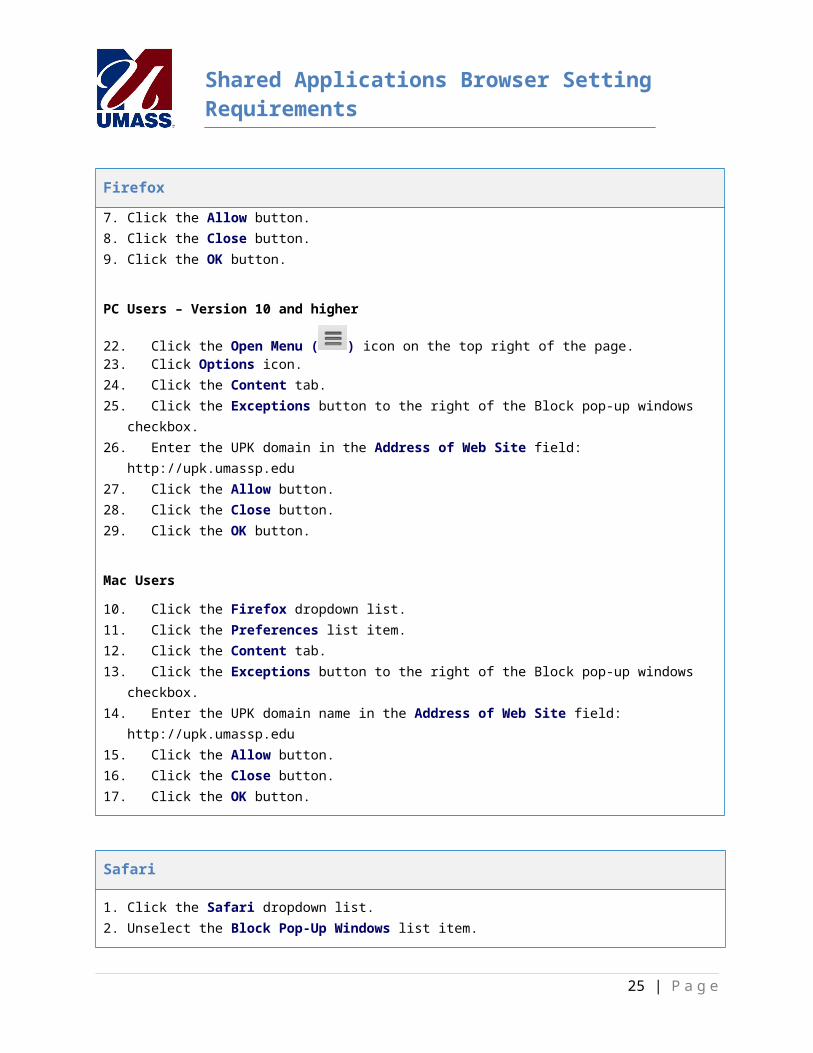
22. Click the Open Menu ( ) icon on the top right of the page.23. Click Options icon.24. Click the Content tab.25. Click the Exceptions button to the right of the Block pop-up windows checkbox.26. Enter the UPK domain in the Address of Web Site field: http://upk.umassp.edu
20 | P a g e

Shared Applications Browser Setting Requirements
Firefox
27. Click the Allow button.28. Click the Close button.29. Click the OK button.
Mac Users
10. Click the Firefox dropdown list.11. Click the Preferences list item.12. Click the Content tab.13. Click the Exceptions button to the right of the Block pop-up windows checkbox.14. Enter the UPK domain name in the Address of Web Site field: http://upk.umassp.edu15. Click the Allow button.16. Click the Close button.17. Click the OK button.
Safari
1. Click the Safari dropdown list.2. Unselect the Block Pop-Up Windows list item.
Google Chrome
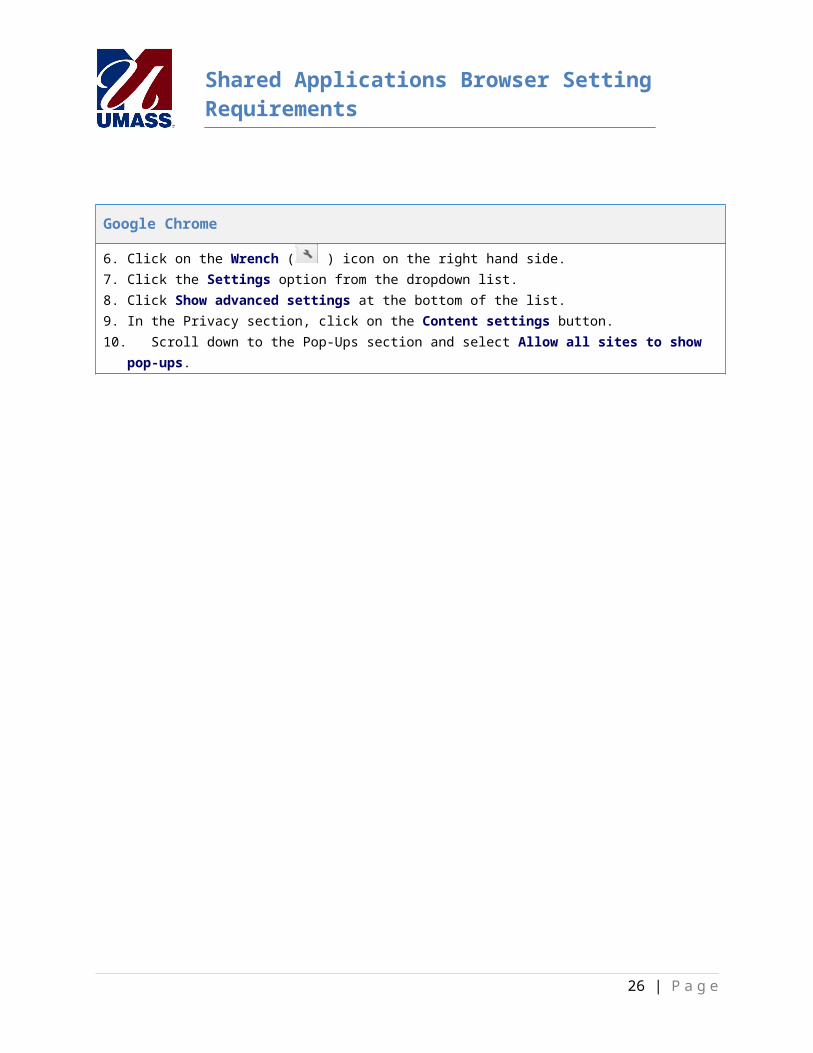
6. Click on the Wrench ( ) icon on the right hand side.7. Click the Settings option from the dropdown list.8. Click Show advanced settings at the bottom of the list.9. In the Privacy section, click on the Content settings button.10. Scroll down to the Pop-Ups section and select Allow all sites to show pop-ups.
21 | P a g e
Shared Applications Browser Setting Requirements
WorkSpaces (SharePoint)
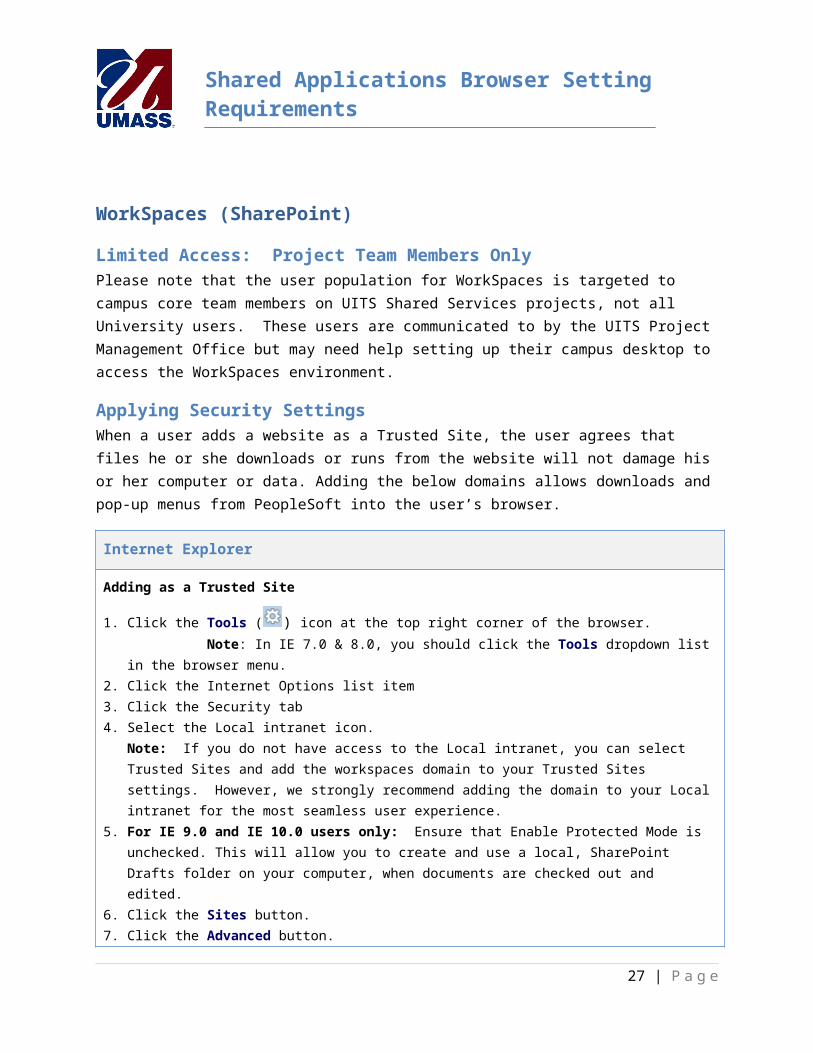
Limited Access: Project Team Members OnlyPlease note that the user population for WorkSpaces is targeted to campus core team members on UITS Shared Services projects, not all University users. These users are communicated to by the UITS Project Management Office but may need help setting up their campus desktop to access the WorkSpaces environment.
Applying Security SettingsWhen a user adds a website as a Trusted Site, the user agrees that files he or she downloads or runs from the website will not damage his or her computer or data. Adding the below domains allows downloads and pop-up menus from PeopleSoft into the user’s browser.
Internet Explorer
Adding as a Trusted Site
1. Click the Tools ( ) icon at the top right corner of the browser. Note: In IE 7.0 & 8.0, you should click the Tools dropdown list in the browser menu.
2. Click the Internet Options list item3. Click the Security tab4. Select the Local intranet icon.
Note: If you do not have access to the Local intranet, you can select Trusted Sites and add the workspaces domain to your Trusted Sites settings. However, we strongly recommend adding the domain to your Local intranet for the most seamless user experience.
5. For IE 9.0 and IE 10.0 users only: Ensure that Enable Protected Mode is unchecked. This will allow you to create and use a local, SharePoint Drafts folder on your computer, when documents are checked out and edited.
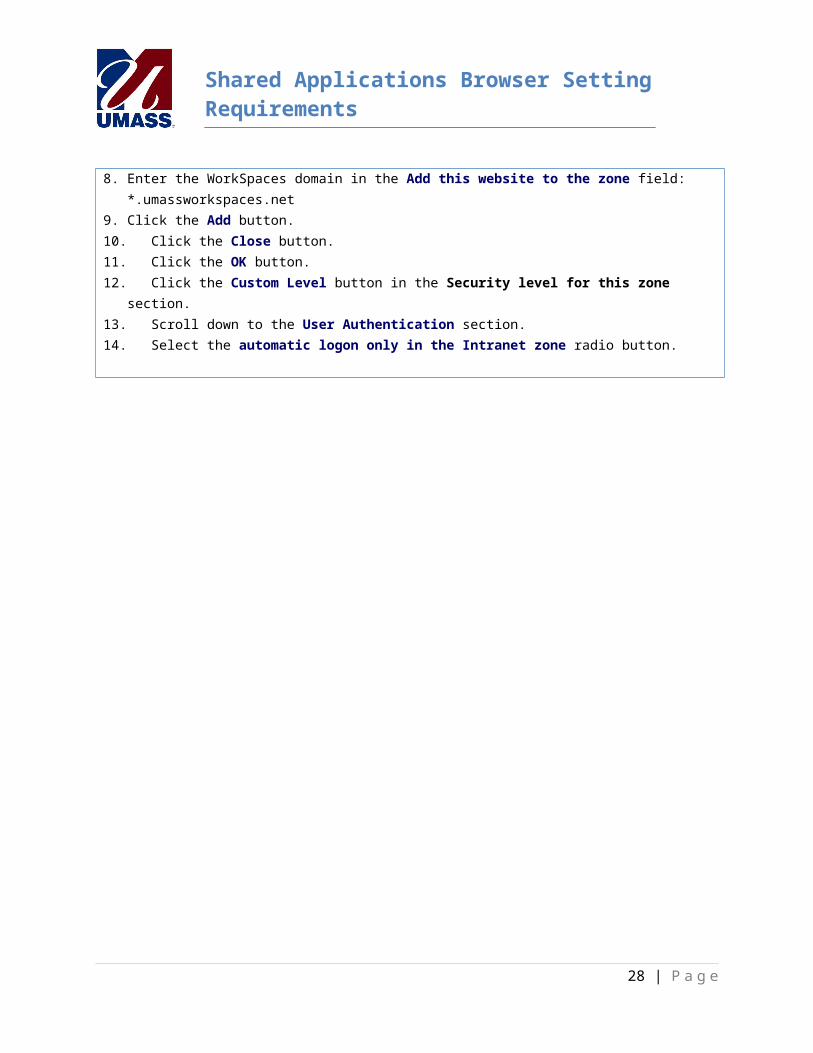
6. Click the Sites button.7. Click the Advanced button.8. Enter the WorkSpaces domain in the Add this website to the zone field: *.umassworkspaces.net9. Click the Add button.10. Click the Close button.11. Click the OK button.12. Click the Custom Level button in the Security level for this zone section.13. Scroll down to the User Authentication section.14. Select the automatic logon only in the Intranet zone radio button.
22 | P a g e
Shared Applications Browser Setting Requirements
WorkSpaces Setting (First Login Only):
1. Navigate to WorkSpaces: https://www.umassworkspaces.net. A Windows Security screen will appears.
2. Enter your User name [domain\user name].3. Enter the Password associated with your campus network username.4. Select the Remember my credentials checkbox.
Click the OK button.
23 | P a g e
Shared Applications Browser Setting Requirements
Appendices
Appendix A: Clearing Browser HistoryShould users encounter any page loading issues, please assist them in following the steps to clear browser history. If a user does not know the browser or browser version he or she is using, you should have the user go to the Help > About menu option within the Browser Menu.
Internet Explorer
Version 7:
1. Click the Tools dropdown list in the browser menu.2. Click the Delete Browsing History option. The Delete Browsing History window opens.3. Click the Temporary Internet Files button.4. Click the Cookies button.5. Click the History button6. Click the Close button.7. Close your browser session; reopen your browser to login to the application.
Version 8:
1. Click the Safety dropdown list in the browser menu.2. Click the Delete Browsing History option. The Delete Browsing History window opens.3. Verify the Temporary Internet Files, Cookies, and History checkboxes are selected.4. Unselect the Preserve Favorites website data, Form Data, Passwords, and InPrivate Filtering
Data checkboxes.5. Click the Delete button.6. Close your browser session; reopen your browser to login to the application.
Version 9:
1. Click the Tools ( ) icon at the top right corner of the browser.2. Click the Internet Options list item.3. Select the Delete browsing history on exit checkbox, if not already selected.4. Click the Delete button. The Delete Browsing History window opens.5. Verify the Temporary Internet Files, Cookies, and History checkboxes are selected.6. Unselect the Preserve Favorites website data, Form Data, Passwords, and ActiveX Filtering
and Tracking checkboxes.7. Click the Delete button.8. Click the OK button.9. Close your browser session; reopen your browser to login to the application.
Version 10 & 11:
1. Click the Tools ( ) icon at the top right corner of the browser.
24 | P a g e
Shared Applications Browser Setting Requirements
2. Click the Internet Options list item.3. Select the Delete browsing history on exit checkbox, if not already selected.4. Click the Delete button. The Delete Browsing History window opens.5. Verify the Temporary Internet Files, Cookies, and History checkboxes are selected.6. Unselect the Preserve Favorites website data, Download History, Form Data, Passwords, and
ActiveX Filtering and Tracking checkboxes.7. Click the Delete button.8. Click the OK button.Close your browser session; reopen your browser to login to the application.
Firefox
1. Click the Tools dropdown list in the menu at the top of the browser.2. Click the Clear Recent History option.3. Click the Details button if not already expanded.4. Select all checkbox options except Site Preferences.5. Click the Clear Now button.6. Close your browser session; reopen your browser to login to the application.
Safari
1. Click the Safari dropdown list in the browser menu.2. Click the Reset Safari option.3. Verify the Clear History, Empty the cache, Remove all Cookies checkboxes are selected.4. Click the Reset button.5. Close your browser session; reopen your browser to login to the Secure Access application.
25 | P a g e
Shared Applications Browser Setting Requirements
Google Chrome
1. Click on the Wrench ( ) icon on the right hand side.2. Click the Tools option from the dropdown list.3. In the Privacy section, click the Clear browsing data button.4. Click the dropdown list for Obliterate the following items from and select The beginning of time.5. In the dialog box, select the following options:
Clear browsing history Clear download history Empty the cache Delete cookies and other site and plug-in data
6. Click Clear browsing data button to clear cache.
Appendix B: Printing a PeopleSoft Screen
For users who print PeopleSoft pages, we recommend following the below steps.
Internet Explorer
Option 1: Manual Print Setup (Repetitive Process)This section shows users how to manually set up printing properties each time a user needs to print a screen.
1. Right click in the area you wish to print on the page. If you wish to print the entire screen, click the Select All option.
2. Right click the highlighted area and select Print Preview. On the top of the Preview Pane, you will see a dropdown box that says As laid out on screen.
3. You may change the orientation to Landscape mode (depending on your printing needs).4. Select the As laid out on screen option in the dropdown box. You will see a preview of the
selected frame you are trying to print.5. Resize as needed. To resize, select Shrink to Fit and select the desired size increase. The preview
will adjust to reflect the sizing changes6. Click on the Printer icon in the upper left corner.7. Verify all your printer property selections are correct (e.g., printer, number of copies).8. Click the Print button.
Option 2: Capturing a ScreenUsers can also copy/paste a screen to Microsoft Word. Users may also need to crop the screenshot once they have copied it into Microsoft Word (i.e., Remove the menu bar from the screenshot).
26 | P a g e
Shared Applications Browser Setting Requirements
Important: If capturing a long screen where scrolling is required, please use Option 1. Content below the fold will not be captured when using Option 2.
1. Press the Print Screen key on your keyboard.2. Open a blank document in Microsoft Word.3. Press the Ctrl + V keys on your keyboard to paste the screenshot into the document.4. Crop and resize, as needed.
Firefox
Option 1: Manual Print Setup (Repetitive Process)This section shows users how to manually set up printing properties each time a user needs to print a screen.
1. Right click in the area you wish to print on the page.
2. Click on Open Menu ( ) icon in the right hand corner.
3. Click on Print icon to preview print screen.
4. Click the Print button if preview looks ok to print
To resize:
5. You may change the orientation to Landscape or Portrait (default) mode (depending on your printing needs).
6. Adjust Scale as needed (defaulted to ‘Shrink to fit’). For more adjustments, click Page Setup.7. Click Print in upper left hand corner.
Option 2: Capturing a ScreenUsers can also copy/paste a screen to Microsoft Word. This option varies depending on whether the user is using a PC or Mac computer. Users may also need to crop the screenshot once they have copied it into Microsoft Word (i.e. Remove the menu bar from the screenshot).
Important: If capturing a long screen where scrolling is required, please use Option 1. Content below the fold will not be captured when using Option 2.
PC Instructions1. Press the Print Screen key on your keyboard.2. Open a blank document in Microsoft Word.3. Press the Ctrl + V keys on your keyboard to paste the screenshot into the document.
27 | P a g e
Shared Applications Browser Setting Requirements
Firefox
4. Crop and resize, as needed.
Mac Instructions1. Press the Cmd + Shift + 4 keys on your keyboard. Select the area you would like to copy with your
cursor. The screenshot will be saved to your desktop.2. Open a blank document in Microsoft Word.3. Drag the saved picture from your desktop and drop it onto the blank document. The picture will
display in the document.4. Crop and resize, as needed.
Safari
Option 1: Manual Print Setup (Repetitive Process)This section shows users how to manually set up printing properties each time a user needs to print a screen.
1. Right click and select Print Page.2. Select Preview to preview and make adjustments to print layout (Orientation, Scale, etc.)3. Verify all your printer property selections are correct (e.g., printer, number of copies).4. Click the Print button.
Option 2: Capturing a ScreenUsers can also copy/paste a screen to Microsoft Word. Users may also need to crop the screenshot once they have copied it into Microsoft Word (i.e., Remove the menu bar from the screenshot).
Important: If capturing a long screen where scrolling is required, please use Option 1. Content below the fold will not be captured when using Option 2.
1. Press the Cmd + Shift + 4 keys on your keyboard. Select the area you would like to copy with your cursor. The screenshot will be saved to your desktop.
2. Open a blank document in Microsoft Word.3. Drag the saved picture from your desktop and drop it onto the blank document. The picture will
display in the document.4. Crop and resize, as needed.
28 | P a g e