Embed Size (px)
Citation preview
Tutorial Two This tutorial contains the concepts of adding an operating system to another drive letter using BootIt NG's Multi-OS feature.
For the purposes of this tutorial the system is assumed to have the following:
• The BootIt NG installation diskette. • A primary partition and an extended partition with one volume (logical drive D:) • Windows 98 installed.
The tutorial will take you through the following process:
• Installation of BootIt NG to a shared partition. • Installation of Windows ME to the D: drive.
Note: This process will also work if Windows ME was installed and you wanted to add Windows 98 to the D: drive. Just substitute 98 and ME.
Tutorial Two
Step 1 of 28
Boot from the BootIt NG Installation diskette.
Tutorial Two
Step 2 of 28
Tutorial Two
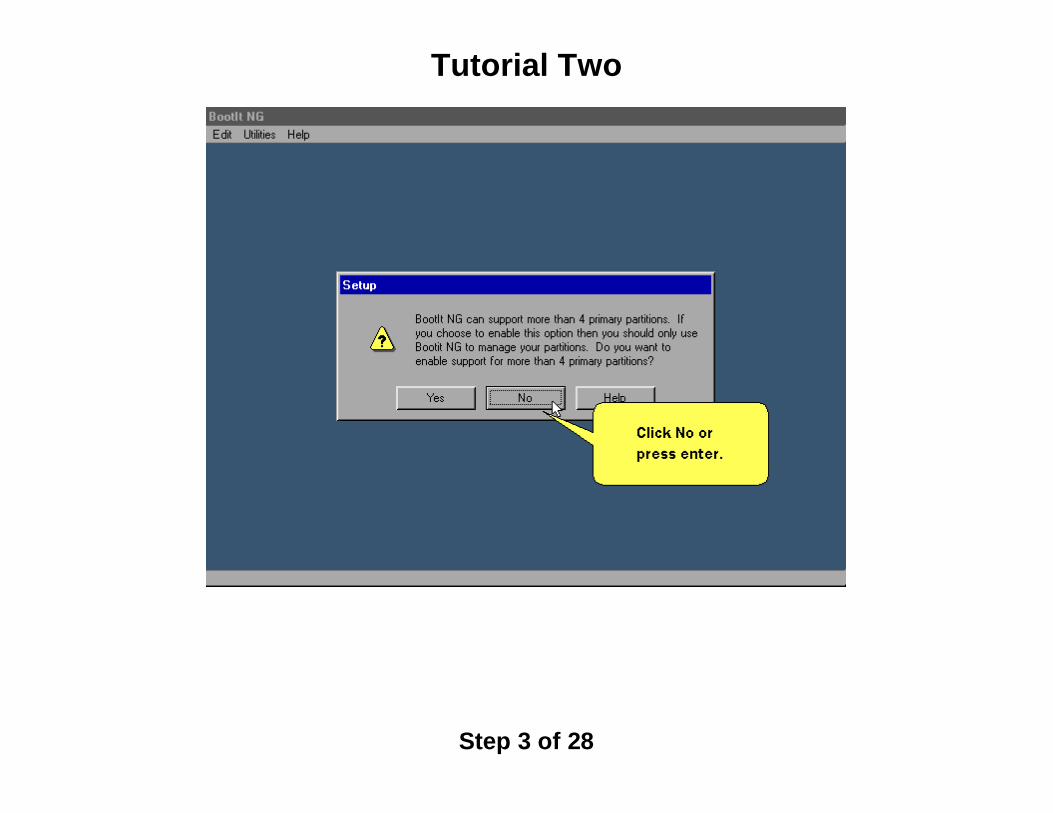
Step 3 of 28
Tutorial Two
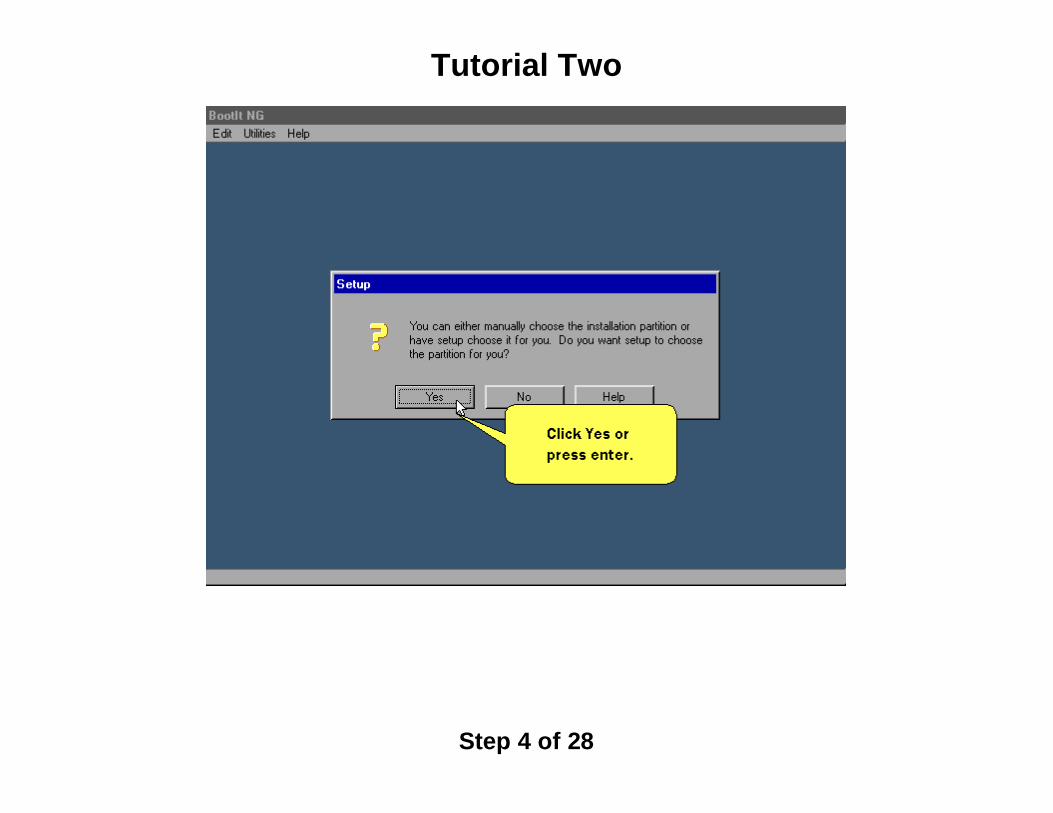
Step 4 of 28
Tutorial Two
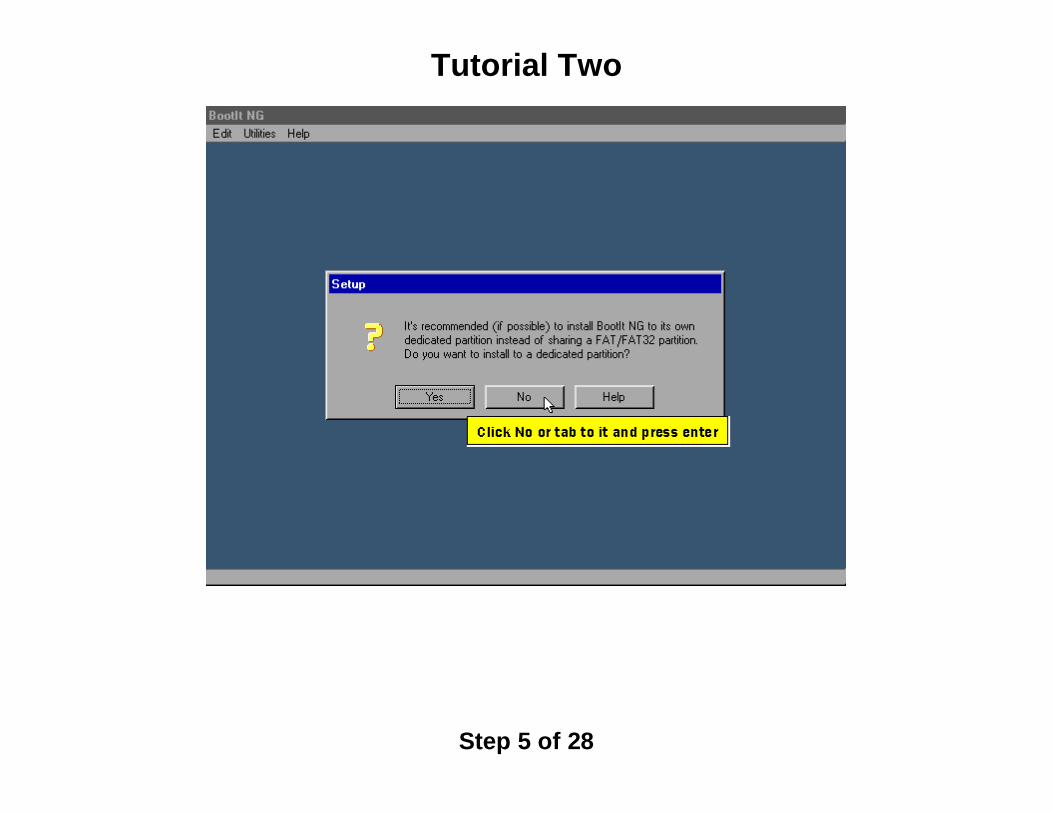
Step 5 of 28
Tutorial Two
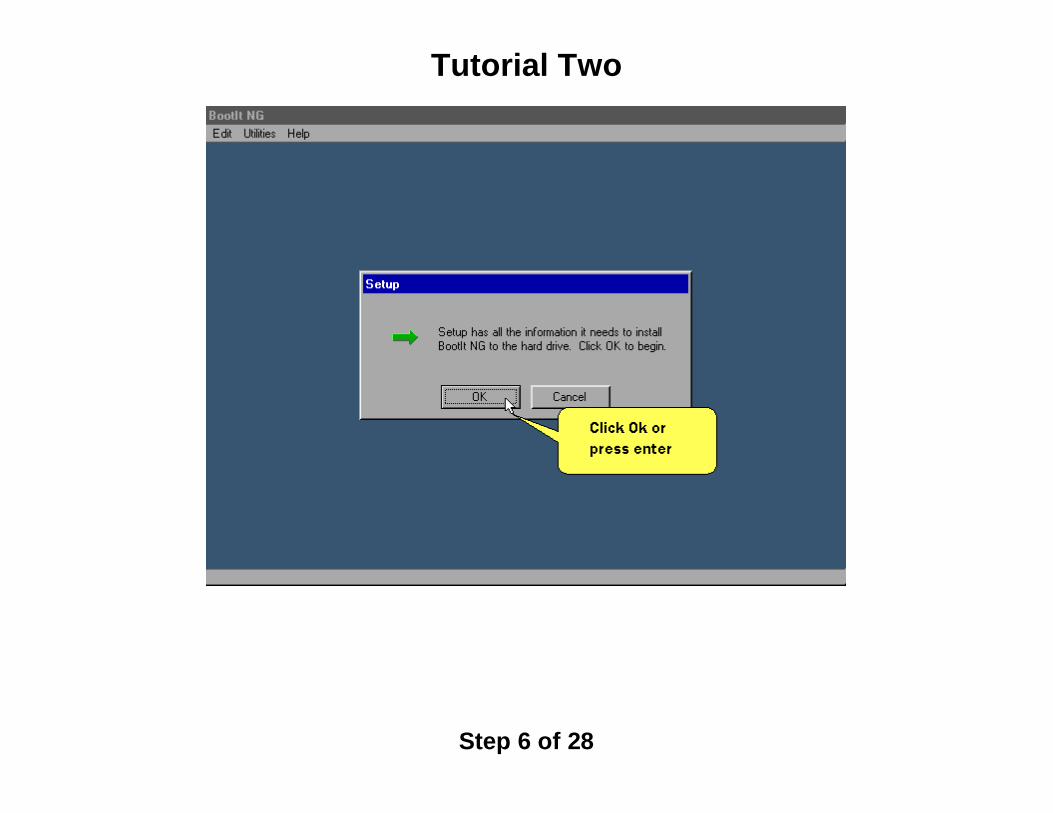
Step 6 of 28
Tutorial Two
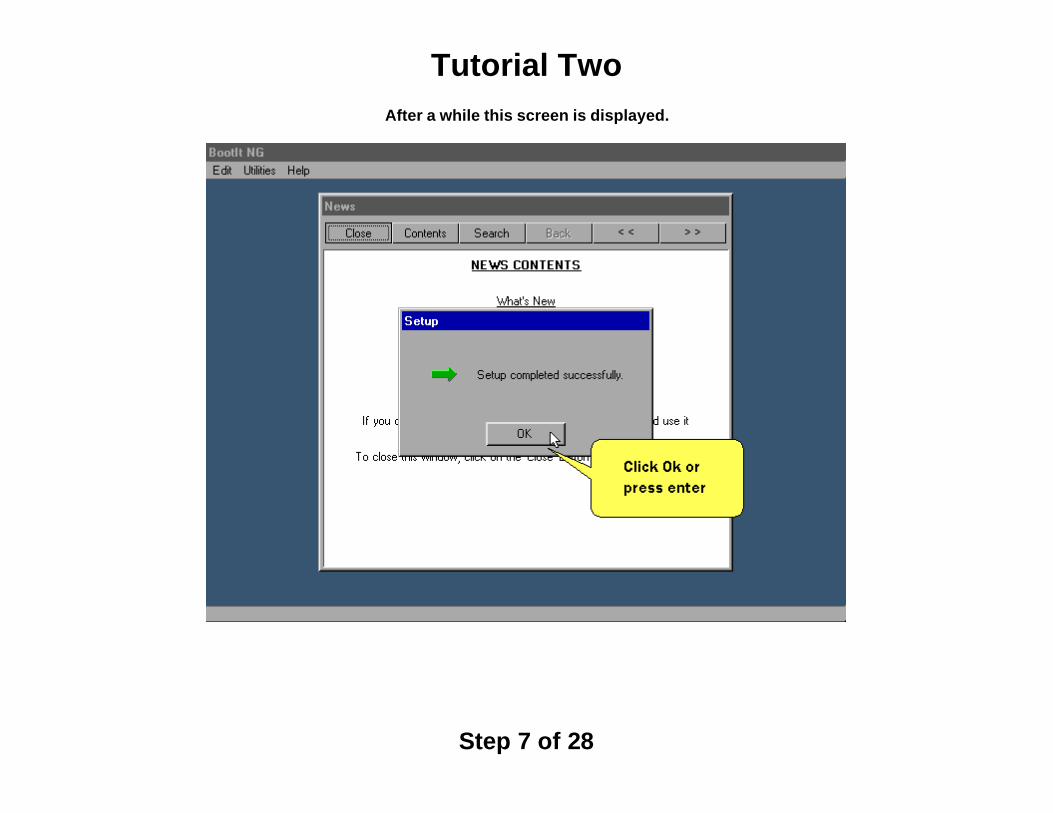
Step 7 of 28
After a while this screen is displayed.
Tutorial Two
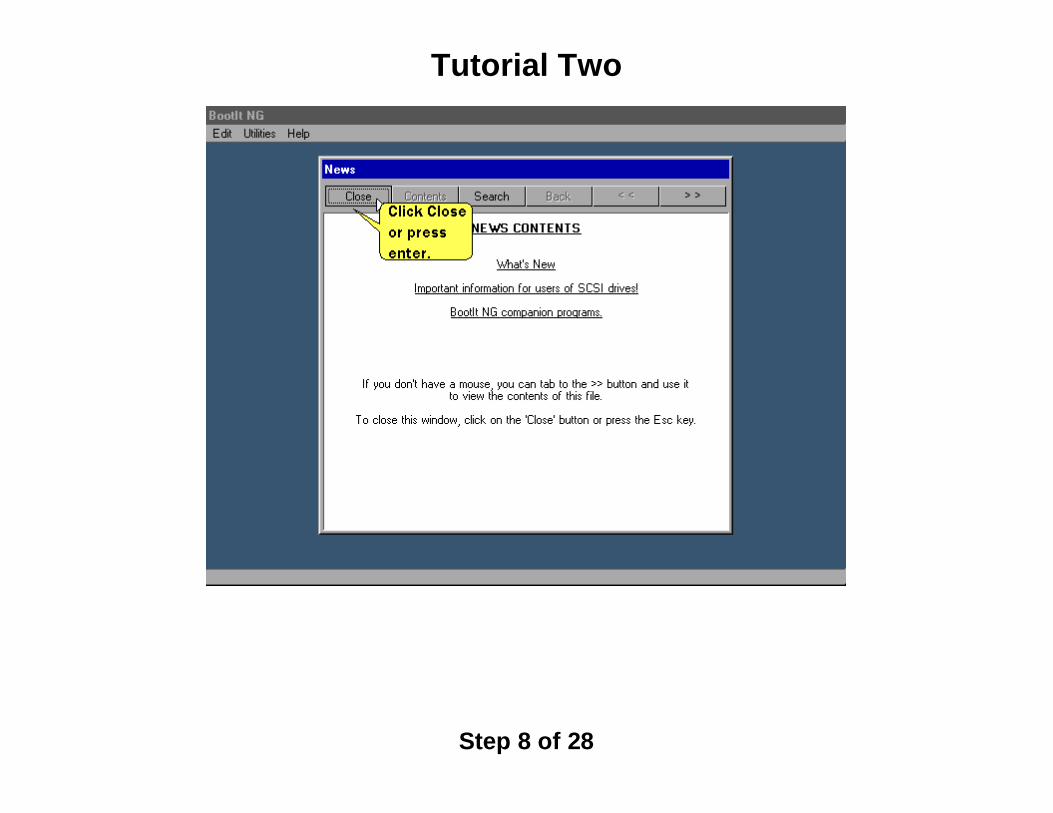
Step 8 of 28
Tutorial Two
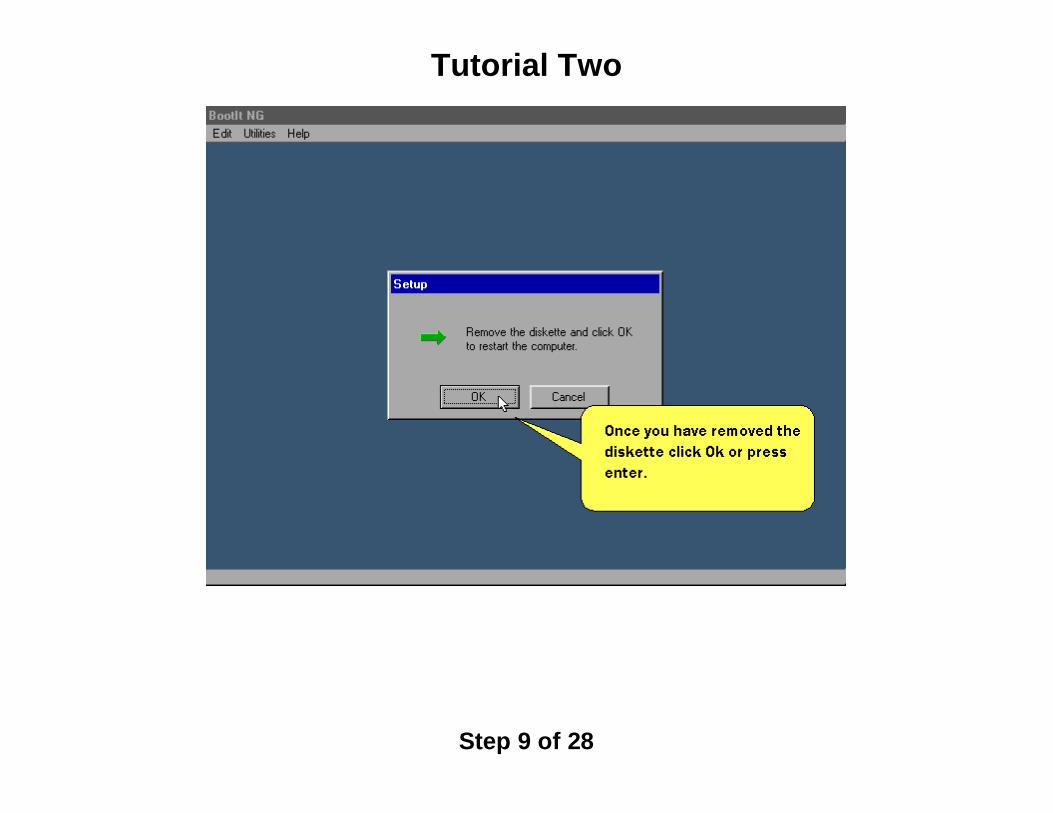
Step 9 of 28
Tutorial Two
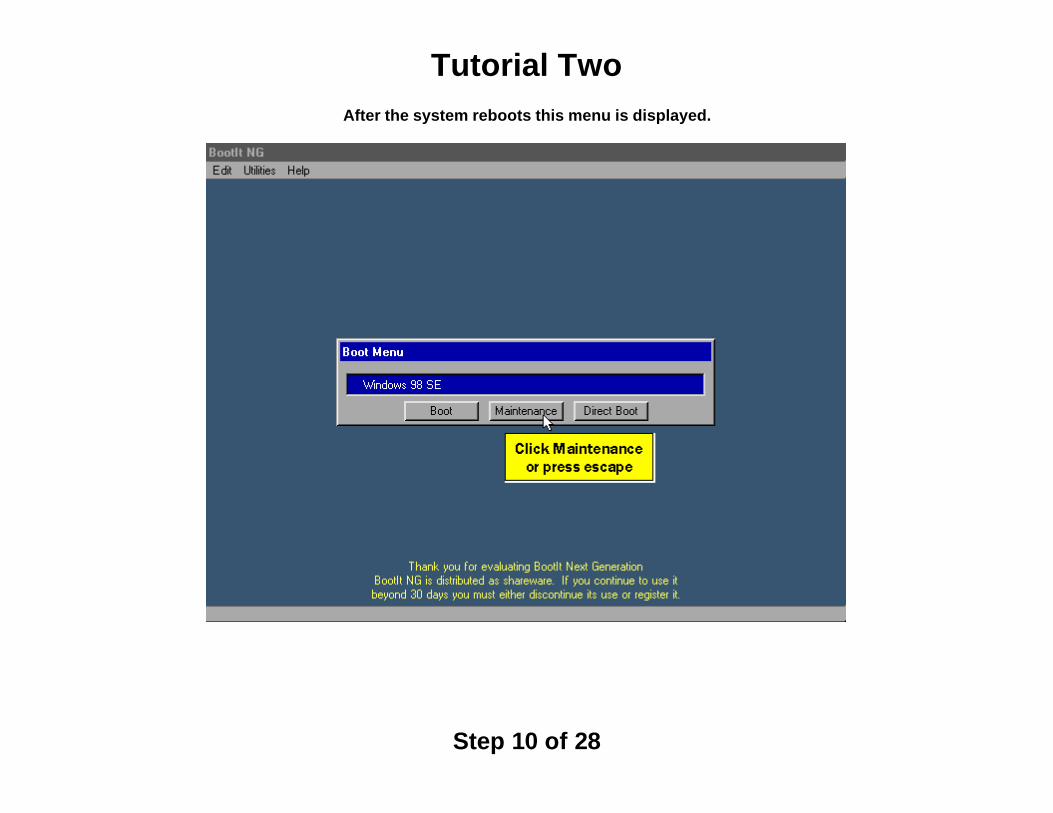
Step 10 of 28
After the system reboots this menu is displayed.
Tutorial Two
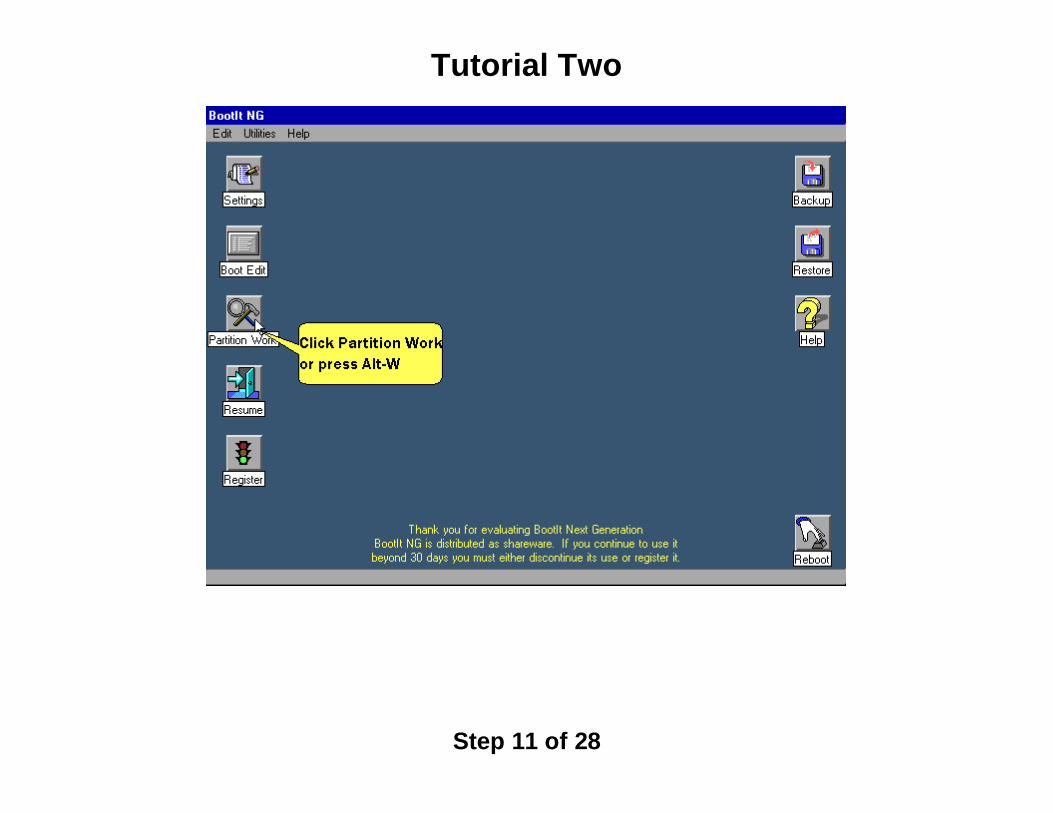
Step 11 of 28

Tutorial Two
Step 12 of 28
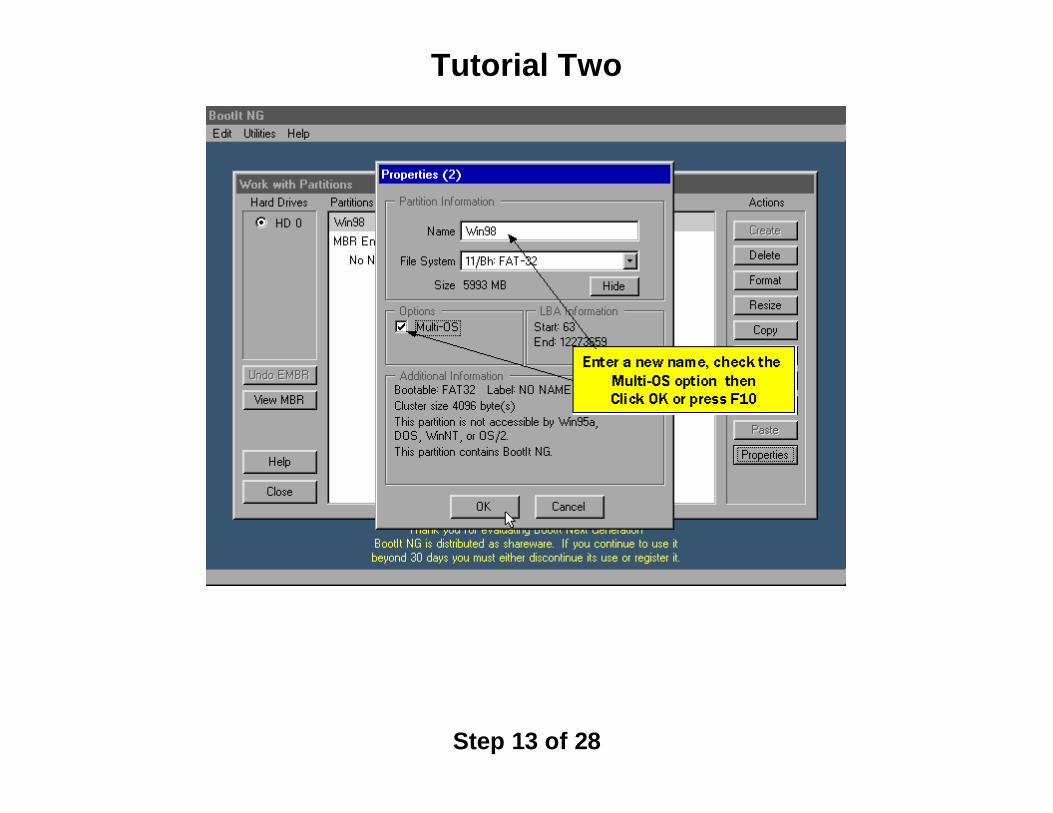
We'll now rename the primary partition and enable multi-os on it.
Tutorial Two
Step 13 of 28
Tutorial Two
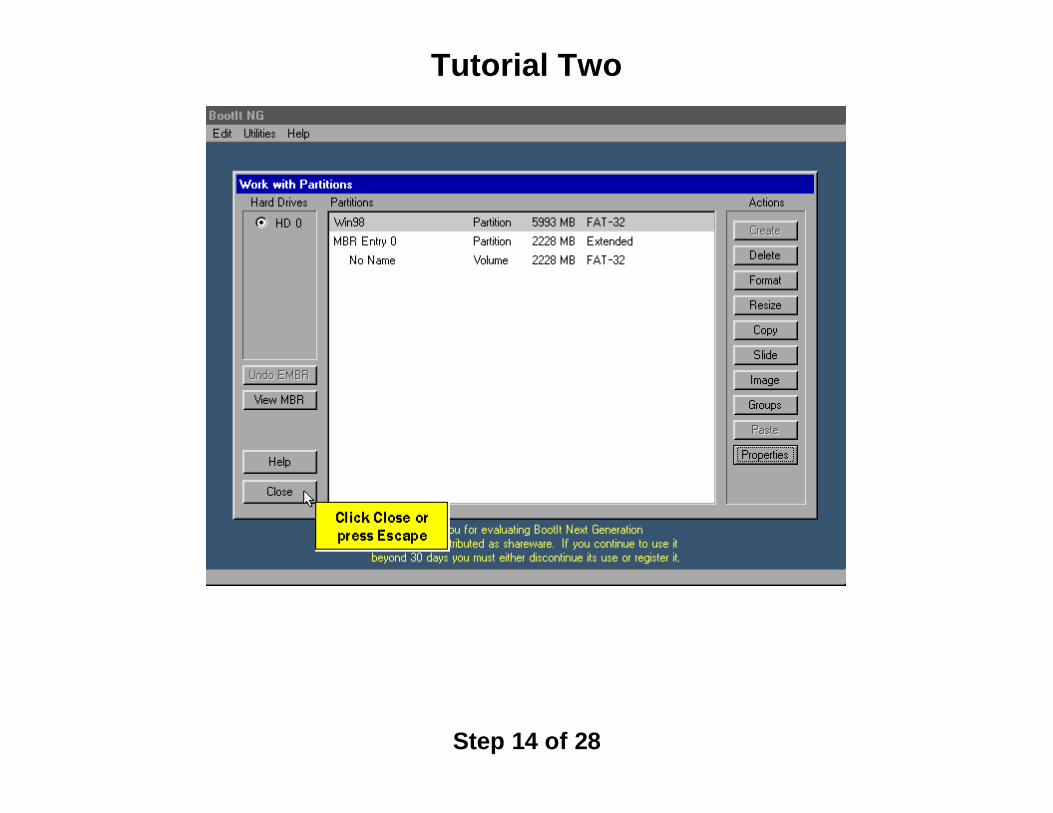
Step 14 of 28

Tutorial Two
Step 15 of 28
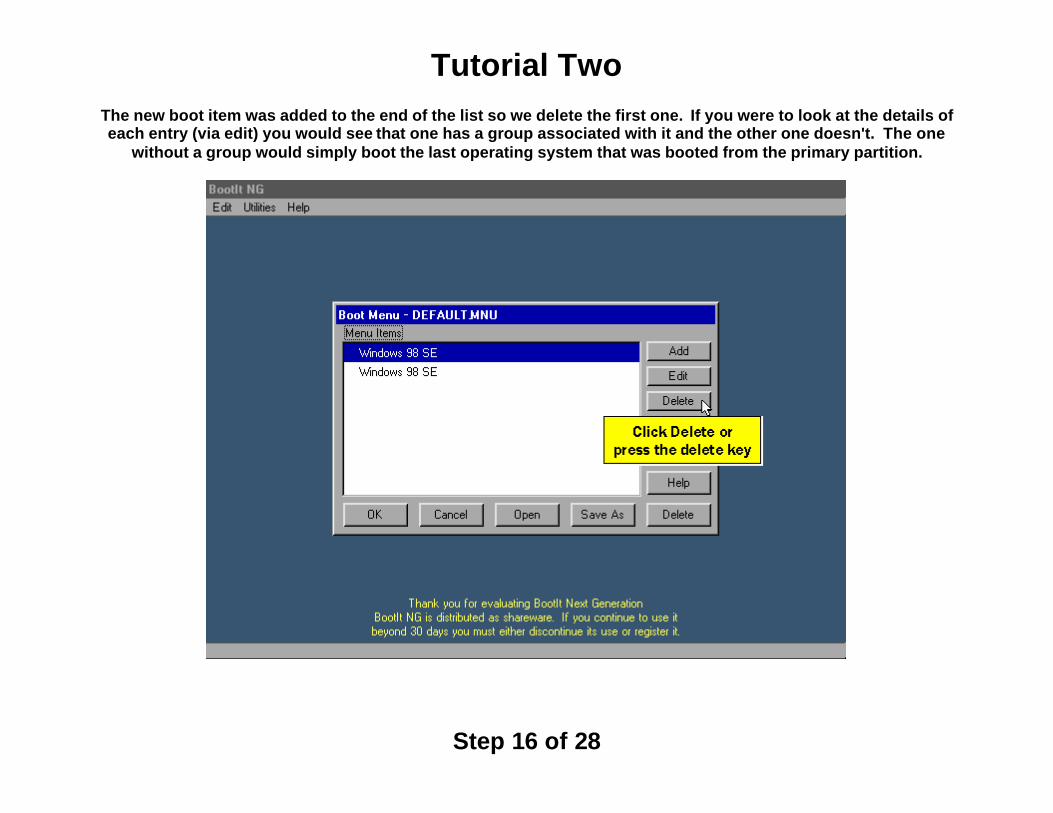
A new boot item was created when Multi-OS was enabled. Let's delete the original boot item.
Tutorial Two
Step 16 of 28
The new boot item was added to the end of the list so we delete the first one. If you were to look at the details of each entry (via edit) you would see that one has a group associated with it and the other one doesn't. The one
without a group would simply boot the last operating system that was booted from the primary partition.
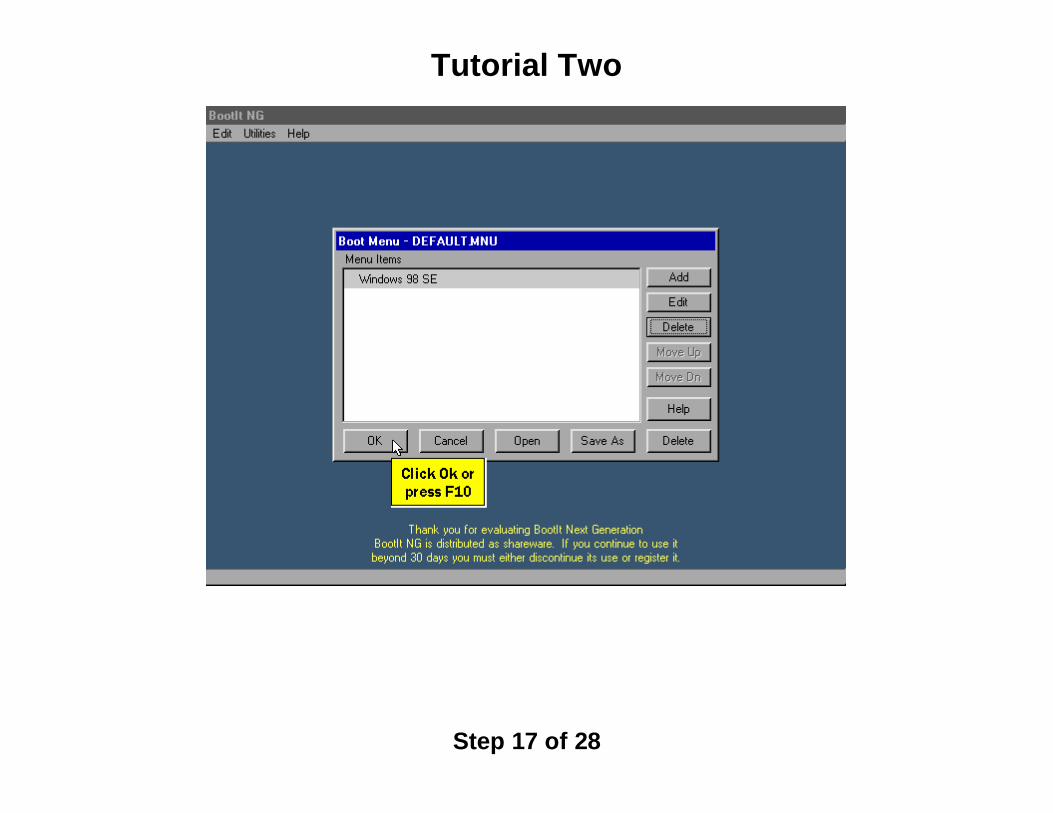
Tutorial Two
Step 17 of 28
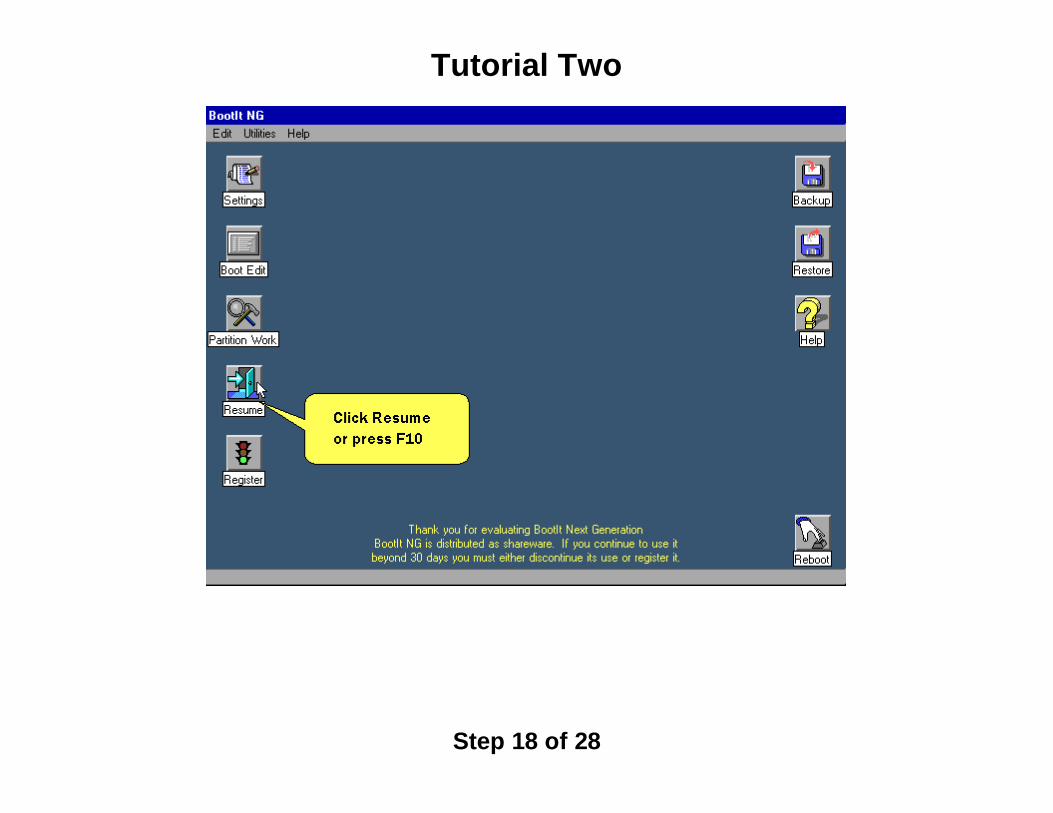
Tutorial Two
Step 18 of 28
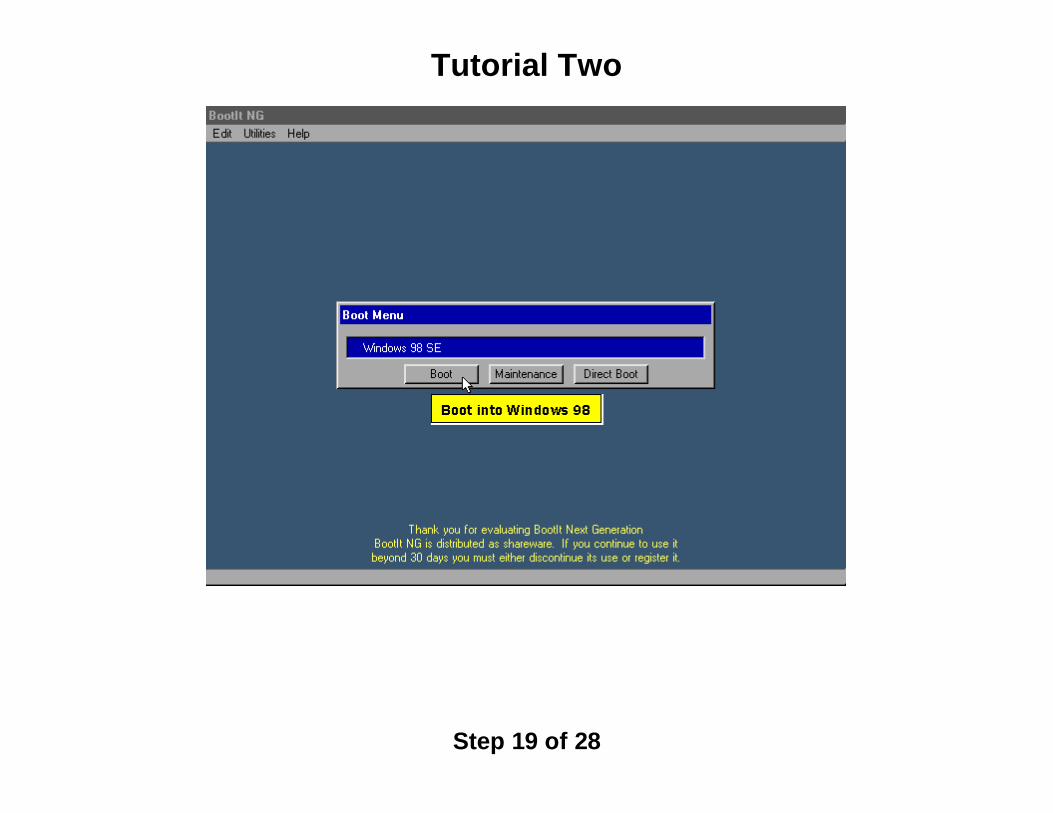
Tutorial Two
Step 19 of 28
Tutorial Two
Step 20 of 28
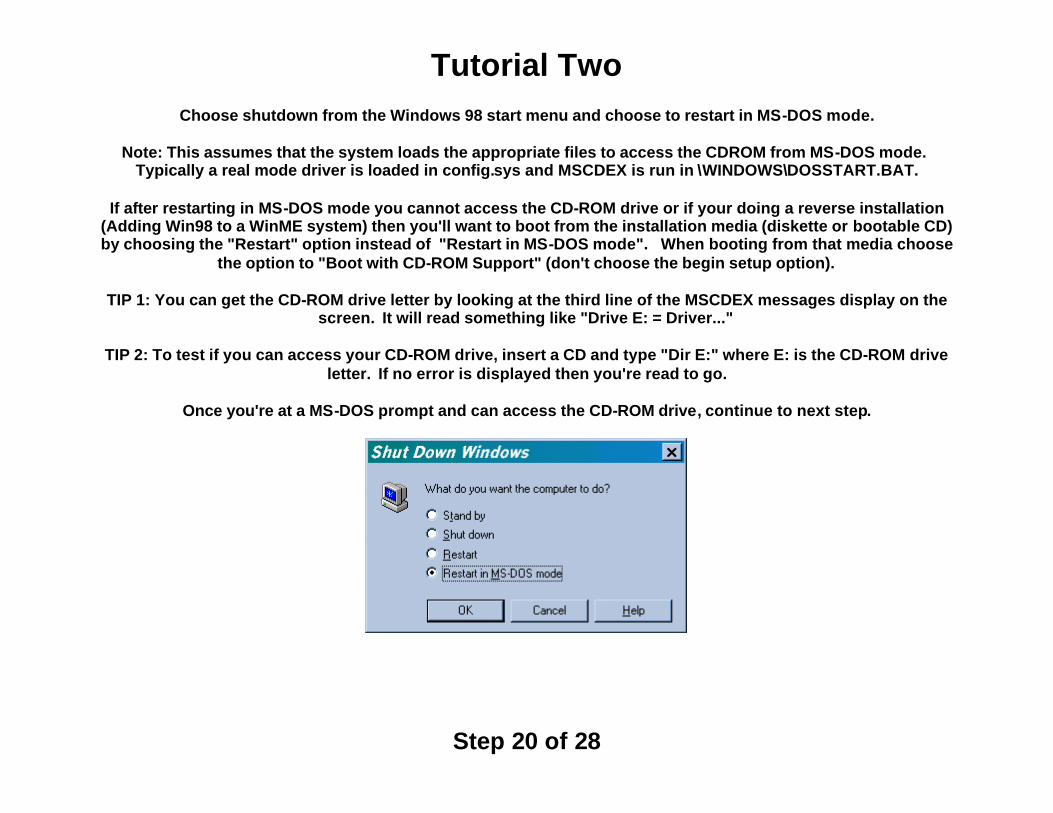
Choose shutdown from the Windows 98 start menu and choose to restart in MS-DOS mode.
Note: This assumes that the system loads the appropriate files to access the CDROM from MS-DOS mode. Typically a real mode driver is loaded in config.sys and MSCDEX is run in \WINDOWS\DOSSTART.BAT.
If after restarting in MS-DOS mode you cannot access the CD-ROM drive or if your doing a reverse installation (Adding Win98 to a WinME system) then you'll want to boot from the installation media (diskette or bootable CD) by choosing the "Restart" option instead of "Restart in MS-DOS mode". When booting from that media choose
the option to "Boot with CD-ROM Support" (don't choose the begin setup option).
TIP 1: You can get the CD-ROM drive letter by looking at the third line of the MSCDEX messages display on the screen. It will read something like "Drive E: = Driver..."
TIP 2: To test if you can access your CD-ROM drive, insert a CD and type "Dir E:" where E: is the CD-ROM drive letter. If no error is displayed then you're read to go.
Once you're at a MS-DOS prompt and can access the CD-ROM drive, continue to next step.
Tutorial Two
Step 21 of 28
You should now be at an A:\> or C:\> prompt and ready to begin setup.
TIP: Delete the existing AUTOEXEC.BAT and (optionally) CONFIG.SYS. To delete autoexec.bat type "del c:\autoexec.bat" and press enter. To delete config.sys type "del c:\config.sys" and press enter. The original
AUTOEXEC.BAT and CONFIG.SYS were saved when you enabled the Multi-OS Feature. If you don't delete AUTOEXEC.BAT the install may not complete successfully or as expected.
You can now begin setup by typing "E:\SETUP" and pressing enter.
Note to MSDN users: You may need to specify a different directory - search the CD for it.
Tutorial Two
Step 22 of 28
Setup says it's going to perform a routine check of the system.
Press ENTER to continue with setup.
When scandisk completes, press the ESCAPE key.
Setup continues ...
Tutorial Two
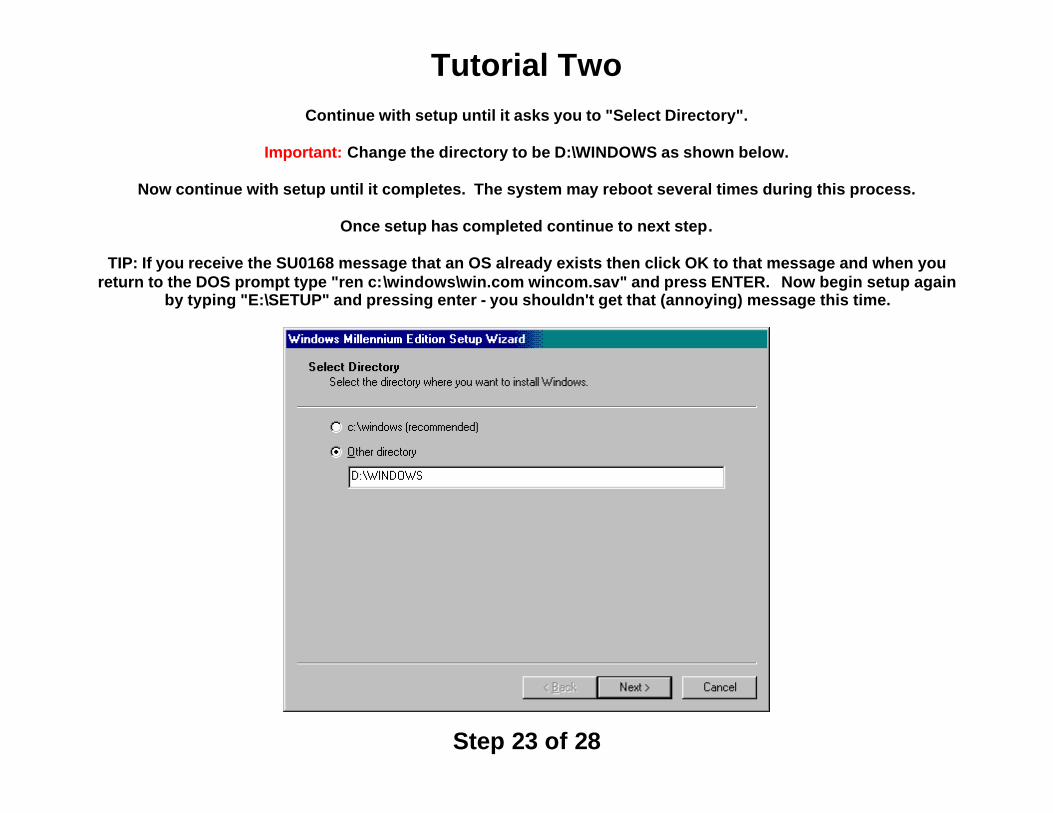
Step 23 of 28
Continue with setup until it asks you to "Select Directory".
Important: Change the directory to be D:\WINDOWS as shown below.
Now continue with setup until it completes. The system may reboot several times during this process.
Once setup has completed continue to next step.
TIP: If you receive the SU0168 message that an OS already exists then click OK to that message and when you return to the DOS prompt type "ren c:\windows\win.com wincom.sav" and press ENTER. Now begin setup again
by typing "E:\SETUP" and pressing enter - you shouldn't get that (annoying) message this time.
Tutorial Two
Step 23 of 28
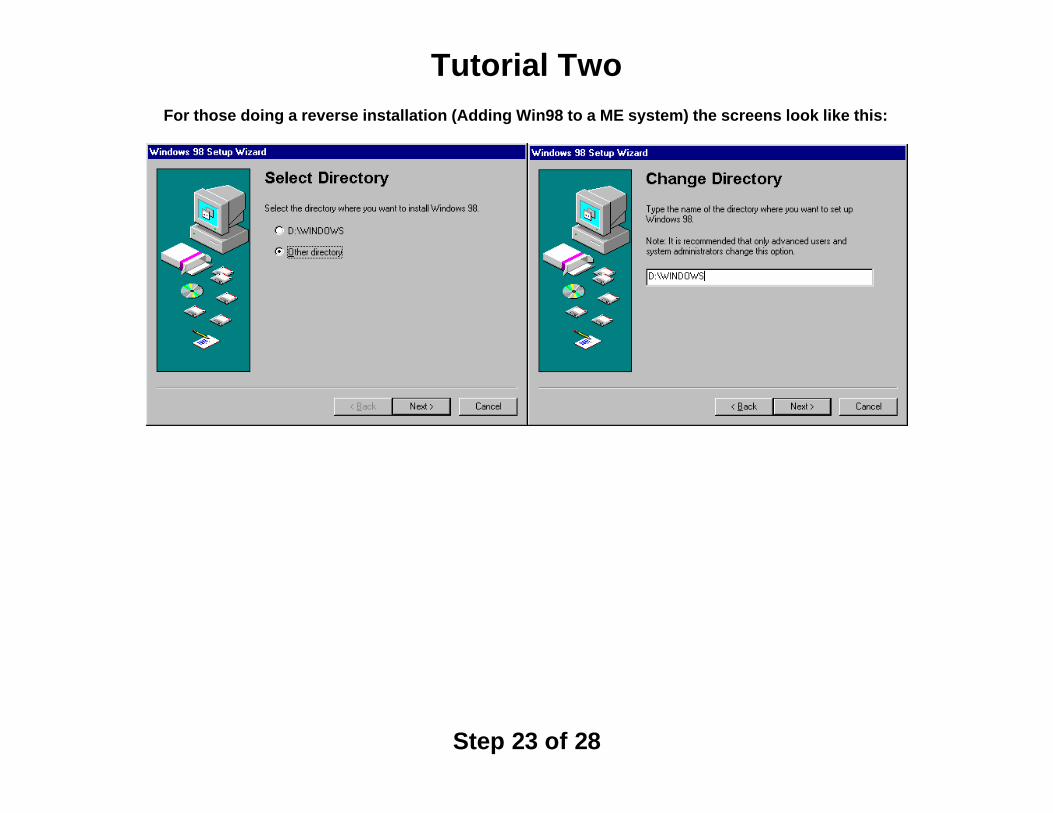
For those doing a reverse installation (Adding Win98 to a ME system) the screens look like this:
Tutorial Two
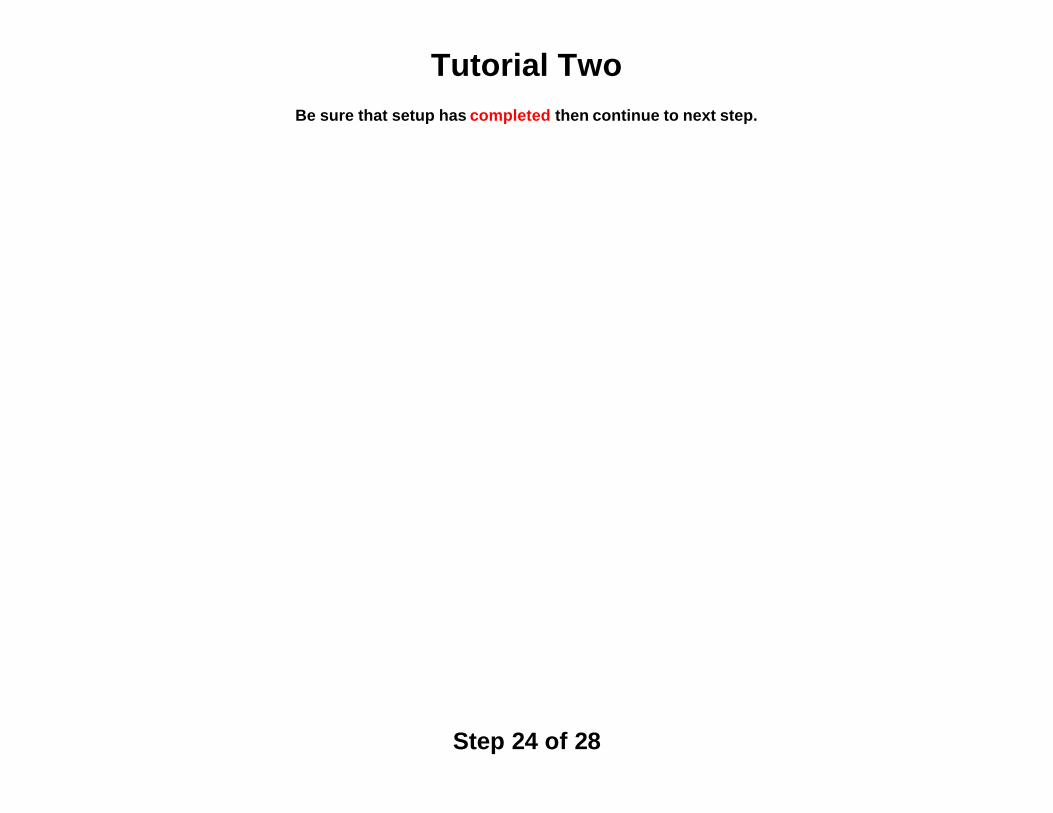
Step 24 of 28
Be sure that setup has completed then continue to next step.
Tutorial Two
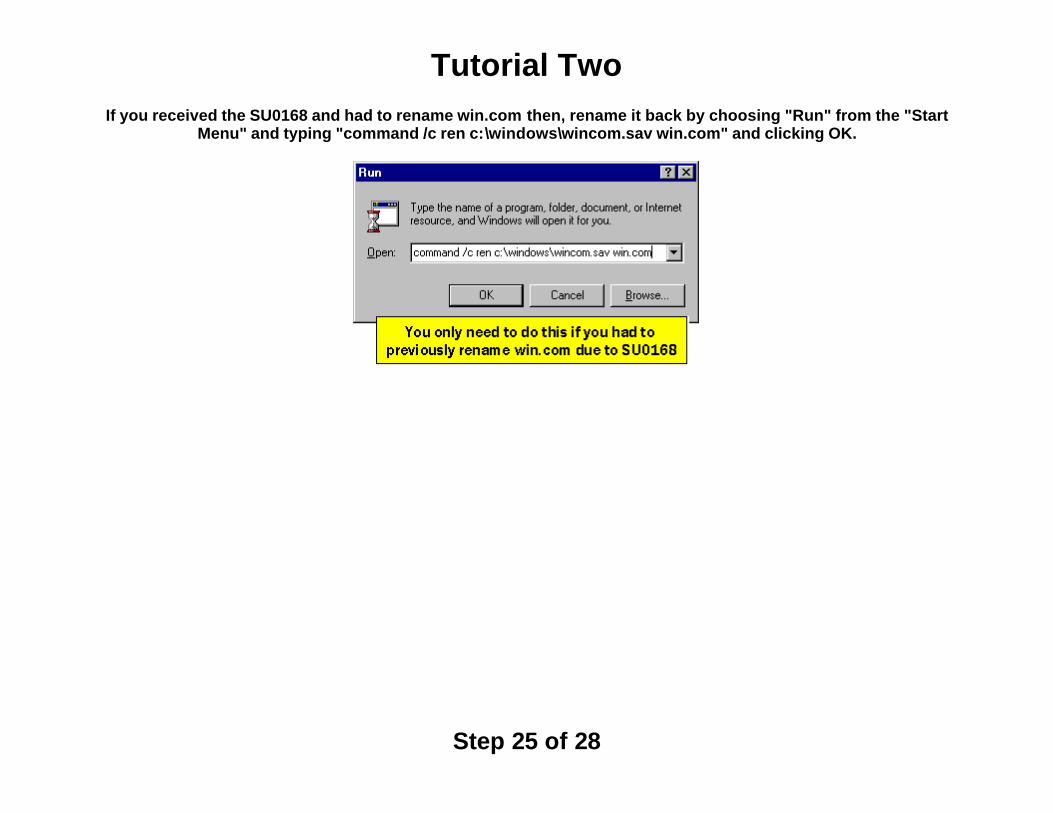
Step 25 of 28
If you received the SU0168 and had to rename win.com then, rename it back by choosing "Run" from the "Start Menu" and typing "command /c ren c:\windows\wincom.sav win.com" and clicking OK.
Tutorial Two
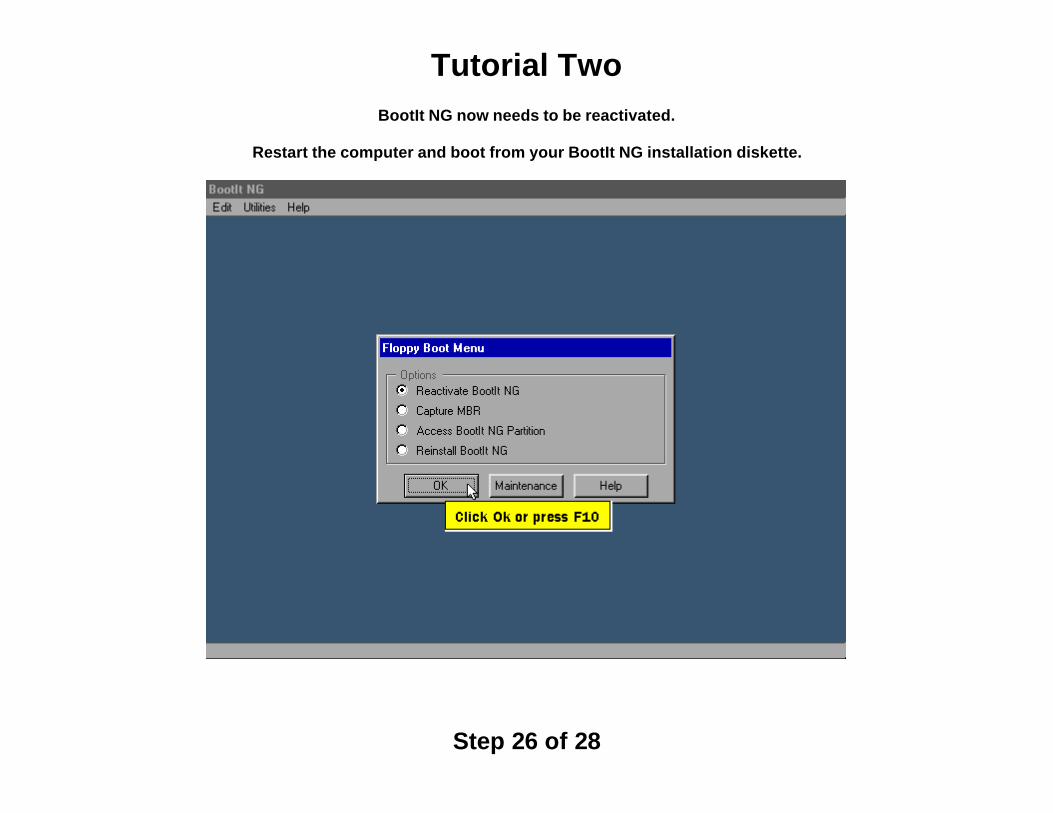
Step 26 of 28
BootIt NG now needs to be reactivated.
Restart the computer and boot from your BootIt NG installation diskette.
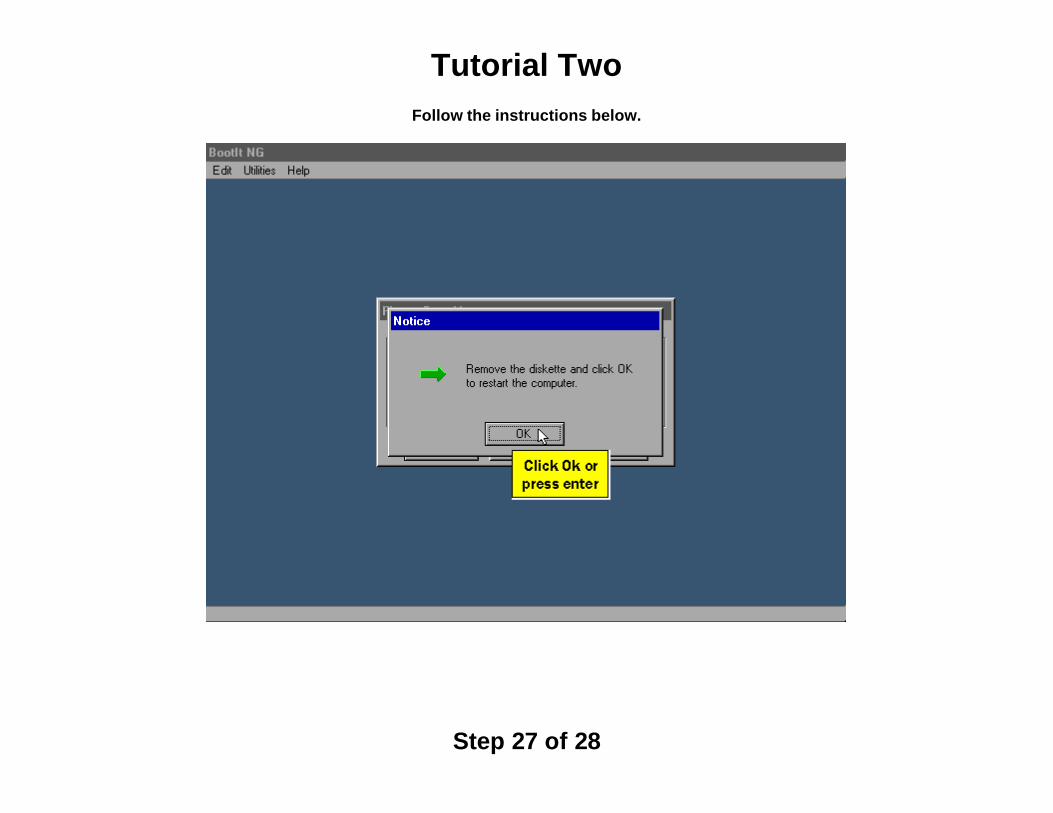
Tutorial Two
Step 27 of 28
Follow the instructions below.
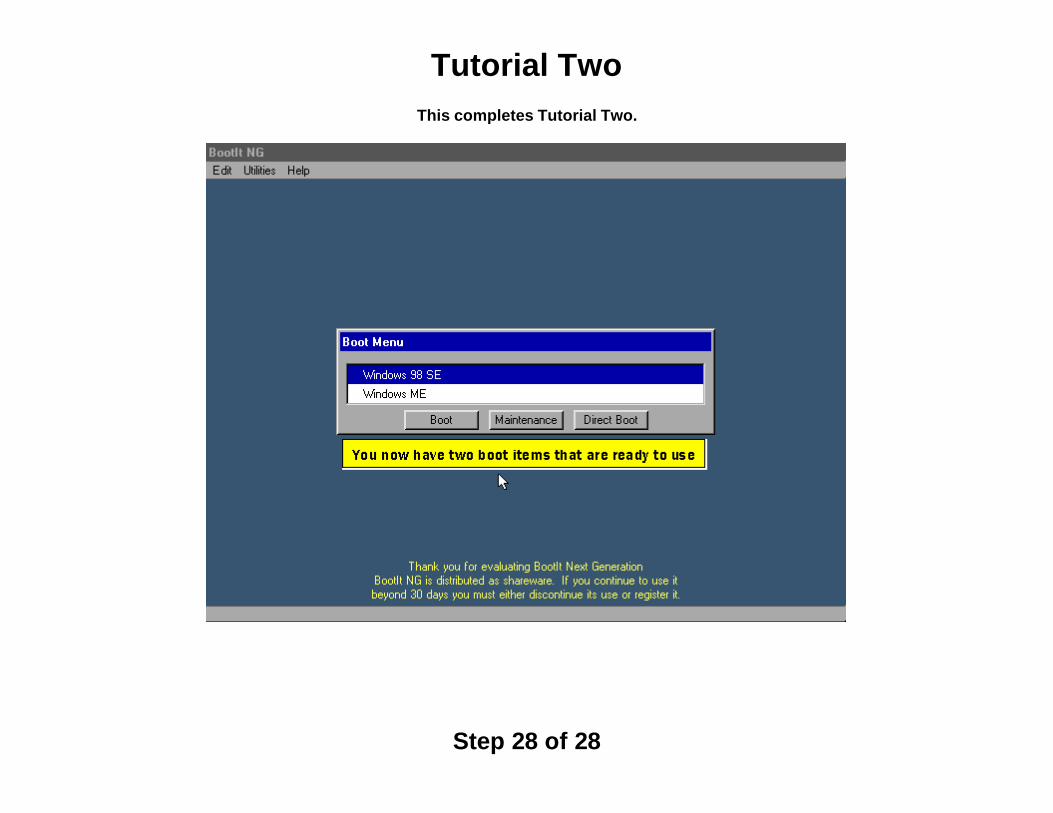
Tutorial Two
Step 28 of 28
This completes Tutorial Two.