Embed Size (px)
Citation preview
TUTORIAL 4: CREATING PAGE LAYOUT WITH CSS
Session 4.1
Objectives
Setting Margin in the Box Model Setting Padding in the Box Model Working with Borders Creating Rounded Corners Adding an Outline

The CSS Box Model
Setting Margin in the Box Model To set the margin space around an element, use
margin: length;
where length is the size of the margin using one of the CSS units of measure
To set a margin or padding for one side of the box model only, specify the direction (top, bottom, left, or right).
margin-top: length;
margin-bottom: length;
margin-left: length;
margin-right: length;

Setting Margin in the Box Model To set multiple margin spaces,
specify the values in a space-separated list starting from the top and moving clockwise around the element. For example, the style
margin: top right bottom left;
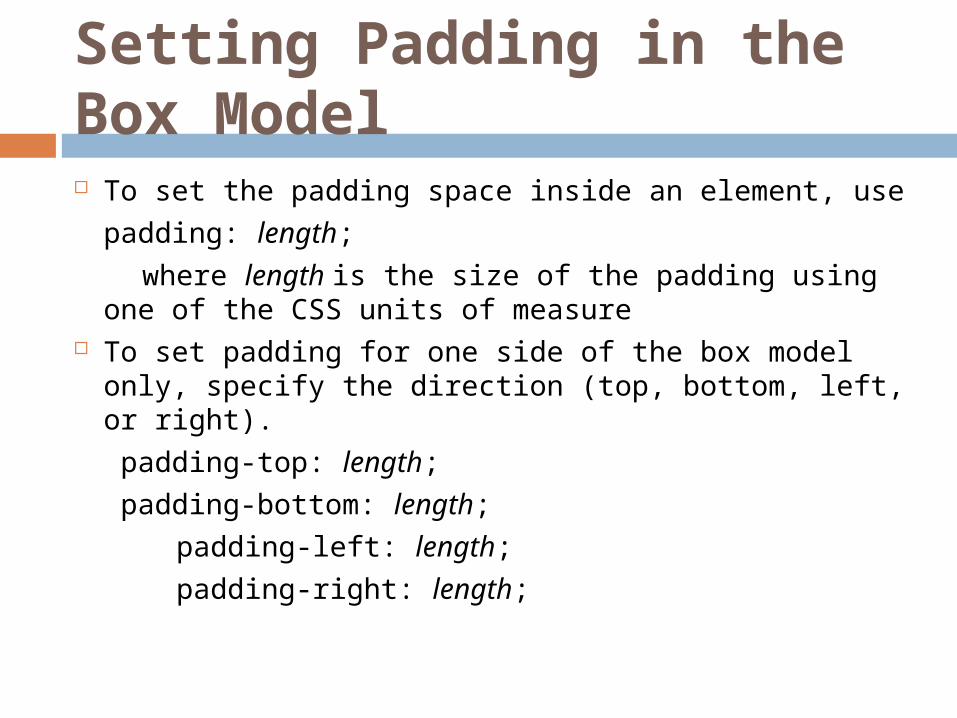
Setting Padding in the Box Model To set the padding space inside an element, use
padding: length;
where length is the size of the padding using one of the CSS units of measure
To set padding for one side of the box model only, specify the direction (top, bottom, left, or right).
padding-top: length;
padding-bottom: length;
padding-left: length;
padding-right: length;

Setting Padding in the Box Model To set multiple padding spaces,
specify the values in a space-separated list starting from the top and moving clockwise around the element. For example, the style
padding: top right bottom left;

Practice - Margin and Padding1. For the default style:
a) Set the margin space to 0 pixel
b) Set the padding space to 0 pixel
2. For the style rule of the header element, add a 500-pixel padding space to the bottom of the element.
3. For list items within the horizontal navigation list, set the upper and lower padding space to 5 pixels.
4. If the list item of the vertical navigation list belongs to the newgroup class, add a top padding space of 25 pixels to add a bigger gap between that list and the previous list item.
5. Add the following styles to the main section of the page:
a) Set the size of the left margin to 21%
b) Set the size of the top margin to 20 pixels
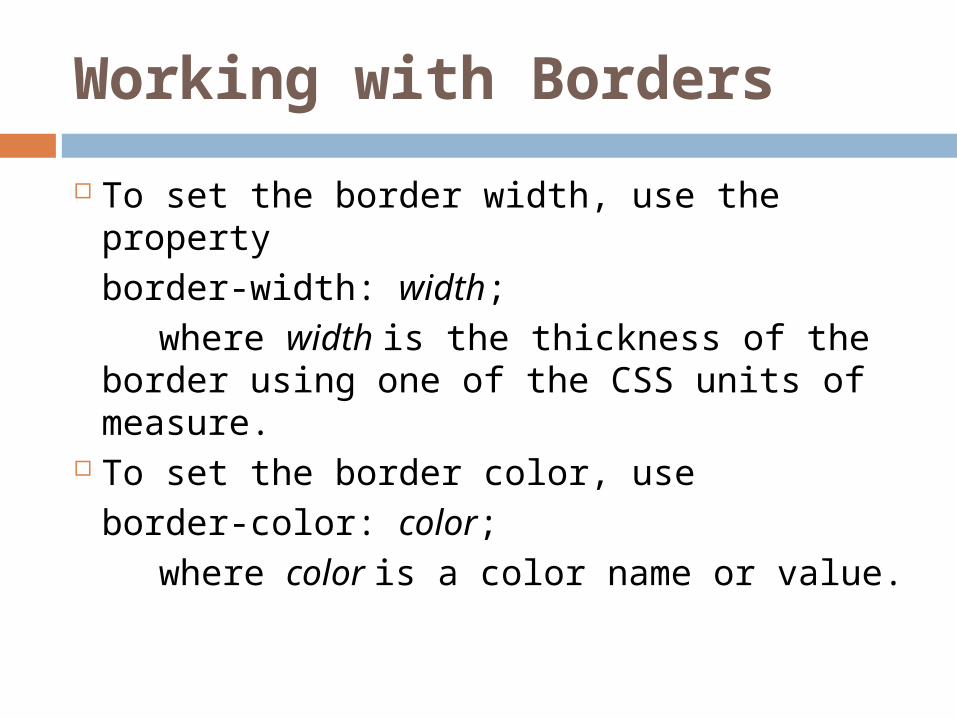
Working with Borders
To set the border width, use the propertyborder-width: width;
where width is the thickness of the border using one of the CSS units of measure.
To set the border color, useborder-color: color;
where color is a color name or value.
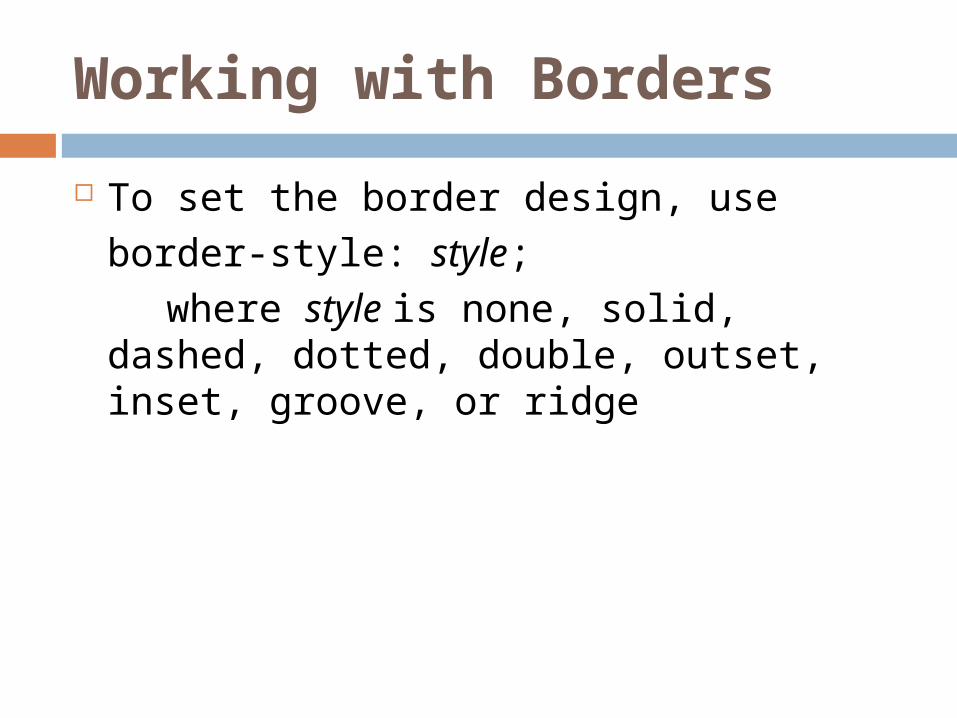
Working with Borders
To set the border design, useborder-style: style;
where style is none, solid, dashed, dotted, double, outset, inset, groove, or ridge
Working with Borders
To set all of the border options in one style, use the following:border: width color style;

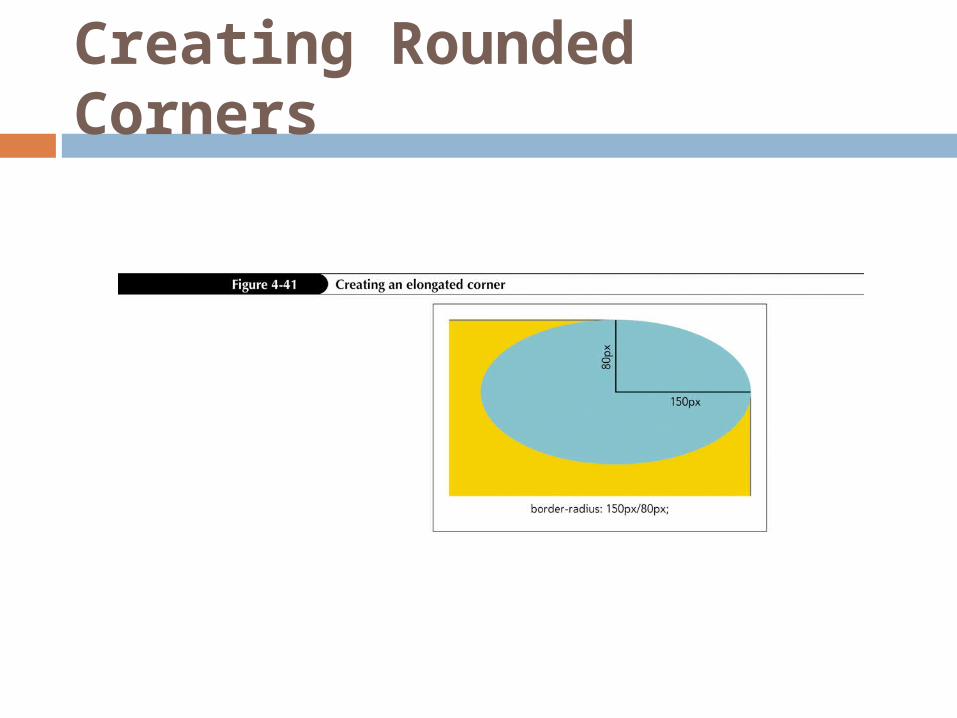
Creating Rounded Corners Rounded corners can be applied to any
of the four corners of a block element using the styles
border-top-left-radius: radius;
border-top-right-radius: radius;
border-bottom-right-radius: radius;
border-bottom-left-radius: radius;
border-radius: top-left top-right bottom-right bottom-left;

Creating Rounded Corners
Creating Rounded Corners
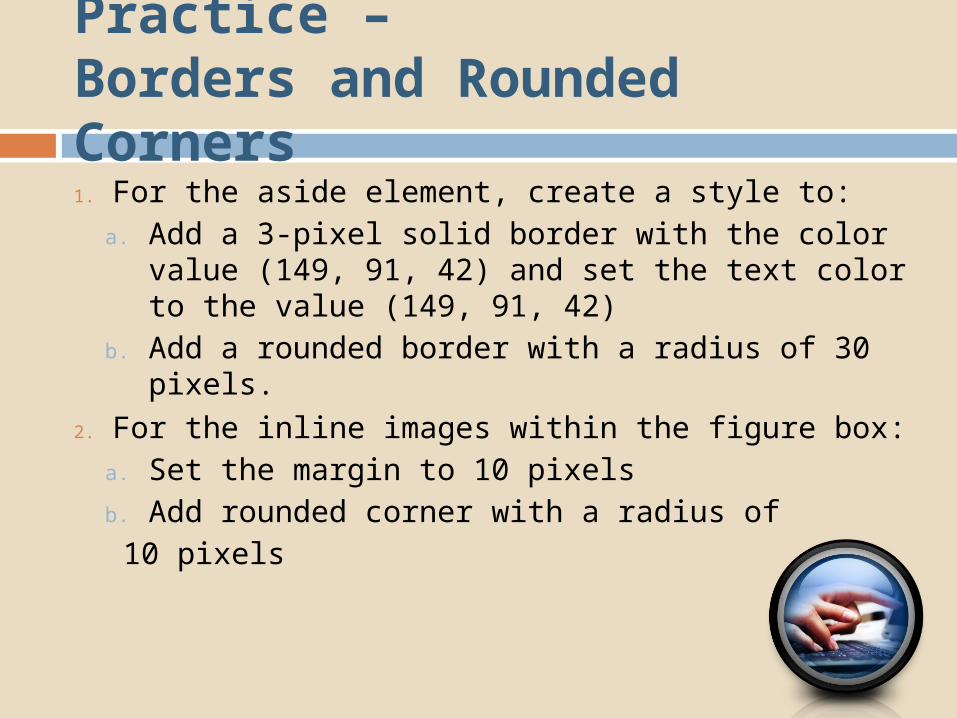
Practice – Borders and Rounded Corners1. For the aside element, create a style to:
a. Add a 3-pixel solid border with the color value (149, 91, 42) and set the text color to the value (149, 91, 42)
b. Add a rounded border with a radius of 30 pixels.
2. For the inline images within the figure box:a. Set the margin to 10 pixelsb. Add rounded corner with a radius of 10 pixels
Adding an Outline
To add an outline around an element, use the style propertyoutline: width color style;
where width, color, and style are the outline width, outline color, and outline style, respectively
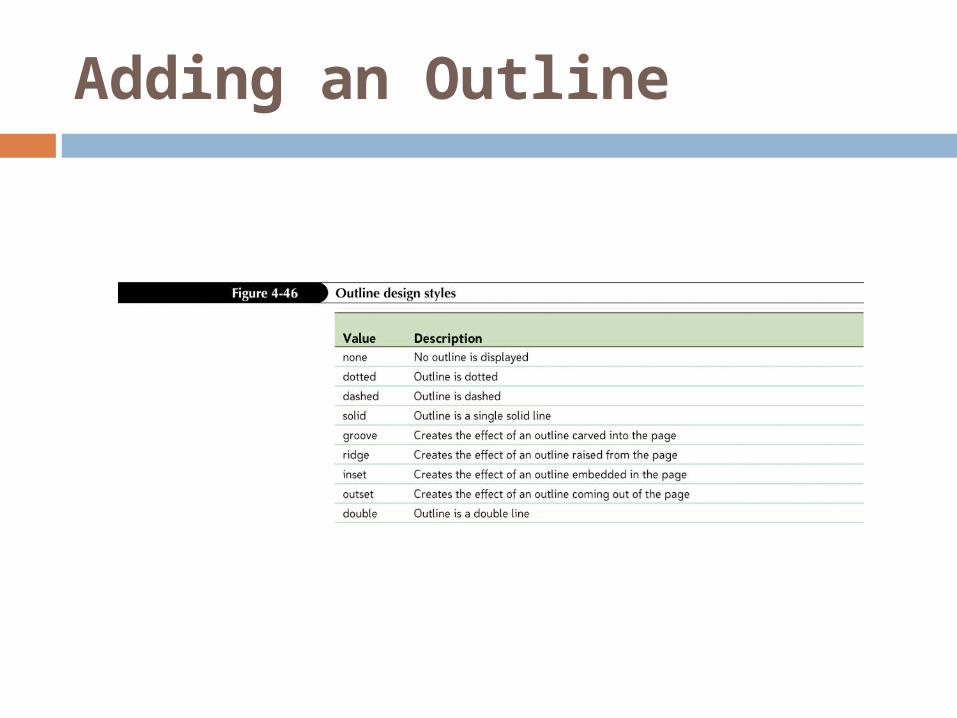
Adding an Outline
Practice - An Outline
1. For the hover of every hypertext link within the vertical navigation list, add a 2-pixel solid outline with the color value (215, 181, 151).