Embed Size (px)
Citation preview

Tubs of Butter Fun!Tubs of Butter Fun!Created By: Joan Jackson,Tiffany Prather and Dr. Frank Flanders
Georgia Agricultural Education Curriculum Office 2003

Making Butter from Raw Milk
• Objective: students will follow the processing of butter from raw milk delivered from the Dairy farm to the production of butter

Activities
• In this exercise students will learn about the processing of dairy products through the following hands-on activities:– Pasteurize raw
milk– Separate cream
from raw milk – Make butter from
cream

Dairy Products all originate at the dairy farm

Most Dairy Products in the US come from Dairy Cows with Holsteins being the most prominent breed.
The Farm
The cows are placed in the holding pen while they are waiting to be milked.

The Farm
Next, the cows are placed in the milking parlor. This is where the actual milking takes place.
Cow’s view of the parlor Worker’s view of the parlor
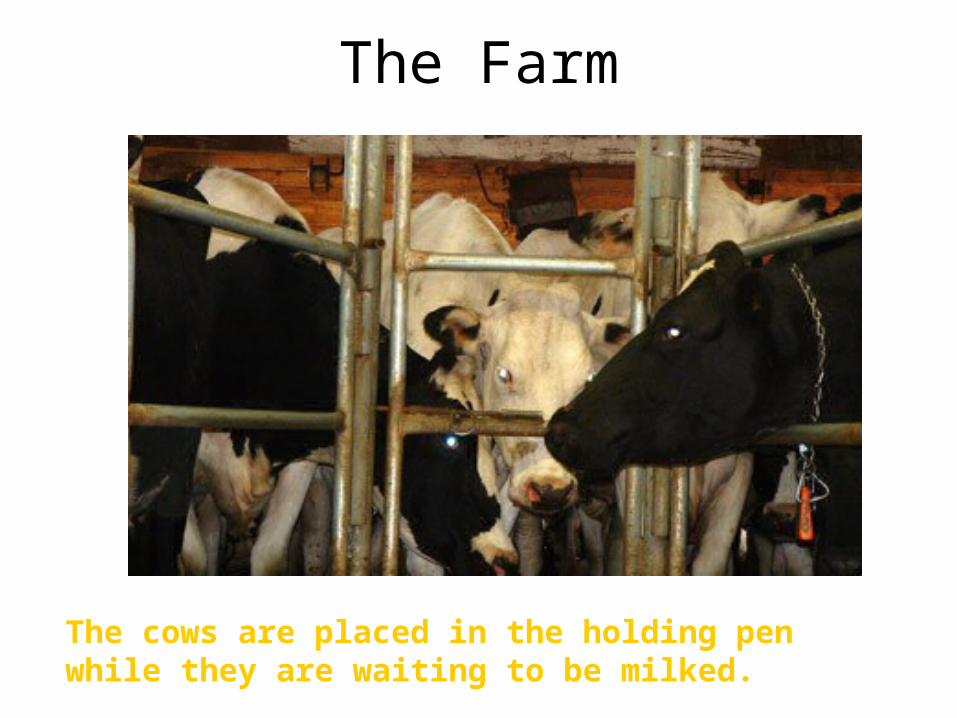
The Farm
The cows are lined up one behind the other at an angle so that the utters are facing the milking units
Milking unit

The Farm
The teats have been sprayed with teat dip in order to clean them before milking and will be wiped off with a clean paper towel before the milker is placed on the teats.
Cow’s teat (1 of 4)

The Farm
After the teats are cleaned the milking unit is then placed on the cow. The average milking time for a cow is five minutes.

The Farm
Pulsator- provides suction for the milking units.
Automatic wash system- runs sanitation wash through all pipes and milking units to sanitize after each milking.
Main control to the milking system.

The Farm
The milk from the cows will finally end up in the bulk tank. When the milk truck driver arrives it is his responsibility to take samples of the milk from the bulk tank.


Step 1: If students are going to taste the butter the milk must be pasteurized only if raw milk is used. Pasteurize the milk by holding at 145 F for 30 minutes, and cool rapidly to 40-45 F.
145 degrees
30 minutes
Raw milk- milk that has come straight from a dairy farm or a cow; milk that has not been sent to a processing plant

Step 2: Milk should be allowed to sit (at room temperature) over night to allow the cream to rise to the top. After the cream has risen to the top, its now time to collect it. As shown in the picture above, a spoon was used to skim the cream from the top of the milk.

Step 2 continued: As part of this exercise, you can either use real raw cream or you can purchase heavy whipping cream. Both will work when making butter.

Step 3: Next, pour the cream into small baby jars. Only fill the jars half full, so as to allow room for the butter to form. Place the cap back on the jars after they have been filled.

Step 4: Now, it is time to shake, shake, shake it. Take the baby jars filled with cream and begin to shake them. This step could take quite a while. Just take your time and keep shaking it.

Step 5: As you shake the cream, a ball of butter will begin to form slowly, but continue shaking until a fully formed ball of butter is present.
Phase 1
Phase 2
Final Product- Fully formed ball of butter

Step 6: After the ball of butter has formed there should be liquid that is separated from the butter. This liquid is known as buttermilk. Separate the butter from the buttermilk by pouring the buttermilk into a cup. You should now only have butter.

Step 7: Wash the butter: Pour a small amount of very cold water into the bowl and work the butter. As the water becomes discolored, pour it out and pour in more cold water and continue to work it. Continue this process until the water remains clear.

Step 8: Place butter in a container. Add salt: Sprinkle in 1 teaspoon of salt per pound of butter and mix it in. Then taste it. If it is too salty for your taste, you can put in more cold water and work it through the butter as you did before. The salt will gradually migrate into the water.

Step 9: Butter will be soft at first, but after flavoring the butter if wanted, place the butter in the refrigerator to allow it to stiffen. The pictures above demonstrate the stiffness of the butter.

You are finished! Now it is time to sit back, relax, and eat some home-made butter! Hope you ENJOY!
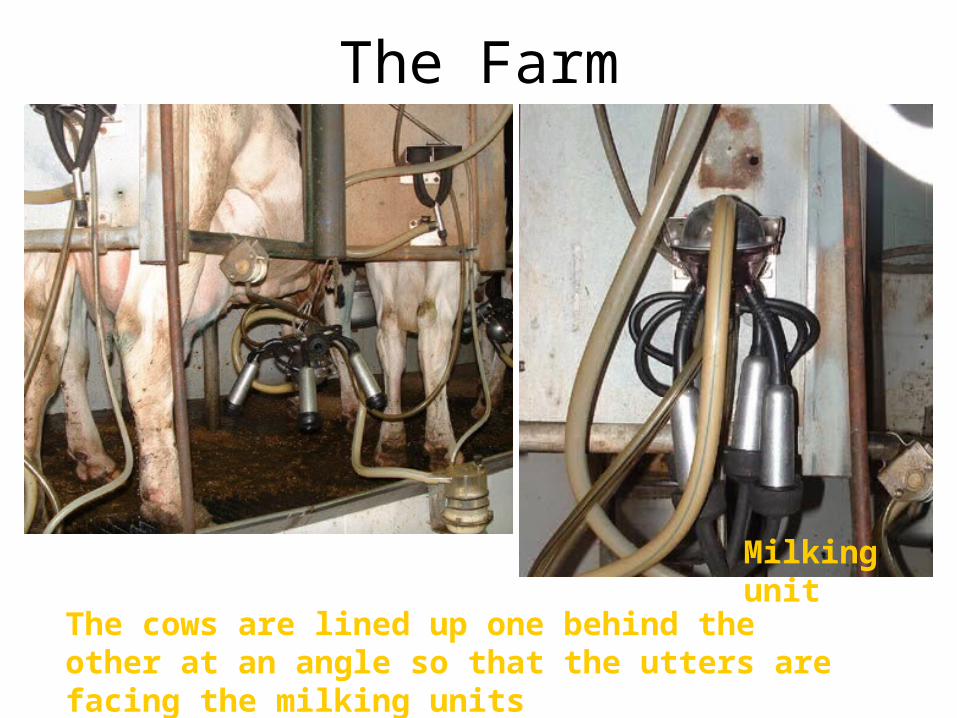
Now, butter your biscuits!!!