Embed Size (px)
Citation preview

Triple Axis Gyro System Parameter Editor GTUNE Installation Guide
GTUNE Installation Guide
Japan Remote Control Co., Ltd.
Apr. 2013
2nd Edition

Triple Axis Gyro System Parameter Editor GTUNE Installation Guide
2
Contents
Introduction ......................................................................................................................................... 3 Precautions .......................................................................................................................................... 3 Compatibility ....................................................................................................................................... 3
Windows XP system ......................................................................................................................... 4 Selecting the Language ................................................................................................................ 4 Starting up the Wizard ................................................................................................................. 4 Determining the Program Group Name for Registering in the Start Menu ................................. 5 Selecting Creation of the Program Icon on the Desktop ............................................................. 5 Completion of the Installation Preparation, and Details Confirmation ....................................... 6 Installation Completion and Confirmation Screen ....................................................................... 7 Connecting the GTUNE-‐ADP and Installing the USB Driver ......................................................... 9
Windows Vista system ................................................................................................................... 10 Selecting the Language .............................................................................................................. 10 Starting up the Wizard ............................................................................................................... 10 Determining the Program Group Name for Registering in the Start Menu ............................... 11 Selecting Creation of the Program Icon on the Desktop ........................................................... 11 Completion of Installation Preparations, and Details Confirmation .......................................... 12 Installation Completion and Confirmation Screen ..................................................................... 13 Connecting the GTUNE-‐ADP and Installing the USB Driver ....................................................... 13
Windows 7 system ......................................................................................................................... 14 Selecting the Language .............................................................................................................. 14 Starting up the Wizard ............................................................................................................... 14 Determining the Program Group Name for Registering in the Start Menu ............................... 15 Selecting Creation of the Program Icon on the Desktop ........................................................... 15 Completion of Installation Preparations, and Details Confirmation .......................................... 16 Installation Completion and Confirmation Screen ..................................................................... 17 Connecting the GTUNE-‐ADP and Installing the USB Driver ....................................................... 17
Uninstall Procedure ........................................................................................................................... 18 Windows XP system ....................................................................................................................... 18
Start [Add or Remove Programs] from the Control Panel ......................................................... 18 Windows Vista system ................................................................................................................... 18
Start [Programs and Features] from the Control Panel ............................................................. 18 Windows 7 system ......................................................................................................................... 19
Start [Programs and Features] from the Control Panel ............................................................. 19 Repairs and After-‐Sales Service ......................................................................................................... 19

Triple Axis Gyro System Parameter Editor GTUNE Installation Guide
3
Introduction
This is the installation guide for the TAGS01 dedicated parameter editing application (GTUNE).
By linking the TAGS01 main unit to a PC via the dedicated USB cable, GTUNE enables the
following actions to be carried out. l Adjustment of internal control-related parameters (optimization to the helicopter) l Detailed gain monitoring l Upgrading of internal system firmware l System resetting (returning settings to their condition when shipped from the factory)
To use the editor, it will be necessary to install the application and the dedicated USB driver. Please
carefully read this guide to allow correct installation to be carried out.
Precautions
l Depending on the computer you are using and the system configuration, normal operation may not be possible. Please contact the PC manufacturer or the store where it was purchased to confirm.
l Once installation of the application commences, users are considered to have agreed with the license agreement. This company will accept no liability or responsibility whatsoever regarding problems occurring due to installing and running of this application.
l The screen images included in this document have been created for the purpose of explaining operations - they may differ slightly in the latest software version.
l The specifications of this product and the contents described in the manual may be changed for improvement without prior notice.
Compatibility
In order to run this application, a PC with the following minimum specifications is required:
PC PC/AT compatible computer with at least one USB port
Operating Environment OS: Microsoft Windows XP, Windows Vista, Windows 7 or 8 (32 bit, 64 bit)
Hard Disc Available space: 20MB or more
l The application does not support Apple Macintosh series computers.
l The CPU and memory requirements differ depending on the OS.
※ Apple and Macintosh are trademarks of Apple Computer, Inc. which are registered in the United States of America and in other
countries. ※ Microsoft and Windows are registered trademarks of the Microsoft Corporation in the United States of America and in other
countries.

Triple Axis Gyro System Parameter Editor GTUNE Installation Guide
4
Installation Procedure
Windows XP system
Selecting the Language
Select the language that will be used during the installation.
Starting up the Wizard
The Setup Wizard will start running. Click on [Next (N)].

Triple Axis Gyro System Parameter Editor GTUNE Installation Guide
5
Determining the Program Group Name for Registering in the Start Menu
Specify the program group name that will be displayed in the Start menu, and click on [Next (N)].
Selecting Creation of the Program Icon on the Desktop
Select whether or not the program icon will be displayed on the desktop after installation.
In the situation where the icon is to be displayed, click inside the check box to show the check mark,
then click on [Next (N)].

Triple Axis Gyro System Parameter Editor GTUNE Installation Guide
6
Completion of the Installation Preparation, and Details Confirmation
Details of the items selected so far using the wizard will be displayed.
If there are no problems with the details, click on [Install (I)].
When the [Install (I)] button is clicked as described above, a progress bar will be displayed that
shows the installation progress.

Triple Axis Gyro System Parameter Editor GTUNE Installation Guide
7
Additionally, during installation of the application, the USB driver will be automatically installed.
Installation Completion and Confirmation Screen
When the installation has been completed, the screen below will be displayed.
When the GTUNE application is to be run immediately, click inside the [Run the GTUNE
application] check box to show the check mark, then click on [Finish (F)].
The display will differ depending on the OS type.

Triple Axis Gyro System Parameter Editor GTUNE Installation Guide
8
When the application is run, a splash screen will be displayed, followed by the display of the screen
described below.
The above completes installation of the GTUNE application.
It is now necessary to install the GTUNE-ADP USB driver before connecting the TAGS01 to the
PC.
Triple Axis Gyro System Parameter Editor GTUNE Installation Guide
9
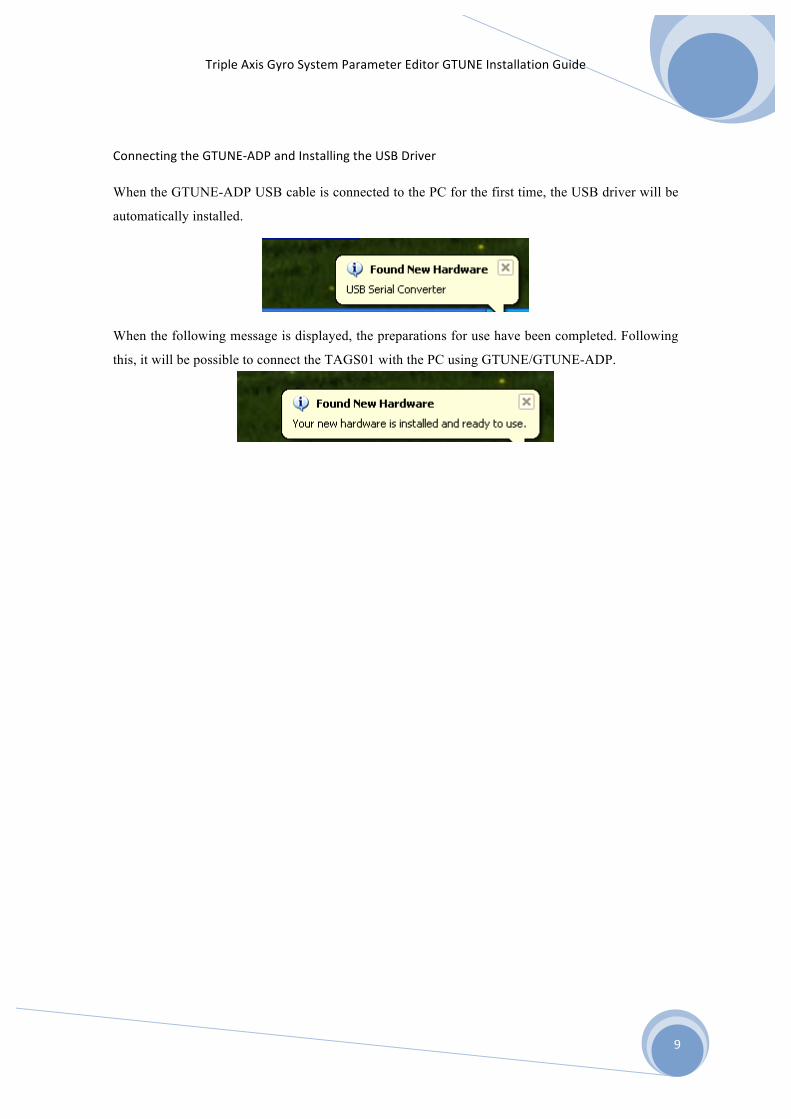
Connecting the GTUNE-‐ADP and Installing the USB Driver
When the GTUNE-ADP USB cable is connected to the PC for the first time, the USB driver will be
automatically installed.
When the following message is displayed, the preparations for use have been completed. Following
this, it will be possible to connect the TAGS01 with the PC using GTUNE/GTUNE-ADP.

Triple Axis Gyro System Parameter Editor GTUNE Installation Guide
10
Windows Vista system
Selecting the Language
Select the language that will be used during the installation.
* If the locale setting is set to “English”, this dialogue will be skipped.
Starting up the Wizard
The Setup Wizard will start running. Click on [Next (N)].

Triple Axis Gyro System Parameter Editor GTUNE Installation Guide
11
Determining the Program Group Name for Registering in the Start Menu
Specify the program group name that will be displayed in the Start menu, and click on [Next (N)].
Selecting Creation of the Program Icon on the Desktop
Select whether or not the program icon will be displayed on the desktop after installation.
In the situation where the icon is to be displayed, click inside the check box to show the check mark,
then click on [Next (N)].

Triple Axis Gyro System Parameter Editor GTUNE Installation Guide
12
Completion of Installation Preparations, and Details Confirmation
Details of the items selected so far using the wizard will be displayed.
If there are no problems with the details, click on [Install (I)].
When the [Install (I)] button is clicked as described above, a progress bar will be displayed that
shows the installation progress.

Triple Axis Gyro System Parameter Editor GTUNE Installation Guide
13
Installation Completion and Confirmation Screen
When the installation has been completed, the screen below will be displayed.
When the GTUNE application is to be run immediately, click inside the [Run the GTUNE
application] check box to show the check mark, then click on [Finish (F)].
When the application is run, a splash screen will be displayed and then the application will start.
It is now necessary to install the GTUNE-ADP USB driver before connecting the TAGS01 to the
PC.
Connecting the GTUNE-‐ADP and Installing the USB Driver
When the GTUNE-ADP USB cable is connected to the PC for the first time, the USB driver will be
automatically installed.
* The driver will be automatically installed in the same way as for Windows XP.
Please refer to “Connecting the GTUNE-ADP and Installing the USB Driver” in the description
for Windows XP.
Triple Axis Gyro System Parameter Editor GTUNE Installation Guide
14
Windows 7 system
Selecting the Language
Select the language that will be used during the installation.
* If the locale setting is set to “English”, this dialogue will be skipped.
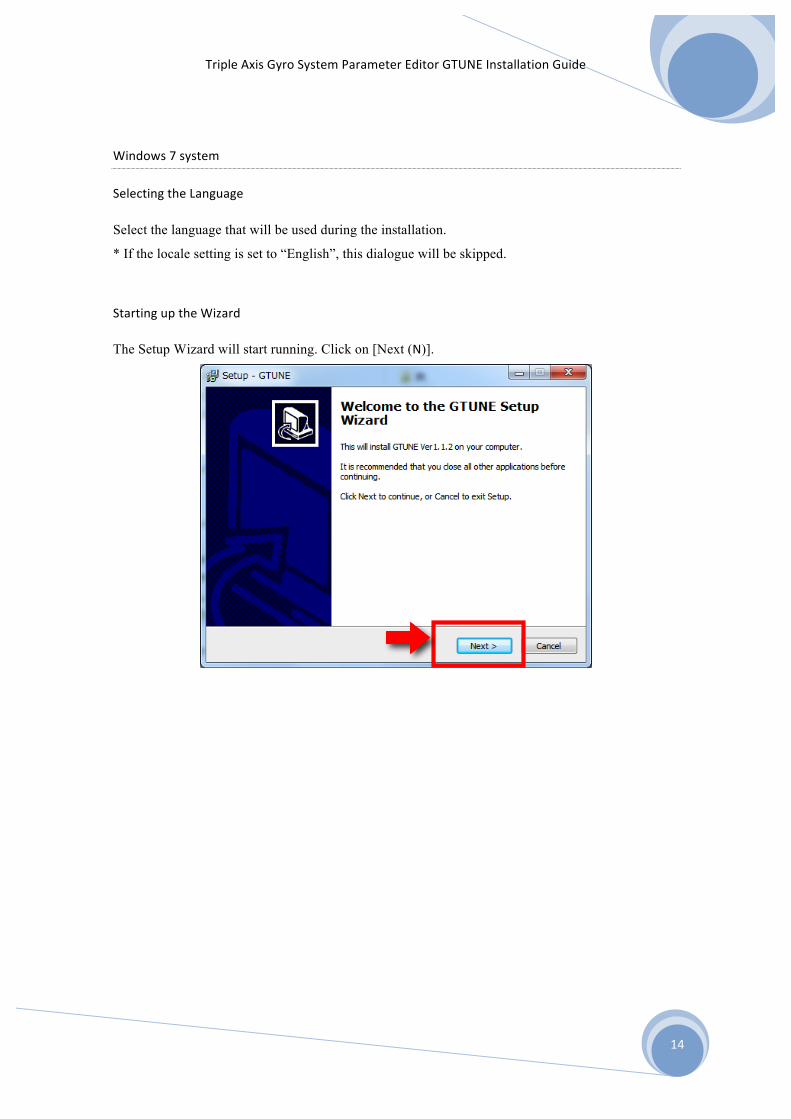
Starting up the Wizard
The Setup Wizard will start running. Click on [Next (N)].

Triple Axis Gyro System Parameter Editor GTUNE Installation Guide
15
Determining the Program Group Name for Registering in the Start Menu
Specify the program group name that will be displayed in the Start menu, and click on [Next (N)].
Selecting Creation of the Program Icon on the Desktop
Select whether or not the program icon will be displayed on the desktop after installation.
In the situation where the icon is to be displayed, click inside the check box to show the check mark,
then click on [Next (N)].

Triple Axis Gyro System Parameter Editor GTUNE Installation Guide
16
Completion of Installation Preparations, and Details Confirmation
Details of the items selected so far using the wizard will be displayed
If there are no problems with the details, click on [Install (I)].
When the [Install (I)] button is clicked as described above, a progress bar will be displayed that
shows the installation progress.

Triple Axis Gyro System Parameter Editor GTUNE Installation Guide
17
Installation Completion and Confirmation Screen
When the installation has been completed, the screen below will be displayed.
When the GTUNE application is to be run immediately, click inside the [Run the GTUNE
application] check box to show the check mark, then click on [Finish (F)].
When the application is run, a splash screen will be displayed, and then the application will start.
It is now necessary to install the GTUNE-ADP USB driver before connecting the TAGS01 to the
PC.
Connecting the GTUNE-‐ADP and Installing the USB Driver
When the GTUNE-ADP USB cable is connected to the PC for the first time, the USB driver will be
automatically installed.
* The USB Serial driver will be automatically installed in the same way as for Windows XP.
Please refer to “Connecting the GTUNE-ADP and Installing the USB Driver” in the description
for Windows XP.

Triple Axis Gyro System Parameter Editor GTUNE Installation Guide
18
Uninstall Procedure
To uninstall this application, carry out the following procedure described below.
Windows XP system
Start [Add or Remove Programs] from the Control Panel
Select [Control Panel] → [Add or Remove Programs] → [GTUNE], then click on the [Remove]
button. Then, follow the dialogue to remove the application.
Windows Vista system
Start [Programs and Features] from the Control Panel
Select [Control Panel] → [Programs and Features] → [GTUNE], then double click on the
GTUNE item.

Triple Axis Gyro System Parameter Editor GTUNE Installation Guide
19
Windows 7 system
Start [Programs and Features] from the Control Panel
Select [Control Panel] → [Programs and Features] → [GTUNE], then double click on the
GTUNE item.
Repairs and After-‐Sales Service
For further questions or inquiries please contact your local dealer or JR distributor in your
country.