Embed Size (px)
Citation preview

NES Installation Guide
October 2016 Trimble NES Installation Guide - Network Page | 1
Trimble NES Installation Guide Network
Contents
Introduction ................................................................................................................. 2 Network Installation ...................................................................................................... 3
First Client Installation ............................................................................................................... 3 Data Migration Utility ............................................................................................................... 11 Installing on Subsequent Client Machines .................................................................................. 12

NES Installation Guide
October 2016 Trimble NES Installation Guide - Network Page | 2
Introduction
This installation guide explains how to install Trimble NES onto multiple machines within a network environment, for both existing and new NES customers.
This method allows users to install Trimble NES onto multiple machines as part of a network. Trimble
NES can be installed using a saved configuration which allows the installation to complete without user interaction, using pre-determined paths. This is designed to aid when installing Trimble NES onto
multiple machines with the same configuration information.
The saved configuration file is generated automatically during an installation of Trimble NES, therefore the installation must be run manually on the first machine that you wish to install the
software on. To this end users must first follow the first client installation instructions for installing onto the designated machine and then move onto the network installation instructions.
Existing customers please note: this release of Trimble NES is installed as a new product, alongside
your existing NES version. During the installation procedure you will have the option of migrating your data (including your company file, user specifications and user master specifications), via the Data
Migration Utility, from your existing NES installation to the new version. This utility can be launched
automatically at the end of the installation (see pages 9 and 11), or later from the Trimble NES application folder.
NES Installation Guide
October 2016 Trimble NES Installation Guide - Network Page | 3
Network Installation
Follow these steps when installing Trimble NES on multiple machines in a networked environment where you wish to share data between users.
Pre-requisites:
The user must have a valid Product Activation Key (provided at the purchase of the software) The user must have administrator privileges to run the installer
Ensure NES is closed on all machines where it has already been installed, so as to guarantee that there are no locked or read-only files that could stop the installation from being successful.
All users must have access to a shared network location, where shared content files can be installed
to. This should be accessible by a UNC folder name (rather than a shared folder mapped to a local drive letter).
Microsoft Word must be installed on every machine Trimble NES is to be installed onto.
In a networked environment the Trimble NES Program Files will be installed on each machine, and the Shared Files (including content) will be installed on a network location shared by all users.
Trimble NES will be installed on the first machine through the installation wizard, for all subsequent installations the installer and a saved settings file will be copied to the shared files network location
where it can be run by each user.
First Client Installation
1. On the first machine that you wish to install Trimble NES on, launch the installation program:
a) For customers who have received the software on DVD: insert the DVD into a client machine. Double click on the ‘NESSetup.exe’ file in the DVD folder.
b) For customers who have downloaded the software: double click on the ‘NESSetup.exe’ file in the folder that you have extracted the setup to. This will unpack the installation and start the installation
procedure.
The contents will then start extracting.
NES Installation Guide
October 2016 Trimble NES Installation Guide - Network Page | 4
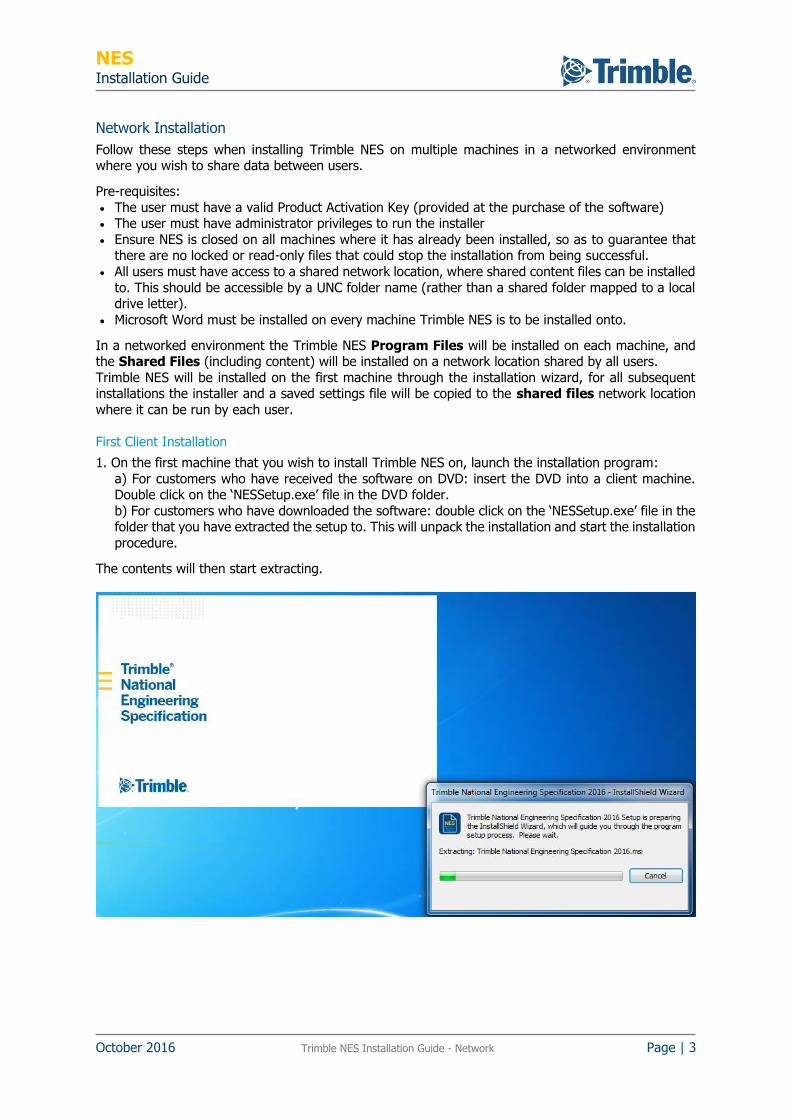
2. Welcome Screen - press the ‘Next’ button.

NES Installation Guide
October 2016 Trimble NES Installation Guide - Network Page | 5
3. License Agreement – if you agree to the End User License Agreement, select the option ‘I Accept…’ and the ‘Next’ button will become available. Press ‘Next’.
NES Installation Guide
October 2016 Trimble NES Installation Guide - Network Page | 6
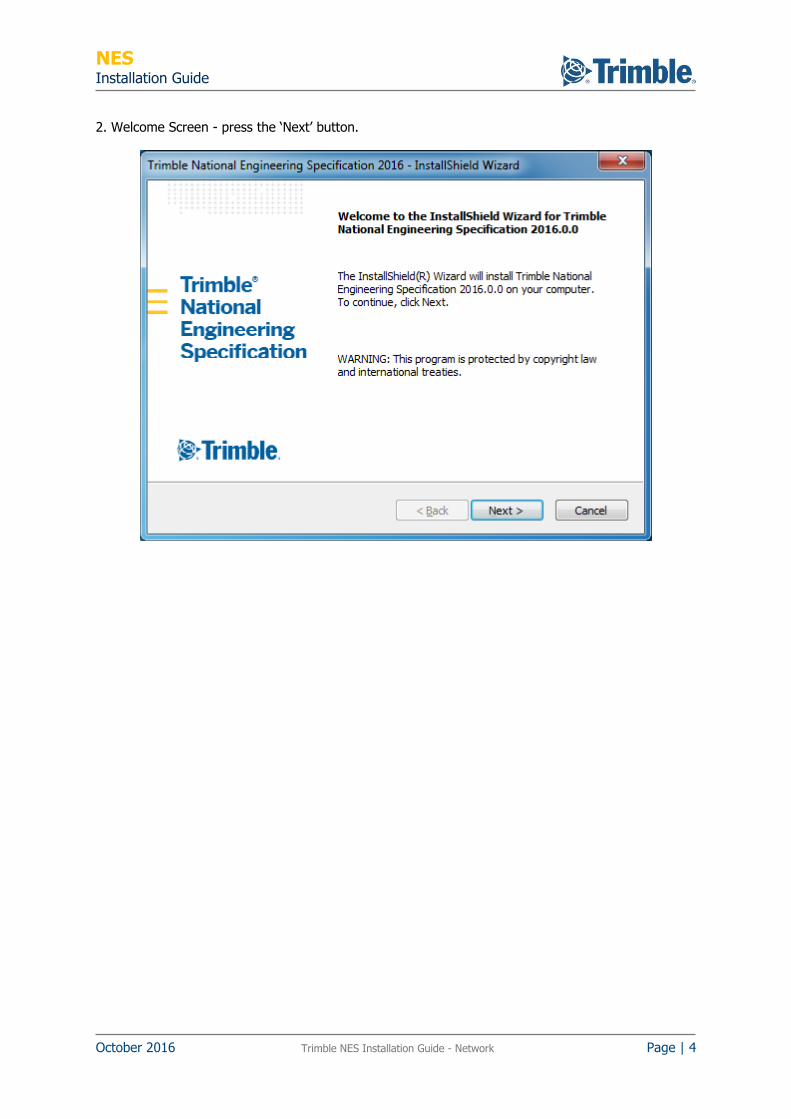
4. Install Path - choose the Trimble NES Install Path bearing in mind the following considerations: By default the Installer will set this path for you.
This location should be on the local machine (i.e. not a network folder)

NES Installation Guide
October 2016 Trimble NES Installation Guide - Network Page | 7
5. Shared file path - choose the Trimble NES shared files path, bearing in mind the following considerations:
By default the Installer will set this path for you to a local folder. In a network setup this should be changed to a folder on the network which is accessible to all users. N.B. You should specify the
path as a UNC path (e.g. \\server-name\foldername) rather than a mapped drive letter, as each
client machine may have different drive letters mapped). The Registration Folder is the location where your software license details will be stored. By default
the Registration Folder location will be placed under the Trimble NES Content Folder. If you are using per-seat licensing then this should be changed to a folder on the local machine.

NES Installation Guide
October 2016 Trimble NES Installation Guide - Network Page | 8
6. You are now ready to install the application. Click Install to continue.

NES Installation Guide
October 2016 Trimble NES Installation Guide - Network Page | 9
7. When the installation has completed, you will have the option of migrating data from your existing NES installation.
If you do not have an existing installation, or do not wish to migrate your data at this time, press
Finish to complete your installation.
If you wish to migrate your data now, tick the option to run the Migration Utility and then click Finish. The installation will complete and the Migration Utility will now be launched. Please refer to page 11,
Data Migration Utility for guidance on how to use this utility.

NES Installation Guide
October 2016 Trimble NES Installation Guide - Network Page | 10
8. Trimble NES Registration: when you first load Trimble NES you will be requested to provide your company details, as well as your Trimble NES Product Key. When registration is completed, press
Finish.
9. Set up the Company File: if you chose not to migrate data from an existing installation of NES then after registering, a prompt will appear asking you to either create a new company file or import an
existing one. To import an existing company file, browse to the location of the file and use this for your company file details. Otherwise, follow the prompts to create a new company file.

NES Installation Guide
October 2016 Trimble NES Installation Guide - Network Page | 11
Data Migration Utility
The Trimble NES Data Migration Utility will migrate data from an existing installation of NES into the
new version of Trimble NES.
The following data is migrated from previous versions:
Company File User Dictionary
User Master Specifications User Specifications
Please note: following migration, the previous NES version will continue to function and your
company file and any user master specifications will still be available to this version. Any user
specifications which are migrated as part of this process however are moved and will only be available in the new Trimble NES application.
The utility can be launched by either selecting the option at the end of the installation wizard, or by
launching the NESMigrateDataUtil.exe application which is installed to your Trimble NES application folder (e.g. C:\Program Files (x86)\Trimble\NES\NESMigrateDataUtil.exe).
Instructions:
1. Specify the location of your previous NES version’s configuration file (Spex.config). This is usually
located in the folder that your previous NES version was installed to (e.g. C:\AMTECH Group\NES\3.0\Spex.config). Once the path is selected correctly the Migrate button will become
enabled.
2. Choose whether to overwrite existing files (which is selected by default) or not. In most circumstances, especially when this is run immediately following installation, this can be left as
ticked.
This would need to be unticked if you have a user specification already created in the new Trimble NES version with the same name as a specification which exists in the old version. In this case,
unticking this option will prevent the migration from overwriting the new specification with the one from the previous software version.
Please note: to ensure full migration of all data this can be left ticked.
3. Click Migrate to begin migration. When complete, close the window and Trimble NES will then
open when selected.

NES Installation Guide
October 2016 Trimble NES Installation Guide - Network Page | 12
Installing on Subsequent Client Machines
Pre-requisites:
Trimble NES must be fully installed, registered and configured on one machine (see steps Network
Client – First Client Installation).
Once Trimble NES has been installed on one machine the installer (NESSetup.exe) and settings file (Server.config) are copied to the Shared Files folder that was specified during the first client
installer. These can be found in a sub-folder of Shared Files called Client Install.
Installing Trimble NES on client machines through the Installation Wizard:
1. Log in to the client machine that you wish to install Trimble NES on. 2. Locate the saved NESSetup.exe file in the Client Install folder (there should be a file called
Server.config which is in the same folder).
3. Launch this installer directly from this location. The installation wizard will be displayed. All properties will be pre-filled with the values loaded from the settings file.
4. Unless you wish to change any folders for this machine, you may run through the installation without making any changes.
Installing Trimble NES on client machines using Silent Installation:
The subsequent installs can be run silently from the command-line using the /s switch. For example:
\\server\NES\Shared Files\Client Install\NESSetup.exe /s
(Where \\server\NES\Shared Files is the location that you specified for Shared Files in the first
client installation)
Please note: The application files (installed per-machine) will be installed to the default location (e.g.
C:\Program Files(x86)\Trimble\NES), and the shared files will be installed to the locations specified in
the Server.config file.
In order to install the application files to a different location, this can be specified through a further command switch:
NESSetup.exe /s /v”INSTALLDIR=C:\NES”
Please note: When running a silent installation the Server.config file MUST exist in the same directory
as the NESSetup.exe installer file.