Embed Size (px)
Citation preview
Welcome to GSK Science in the Summer, brought to you at home this year in partnership between GSK and The Franklin Institute!
This free summer science program aims to inspire the next generation of scientists and engineers by inviting children to experience real science careers by practicing science skills and using real science tools—all while having fun!
This at-home science activity is supported by a series of online resources, including videos and a live, interactive virtual experience with a Franklin Institute science educator.
Here is the recommended sequence for your GSK Science in the Summer Be a Chemist experience:
1. Start by watching short introductory videos to help your child set up their lab and learn about their research project. Find these videos at scienceinthesummer.fi.edu by clicking on the “Medicinal Chemist” image.
2. Do your at-home experiments, using the guidein this booklet and the provided science materials.Remember to follow the safety guidelines duringall activities.
3. Join a live Medicinal Chemist Team Meetingto share the results of your research with a FranklinInstitute educator and other GSK Science in theSummer participants. Information for how to registerwill be sent via email. For more information, visitscienceinthesummer.fi.edu/phila.
Are you ready to be a chemist? It’s time to set up your lab and get started on your research!
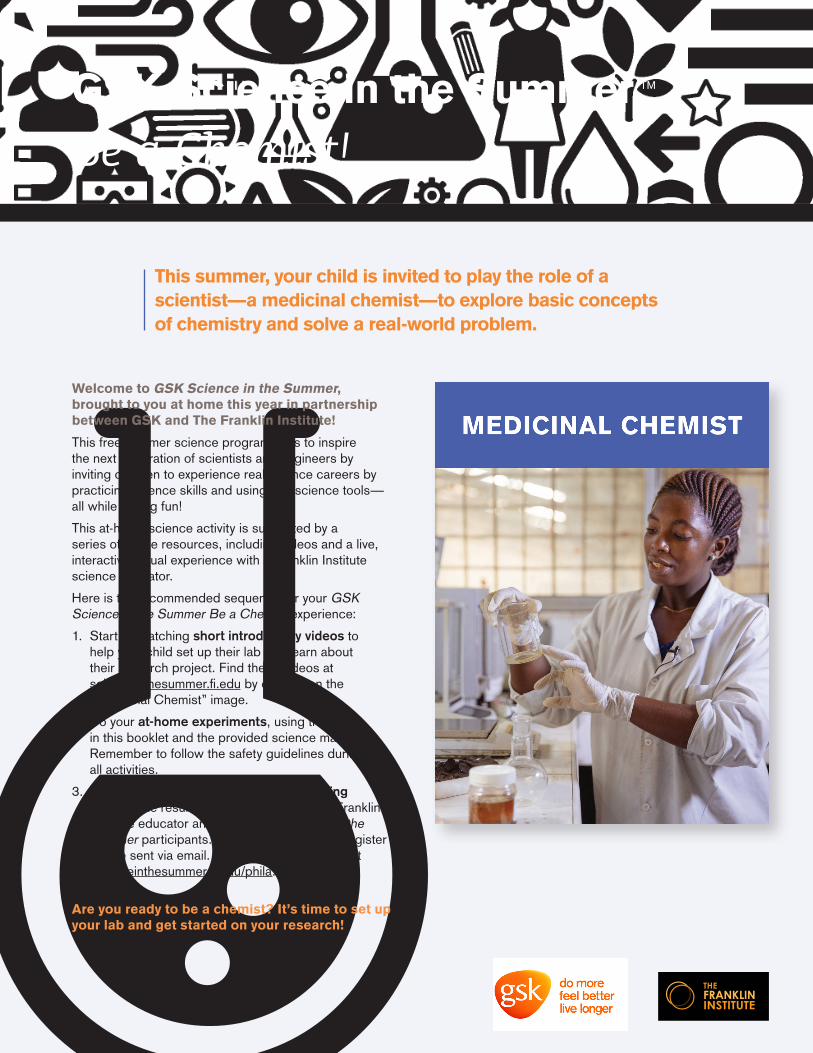
This summer, your child is invited to play the role of a scientist—a medicinal chemist—to explore basic concepts of chemistry and solve a real-world problem.
GSK Science in the Summer TM
Be a Chemist!

Lab Safety1. All the chemicals you will use in this activity are safe to touch and can be washed down the sink drain
or thrown in your regular trash when you are finished.
2. While the chemicals aren’t harmful, you should still follow these lab safety rules:
• Don’t touch your face or eyes with hands that have touched the materials.Some of the materials could irritate your eyes.
• Wash your hands with soap when you finish, or whenever you take a break to do something else.
• Don’t taste the materials or put them in your mouth for any reason.
Lab Prep1. Gather your supplies. Make sure you have all your science tools and materials from the list above in one place.
2. Set up your lab space. Find a table or other flat surface that you can safely work on. If youhave something like a baking sheet or school lunch tray with raised sides, that makes agood “lab station” to do your experiments on and contain any spills. If not, you may want tocover your lab surface with paper or plastic, or keep some towels handy to wipe up spills.
3. Prepare your craft stick scoops. Use a pencil or pen to draw a line across the end of oneof the wooden craft sticks, about ¼-inch from the end (about the width of a pencil). Makesure the line is dark and easy to see. Use that stick as a guide to draw a line in the sameplace on the other sticks in your materials.
4. Label your tools. You will use pipettes to measure liquid ingredients (vinegar and water)and wooden craft stick scoops to measure powders (baking soda, powdered sugar, andcream of tartar). To keep the chemicals from accidently getting mixed together, you shoulduse a separate pipette or scoop for each material. Mark or label them (like “v” for vinegar,“b” for baking soda, and so on) so you don’t mix them up.
5. Practice your technique. Try using the pipette and the scoop a few times until you can easily measure smallamounts with them:
• Squeeze the bulb of the pipette, put the tip of the pipette in the liquid, and let go of the bulb to let it fill up.Then, squeeze the bulb gently to let one drop at a time come out of the tip.
• Use the wooden craft stick to scoop up a small amount of powder, up to the marked line. Shake or tap it gentlyto knock off any extra powder until the amount of powder fits between the line and the end.
6. Look at the medicinal chemist picture on page 12 in your lab notebook and read about what medicinal chemistsdo. What do you think you will do in this activity that is like what a real medicinal chemist does?
Science Materials:
• Lab notebook
• Effervescent antacid tablets
• Small paper cups
• Pipettes
• Well plate (plate withcircular indentations)
• Wooden craft sticks
• Baking soda
• Cream of tartar
• Powdered sugar
• Vinegar
• Pencil
Additional Materials:
• Table or other flat placeto work
• (Optional) Tray or tablecovering to protect yourworkspace from spills
• Water
• Dish soap or liquidhand soap
• Two spoons
Medicinal ChemistYou are a medicinal chemist working for a company that makes medicines for upset stomachs. Your job is to find the best combination of chemicals to make a new medicine— an effervescent antacid tablet.
MATERIALS

Part 1: ResearchFirst, find out how effervescent antacid tablets look and behave by studying an example:
1. Take one of the antacid tablets out of its package and make some observations. What does it look like? What does it feel like? Write or draw your observations on page 3 of your lab notebook.
2. Break the tablet into four pieces and put one of the pieces in a small paper cup. Use a pipette to add a few drops of water on top of the tablet piece. What do you notice?
3. Add more water to the cup until the tablet piece is fully under water. Observe what happens to the tablet in water. How does the tablet change? How does the water change? What else do you notice? Record your observations in your lab notebook.
4. Think about the observations you’ve made. What will your new chemical combination need to look like or do in order to be like the antacid tablet?
Part 2: TestingNext, test some different chemicals to find the combination that looks and behaves most like the antacid tablet you studied:
1. Use the well plate to test different combinations of the four chemicals in your materials (vinegar, powdered sugar, baking soda, and cream of tartar) and observe how they behave. Start by choosing two chemicals to test together. Add a small amount of each chemical (a few drops or one small scoop) to the first well in the well plate. As you add each chemical, make sure the end of the pipette or scoop doesn’t touch any material that is already in the well plate to prevent contamination.
2. Observe what happens. Do the materials mix or change? What happens if you add water to them, like you did with the antacid tablet? Use the chart on page 3 of your lab notebook to record which chemicals you put in the first well, and what results you observed.
3. Try different combinations of chemicals in each well, and make sure to record in your notebook what you put in each one. Here are some things to think about during your testing:
▶ How well does each combination of chemicals match how the tablet looked and behaved?
▶ Is there a combination of two chemicals that behaves most like the tablet? What about a combination of three chemicals?
▶ Did you try every possible chemical combination? How could you tell?
4. Decide which combination of the chemicals you tested is the best choice for making an effervescent antacid tablet. Why do you think it is the best choice? How does it compare to the antacid tablet you observed in Part 1 of this activity?
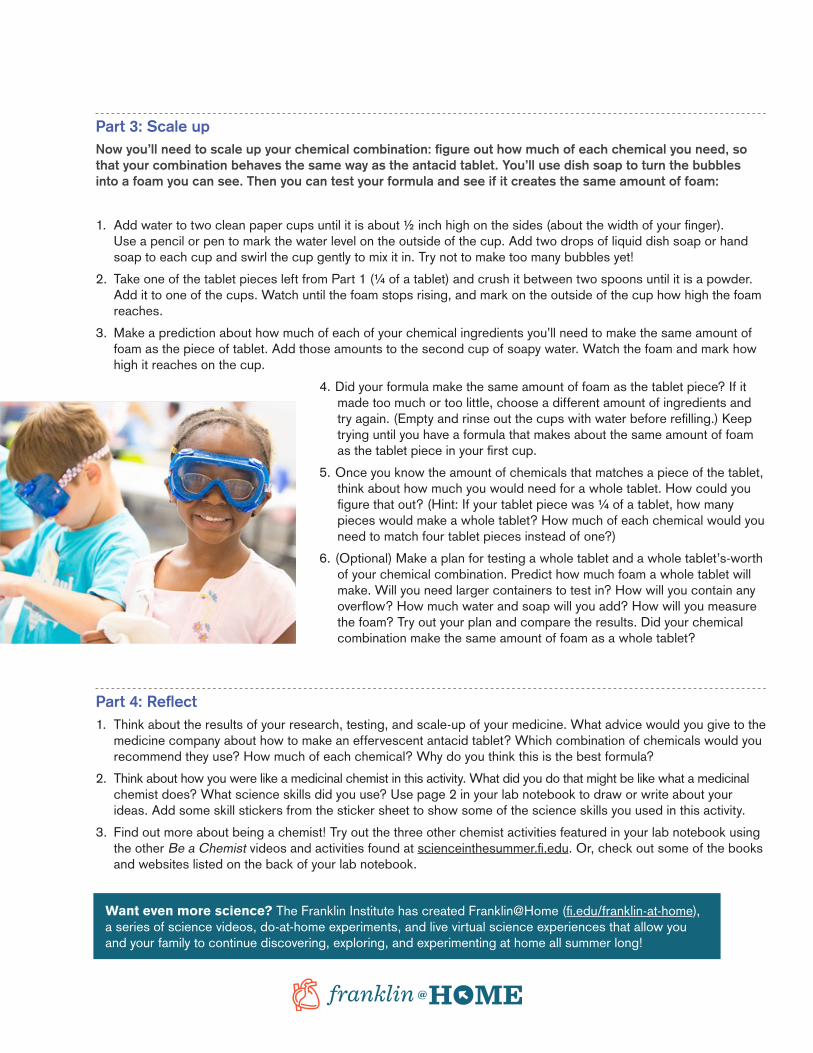
Part 3: Scale upNow you’ll need to scale up your chemical combination: figure out how much of each chemical you need, so that your combination behaves the same way as the antacid tablet. You’ll use dish soap to turn the bubbles into a foam you can see. Then you can test your formula and see if it creates the same amount of foam:
1. Add water to two clean paper cups until it is about ½ inch high on the sides (about the width of your finger). Use a pencil or pen to mark the water level on the outside of the cup. Add two drops of liquid dish soap or hand soap to each cup and swirl the cup gently to mix it in. Try not to make too many bubbles yet!
2. Take one of the tablet pieces left from Part 1 (¼ of a tablet) and crush it between two spoons until it is a powder. Add it to one of the cups. Watch until the foam stops rising, and mark on the outside of the cup how high the foam reaches.
3. Make a prediction about how much of each of your chemical ingredients you’ll need to make the same amount of foam as the piece of tablet. Add those amounts to the second cup of soapy water. Watch the foam and mark how high it reaches on the cup.
4. Did your formula make the same amount of foam as the tablet piece? If it made too much or too little, choose a different amount of ingredients and try again. (Empty and rinse out the cups with water before refilling.) Keep trying until you have a formula that makes about the same amount of foam as the tablet piece in your first cup.
5. Once you know the amount of chemicals that matches a piece of the tablet, think about how much you would need for a whole tablet. How could you figure that out? (Hint: If your tablet piece was ¼ of a tablet, how many pieces would make a whole tablet? How much of each chemical would you need to match four tablet pieces instead of one?)
6. (Optional) Make a plan for testing a whole tablet and a whole tablet’s-worth of your chemical combination. Predict how much foam a whole tablet will make. Will you need larger containers to test in? How will you contain any overflow? How much water and soap will you add? How will you measure the foam? Try out your plan and compare the results. Did your chemical combination make the same amount of foam as a whole tablet?
Part 4: Reflect1. Think about the results of your research, testing, and scale-up of your medicine. What advice would you give to the
medicine company about how to make an effervescent antacid tablet? Which combination of chemicals would you recommend they use? How much of each chemical? Why do you think this is the best formula?
2. Think about how you were like a medicinal chemist in this activity. What did you do that might be like what a medicinal chemist does? What science skills did you use? Use page 2 in your lab notebook to draw or write about your ideas. Add some skill stickers from the sticker sheet to show some of the science skills you used in this activity.
3. Find out more about being a chemist! Try out the three other chemist activities featured in your lab notebook using the other Be a Chemist videos and activities found at scienceinthesummer.fi.edu. Or, check out some of the books and websites listed on the back of your lab notebook.
Want even more science? The Franklin Institute has created Franklin@Home (fi.edu/franklin-at-home), a series of science videos, do-at-home experiments, and live virtual science experiences that allow you and your family to continue discovering, exploring, and experimenting at home all summer long!