Embed Size (px)
Citation preview

The Microscope
Mr. Ryan
6th Grade
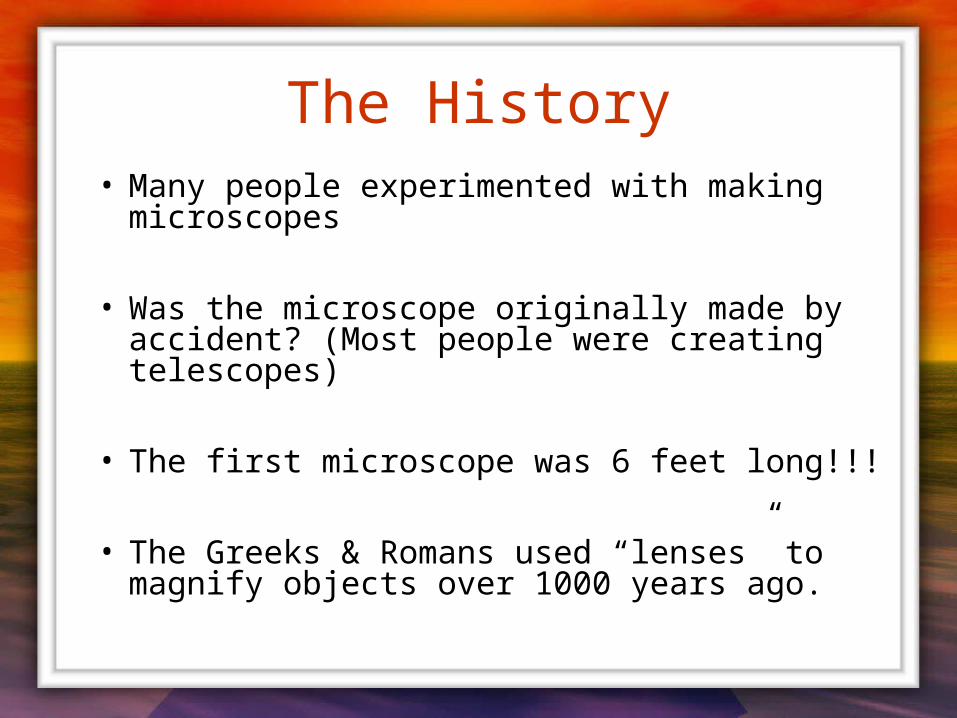
The History• Many people experimented with making
microscopes
• Was the microscope originally made by accident? (Most people were creating telescopes)
• The first microscope was 6 feet long!!!
• The Greeks & Romans used “lenses” to magnify objects over 1000 years ago.
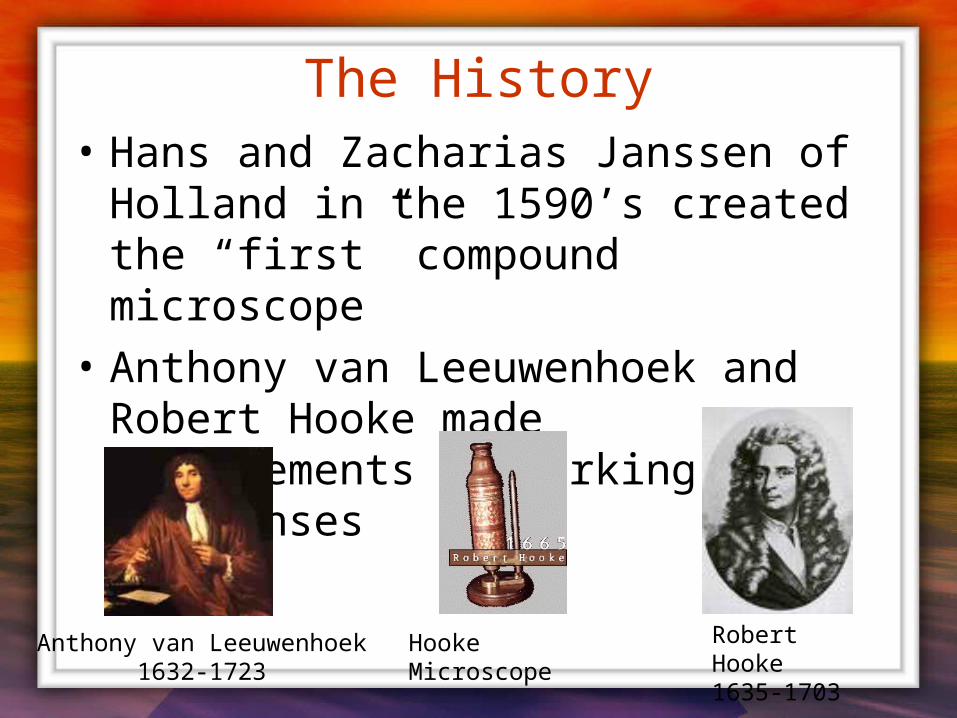
The History• Hans and Zacharias Janssen of Holland
in the 1590’s created the “first” compound microscope
• Anthony van Leeuwenhoek and Robert Hooke made improvements by working on the lenses
Anthony van Leeuwenhoek1632-1723
Robert Hooke 1635-1703
Hooke Microscope
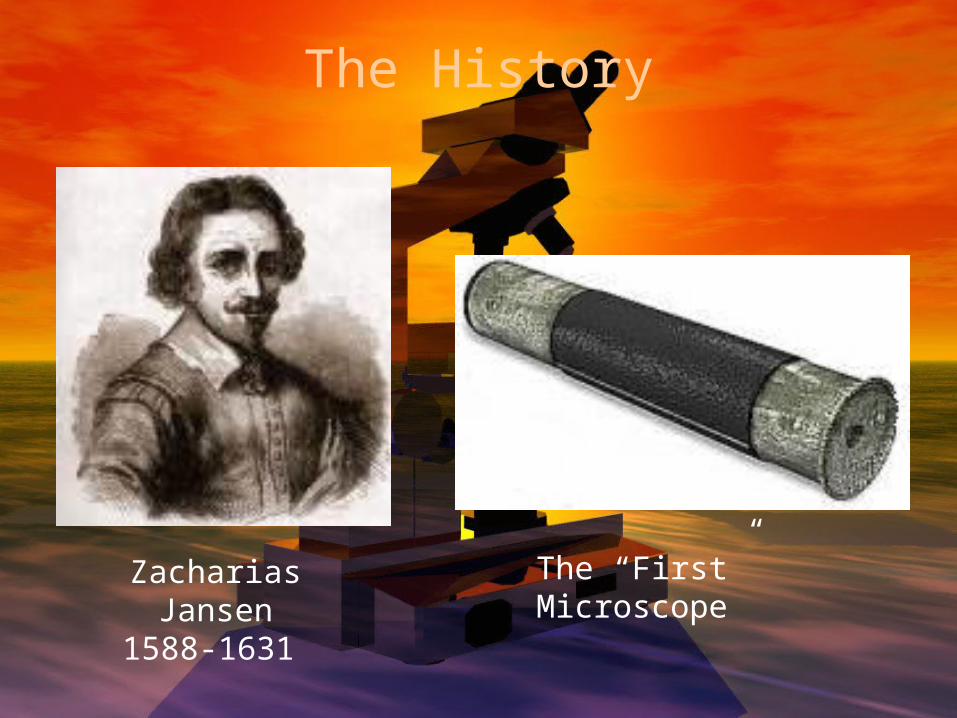
The History
Zacharias Jansen1588-1631
The “First” Microscope
How a Microscope Works
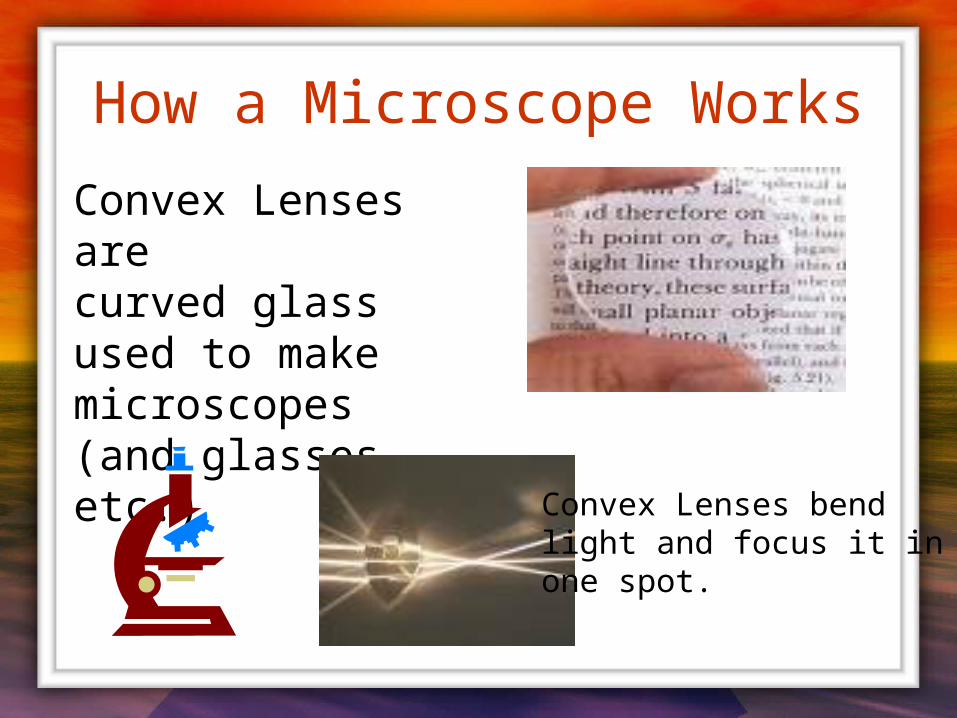
Convex Lenses arecurved glass used to make microscopes(and glasses etc.)
Convex Lenses bendlight and focus it inone spot.
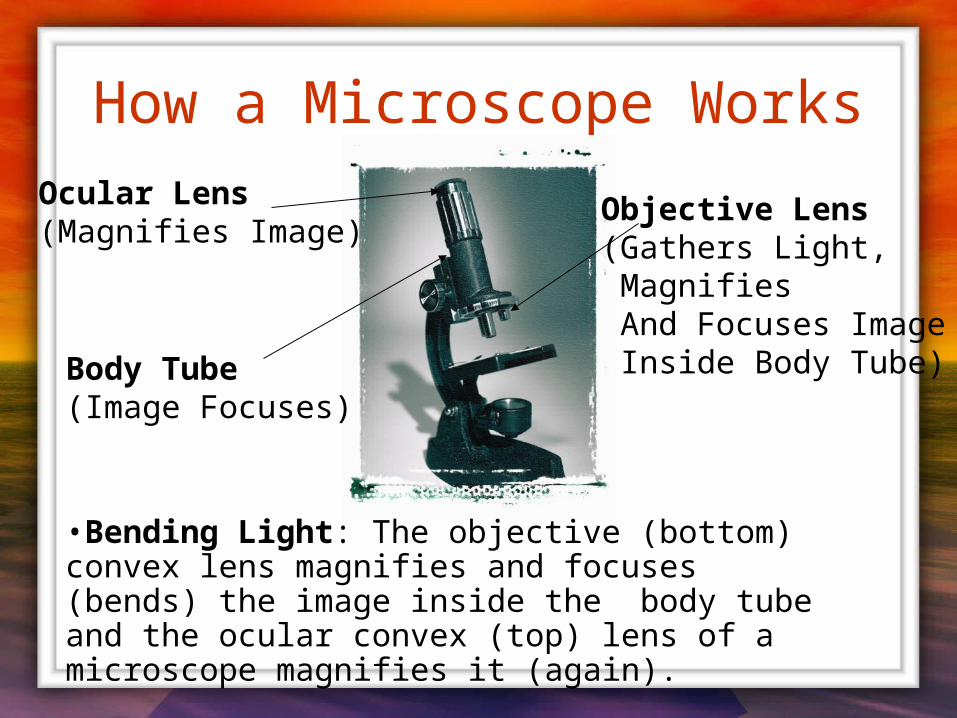
How a Microscope WorksOcular Lens(Magnifies Image)
Objective Lens(Gathers Light, Magnifies And Focuses Image Inside Body Tube)Body Tube
(Image Focuses)
•Bending Light: The objective (bottom) convex lens magnifies and focuses (bends) the image inside the body tube and the ocular convex (top) lens of a microscope magnifies it (again).
The Parts of a Microscope
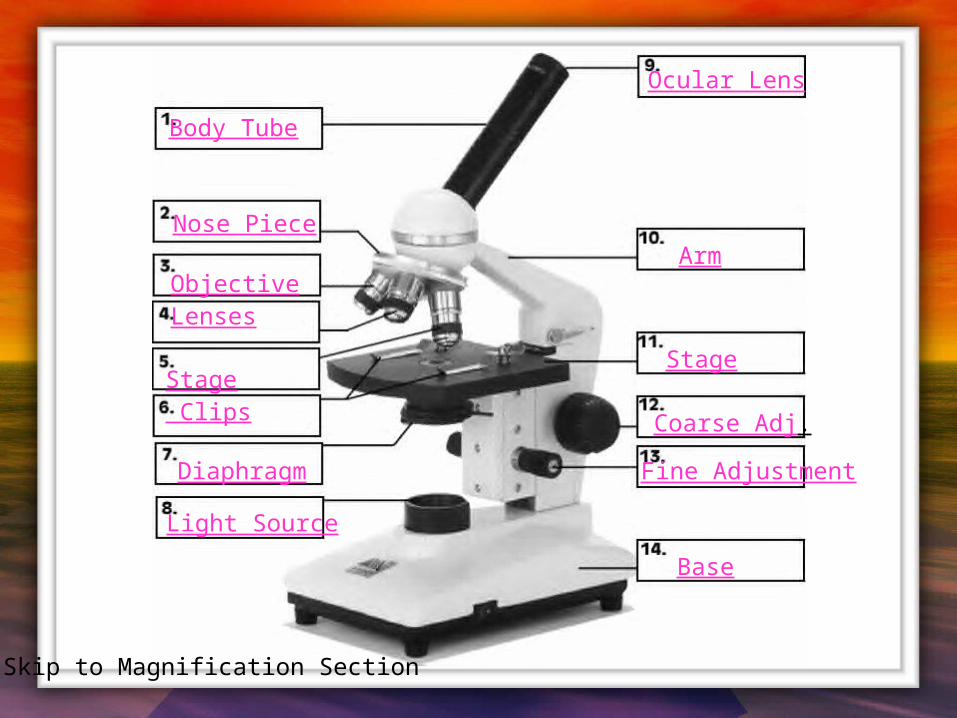
Body Tube
Nose Piece
ObjectiveLenses
Stage Clips
Diaphragm
Light Source
Ocular Lens
Arm
Stage
Coarse Adj.
Fine Adjustment
Base
Skip to Magnification Section
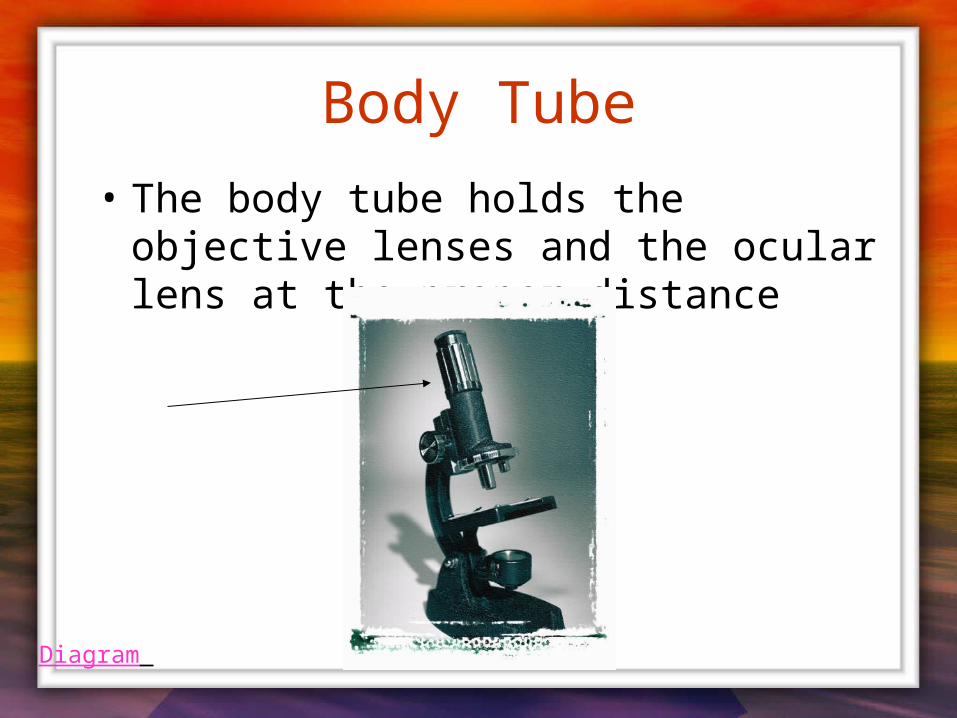
Body Tube
• The body tube holds the objective lenses and the ocular lens at the proper distance
Diagram
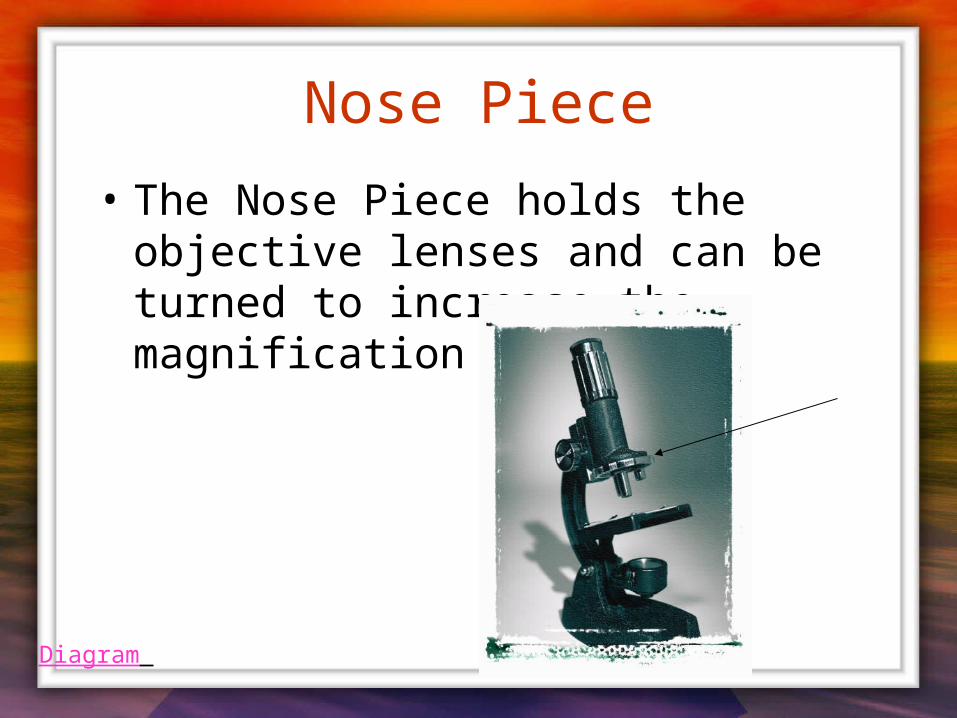
Nose Piece
• The Nose Piece holds the objective lenses and can be turned to increase the magnification
Diagram
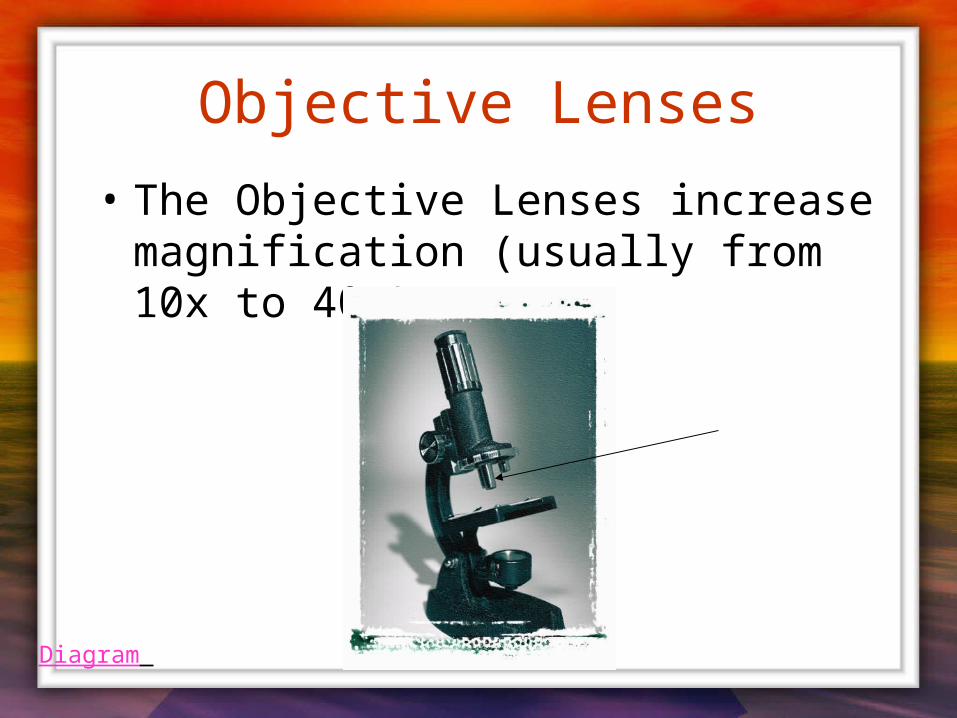
Objective Lenses
• The Objective Lenses increase magnification (usually from 10x to 40x)
Diagram
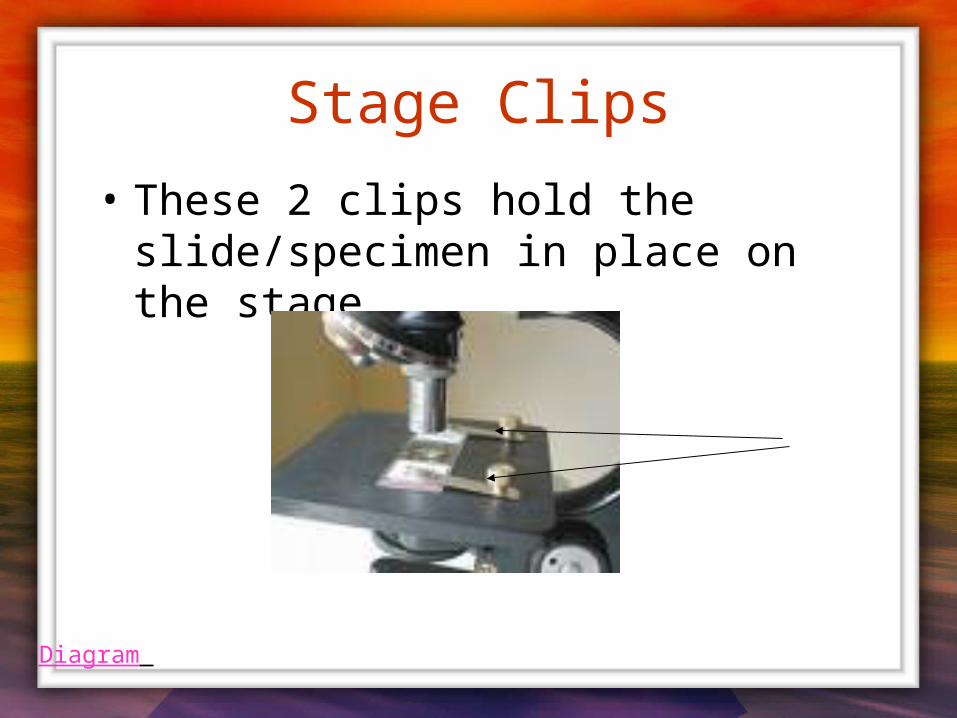
Stage Clips
• These 2 clips hold the slide/specimen in place on the stage.
Diagram
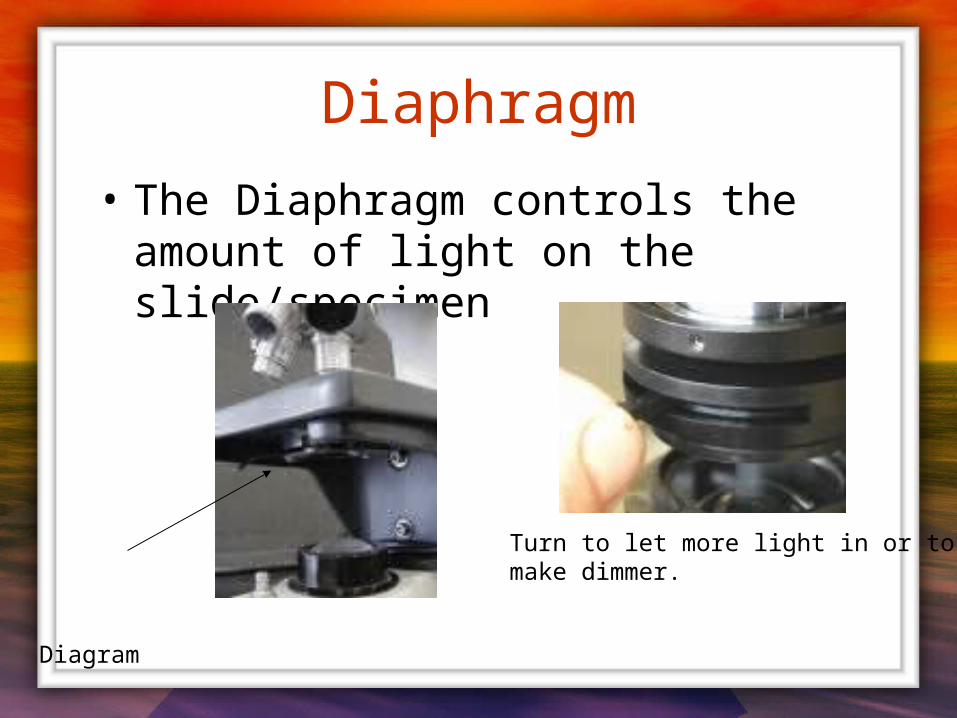
Diaphragm
• The Diaphragm controls the amount of light on the slide/specimen
Turn to let more light in or tomake dimmer.
Diagram
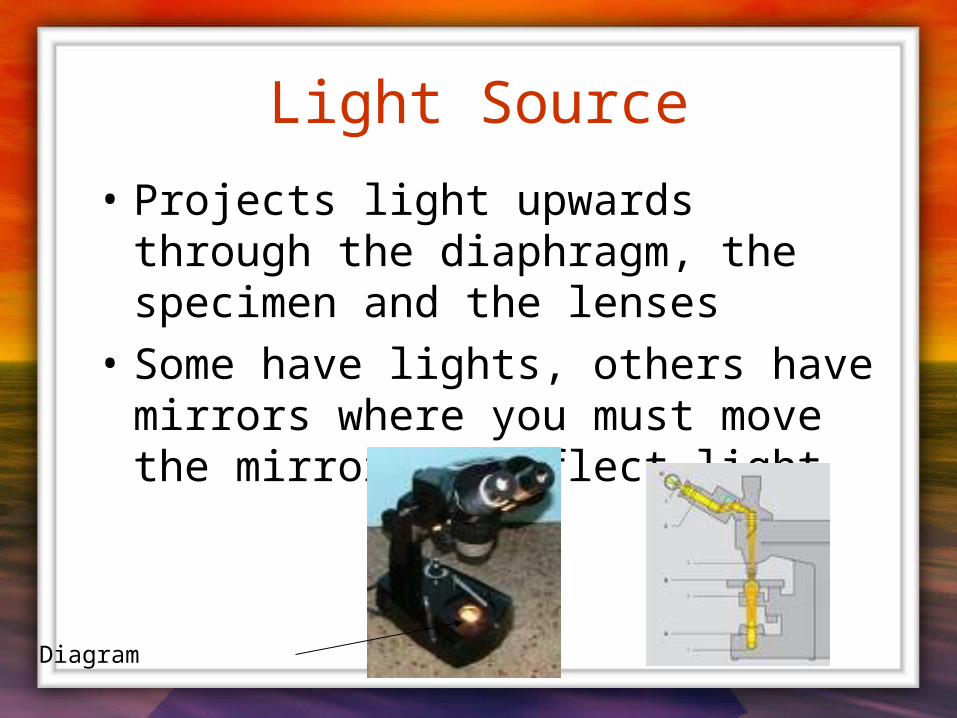
Light Source
• Projects light upwards through the diaphragm, the specimen and the lenses
• Some have lights, others have mirrors where you must move the mirror to reflect light
Diagram
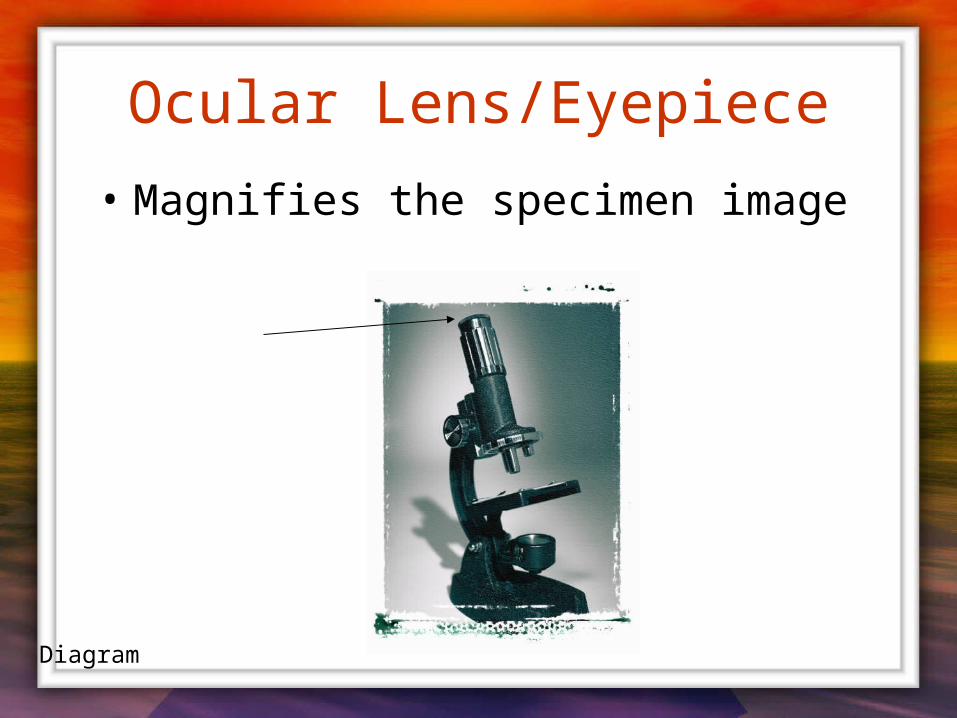
Ocular Lens/Eyepiece
• Magnifies the specimen image
Diagram
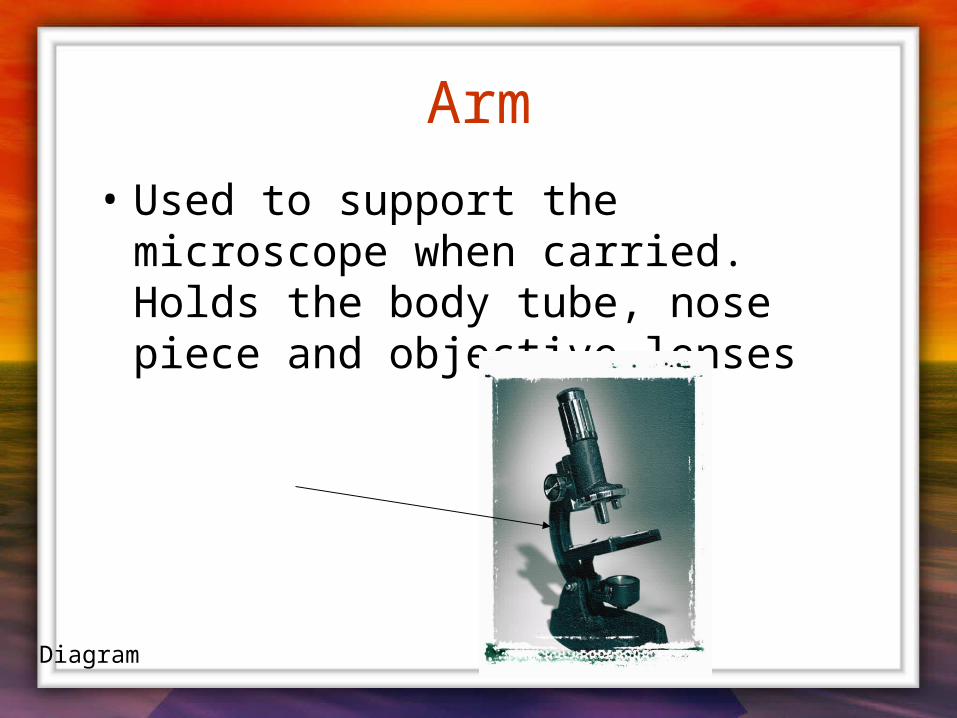
Arm
• Used to support the microscope when carried. Holds the body tube, nose piece and objective lenses
Diagram
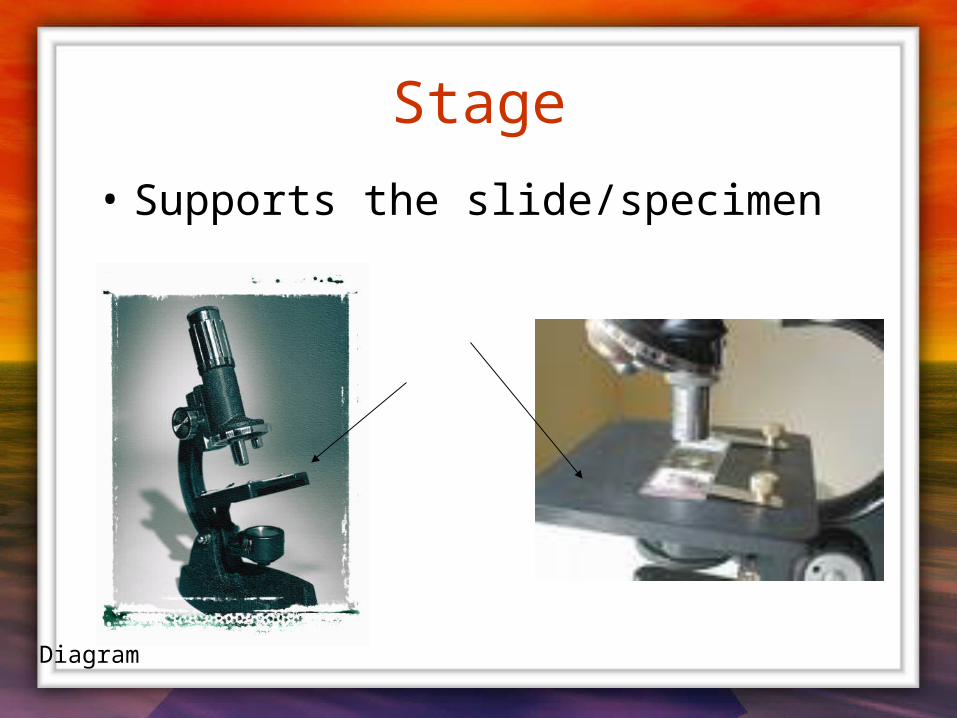
Stage
• Supports the slide/specimen
Diagram
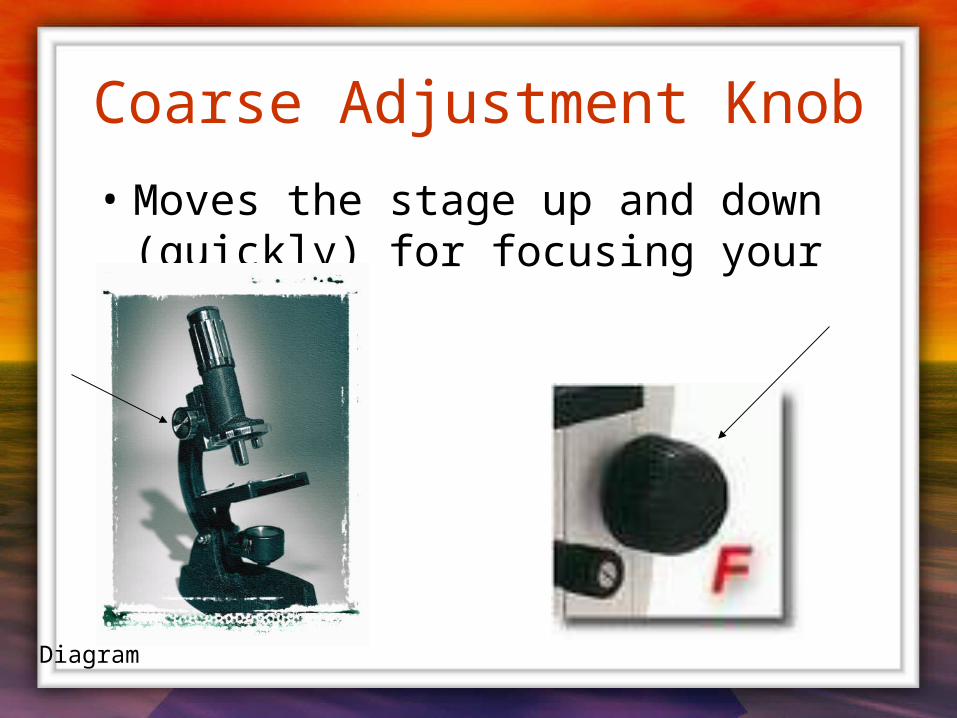
Coarse Adjustment Knob
• Moves the stage up and down (quickly) for focusing your image
Diagram
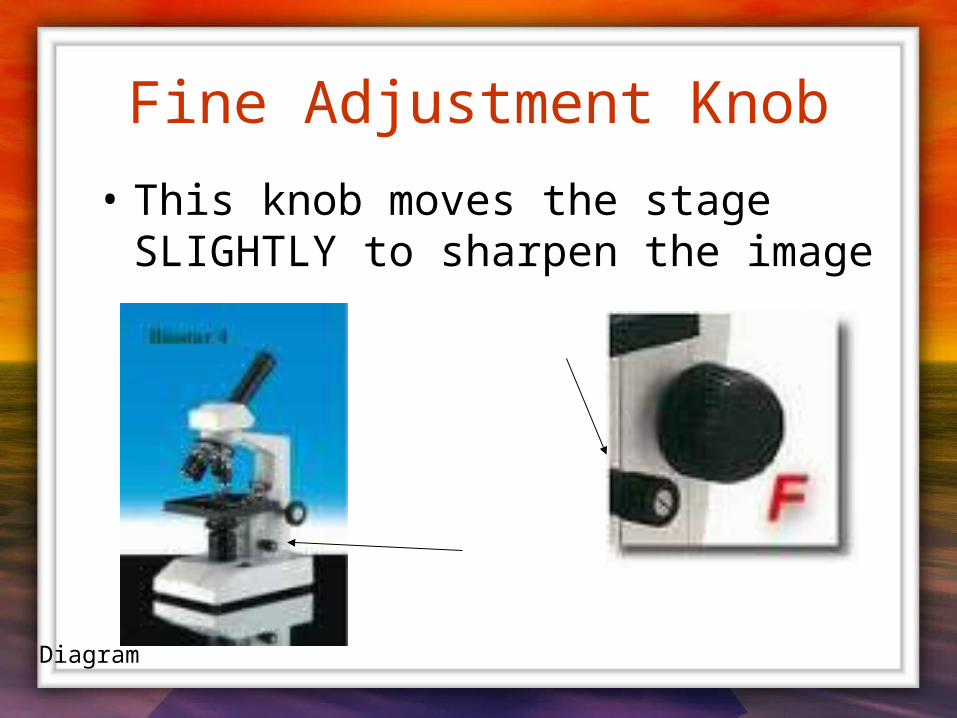
Fine Adjustment Knob
• This knob moves the stage SLIGHTLY to sharpen the image
Diagram
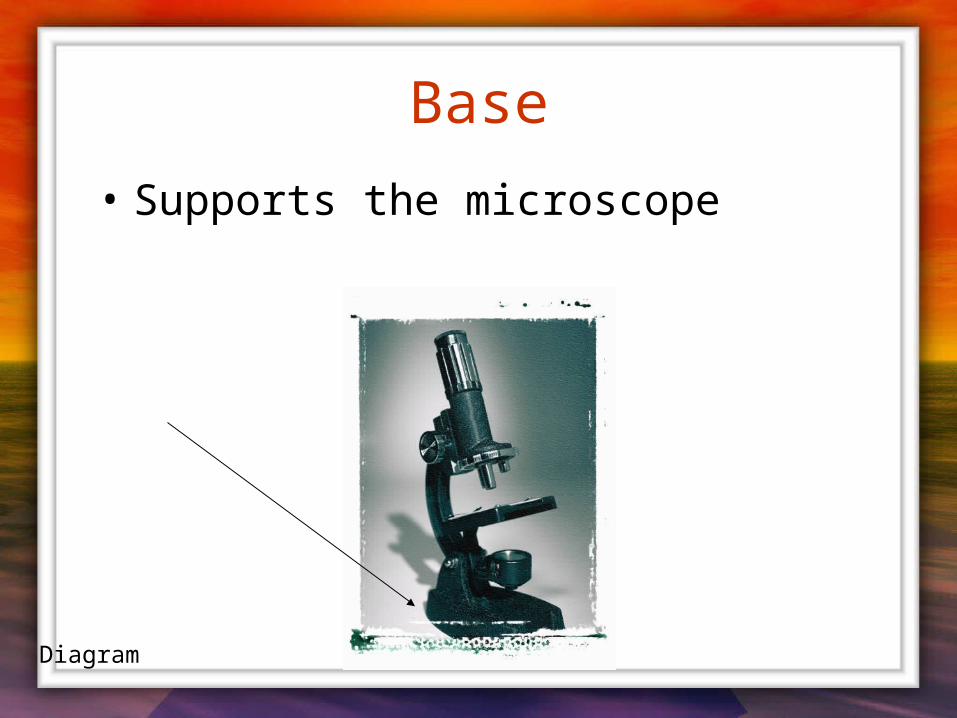
Base
• Supports the microscope
Diagram
Magnification
Magnification
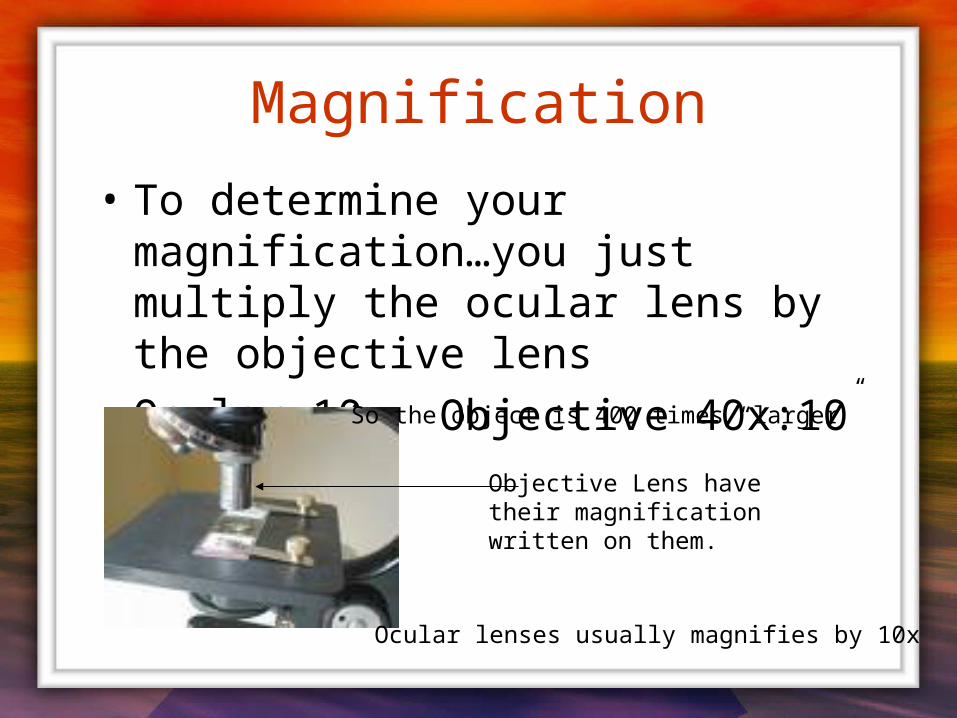
• To determine your magnification…you just multiply the ocular lens by the objective lens
• Ocular 10x Objective 40x:10 x 40 = 400
Objective Lens have their magnificationwritten on them.
Ocular lenses usually magnifies by 10x
So the object is 400 times “larger”
Caring for a Microscope
• Clean only with a soft cloth/tissue
• Make sure it’s on a flat surface
• Don’t bang it
• Carry it with 2 HANDS…one on the arm and the other on the base
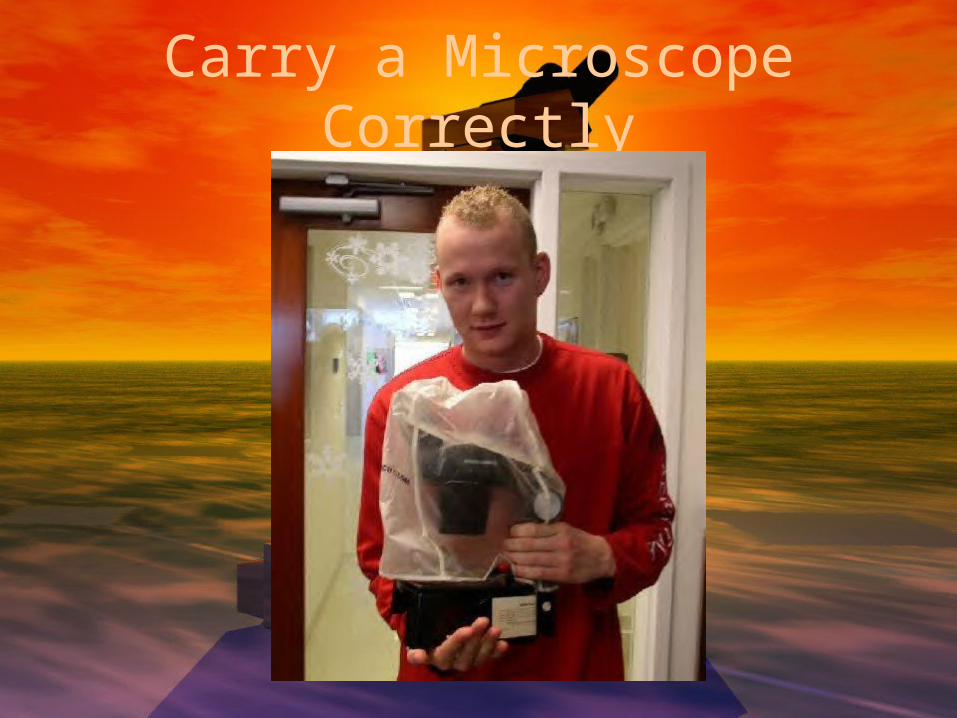
Carry a Microscope Correctly
Using a Microscope
• Start on the lowest magnification
• Don’t use the coarse adjustment knob on high magnification…you’ll break the slide!!!
• Place slide on stage and lock clips
• Adjust light source (if it’s a mirror…don’t stand in front of it!)
• Use fine adjustment to focus
References• http://www.cerebromente.org.br/n17/history/neurons1_i.htm• Google Images• http://science.howstuffworks.com/light-microscope1.htm

This powerpoint was kindly donated to www.worldofteaching.com
http://www.worldofteaching.com is home to over a thousand powerpoints submitted by teachers. This is a completely free site and requires no registration. Please visit and I hope it will help in your teaching.