Embed Size (px)
Citation preview
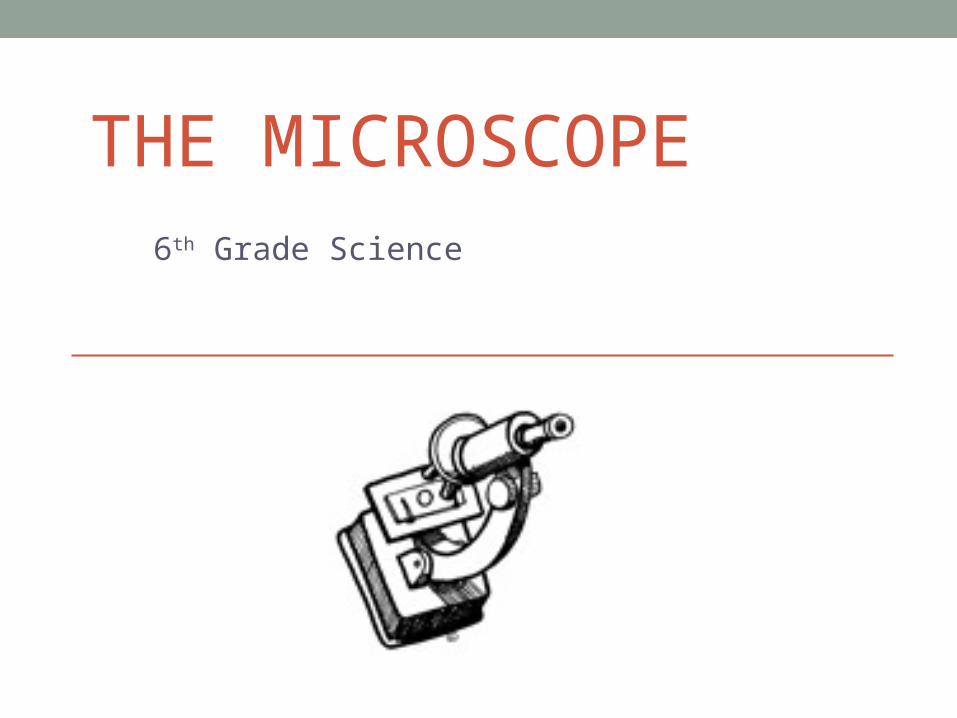
THE MICROSCOPE6th Grade Science
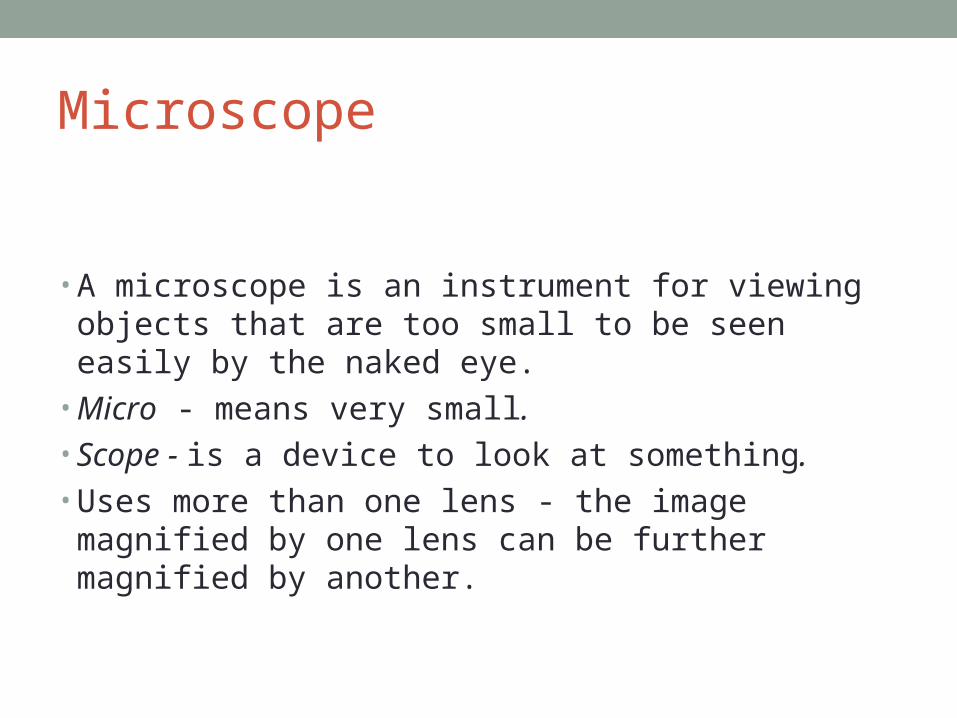
Microscope
• A microscope is an instrument for viewing objects that are too small to be seen easily by the naked eye.
• Micro - means very small. • Scope - is a device to look at something.• Uses more than one lens - the image magnified by one
lens can be further magnified by another.
Microscope Terms• Magnify
• To make an object look bigger• Reflect
• To throw back light rays that strike a surface
• Refraction
• The bending of light rays as they pass through one substance to another
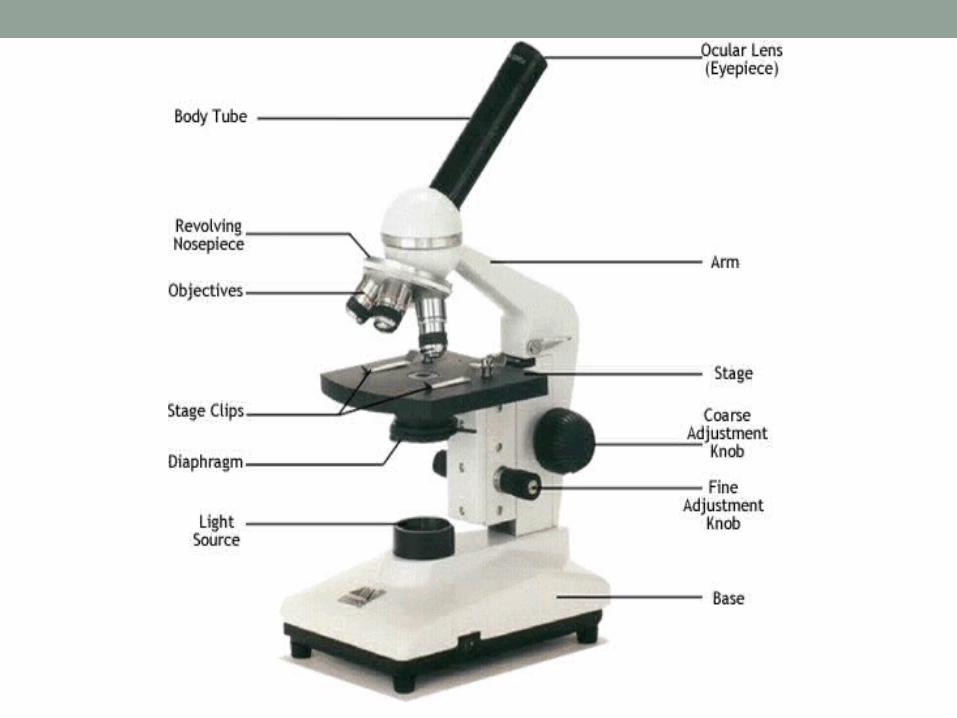
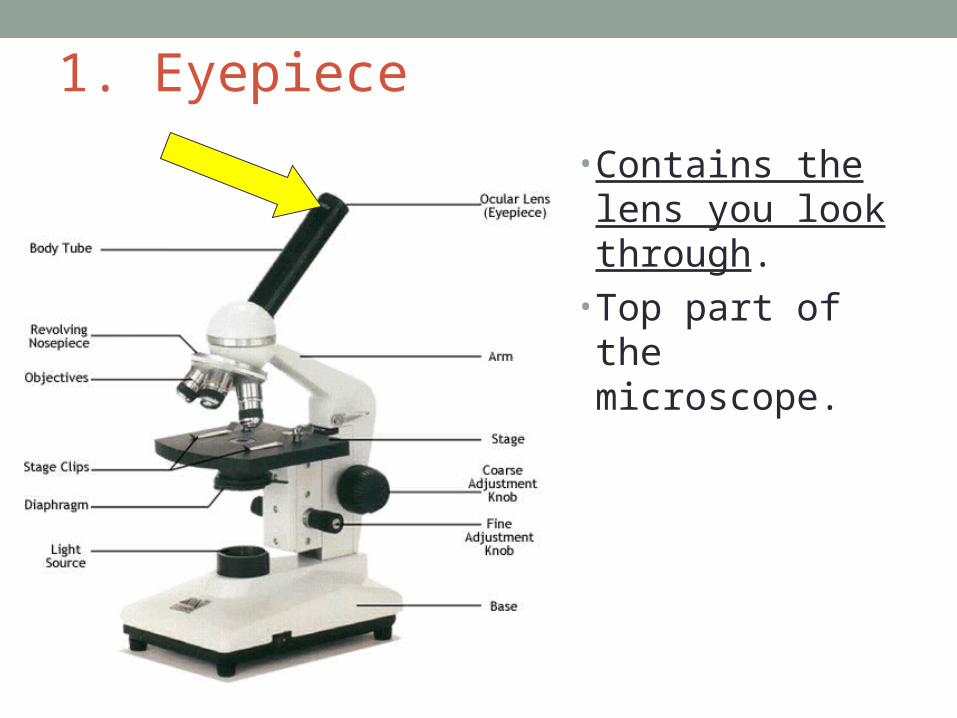
1. Eyepiece
• Contains the lens you look through.
• Top part of the microscope.
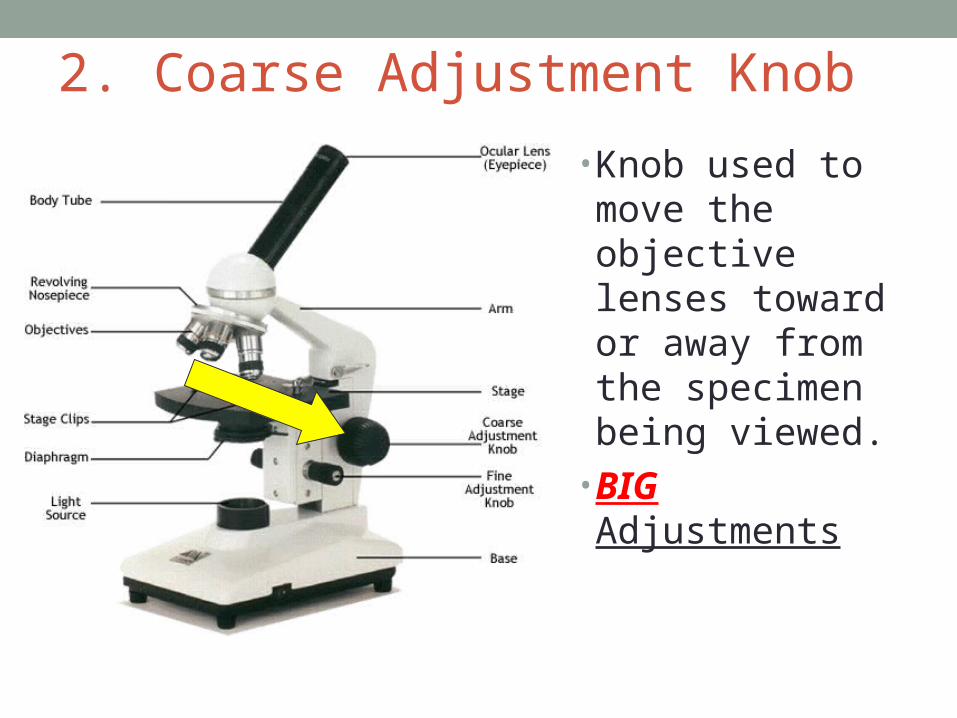
2. Coarse Adjustment Knob
• Knob used to move the objective lenses toward or away from the specimen being viewed.
•BIG Adjustments
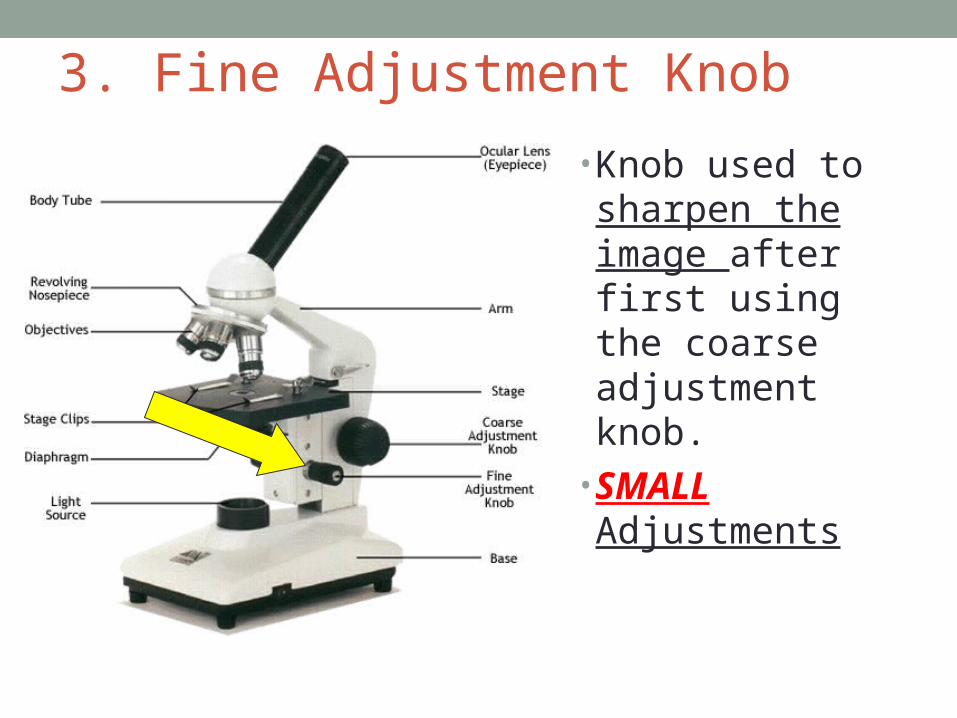
3. Fine Adjustment Knob
• Knob used to sharpen the image after first using the coarse adjustment knob.
• SMALL Adjustments
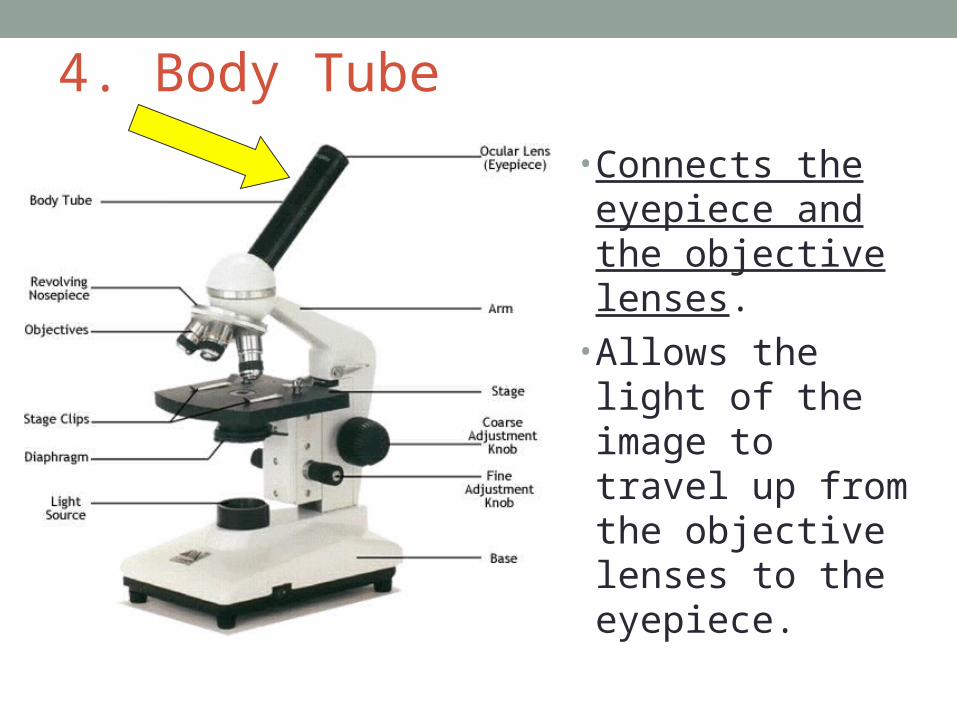
4. Body Tube
• Connects the eyepiece and the objective lenses.
• Allows the light of the image to travel up from the objective lenses to the eyepiece.

5. Rotating Nosepiece
• Holds the objective lenses and rotates to change the magnification.

6. Objective lenses
• Attached to the nosepiece, vary in size.
• Shortest is the least powerful, longest most powerful.
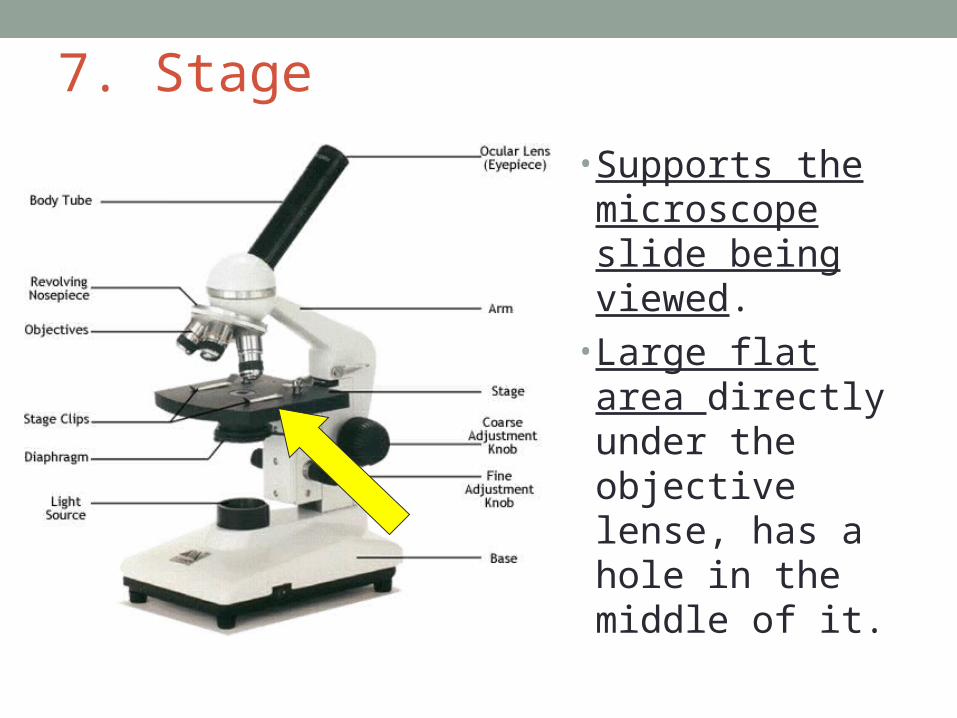
7. Stage
• Supports the microscope slide being viewed.
• Large flat area directly under the objective lense, has a hole in the middle of it.

8. Stage Clips
• Hold the microscope slide in place on the stage.
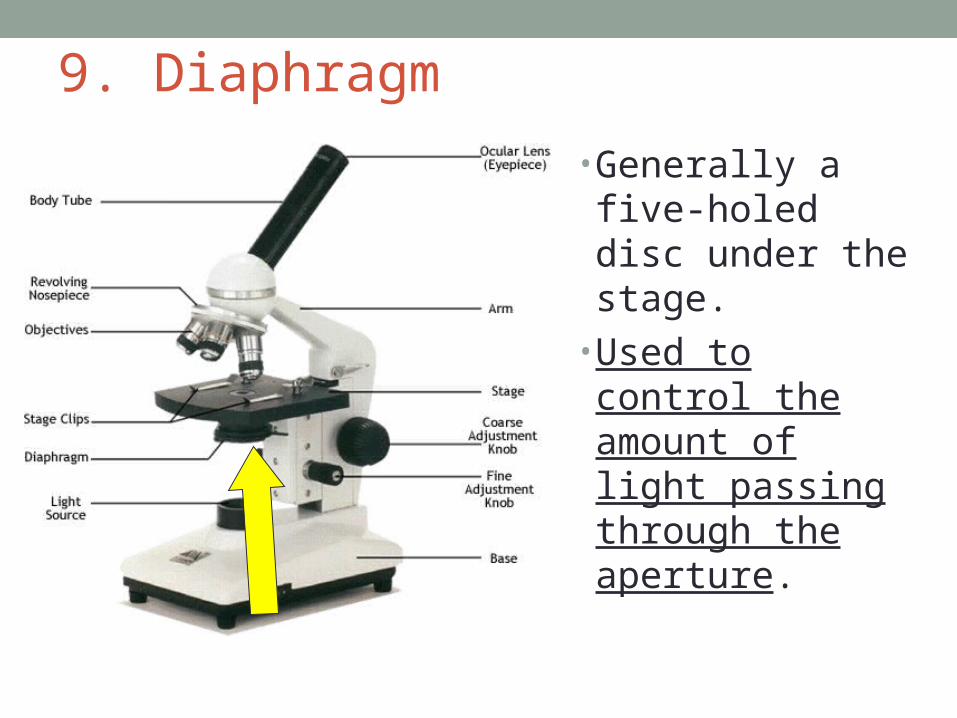
9. Diaphragm
• Generally a five-holed disc under the stage.
• Used to control the amount of light passing through the aperture.
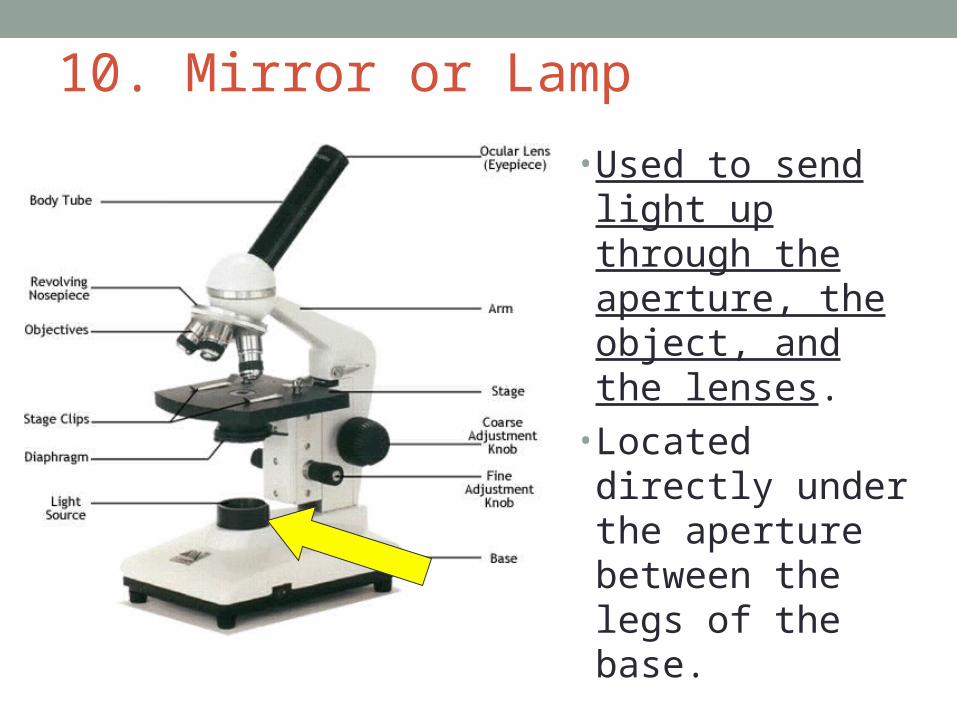
10. Mirror or Lamp
• Used to send light up through the aperture, the object, and the lenses.
• Located directly under the aperture between the legs of the base.
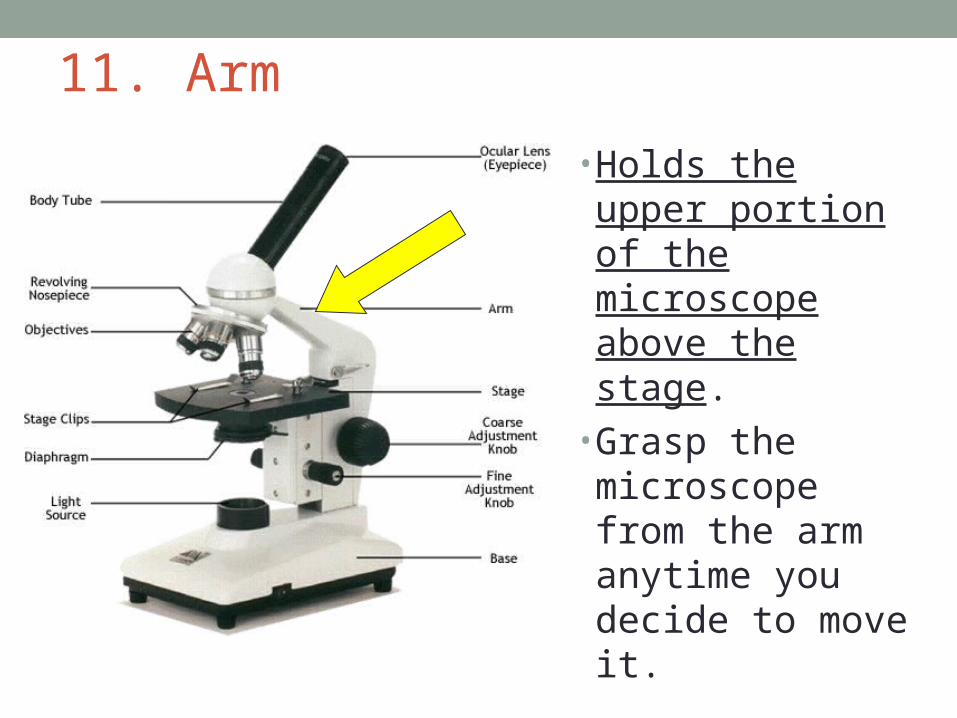
11. Arm
• Holds the upper portion of the microscope above the stage.
• Grasp the microscope from the arm anytime you decide to move it.
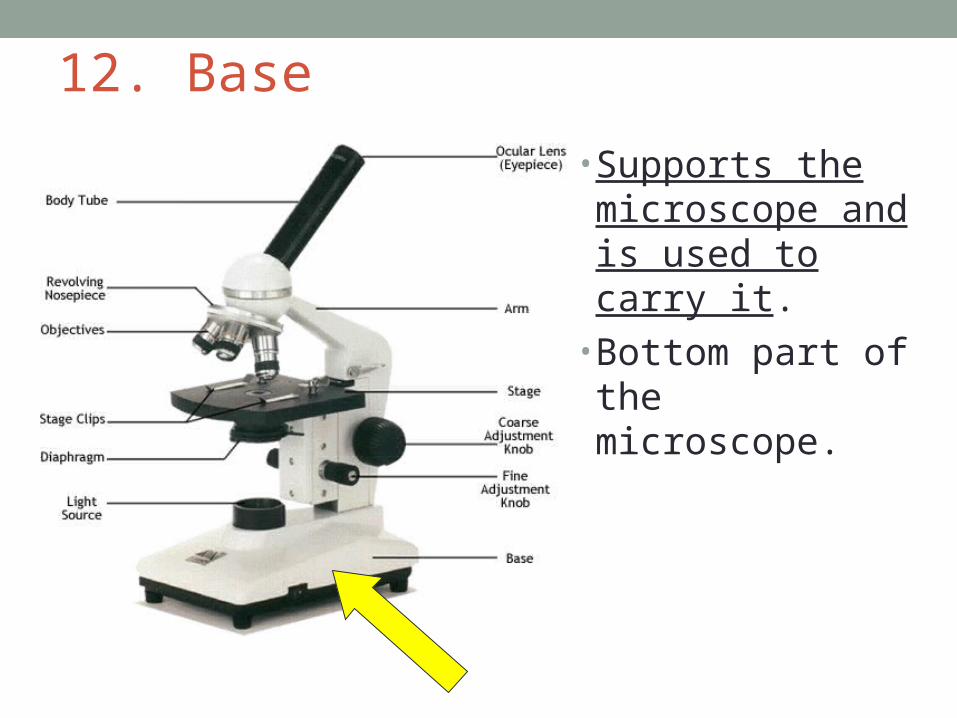
12. Base
• Supports the microscope and is used to carry it.
• Bottom part of the microscope.
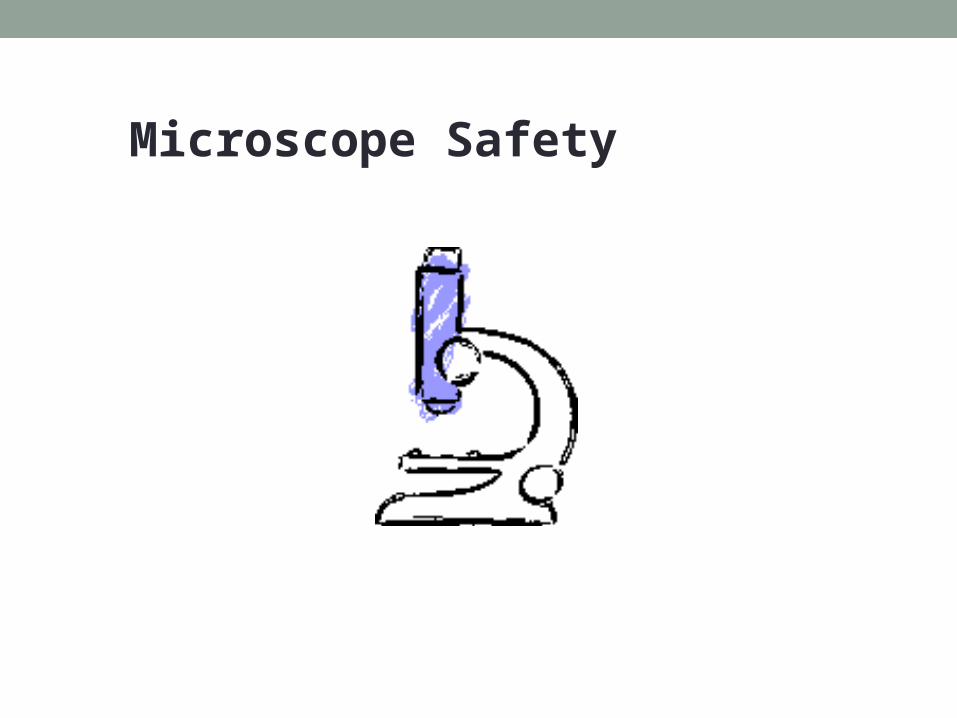
Microscope Safety
No fingers on the Lens:
•Never touch the lens with your fingers
•Clean the lens with lens paper
•Fibers from paper towels or tissue may scratch the lens
Low Power and Raise Stage:
•When done rotate the nose piece to the lowest objective
•Raise the stage so its as close as possible to the objective lens
On Arm and Under Base:
•Use two hands to support the microscope
•One hand holds the arm and the other holds the base
•Never swing the microscope
Dust Cover:
•Place the microscope back where you got it
•Cover it with a dust cover
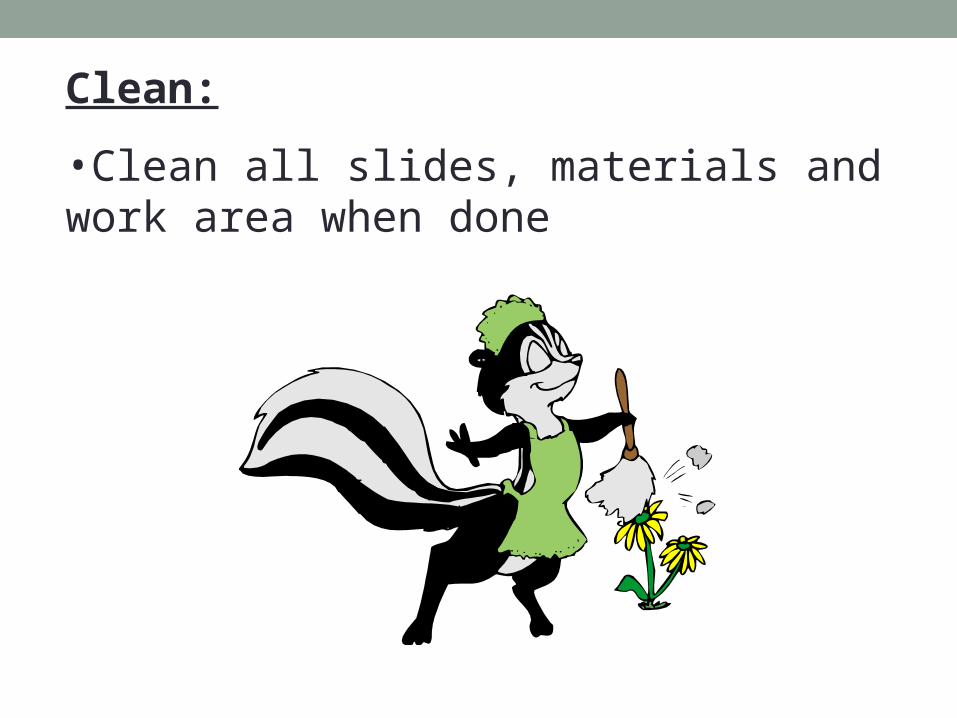
Clean:
•Clean all slides, materials and work area when done
Using the Microscope
1. Place the smallest objective lens over the hole in the stage
2. Place the slide on the stage and fasten with the clips.
3. Look into the eyepiece lens.4. Turn the coarse focus knob to make the
objective lens as close to the stage as possible without touching the slide.
5. Turn the fine focus knob until what you see is clear.
![] } o } P ] o D ] } } > D r í ^ ]...Digital Camera 5 MP for Trinocular 5 6 Biological Microscope LBM-D14 is a 45 inclined monocular viewing head microscope with 40 to 1600X zoom magnification](https://img.pdfslide.us/doc/110x75/5ea1388744cf7350a8156311/-o-p-o-d-d-r-digital-camera-5-mp-for-trinocular-5-6.jpg)