Embed Size (px)
Citation preview
Intellectual property of The Culinary Institute of America ● From the pages of The Professional Chef ® ,8th edition ● Courtesy of the Admissions Department Items can be reproduced for classroom purposes only and cannot be altered for individual use.
Technique of the Quarter: Grilling & Broiling
Grilling cooks food with radiant heat from a source located below it. Some of the juices are actually reduced directly on the food while the rest drip away. Grilled foods have a smoky, slightly charred flavor resulting from the flaring of the juices and fats that are rendered as the food cooks, as well as from direct contact with the rods of the grill rack.
Broiling is similar to grilling but uses a heat source located above the food rather than below. Frequently, delicate foods like lean white fish are brushed with butter or oil, put on a heated, oiled sizzler platter, and then placed on the rack below the heat source instead of directly on the rods. Items prepared in this manner may still be referred to as “broiled” on a menu, even though this is not broiling in the strictest sense of the word and is actually closer to baking. Similarly, the broiler or “salamander” can be used to prepare glazed or gratinéed foods, such as a salmon gratin.
Barbecuing is also a term that can cause confusion. In some parts of the country, it signifies a food that has been basted repeatedly with a barbecue sauce during grilling. In others, it refers to pit- or spit-roasted items. On some menus, it may have little if anything to do with either a pit, spit, or grill. A “barbecued beef sandwich” may simply be roasted beef that has been thinly sliced and simmered in a barbecue sauce.
Pan-broiled foods are cooked on top of the stove in a heavy cast-iron or other warp-resistant metal pan over intense heat. Any fat or juices released during cooking are removed as they accumulate; otherwise the result is a sauté or a stew. Special pans made to simulate a grill’s effect may be used; these pans have thick ridges that hold the food up and away from any juices or fat that may collect.
Intellectual property of The Culinary Institute of America ● From the pages of The Professional Chef ® ,8th edition ● Courtesy of the Admissions Department Items can be reproduced for classroom purposes only and cannot be altered for individual use.
Selection of Ingredients Tender portion-sized cuts of poultry, cuts of meat from the loin, rib, or top round areas, and fillets of such fatty fish as tuna and salmon are suited to grilling and broiling. Lean fish may also be grilled or broiled if they are coated with oil or an oil-based marinade. If necessary, pound meats and fish lightly to even their thickness. Meat should be trimmed of any fat, silverskin, and gristle. Some foods are cut into strips, chunks, or cubes and then threaded on skewers. The food itself should be seasoned and in some cases lightly oiled. The oil you select can be neutral in flavor, or, depending upon the item you are grilling, you may wish to incorporate a flavored oil to add a special taste. Salt and pepper are, of course, the main seasonings. Marinade may be used to introduce additional flavor or moisture. Some marinades are also intended to improve the texture of foods that might otherwise become too soft to handle easily on the grill. There are numerous ways to enhance the flavor, texture, and color of foods being grilled. A protective coating of melted butter and bread crumbs, known as à l’anglaise, may be applied to foods or a glaze or barbecue sauce can be added. Preparing the Equipment Different parts of the grill are hotter than others. Divide the grill into zones of varying heat intensity, including a very hot section for quickly searing foods and an area of moderate to low heat for slow cooking and for holding foods. (If the grill is wood or charcoal fired, set aside an area for the igniting fuel, which is too hot and smoky to cook foods over.)
Zones may also be allocated for different types of foods, in order to prevent an undesirable transfer of flavors. Learn which is the “hot” area and which is “cool.” Developing a system for placing foods on the grill or broiler, whether by food type or by range of doneness, helps speed work on the line. Special woods such as mesquite, hickory, or apple are frequently used to impart a special flavor. Hardwood chips, herb stems, grapevine trimmings, and other aromatics can be soaked in cold water; they are then thrown on the grill fire to create aromatic smoke. The sauce that accompanies a grilled item is prepared separately. Pan-grilling involves cooking foods on top of the stove in a heavy cast-iron or other warp-resistant metal pan over intense heat.
Grills and broilers must be well maintained and kept clean to produce a good-quality grilled or broiled entrée. Take the time to prepare the grill before service, during service, and at the end of service. It is necessary to re-lubricate the rods throughout a service period, so keep a small container of oil and a cloth as part of the grill station mise en place.
Intellectual property of The Culinary Institute of America ● From the pages of The Professional Chef ® ,8th edition ● Courtesy of the Admissions Department Items can be reproduced for classroom purposes only and cannot be altered for individual use.
Metal skewers need to be cleaned and oiled before use; wooden skewers should be soaked in water to prevent them from charring too much or catching on fire. Sizzler plates, tongs, offset spatulas, flexible spatulas, and brushes to apply glazes, marinades, or barbecue sauces should be part of the grill station’s equipment mise en place, as well as all items necessary for service (heated plates, spoons, or ladles).
Hand racks for delicate foods or those that might be awkward to turn easily should also be cleaned and oiled between uses to prevent the skin of the item from sticking and tearing.
How to Grill or Broil
1. Place the seasoned food on the preheated grill or broiler rods to start cooking and to mark it. It does make a difference which side of the food goes onto the grill first. The best-looking, or presentation, side always goes face down on the rods first.
When the food comes into contact with the heated rods, marks are charred onto the surface of the food. To mark foods with a cross-hatch on a grill or broiler, gently work the spatula or tongs under the food and give it a quarter turn (90°). Let it continue to cook on the first side another minute or two before turning the food completely over.
Because many barbecue sauces contain sugar and burn easily, it is usually a good idea to partially cook the food before applying the sauce. That way, as the food finishes cooking, the sauce glazes and caramelizes lightly without burning. A single coat of sauce may be applied to each side of the food, or, to build up a thicker, slightly crusty exterior, the food may be brushed repeatedly with light coats of sauce.
2. Turn the food over and continue cooking to the desired doneness.
Since most foods cooked by grilling or broiling are relatively thin and tender, they do not require much more cooking time once they have been turned over. Thicker cuts or those that must be cooked to a higher internal doneness may need to be moved to the cooler portion of the grill or broiler, so that they don’t develop a charred exterior. Or they may be removed from the grill or broiler altogether and finished in the oven .
For banquets, foods can be quickly marked on the rods of a grill or broiler, just barely cooking the outer layers of the food. Then they can be laid out on racks over sheet pans and finished in the oven.
This approach allows you to expand the potential output of the grill or broiler. For food safety reasons, exercise extreme care in chilling the food quickly if it is to be held for any length of time.
Intellectual property of The Culinary Institute of America ● From the pages of The Professional Chef ® ,8th edition ● Courtesy of the Admissions Department Items can be reproduced for classroom purposes only and cannot be altered for individual use.
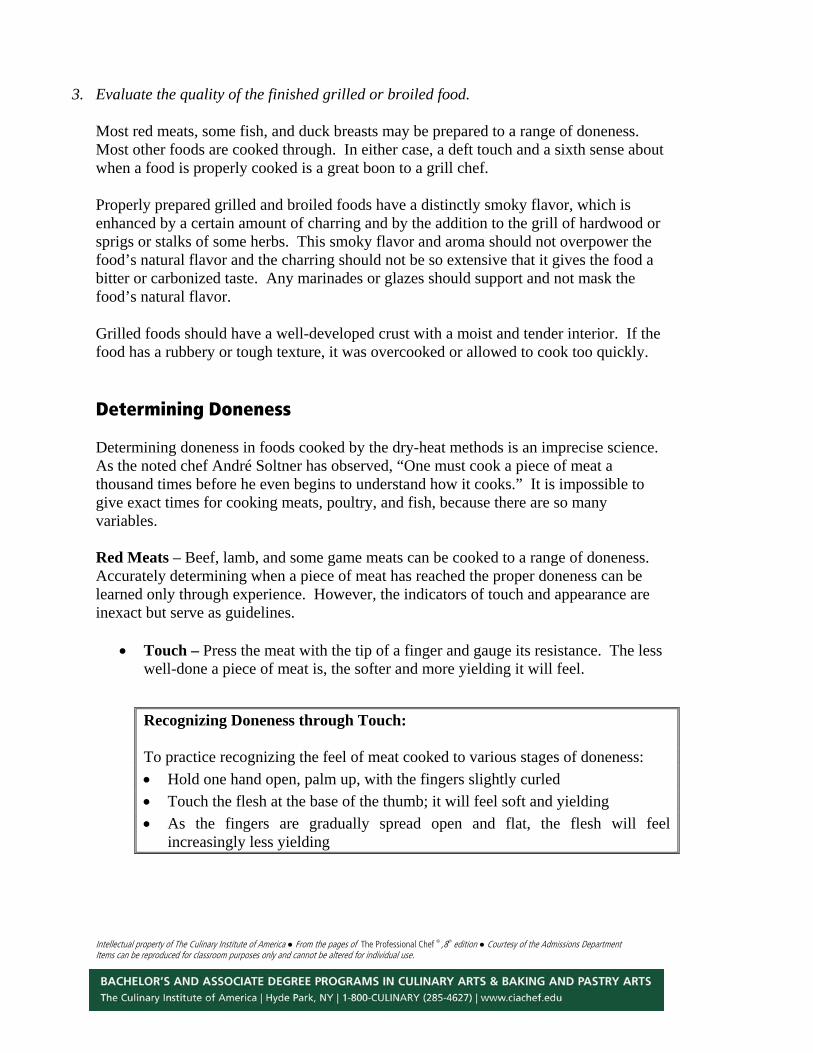
3. Evaluate the quality of the finished grilled or broiled food.
Most red meats, some fish, and duck breasts may be prepared to a range of doneness. Most other foods are cooked through. In either case, a deft touch and a sixth sense about when a food is properly cooked is a great boon to a grill chef.
Properly prepared grilled and broiled foods have a distinctly smoky flavor, which is enhanced by a certain amount of charring and by the addition to the grill of hardwood or sprigs or stalks of some herbs. This smoky flavor and aroma should not overpower the food’s natural flavor and the charring should not be so extensive that it gives the food a bitter or carbonized taste. Any marinades or glazes should support and not mask the food’s natural flavor.
Grilled foods should have a well-developed crust with a moist and tender interior. If the food has a rubbery or tough texture, it was overcooked or allowed to cook too quickly.
Determining Doneness Determining doneness in foods cooked by the dry-heat methods is an imprecise science. As the noted chef André Soltner has observed, “One must cook a piece of meat a thousand times before he even begins to understand how it cooks.” It is impossible to give exact times for cooking meats, poultry, and fish, because there are so many variables. Red Meats – Beef, lamb, and some game meats can be cooked to a range of doneness. Accurately determining when a piece of meat has reached the proper doneness can be learned only through experience. However, the indicators of touch and appearance are inexact but serve as guidelines.
• Touch – Press the meat with the tip of a finger and gauge its resistance. The less
well-done a piece of meat is, the softer and more yielding it will feel.
Recognizing Doneness through Touch: To practice recognizing the feel of meat cooked to various stages of doneness: • Hold one hand open, palm up, with the fingers slightly curled • Touch the flesh at the base of the thumb; it will feel soft and yielding • As the fingers are gradually spread open and flat, the flesh will feel
increasingly less yielding
Intellectual property of The Culinary Institute of America ● From the pages of The Professional Chef ® ,8th edition ● Courtesy of the Admissions Department Items can be reproduced for classroom purposes only and cannot be altered for individual use.
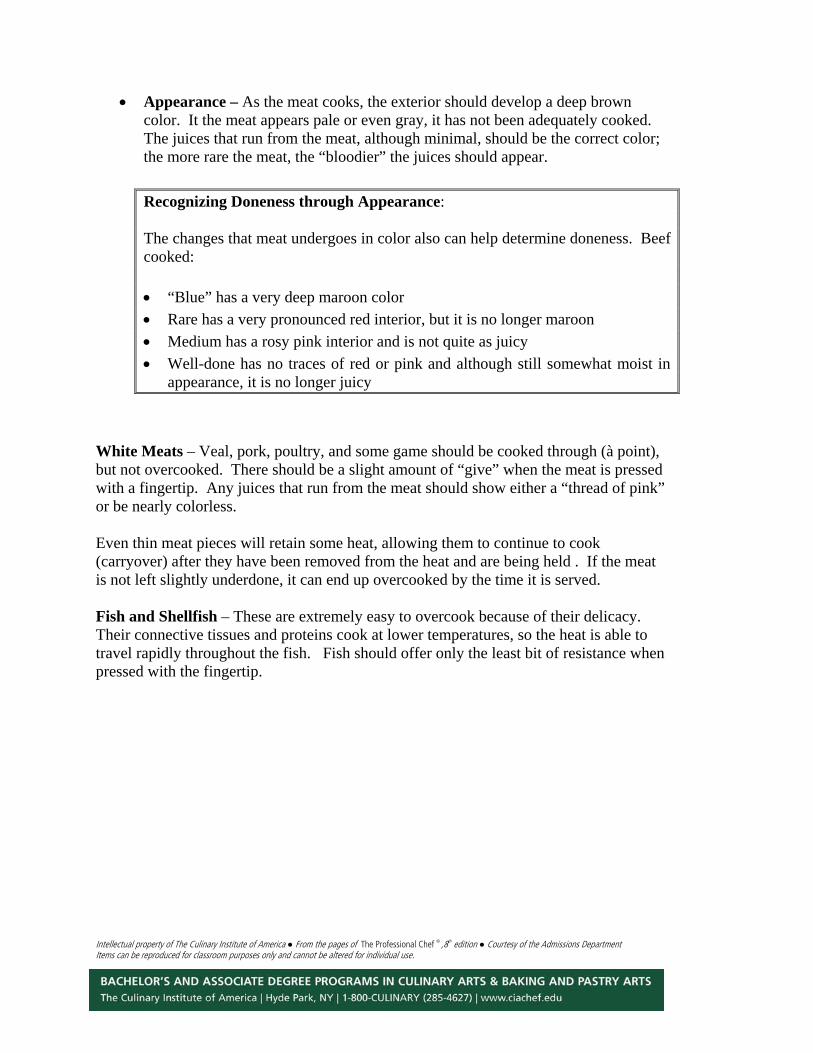
• Appearance – As the meat cooks, the exterior should develop a deep brown color. It the meat appears pale or even gray, it has not been adequately cooked. The juices that run from the meat, although minimal, should be the correct color; the more rare the meat, the “bloodier” the juices should appear.
Recognizing Doneness through Appearance: The changes that meat undergoes in color also can help determine doneness. Beef cooked: • “Blue” has a very deep maroon color • Rare has a very pronounced red interior, but it is no longer maroon • Medium has a rosy pink interior and is not quite as juicy • Well-done has no traces of red or pink and although still somewhat moist in
appearance, it is no longer juicy
White Meats – Veal, pork, poultry, and some game should be cooked through (à point), but not overcooked. There should be a slight amount of “give” when the meat is pressed with a fingertip. Any juices that run from the meat should show either a “thread of pink” or be nearly colorless. Even thin meat pieces will retain some heat, allowing them to continue to cook (carryover) after they have been removed from the heat and are being held . If the meat is not left slightly underdone, it can end up overcooked by the time it is served. Fish and Shellfish – These are extremely easy to overcook because of their delicacy. Their connective tissues and proteins cook at lower temperatures, so the heat is able to travel rapidly throughout the fish. Fish should offer only the least bit of resistance when pressed with the fingertip.
Intellectual property of The Culinary Institute of America ● From the pages of The Professional Chef ® ,8th edition ● Courtesy of the Admissions Department Items can be reproduced for classroom purposes only and cannot be altered for individual use.
The Recipe Corner: Grilling & Broiling
• Barbecued chicken breast with black bean sauce o Black bean sauce
• Broiled flank steak with salsa fresca
o Salsa fresca o Barbecue sauce
• Broiled lamb kebabs with pimiento butter
o Pimiento butter
• Broiled lemon sole on a bed of leeks • Broiled shrimp with garlic • Grilled chicken with basil and mozzarella • Grilled or broiled pork chops with sherry vinegar sauce
o Sherry vinegar sauce
• Grilled sirloin steak o Maître d'hôtel butter
• Grilled tuna with roasted pepper & balsamic vinegar sauce o Roasted peppers & balsamic vinegar sauce
• Grilled vegetables provençal-style
Intellectual property of The Culinary Institute of America ● From the pages of The Professional Chef ® ,8th edition ● Courtesy of the Admissions Department Items can be reproduced for classroom purposes only and cannot be altered for individual use.
Barbecued chicken breast with black bean sauce
10- 8 oz chicken breast portions
****** MARINADE 8 fl oz apple cider 1 fl oz cider vinegar ½ oz minced shallots 1 tsp minced garlic 1 tsp cracked black peppercorns 1 pt barbecue sauce 1 recipe black bean sauce, heated (see recipe) YIELD: 10 portions
1. Trim the chicken portions, removing skin and bones if desired. 2. Combine all the ingredients for the marinade. Add the chicken and turn to coat
evenly. Marinate the chicken under refrigeration for 1 to 2 hours. 3. Place the chicken presentation side down on the grill or broiler rods. Grill or broil
undisturbed for about 2 minutes. (Optional: Give each portion a quarter turn [90°] during broiling to achieve grill marks.) Brush with barbecue sauce and turn the chicken over. Continue to turn the chicken, brushing with a light coat of barbecue sauce each time, until the chicken is done, about 6 to 8 minutes (170°F for breast meat).
4. Serve the chicken on heated plates with black bean sauce.
Intellectual property of The Culinary Institute of America ● From the pages of The Professional Chef ® ,8th edition ● Courtesy of the Admissions Department Items can be reproduced for classroom purposes only and cannot be altered for individual use.
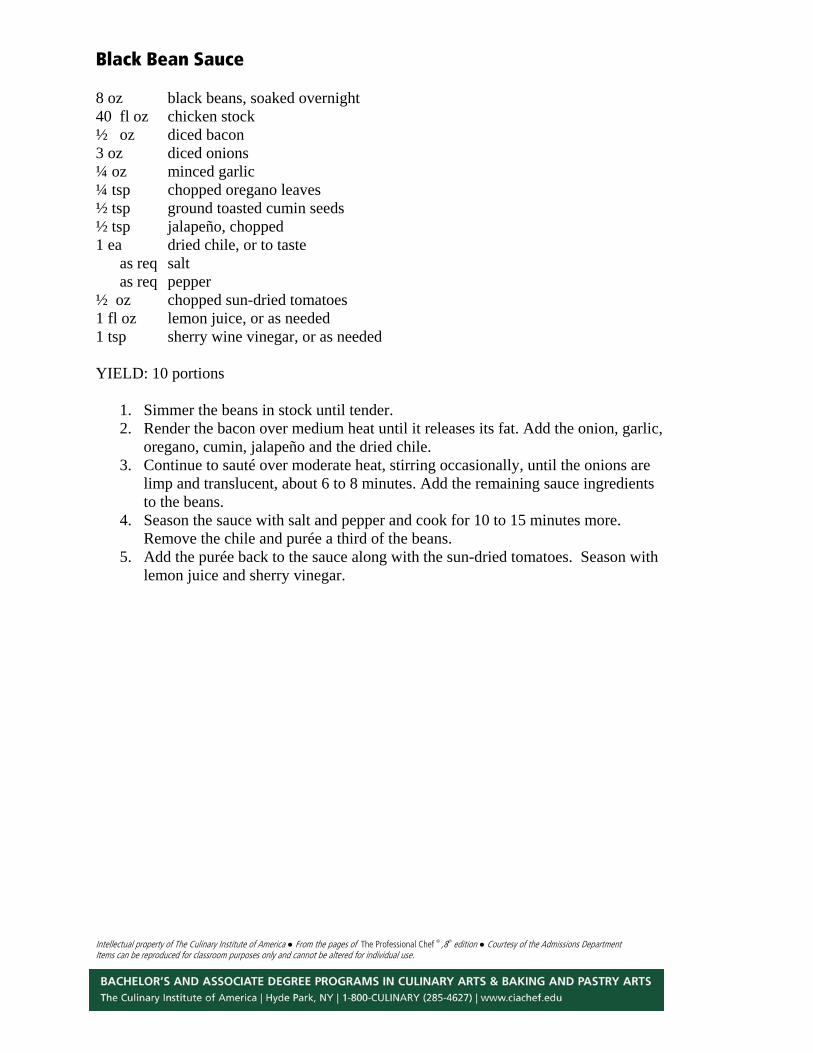
Black Bean Sauce 8 oz black beans, soaked overnight 40 fl oz chicken stock ½ oz diced bacon 3 oz diced onions ¼ oz minced garlic ¼ tsp chopped oregano leaves ½ tsp ground toasted cumin seeds ½ tsp jalapeño, chopped 1 ea dried chile, or to taste as req salt as req pepper ½ oz chopped sun-dried tomatoes 1 fl oz lemon juice, or as needed 1 tsp sherry wine vinegar, or as needed YIELD: 10 portions
1. Simmer the beans in stock until tender. 2. Render the bacon over medium heat until it releases its fat. Add the onion, garlic,
oregano, cumin, jalapeño and the dried chile. 3. Continue to sauté over moderate heat, stirring occasionally, until the onions are
limp and translucent, about 6 to 8 minutes. Add the remaining sauce ingredients to the beans.
4. Season the sauce with salt and pepper and cook for 10 to 15 minutes more. Remove the chile and purée a third of the beans.
5. Add the purée back to the sauce along with the sun-dried tomatoes. Season with lemon juice and sherry vinegar.

Intellectual property of The Culinary Institute of America ● From the pages of The Professional Chef ® ,8th edition ● Courtesy of the Admissions Department Items can be reproduced for classroom purposes only and cannot be altered for individual use.
Broiled flank steak with Salsa Fresca 2 flank steaks (1 ½ to 2 lb each) ******MARINADE 4 fl oz vegetable oil as req salt as req pepper 2 tsp paprika 1 recipe salsa fresca sauce (see recipe) YIELD: 10 portions
1. Trim the flank steaks and remove all skin, membrane, and fat if necessary. 2. Mix together all the ingredients for the marinade. 3. Pour the marinade over the steaks and marinate under refrigeration for 2 to 3
hours. 4. Broil in a preheated broiler for 3 to 5 minutes on each side. (Flank steak is most
tender when cooked to 135°F for rare or 145°F for medium rare.) 5. Cut the flank steak into portions by slicing thinly on a diagonal, across the grain.
Top with Salsa Fresca sauce.
NOTE: Flank steak may be paired with a variety of sauces such as Mushroom Sauce, Corn and Pepper Sauce, or Barbecue Sauce.
Intellectual property of The Culinary Institute of America ● From the pages of The Professional Chef ® ,8th edition ● Courtesy of the Admissions Department Items can be reproduced for classroom purposes only and cannot be altered for individual use.
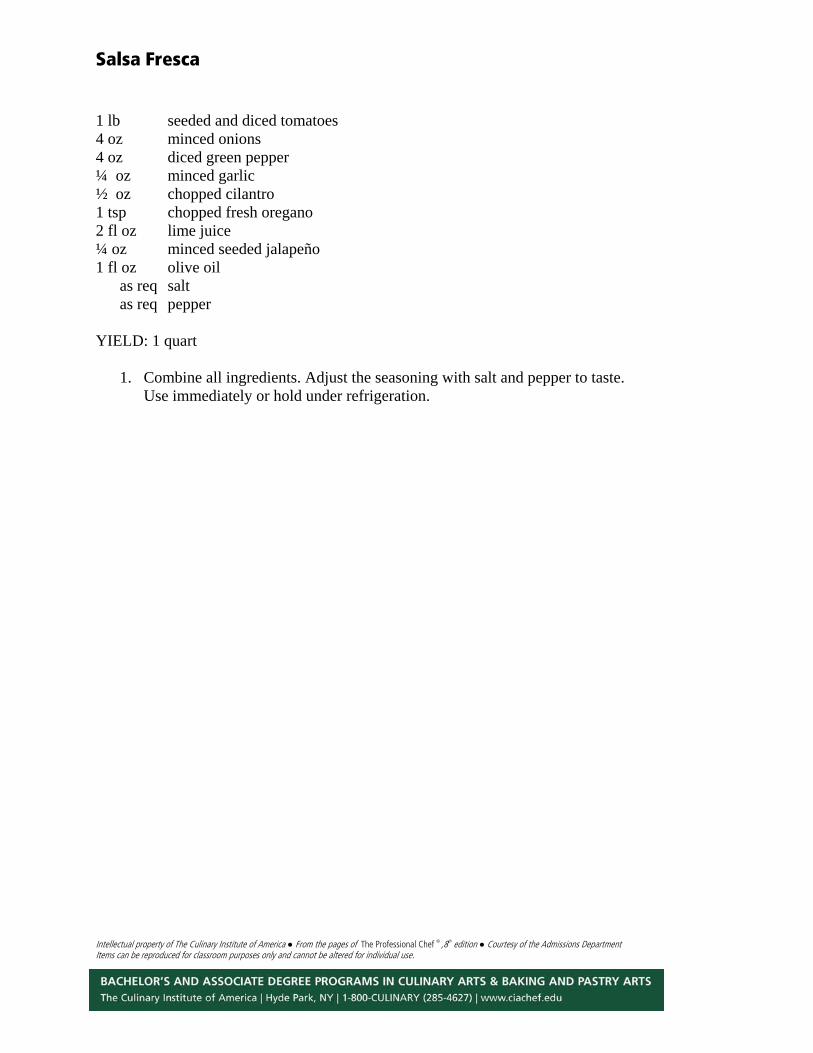
Salsa Fresca 1 lb seeded and diced tomatoes 4 oz minced onions 4 oz diced green pepper ¼ oz minced garlic ½ oz chopped cilantro 1 tsp chopped fresh oregano 2 fl oz lime juice ¼ oz minced seeded jalapeño 1 fl oz olive oil as req salt as req pepper YIELD: 1 quart
1. Combine all ingredients. Adjust the seasoning with salt and pepper to taste. Use immediately or hold under refrigeration.
Intellectual property of The Culinary Institute of America ● From the pages of The Professional Chef ® ,8th edition ● Courtesy of the Admissions Department Items can be reproduced for classroom purposes only and cannot be altered for individual use.
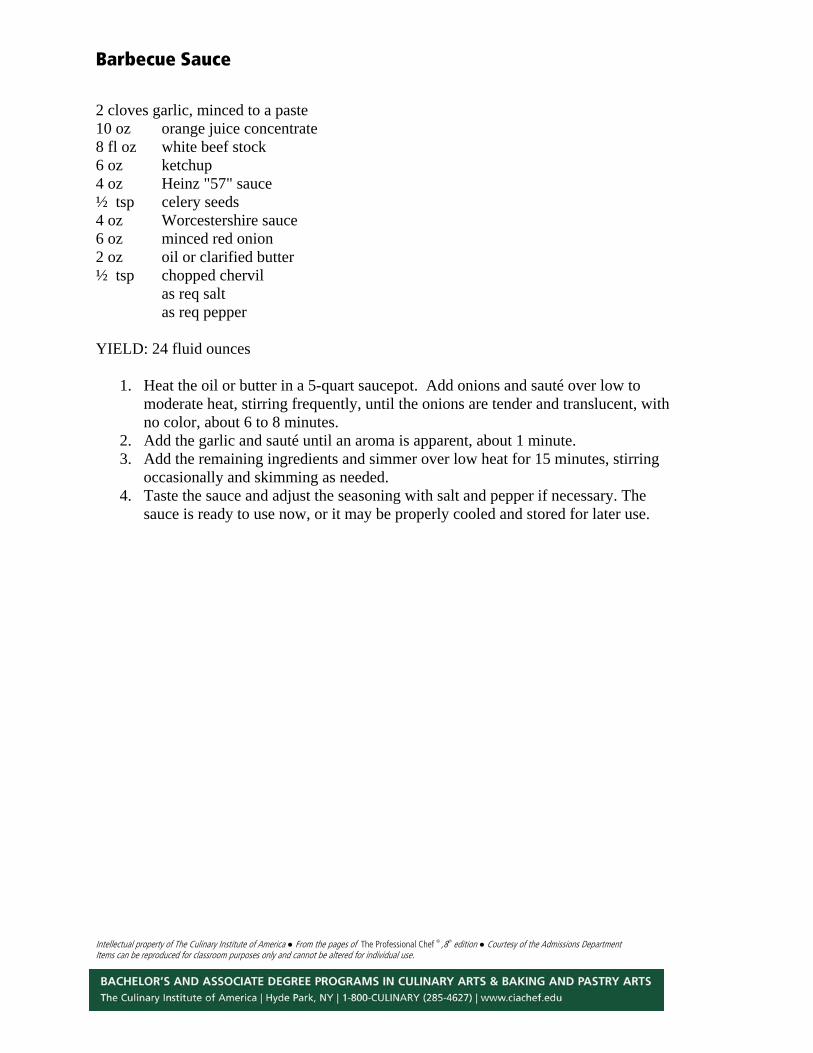
Barbecue Sauce 2 cloves garlic, minced to a paste 10 oz orange juice concentrate 8 fl oz white beef stock 6 oz ketchup 4 oz Heinz "57" sauce ½ tsp celery seeds 4 oz Worcestershire sauce 6 oz minced red onion 2 oz oil or clarified butter ½ tsp chopped chervil
as req salt as req pepper YIELD: 24 fluid ounces
1. Heat the oil or butter in a 5-quart saucepot. Add onions and sauté over low to moderate heat, stirring frequently, until the onions are tender and translucent, with no color, about 6 to 8 minutes.
2. Add the garlic and sauté until an aroma is apparent, about 1 minute. 3. Add the remaining ingredients and simmer over low heat for 15 minutes, stirring
occasionally and skimming as needed. 4. Taste the sauce and adjust the seasoning with salt and pepper if necessary. The
sauce is ready to use now, or it may be properly cooled and stored for later use.
Intellectual property of The Culinary Institute of America ● From the pages of The Professional Chef ® ,8th edition ● Courtesy of the Admissions Department Items can be reproduced for classroom purposes only and cannot be altered for individual use.
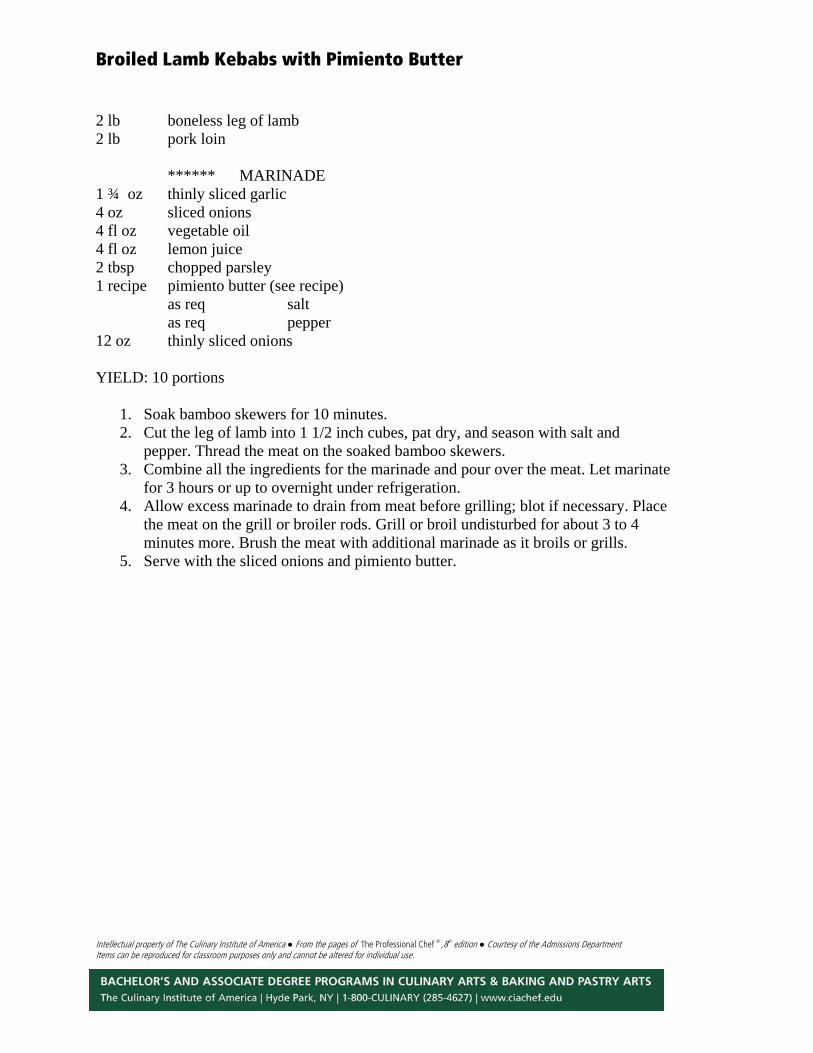
Broiled Lamb Kebabs with Pimiento Butter 2 lb boneless leg of lamb 2 lb pork loin ****** MARINADE 1 ¾ oz thinly sliced garlic 4 oz sliced onions 4 fl oz vegetable oil 4 fl oz lemon juice 2 tbsp chopped parsley 1 recipe pimiento butter (see recipe) as req salt as req pepper 12 oz thinly sliced onions YIELD: 10 portions
1. Soak bamboo skewers for 10 minutes. 2. Cut the leg of lamb into 1 1/2 inch cubes, pat dry, and season with salt and
pepper. Thread the meat on the soaked bamboo skewers. 3. Combine all the ingredients for the marinade and pour over the meat. Let marinate
for 3 hours or up to overnight under refrigeration. 4. Allow excess marinade to drain from meat before grilling; blot if necessary. Place
the meat on the grill or broiler rods. Grill or broil undisturbed for about 3 to 4 minutes more. Brush the meat with additional marinade as it broils or grills.
5. Serve with the sliced onions and pimiento butter.
Intellectual property of The Culinary Institute of America ● From the pages of The Professional Chef ® ,8th edition ● Courtesy of the Admissions Department Items can be reproduced for classroom purposes only and cannot be altered for individual use.
Pimiento butter 12 oz butter, softened 3 ½ oz minced pimientos ¼ tsp minced garlic 1 tbsp lemon juice as req salt as req pepper YIELD: 1 pound
1. Blend the butter, pimientos, garlic, and lemon juice. Adjust the seasonings with salt and pepper to taste.
2. Pipe the pimiento butter into rosettes, using a pastry bag, or roll into a cylinder. 3. Refrigerate until needed.
Intellectual property of The Culinary Institute of America ● From the pages of The Professional Chef ® ,8th edition ● Courtesy of the Admissions Department Items can be reproduced for classroom purposes only and cannot be altered for individual use.
Broiled Lemon Sole on a Bed of Leeks 3 ¾ lb lemon sole fillet, or other flounder as req lemon juice as req salt as req pepper as req clarified butter as req fresh white breadcrumbs 1 ½ lb paysanne-cut leeks 4 fl oz heavy cream YIELD: 10 portions
1. Cut the fish into 10 equal 6 oz portions. Season the fish with lemon juice, salt, and pepper. Brush lightly with the butter.
2. Work a little additional butter into the breadcrumbs to moisten them slightly. Coat the fish with the breadcrumbs and place on an oiled sizzler plate.
3. Place the sizzler platter directly on broiler rods. Broil undisturbed for about 4 minutes, or until the fish is done and the topping is browned.
4. Stew the leeks in the butter until they are tender. Season them with salt and pepper and finish them with the cream. Serve the fish on a bed of stewed leeks.
Intellectual property of The Culinary Institute of America ● From the pages of The Professional Chef ® ,8th edition ● Courtesy of the Admissions Department Items can be reproduced for classroom purposes only and cannot be altered for individual use.
Broiled shrimp with garlic 8 oz dry breadcrumbs 1 oz minced garlic ¼ oz chopped flat-leaf parsley ¼ oz chopped oregano 12 oz butter, melted as req salt as req pepper 3 ½ lb shrimp, (16 to 20 count) peeled and butterflied YIELD: 20 portions
1. Combine the breadcrumbs, garlic, parsley, oregano, and 8 oz. of the butter. Adjust the seasoning with salt and pepper to taste.
2. Arrange the shrimp on a gratin dish and brush them with the remaining butter. 3. Place 1 to 2 tsp. of breadcrumb mixture on the shrimp and broil them under a
broiler until they are very hot and cooked through. Serve.
Intellectual property of The Culinary Institute of America ● From the pages of The Professional Chef ® ,8th edition ● Courtesy of the Admissions Department Items can be reproduced for classroom purposes only and cannot be altered for individual use.
Grilled Chicken with Basil and Mozzarella 3 ¾ lb boneless skinless chicken breast ****** MARINADE 2 oz oil 1 tsp salt ½ tsp pepper 2 fl oz lemon juice 2 tsp chopped basil leaves 20 slices fresh mozzarella YIELD: 10 portions
1. Cut the chicken into 10 portions (5 to 6 oz each). Trim and pound the chicken into paillards.
2. Combine all the ingredients for the marinade, add the chicken and marinate briefly.
3. Remove the chicken from the marinade and allow any excess to drain away. Place the chicken presentation side down on the grill or broiler rods. Grill or broil undisturbed for about 3 minutes. (Optional: Give each breast portion a quarter turn [90°] during broiling to achieve grill marks.)
4. Turn the chicken over and complete cooking until done, about 3 to 4 minutes more (170°F for breast meat).
5. Top each grilled paillard with a fresh basil leaf and a slice of fresh mozzarella. Place the chicken under the broiler briefly before serving.
Intellectual property of The Culinary Institute of America ● From the pages of The Professional Chef ® ,8th edition ● Courtesy of the Admissions Department Items can be reproduced for classroom purposes only and cannot be altered for individual use.
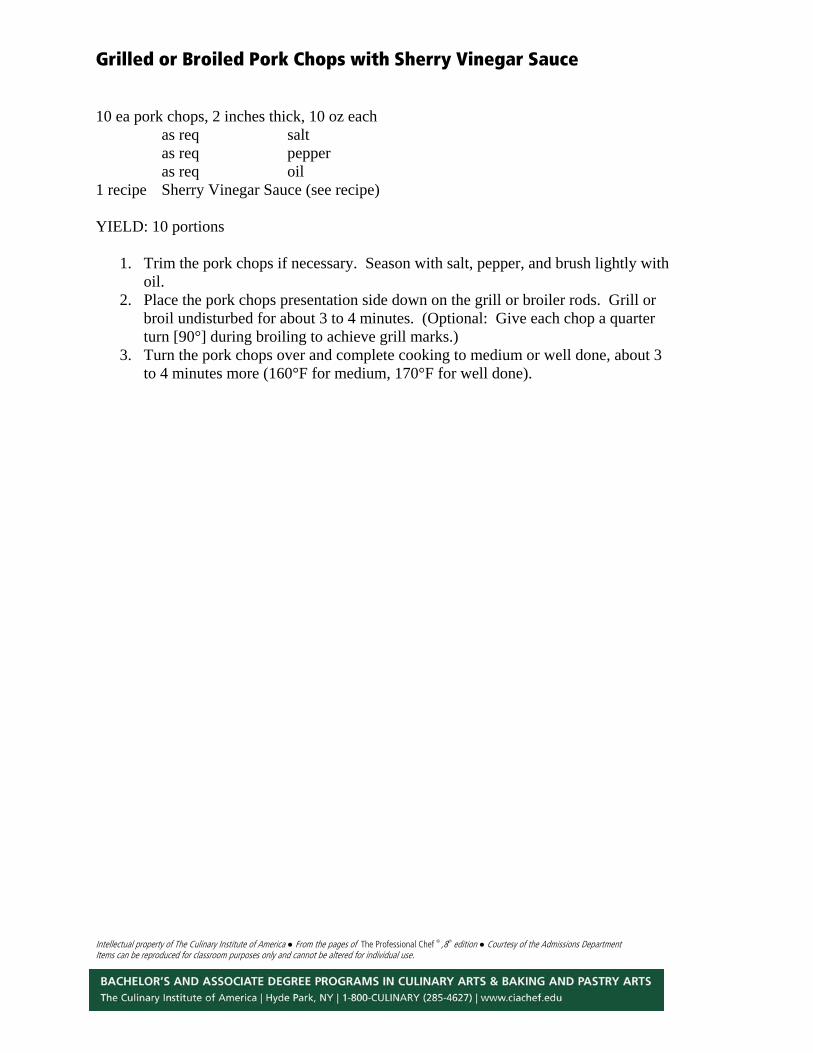
Grilled or Broiled Pork Chops with Sherry Vinegar Sauce 10 ea pork chops, 2 inches thick, 10 oz each as req salt as req pepper as req oil 1 recipe Sherry Vinegar Sauce (see recipe) YIELD: 10 portions
1. Trim the pork chops if necessary. Season with salt, pepper, and brush lightly with oil.
2. Place the pork chops presentation side down on the grill or broiler rods. Grill or broil undisturbed for about 3 to 4 minutes. (Optional: Give each chop a quarter turn [90°] during broiling to achieve grill marks.)
3. Turn the pork chops over and complete cooking to medium or well done, about 3 to 4 minutes more (160°F for medium, 170°F for well done).

Intellectual property of The Culinary Institute of America ● From the pages of The Professional Chef ® ,8th edition ● Courtesy of the Admissions Department Items can be reproduced for classroom purposes only and cannot be altered for individual use.
Sherry Vinegar Sauce 2 fl oz sherry wine vinegar 1 ½ oz dark brown sugar 24 fl oz jus de veau lié or demiglace as req salt as req pepper YIELD: 10 portions
1. Prepare a gastrique as follows: Cook the vinegar and sugar in a saucepan until the mixture comes to a boil and the sugar is completely dissolved.
2. Add the jus lié or demiglace to the gastrique away from the heat. Stir to combine, then return to a simmer over medium heat until reduced to a good flavor and consistency. Adjust the seasoning with salt and pepper and strain.
3. The sauce is ready to serve now or it may be cooled and stored for later service.
Intellectual property of The Culinary Institute of America ● From the pages of The Professional Chef ® ,8th edition ● Courtesy of the Admissions Department Items can be reproduced for classroom purposes only and cannot be altered for individual use.
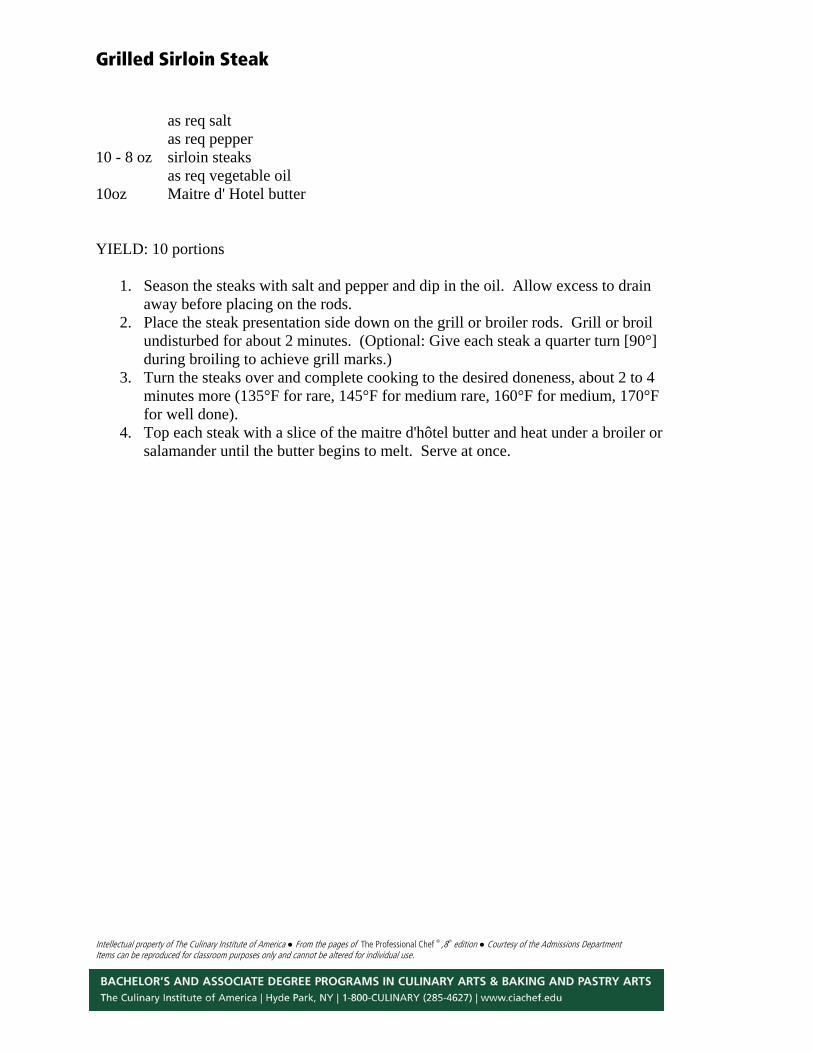
Grilled Sirloin Steak as req salt as req pepper 10 - 8 oz sirloin steaks as req vegetable oil 10oz Maitre d' Hotel butter YIELD: 10 portions
1. Season the steaks with salt and pepper and dip in the oil. Allow excess to drain away before placing on the rods.
2. Place the steak presentation side down on the grill or broiler rods. Grill or broil undisturbed for about 2 minutes. (Optional: Give each steak a quarter turn [90°] during broiling to achieve grill marks.)
3. Turn the steaks over and complete cooking to the desired doneness, about 2 to 4 minutes more (135°F for rare, 145°F for medium rare, 160°F for medium, 170°F for well done).
4. Top each steak with a slice of the maitre d'hôtel butter and heat under a broiler or salamander until the butter begins to melt. Serve at once.
Intellectual property of The Culinary Institute of America ● From the pages of The Professional Chef ® ,8th edition ● Courtesy of the Admissions Department Items can be reproduced for classroom purposes only and cannot be altered for individual use.
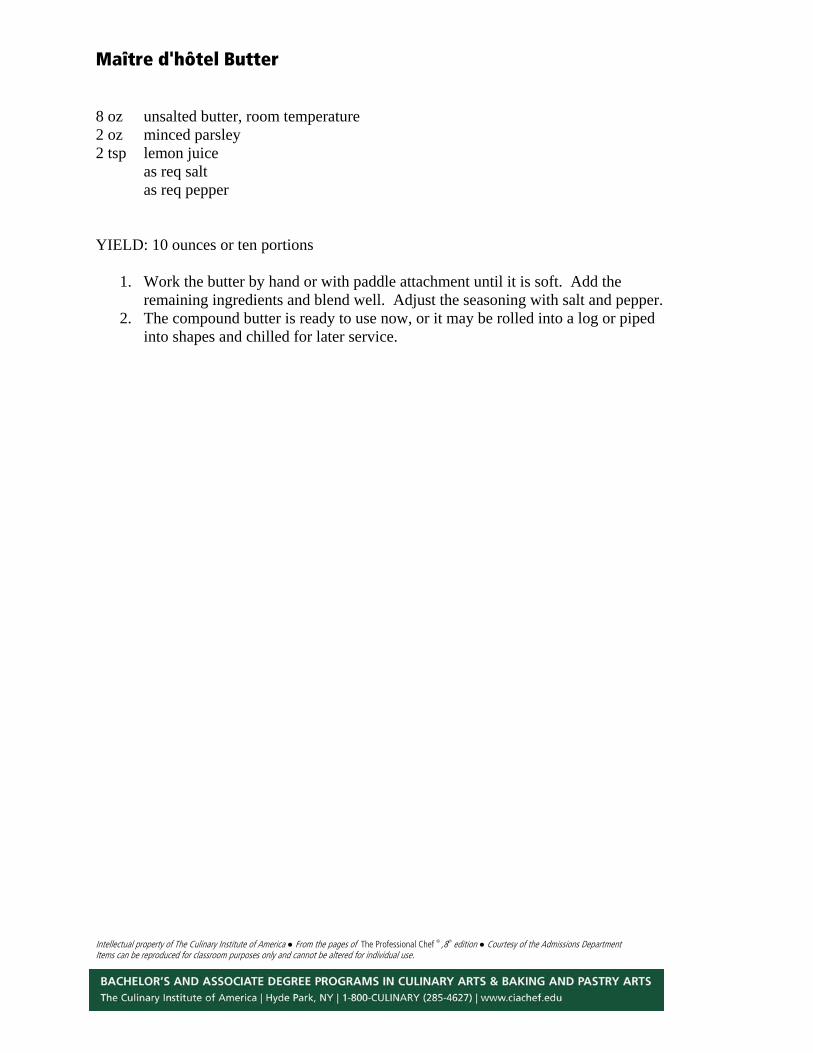
Maître d'hôtel Butter 8 oz unsalted butter, room temperature 2 oz minced parsley 2 tsp lemon juice as req salt as req pepper YIELD: 10 ounces or ten portions
1. Work the butter by hand or with paddle attachment until it is soft. Add the remaining ingredients and blend well. Adjust the seasoning with salt and pepper.
2. The compound butter is ready to use now, or it may be rolled into a log or piped into shapes and chilled for later service.
Intellectual property of The Culinary Institute of America ● From the pages of The Professional Chef ® ,8th edition ● Courtesy of the Admissions Department Items can be reproduced for classroom purposes only and cannot be altered for individual use.
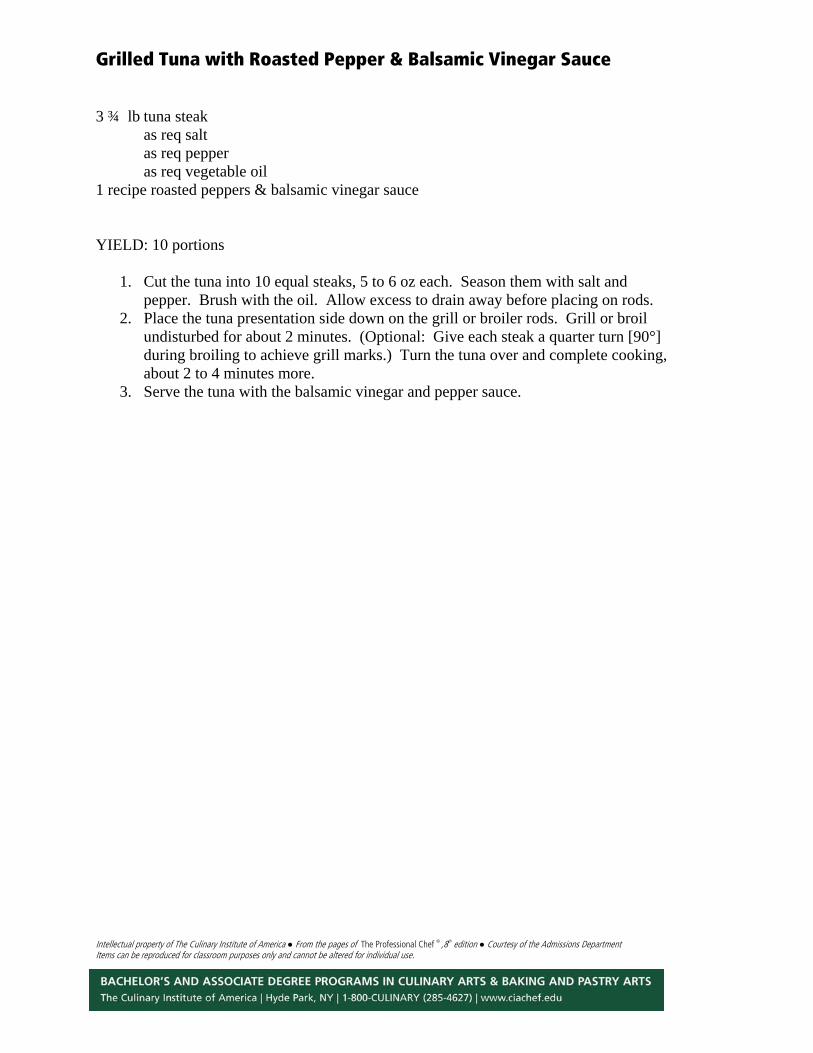
Grilled Tuna with Roasted Pepper & Balsamic Vinegar Sauce 3 ¾ lb tuna steak as req salt as req pepper as req vegetable oil 1 recipe roasted peppers & balsamic vinegar sauce YIELD: 10 portions
1. Cut the tuna into 10 equal steaks, 5 to 6 oz each. Season them with salt and pepper. Brush with the oil. Allow excess to drain away before placing on rods.
2. Place the tuna presentation side down on the grill or broiler rods. Grill or broil undisturbed for about 2 minutes. (Optional: Give each steak a quarter turn [90°] during broiling to achieve grill marks.) Turn the tuna over and complete cooking, about 2 to 4 minutes more.
3. Serve the tuna with the balsamic vinegar and pepper sauce.
Intellectual property of The Culinary Institute of America ● From the pages of The Professional Chef ® ,8th edition ● Courtesy of the Admissions Department Items can be reproduced for classroom purposes only and cannot be altered for individual use.
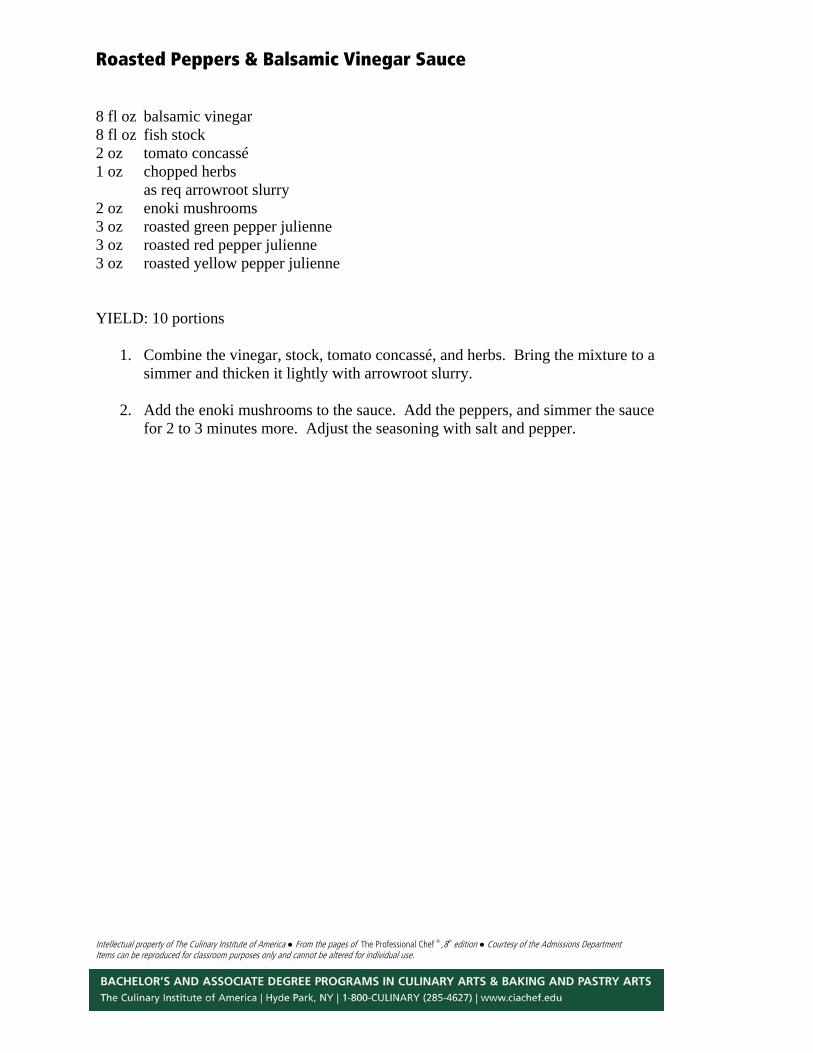
Roasted Peppers & Balsamic Vinegar Sauce
8 fl oz balsamic vinegar 8 fl oz fish stock 2 oz tomato concassé 1 oz chopped herbs as req arrowroot slurry 2 oz enoki mushrooms 3 oz roasted green pepper julienne 3 oz roasted red pepper julienne 3 oz roasted yellow pepper julienne YIELD: 10 portions
1. Combine the vinegar, stock, tomato concassé, and herbs. Bring the mixture to a simmer and thicken it lightly with arrowroot slurry.
2. Add the enoki mushrooms to the sauce. Add the peppers, and simmer the sauce
for 2 to 3 minutes more. Adjust the seasoning with salt and pepper.
Intellectual property of The Culinary Institute of America ● From the pages of The Professional Chef ® ,8th edition ● Courtesy of the Admissions Department Items can be reproduced for classroom purposes only and cannot be altered for individual use.
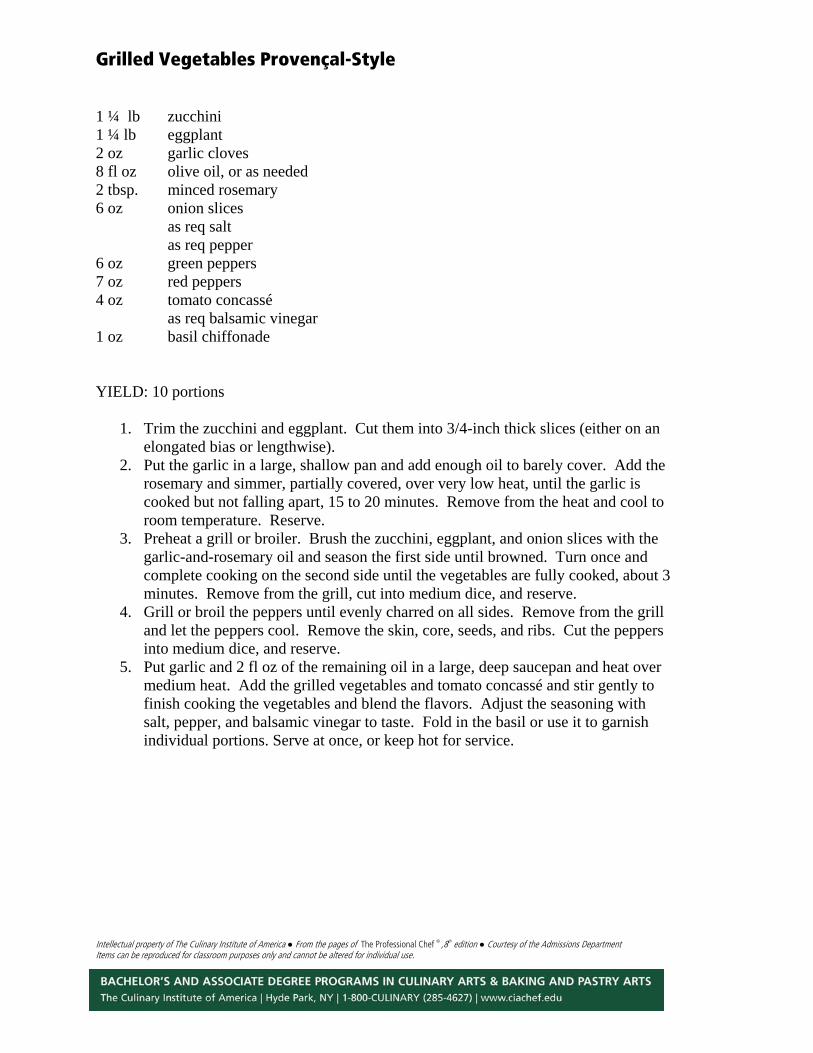
Grilled Vegetables Provençal-Style 1 ¼ lb zucchini 1 ¼ lb eggplant 2 oz garlic cloves 8 fl oz olive oil, or as needed 2 tbsp. minced rosemary 6 oz onion slices as req salt as req pepper 6 oz green peppers 7 oz red peppers 4 oz tomato concassé as req balsamic vinegar 1 oz basil chiffonade YIELD: 10 portions
1. Trim the zucchini and eggplant. Cut them into 3/4-inch thick slices (either on an elongated bias or lengthwise).
2. Put the garlic in a large, shallow pan and add enough oil to barely cover. Add the rosemary and simmer, partially covered, over very low heat, until the garlic is cooked but not falling apart, 15 to 20 minutes. Remove from the heat and cool to room temperature. Reserve.
3. Preheat a grill or broiler. Brush the zucchini, eggplant, and onion slices with the garlic-and-rosemary oil and season the first side until browned. Turn once and complete cooking on the second side until the vegetables are fully cooked, about 3 minutes. Remove from the grill, cut into medium dice, and reserve.
4. Grill or broil the peppers until evenly charred on all sides. Remove from the grill and let the peppers cool. Remove the skin, core, seeds, and ribs. Cut the peppers into medium dice, and reserve.
5. Put garlic and 2 fl oz of the remaining oil in a large, deep saucepan and heat over medium heat. Add the grilled vegetables and tomato concassé and stir gently to finish cooking the vegetables and blend the flavors. Adjust the seasoning with salt, pepper, and balsamic vinegar to taste. Fold in the basil or use it to garnish individual portions. Serve at once, or keep hot for service.
Intellectual property of The Culinary Institute of America ● From the pages of The Professional Chef ® ,8th edition ● Courtesy of the Admissions Department Items can be reproduced for classroom purposes only and cannot be altered for individual use.
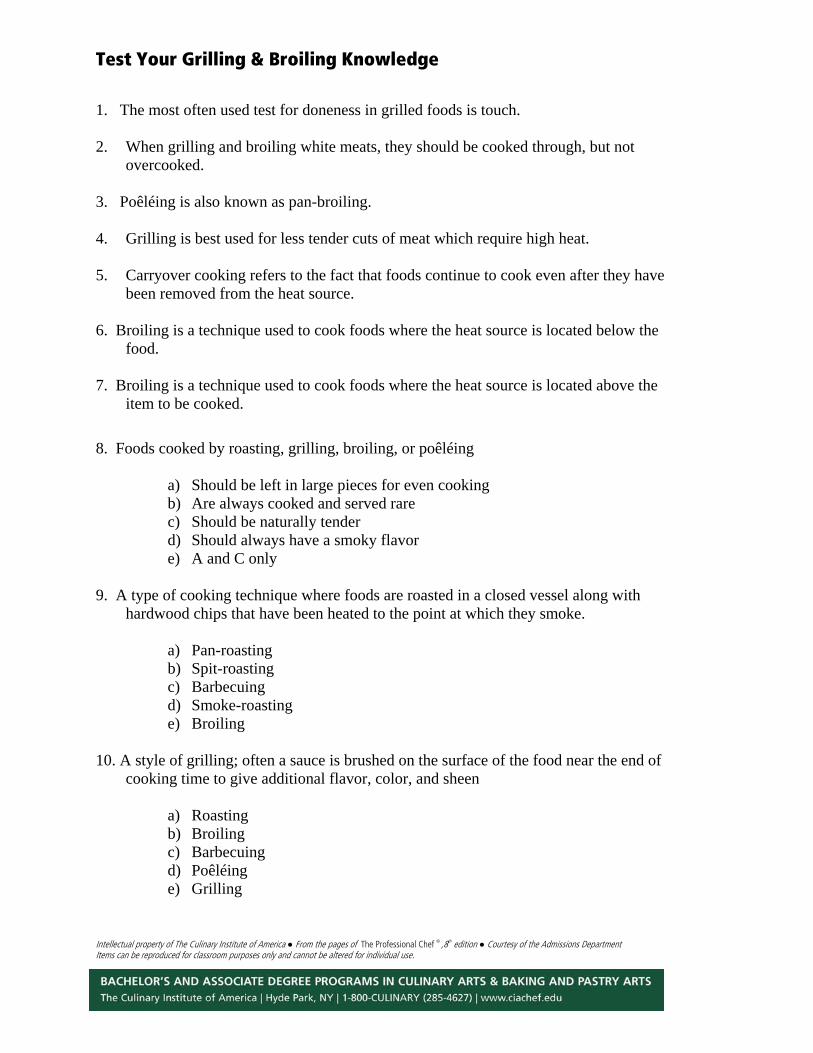
Test Your Grilling & Broiling Knowledge
1. The most often used test for doneness in grilled foods is touch.
2. When grilling and broiling white meats, they should be cooked through, but not
overcooked.
3. Poêléing is also known as pan-broiling.
4. Grilling is best used for less tender cuts of meat which require high heat.
5. Carryover cooking refers to the fact that foods continue to cook even after they have been removed from the heat source.
6. Broiling is a technique used to cook foods where the heat source is located below the
food.
7. Broiling is a technique used to cook foods where the heat source is located above the item to be cooked.
8. Foods cooked by roasting, grilling, broiling, or poêléing
a) Should be left in large pieces for even cooking b) Are always cooked and served rare c) Should be naturally tender d) Should always have a smoky flavor e) A and C only
9. A type of cooking technique where foods are roasted in a closed vessel along with
hardwood chips that have been heated to the point at which they smoke.
a) Pan-roasting b) Spit-roasting c) Barbecuing d) Smoke-roasting e) Broiling
10. A style of grilling; often a sauce is brushed on the surface of the food near the end of
cooking time to give additional flavor, color, and sheen
a) Roasting b) Broiling c) Barbecuing d) Poêléing e) Grilling
Intellectual property of The Culinary Institute of America ● From the pages of The Professional Chef ® ,8th edition ● Courtesy of the Admissions Department Items can be reproduced for classroom purposes only and cannot be altered for individual use.
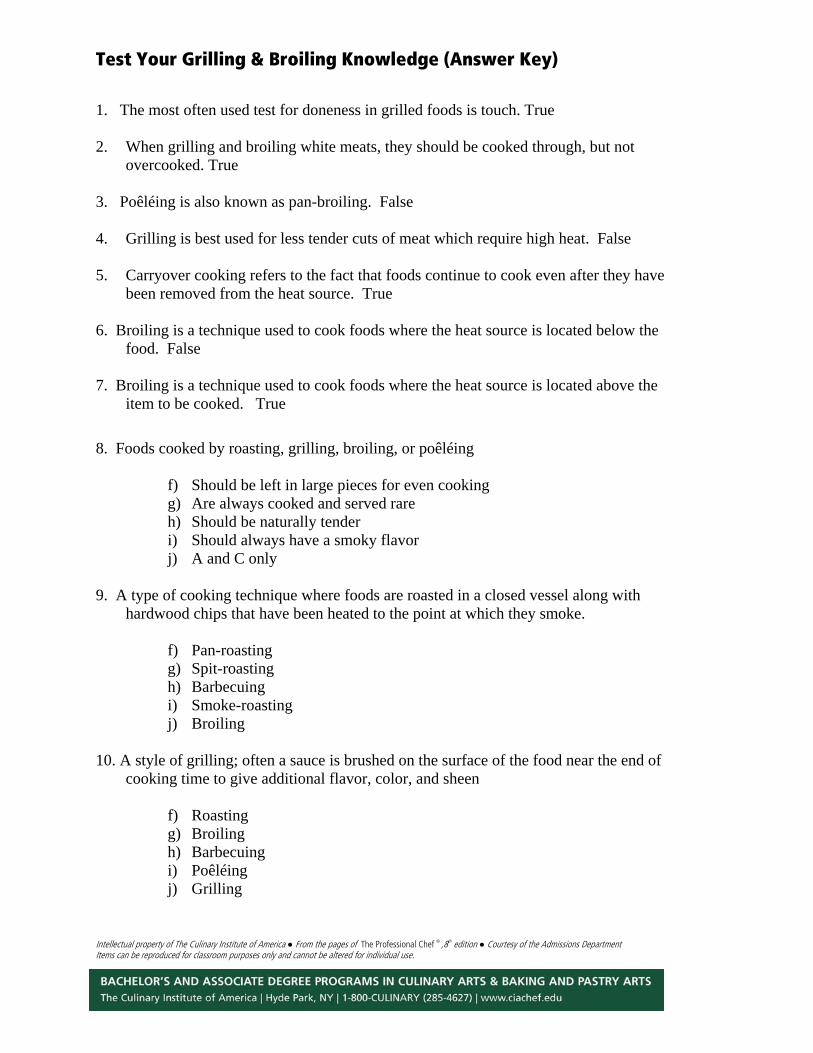
Test Your Grilling & Broiling Knowledge (Answer Key)
1. The most often used test for doneness in grilled foods is touch. True
2. When grilling and broiling white meats, they should be cooked through, but not
overcooked. True
3. Poêléing is also known as pan-broiling. False
4. Grilling is best used for less tender cuts of meat which require high heat. False
5. Carryover cooking refers to the fact that foods continue to cook even after they have been removed from the heat source. True
6. Broiling is a technique used to cook foods where the heat source is located below the
food. False
7. Broiling is a technique used to cook foods where the heat source is located above the item to be cooked. True
8. Foods cooked by roasting, grilling, broiling, or poêléing
f) Should be left in large pieces for even cooking g) Are always cooked and served rare h) Should be naturally tender i) Should always have a smoky flavor j) A and C only
9. A type of cooking technique where foods are roasted in a closed vessel along with
hardwood chips that have been heated to the point at which they smoke.
f) Pan-roasting g) Spit-roasting h) Barbecuing i) Smoke-roasting j) Broiling
10. A style of grilling; often a sauce is brushed on the surface of the food near the end of
cooking time to give additional flavor, color, and sheen
f) Roasting g) Broiling h) Barbecuing i) Poêléing j) Grilling