Embed Size (px)
Citation preview
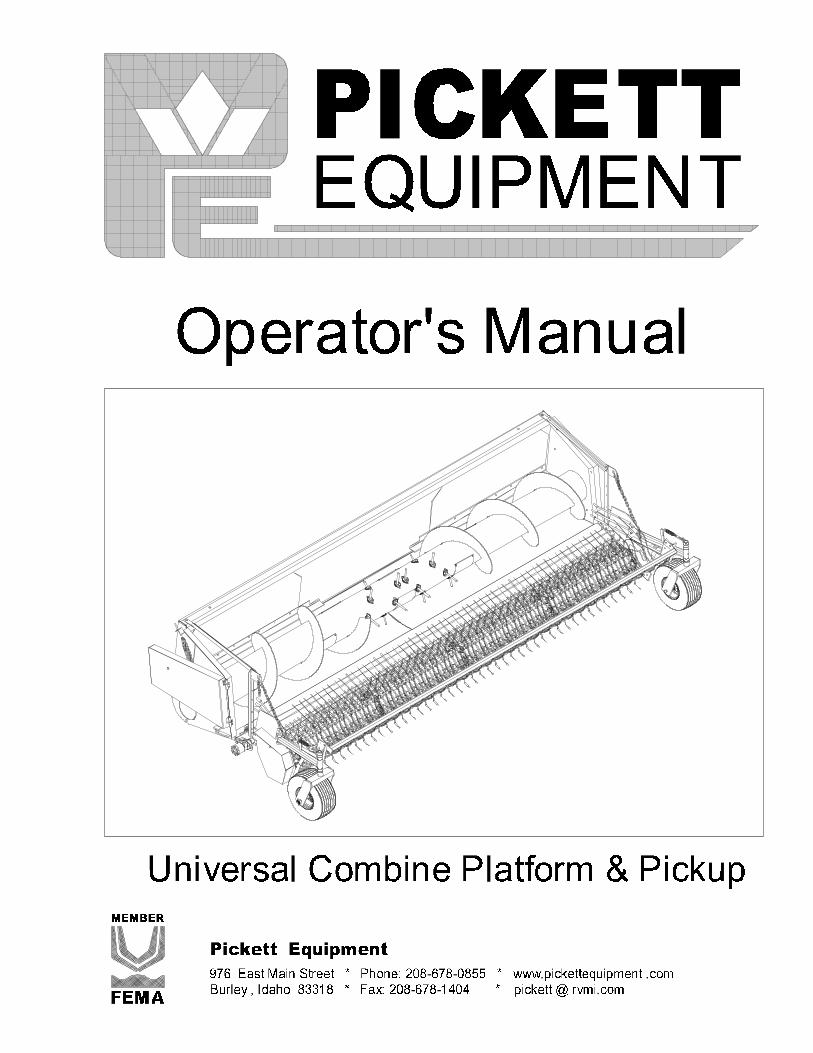


TABLE OF CONTENTS
1
Pickett Equipment Warranty ................................................................................................................ 2
Warranty Disclaimers ............................................................................................................. 3
Delivery Checklist .................................................................................................................. 4
After Sale Checklist ................................................................................................................ 4
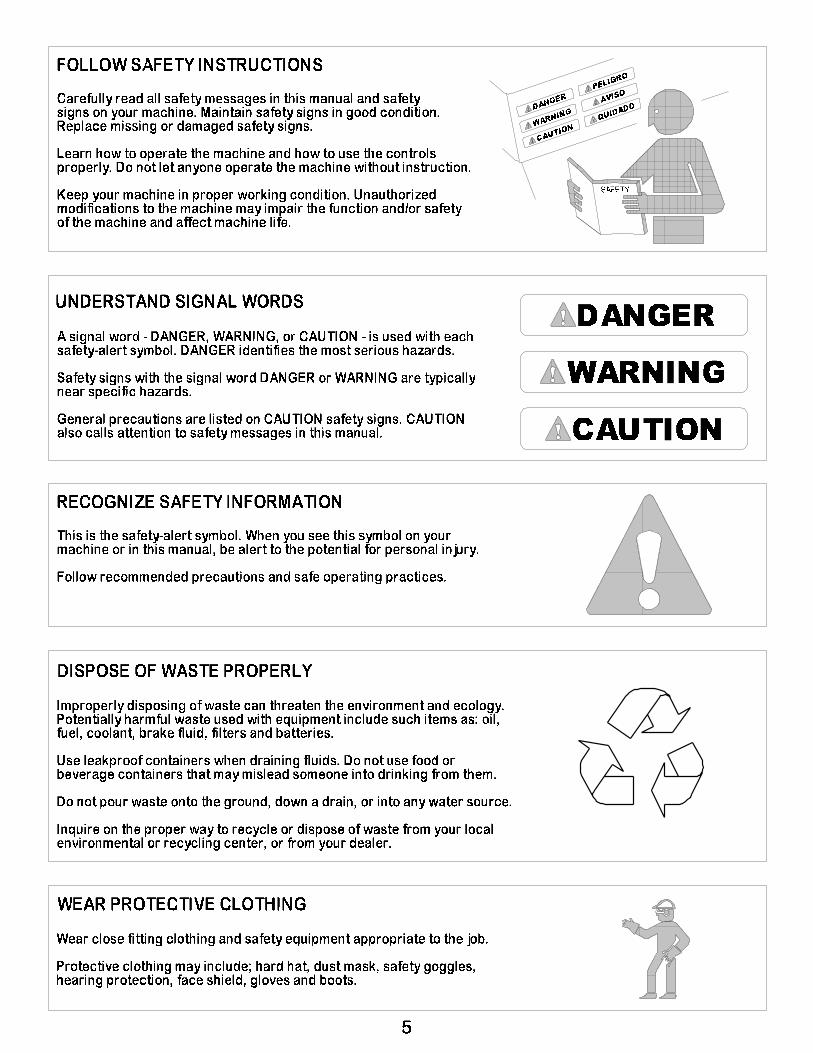
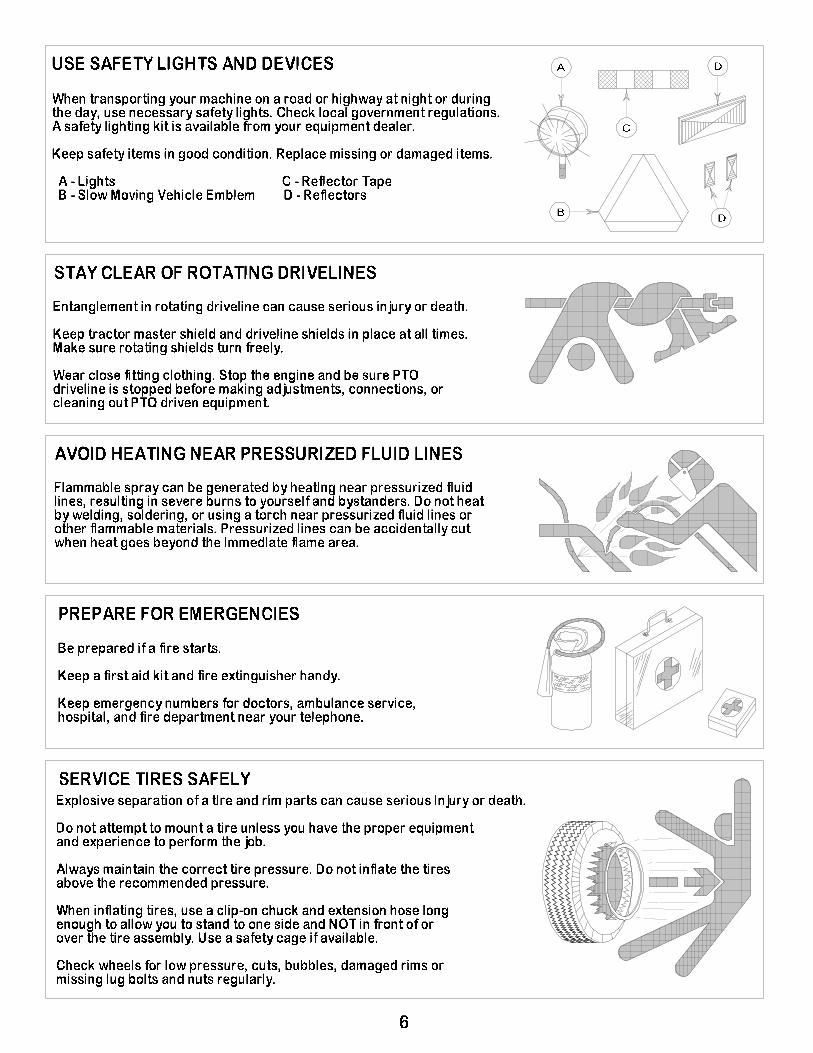
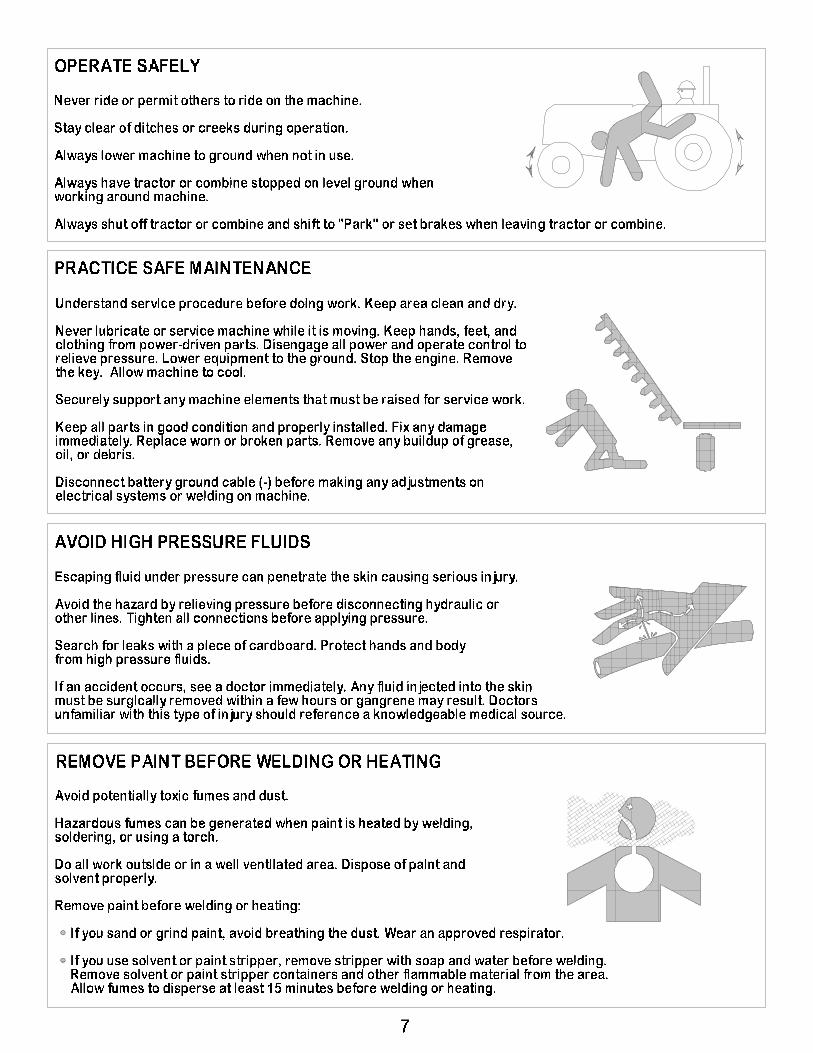
Safety .................................................................................................................................. 5-7
Set Up .................................................................................................................................... 8
Machine Adjustments and Operation ..................................................................................... 9
Maintenance and Lubrication ................................................................................................. 9
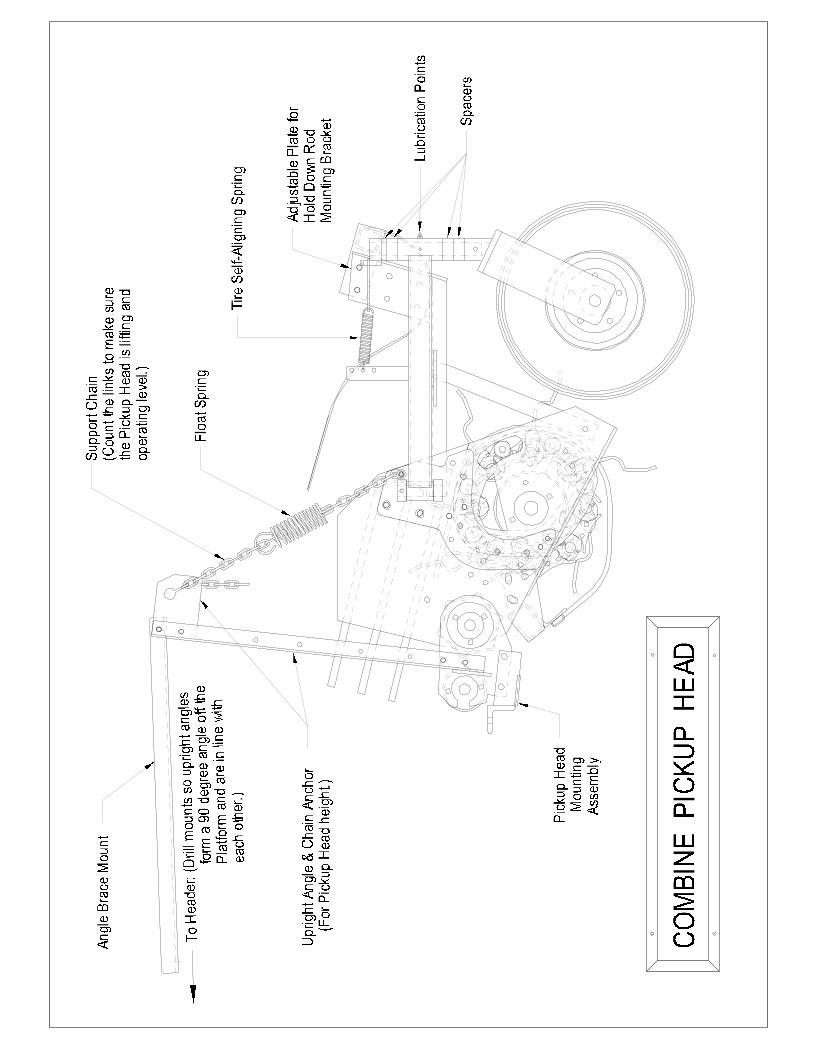
Combine Pickup Head (diagram) ......................................................................................... 10
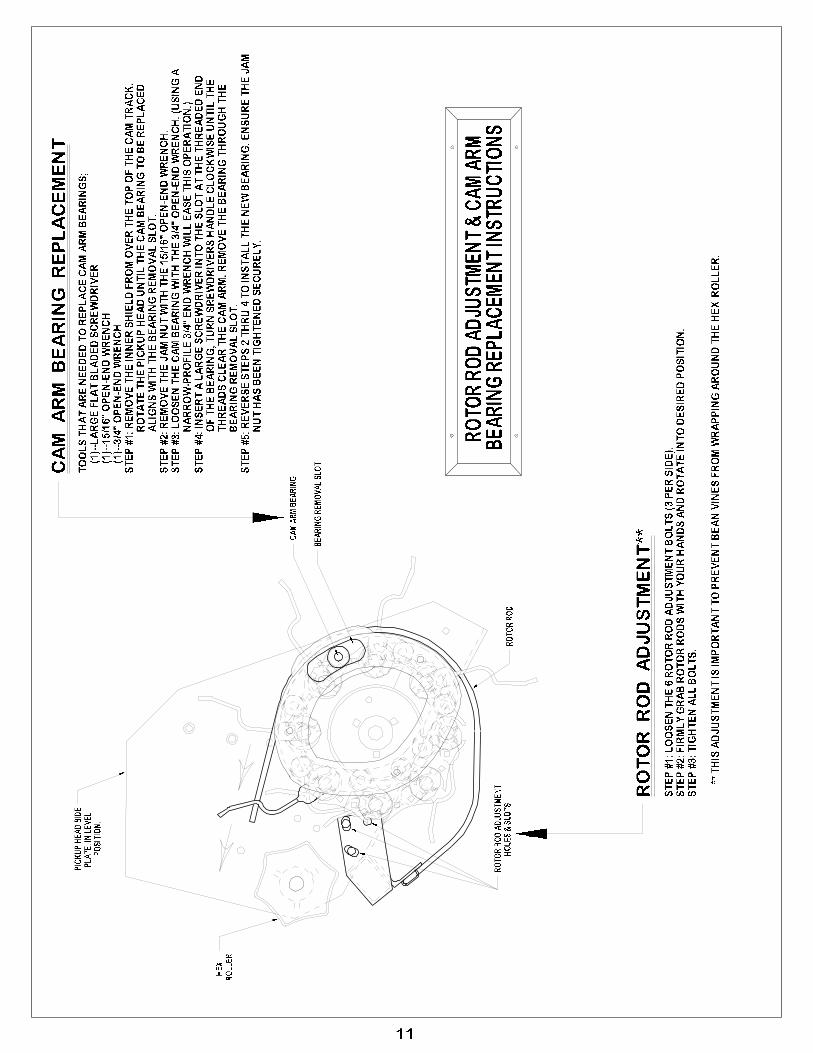
Rotor Rod Adjustment and Cam Bearing Replacement ...................................................... 11
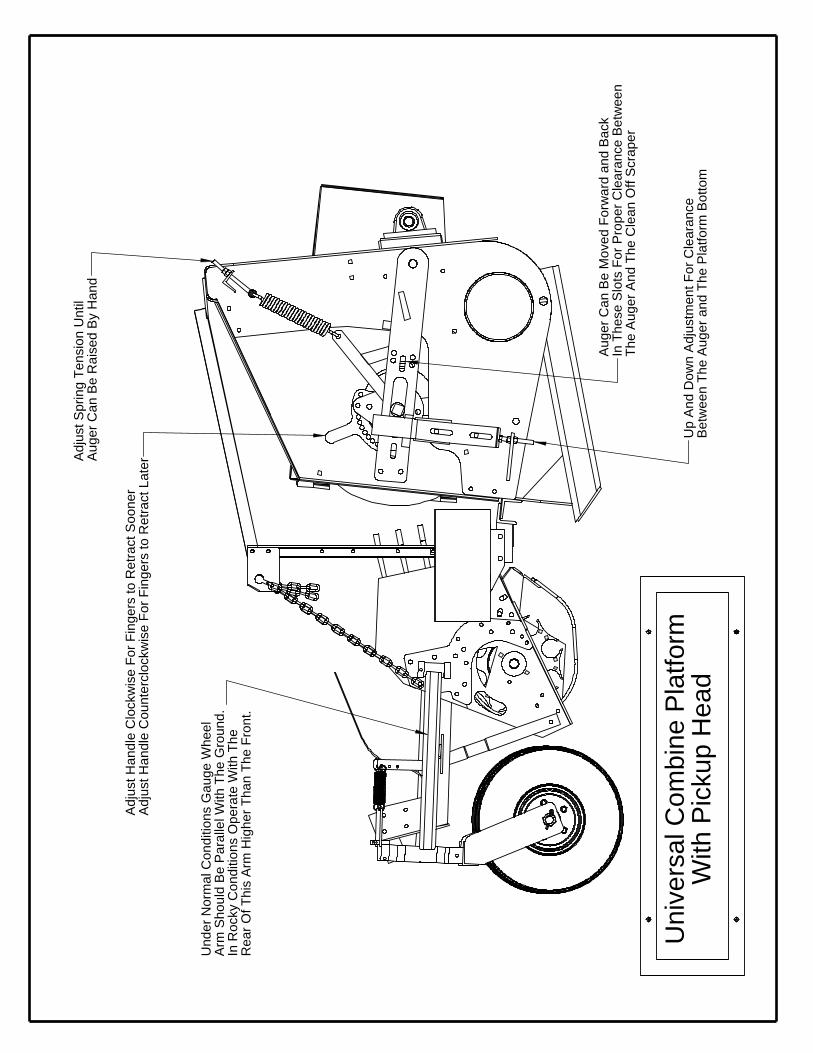
Universal Platform & Pickup Head (diagram) ...................................................................... 12
Trouble Shooting .................................................................................................................. 13
Storage ................................................................................................................................ 14
Specifications ....................................................................................................................... 14

PICKETT FARM EQUIPMENT WARRANTYPickett Equipment warrants to the original purchaser of each item of new Pickett Farm
Equipment that the product be free from defects in material and workmanship under normal use andservice. If such equipment is found to be defective within one season or 350 acres, whichever shalloccur first, the obligation of PICKETT EQUIPMENT under this warranty is limited to the repairing orreplacing of (exclusive of the cost of labor and transportation), any equipment or parts, in the judgmentof PICKETT EQUIPMENT to be defective in material or workmanship.
All equipment or parts claimed to be defective in material or workmanship must be madeavailable for inspection at the place of business of a dealer authorized to handle the equipment coveredby this warranty, or, upon request by PICKETT EQUIPMENT, shipped to the PICKETT EQUIPMENTfactory in Burley, Idaho. PICKETT EQUIPMENT shall have no obligation to bear the cost of labor ortransportation in connection with replacement or repair of any such defective parts. PICKETTEQUIPMENT will pay internal shop rates on the modification or repair of defective parts in the setupprocedure.
This warranty covers only defects in material and workmanship. It does not cover depreciationor damage caused by normal wear, accident, improper assembly, improper adjustments, impropermaintenance including lack of proper lubrication, or improper use. Therefore, PICKETT EQUIPMENTliability under this warranty shall not be effective or actionable unless the equipment is assembled,maintained and operated in accordance with the Operating instructions accompanying the equipment.PICKETT EQUIPMENT shall have no liability if the equipment has been altered or reworked without thewritten authorization of PICKETT EQUIPMENT.
Damages resulting from rocky conditions are not covered by this warranty.PICKETT EQUIPMENT does not warrant commercial components not manufactured by
PICKETT EQUIPMENT. But, if new, these components may be warranted by the manufacturerthereof.
The only remedies any purchaser has in connection with the breach or performance of anywarranty of Pickett Farm Equipment are those set forth in this warranty. In no event shall PICKETTEQUIPMENT be liable for incidental or consequential damages or injuries including, but not limited to,loss of crops, loss of profits, rental of substitute equipment or other commercial loss.
This warranty is expressly in lieu of any other express or implied warranties including anyimplied warranty of merchantability or fitness for particular purpose and of any other obligation on thepart of PICKETT EQUIPMENT.
PICKETT EQUPMENT makes no warranties, representations or promises, express or impliedas to the quality or performance of Pickett Farm Equipment other than those set forth in this warranty.Neither the dealer nor any other person has any authority to make any representations, warranties orpromises on behalf of PICKETT EQUIPMENT or to modify the item manufactured or sold by PICKETTEQUIPMENT or any other time unless he delivers to the purchaser a separate written warrantyspecifically warranting the same, in which case PICKETT EQUIPMENT shall have no obligationthereunder.
PICKETT EQUIPMENT parts, which are furnished under this warranty and properly installed,shall be warranted to the same extent as the original parts under this warranty if, and only if, such partsare found to be defective within the original warranty period covering the original equipment.
No warranty request will be considered, and PICKETT EQUIPMENT will have no liability underthis warranty, unless the Pickett Equipment Delivery Checklist and Warranty Registration Forms havebeen properly filled out and returned to PICKETT EQUIPMENT, at Burley, ID. Pickett warranty formsmust be filled out with every claim. Claims must be submitted by the dealer to Pickett Equipment’shome office, no later than December 1st of the year for which the claim is being made.
2


3
Warranty Disclaimers The following conditions will void the warranty for the Floating Combine Pickup Head
Removing safety shields, guards or safety instructional stickers
Not maintaining or operating equipment according to Operator’s Manual
Operating equipment in a malicious or reckless manner
Using replacement parts not of Pickett Equipment origin
Making modifications to the equipment other than those recommended by Pickett Equipment
Not signing and sending in the warranty registration to Pickett Equipment within 30 days of
delivery
Pickett Equipment will strive to make product improvements every year, but we cannot be responsible for making updates or additions to equipment previously sold
4
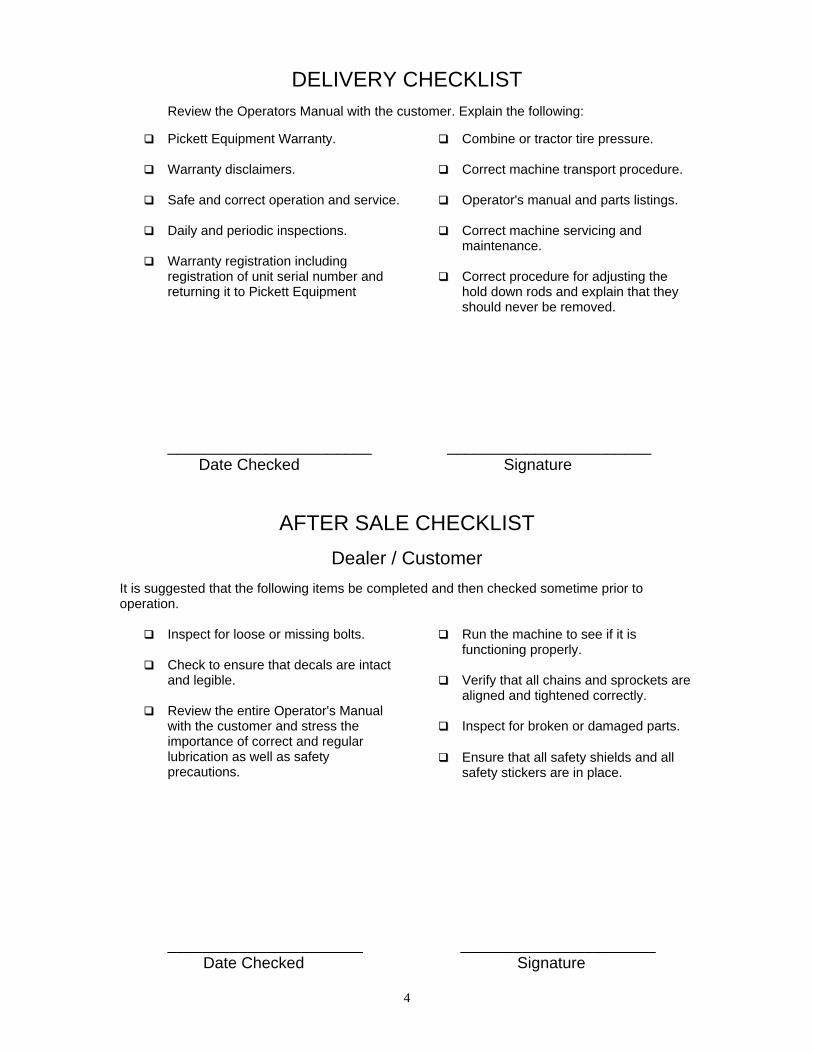
DELIVERY CHECKLIST Review the Operators Manual with the customer. Explain the following:
Pickett Equipment Warranty.
Combine or tractor tire pressure.
Warranty disclaimers.
Correct machine transport procedure.
Safe and correct operation and service.
Operator's manual and parts listings.
Daily and periodic inspections.
Correct machine servicing and maintenance.
Warranty registration including registration of unit serial number and returning it to Pickett Equipment
Correct procedure for adjusting the
hold down rods and explain that they should never be removed.
_______________________ _______________________ Date Checked Signature
AFTER SALE CHECKLIST
Dealer / Customer It is suggested that the following items be completed and then checked sometime prior to operation.
Run the machine to see if it is functioning properly.
Verify that all chains and sprockets are
aligned and tightened correctly.
Inspect for broken or damaged parts.
Inspect for loose or missing bolts.
Check to ensure that decals are intact and legible.
Review the entire Operator's Manual
with the customer and stress the importance of correct and regular lubrication as well as safety precautions.
Ensure that all safety shields and all safety stickers are in place.
______________________ ______________________ Date Checked Signature
8
The Pickett Equipment Universal Combine Platform & Pickup Head has been fully assembled and tested prior to delivery. Upon receipt of this machine it is necessary to check and tighten all fasteners, set screws, etc. Take all safety precautions while unloading.
SET UP 1. Remove any shipping stands or brackets.
If any of the platform’s or pick up head’s components were removed for shipping reinstall them now. Take a few minutes to inspect the entire machine for loose parts or fasteners.
2. Attach Universal Platform and Pickup
Head to the combine. Ensure that the lower lock pins engage into their locked position. Adjust lock plates on the platform if necessary.
3. Check the position of the hydraulic motor
and mount. Torque arm should move freely in the torque arm slot. Check the Allen head bolts in the 1” split motor coupler.
4. Connect the hydraulic hoses from the
combine pickup head to the combine. Ensure pickup head turns the correct direction. Failure to do so can result in extensive damage to the pickup head. A one way check valve has been provided to prevent this from occurring, but take care to ensure that all connections are correct.
NOTE: Pickett Equipment does not supply one point quick couplers. 5. Connect PTO driveline from Universal
Platform to combine. Driveline is equipped with a radial pin safety clutch.
6. If the machine is to be operated in normal
conditions set combine and platform on a firm level surface. Adjust platform’s height until the pickup head’s gauge wheel arms are level with the ground. Now check the distance between the end of the pickup head fingers and the ground. 1” clearance is the recommended starting setting. If the machine will be operating in rocky conditions follow the above instructions except have the gauge wheel arm higher in the rear than in the front.
7. Lift chains are equipped with heavy-duty float springs. Adjust these springs until the pickup head floats. With platform at operating height these springs will allow the pickup head to float. Each spring has been supplied with a 3/16” cable clamp on each end to keep the springs from disengaging from the lift chains.
8. Adjust hold down rods so that they are as
close as possible to the windrow without impeding the flow of the material onto the pickup head.
9. Check the platform augers float spring
adjustment. You should be able to manually lift the auger.
10. Check and adjust the distance from the
auger flighting to the platform bottom. 11. Check and adjust the distance from the
auger flighting to the clean off scrapers. 12. Check and adjust platform’s auger finger
retract position. Fingers need to retract at the point the foliage moves from the auger to the combine’s feed chain. If the fingers retract to late the material will be carried over the auger. Fingers that retract to soon will cause foliage to hesitate and bunch under the auger. (see page 12)
NOTE: Never operate the combine pickup head without the hold down rod mount in place. It is an important part of the pickup head frame.
9
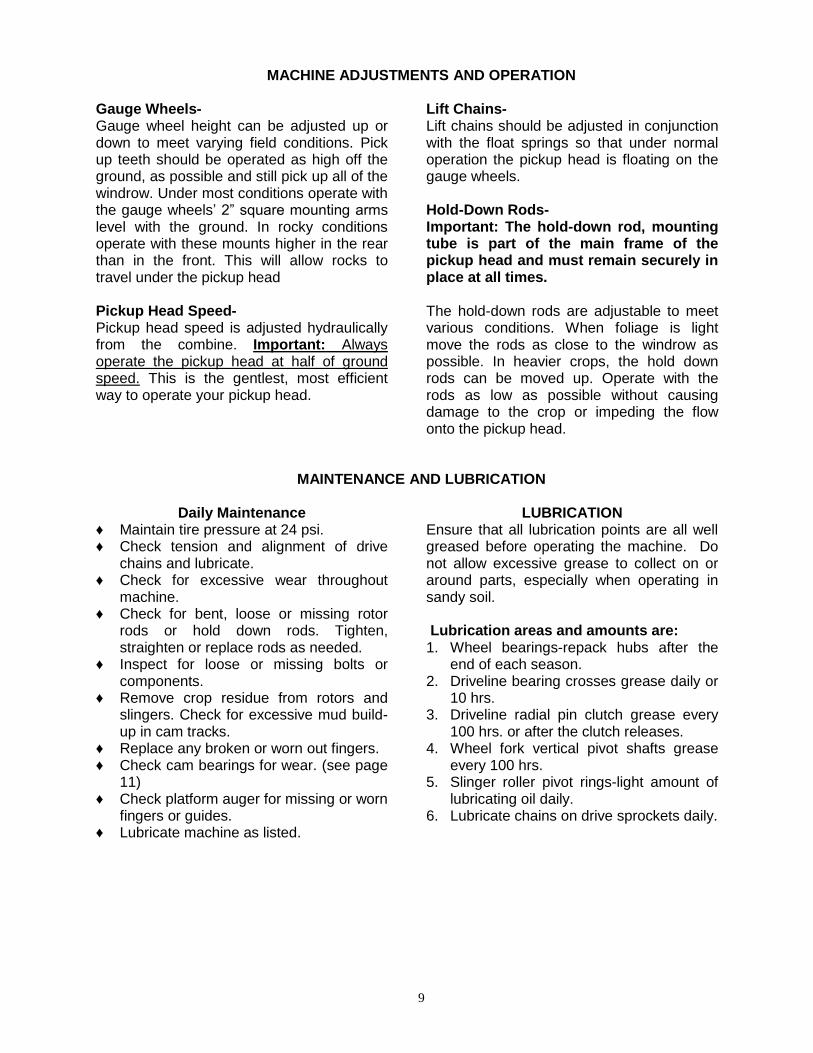
MACHINE ADJUSTMENTS AND OPERATION
Gauge Wheels- Gauge wheel height can be adjusted up or down to meet varying field conditions. Pick up teeth should be operated as high off the ground, as possible and still pick up all of the windrow. Under most conditions operate with the gauge wheels’ 2” square mounting arms level with the ground. In rocky conditions operate with these mounts higher in the rear than in the front. This will allow rocks to travel under the pickup head Pickup Head Speed- Pickup head speed is adjusted hydraulically from the combine. Important: Always operate the pickup head at half of ground speed. This is the gentlest, most efficient way to operate your pickup head.
Lift Chains- Lift chains should be adjusted in conjunction with the float springs so that under normal operation the pickup head is floating on the gauge wheels. Hold-Down Rods- Important: The hold-down rod, mounting tube is part of the main frame of the pickup head and must remain securely in place at all times. The hold-down rods are adjustable to meet various conditions. When foliage is light move the rods as close to the windrow as possible. In heavier crops, the hold down rods can be moved up. Operate with the rods as low as possible without causing damage to the crop or impeding the flow onto the pickup head.
MAINTENANCE AND LUBRICATION
Daily Maintenance
♦ Maintain tire pressure at 24 psi. ♦ Check tension and alignment of drive
chains and lubricate. ♦ Check for excessive wear throughout
machine. ♦ Check for bent, loose or missing rotor
rods or hold down rods. Tighten, straighten or replace rods as needed.
♦ Inspect for loose or missing bolts or components.
♦ Remove crop residue from rotors and slingers. Check for excessive mud build-up in cam tracks.
♦ Replace any broken or worn out fingers. ♦ Check cam bearings for wear. (see page
11) ♦ Check platform auger for missing or worn
fingers or guides. ♦ Lubricate machine as listed.
LUBRICATION Ensure that all lubrication points are all well greased before operating the machine. Do not allow excessive grease to collect on or around parts, especially when operating in sandy soil. Lubrication areas and amounts are: 1. Wheel bearings-repack hubs after the
end of each season. 2. Driveline bearing crosses grease daily or
10 hrs. 3. Driveline radial pin clutch grease every
100 hrs. or after the clutch releases. 4. Wheel fork vertical pivot shafts grease
every 100 hrs. 5. Slinger roller pivot rings-light amount of
lubricating oil daily. 6. Lubricate chains on drive sprockets daily.
Uni
vers
al C
ombi
ne P
latfo
rmW
ith P
icku
p H
ead
In R
ocky
Con
ditio
ns O
pera
te W
ith T
he
Arm
Sho
uld
Be
Par
alle
l With
The
Gro
und.
The
Aug
er A
nd T
he C
lean
Off
Scr
aper
In T
hese
Slo
ts F
or P
rope
r Cle
aran
ce B
etw
een
Adj
ust S
prin
g Te
nsio
n U
ntil
Aug
er C
an B
e R
aise
d B
y H
and
Adj
ust H
andl
e C
ount
ercl
ockw
ise
For F
inge
rs to
Ret
ract
Lat
er
Rea
r Of T
his
Arm
Hig
her T
han
The
Fron
t.
Adj
ust H
andl
e C
lock
wis
e Fo
r Fin
gers
to R
etra
ct S
oone
r
Und
er N
orm
al C
ondi
tions
Gau
ge W
heel
Aug
er C
an B
e M
oved
For
war
d an
d B
ack
Up
And
Dow
n A
djus
tmen
t For
Cle
aran
ce
Bet
wee
n Th
e A
uger
and
The
Pla
tform
Bot
tom

13
TROUBLE SHOOTING
Problem
Cause
Remedy
Excessive shattering of crop
Pickup running too fast. Pickup running too low.
Dry conditions, run slower. If the fingers are to low they can bend when they contact the soil then spring forward with enough force to shatter the crop when they come out of the soil. Operate pickup head 1/2" to 2" above ground surface.
Excessive finger tooth breakage
Pickup is running too low to ground.
See machine adjustments to adjust height. Operate pickup head 1/2" to 2" above ground surface.
Excessive finger shaft wear
Rotor rods or rotor rod mount is loose or improperly adjusted. Rotor rods are bent or misaligned.
Tighten and adjust rotor rods and rotor rod mount. Straighten or replace with new rotor rods.
Picking up rock
Pickup head speed too fast. Operating too close to ground. Operating pickup head too level. Operating with hard fingers in rocky conditions.
Slow pickup head speed down to 1/2 ground speed. Using gauge wheel spacers raise or lower gauge wheels to keep teeth out of dirt. Operate platform higher and pickup head down in a slanted position. Adjust pickup head chain supports and spacers on gauge wheels to accomplish this. Switch to soft fingers Pickett Equipment part # 106052.
Material returning over the auger
Retractable fingers not retracting soon enough.
Rotate Finger adjustment handle clockwise. (see page 12)
Material hesitating between auger and combine feeder chain
Retractable fingers retracting to soon. Retractable finger broken or missing.
Rotate Finger adjustment handle counterclockwise. (see page 12) Replace fingers as needed.
14
STORAGE
♦ Store machine in a dry sheltered area if possible.
♦ Chains should be removed, cleaned, lubricated, and re-installed.
♦ Remove trash from shafts, etc., steam clean if possible.
♦ Re-paint any scuffed areas or treat with anti-rust lubricants.
♦ Lubricate entire machine.
♦ Check tire pressure. ♦ Block machine off ground. ♦ Make any notes of all repair parts
needed for next season and order early. ♦ Make any needed repairs if possible. ♦ If machine must be stored outside, block
up machine, remove the wheels and store them inside.
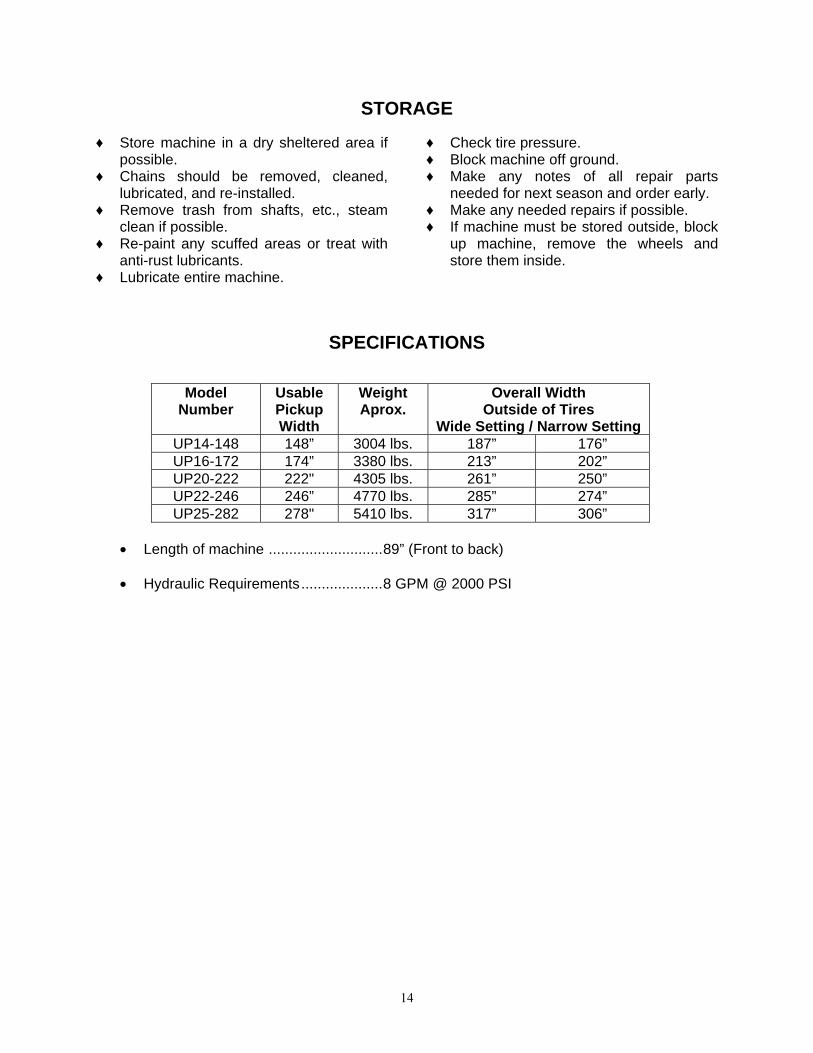
SPECIFICATIONS
Model
Number Usable Pickup Width
Weight Aprox.
Overall Width Outside of Tires
Wide Setting / Narrow Setting UP14-148 148” 3004 lbs. 187” 176” UP16-172 174” 3380 lbs. 213” 202” UP20-222 222" 4305 lbs. 261” 250” UP22-246 246” 4770 lbs. 285” 274” UP25-282 278" 5410 lbs. 317” 306”
• Length of machine ............................89” (Front to back) • Hydraulic Requirements....................8 GPM @ 2000 PSI