Embed Size (px)
Citation preview
Book
Prepared by the core team, this is the Symfony bible. It is the reference for any user of the platform, who will typically want to keep it close at hand.
• Symfony2 and HTTP Fundamentals• Symfony2 versus Flat PHP• Installing and Configuring Symfony• Creating Pages in Symfony2• Controller• Routing• Creating and using Templates• Databases and Doctrine ("The Model")• Testing
• Validation• Forms• Security• HTTP Cache• Translations• Service Container• Performance• Internals• The Symfony2 Stable API
2
Symfony2 and HTTP FundamentalsCongratulations! By learning about Symfony2, you're well on your way towards being a more productive, well-rounded and popular web developer (actually, you're on your own for the last part). Symfony2 is built to get back to basics: to develop tools that let you develop faster and build more robust applications, while staying out of your way. Symfony is built on the best ideas from many technologies: the tools and concepts you're about to learn represent the efforts of thousands of people, over many years. In other words, you're not just learning "Symfony", you're learning the fundamentals of the web, development best practices, and how to use many amazing new PHP libraries, inside or independent of Symfony2. So, get ready.
3
True to the Symfony2 philosophy, this chapter begins by explaining the fundamental concept common to web development: HTTP. Regardless of your background or preferred programming language, this chapter is a must-read for everyone.
HTTP is Simple
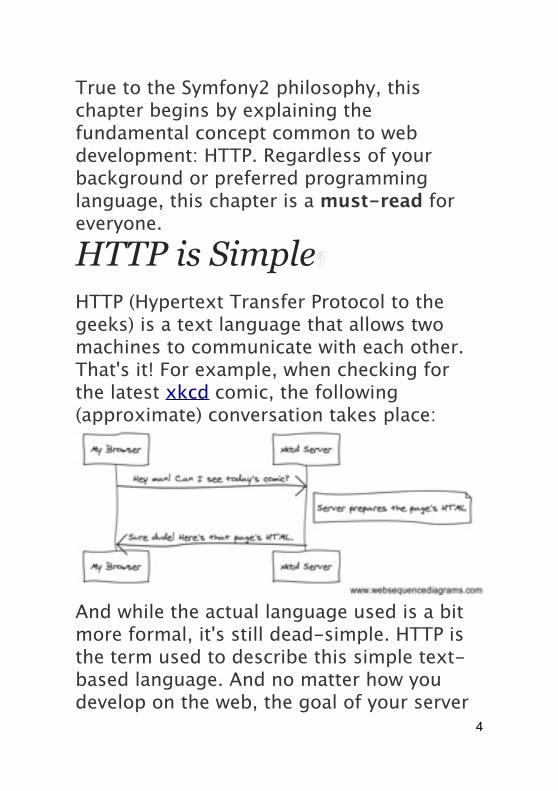
HTTP (Hypertext Transfer Protocol to the geeks) is a text language that allows two machines to communicate with each other. That's it! For example, when checking for the latest xkcd comic, the following (approximate) conversation takes place:
And while the actual language used is a bit more formal, it's still dead-simple. HTTP is the term used to describe this simple text-based language. And no matter how you develop on the web, the goal of your server
4

is always to understand simple text requests, and return simple text responses.Symfony2 is built from the ground-up around that reality. Whether you realize it or not, HTTP is something you use everyday. With Symfony2, you'll learn how to master it.Step1: The Client sends a Request¶Every conversation on the web starts with a request. The request is a text message created by a client (e.g. a browser, an iPhone app, etc) in a special format known as HTTP. The client sends that request to a server, and then waits for the response.Take a look at the first part of the interaction (the request) between a browser and the xkcd web server:
In HTTP-speak, this HTTP request would actually look something like this:GET / HTTP/1.1Host: xkcd.com
5
Accept: text/htmlUser-Agent: Mozilla/5.0 (Macintosh)This simple message communicates everything necessary about exactly which resource the client is requesting. The first line of an HTTP request is the most important and contains two things: the URI and the HTTP method.The URI (e.g. /, /contact, etc) is the unique address or location that identifies the resource the client wants. The HTTP method (e.g. GET) defines what you want to do with the resource. The HTTP methods are the verbs of the request and define the few common ways that you can act upon the resource:GET Retrieve the resource from the
server
POST Create a resource on the server
PUT Update the resource on the server
DELETE
Delete the resource from the server
With this in mind, you can imagine what an
6
HTTP request might look like to delete a specific blog entry, for example:DELETE /blog/15 HTTP/1.1
There are actually nine HTTP methods defined by the HTTP specification, but many of them are not widely used or supported. In reality, many modern browsers don't support the PUT and DELETE methods.In addition to the first line, an HTTP request invariably contains other lines of information called request headers. The headers can supply a wide range of information such as the requested Host, the response formats the client accepts (Accept) and the application the client is using to make the request (User-Agent). Many other headers exist and can be found on Wikipedia's List of HTTP header fields article.Step 2: The Server returns a Response¶Once a server has received the request, it knows exactly which resource the client needs (via the URI) and what the client wants to do with that resource (via the method). For example, in the case of a GET request, the server prepares the resource and returns
7
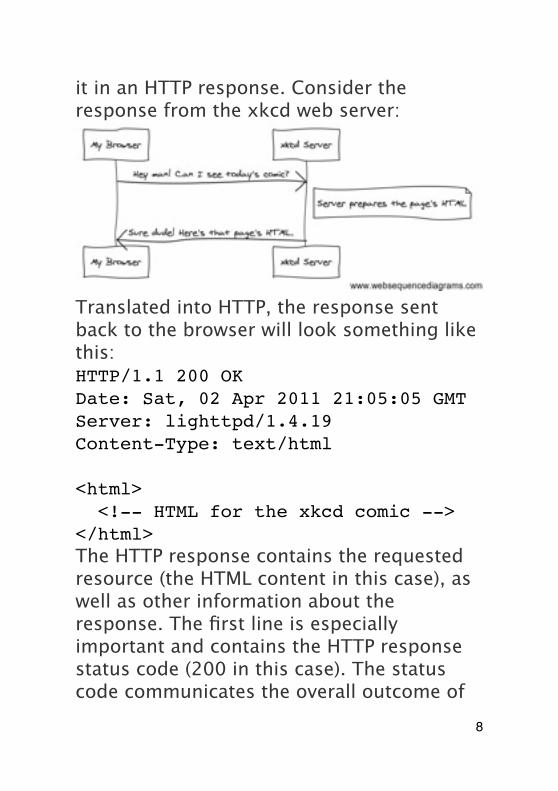
it in an HTTP response. Consider the response from the xkcd web server:
Translated into HTTP, the response sent back to the browser will look something like this:HTTP/1.1 200 OKDate: Sat, 02 Apr 2011 21:05:05 GMTServer: lighttpd/1.4.19Content-Type: text/html
<html> <!-- HTML for the xkcd comic --></html>The HTTP response contains the requested resource (the HTML content in this case), as well as other information about the response. The first line is especially important and contains the HTTP response status code (200 in this case). The status code communicates the overall outcome of
8
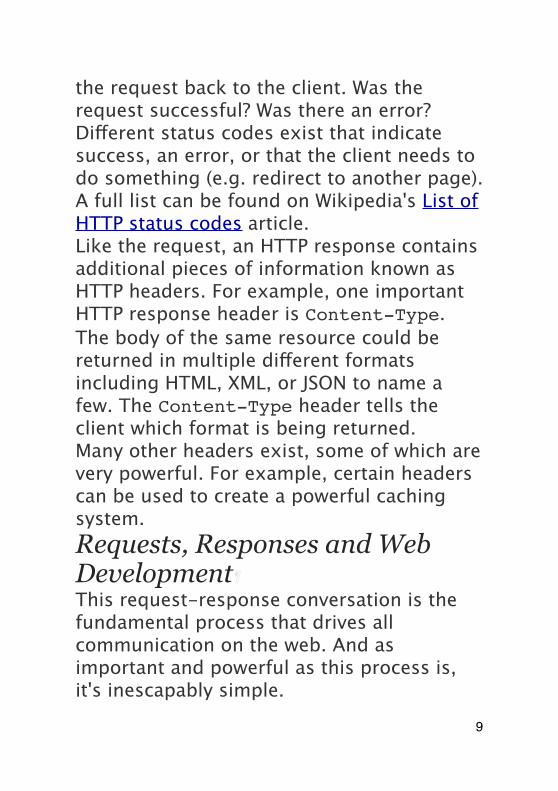
the request back to the client. Was the request successful? Was there an error? Different status codes exist that indicate success, an error, or that the client needs to do something (e.g. redirect to another page). A full list can be found on Wikipedia's List of HTTP status codes article.Like the request, an HTTP response contains additional pieces of information known as HTTP headers. For example, one important HTTP response header is Content-Type. The body of the same resource could be returned in multiple different formats including HTML, XML, or JSON to name a few. The Content-Type header tells the client which format is being returned.Many other headers exist, some of which are very powerful. For example, certain headers can be used to create a powerful caching system.Requests, Responses and Web Development¶This request-response conversation is the fundamental process that drives all communication on the web. And as important and powerful as this process is, it's inescapably simple.
9
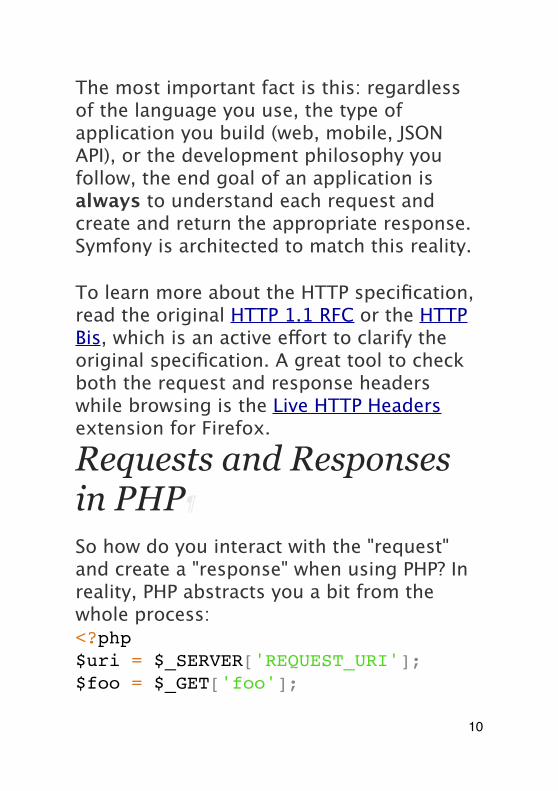
The most important fact is this: regardless of the language you use, the type of application you build (web, mobile, JSON API), or the development philosophy you follow, the end goal of an application is always to understand each request and create and return the appropriate response.Symfony is architected to match this reality.
To learn more about the HTTP specification, read the original HTTP 1.1 RFC or the HTTP Bis, which is an active effort to clarify the original specification. A great tool to check both the request and response headers while browsing is the Live HTTP Headers extension for Firefox.
Requests and Responses in PHP
So how do you interact with the "request" and create a "response" when using PHP? In reality, PHP abstracts you a bit from the whole process:<?php$uri = $_SERVER['REQUEST_URI'];$foo = $_GET['foo'];
10
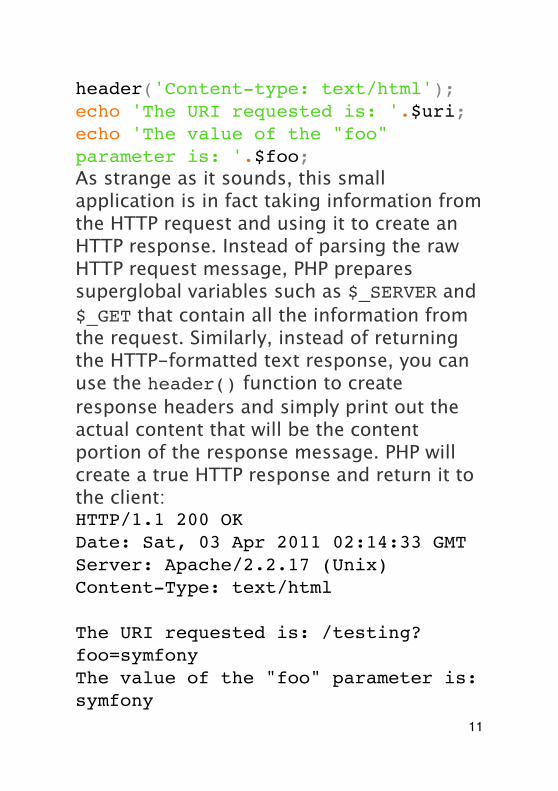
header('Content-type: text/html');echo 'The URI requested is: '.$uri;echo 'The value of the "foo" parameter is: '.$foo;As strange as it sounds, this small application is in fact taking information from the HTTP request and using it to create an HTTP response. Instead of parsing the raw HTTP request message, PHP prepares superglobal variables such as $_SERVER and $_GET that contain all the information from the request. Similarly, instead of returning the HTTP-formatted text response, you can use the header() function to create response headers and simply print out the actual content that will be the content portion of the response message. PHP will create a true HTTP response and return it to the client:HTTP/1.1 200 OKDate: Sat, 03 Apr 2011 02:14:33 GMTServer: Apache/2.2.17 (Unix)Content-Type: text/html
The URI requested is: /testing?foo=symfonyThe value of the "foo" parameter is: symfony
11
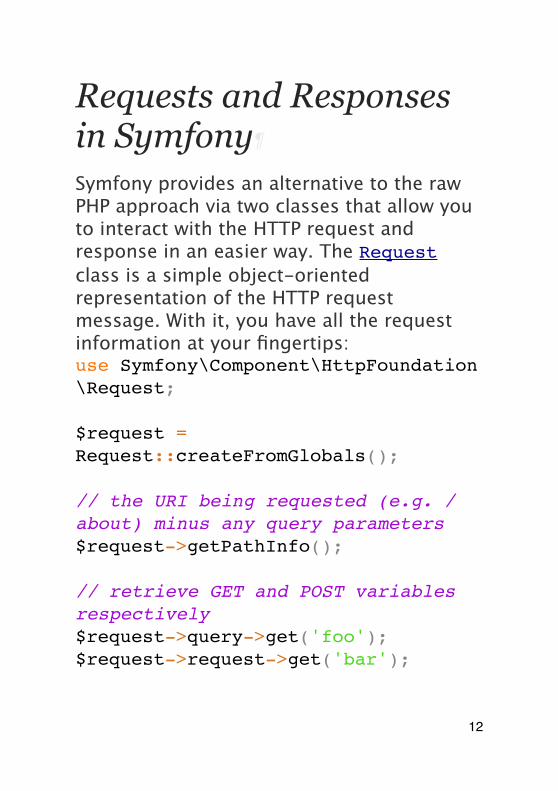
Requests and Responses in Symfony
Symfony provides an alternative to the raw PHP approach via two classes that allow you to interact with the HTTP request and response in an easier way. The Request class is a simple object-oriented representation of the HTTP request message. With it, you have all the request information at your fingertips:use Symfony\Component\HttpFoundation\Request;
$request = Request::createFromGlobals();
// the URI being requested (e.g. /about) minus any query parameters$request->getPathInfo();
// retrieve GET and POST variables respectively$request->query->get('foo');$request->request->get('bar');
12
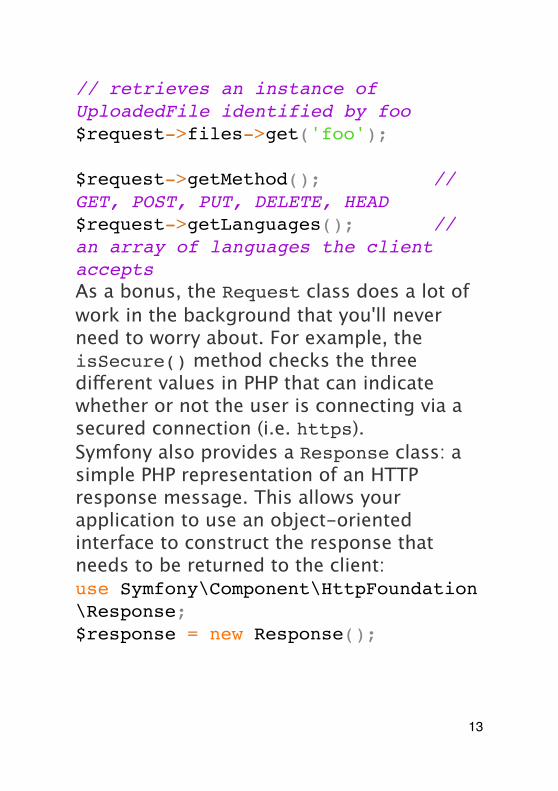
// retrieves an instance of UploadedFile identified by foo$request->files->get('foo');
$request->getMethod(); // GET, POST, PUT, DELETE, HEAD$request->getLanguages(); // an array of languages the client acceptsAs a bonus, the Request class does a lot of work in the background that you'll never need to worry about. For example, the isSecure() method checks the three different values in PHP that can indicate whether or not the user is connecting via a secured connection (i.e. https).Symfony also provides a Response class: a simple PHP representation of an HTTP response message. This allows your application to use an object-oriented interface to construct the response that needs to be returned to the client:use Symfony\Component\HttpFoundation\Response;$response = new Response();
13
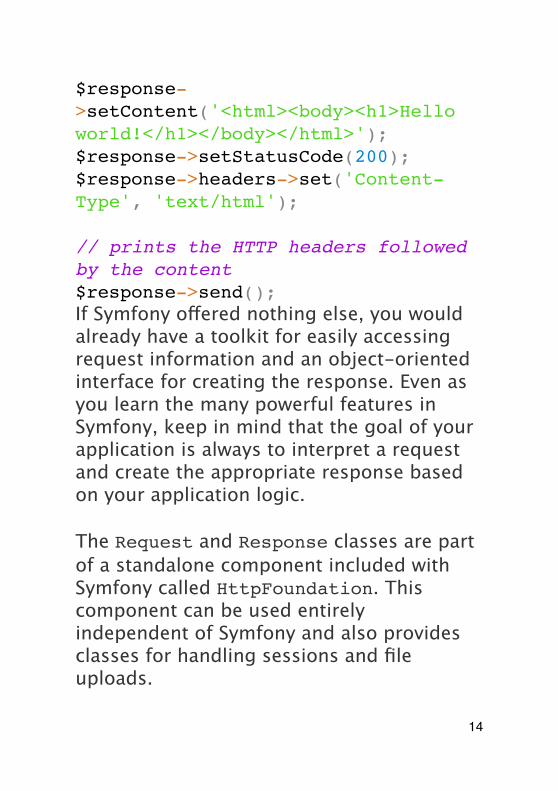
$response->setContent('<html><body><h1>Hello world!</h1></body></html>');$response->setStatusCode(200);$response->headers->set('Content-Type', 'text/html');
// prints the HTTP headers followed by the content$response->send();If Symfony offered nothing else, you would already have a toolkit for easily accessing request information and an object-oriented interface for creating the response. Even as you learn the many powerful features in Symfony, keep in mind that the goal of your application is always to interpret a request and create the appropriate response based on your application logic.
The Request and Response classes are part of a standalone component included with Symfony called HttpFoundation. This component can be used entirely independent of Symfony and also provides classes for handling sessions and file uploads.
14
The Journey from the Request to the Response
Like HTTP itself, the Request and Response objects are pretty simple. The hard part of building an application is writing what comes in between. In other words, the real work comes in writing the code that interprets the request information and creates the response.Your application probably does many things, like sending emails, handling form submissions, saving things to a database, rendering HTML pages and protecting content with security. How can you manage all of this and still keep your code organized and maintainable?Symfony was created to solve these problems so that you don't have to.The Front Controller¶Traditionally, applications were built so that each "page" of a site was its own physical file:index.phpcontact.phpblog.php
15
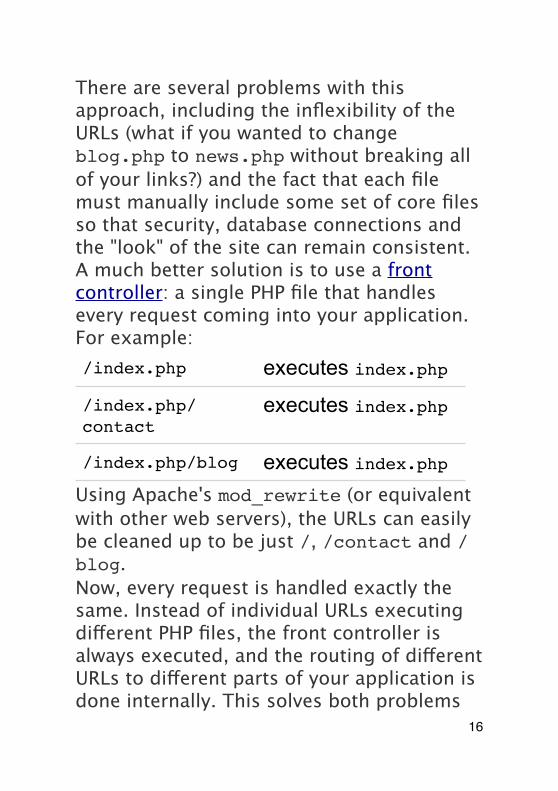
There are several problems with this approach, including the inflexibility of the URLs (what if you wanted to change blog.php to news.php without breaking all of your links?) and the fact that each file must manually include some set of core files so that security, database connections and the "look" of the site can remain consistent.A much better solution is to use a front controller: a single PHP file that handles every request coming into your application. For example:/index.php executes index.php
/index.php/contact
executes index.php
/index.php/blog executes index.phpUsing Apache's mod_rewrite (or equivalent with other web servers), the URLs can easily be cleaned up to be just /, /contact and /blog.Now, every request is handled exactly the same. Instead of individual URLs executing different PHP files, the front controller is always executed, and the routing of different URLs to different parts of your application is done internally. This solves both problems
16
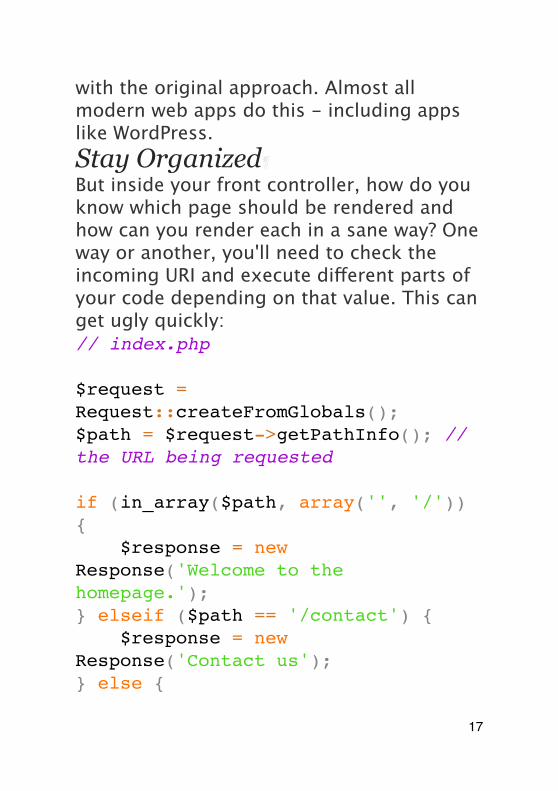
with the original approach. Almost all modern web apps do this - including apps like WordPress.Stay Organized¶But inside your front controller, how do you know which page should be rendered and how can you render each in a sane way? One way or another, you'll need to check the incoming URI and execute different parts of your code depending on that value. This can get ugly quickly:// index.php
$request = Request::createFromGlobals();$path = $request->getPathInfo(); // the URL being requested
if (in_array($path, array('', '/')) { $response = new Response('Welcome to the homepage.');} elseif ($path == '/contact') { $response = new Response('Contact us');} else {
17
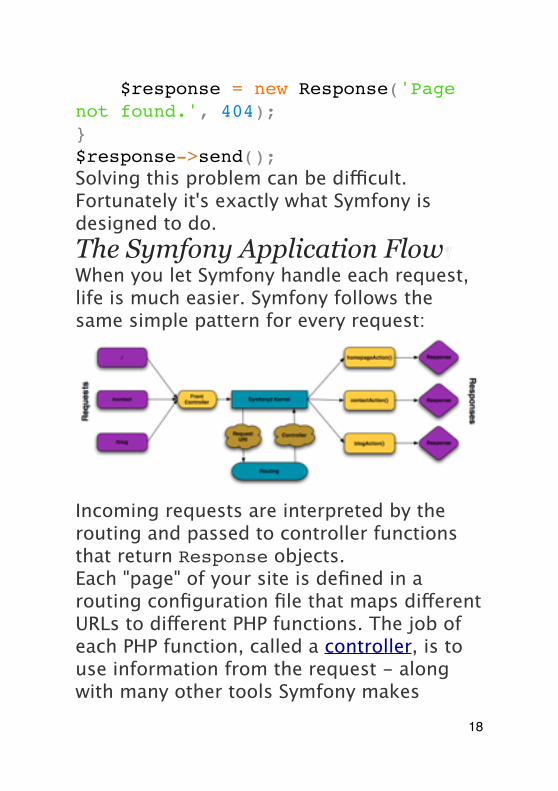
$response = new Response('Page not found.', 404);}$response->send();Solving this problem can be difficult. Fortunately it's exactly what Symfony is designed to do.The Symfony Application Flow¶When you let Symfony handle each request, life is much easier. Symfony follows the same simple pattern for every request:
Incoming requests are interpreted by the routing and passed to controller functions that return Response objects.Each "page" of your site is defined in a routing configuration file that maps different URLs to different PHP functions. The job of each PHP function, called a controller, is to use information from the request - along with many other tools Symfony makes
18
available - to create and return a Response object. In other words, the controller is where your code goes: it's where you interpret the request and create a response.It's that easy! Let's review:
• Each request executes a front controller file;
• The routing system determines which PHP function should be executed based on information from the request and routing configuration you've created;
• The correct PHP function is executed, where your code creates and returns the appropriate Response object.
A Symfony Request in Action¶Without diving into too much detail, let's see this process in action. Suppose you want to add a /contact page to your Symfony application. First, start by adding an entry for /contact to your routing configuration file:contact: pattern: /contact defaults: { _controller: AcmeDemoBundle:Main:contact }
19
This example uses YAML to define the routing configuration. Routing configuration can also be written in other formats such as XML or PHP.When someone visits the /contact page, this route is matched, and the specified controller is executed. As you'll learn in the routing chapter, the AcmeDemoBundle:Main:contact string is a short syntax that points to a specific PHP method contactAction inside a class called MainController:class MainController{ public function contactAction() { return new Response('<h1>Contact us!</h1>'); }}In this very simple example, the controller simply creates a Response object with the HTML "<h1>Contact us!</h1>". In the controller chapter, you'll learn how a controller can render templates, allowing your "presentation" code (i.e. anything that actually writes out HTML) to live in a
20
separate template file. This frees up the controller to worry only about the hard stuff: interacting with the database, handling submitted data, or sending email messages.
Symfony2: Build your App, not your Tools.
You now know that the goal of any app is to interpret each incoming request and create an appropriate response. As an application grows, it becomes more difficult to keep your code organized and maintainable. Invariably, the same complex tasks keep coming up over and over again: persisting things to the database, rendering and reusing templates, handling form submissions, sending emails, validating user input and handling security.The good news is that none of these problems is unique. Symfony provides a framework full of tools that allow you to build your application, not your tools. With Symfony2, nothing is imposed on you: you're free to use the full Symfony framework, or just one piece of Symfony all by itself.
21
Standalone Tools: The Symfony2 Components¶So what is Symfony2? First, Symfony2 is a collection of over twenty independent libraries that can be used inside any PHP project. These libraries, called the Symfony2 Components, contain something useful for almost any situation, regardless of how your project is developed. To name a few:
• HttpFoundation - Contains the Request and Response classes, as well as other classes for handling sessions and file uploads;
• Routing - Powerful and fast routing system that allows you to map a specific URI (e.g. /contact) to some information about how that request should be handled (e.g. execute the contactAction() method);
• Form - A full-featured and flexible framework for creating forms and handing form submissions;
• Validator A system for creating rules about data and then validating whether
22
or not user-submitted data follows those rules;
• ClassLoader An autoloading library that allows PHP classes to be used without needing to manually require the files containing those classes;
• Templating A toolkit for rendering templates, handling template inheritance (i.e. a template is decorated with a layout) and performing other common template tasks;
• Security - A powerful library for handling all types of security inside an application;
• Translation A framework for translating strings in your application.
Each and every one of these components is decoupled and can be used in any PHP project, regardless of whether or not you use the Symfony2 framework. Every part is made to be used if needed and replaced when necessary.
23
The Full Solution: The Symfony2 Framework¶So then, what is the Symfony2 Framework? The Symfony2 Framework is a PHP library that accomplishes two distinct tasks:
1. Provides a selection of components (i.e. the Symfony2 Components) and third-party libraries (e.g. Swiftmailer for sending emails);
2. Provides sensible configuration and a "glue" library that ties all of these pieces together.
The goal of the framework is to integrate many independent tools in order to provide a consistent experience for the developer. Even the framework itself is a Symfony2 bundle (i.e. a plugin) that can be configured or replaced entirely.Symfony2 provides a powerful set of tools for rapidly developing web applications without imposing on your application. Normal users can quickly start development by using a Symfony2 distribution, which provides a project skeleton with sensible defaults. For more advanced users, the sky is the limit.
24
Symfony2 versus Flat PHPWhy is Symfony2 better than just opening up a file and writing flat PHP?If you've never used a PHP framework, aren't familiar with the MVC philosophy, or just wonder what all the hype is around Symfony2, this chapter is for you. Instead of telling you that Symfony2 allows you to develop faster and better software than with flat PHP, you'll see for yourself.In this chapter, you'll write a simple application in flat PHP, and then refactor it to be more organized. You'll travel through time, seeing the decisions behind why web development has evolved over the past several years to where it is now.By the end, you'll see how Symfony2 can rescue you from mundane tasks and let you take back control of your code.
A simple Blog in flat PHP
25
In this chapter, you'll build the token blog application using only flat PHP. To begin, create a single page that displays blog entries that have been persisted to the database. Writing in flat PHP is quick and dirty:<?php// index.php
$link = mysql_connect('localhost', 'myuser', 'mypassword');mysql_select_db('blog_db', $link);
$result = mysql_query('SELECT id, title FROM post', $link);?>
<html> <head> <title>List of Posts</title> </head> <body> <h1>List of Posts</h1> <ul> <?php while ($row = mysql_fetch_assoc($result)): ?> <li>
26
<a href="/show.php?id=<?php echo $row['id'] ?>"> <?php echo $row['title'] ?> </a> </li> <?php endwhile; ?> </ul> </body></html>
<?phpmysql_close($link);That's quick to write, fast to execute, and, as your app grows, impossible to maintain. There are several problems that need to be addressed:
• No error-checking: What if the connection to the database fails?
• Poor organization: If the application grows, this single file will become increasingly unmaintainable. Where should you put code to handle a form submission? How can you validate data? Where should code go for sending emails?
27
• Difficult to reuse code: Since everything is in one file, there's no way to reuse any part of the application for other "pages" of the blog.
Another problem not mentioned here is the fact that the database is tied to MySQL. Though not covered here, Symfony2 fully integrates Doctrine, a library dedicated to database abstraction and mapping.Let's get to work on solving these problems and more.Isolating the Presentation¶The code can immediately gain from separating the application "logic" from the code that prepares the HTML "presentation":<?php// index.php
$link = mysql_connect('localhost', 'myuser', 'mypassword');mysql_select_db('blog_db', $link);
$result = mysql_query('SELECT id, title FROM post', $link);
$posts = array();28

while ($row = mysql_fetch_assoc($result)) { $posts[] = $row;}
mysql_close($link);
// include the HTML presentation coderequire 'templates/list.php';The HTML code is now stored in a separate file (templates/list.php), which is primarily an HTML file that uses a template-like PHP syntax:<html> <head> <title>List of Posts</title> </head> <body> <h1>List of Posts</h1> <ul> <?php foreach ($posts as $post): ?> <li> <a href="/read?id=<?php echo $post['id'] ?>"> <?php echo $post['title'] ?>
29
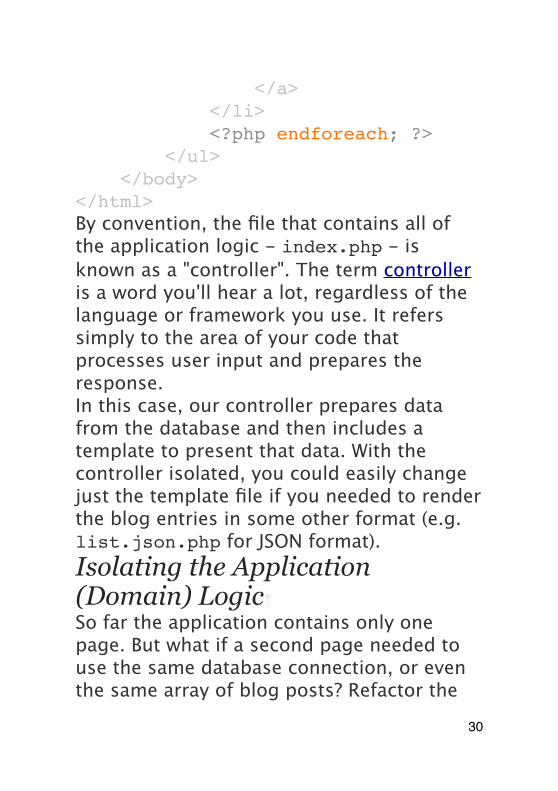
</a> </li> <?php endforeach; ?> </ul> </body></html>By convention, the file that contains all of the application logic - index.php - is known as a "controller". The term controller is a word you'll hear a lot, regardless of the language or framework you use. It refers simply to the area of your code that processes user input and prepares the response.In this case, our controller prepares data from the database and then includes a template to present that data. With the controller isolated, you could easily change just the template file if you needed to render the blog entries in some other format (e.g. list.json.php for JSON format).Isolating the Application (Domain) Logic¶So far the application contains only one page. But what if a second page needed to use the same database connection, or even the same array of blog posts? Refactor the
30
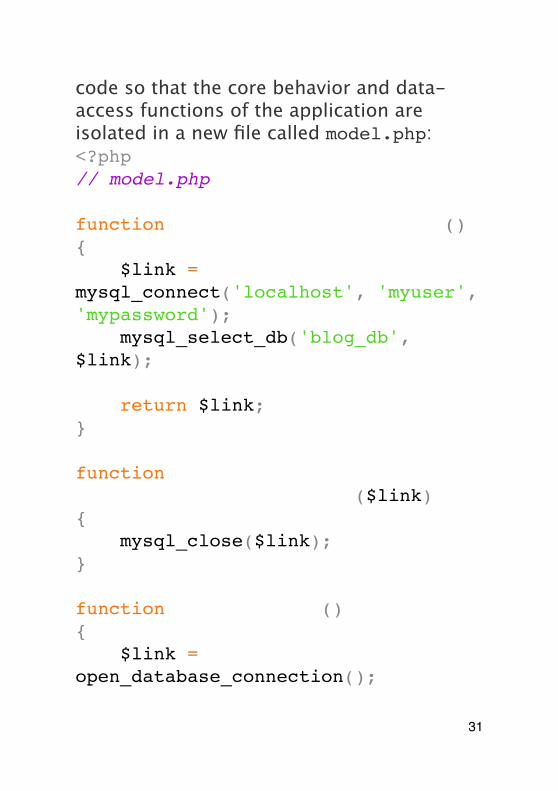
code so that the core behavior and data-access functions of the application are isolated in a new file called model.php:<?php// model.php
function open_database_connection(){ $link = mysql_connect('localhost', 'myuser', 'mypassword'); mysql_select_db('blog_db', $link);
return $link;}
function close_database_connection($link){ mysql_close($link);}
function get_all_posts(){ $link = open_database_connection();
31
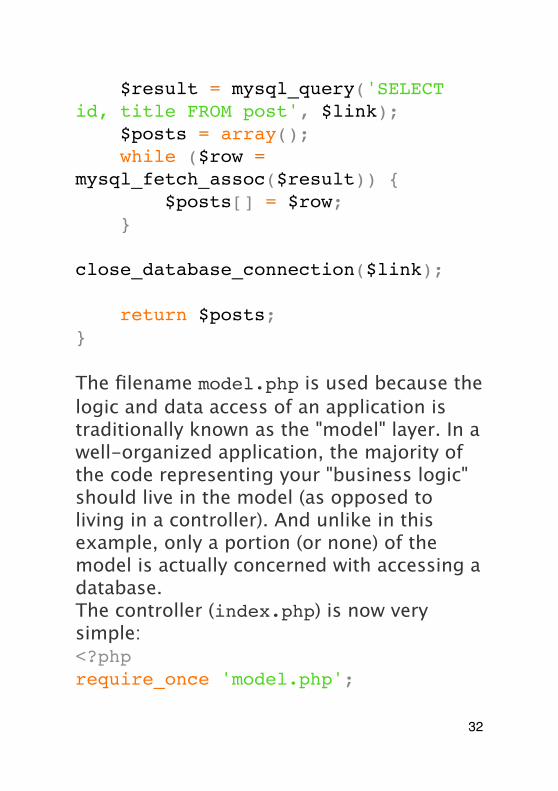
$result = mysql_query('SELECT id, title FROM post', $link); $posts = array(); while ($row = mysql_fetch_assoc($result)) { $posts[] = $row; } close_database_connection($link);
return $posts;}
The filename model.php is used because the logic and data access of an application is traditionally known as the "model" layer. In a well-organized application, the majority of the code representing your "business logic" should live in the model (as opposed to living in a controller). And unlike in this example, only a portion (or none) of the model is actually concerned with accessing a database.The controller (index.php) is now very simple:<?phprequire_once 'model.php';
32

$posts = get_all_posts();
require 'templates/list.php';Now, the sole task of the controller is to get data from the model layer of the application (the model) and to call a template to render that data. This is a very simple example of the model-view-controller pattern.Isolating the Layout¶At this point, the application has been refactored into three distinct pieces offering various advantages and the opportunity to reuse almost everything on different pages.The only part of the code that can't be reused is the page layout. Fix that by creating a new layout.php file:<!-- templates/layout.php --><html> <head> <title><?php echo $title ?></title> </head> <body> <?php echo $content ?> </body></html>
33
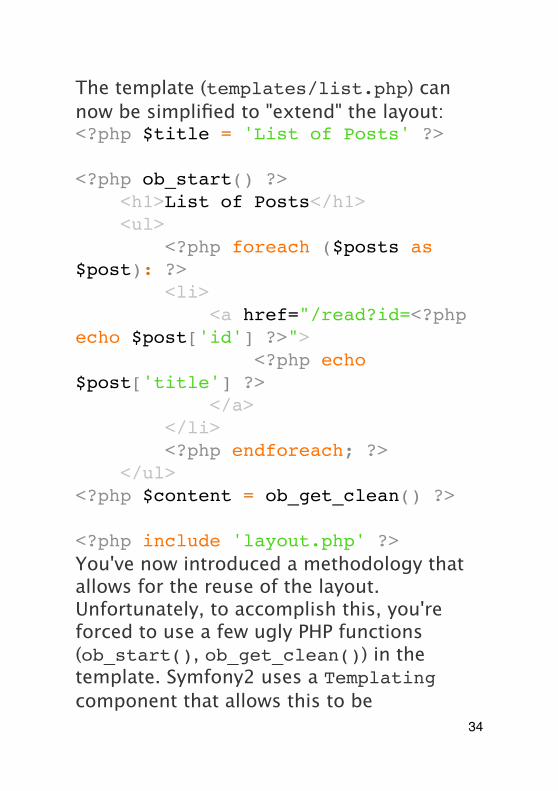
The template (templates/list.php) can now be simplified to "extend" the layout:<?php $title = 'List of Posts' ?>
<?php ob_start() ?> <h1>List of Posts</h1> <ul> <?php foreach ($posts as $post): ?> <li> <a href="/read?id=<?php echo $post['id'] ?>"> <?php echo $post['title'] ?> </a> </li> <?php endforeach; ?> </ul><?php $content = ob_get_clean() ?>
<?php include 'layout.php' ?>You've now introduced a methodology that allows for the reuse of the layout. Unfortunately, to accomplish this, you're forced to use a few ugly PHP functions (ob_start(), ob_get_clean()) in the template. Symfony2 uses a Templating component that allows this to be
34
accomplished cleanly and easily. You'll see it in action shortly.
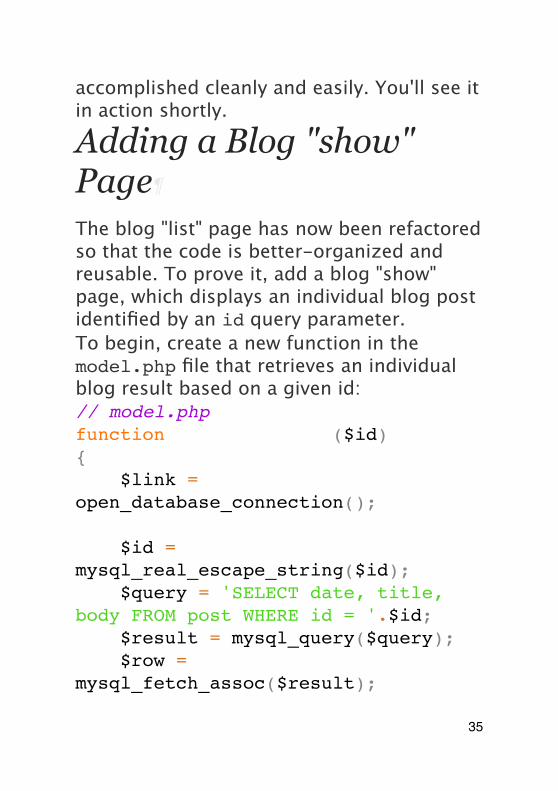
Adding a Blog "show" Page
The blog "list" page has now been refactored so that the code is better-organized and reusable. To prove it, add a blog "show" page, which displays an individual blog post identified by an id query parameter.To begin, create a new function in the model.php file that retrieves an individual blog result based on a given id:// model.phpfunction get_post_by_id($id){ $link = open_database_connection();
$id = mysql_real_escape_string($id); $query = 'SELECT date, title, body FROM post WHERE id = '.$id; $result = mysql_query($query); $row = mysql_fetch_assoc($result);
35
close_database_connection($link);
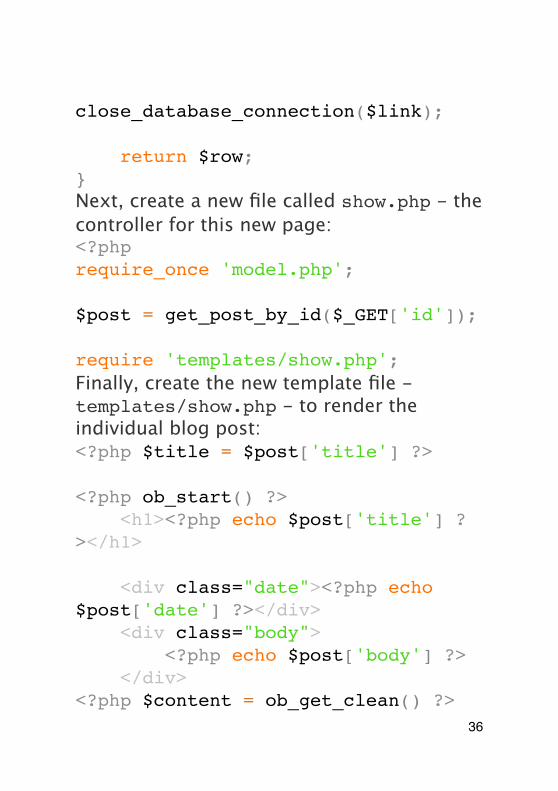
return $row;}Next, create a new file called show.php - the controller for this new page:<?phprequire_once 'model.php';
$post = get_post_by_id($_GET['id']);
require 'templates/show.php';Finally, create the new template file - templates/show.php - to render the individual blog post:<?php $title = $post['title'] ?>
<?php ob_start() ?> <h1><?php echo $post['title'] ?></h1>
<div class="date"><?php echo $post['date'] ?></div> <div class="body"> <?php echo $post['body'] ?> </div><?php $content = ob_get_clean() ?>
36
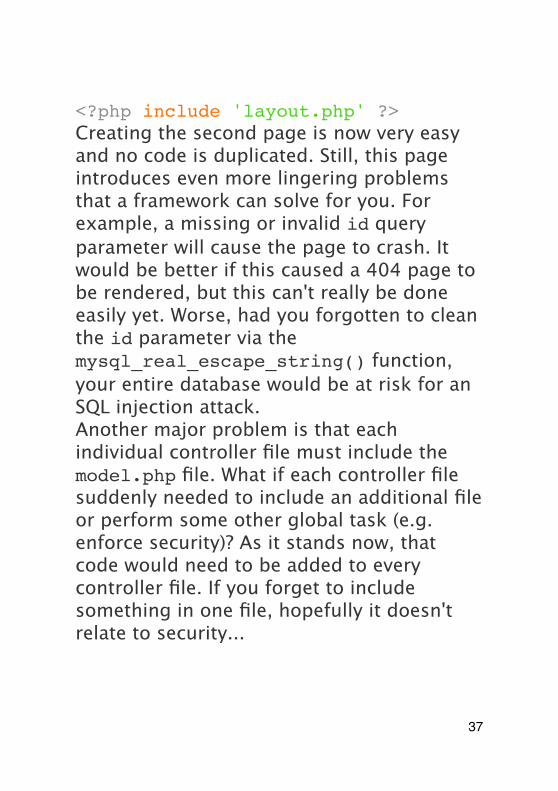
<?php include 'layout.php' ?>Creating the second page is now very easy and no code is duplicated. Still, this page introduces even more lingering problems that a framework can solve for you. For example, a missing or invalid id query parameter will cause the page to crash. It would be better if this caused a 404 page to be rendered, but this can't really be done easily yet. Worse, had you forgotten to clean the id parameter via the mysql_real_escape_string() function, your entire database would be at risk for an SQL injection attack.Another major problem is that each individual controller file must include the model.php file. What if each controller file suddenly needed to include an additional file or perform some other global task (e.g. enforce security)? As it stands now, that code would need to be added to every controller file. If you forget to include something in one file, hopefully it doesn't relate to security...
37
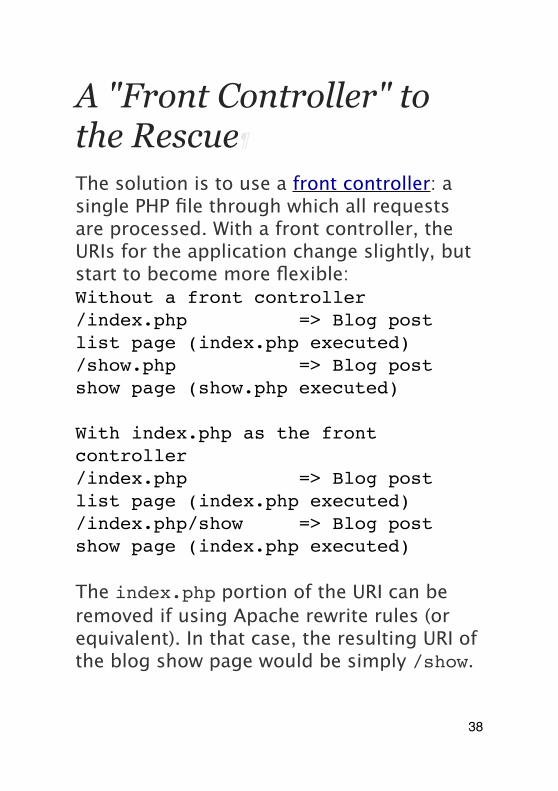
A "Front Controller" to the Rescue
The solution is to use a front controller: a single PHP file through which all requests are processed. With a front controller, the URIs for the application change slightly, but start to become more flexible:Without a front controller/index.php => Blog post list page (index.php executed)/show.php => Blog post show page (show.php executed)
With index.php as the front controller/index.php => Blog post list page (index.php executed)/index.php/show => Blog post show page (index.php executed)
The index.php portion of the URI can be removed if using Apache rewrite rules (or equivalent). In that case, the resulting URI of the blog show page would be simply /show.
38

When using a front controller, a single PHP file (index.php in this case) renders every request. For the blog post show page, /index.php/show will actually execute the index.php file, which is now responsible for routing requests internally based on the full URI. As you'll see, a front controller is a very powerful tool.Creating the Front Controller¶You're about to take a big step with the application. With one file handling all requests, you can centralize things such as security handling, configuration loading, and routing. In this application, index.php must now be smart enough to render the blog post list page or the blog post show page based on the requested URI:<?php// index.php
// load and initialize any global librariesrequire_once 'model.php';require_once 'controllers.php';
// route the request internally$uri = $_SERVER['REQUEST_URI'];
39
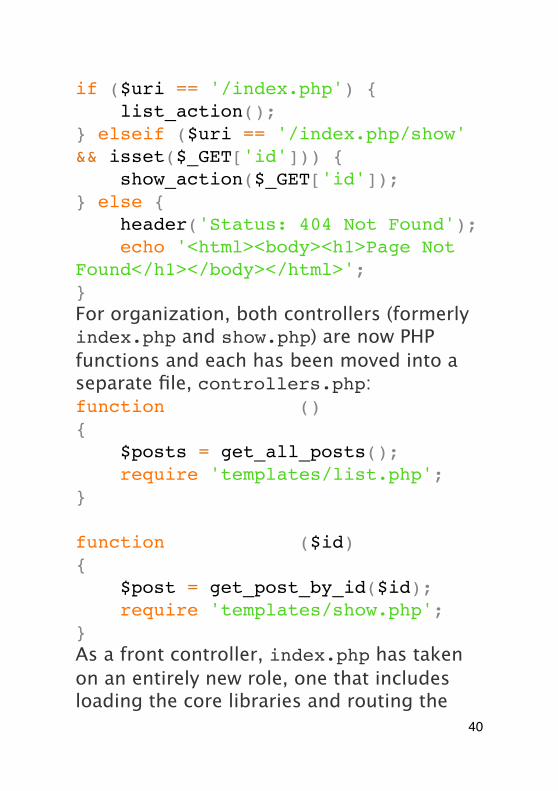
if ($uri == '/index.php') { list_action();} elseif ($uri == '/index.php/show' && isset($_GET['id'])) { show_action($_GET['id']);} else { header('Status: 404 Not Found'); echo '<html><body><h1>Page Not Found</h1></body></html>';}For organization, both controllers (formerly index.php and show.php) are now PHP functions and each has been moved into a separate file, controllers.php:function list_action(){ $posts = get_all_posts(); require 'templates/list.php';}
function show_action($id){ $post = get_post_by_id($id); require 'templates/show.php';}As a front controller, index.php has taken on an entirely new role, one that includes loading the core libraries and routing the
40
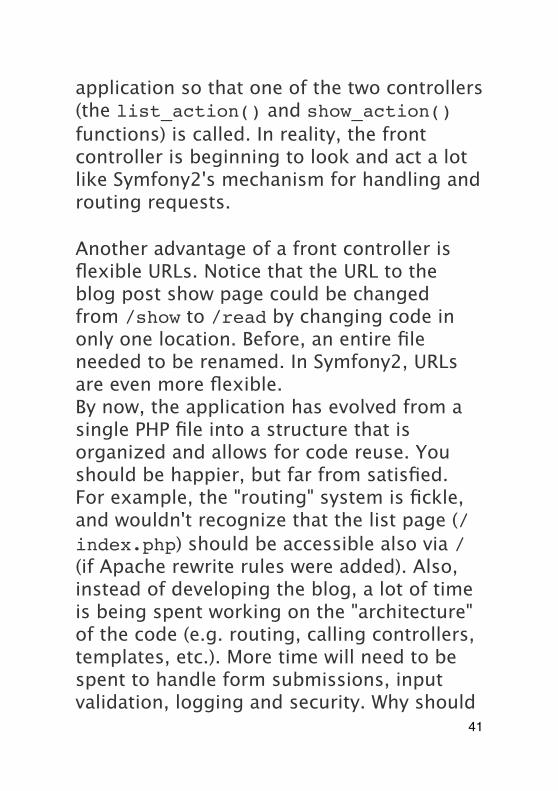
application so that one of the two controllers (the list_action() and show_action() functions) is called. In reality, the front controller is beginning to look and act a lot like Symfony2's mechanism for handling and routing requests.
Another advantage of a front controller is flexible URLs. Notice that the URL to the blog post show page could be changed from /show to /read by changing code in only one location. Before, an entire file needed to be renamed. In Symfony2, URLs are even more flexible.By now, the application has evolved from a single PHP file into a structure that is organized and allows for code reuse. You should be happier, but far from satisfied. For example, the "routing" system is fickle, and wouldn't recognize that the list page (/index.php) should be accessible also via / (if Apache rewrite rules were added). Also, instead of developing the blog, a lot of time is being spent working on the "architecture" of the code (e.g. routing, calling controllers, templates, etc.). More time will need to be spent to handle form submissions, input validation, logging and security. Why should
41
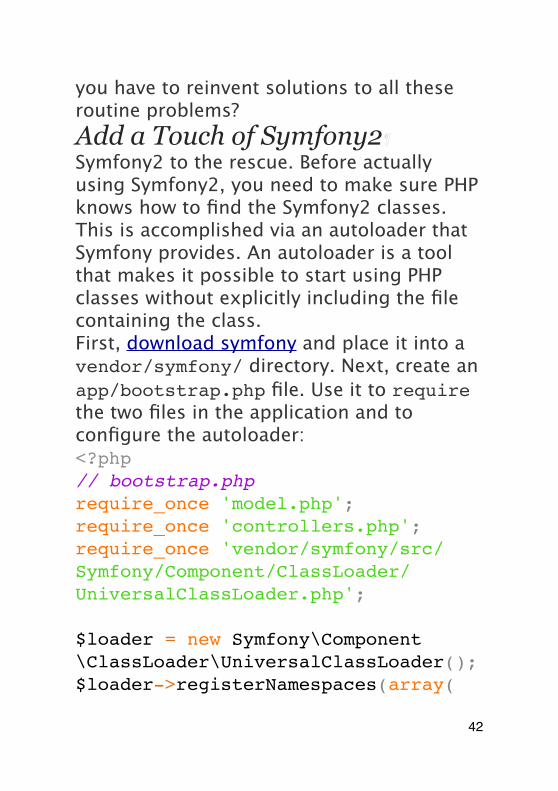
you have to reinvent solutions to all these routine problems?Add a Touch of Symfony2¶Symfony2 to the rescue. Before actually using Symfony2, you need to make sure PHP knows how to find the Symfony2 classes. This is accomplished via an autoloader that Symfony provides. An autoloader is a tool that makes it possible to start using PHP classes without explicitly including the file containing the class.First, download symfony and place it into a vendor/symfony/ directory. Next, create an app/bootstrap.php file. Use it to require the two files in the application and to configure the autoloader:<?php// bootstrap.phprequire_once 'model.php';require_once 'controllers.php';require_once 'vendor/symfony/src/Symfony/Component/ClassLoader/UniversalClassLoader.php';
$loader = new Symfony\Component\ClassLoader\UniversalClassLoader();$loader->registerNamespaces(array(
42
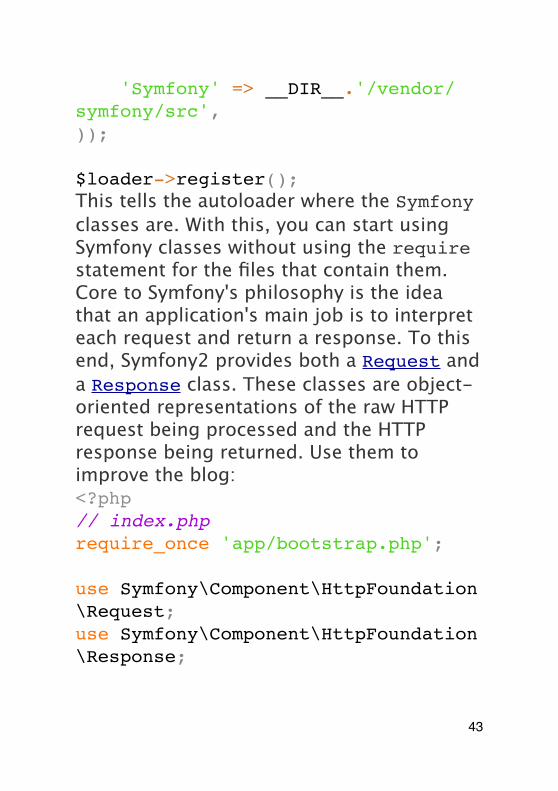
'Symfony' => __DIR__.'/vendor/symfony/src',));
$loader->register();This tells the autoloader where the Symfony classes are. With this, you can start using Symfony classes without using the require statement for the files that contain them.Core to Symfony's philosophy is the idea that an application's main job is to interpret each request and return a response. To this end, Symfony2 provides both a Request and a Response class. These classes are object-oriented representations of the raw HTTP request being processed and the HTTP response being returned. Use them to improve the blog:<?php// index.phprequire_once 'app/bootstrap.php';
use Symfony\Component\HttpFoundation\Request;use Symfony\Component\HttpFoundation\Response;
43
$request = Request::createFromGlobals();
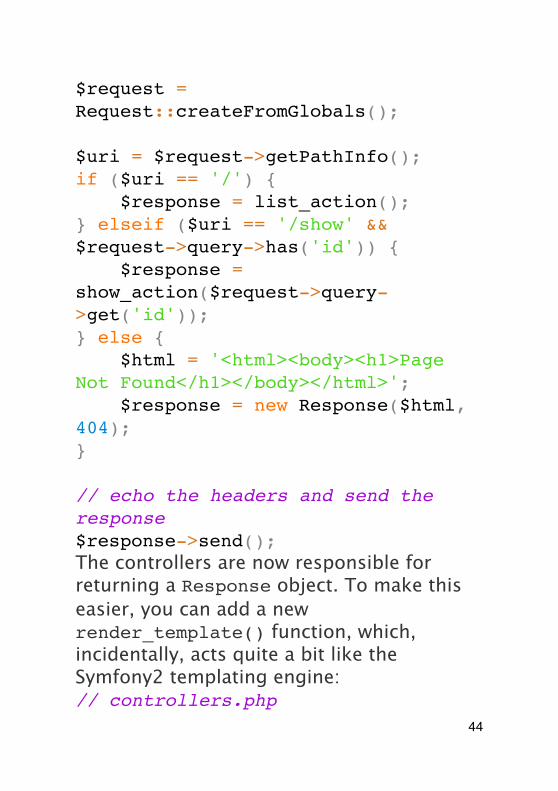
$uri = $request->getPathInfo();if ($uri == '/') { $response = list_action();} elseif ($uri == '/show' && $request->query->has('id')) { $response = show_action($request->query->get('id'));} else { $html = '<html><body><h1>Page Not Found</h1></body></html>'; $response = new Response($html, 404);}
// echo the headers and send the response$response->send();The controllers are now responsible for returning a Response object. To make this easier, you can add a new render_template() function, which, incidentally, acts quite a bit like the Symfony2 templating engine:// controllers.php
44
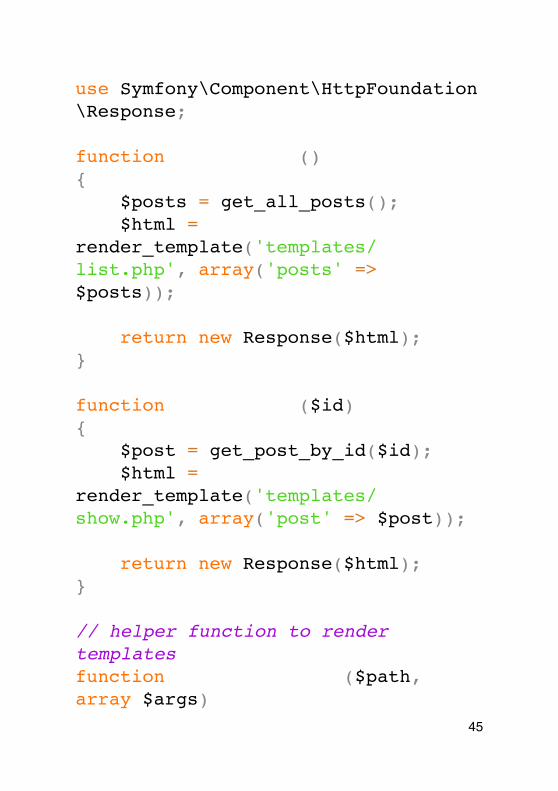
use Symfony\Component\HttpFoundation\Response;
function list_action(){ $posts = get_all_posts(); $html = render_template('templates/list.php', array('posts' => $posts));
return new Response($html);}
function show_action($id){ $post = get_post_by_id($id); $html = render_template('templates/show.php', array('post' => $post));
return new Response($html);}
// helper function to render templatesfunction render_template($path, array $args)
45
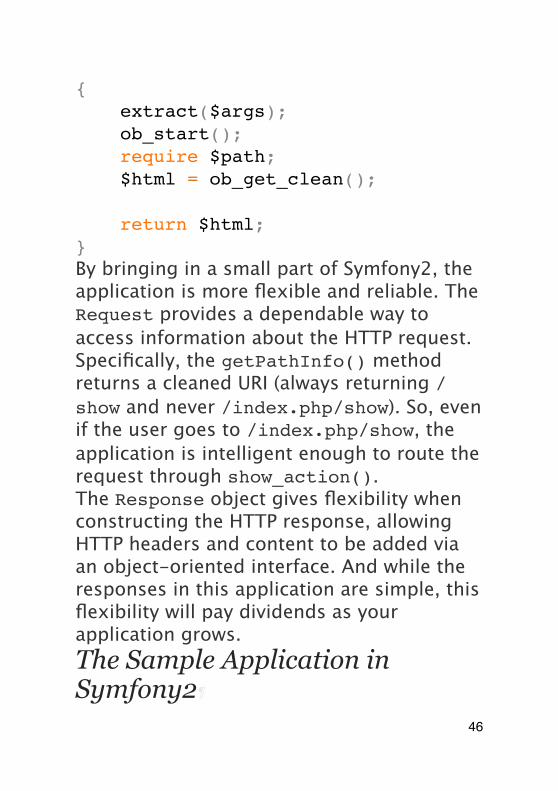
{ extract($args); ob_start(); require $path; $html = ob_get_clean();
return $html;}By bringing in a small part of Symfony2, the application is more flexible and reliable. The Request provides a dependable way to access information about the HTTP request. Specifically, the getPathInfo() method returns a cleaned URI (always returning /show and never /index.php/show). So, even if the user goes to /index.php/show, the application is intelligent enough to route the request through show_action().The Response object gives flexibility when constructing the HTTP response, allowing HTTP headers and content to be added via an object-oriented interface. And while the responses in this application are simple, this flexibility will pay dividends as your application grows.The Sample Application in Symfony2
46
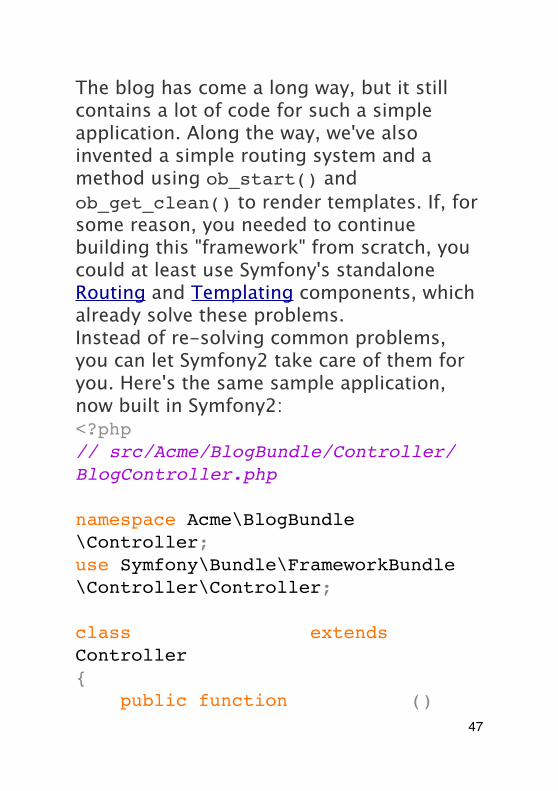
The blog has come a long way, but it still contains a lot of code for such a simple application. Along the way, we've also invented a simple routing system and a method using ob_start() and ob_get_clean() to render templates. If, for some reason, you needed to continue building this "framework" from scratch, you could at least use Symfony's standalone Routing and Templating components, which already solve these problems.Instead of re-solving common problems, you can let Symfony2 take care of them for you. Here's the same sample application, now built in Symfony2:<?php// src/Acme/BlogBundle/Controller/BlogController.php
namespace Acme\BlogBundle\Controller;use Symfony\Bundle\FrameworkBundle\Controller\Controller;
class BlogController extends Controller{ public function listAction()
47
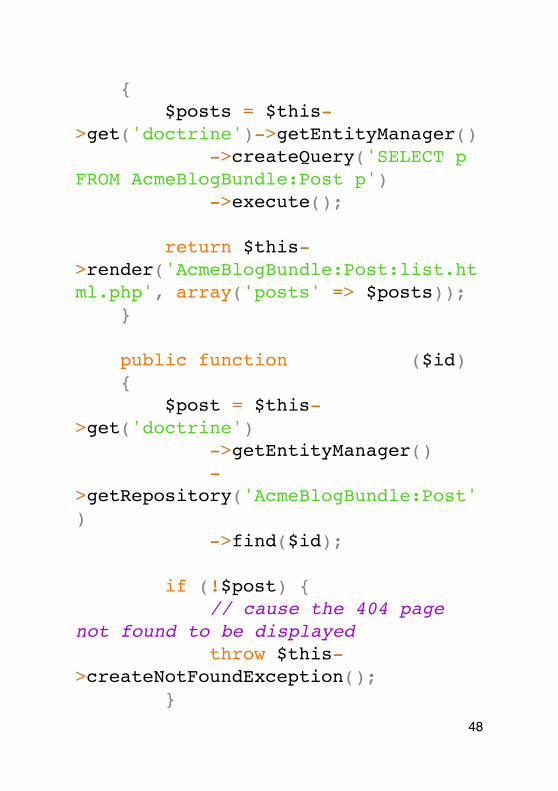
{ $posts = $this->get('doctrine')->getEntityManager() ->createQuery('SELECT p FROM AcmeBlogBundle:Post p') ->execute();
return $this->render('AcmeBlogBundle:Post:list.html.php', array('posts' => $posts)); }
public function showAction($id) { $post = $this->get('doctrine') ->getEntityManager() ->getRepository('AcmeBlogBundle:Post') ->find($id);
if (!$post) { // cause the 404 page not found to be displayed throw $this->createNotFoundException(); }
48
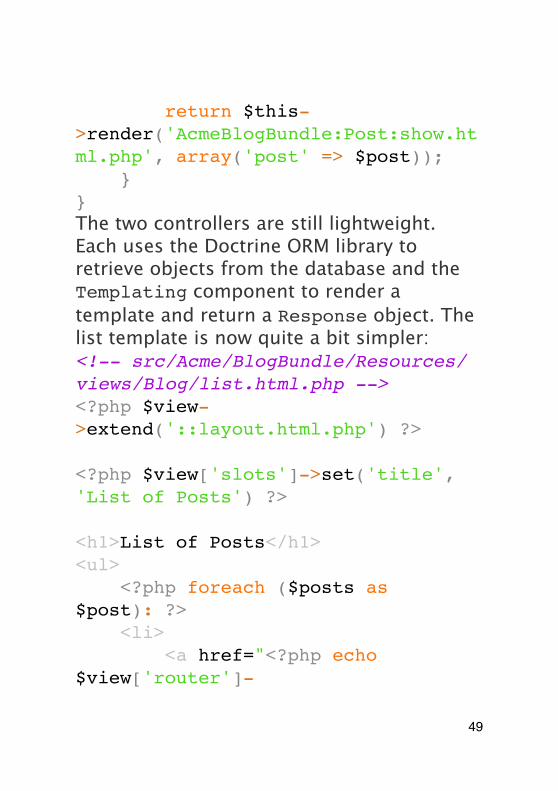
return $this->render('AcmeBlogBundle:Post:show.html.php', array('post' => $post)); }}The two controllers are still lightweight. Each uses the Doctrine ORM library to retrieve objects from the database and the Templating component to render a template and return a Response object. The list template is now quite a bit simpler:<!-- src/Acme/BlogBundle/Resources/views/Blog/list.html.php --><?php $view->extend('::layout.html.php') ?>
<?php $view['slots']->set('title', 'List of Posts') ?>
<h1>List of Posts</h1><ul> <?php foreach ($posts as $post): ?> <li> <a href="<?php echo $view['router']-
49
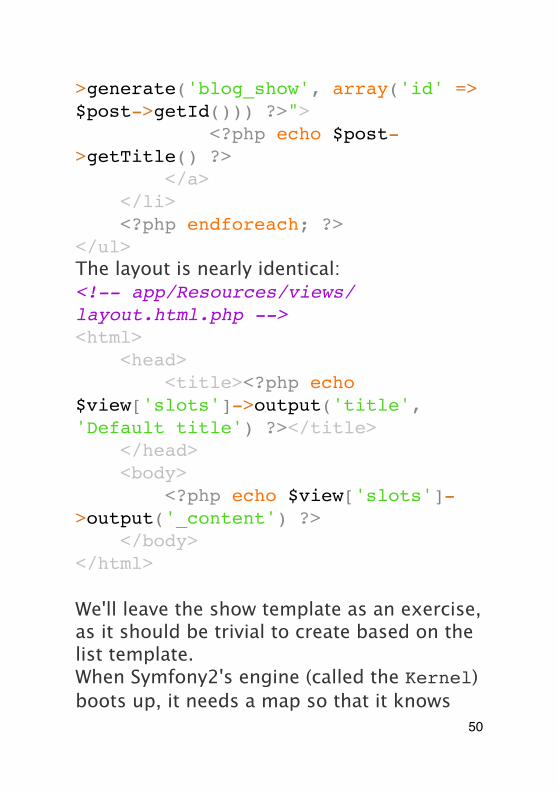
>generate('blog_show', array('id' => $post->getId())) ?>"> <?php echo $post->getTitle() ?> </a> </li> <?php endforeach; ?></ul>The layout is nearly identical:<!-- app/Resources/views/layout.html.php --><html> <head> <title><?php echo $view['slots']->output('title', 'Default title') ?></title> </head> <body> <?php echo $view['slots']->output('_content') ?> </body></html>
We'll leave the show template as an exercise, as it should be trivial to create based on the list template.When Symfony2's engine (called the Kernel) boots up, it needs a map so that it knows
50
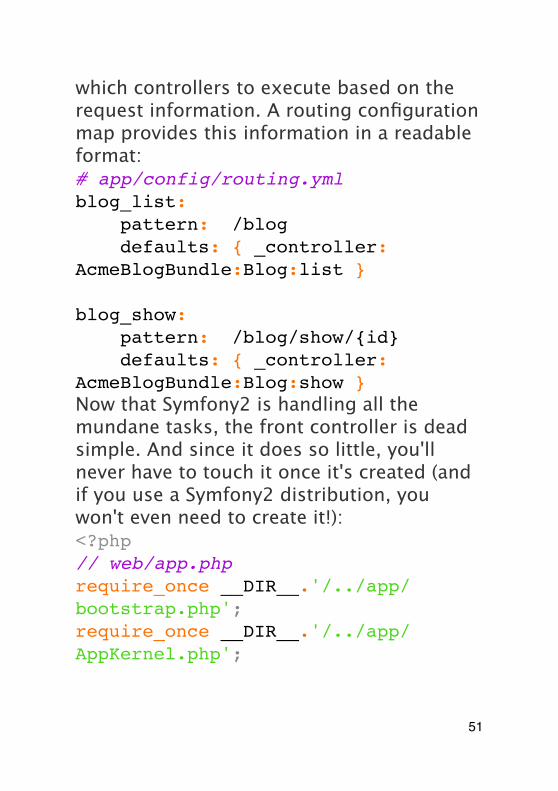
which controllers to execute based on the request information. A routing configuration map provides this information in a readable format:# app/config/routing.ymlblog_list: pattern: /blog defaults: { _controller: AcmeBlogBundle:Blog:list }
blog_show: pattern: /blog/show/{id} defaults: { _controller: AcmeBlogBundle:Blog:show }Now that Symfony2 is handling all the mundane tasks, the front controller is dead simple. And since it does so little, you'll never have to touch it once it's created (and if you use a Symfony2 distribution, you won't even need to create it!):<?php// web/app.phprequire_once __DIR__.'/../app/bootstrap.php';require_once __DIR__.'/../app/AppKernel.php';
51
use Symfony\Component\HttpFoundation\Request;
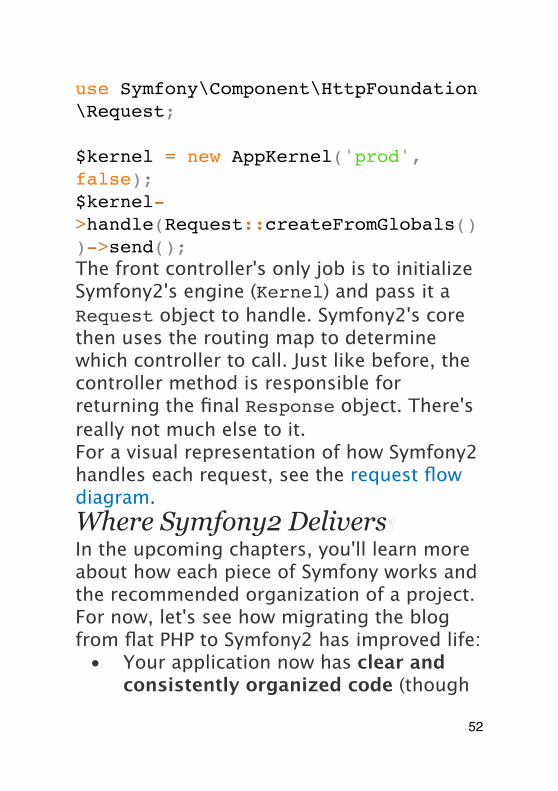
$kernel = new AppKernel('prod', false);$kernel->handle(Request::createFromGlobals())->send();The front controller's only job is to initialize Symfony2's engine (Kernel) and pass it a Request object to handle. Symfony2's core then uses the routing map to determine which controller to call. Just like before, the controller method is responsible for returning the final Response object. There's really not much else to it.For a visual representation of how Symfony2 handles each request, see the request flow diagram.Where Symfony2 Delivers¶In the upcoming chapters, you'll learn more about how each piece of Symfony works and the recommended organization of a project. For now, let's see how migrating the blog from flat PHP to Symfony2 has improved life:
• Your application now has clear and consistently organized code (though
52
Symfony doesn't force you into this). This promotes reusability and allows for new developers to be productive in your project more quickly.
• 100% of the code you write is for your application. You don't need to develop or maintain low-level utilities such as autoloading, routing, or rendering controllers.
• Symfony2 gives you access to open source tools such as Doctrine and the Templating, Security, Form, Validation and Translation components (to name a few).
• The application now enjoys fully-flexible URLs thanks to the Routing component.
• Symfony2's HTTP-centric architecture gives you access to powerful tools such as HTTP caching powered by Symfony2's internal HTTP cache or more powerful tools such as Varnish. This is covered in a later chapter all about caching.
53
And perhaps best of all, by using Symfony2, you now have access to a whole set of high-quality open source tools developed by the Symfony2 community! For more information, check out Symfony2Bundles.org
Better templates
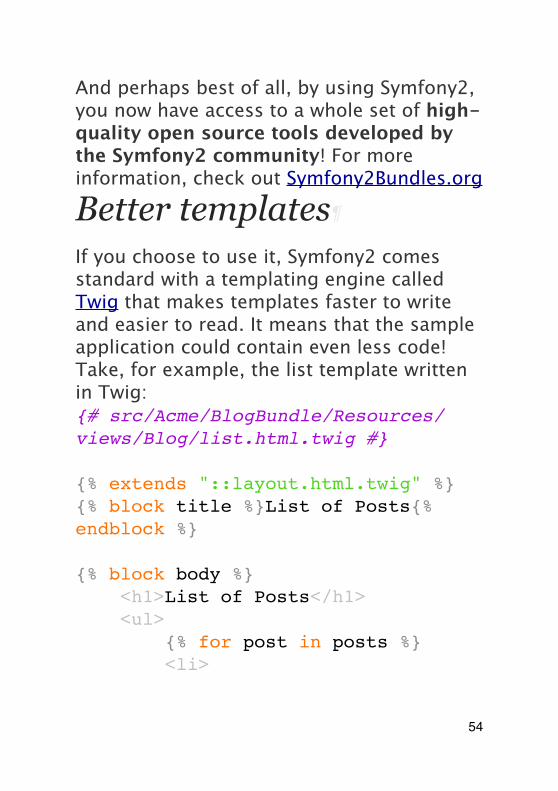
If you choose to use it, Symfony2 comes standard with a templating engine called Twig that makes templates faster to write and easier to read. It means that the sample application could contain even less code! Take, for example, the list template written in Twig:{# src/Acme/BlogBundle/Resources/views/Blog/list.html.twig #}
{% extends "::layout.html.twig" %}{% block title %}List of Posts{% endblock %}
{% block body %} <h1>List of Posts</h1> <ul> {% for post in posts %} <li>
54
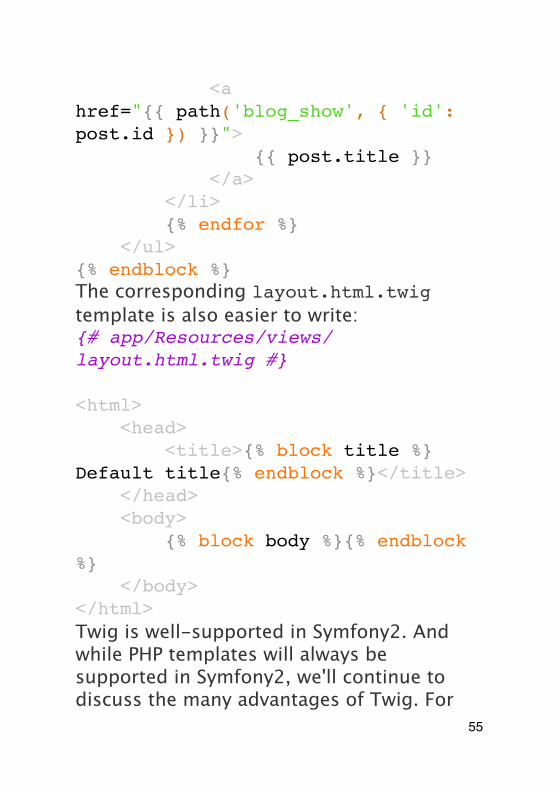
<a href="{{ path('blog_show', { 'id': post.id }) }}"> {{ post.title }} </a> </li> {% endfor %} </ul>{% endblock %}The corresponding layout.html.twig template is also easier to write:{# app/Resources/views/layout.html.twig #}
<html> <head> <title>{% block title %}Default title{% endblock %}</title> </head> <body> {% block body %}{% endblock %} </body></html>Twig is well-supported in Symfony2. And while PHP templates will always be supported in Symfony2, we'll continue to discuss the many advantages of Twig. For
55
more information, see the templating chapter.
Learn more from the Cookbook
• How to use PHP instead of Twig for Templates
• How to define Controllers as Services
56
Installing and Configuring SymfonyThe goal of this chapter is to get you up and running with a working application built on top of Symfony. Fortunately, Symfony offers "distributions", which are functional Symfony "starter" projects that you can download and begin developing in immediately.
If you're looking for instructions on how best to create a new project and store it via source control, see Using Source Control.
Downloading a Symfony2 Distribution
First, check that you have installed and configured a Web server (such as Apache) with PHP 5.3.2 or higher. For more
57
information on Symfony2 requirements, see the requirements reference.Symfony2 packages "distributions", which are fully-functional applications that include the Symfony2 core libraries, a selection of useful bundles, a sensible directory structure and some default configuration. When you download a Symfony2 distribution, you're downloading a functional application skeleton that can be used immediately to begin developing your application.Start by visiting the Symfony2 download page at http://symfony.com/download. On this page, you'll see the Symfony Standard Edition, which is the main Symfony2 distribution. Here, you'll need to make two choices:
• Download either a .tgz or .zip archive - both are equivalent, download whatever you're more comfortable using;
• Download the distribution with or without vendors. If you have Git installed on your computer, you should download Symfony2 "without vendors",
58
as it adds a bit more flexibility when including third-party/vendor libraries.
Download one of the archives somewhere under your local web server's root directory and unpack it. From a UNIX command line, this can be done with one of the following commands (replacing ### with your actual filename):# for .tgz filetar zxvf Symfony_Standard_Vendors_2.0.###.tgz
# for a .zip fileunzip Symfony_Standard_Vendors_2.0.###.zipWhen you're finished, you should have a Symfony/ directory that looks something like this:www/ <- your web root directory Symfony/ <- the unpacked archive app/ cache/ config/ logs/ src/ ... vendor/
59
... web/ app.php ...
Updating Vendors¶Finally, if you downloaded the archive "without vendors", install the vendors by running the following command from the command line:php bin/vendors installThis command downloads all of the necessary vendor libraries - including Symfony itself - into the vendor/ directory. For more information on how third-party vendor libraries are managed inside Symfony2, see "Managing Vendor Libraries with bin/vendors and deps".Configuration and Setup¶At this point, all of the needed third-party libraries now live in the vendor/ directory. You also have a default application setup in app/ and some sample code inside the src/ directory.Symfony2 comes with a visual server configuration tester to help make sure your Web server and PHP are configured to use
60

Symfony. Use the following URL to check your configuration:http://localhost/Symfony/web/config.phpIf there are any issues, correct them now before moving on.
Setting up PermissionsOne common issue is that the app/cache and app/logs directories must be writable both by the web server and the command line user. On a UNIX system, if your web server user is different from your command line user, you can run the following commands just once in your project to ensure that permissions will be setup properly. Change www-data to the web server user and yourname to your command line user:1. Using ACL on a system that supports chmod +aMany systems allow you to use the chmod +a command. Try this first, and if you get an error - try the next method:rm -rf app/cache/*rm -rf app/logs/*
61
sudo chmod +a "www-data allow delete,write,append,file_inherit,directory_inherit" app/cache app/logssudo chmod +a "yourname allow delete,write,append,file_inherit,directory_inherit" app/cache app/logs2. Using Acl on a system that does not support chmod +aSome systems don't support chmod +a, but do support another utility called setfacl. You may need to enable ACL support on your partition and install setfacl before using it (as is the case with Ubuntu), like so:sudo setfacl -R -m u:www-data:rwx -m u:yourname:rwx app/cache app/logssudo setfacl -dR -m u:www-data:rwx -m u:yourname:rwx app/cache app/logs3. Without using ACLIf you don't have access to changing the ACL of the directories, you will need to change the umask so that the cache and log directories will be group-writable or world-writable (depending if the web server user and the command line user are in the same group or not). To achieve this, put the following line at the beginning of the app/console, web/app.php and web/app_dev.php files:
62
umask(0002); // This will let the permissions be 0775
// or
umask(0000); // This will let the permissions be 0777Note that using the ACL is recommended when you have access to them on your server because changing the umask is not thread-safe.When everything is fine, click on "Go to the Welcome page" to request your first "real" Symfony2 webpage:http://localhost/Symfony/web/app_dev.php/Symfony2 should welcome and congratulate you for your hard work so far!
63
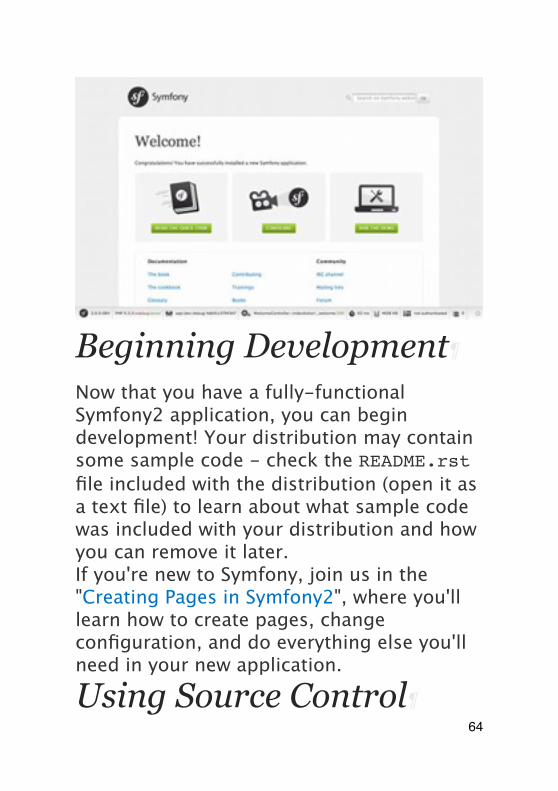
Beginning Development
Now that you have a fully-functional Symfony2 application, you can begin development! Your distribution may contain some sample code - check the README.rst file included with the distribution (open it as a text file) to learn about what sample code was included with your distribution and how you can remove it later.If you're new to Symfony, join us in the "Creating Pages in Symfony2", where you'll learn how to create pages, change configuration, and do everything else you'll need in your new application.
Using Source Control¶64
If you're using a version control system like Git or Subversion, you can setup your version control system and begin committing your project to it as normal. The Symfony Standard edition is the starting point for your new project.For specific instructions on how best to setup your project to be stored in git, see How to Create and store a Symfony2 Project in git.Ignoring the vendor/ Directory¶If you've downloaded the archive without vendors, you can safely ignore the entire vendor/ directory and not commit it to source control. With Git, this is done by creating and adding the following to a .gitignore file:vendor/Now, the vendor directory won't be committed to source control. This is fine (actually, it's great!) because when someone else clones or checks out the project, he/she can simply run the php bin/vendors install script to download all the necessary vendor libraries.
65

Creating Pages in Symfony2Creating a new page in Symfony2 is a simple two-step process:
• Create a route: A route defines the URL (e.g. /about) to your page and specifies a controller (which is a PHP function) that Symfony2 should execute when the URL of an incoming request matches the route pattern;
• Create a controller: A controller is a PHP function that takes the incoming request and transforms it into the Symfony2 Response object that's returned to the user.
This simple approach is beautiful because it matches the way that the Web works. Every interaction on the Web is initiated by an HTTP request. The job of your application is simply to interpret the request and return the appropriate HTTP response.
66
Symfony2 follows this philosophy and provides you with tools and conventions to keep your application organized as it grows in users and complexity.Sounds simple enough? Let's dive in!
The "Hello Symfony!" Page
Let's start with a spin off of the classic "Hello World!" application. When you're finished, the user will be able to get a personal greeting (e.g. "Hello Symfony") by going to the following URL:http://localhost/app_dev.php/hello/SymfonyActually, you'll be able to replace Symfony with any other name to be greeted. To create the page, follow the simple two-step process.
The tutorial assumes that you've already downloaded Symfony2 and configured your webserver. The above URL assumes that localhost points to the web directory of your new Symfony2 project. For detailed
67
information on this process, see the Installing Symfony2.Before you begin: Create the Bundle¶Before you begin, you'll need to create a bundle. In Symfony2, a bundle is like a plugin, except that all of the code in your application will live inside a bundle.A bundle is nothing more than a directory that houses everything related to a specific feature, including PHP classes, configuration, and even stylesheets and Javascript files (see The Bundle System).To create a bundle called AcmeHelloBundle (a play bundle that you'll build in this chapter), run the following command and follow the on-screen instructions (use all of the default options):php app/console generate:bundle --namespace=Acme/HelloBundle --format=ymlBehind the scenes, a directory is created for the bundle at src/Acme/HelloBundle. A line is also automatically added to the app/AppKernel.php file so that the bundle is registered with the kernel:// app/AppKernel.php
68
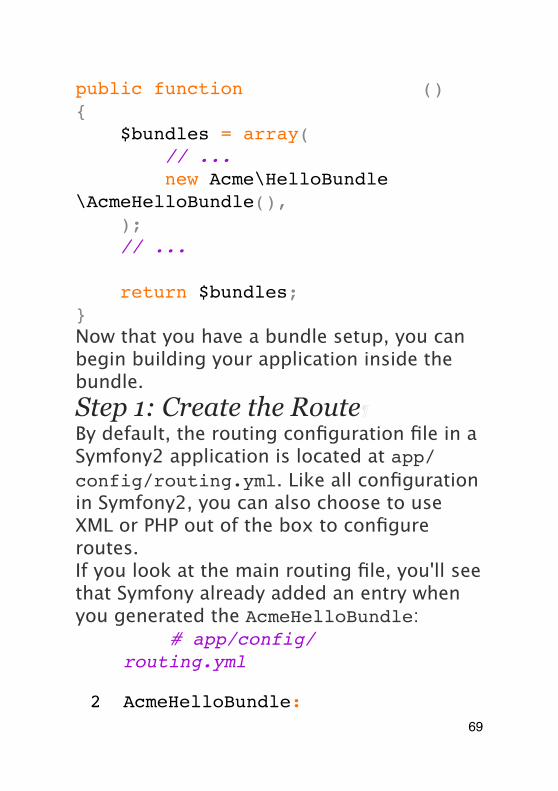
public function registerBundles(){ $bundles = array( // ... new Acme\HelloBundle\AcmeHelloBundle(), ); // ...
return $bundles;}Now that you have a bundle setup, you can begin building your application inside the bundle.Step 1: Create the Route¶By default, the routing configuration file in a Symfony2 application is located at app/config/routing.yml. Like all configuration in Symfony2, you can also choose to use XML or PHP out of the box to configure routes.If you look at the main routing file, you'll see that Symfony already added an entry when you generated the AcmeHelloBundle:
1 YAML# app/config/routing.yml
2 AcmeHelloBundle:69

3 resource: "@AcmeHelloBundle/Resources/config/routing.yml"
4 prefix: /5
6 XML
7 PHP
This entry is pretty basic: it tells Symfony to load routing configuration from the Resources/config/routing.yml file that lives inside the AcmeHelloBundle. This means that you place routing configuration directly in app/config/routing.yml or organize your routes throughout your application, and import them from here.Now that the routing.yml file from the bundle is being imported, add the new route that defines the URL of the page that you're about to create:
1 YAML# src/Acme/HelloBundle/Resources/config/routing.yml
2 hello:3 pattern: /hello/{name}
70
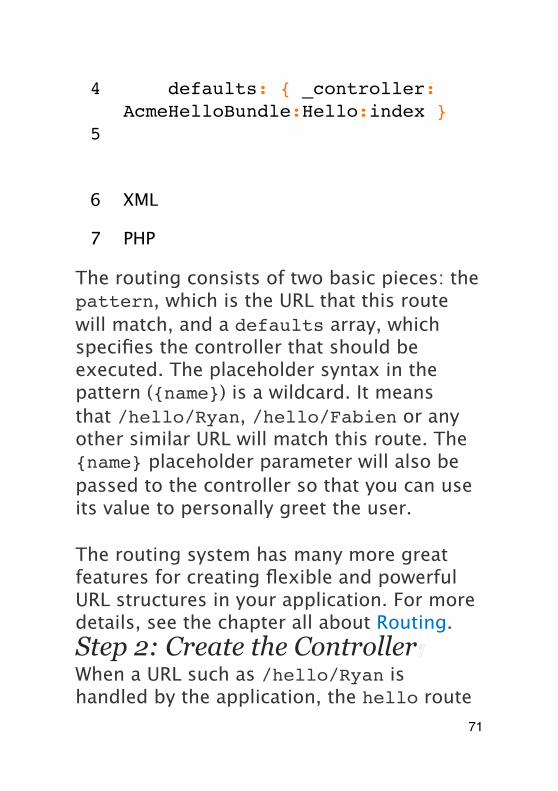
4 defaults: { _controller: AcmeHelloBundle:Hello:index }
5
6 XML
7 PHP
The routing consists of two basic pieces: the pattern, which is the URL that this route will match, and a defaults array, which specifies the controller that should be executed. The placeholder syntax in the pattern ({name}) is a wildcard. It means that /hello/Ryan, /hello/Fabien or any other similar URL will match this route. The {name} placeholder parameter will also be passed to the controller so that you can use its value to personally greet the user.
The routing system has many more great features for creating flexible and powerful URL structures in your application. For more details, see the chapter all about Routing.Step 2: Create the Controller¶When a URL such as /hello/Ryan is handled by the application, the hello route
71
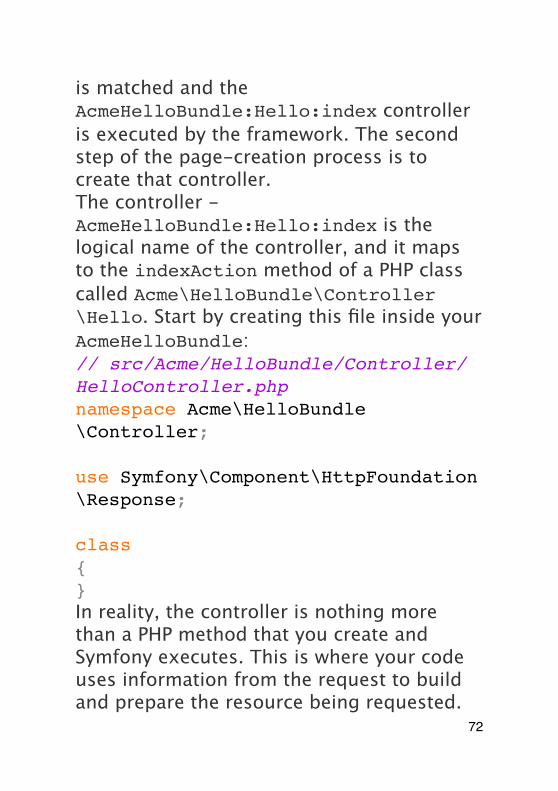
is matched and the AcmeHelloBundle:Hello:index controller is executed by the framework. The second step of the page-creation process is to create that controller.The controller - AcmeHelloBundle:Hello:index is the logical name of the controller, and it maps to the indexAction method of a PHP class called Acme\HelloBundle\Controller\Hello. Start by creating this file inside your AcmeHelloBundle:// src/Acme/HelloBundle/Controller/HelloController.phpnamespace Acme\HelloBundle\Controller;
use Symfony\Component\HttpFoundation\Response;
class HelloController{}In reality, the controller is nothing more than a PHP method that you create and Symfony executes. This is where your code uses information from the request to build and prepare the resource being requested.
72
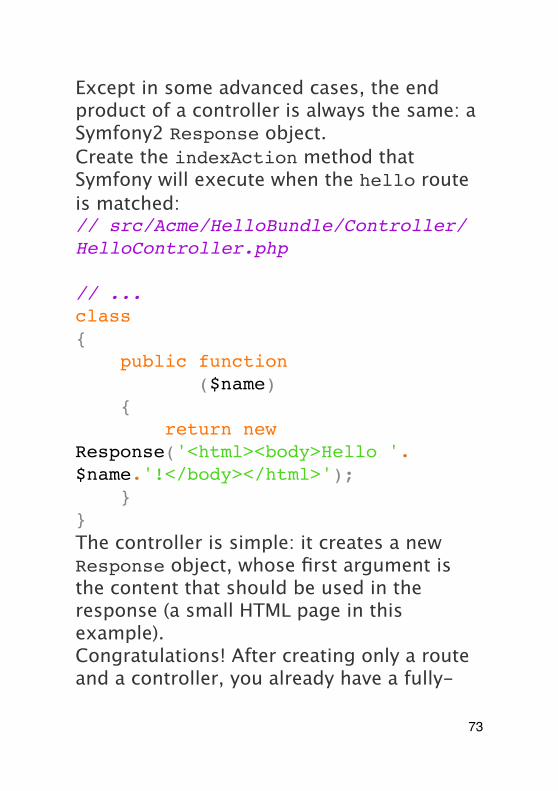
Except in some advanced cases, the end product of a controller is always the same: a Symfony2 Response object.Create the indexAction method that Symfony will execute when the hello route is matched:// src/Acme/HelloBundle/Controller/HelloController.php
// ...class HelloController{ public function indexAction($name) { return new Response('<html><body>Hello '.$name.'!</body></html>'); }}The controller is simple: it creates a new Response object, whose first argument is the content that should be used in the response (a small HTML page in this example).Congratulations! After creating only a route and a controller, you already have a fully-
73
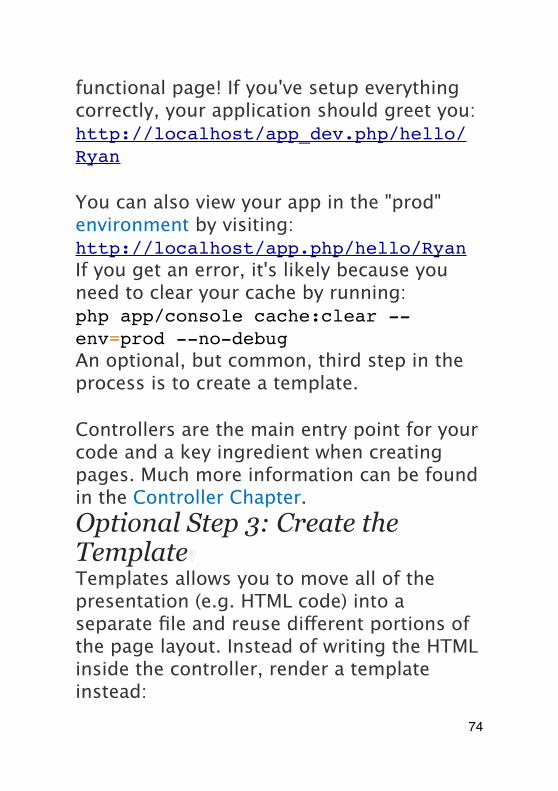
functional page! If you've setup everything correctly, your application should greet you:http://localhost/app_dev.php/hello/Ryan
You can also view your app in the "prod" environment by visiting:http://localhost/app.php/hello/RyanIf you get an error, it's likely because you need to clear your cache by running:php app/console cache:clear --env=prod --no-debugAn optional, but common, third step in the process is to create a template.
Controllers are the main entry point for your code and a key ingredient when creating pages. Much more information can be found in the Controller Chapter.Optional Step 3: Create the Template¶Templates allows you to move all of the presentation (e.g. HTML code) into a separate file and reuse different portions of the page layout. Instead of writing the HTML inside the controller, render a template instead:
74
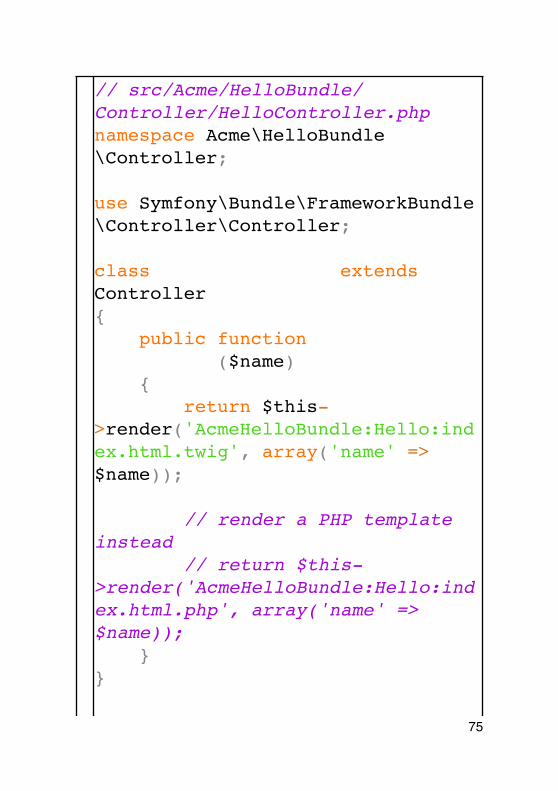
1 2 3 4 5 6 7 8 9101112131415
// src/Acme/HelloBundle/Controller/HelloController.phpnamespace Acme\HelloBundle\Controller;
use Symfony\Bundle\FrameworkBundle\Controller\Controller;
class HelloController extends Controller{ public function indexAction($name) { return $this->render('AcmeHelloBundle:Hello:index.html.twig', array('name' => $name));
// render a PHP template instead // return $this->render('AcmeHelloBundle:Hello:index.html.php', array('name' => $name)); }}
75
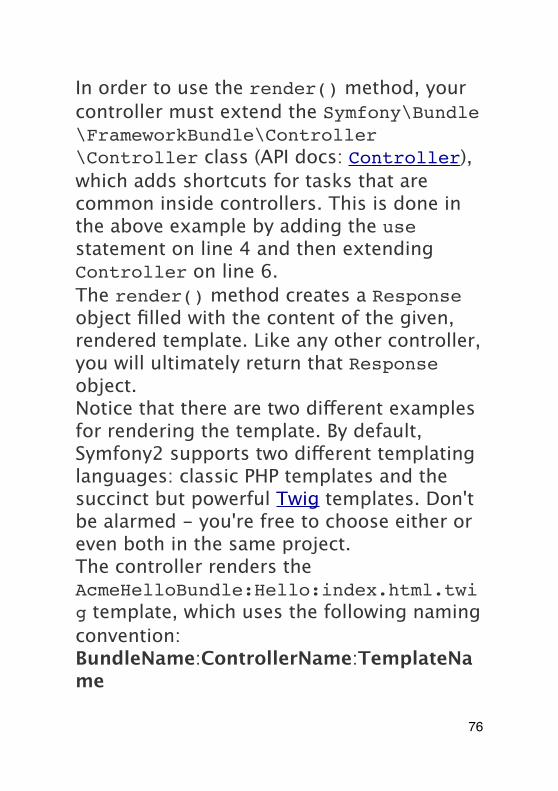
In order to use the render() method, your controller must extend the Symfony\Bundle\FrameworkBundle\Controller\Controller class (API docs: Controller), which adds shortcuts for tasks that are common inside controllers. This is done in the above example by adding the use statement on line 4 and then extending Controller on line 6.The render() method creates a Response object filled with the content of the given, rendered template. Like any other controller, you will ultimately return that Response object.Notice that there are two different examples for rendering the template. By default, Symfony2 supports two different templating languages: classic PHP templates and the succinct but powerful Twig templates. Don't be alarmed - you're free to choose either or even both in the same project.The controller renders the AcmeHelloBundle:Hello:index.html.twig template, which uses the following naming convention:BundleName:ControllerName:TemplateName
76
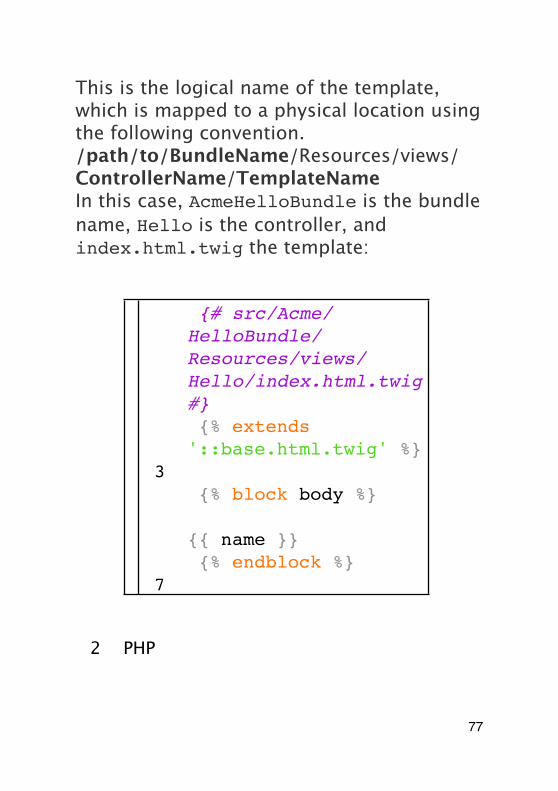
This is the logical name of the template, which is mapped to a physical location using the following convention./path/to/BundleName/Resources/views/ControllerName/TemplateNameIn this case, AcmeHelloBundle is the bundle name, Hello is the controller, and index.html.twig the template:
1 Twig
112233445566
1 {# src/Acme/HelloBundle/Resources/views/Hello/index.html.twig #}
2 {% extends '::base.html.twig' %}
34 {% block body %}5 Hello
{{ name }}!6 {% endblock %}7
2 PHP
77
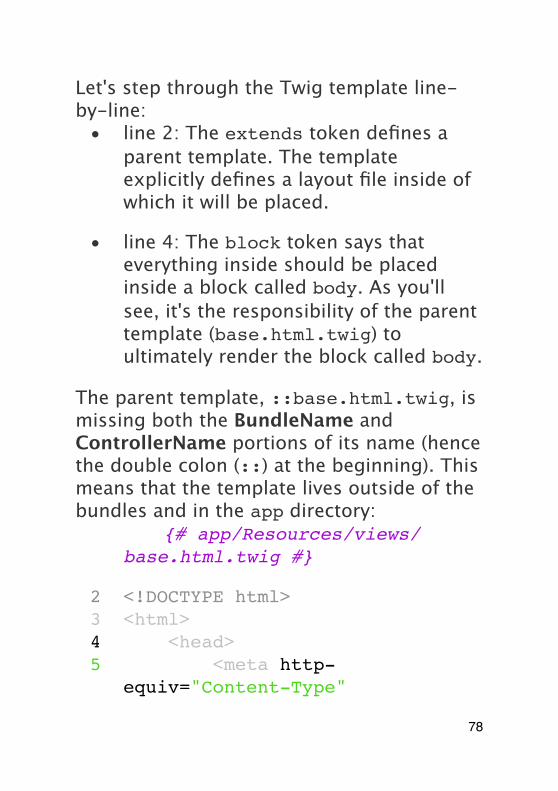
Let's step through the Twig template line-by-line:
• line 2: The extends token defines a parent template. The template explicitly defines a layout file inside of which it will be placed.
• line 4: The block token says that everything inside should be placed inside a block called body. As you'll see, it's the responsibility of the parent template (base.html.twig) to ultimately render the block called body.
The parent template, ::base.html.twig, is missing both the BundleName and ControllerName portions of its name (hence the double colon (::) at the beginning). This means that the template lives outside of the bundles and in the app directory:
1 Twig{# app/Resources/views/base.html.twig #}
2 <!DOCTYPE html>3 <html>4 <head>5 <meta http-
equiv="Content-Type"
78
content="text/html; charset=utf-8" />
6 <title>{% block title %}Welcome!{% endblock %}</title>
7 {% block stylesheets %}{% endblock %}
8 <link rel="shortcut icon" href="{{ asset('favicon.ico') }}" />
9 </head>10 <body>11 {% block body %}{%
endblock %}12 {% block javascripts %}
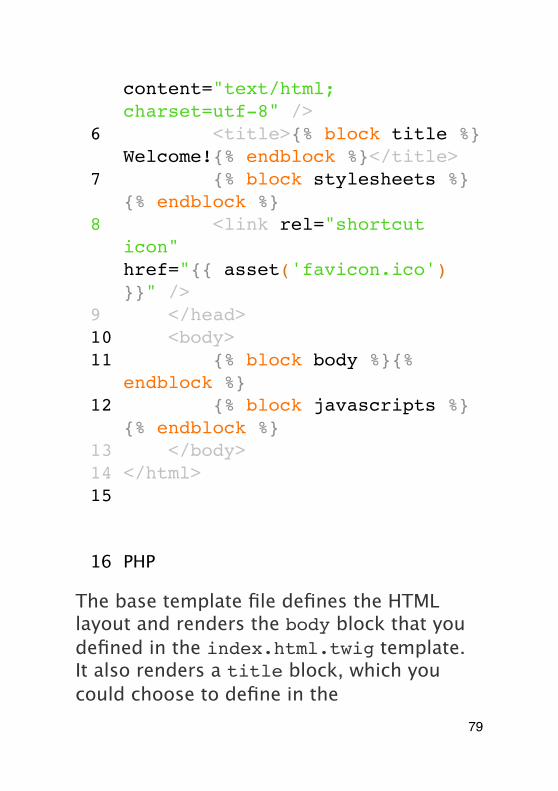
{% endblock %}13 </body>14 </html>15
16 PHP
The base template file defines the HTML layout and renders the body block that you defined in the index.html.twig template. It also renders a title block, which you could choose to define in the
79

index.html.twig template. Since you did not define the title block in the child template, it defaults to "Welcome!".Templates are a powerful way to render and organize the content for your page. A template can render anything, from HTML markup, to CSS code, or anything else that the controller may need to return.In the lifecycle of handling a request, the templating engine is simply an optional tool. Recall that the goal of each controller is to return a Response object. Templates are a powerful, but optional, tool for creating the content for that Response object.
The Directory Structure
After just a few short sections, you already understand the philosophy behind creating and rendering pages in Symfony2. You've also already begun to see how Symfony2 projects are structured and organized. By the end of this section, you'll know where to find and put different types of files and why.Though entirely flexible, by default, each Symfony application has the same basic and recommended directory structure:
80
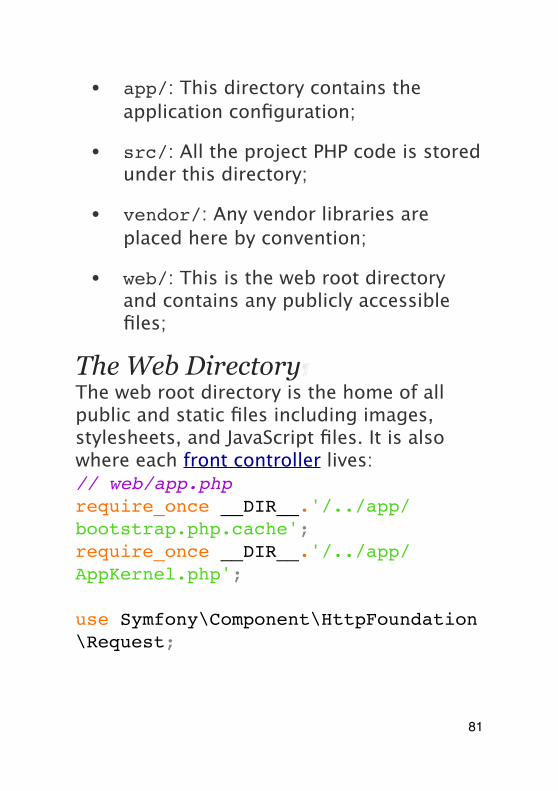
• app/: This directory contains the application configuration;
• src/: All the project PHP code is stored under this directory;
• vendor/: Any vendor libraries are placed here by convention;
• web/: This is the web root directory and contains any publicly accessible files;
The Web Directory¶The web root directory is the home of all public and static files including images, stylesheets, and JavaScript files. It is also where each front controller lives:// web/app.phprequire_once __DIR__.'/../app/bootstrap.php.cache';require_once __DIR__.'/../app/AppKernel.php';
use Symfony\Component\HttpFoundation\Request;
81
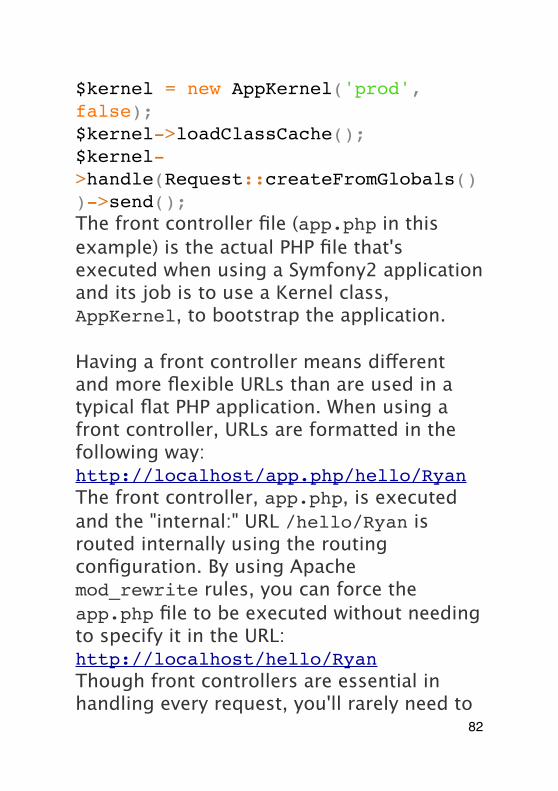
$kernel = new AppKernel('prod', false);$kernel->loadClassCache();$kernel->handle(Request::createFromGlobals())->send();The front controller file (app.php in this example) is the actual PHP file that's executed when using a Symfony2 application and its job is to use a Kernel class, AppKernel, to bootstrap the application.
Having a front controller means different and more flexible URLs than are used in a typical flat PHP application. When using a front controller, URLs are formatted in the following way:http://localhost/app.php/hello/RyanThe front controller, app.php, is executed and the "internal:" URL /hello/Ryan is routed internally using the routing configuration. By using Apache mod_rewrite rules, you can force the app.php file to be executed without needing to specify it in the URL:http://localhost/hello/RyanThough front controllers are essential in handling every request, you'll rarely need to
82
modify or even think about them. We'll mention them again briefly in the Environments section.The Application (app) Directory¶As you saw in the front controller, the AppKernel class is the main entry point of the application and is responsible for all configuration. As such, it is stored in the app/ directory.This class must implement two methods that define everything that Symfony needs to know about your application. You don't even need to worry about these methods when starting - Symfony fills them in for you with sensible defaults.• registerBundles(): Returns an array
of all bundles needed to run the application (see The Bundle System);
• registerContainerConfiguration(): Loads the main application configuration resource file (see the Application Configuration section).
In day-to-day development, you'll mostly use the app/ directory to modify configuration and routing files in the app/config/ directory (see Application
83

Configuration). It also contains the application cache directory (app/cache), a log directory (app/logs) and a directory for application-level resource files, such as templates (app/Resources). You'll learn more about each of these directories in later chapters.
AutoloadingWhen Symfony is loading, a special file - app/autoload.php - is included. This file is responsible for configuring the autoloader, which will autoload your application files from the src/ directory and third-party libraries from the vendor/ directory.Because of the autoloader, you never need to worry about using include or require statements. Instead, Symfony2 uses the namespace of a class to determine its location and automatically includes the file on your behalf the instant you need a class.The autoloader is already configured to look in the src/ directory for any of your PHP classes. For autoloading to work, the class name and path to the file have to follow the same pattern:Class Name:
84
Acme\HelloBundle\Controller\HelloControllerPath: src/Acme/HelloBundle/Controller/HelloController.phpTypically, the only time you'll need to worry about the app/autoload.php file is when you're including a new third-party library in the vendor/ directory. For more information on autoloading, see How to autoload Classes.The Source (src) Directory¶Put simply, the src/ directory contains all of the actual code (PHP code, templates, configuration files, stylesheets, etc) that drives your application. When developing, the vast majority of your work will be done inside one or more bundles that you create in this directory.But what exactly is a bundle?
The Bundle System
A bundle is similar to a plugin in other software, but even better. The key difference is that everything is a bundle in Symfony2, including both the core framework functionality and the code written for your
85
application. Bundles are first-class citizens in Symfony2. This gives you the flexibility to use pre-built features packaged in third-party bundles or to distribute your own bundles. It makes it easy to pick and choose which features to enable in your application and to optimize them the way you want.
While you'll learn the basics here, an entire cookbook entry is devoted to the organization and best practices of bundles.A bundle is simply a structured set of files within a directory that implement a single feature. You might create a BlogBundle, a ForumBundle or a bundle for user management (many of these exist already as open source bundles). Each directory contains everything related to that feature, including PHP files, templates, stylesheets, JavaScripts, tests and anything else. Every aspect of a feature exists in a bundle and every feature lives in a bundle.An application is made up of bundles as defined in the registerBundles() method of the AppKernel class:// app/AppKernel.phppublic function registerBundles(){
86
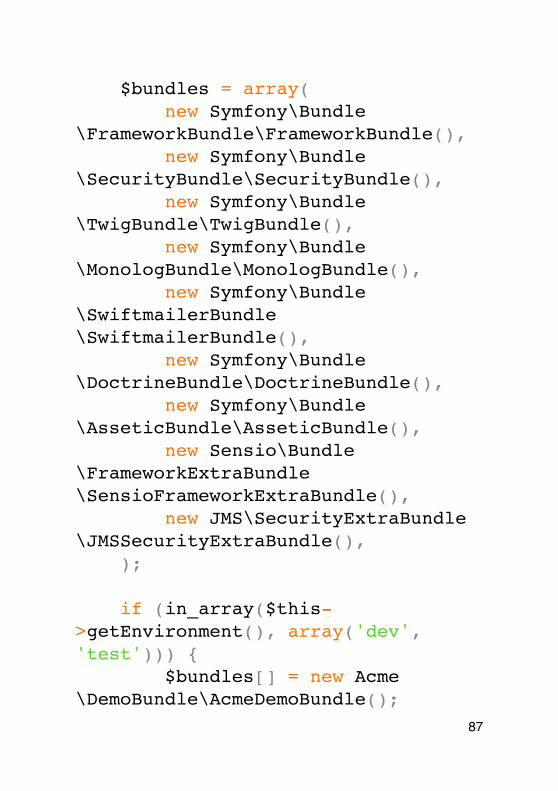
$bundles = array( new Symfony\Bundle\FrameworkBundle\FrameworkBundle(), new Symfony\Bundle\SecurityBundle\SecurityBundle(), new Symfony\Bundle\TwigBundle\TwigBundle(), new Symfony\Bundle\MonologBundle\MonologBundle(), new Symfony\Bundle\SwiftmailerBundle\SwiftmailerBundle(), new Symfony\Bundle\DoctrineBundle\DoctrineBundle(), new Symfony\Bundle\AsseticBundle\AsseticBundle(), new Sensio\Bundle\FrameworkExtraBundle\SensioFrameworkExtraBundle(), new JMS\SecurityExtraBundle\JMSSecurityExtraBundle(), );
if (in_array($this->getEnvironment(), array('dev', 'test'))) { $bundles[] = new Acme\DemoBundle\AcmeDemoBundle();
87
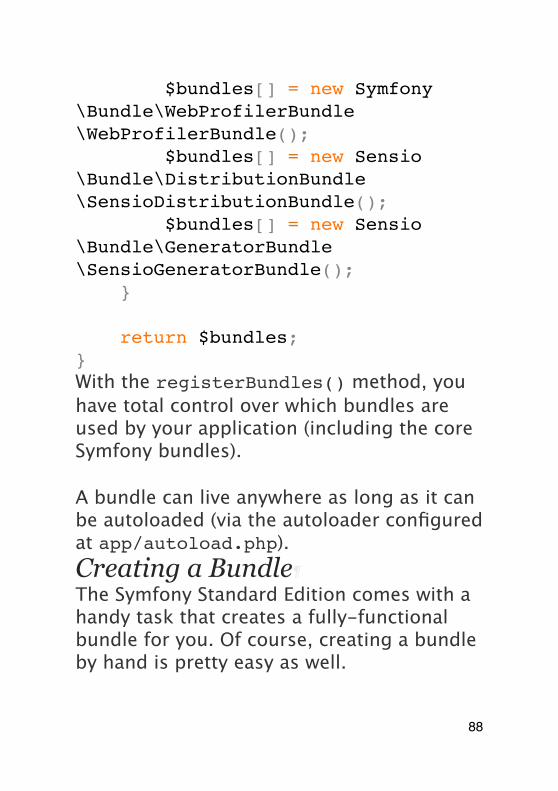
$bundles[] = new Symfony\Bundle\WebProfilerBundle\WebProfilerBundle(); $bundles[] = new Sensio\Bundle\DistributionBundle\SensioDistributionBundle(); $bundles[] = new Sensio\Bundle\GeneratorBundle\SensioGeneratorBundle(); }
return $bundles;}With the registerBundles() method, you have total control over which bundles are used by your application (including the core Symfony bundles).
A bundle can live anywhere as long as it can be autoloaded (via the autoloader configured at app/autoload.php).Creating a Bundle¶The Symfony Standard Edition comes with a handy task that creates a fully-functional bundle for you. Of course, creating a bundle by hand is pretty easy as well.
88
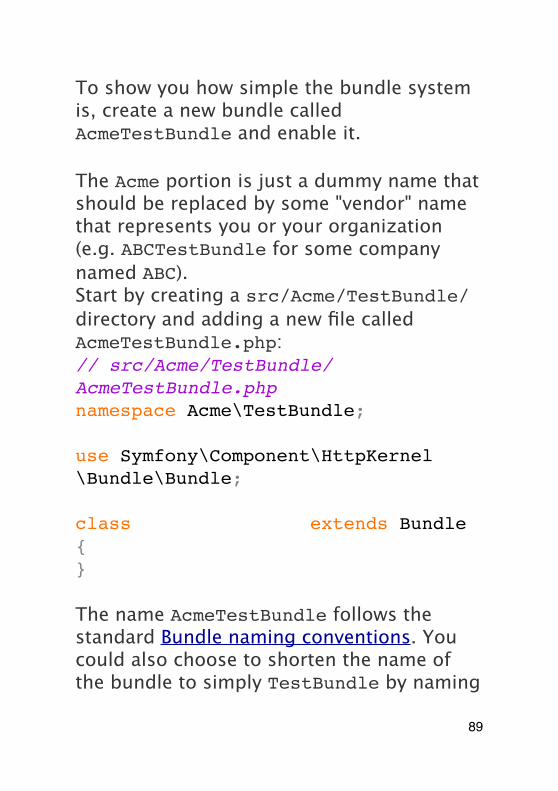
To show you how simple the bundle system is, create a new bundle called AcmeTestBundle and enable it.
The Acme portion is just a dummy name that should be replaced by some "vendor" name that represents you or your organization (e.g. ABCTestBundle for some company named ABC).Start by creating a src/Acme/TestBundle/ directory and adding a new file called AcmeTestBundle.php:// src/Acme/TestBundle/AcmeTestBundle.phpnamespace Acme\TestBundle;
use Symfony\Component\HttpKernel\Bundle\Bundle;
class AcmeTestBundle extends Bundle{}
The name AcmeTestBundle follows the standard Bundle naming conventions. You could also choose to shorten the name of the bundle to simply TestBundle by naming
89
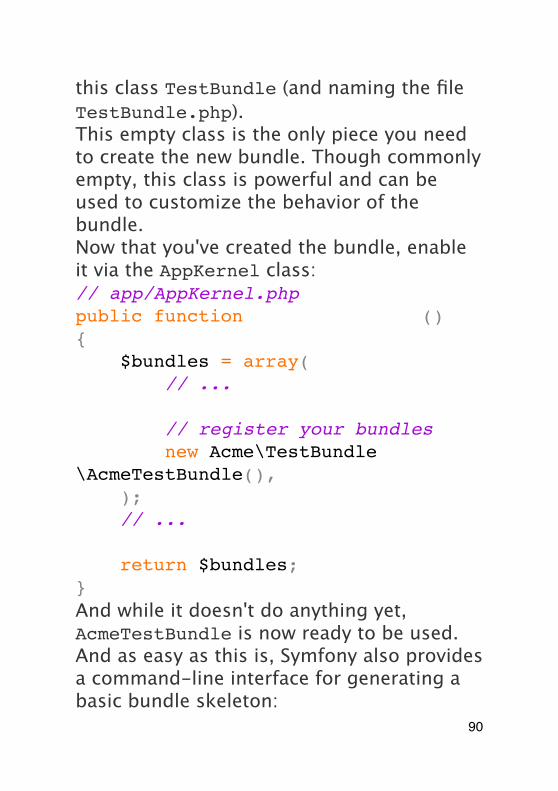
this class TestBundle (and naming the file TestBundle.php).This empty class is the only piece you need to create the new bundle. Though commonly empty, this class is powerful and can be used to customize the behavior of the bundle.Now that you've created the bundle, enable it via the AppKernel class:// app/AppKernel.phppublic function registerBundles(){ $bundles = array( // ...
// register your bundles new Acme\TestBundle\AcmeTestBundle(), ); // ...
return $bundles;}And while it doesn't do anything yet, AcmeTestBundle is now ready to be used.And as easy as this is, Symfony also provides a command-line interface for generating a basic bundle skeleton:
90

php app/console generate:bundle --namespace=Acme/TestBundleThe bundle skeleton generates with a basic controller, template and routing resource that can be customized. You'll learn more about Symfony2's command-line tools later.
Whenever creating a new bundle or using a third-party bundle, always make sure the bundle has been enabled in registerBundles(). When using the generate:bundle command, this is done for you.Bundle Directory Structure¶The directory structure of a bundle is simple and flexible. By default, the bundle system follows a set of conventions that help to keep code consistent between all Symfony2 bundles. Take a look at AcmeHelloBundle, as it contains some of the most common elements of a bundle:• Controller/ contains the controllers
of the bundle (e.g. HelloController.php);
91
• Resources/config/ houses configuration, including routing configuration (e.g. routing.yml);
• Resources/views/ holds templates organized by controller name (e.g. Hello/index.html.twig);
• Resources/public/ contains web assets (images, stylesheets, etc) and is copied or symbolically linked into the project web/ directory via the assets:install console command;
• Tests/ holds all tests for the bundle.
A bundle can be as small or large as the feature it implements. It contains only the files you need and nothing else.As you move through the book, you'll learn how to persist objects to a database, create and validate forms, create translations for your application, write tests and much more. Each of these has their own place and role within the bundle.
Application Configuration
92
An application consists of a collection of bundles representing all of the features and capabilities of your application. Each bundle can be customized via configuration files written in YAML, XML or PHP. By default, the main configuration file lives in the app/config/ directory and is called either config.yml, config.xml or config.php depending on which format you prefer:
1 YAML# app/config/config.yml
2 imports:3 - { resource:
parameters.ini }4 - { resource: security.yml }56 framework:7 secret: %secret%8 charset: UTF-89 router: { resource:
"%kernel.root_dir%/config/routing.yml" }
10 form: true11 csrf_protection: true12 validation:
{ enable_annotations: true }
93
13 templating: { engines: ['twig'] } #assets_version: SomeVersionScheme
14 session:15 default_locale: %locale%16 auto_start: true1718 # Twig Configuration19 twig:20 debug:
%kernel.debug%21 strict_variables:
%kernel.debug%2223 # ...
24 XML
25 PHP
You'll learn exactly how to load each file/format in the next section Environments.Each top-level entry like framework or twig defines the configuration for a particular bundle. For example, the framework key defines the configuration for the core Symfony FrameworkBundle and includes
94
configuration for the routing, templating, and other core systems.For now, don't worry about the specific configuration options in each section. The configuration file ships with sensible defaults. As you read more and explore each part of Symfony2, you'll learn about the specific configuration options of each feature.
Configuration FormatsThroughout the chapters, all configuration examples will be shown in all three formats (YAML, XML and PHP). Each has its own advantages and disadvantages. The choice of which to use is up to you:
• YAML: Simple, clean and readable;
• XML: More powerful than YAML at times and supports IDE autocompletion;
• PHP: Very powerful but less readable than standard configuration formats.
Environments
95
An application can run in various environments. The different environments share the same PHP code (apart from the front controller), but use different configuration. For instance, a dev environment will log warnings and errors, while a prod environment will only log errors. Some files are rebuilt on each request in the dev environment (for the developer's convenience), but cached in the prod environment. All environments live together on the same machine and execute the same application.A Symfony2 project generally begins with three environments (dev, test and prod), though creating new environments is easy. You can view your application in different environments simply by changing the front controller in your browser. To see the application in the dev environment, access the application via the development front controller:http://localhost/app_dev.php/hello/RyanIf you'd like to see how your application will behave in the production environment, call the prod front controller instead:http://localhost/app.php/hello/Ryan
96
Since the prod environment is optimized for speed; the configuration, routing and Twig templates are compiled into flat PHP classes and cached. When viewing changes in the prod environment, you'll need to clear these cached files and allow them to rebuild:php app/console cache:clear --env=prod --no-debug
If you open the web/app.php file, you'll find that it's configured explicitly to use the prod environment:$kernel = new AppKernel('prod', false);You can create a new front controller for a new environment by copying this file and changing prod to some other value.
The test environment is used when running automated tests and cannot be accessed directly through the browser. See the testing chapter for more details.Environment Configuration¶The AppKernel class is responsible for actually loading the configuration file of your choice:// app/AppKernel.php
97
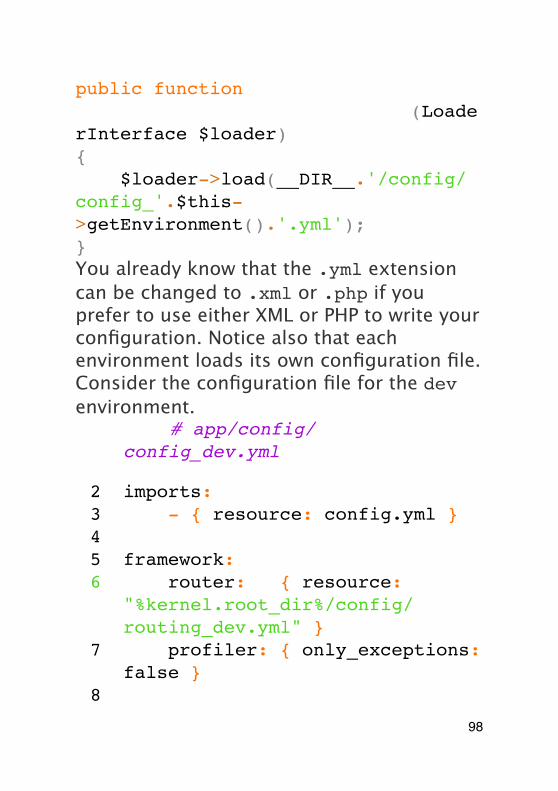
public function registerContainerConfiguration(LoaderInterface $loader){ $loader->load(__DIR__.'/config/config_'.$this->getEnvironment().'.yml');}You already know that the .yml extension can be changed to .xml or .php if you prefer to use either XML or PHP to write your configuration. Notice also that each environment loads its own configuration file. Consider the configuration file for the dev environment.
1 YAML# app/config/config_dev.yml
2 imports:3 - { resource: config.yml }45 framework:6 router: { resource:
"%kernel.root_dir%/config/routing_dev.yml" }
7 profiler: { only_exceptions: false }
8
98
9 # ...10
11 XML
12 PHP
The imports key is similar to a PHP include statement and guarantees that the main configuration file (config.yml) is loaded first. The rest of the file tweaks the default configuration for increased logging and other settings conducive to a development environment.Both the prod and test environments follow the same model: each environment imports the base configuration file and then modifies its configuration values to fit the needs of the specific environment. This is just a convention, but one that allows you to reuse most of your configuration and customize just pieces of it between environments.
Summary
Congratulations! You've now seen every fundamental aspect of Symfony2 and have hopefully discovered how easy and flexible it
99
can be. And while there are a lot of features still to come, be sure to keep the following basic points in mind:
• creating a page is a three-step process involving a route, a controller and (optionally) a template.
• each project contains just a few main directories: web/ (web assets and the front controllers), app/ (configuration), src/ (your bundles), and vendor/ (third-party code) (there's also a bin/ directory that's used to help updated vendor libraries);
• each feature in Symfony2 (including the Symfony2 framework core) is organized into a bundle, which is a structured set of files for that feature;
• the configuration for each bundle lives in the app/config directory and can be specified in YAML, XML or PHP;
• each environment is accessible via a different front controller (e.g. app.php and app_dev.php) and loads a different configuration file.
100
From here, each chapter will introduce you to more and more powerful tools and advanced concepts. The more you know about Symfony2, the more you'll appreciate the flexibility of its architecture and the power it gives you to rapidly develop applications.
101
ControllerA controller is a PHP function you create that takes information from the HTTP request and constructs and returns an HTTP response (as a Symfony2 Response object). The response could be an HTML page, an XML document, a serialized JSON array, an image, a redirect, a 404 error or anything else you can dream up. The controller contains whatever arbitrary logic your application needs to render the content of a page.To see how simple this is, let's look at a Symfony2 controller in action. The following controller would render a page that simply prints Hello world!:use Symfony\Component\HttpFoundation\Response;
public function helloAction(){ return new Response('Hello world!');}
102
The goal of a controller is always the same: create and return a Response object. Along the way, it might read information from the request, load a database resource, send an email, or set information on the user's session. But in all cases, the controller will eventually return the Response object that will be delivered back to the client.There's no magic and no other requirements to worry about! Here are a few common examples:
• Controller A prepares a Response object representing the content for the homepage of the site.
• Controller B reads the slug parameter from the request to load a blog entry from the database and create a Response object displaying that blog. If the slug can't be found in the database, it creates and returns a Response object with a 404 status code.
• Controller C handles the form submission of a contact form. It reads the form information from the request, saves the contact information to the
103
database and emails the contact information to the webmaster. Finally, it creates a Response object that redirects the client's browser to the contact form "thank you" page.
Requests, Controller, Response Lifecycle
Every request handled by a Symfony2 project goes through the same simple lifecycle. The framework takes care of the repetitive tasks and ultimately executes a controller, which houses your custom application code:
1. Each request is handled by a single front controller file (e.g. app.php or app_dev.php) that bootstraps the application;
2. The Router reads information from the request (e.g. the URI), finds a route that matches that information, and reads the _controller parameter from the route;
3. The controller from the matched route is executed and the code inside the
104
controller creates and returns a Response object;
4. The HTTP headers and content of the Response object are sent back to the client.
Creating a page is as easy as creating a controller (#3) and making a route that maps a URL to that controller (#2).
Though similarly named, a "front controller" is different from the "controllers" we'll talk about in this chapter. A front controller is a short PHP file that lives in your web directory and through which all requests are directed. A typical application will have a production front controller (e.g. app.php) and a development front controller (e.g. app_dev.php). You'll likely never need to edit, view or worry about the front controllers in your application.
A Simple Controller
While a controller can be any PHP callable (a function, method on an object, or a Closure), in Symfony2, a controller is
105
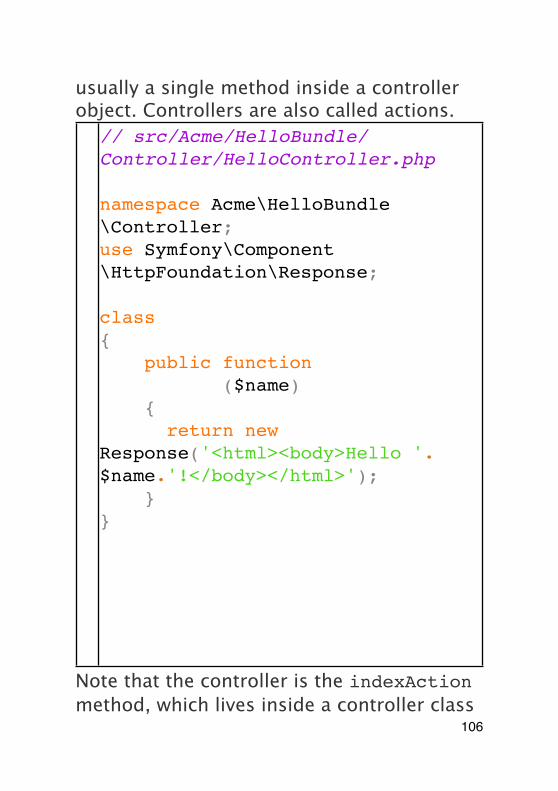
usually a single method inside a controller object. Controllers are also called actions. 1 2 3 4 5 6 7 8 9101112
// src/Acme/HelloBundle/Controller/HelloController.php
namespace Acme\HelloBundle\Controller;use Symfony\Component\HttpFoundation\Response;
class HelloController{ public function indexAction($name) { return new Response('<html><body>Hello '.$name.'!</body></html>'); }}
Note that the controller is the indexAction method, which lives inside a controller class
106
(HelloController). Don't be confused by the naming: a controller class is simply a convenient way to group several controllers/actions together. Typically, the controller class will house several controllers/actions (e.g. updateAction, deleteAction, etc).This controller is pretty straightforward, but let's walk through it:
• line 3: Symfony2 takes advantage of PHP 5.3 namespace functionality to namespace the entire controller class. The use keyword imports the Response class, which our controller must return.
• line 6: The class name is the concatenation of a name for the controller class (i.e. Hello) and the word Controller. This is a convention that provides consistency to controllers and allows them to be referenced only by the first part of the name (i.e. Hello) in the routing configuration.
• line 8: Each action in a controller class is suffixed with Action and is referenced in the routing configuration by the action's name (index). In the
107
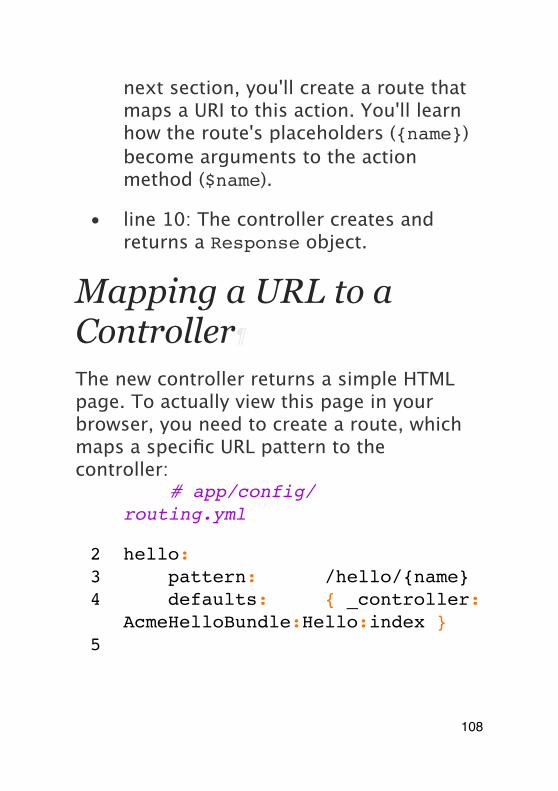
next section, you'll create a route that maps a URI to this action. You'll learn how the route's placeholders ({name}) become arguments to the action method ($name).
• line 10: The controller creates and returns a Response object.
Mapping a URL to a Controller
The new controller returns a simple HTML page. To actually view this page in your browser, you need to create a route, which maps a specific URL pattern to the controller:
1 YAML# app/config/routing.yml
2 hello:3 pattern: /hello/{name}4 defaults: { _controller:
AcmeHelloBundle:Hello:index }5
108
6 XML
7 PHP
Going to /hello/ryan now executes the HelloController::indexAction() controller and passes in ryan for the $name variable. Creating a "page" means simply creating a controller method and associated route.Notice the syntax used to refer to the controller: AcmeHelloBundle:Hello:index. Symfony2 uses a flexible string notation to refer to different controllers. This is the most common syntax and tells Symfony2 to look for a controller class called HelloController inside a bundle named AcmeHelloBundle. The method indexAction() is then executed.For more details on the string format used to reference different controllers, see Controller Naming Pattern.
This example places the routing configuration directly in the app/config/ directory. A better way to organize your routes is to place each route in the bundle it
109
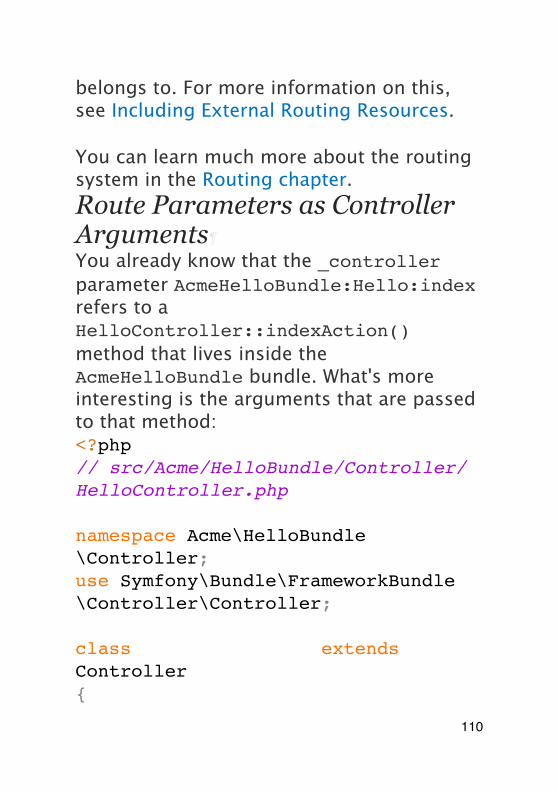
belongs to. For more information on this, see Including External Routing Resources.
You can learn much more about the routing system in the Routing chapter.Route Parameters as Controller Arguments¶You already know that the _controller parameter AcmeHelloBundle:Hello:index refers to a HelloController::indexAction() method that lives inside the AcmeHelloBundle bundle. What's more interesting is the arguments that are passed to that method:<?php// src/Acme/HelloBundle/Controller/HelloController.php
namespace Acme\HelloBundle\Controller;use Symfony\Bundle\FrameworkBundle\Controller\Controller;
class HelloController extends Controller{
110
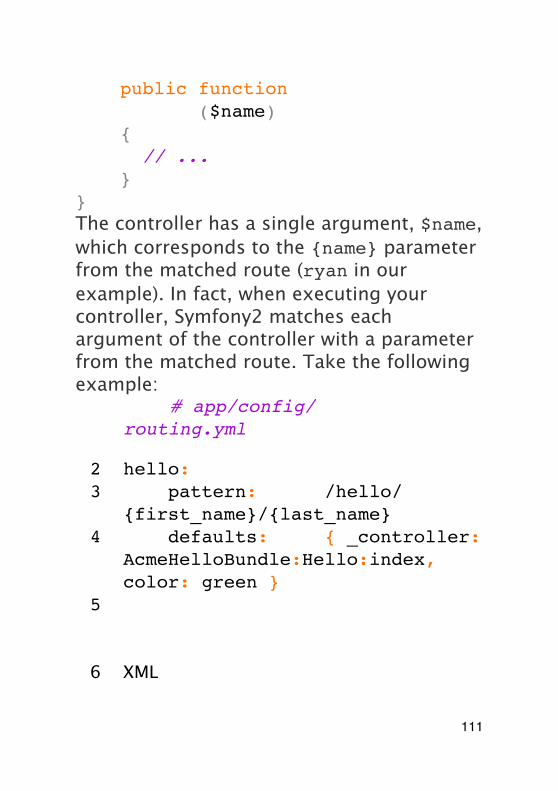
public function indexAction($name) { // ... }}The controller has a single argument, $name, which corresponds to the {name} parameter from the matched route (ryan in our example). In fact, when executing your controller, Symfony2 matches each argument of the controller with a parameter from the matched route. Take the following example:
1 YAML# app/config/routing.yml
2 hello:3 pattern: /hello/
{first_name}/{last_name}4 defaults: { _controller:
AcmeHelloBundle:Hello:index, color: green }
5
6 XML
111
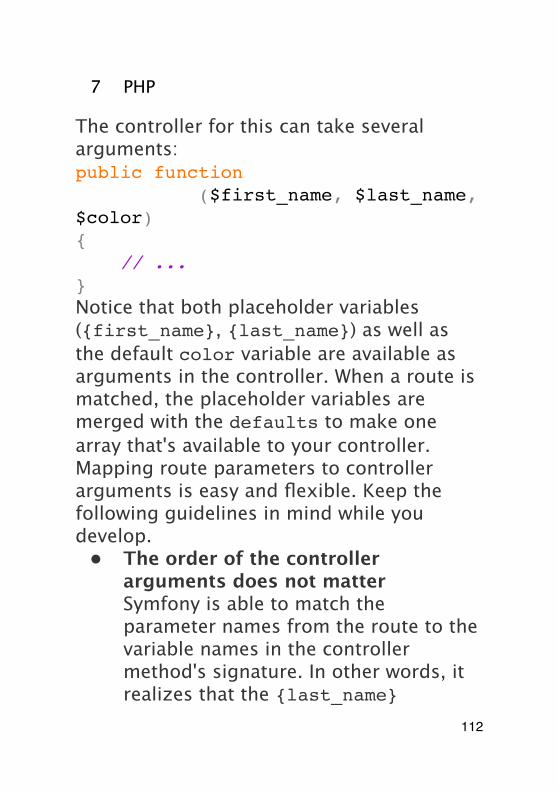
7 PHP
The controller for this can take several arguments:public function indexAction($first_name, $last_name, $color){ // ...}Notice that both placeholder variables ({first_name}, {last_name}) as well as the default color variable are available as arguments in the controller. When a route is matched, the placeholder variables are merged with the defaults to make one array that's available to your controller.Mapping route parameters to controller arguments is easy and flexible. Keep the following guidelines in mind while you develop.
• The order of the controller arguments does not matterSymfony is able to match the parameter names from the route to the variable names in the controller method's signature. In other words, it realizes that the {last_name}
112
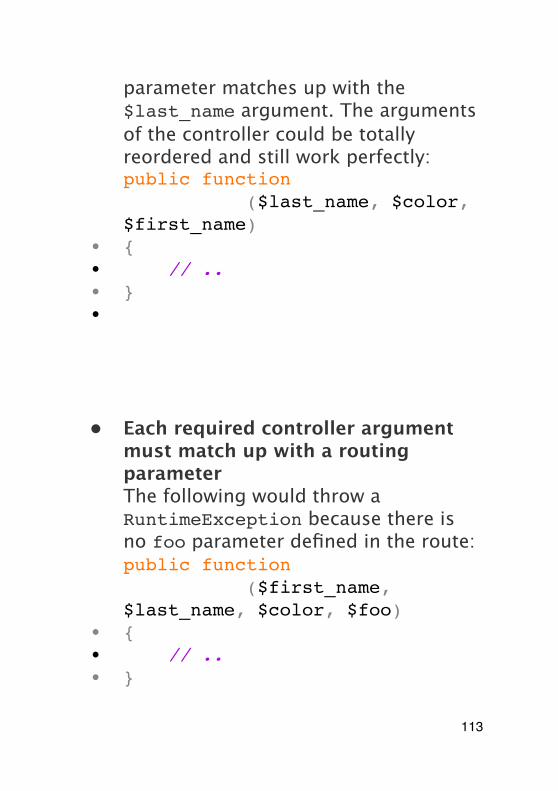
parameter matches up with the $last_name argument. The arguments of the controller could be totally reordered and still work perfectly:public function indexAction($last_name, $color, $first_name)
• {• // ..• }•
• Each required controller argument must match up with a routing parameterThe following would throw a RuntimeException because there is no foo parameter defined in the route:public function indexAction($first_name, $last_name, $color, $foo)
• {• // ..• }
113
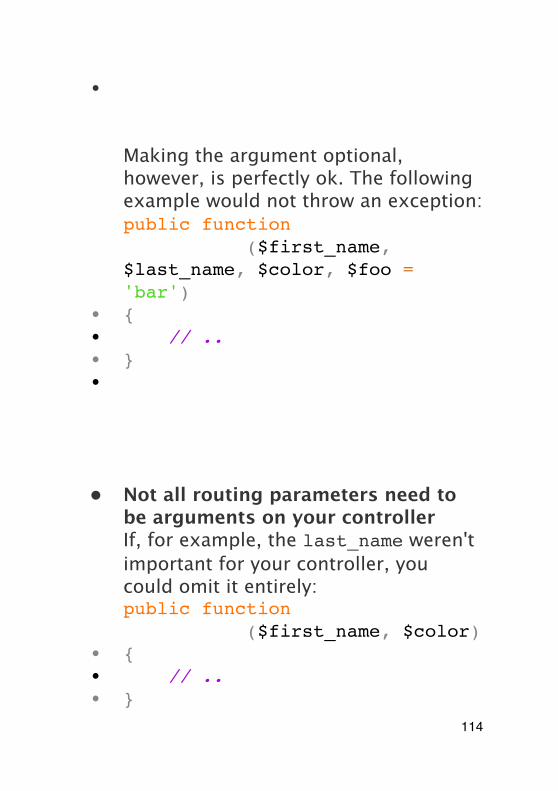
•
Making the argument optional, however, is perfectly ok. The following example would not throw an exception:public function indexAction($first_name, $last_name, $color, $foo = 'bar')
• {• // ..• }•
• Not all routing parameters need to be arguments on your controllerIf, for example, the last_name weren't important for your controller, you could omit it entirely:public function indexAction($first_name, $color)
• {• // ..• }
114
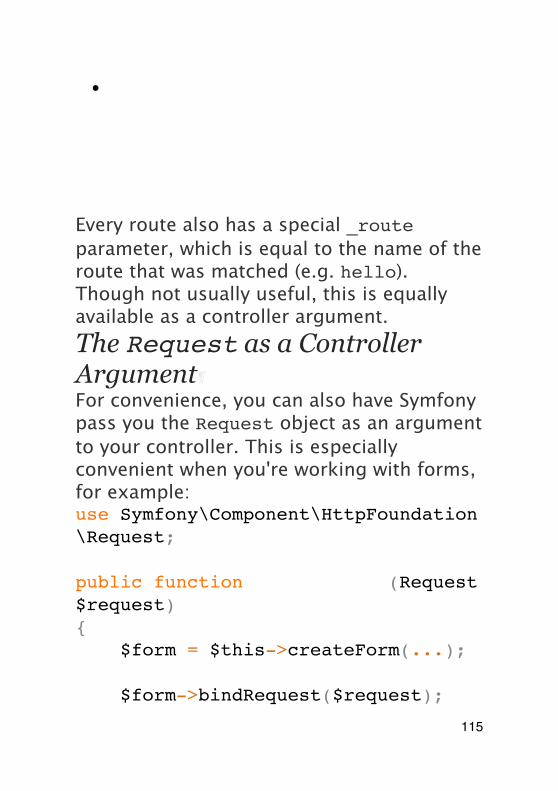
•
Every route also has a special _route parameter, which is equal to the name of the route that was matched (e.g. hello). Though not usually useful, this is equally available as a controller argument.The Request as a Controller Argument¶For convenience, you can also have Symfony pass you the Request object as an argument to your controller. This is especially convenient when you're working with forms, for example:use Symfony\Component\HttpFoundation\Request;
public function updateAction(Request $request){ $form = $this->createForm(...);
$form->bindRequest($request);
115
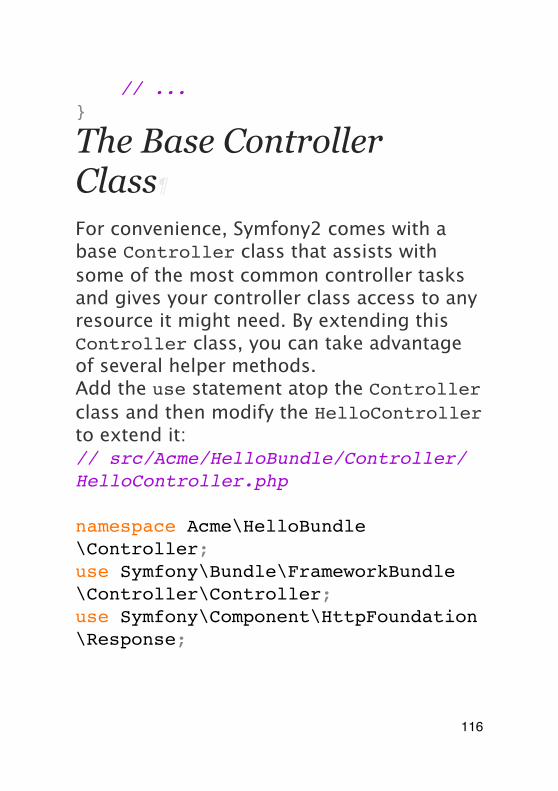
// ...}
The Base Controller Class
For convenience, Symfony2 comes with a base Controller class that assists with some of the most common controller tasks and gives your controller class access to any resource it might need. By extending this Controller class, you can take advantage of several helper methods.Add the use statement atop the Controller class and then modify the HelloController to extend it:// src/Acme/HelloBundle/Controller/HelloController.php
namespace Acme\HelloBundle\Controller;use Symfony\Bundle\FrameworkBundle\Controller\Controller;use Symfony\Component\HttpFoundation\Response;
116
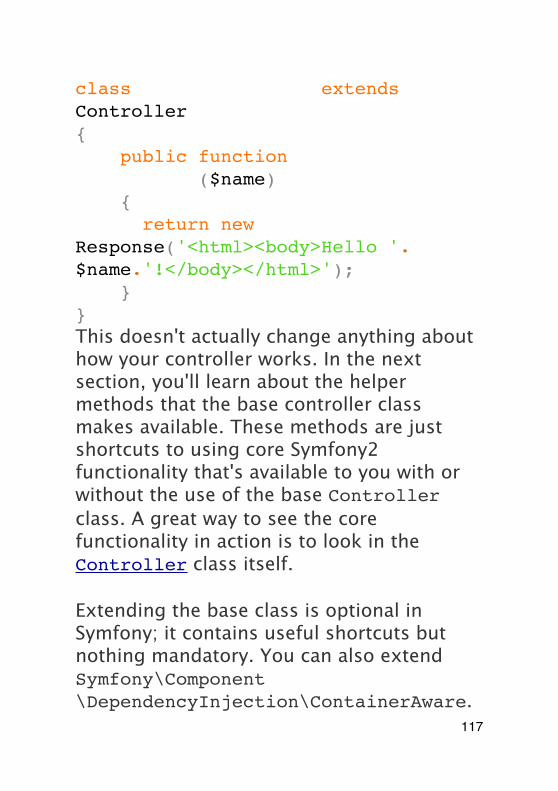
class HelloController extends Controller{ public function indexAction($name) { return new Response('<html><body>Hello '.$name.'!</body></html>'); }}This doesn't actually change anything about how your controller works. In the next section, you'll learn about the helper methods that the base controller class makes available. These methods are just shortcuts to using core Symfony2 functionality that's available to you with or without the use of the base Controller class. A great way to see the core functionality in action is to look in the Controller class itself.
Extending the base class is optional in Symfony; it contains useful shortcuts but nothing mandatory. You can also extend Symfony\Component\DependencyInjection\ContainerAware.
117
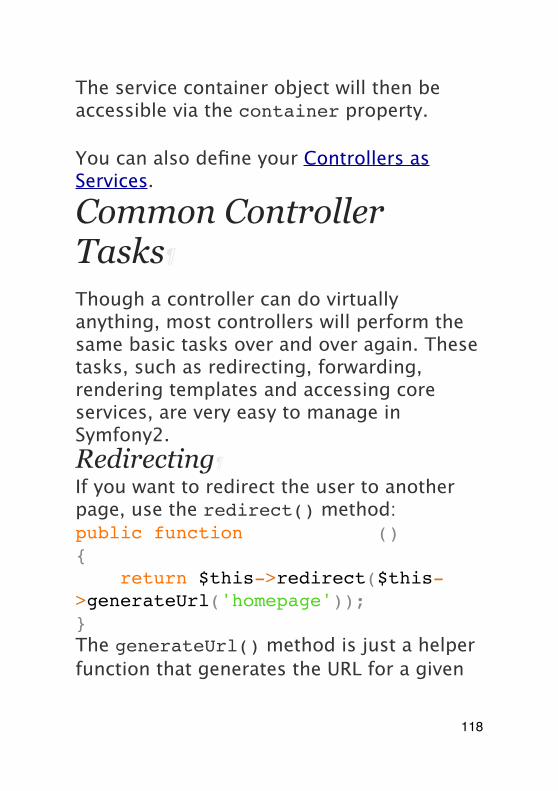
The service container object will then be accessible via the container property.
You can also define your Controllers as Services.
Common Controller Tasks
Though a controller can do virtually anything, most controllers will perform the same basic tasks over and over again. These tasks, such as redirecting, forwarding, rendering templates and accessing core services, are very easy to manage in Symfony2.Redirecting¶If you want to redirect the user to another page, use the redirect() method:public function indexAction(){ return $this->redirect($this->generateUrl('homepage'));}The generateUrl() method is just a helper function that generates the URL for a given
118
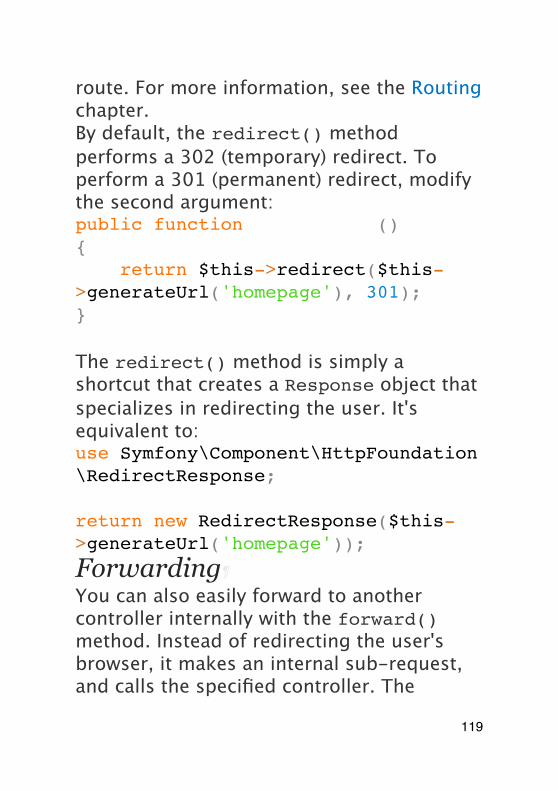
route. For more information, see the Routing chapter.By default, the redirect() method performs a 302 (temporary) redirect. To perform a 301 (permanent) redirect, modify the second argument:public function indexAction(){ return $this->redirect($this->generateUrl('homepage'), 301);}
The redirect() method is simply a shortcut that creates a Response object that specializes in redirecting the user. It's equivalent to:use Symfony\Component\HttpFoundation\RedirectResponse;
return new RedirectResponse($this->generateUrl('homepage'));
Forwarding¶You can also easily forward to another controller internally with the forward() method. Instead of redirecting the user's browser, it makes an internal sub-request, and calls the specified controller. The
119
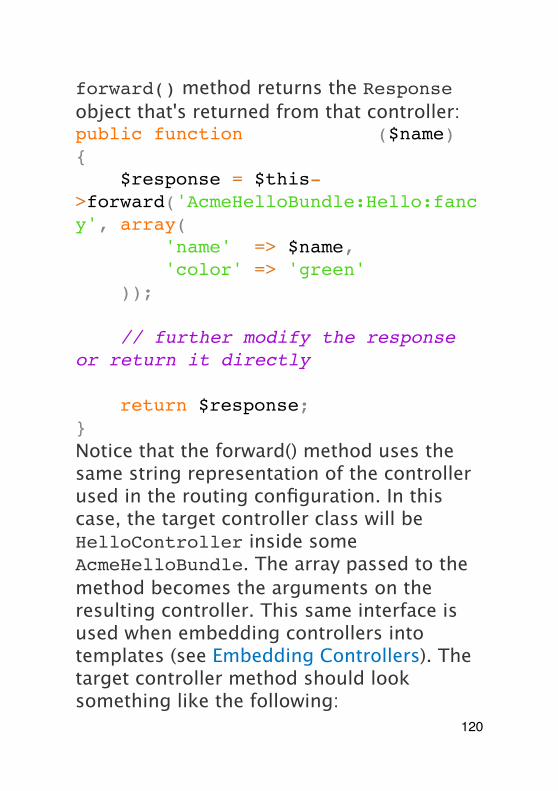
forward() method returns the Response object that's returned from that controller:public function indexAction($name){ $response = $this->forward('AcmeHelloBundle:Hello:fancy', array( 'name' => $name, 'color' => 'green' ));
// further modify the response or return it directly
return $response;}Notice that the forward() method uses the same string representation of the controller used in the routing configuration. In this case, the target controller class will be HelloController inside some AcmeHelloBundle. The array passed to the method becomes the arguments on the resulting controller. This same interface is used when embedding controllers into templates (see Embedding Controllers). The target controller method should look something like the following:
120
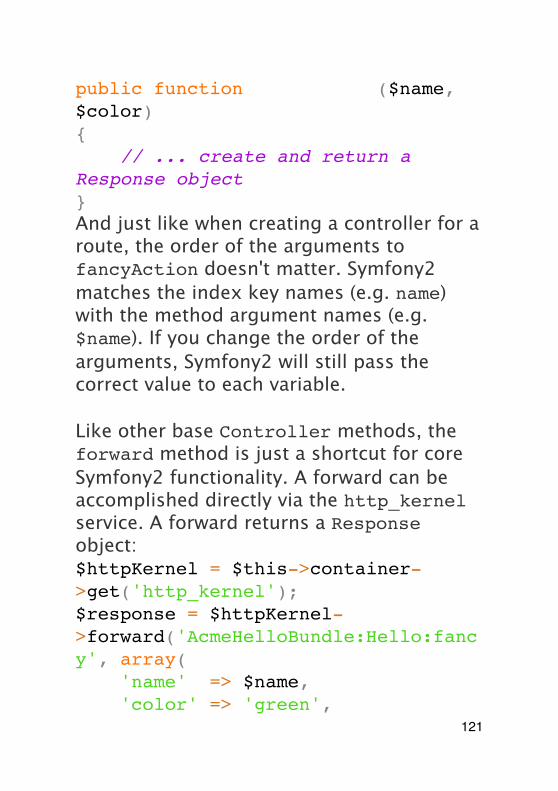
public function fancyAction($name, $color){ // ... create and return a Response object}And just like when creating a controller for a route, the order of the arguments to fancyAction doesn't matter. Symfony2 matches the index key names (e.g. name) with the method argument names (e.g. $name). If you change the order of the arguments, Symfony2 will still pass the correct value to each variable.
Like other base Controller methods, the forward method is just a shortcut for core Symfony2 functionality. A forward can be accomplished directly via the http_kernel service. A forward returns a Response object:$httpKernel = $this->container->get('http_kernel');$response = $httpKernel->forward('AcmeHelloBundle:Hello:fancy', array( 'name' => $name, 'color' => 'green',
121
));
Rendering Templates¶Though not a requirement, most controllers will ultimately render a template that's responsible for generating the HTML (or other format) for the controller. The renderView() method renders a template and returns its content. The content from the template can be used to create a Response object:$content = $this->renderView('AcmeHelloBundle:Hello:index.html.twig', array('name' => $name));
return new Response($content);This can even be done in just one step with the render() method, which returns a Response object containing the content from the template:return $this->render('AcmeHelloBundle:Hello:index.html.twig', array('name' => $name));In both cases, the Resources/views/Hello/index.html.twig template inside the AcmeHelloBundle will be rendered.
122

The Symfony templating engine is explained in great detail in the Templating chapter.
The renderView method is a shortcut to direct use of the templating service. The templating service can also be used directly:$templating = $this->get('templating');$content = $templating->render('AcmeHelloBundle:Hello:index.html.twig', array('name' => $name));
Accessing other Services¶When extending the base controller class, you can access any Symfony2 service via the get() method. Here are several common services you might need:$request = $this->getRequest();
$response = $this->get('response');
$templating = $this->get('templating');
$router = $this->get('router');
123
$mailer = $this->get('mailer');There are countless other services available and you are encouraged to define your own. To list all available services, use the container:debug console command:php app/console container:debugFor more information, see the Service Container chapter.
Managing Errors and 404 Pages
When things are not found, you should play well with the HTTP protocol and return a 404 response. To do this, you'll throw a special type of exception. If you're extending the base controller class, do the following:public function indexAction(){ $product = // retrieve the object from database if (!$product) { throw $this->createNotFoundException('The product does not exist'); }
return $this->render(...);124
}The createNotFoundException() method creates a special NotFoundHttpException object, which ultimately triggers a 404 HTTP response inside Symfony.Of course, you're free to throw any Exception class in your controller - Symfony2 will automatically return a 500 HTTP response code.throw new \Exception('Something went wrong!');In every case, a styled error page is shown to the end user and a full debug error page is shown to the developer (when viewing the page in debug mode). Both of these error pages can be customized. For details, read the "How to customize Error Pages" cookbook recipe.
Managing the Session
Symfony2 provides a nice session object that you can use to store information about the user (be it a real person using a browser, a bot, or a web service) between requests. By default, Symfony2 stores the attributes in a cookie by using the native PHP sessions.
125
Storing and retrieving information from the session can be easily achieved from any controller:$session = $this->getRequest()->getSession();
// store an attribute for reuse during a later user request$session->set('foo', 'bar');
// in another controller for another request$foo = $session->get('foo');
// set the user locale$session->setLocale('fr');These attributes will remain on the user for the remainder of that user's session.Flash Messages¶You can also store small messages that will be stored on the user's session for exactly one additional request. This is useful when processing a form: you want to redirect and have a special message shown on the next request. These types of messages are called "flash" messages.For example, imagine you're processing a form submit:
126
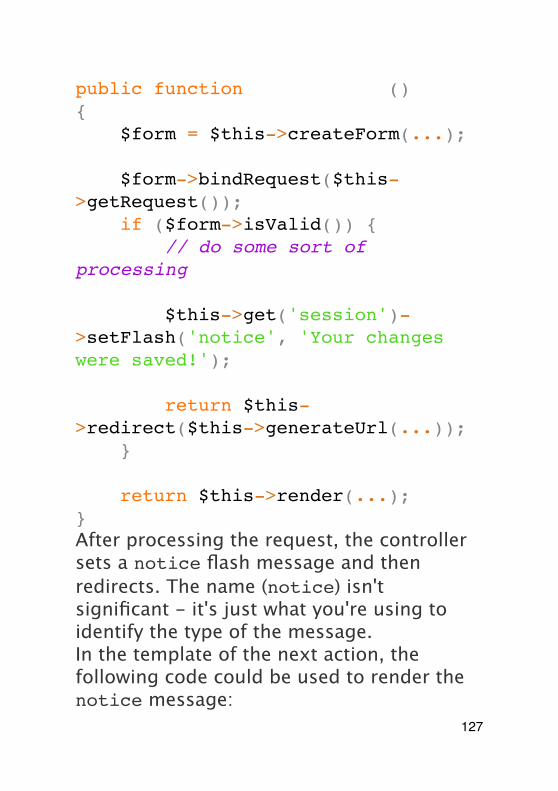
public function updateAction(){ $form = $this->createForm(...);
$form->bindRequest($this->getRequest()); if ($form->isValid()) { // do some sort of processing
$this->get('session')->setFlash('notice', 'Your changes were saved!');
return $this->redirect($this->generateUrl(...)); }
return $this->render(...);}After processing the request, the controller sets a notice flash message and then redirects. The name (notice) isn't significant - it's just what you're using to identify the type of the message.In the template of the next action, the following code could be used to render the notice message:
127
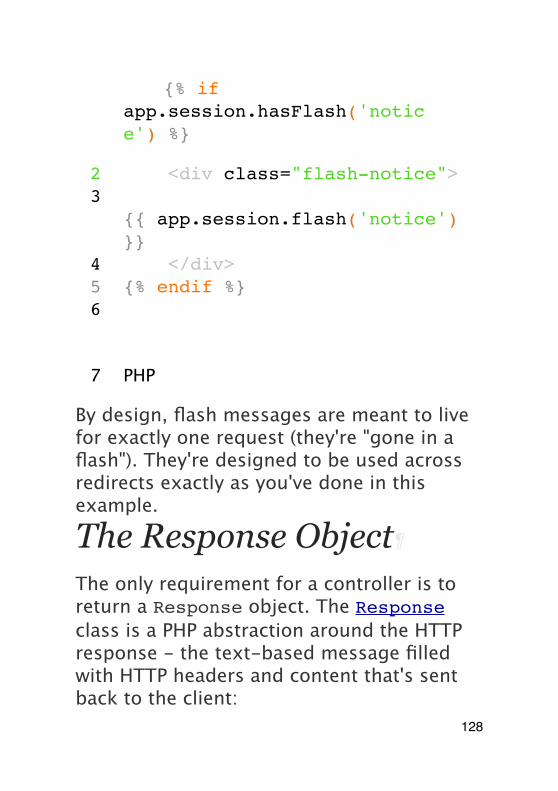
1 Twig{% if app.session.hasFlash('notice') %}
2 <div class="flash-notice">3
{{ app.session.flash('notice') }}
4 </div>5 {% endif %}6
7 PHP
By design, flash messages are meant to live for exactly one request (they're "gone in a flash"). They're designed to be used across redirects exactly as you've done in this example.
The Response Object
The only requirement for a controller is to return a Response object. The Response class is a PHP abstraction around the HTTP response - the text-based message filled with HTTP headers and content that's sent back to the client:
128
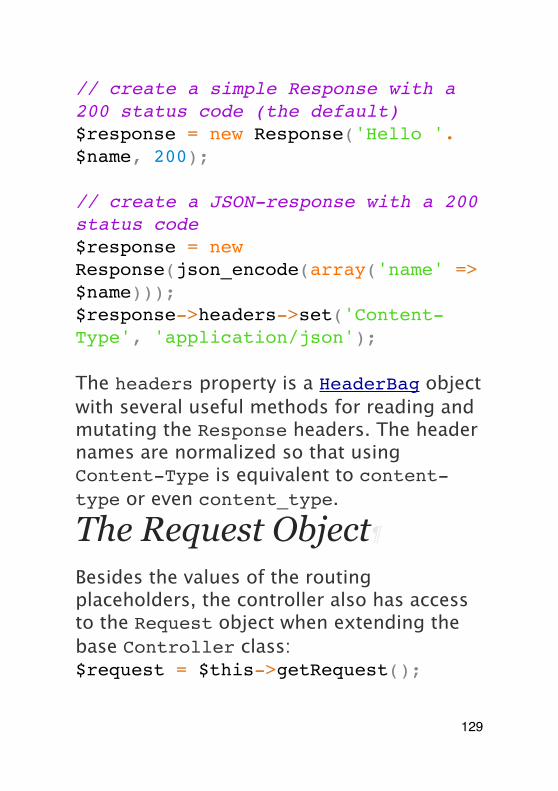
// create a simple Response with a 200 status code (the default)$response = new Response('Hello '.$name, 200);
// create a JSON-response with a 200 status code$response = new Response(json_encode(array('name' => $name)));$response->headers->set('Content-Type', 'application/json');
The headers property is a HeaderBag object with several useful methods for reading and mutating the Response headers. The header names are normalized so that using Content-Type is equivalent to content-type or even content_type.
The Request Object
Besides the values of the routing placeholders, the controller also has access to the Request object when extending the base Controller class:$request = $this->getRequest();
129
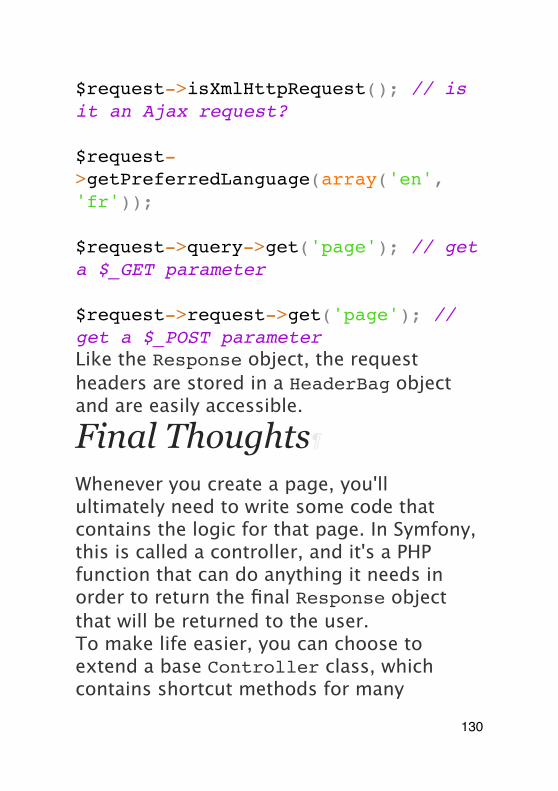
$request->isXmlHttpRequest(); // is it an Ajax request?
$request->getPreferredLanguage(array('en', 'fr'));
$request->query->get('page'); // get a $_GET parameter
$request->request->get('page'); // get a $_POST parameterLike the Response object, the request headers are stored in a HeaderBag object and are easily accessible.
Final Thoughts
Whenever you create a page, you'll ultimately need to write some code that contains the logic for that page. In Symfony, this is called a controller, and it's a PHP function that can do anything it needs in order to return the final Response object that will be returned to the user.To make life easier, you can choose to extend a base Controller class, which contains shortcut methods for many
130
common controller tasks. For example, since you don't want to put HTML code in your controller, you can use the render() method to render and return the content from a template.In other chapters, you'll see how the controller can be used to persist and fetch objects from a database, process form submissions, handle caching and more.
Learn more from the Cookbook
• How to customize Error Pages
• How to define Controllers as Services
131
RoutingBeautiful URLs are an absolute must for any serious web application. This means leaving behind ugly URLs like index.php?article_id=57 in favor of something like /read/intro-to-symfony.Having flexibility is even more important. What if you need to change the URL of a page from /blog to /news? How many links should you need to hunt down and update to make the change? If you're using Symfony's router, the change is simple.The Symfony2 router lets you define creative URLs that you map to different areas of your application. By the end of this chapter, you'll be able to:
• Create complex routes that map to controllers
• Generate URLs inside templates and controllers
• Load routing resources from bundles (or anywhere else)
• Debug your routes132
Routing in Action
A route is a map from a URL pattern to a controller. For example, suppose you want to match any URL like /blog/my-post or /blog/all-about-symfony and send it to a controller that can look up and render that blog entry. The route is simple:
1 YAML# app/config/routing.yml
2 blog_show:3 pattern: /blog/{slug}4 defaults: { _controller:
AcmeBlogBundle:Blog:show }5
6 XML
7 PHP
The pattern defined by the blog_show route acts like /blog/* where the wildcard is given the name slug. For the URL /blog/my-blog-post, the slug variable gets a value of my-blog-post, which is available
133
for you to use in your controller (keep reading).The _controller parameter is a special key that tells Symfony which controller should be executed when a URL matches this route. The _controller string is called the logical name. It follows a pattern that points to a specific PHP class and method:// src/Acme/BlogBundle/Controller/BlogController.php
namespace Acme\BlogBundle\Controller;use Symfony\Bundle\FrameworkBundle\Controller\Controller;
class BlogController extends Controller{ public function showAction($slug) { $blog = // use the $slug varible to query the database
return $this->render('AcmeBlogBundle:Blog:show.html.twig', array(
134
'blog' => $blog, )); }}Congratulations! You've just created your first route and connected it to a controller. Now, when you visit /blog/my-post, the showAction controller will be executed and the $slug variable will be equal to my-post.This is the goal of the Symfony2 router: to map the URL of a request to a controller. Along the way, you'll learn all sorts of tricks that make mapping even the most complex URLs easy.
Routing: Under the Hood
When a request is made to your application, it contains an address to the exact "resource" that the client is requesting. This address is called the URL, (or URI), and could be /contact, /blog/read-me, or anything else. Take the following HTTP request for example:GET /blog/my-blog-postThe goal of the Symfony2 routing system is to parse this URL and determine which
135
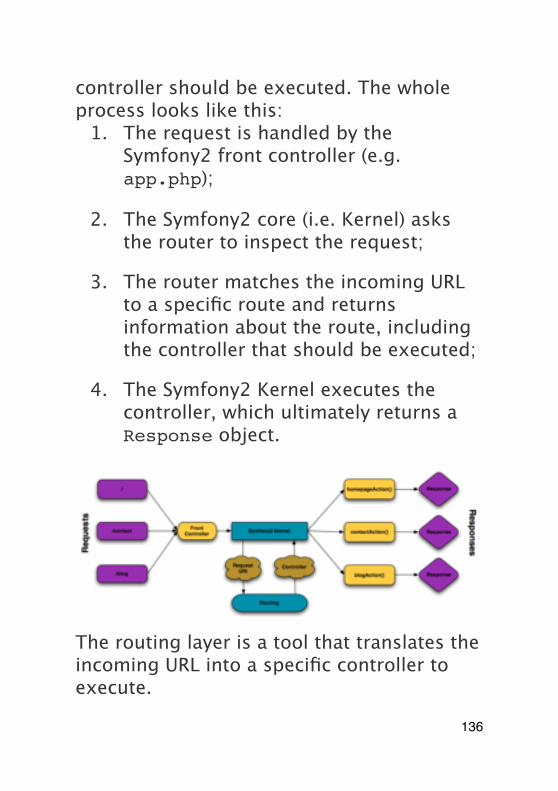
controller should be executed. The whole process looks like this:
1. The request is handled by the Symfony2 front controller (e.g. app.php);
2. The Symfony2 core (i.e. Kernel) asks the router to inspect the request;
3. The router matches the incoming URL to a specific route and returns information about the route, including the controller that should be executed;
4. The Symfony2 Kernel executes the controller, which ultimately returns a Response object.
The routing layer is a tool that translates the incoming URL into a specific controller to execute.
136
Creating Routes
Symfony loads all the routes for your application from a single routing configuration file. The file is usually app/config/routing.yml, but can be configured to be anything (including an XML or PHP file) via the application configuration file:
1 YAML# app/config/config.yml
2 framework:3 # ...4 router: { resource:
"%kernel.root_dir%/config/routing.yml" }
5
6 XML
7 PHP
Even though all routes are loaded from a single file, it's common practice to include additional routing resources from inside the
137
file. See the Including External Routing Resources section for more information.Basic Route Configuration¶Defining a route is easy, and a typical application will have lots of routes. A basic route consists of just two parts: the pattern to match and a defaults array:
1 YAML_welcome:
2 pattern: /3 defaults: { _controller:
AcmeDemoBundle:Main:homepage }4
5 XML
6 PHP
This route matches the homepage (/) and maps it to the AcmeDemoBundle:Main:homepage controller. The _controller string is translated by Symfony2 into an actual PHP function and executed. That process will be explained shortly in the Controller Naming Pattern section.Routing with Placeholders
138
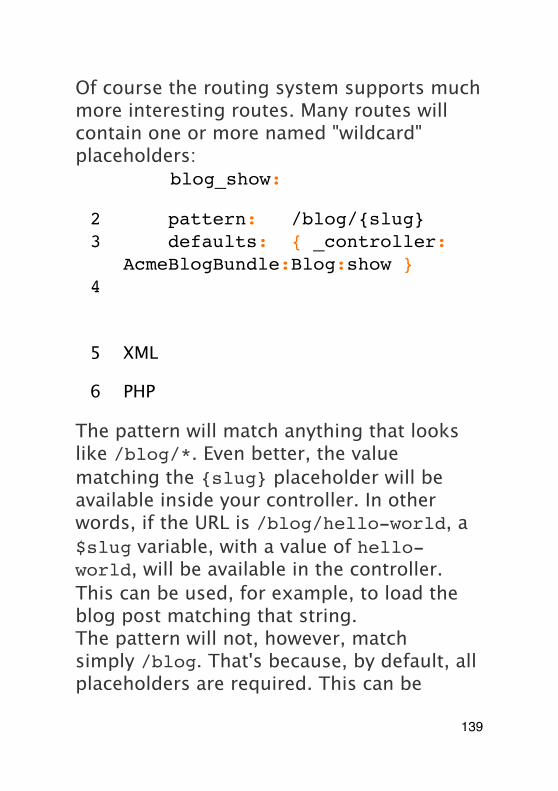
Of course the routing system supports much more interesting routes. Many routes will contain one or more named "wildcard" placeholders:
1 YAMLblog_show:
2 pattern: /blog/{slug}3 defaults: { _controller:
AcmeBlogBundle:Blog:show }4
5 XML
6 PHP
The pattern will match anything that looks like /blog/*. Even better, the value matching the {slug} placeholder will be available inside your controller. In other words, if the URL is /blog/hello-world, a $slug variable, with a value of hello-world, will be available in the controller. This can be used, for example, to load the blog post matching that string.The pattern will not, however, match simply /blog. That's because, by default, all placeholders are required. This can be
139
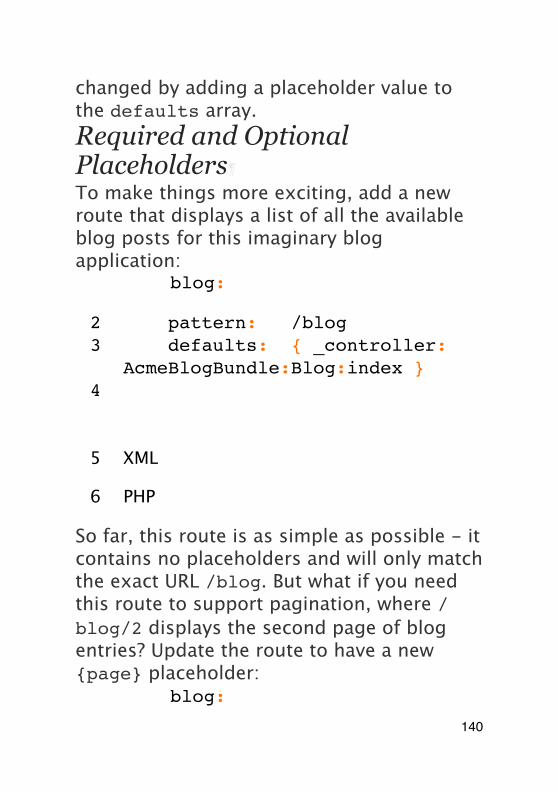
changed by adding a placeholder value to the defaults array.Required and Optional Placeholders¶To make things more exciting, add a new route that displays a list of all the available blog posts for this imaginary blog application:
1 YAMLblog:
2 pattern: /blog3 defaults: { _controller:
AcmeBlogBundle:Blog:index }4
5 XML
6 PHP
So far, this route is as simple as possible - it contains no placeholders and will only match the exact URL /blog. But what if you need this route to support pagination, where /blog/2 displays the second page of blog entries? Update the route to have a new {page} placeholder:
1 YAMLblog:140
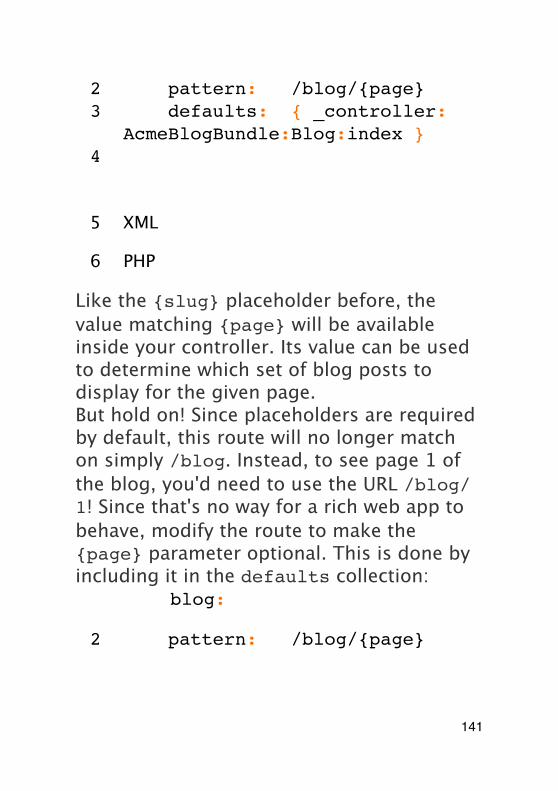
2 pattern: /blog/{page}3 defaults: { _controller:
AcmeBlogBundle:Blog:index }4
5 XML
6 PHP
Like the {slug} placeholder before, the value matching {page} will be available inside your controller. Its value can be used to determine which set of blog posts to display for the given page.But hold on! Since placeholders are required by default, this route will no longer match on simply /blog. Instead, to see page 1 of the blog, you'd need to use the URL /blog/1! Since that's no way for a rich web app to behave, modify the route to make the {page} parameter optional. This is done by including it in the defaults collection:
1 YAMLblog:
2 pattern: /blog/{page}
141
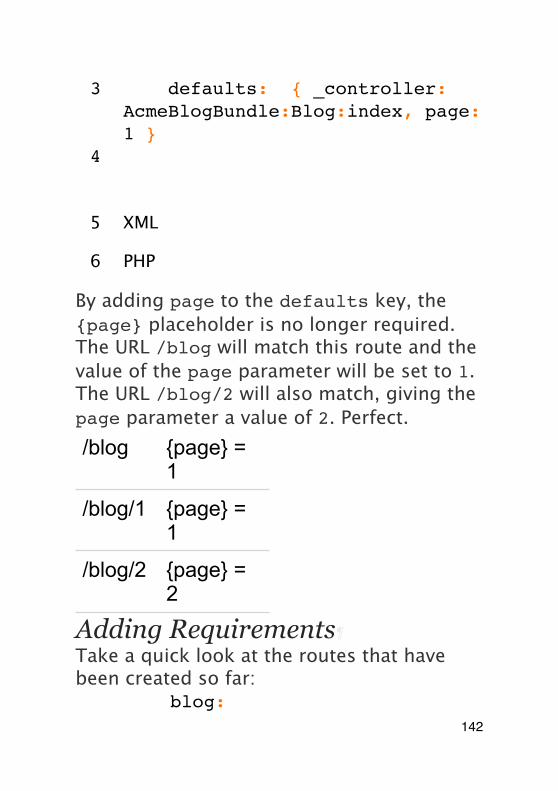
3 defaults: { _controller: AcmeBlogBundle:Blog:index, page: 1 }
4
5 XML
6 PHP
By adding page to the defaults key, the {page} placeholder is no longer required. The URL /blog will match this route and the value of the page parameter will be set to 1. The URL /blog/2 will also match, giving the page parameter a value of 2. Perfect./blog {page} =
1
/blog/1 {page} = 1
/blog/2 {page} = 2
Adding Requirements¶Take a quick look at the routes that have been created so far:
1 YAMLblog:142
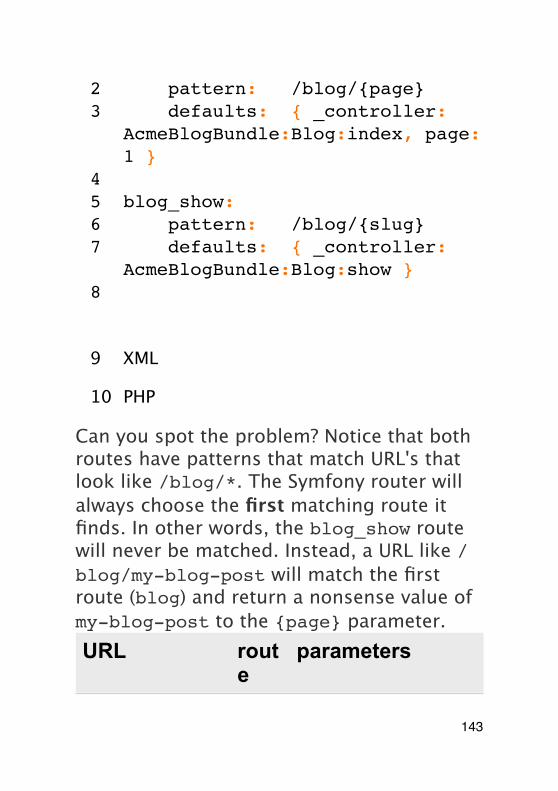
2 pattern: /blog/{page}3 defaults: { _controller:
AcmeBlogBundle:Blog:index, page: 1 }
45 blog_show:6 pattern: /blog/{slug}7 defaults: { _controller:
AcmeBlogBundle:Blog:show }8
9 XML
10 PHP
Can you spot the problem? Notice that both routes have patterns that match URL's that look like /blog/*. The Symfony router will always choose the first matching route it finds. In other words, the blog_show route will never be matched. Instead, a URL like /blog/my-blog-post will match the first route (blog) and return a nonsense value of my-blog-post to the {page} parameter.URL rout
eparameters
143
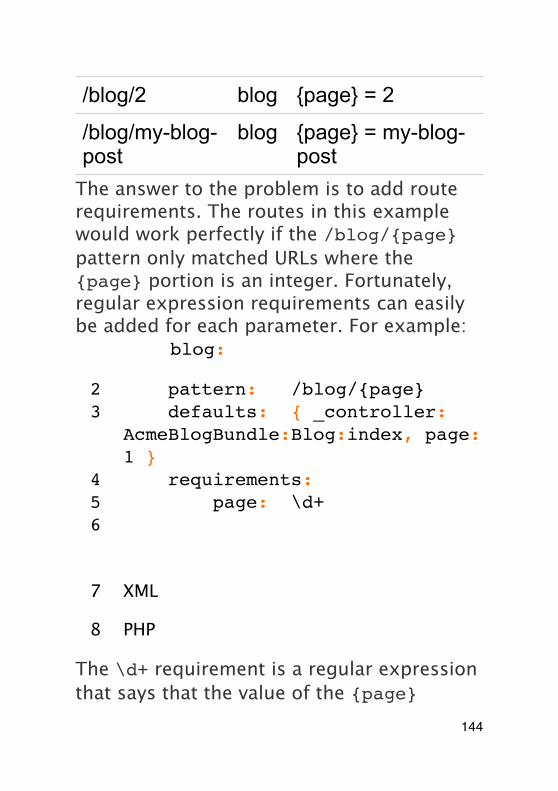
/blog/2 blog {page} = 2
/blog/my-blog-post
blog {page} = my-blog-post
The answer to the problem is to add route requirements. The routes in this example would work perfectly if the /blog/{page} pattern only matched URLs where the {page} portion is an integer. Fortunately, regular expression requirements can easily be added for each parameter. For example:
1 YAMLblog:
2 pattern: /blog/{page}3 defaults: { _controller:
AcmeBlogBundle:Blog:index, page: 1 }
4 requirements:5 page: \d+6
7 XML
8 PHP
The \d+ requirement is a regular expression that says that the value of the {page}
144
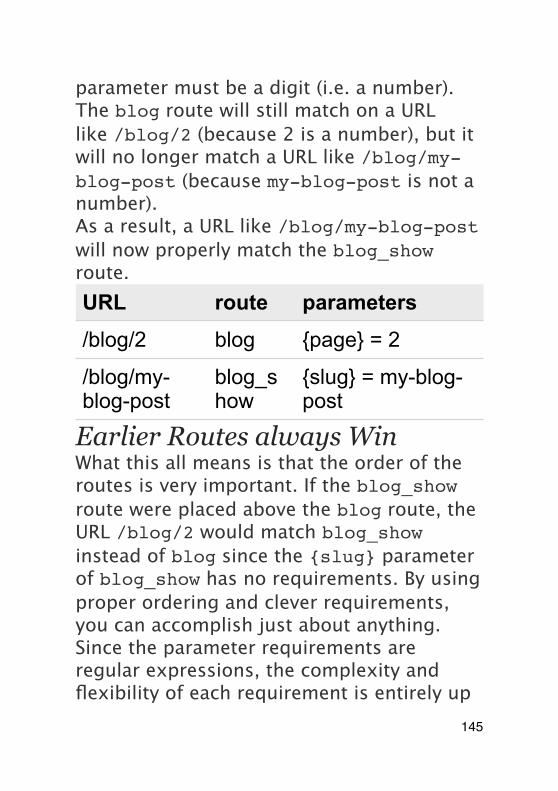
parameter must be a digit (i.e. a number). The blog route will still match on a URL like /blog/2 (because 2 is a number), but it will no longer match a URL like /blog/my-blog-post (because my-blog-post is not a number).As a result, a URL like /blog/my-blog-post will now properly match the blog_show route.URL route parameters
/blog/2 blog {page} = 2
/blog/my-blog-post
blog_show
{slug} = my-blog-post
Earlier Routes always WinWhat this all means is that the order of the routes is very important. If the blog_show route were placed above the blog route, the URL /blog/2 would match blog_show instead of blog since the {slug} parameter of blog_show has no requirements. By using proper ordering and clever requirements, you can accomplish just about anything.Since the parameter requirements are regular expressions, the complexity and flexibility of each requirement is entirely up
145
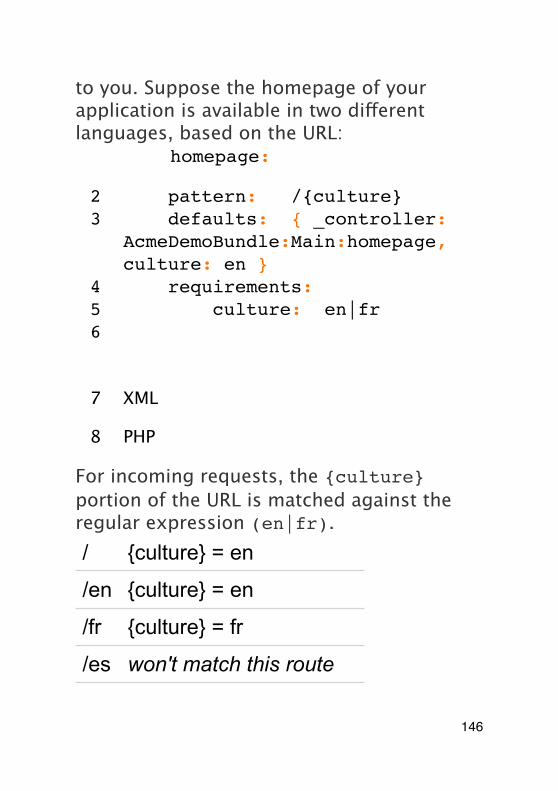
to you. Suppose the homepage of your application is available in two different languages, based on the URL:
1 YAMLhomepage:
2 pattern: /{culture}3 defaults: { _controller:
AcmeDemoBundle:Main:homepage, culture: en }
4 requirements:5 culture: en|fr6
7 XML
8 PHP
For incoming requests, the {culture} portion of the URL is matched against the regular expression (en|fr)./ {culture} = en
/en {culture} = en
/fr {culture} = fr
/es won't match this route
146
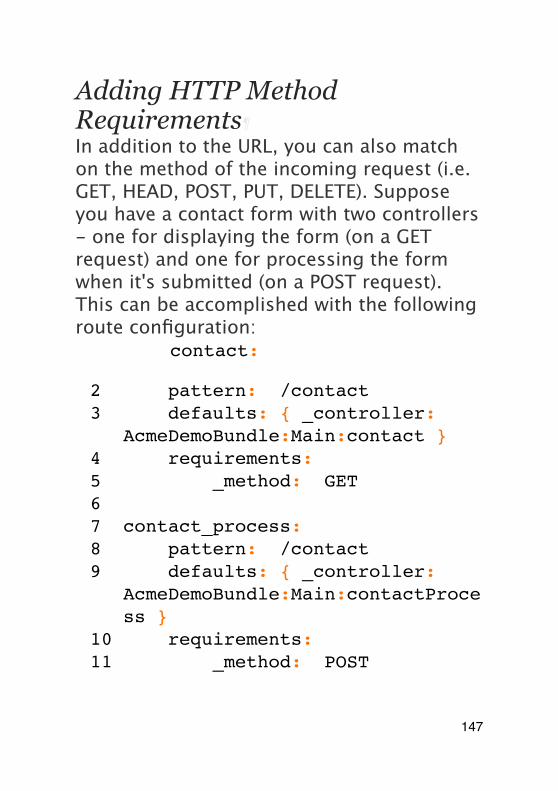
Adding HTTP Method Requirements¶In addition to the URL, you can also match on the method of the incoming request (i.e. GET, HEAD, POST, PUT, DELETE). Suppose you have a contact form with two controllers - one for displaying the form (on a GET request) and one for processing the form when it's submitted (on a POST request). This can be accomplished with the following route configuration:
1 YAMLcontact:
2 pattern: /contact3 defaults: { _controller:
AcmeDemoBundle:Main:contact }4 requirements:5 _method: GET67 contact_process:8 pattern: /contact9 defaults: { _controller:
AcmeDemoBundle:Main:contactProcess }
10 requirements:11 _method: POST
147
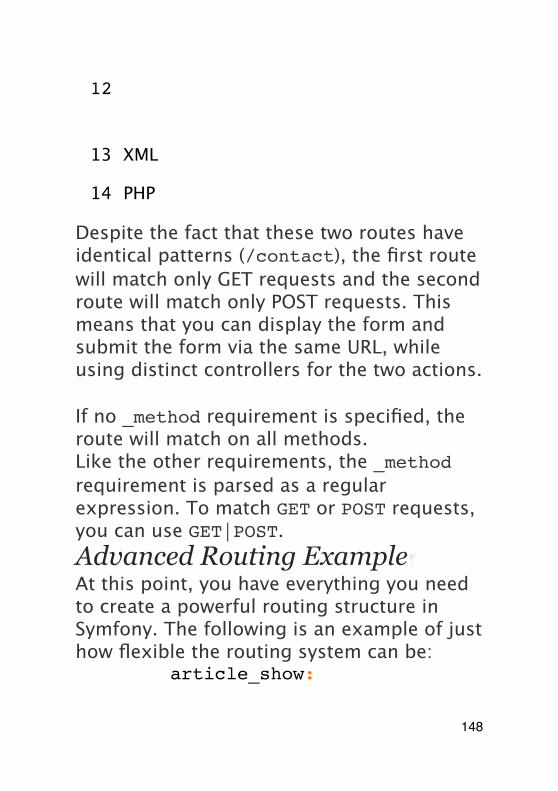
12
13 XML
14 PHP
Despite the fact that these two routes have identical patterns (/contact), the first route will match only GET requests and the second route will match only POST requests. This means that you can display the form and submit the form via the same URL, while using distinct controllers for the two actions.
If no _method requirement is specified, the route will match on all methods.Like the other requirements, the _method requirement is parsed as a regular expression. To match GET or POST requests, you can use GET|POST.Advanced Routing Example¶At this point, you have everything you need to create a powerful routing structure in Symfony. The following is an example of just how flexible the routing system can be:
1 YAMLarticle_show:
148
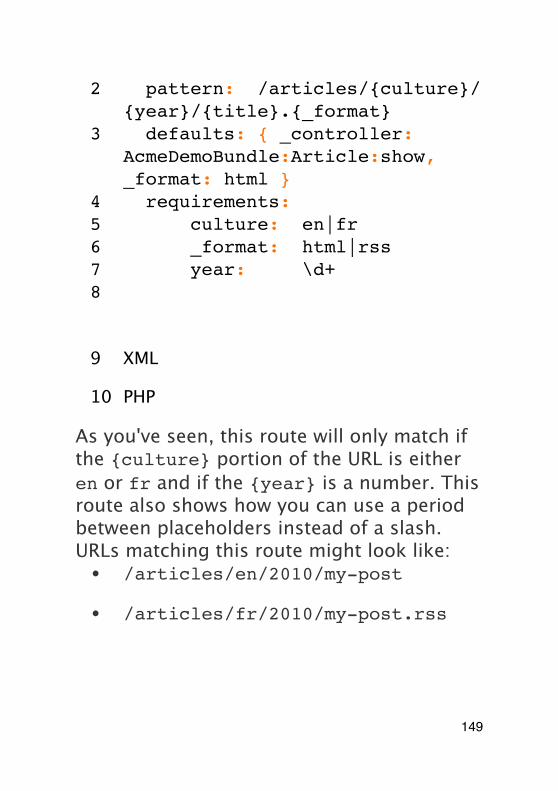
2 pattern: /articles/{culture}/{year}/{title}.{_format}
3 defaults: { _controller: AcmeDemoBundle:Article:show, _format: html }
4 requirements:5 culture: en|fr6 _format: html|rss7 year: \d+8
9 XML
10 PHP
As you've seen, this route will only match if the {culture} portion of the URL is either en or fr and if the {year} is a number. This route also shows how you can use a period between placeholders instead of a slash. URLs matching this route might look like:• /articles/en/2010/my-post
• /articles/fr/2010/my-post.rss
149
The Special _format Routing ParameterThis example also highlights the special _format routing parameter. When using this parameter, the matched value becomes the "request format" of the Request object. Ultimately, the request format is used for such things such as setting the Content-Type of the response (e.g. a json request format translates into a Content-Type of application/json). It can also be used in the controller to render a different template for each value of _format. The _format parameter is a very powerful way to render the same content in different formats.Special Routing Parameters¶As you've seen, each routing parameter or default value is eventually available as an argument in the controller method. Additionally, there are three parameters that are special: each adds a unique piece of functionality inside your application:• _controller: As you've seen, this
parameter is used to determine which controller is executed when the route is matched;
150
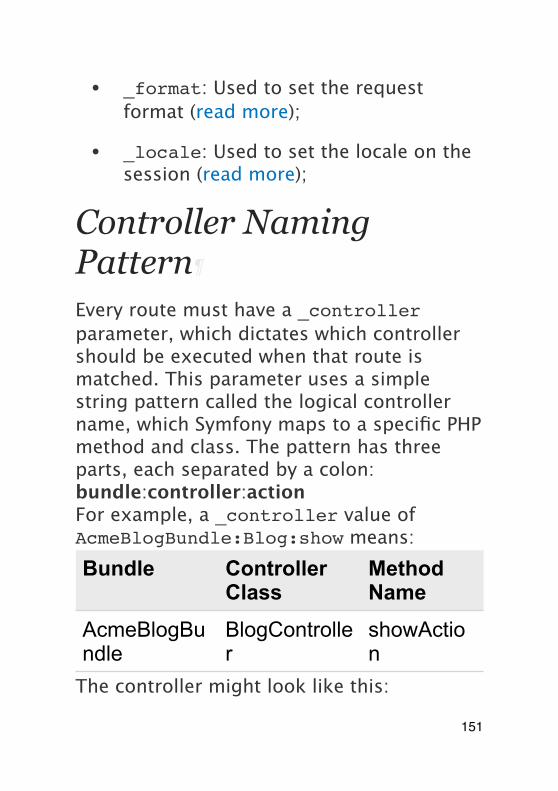
• _format: Used to set the request format (read more);
• _locale: Used to set the locale on the session (read more);
Controller Naming Pattern
Every route must have a _controller parameter, which dictates which controller should be executed when that route is matched. This parameter uses a simple string pattern called the logical controller name, which Symfony maps to a specific PHP method and class. The pattern has three parts, each separated by a colon:bundle:controller:actionFor example, a _controller value of AcmeBlogBundle:Blog:show means:Bundle Controller
ClassMethod Name
AcmeBlogBundle
BlogController
showAction
The controller might look like this:
151
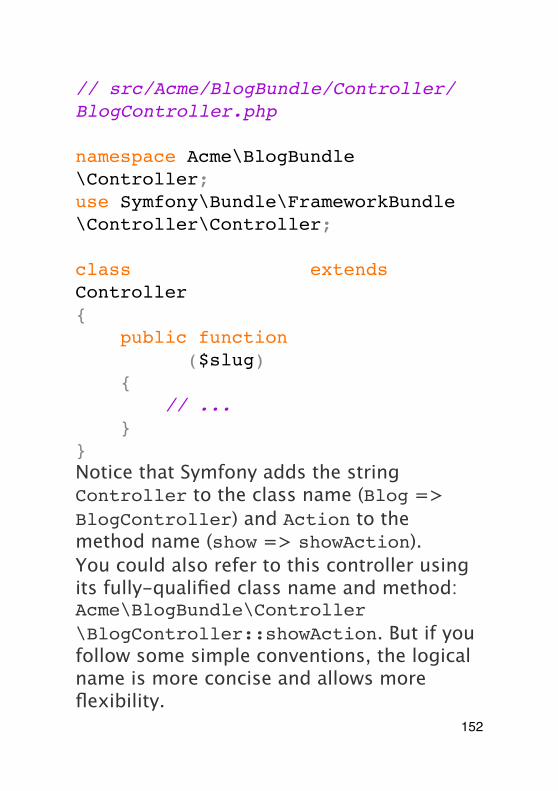
// src/Acme/BlogBundle/Controller/BlogController.php
namespace Acme\BlogBundle\Controller;use Symfony\Bundle\FrameworkBundle\Controller\Controller;
class BlogController extends Controller{ public function showAction($slug) { // ... }}Notice that Symfony adds the string Controller to the class name (Blog => BlogController) and Action to the method name (show => showAction).You could also refer to this controller using its fully-qualified class name and method: Acme\BlogBundle\Controller\BlogController::showAction. But if you follow some simple conventions, the logical name is more concise and allows more flexibility.
152
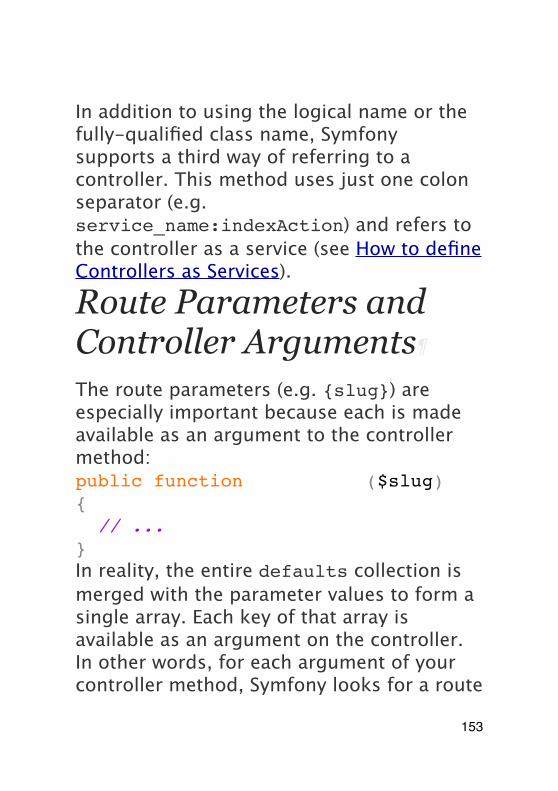
In addition to using the logical name or the fully-qualified class name, Symfony supports a third way of referring to a controller. This method uses just one colon separator (e.g. service_name:indexAction) and refers to the controller as a service (see How to define Controllers as Services).
Route Parameters and Controller Arguments
The route parameters (e.g. {slug}) are especially important because each is made available as an argument to the controller method:public function showAction($slug){ // ...}In reality, the entire defaults collection is merged with the parameter values to form a single array. Each key of that array is available as an argument on the controller.In other words, for each argument of your controller method, Symfony looks for a route
153
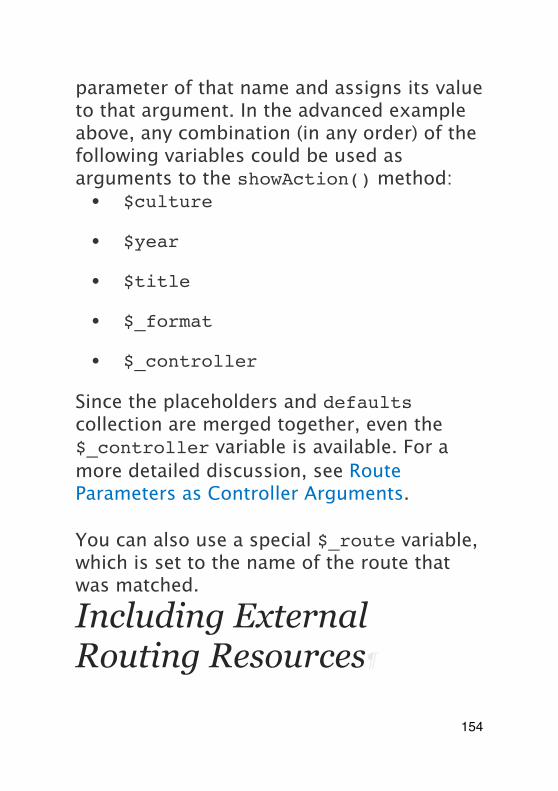
parameter of that name and assigns its value to that argument. In the advanced example above, any combination (in any order) of the following variables could be used as arguments to the showAction() method:• $culture
• $year
• $title
• $_format
• $_controller
Since the placeholders and defaults collection are merged together, even the $_controller variable is available. For a more detailed discussion, see Route Parameters as Controller Arguments.
You can also use a special $_route variable, which is set to the name of the route that was matched.
Including External Routing Resources
154
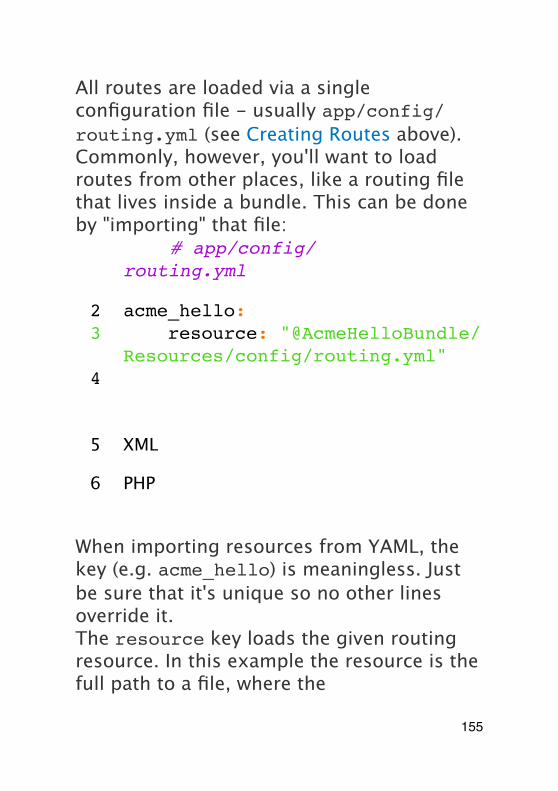
All routes are loaded via a single configuration file - usually app/config/routing.yml (see Creating Routes above). Commonly, however, you'll want to load routes from other places, like a routing file that lives inside a bundle. This can be done by "importing" that file:
1 YAML# app/config/routing.yml
2 acme_hello:3 resource: "@AcmeHelloBundle/
Resources/config/routing.yml"4
5 XML
6 PHP
When importing resources from YAML, the key (e.g. acme_hello) is meaningless. Just be sure that it's unique so no other lines override it.The resource key loads the given routing resource. In this example the resource is the full path to a file, where the
155
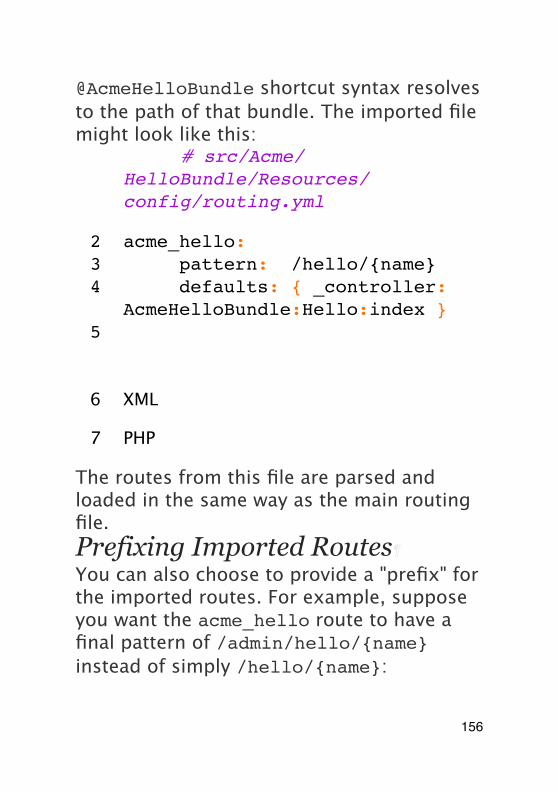
@AcmeHelloBundle shortcut syntax resolves to the path of that bundle. The imported file might look like this:
1 YAML # src/Acme/HelloBundle/Resources/config/routing.yml
2 acme_hello:3 pattern: /hello/{name}4 defaults: { _controller:
AcmeHelloBundle:Hello:index }5
6 XML
7 PHP
The routes from this file are parsed and loaded in the same way as the main routing file.Prefixing Imported Routes¶You can also choose to provide a "prefix" for the imported routes. For example, suppose you want the acme_hello route to have a final pattern of /admin/hello/{name} instead of simply /hello/{name}:
156
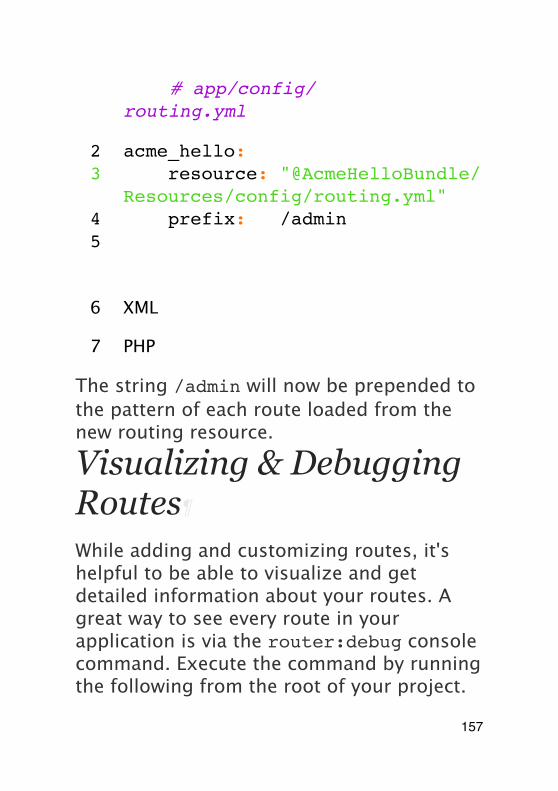
1 YAML# app/config/routing.yml
2 acme_hello:3 resource: "@AcmeHelloBundle/
Resources/config/routing.yml"4 prefix: /admin5
6 XML
7 PHP
The string /admin will now be prepended to the pattern of each route loaded from the new routing resource.
Visualizing & Debugging Routes
While adding and customizing routes, it's helpful to be able to visualize and get detailed information about your routes. A great way to see every route in your application is via the router:debug console command. Execute the command by running the following from the root of your project.
157
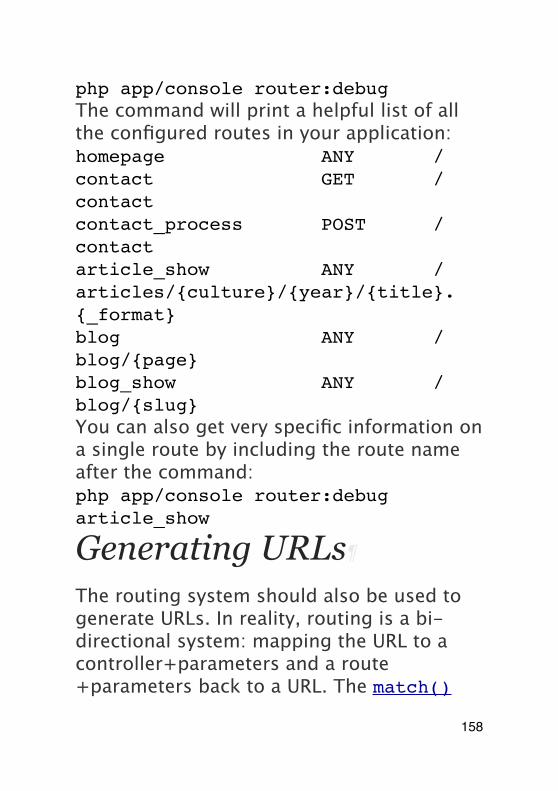
php app/console router:debugThe command will print a helpful list of all the configured routes in your application:homepage ANY /contact GET /contactcontact_process POST /contactarticle_show ANY /articles/{culture}/{year}/{title}.{_format}blog ANY /blog/{page}blog_show ANY /blog/{slug}You can also get very specific information on a single route by including the route name after the command:php app/console router:debug article_show
Generating URLs
The routing system should also be used to generate URLs. In reality, routing is a bi-directional system: mapping the URL to a controller+parameters and a route+parameters back to a URL. The match()
158

and generate() methods form this bi-directional system. Take the blog_show example route from earlier:$params = $router->match('/blog/my-blog-post');// array('slug' => 'my-blog-post', '_controller' => 'AcmeBlogBundle:Blog:show')
$uri = $router->generate('blog_show', array('slug' => 'my-blog-post'));// /blog/my-blog-postTo generate a URL, you need to specify the name of the route (e.g. blog_show) and any wildcards (e.g. slug = my-blog-post) used in the pattern for that route. With this information, any URL can easily be generated:class MainController extends Controller{ public function showAction($slug) { // ...
159
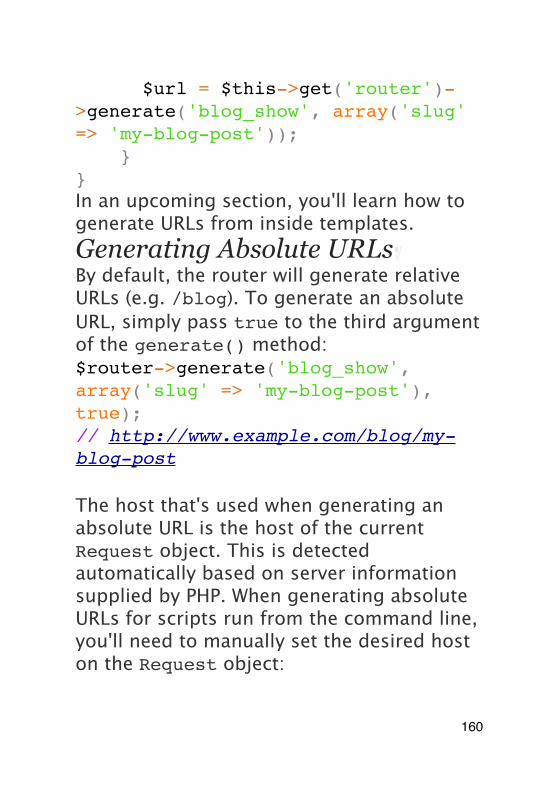
$url = $this->get('router')->generate('blog_show', array('slug' => 'my-blog-post')); }}In an upcoming section, you'll learn how to generate URLs from inside templates.Generating Absolute URLs¶By default, the router will generate relative URLs (e.g. /blog). To generate an absolute URL, simply pass true to the third argument of the generate() method:$router->generate('blog_show', array('slug' => 'my-blog-post'), true);// http://www.example.com/blog/my-blog-post
The host that's used when generating an absolute URL is the host of the current Request object. This is detected automatically based on server information supplied by PHP. When generating absolute URLs for scripts run from the command line, you'll need to manually set the desired host on the Request object:
160
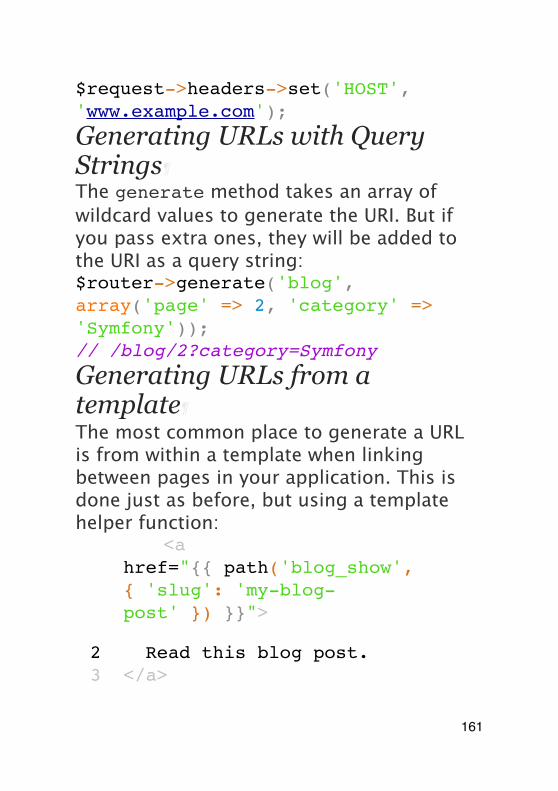
$request->headers->set('HOST', 'www.example.com');
Generating URLs with Query Strings¶The generate method takes an array of wildcard values to generate the URI. But if you pass extra ones, they will be added to the URI as a query string:$router->generate('blog', array('page' => 2, 'category' => 'Symfony'));// /blog/2?category=Symfony
Generating URLs from a template¶The most common place to generate a URL is from within a template when linking between pages in your application. This is done just as before, but using a template helper function:
1 Twig<a href="{{ path('blog_show', { 'slug': 'my-blog-post' }) }}">
2 Read this blog post.3 </a>
161
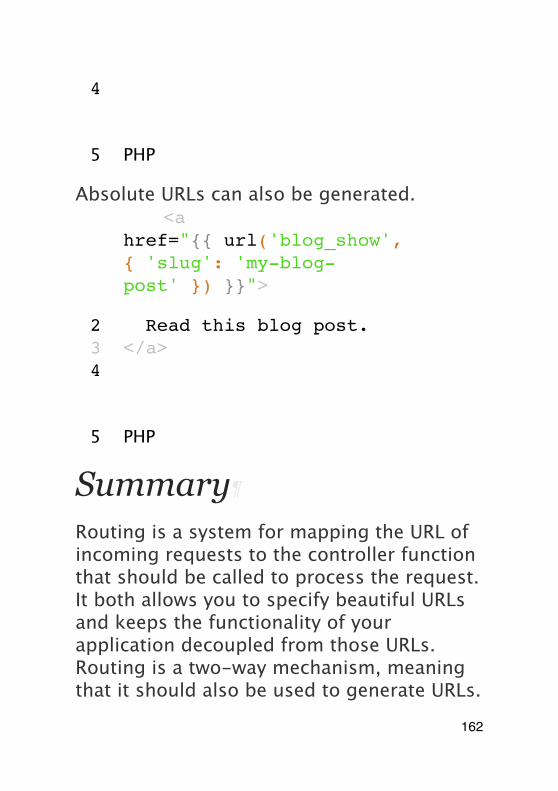
4
5 PHP
Absolute URLs can also be generated.1 Twig<a
href="{{ url('blog_show', { 'slug': 'my-blog-post' }) }}">
2 Read this blog post.3 </a>4
5 PHP
Summary
Routing is a system for mapping the URL of incoming requests to the controller function that should be called to process the request. It both allows you to specify beautiful URLs and keeps the functionality of your application decoupled from those URLs. Routing is a two-way mechanism, meaning that it should also be used to generate URLs.
162
Learn more from the Cookbook
• How to force routes to always use HTTPS
163
Creating and using TemplatesAs you know, the controller is responsible for handling each request that comes into a Symfony2 application. In reality, the controller delegates the most of the heavy work to other places so that code can be tested and reused. When a controller needs to generate HTML, CSS or any other content, it hands the work off to the templating engine. In this chapter, you'll learn how to write powerful templates that can be used to return content to the user, populate email bodies, and more. You'll learn shortcuts, clever ways to extend templates and how to reuse template code.
Templates
A template is simply a text file that can generate any text-based format (HTML, XML, CSV, LaTeX ...). The most familiar type of template is a PHP template - a text file
164
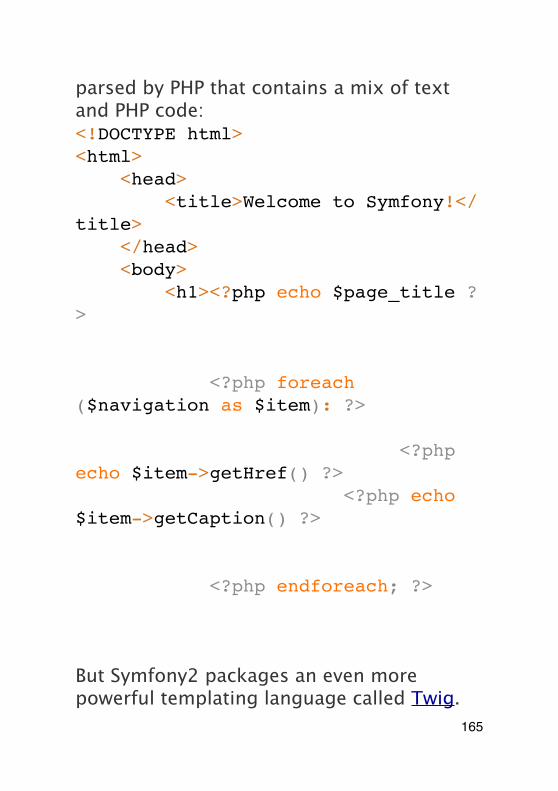
parsed by PHP that contains a mix of text and PHP code:<!DOCTYPE html><html> <head> <title>Welcome to Symfony!</title> </head> <body> <h1><?php echo $page_title ?></h1>
<ul id="navigation"> <?php foreach ($navigation as $item): ?> <li> <a href="<?php echo $item->getHref() ?>"> <?php echo $item->getCaption() ?> </a> </li> <?php endforeach; ?> </ul> </body></html>But Symfony2 packages an even more powerful templating language called Twig.
165
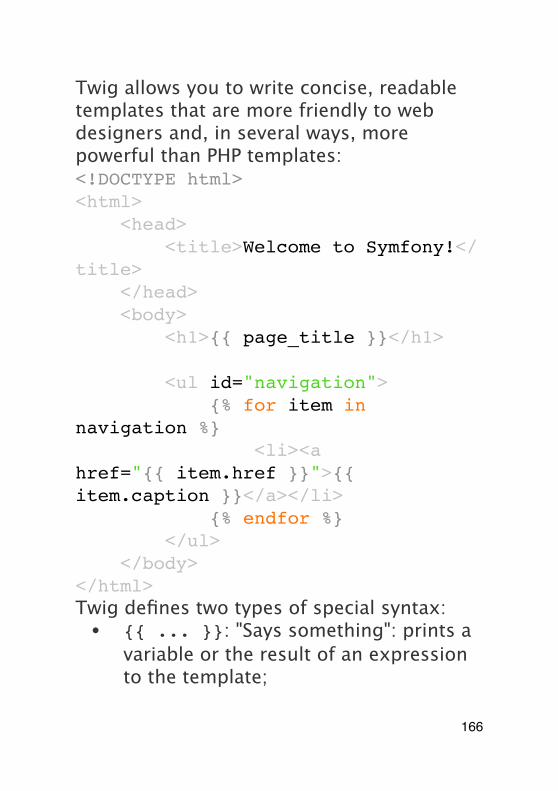
Twig allows you to write concise, readable templates that are more friendly to web designers and, in several ways, more powerful than PHP templates:<!DOCTYPE html><html> <head> <title>Welcome to Symfony!</title> </head> <body> <h1>{{ page_title }}</h1>
<ul id="navigation"> {% for item in navigation %} <li><a href="{{ item.href }}">{{ item.caption }}</a></li> {% endfor %} </ul> </body></html>Twig defines two types of special syntax:• {{ ... }}: "Says something": prints a
variable or the result of an expression to the template;
166
• {% ... %}: "Does something": a tag that controls the logic of the template; it is used to execute statements such as for-loops for example.
There is a third syntax used for creating comments: {# this is a comment #}. This syntax can be used across multiple lines like the PHP-equivalent /* comment */ syntax.Twig also contains filters, which modify content before being rendered. The following makes the title variable all uppercase before rendering it:{{ title | upper }}Twig comes with a long list of tags and filters that are available by default. You can even add your own extensions to Twig as needed.
Registering a Twig extension is as easy as creating a new service and tagging it with twig.extension tag.As you'll see throughout the documentation, Twig also supports functions and new functions can be easily added. For example, the following uses a standard for tag and
167
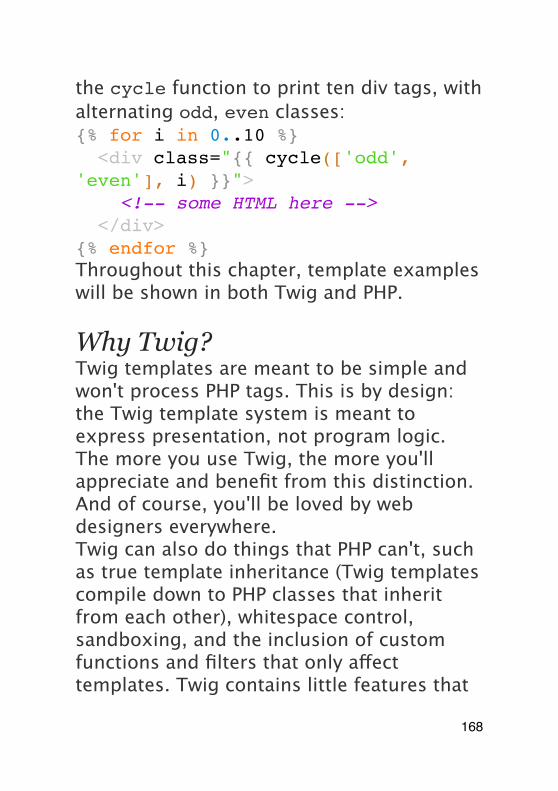
the cycle function to print ten div tags, with alternating odd, even classes:{% for i in 0..10 %} <div class="{{ cycle(['odd', 'even'], i) }}"> <!-- some HTML here --> </div>{% endfor %}Throughout this chapter, template examples will be shown in both Twig and PHP.
Why Twig?Twig templates are meant to be simple and won't process PHP tags. This is by design: the Twig template system is meant to express presentation, not program logic. The more you use Twig, the more you'll appreciate and benefit from this distinction. And of course, you'll be loved by web designers everywhere.Twig can also do things that PHP can't, such as true template inheritance (Twig templates compile down to PHP classes that inherit from each other), whitespace control, sandboxing, and the inclusion of custom functions and filters that only affect templates. Twig contains little features that
168
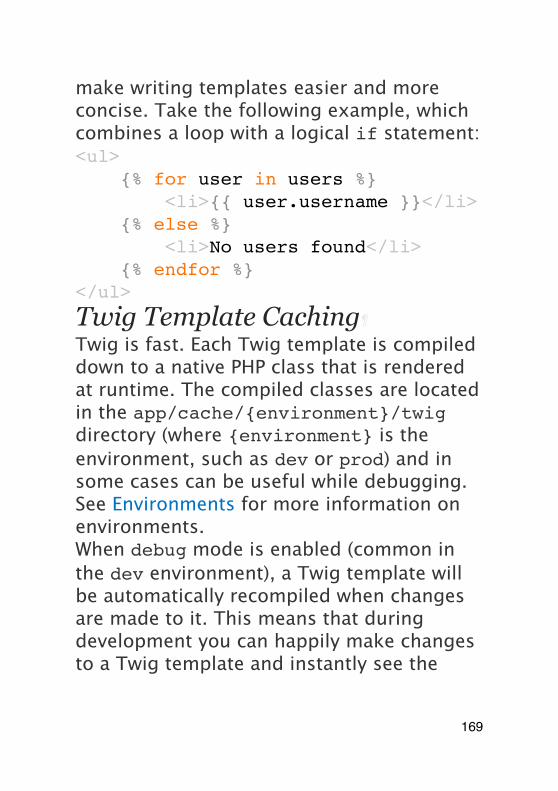
make writing templates easier and more concise. Take the following example, which combines a loop with a logical if statement:<ul> {% for user in users %} <li>{{ user.username }}</li> {% else %} <li>No users found</li> {% endfor %}</ul>
Twig Template Caching¶Twig is fast. Each Twig template is compiled down to a native PHP class that is rendered at runtime. The compiled classes are located in the app/cache/{environment}/twig directory (where {environment} is the environment, such as dev or prod) and in some cases can be useful while debugging. See Environments for more information on environments.When debug mode is enabled (common in the dev environment), a Twig template will be automatically recompiled when changes are made to it. This means that during development you can happily make changes to a Twig template and instantly see the
169
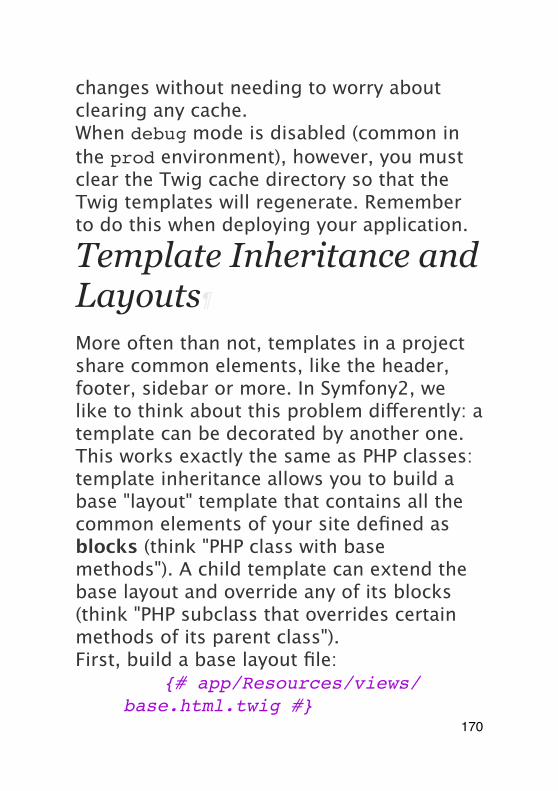
changes without needing to worry about clearing any cache.When debug mode is disabled (common in the prod environment), however, you must clear the Twig cache directory so that the Twig templates will regenerate. Remember to do this when deploying your application.
Template Inheritance and Layouts
More often than not, templates in a project share common elements, like the header, footer, sidebar or more. In Symfony2, we like to think about this problem differently: a template can be decorated by another one. This works exactly the same as PHP classes: template inheritance allows you to build a base "layout" template that contains all the common elements of your site defined as blocks (think "PHP class with base methods"). A child template can extend the base layout and override any of its blocks (think "PHP subclass that overrides certain methods of its parent class").First, build a base layout file:
1 Twig{# app/Resources/views/base.html.twig #}
170
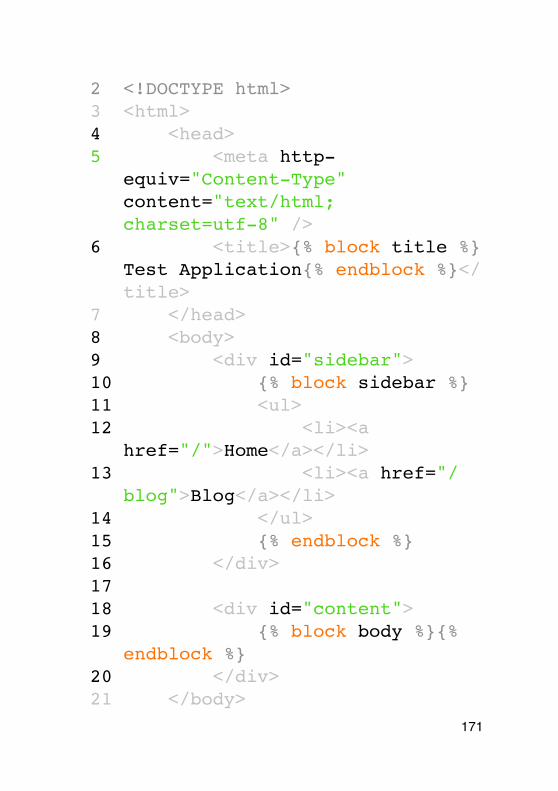
2 <!DOCTYPE html>3 <html>4 <head>5 <meta http-
equiv="Content-Type" content="text/html; charset=utf-8" />
6 <title>{% block title %}Test Application{% endblock %}</title>
7 </head>8 <body>9 <div id="sidebar">10 {% block sidebar %}11 <ul>12 <li><a
href="/">Home</a></li>13 <li><a href="/
blog">Blog</a></li>14 </ul>15 {% endblock %}16 </div>1718 <div id="content">19 {% block body %}{%
endblock %}20 </div>21 </body>
171
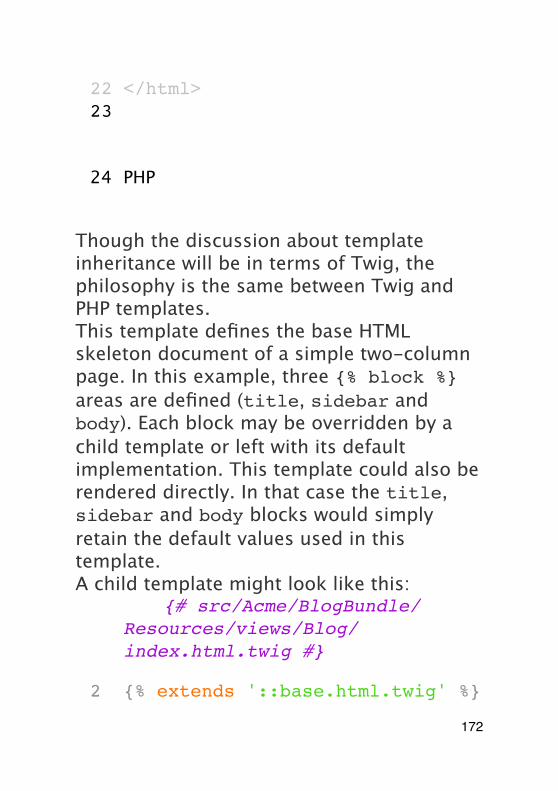
22 </html>23
24 PHP
Though the discussion about template inheritance will be in terms of Twig, the philosophy is the same between Twig and PHP templates.This template defines the base HTML skeleton document of a simple two-column page. In this example, three {% block %} areas are defined (title, sidebar and body). Each block may be overridden by a child template or left with its default implementation. This template could also be rendered directly. In that case the title, sidebar and body blocks would simply retain the default values used in this template.A child template might look like this:
1 Twig{# src/Acme/BlogBundle/Resources/views/Blog/index.html.twig #}
2 {% extends '::base.html.twig' %}
172
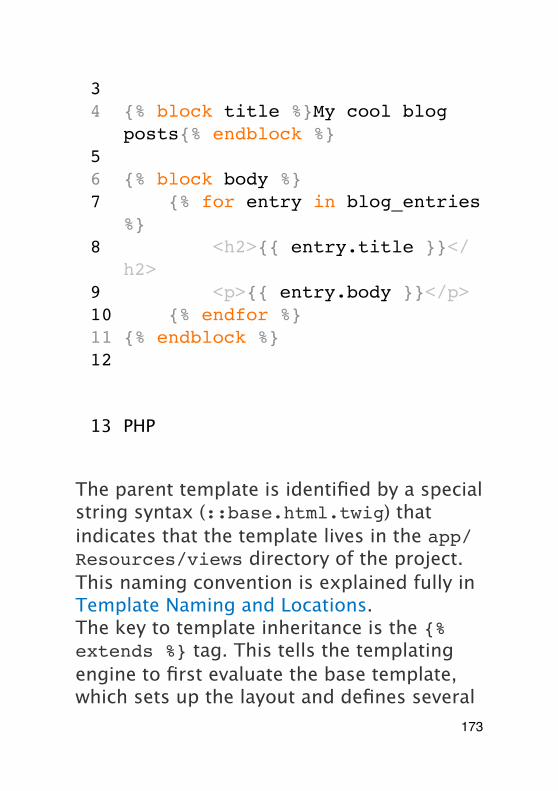
34 {% block title %}My cool blog
posts{% endblock %}56 {% block body %}7 {% for entry in blog_entries
%}8 <h2>{{ entry.title }}</
h2>9 <p>{{ entry.body }}</p>10 {% endfor %}11 {% endblock %}12
13 PHP
The parent template is identified by a special string syntax (::base.html.twig) that indicates that the template lives in the app/Resources/views directory of the project. This naming convention is explained fully in Template Naming and Locations.The key to template inheritance is the {% extends %} tag. This tells the templating engine to first evaluate the base template, which sets up the layout and defines several
173
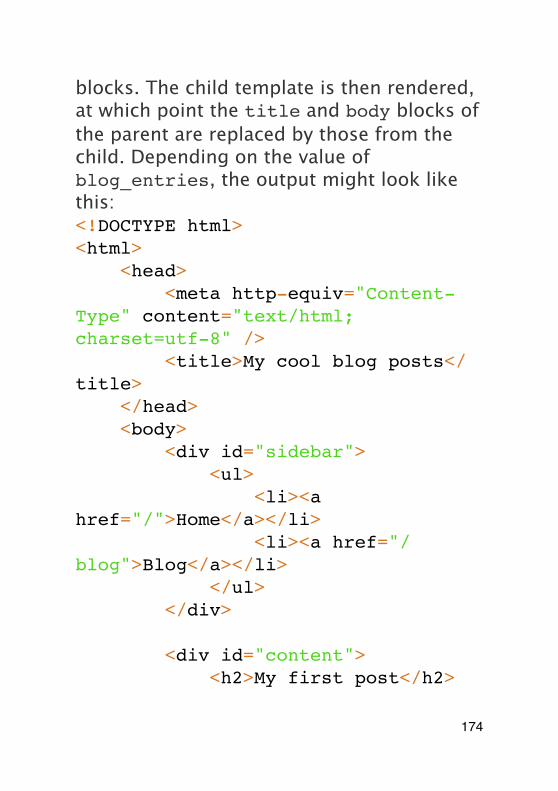
blocks. The child template is then rendered, at which point the title and body blocks of the parent are replaced by those from the child. Depending on the value of blog_entries, the output might look like this:<!DOCTYPE html><html> <head> <meta http-equiv="Content-Type" content="text/html; charset=utf-8" /> <title>My cool blog posts</title> </head> <body> <div id="sidebar"> <ul> <li><a href="/">Home</a></li> <li><a href="/blog">Blog</a></li> </ul> </div>
<div id="content"> <h2>My first post</h2>
174
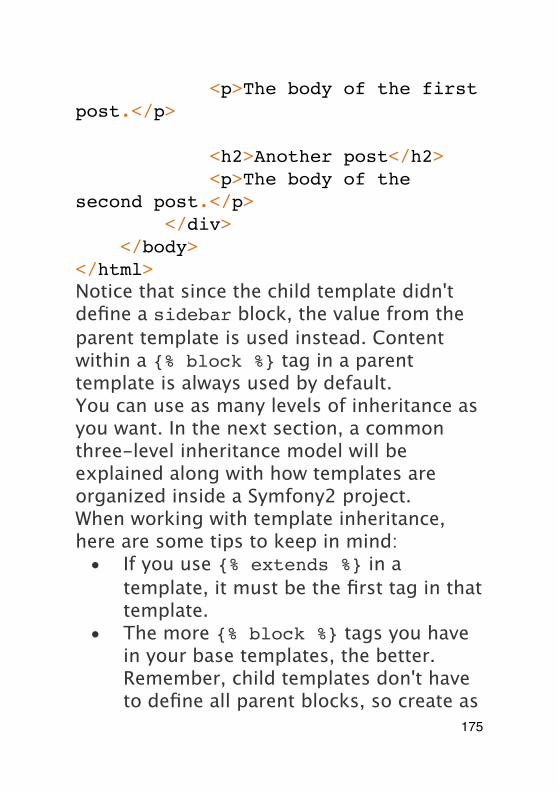
<p>The body of the first post.</p>
<h2>Another post</h2> <p>The body of the second post.</p> </div> </body></html>Notice that since the child template didn't define a sidebar block, the value from the parent template is used instead. Content within a {% block %} tag in a parent template is always used by default.You can use as many levels of inheritance as you want. In the next section, a common three-level inheritance model will be explained along with how templates are organized inside a Symfony2 project.When working with template inheritance, here are some tips to keep in mind:
• If you use {% extends %} in a template, it must be the first tag in that template.
• The more {% block %} tags you have in your base templates, the better. Remember, child templates don't have to define all parent blocks, so create as
175
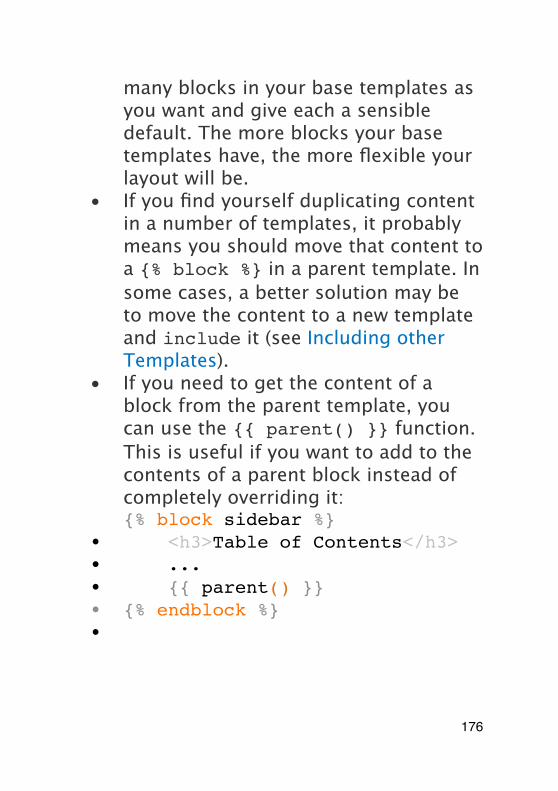
many blocks in your base templates as you want and give each a sensible default. The more blocks your base templates have, the more flexible your layout will be.
• If you find yourself duplicating content in a number of templates, it probably means you should move that content to a {% block %} in a parent template. In some cases, a better solution may be to move the content to a new template and include it (see Including other Templates).
• If you need to get the content of a block from the parent template, you can use the {{ parent() }} function. This is useful if you want to add to the contents of a parent block instead of completely overriding it:{% block sidebar %}
• <h3>Table of Contents</h3>• ...• {{ parent() }}• {% endblock %}•
176
Template Naming and Locations
By default, templates can live in two different locations:• app/Resources/views/: The
applications views directory can contain application-wide base templates (i.e. your application's layouts) as well as templates that override bundle templates (see Overriding Bundle Templates);
• path/to/bundle/Resources/views/: Each bundle houses its templates in its Resources/views directory (and subdirectories). The majority of templates will live inside a bundle.
Symfony2 uses a bundle:controller:template string syntax for templates. This allows for several different types of templates, each which lives in a specific location:
177
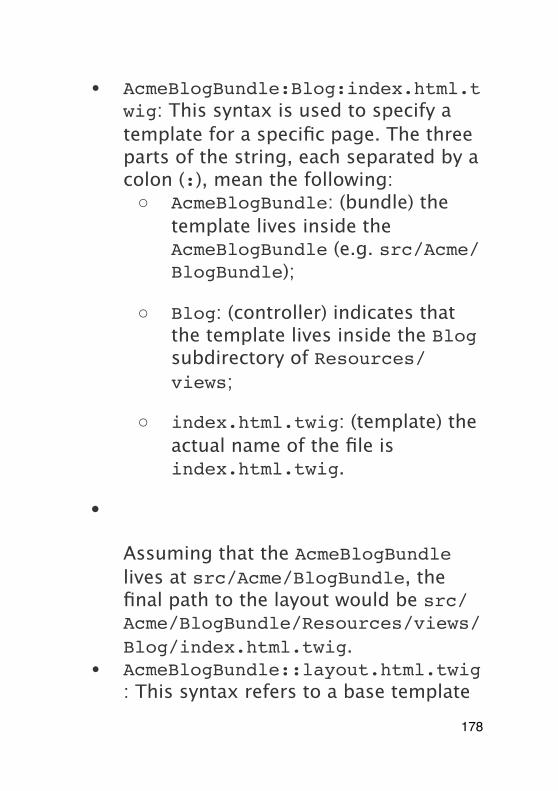
• AcmeBlogBundle:Blog:index.html.twig: This syntax is used to specify a template for a specific page. The three parts of the string, each separated by a colon (:), mean the following:◦ AcmeBlogBundle: (bundle) the
template lives inside the AcmeBlogBundle (e.g. src/Acme/BlogBundle);
◦ Blog: (controller) indicates that the template lives inside the Blog subdirectory of Resources/views;
◦ index.html.twig: (template) the actual name of the file is index.html.twig.
•
Assuming that the AcmeBlogBundle lives at src/Acme/BlogBundle, the final path to the layout would be src/Acme/BlogBundle/Resources/views/Blog/index.html.twig.
• AcmeBlogBundle::layout.html.twig: This syntax refers to a base template
178
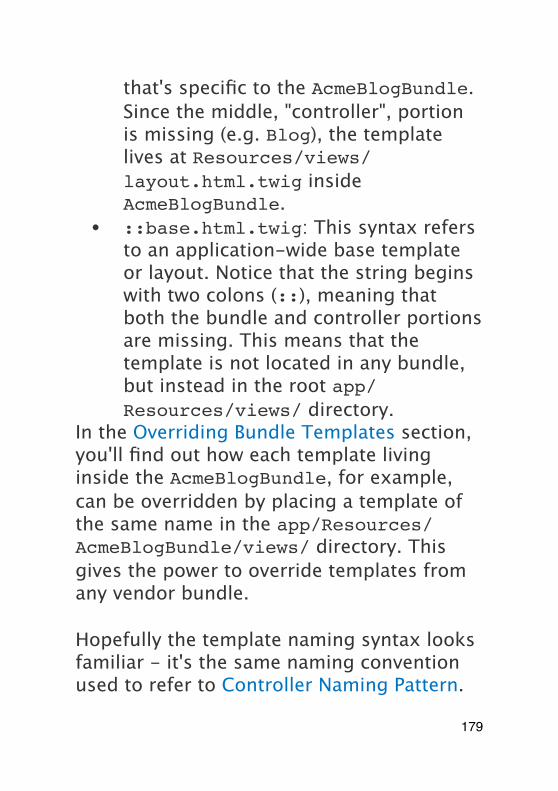
that's specific to the AcmeBlogBundle. Since the middle, "controller", portion is missing (e.g. Blog), the template lives at Resources/views/layout.html.twig inside AcmeBlogBundle.
• ::base.html.twig: This syntax refers to an application-wide base template or layout. Notice that the string begins with two colons (::), meaning that both the bundle and controller portions are missing. This means that the template is not located in any bundle, but instead in the root app/Resources/views/ directory.
In the Overriding Bundle Templates section, you'll find out how each template living inside the AcmeBlogBundle, for example, can be overridden by placing a template of the same name in the app/Resources/AcmeBlogBundle/views/ directory. This gives the power to override templates from any vendor bundle.
Hopefully the template naming syntax looks familiar - it's the same naming convention used to refer to Controller Naming Pattern.
179
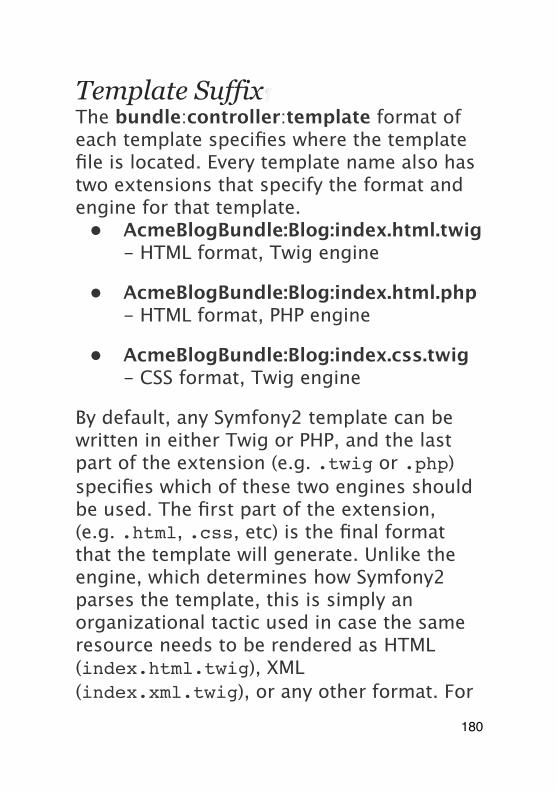
Template Suffix¶The bundle:controller:template format of each template specifies where the template file is located. Every template name also has two extensions that specify the format and engine for that template.
• AcmeBlogBundle:Blog:index.html.twig - HTML format, Twig engine
• AcmeBlogBundle:Blog:index.html.php - HTML format, PHP engine
• AcmeBlogBundle:Blog:index.css.twig - CSS format, Twig engine
By default, any Symfony2 template can be written in either Twig or PHP, and the last part of the extension (e.g. .twig or .php) specifies which of these two engines should be used. The first part of the extension, (e.g. .html, .css, etc) is the final format that the template will generate. Unlike the engine, which determines how Symfony2 parses the template, this is simply an organizational tactic used in case the same resource needs to be rendered as HTML (index.html.twig), XML (index.xml.twig), or any other format. For
180
more information, read the Template Formats section.
The available "engines" can be configured and even new engines added. See Templating Configuration for more details.
Tags and Helpers
You already understand the basics of templates, how they're named and how to use template inheritance. The hardest parts are already behind you. In this section, you'll learn about a large group of tools available to help perform the most common template tasks such as including other templates, linking to pages and including images.Symfony2 comes bundled with several specialized Twig tags and functions that ease the work of the template designer. In PHP, the templating system provides an extensible helper system that provides useful features in a template context.We've already seen a few built-in Twig tags ({% block %} & {% extends %}) as well as an example of a PHP helper ($view['slots']). Let's learn a few more.Including other Templates
181
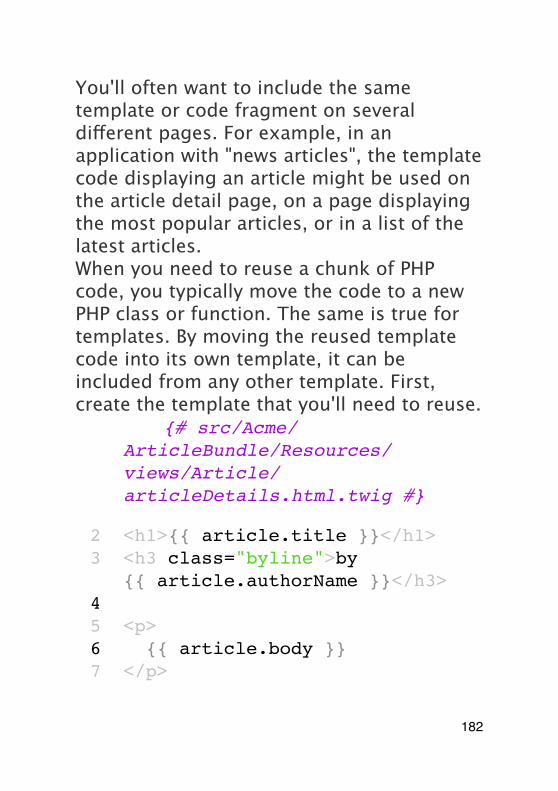
You'll often want to include the same template or code fragment on several different pages. For example, in an application with "news articles", the template code displaying an article might be used on the article detail page, on a page displaying the most popular articles, or in a list of the latest articles.When you need to reuse a chunk of PHP code, you typically move the code to a new PHP class or function. The same is true for templates. By moving the reused template code into its own template, it can be included from any other template. First, create the template that you'll need to reuse.
1 Twig{# src/Acme/ArticleBundle/Resources/views/Article/articleDetails.html.twig #}
2 <h1>{{ article.title }}</h1>3 <h3 class="byline">by
{{ article.authorName }}</h3>45 <p>6 {{ article.body }}7 </p>
182
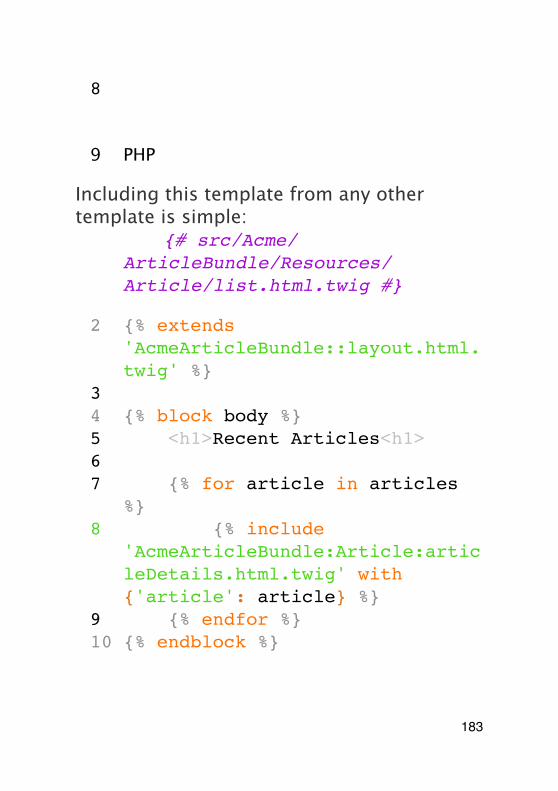
8
9 PHP
Including this template from any other template is simple:
1 Twig{# src/Acme/ArticleBundle/Resources/Article/list.html.twig #}
2 {% extends 'AcmeArticleBundle::layout.html.twig' %}
34 {% block body %}5 <h1>Recent Articles<h1>67 {% for article in articles
%}8 {% include
'AcmeArticleBundle:Article:articleDetails.html.twig' with {'article': article} %}
9 {% endfor %}10 {% endblock %}
183
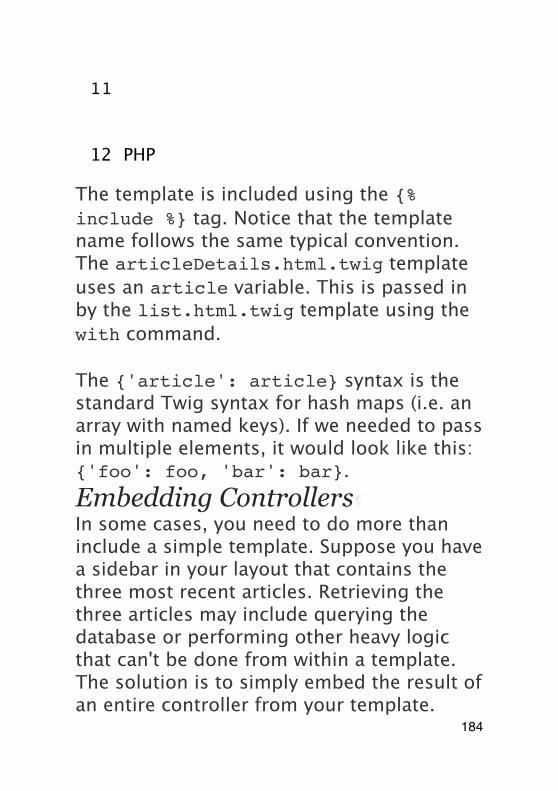
11
12 PHP
The template is included using the {% include %} tag. Notice that the template name follows the same typical convention. The articleDetails.html.twig template uses an article variable. This is passed in by the list.html.twig template using the with command.
The {'article': article} syntax is the standard Twig syntax for hash maps (i.e. an array with named keys). If we needed to pass in multiple elements, it would look like this: {'foo': foo, 'bar': bar}.Embedding Controllers¶In some cases, you need to do more than include a simple template. Suppose you have a sidebar in your layout that contains the three most recent articles. Retrieving the three articles may include querying the database or performing other heavy logic that can't be done from within a template.The solution is to simply embed the result of an entire controller from your template.
184
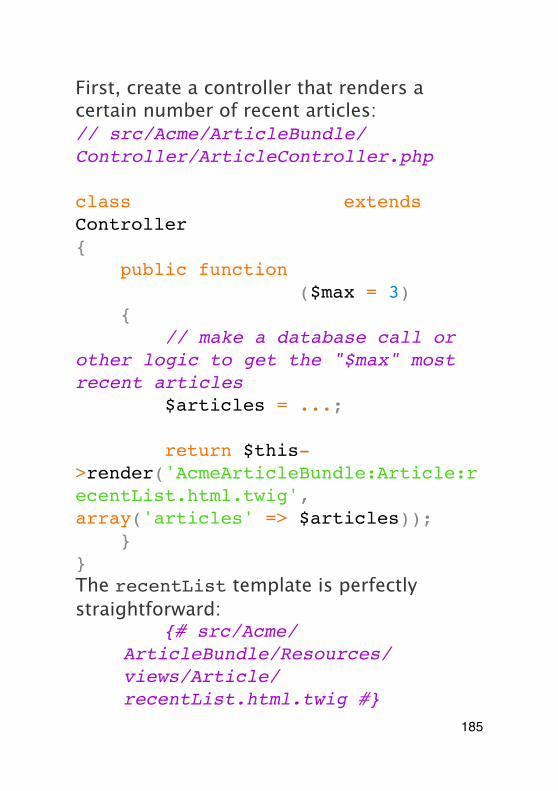
First, create a controller that renders a certain number of recent articles:// src/Acme/ArticleBundle/Controller/ArticleController.php
class ArticleController extends Controller{ public function recentArticlesAction($max = 3) { // make a database call or other logic to get the "$max" most recent articles $articles = ...;
return $this->render('AcmeArticleBundle:Article:recentList.html.twig', array('articles' => $articles)); }}The recentList template is perfectly straightforward:
1 Twig{# src/Acme/ArticleBundle/Resources/views/Article/recentList.html.twig #}
185
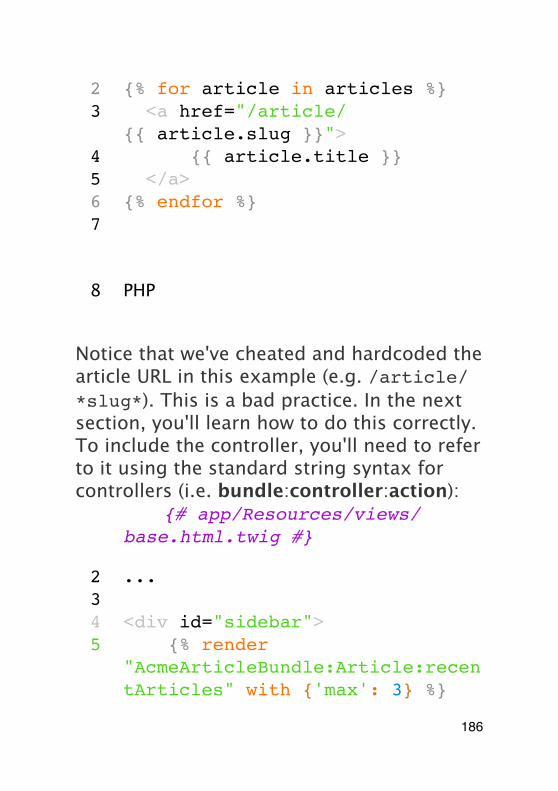
2 {% for article in articles %}3 <a href="/article/
{{ article.slug }}">4 {{ article.title }}5 </a>6 {% endfor %}7
8 PHP
Notice that we've cheated and hardcoded the article URL in this example (e.g. /article/*slug*). This is a bad practice. In the next section, you'll learn how to do this correctly.To include the controller, you'll need to refer to it using the standard string syntax for controllers (i.e. bundle:controller:action):
1 Twig{# app/Resources/views/base.html.twig #}
2 ...34 <div id="sidebar">5 {% render
"AcmeArticleBundle:Article:recentArticles" with {'max': 3} %}
186
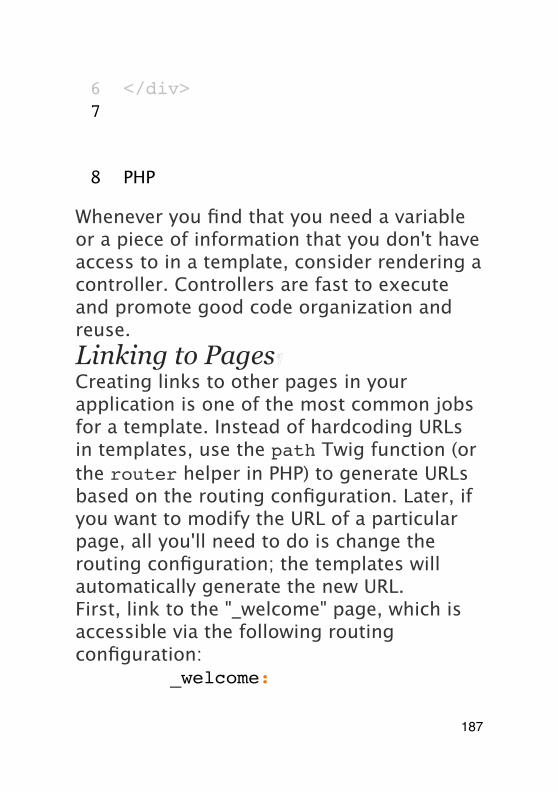
6 </div>7
8 PHP
Whenever you find that you need a variable or a piece of information that you don't have access to in a template, consider rendering a controller. Controllers are fast to execute and promote good code organization and reuse.Linking to Pages¶Creating links to other pages in your application is one of the most common jobs for a template. Instead of hardcoding URLs in templates, use the path Twig function (or the router helper in PHP) to generate URLs based on the routing configuration. Later, if you want to modify the URL of a particular page, all you'll need to do is change the routing configuration; the templates will automatically generate the new URL.First, link to the "_welcome" page, which is accessible via the following routing configuration:
1 YAML_welcome:
187
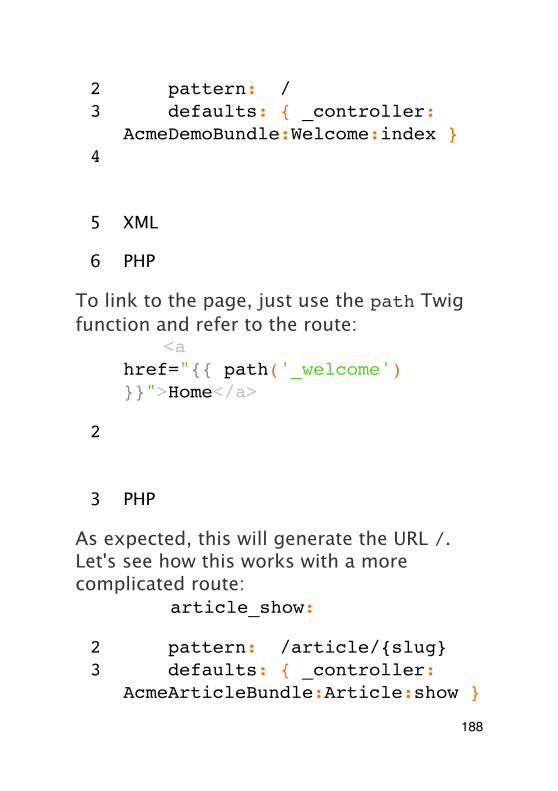
2 pattern: /3 defaults: { _controller:
AcmeDemoBundle:Welcome:index }4
5 XML
6 PHP
To link to the page, just use the path Twig function and refer to the route:
1 Twig<a href="{{ path('_welcome') }}">Home</a>
2
3 PHP
As expected, this will generate the URL /. Let's see how this works with a more complicated route:
1 YAMLarticle_show:
2 pattern: /article/{slug}3 defaults: { _controller:
AcmeArticleBundle:Article:show }
188
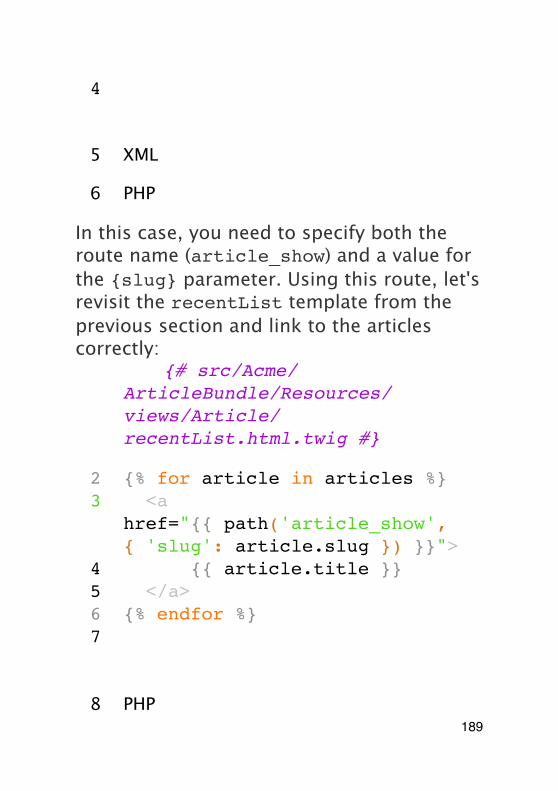
4
5 XML
6 PHP
In this case, you need to specify both the route name (article_show) and a value for the {slug} parameter. Using this route, let's revisit the recentList template from the previous section and link to the articles correctly:
1 Twig{# src/Acme/ArticleBundle/Resources/views/Article/recentList.html.twig #}
2 {% for article in articles %}3 <a
href="{{ path('article_show', { 'slug': article.slug }) }}">
4 {{ article.title }}5 </a>6 {% endfor %}7
8 PHP189
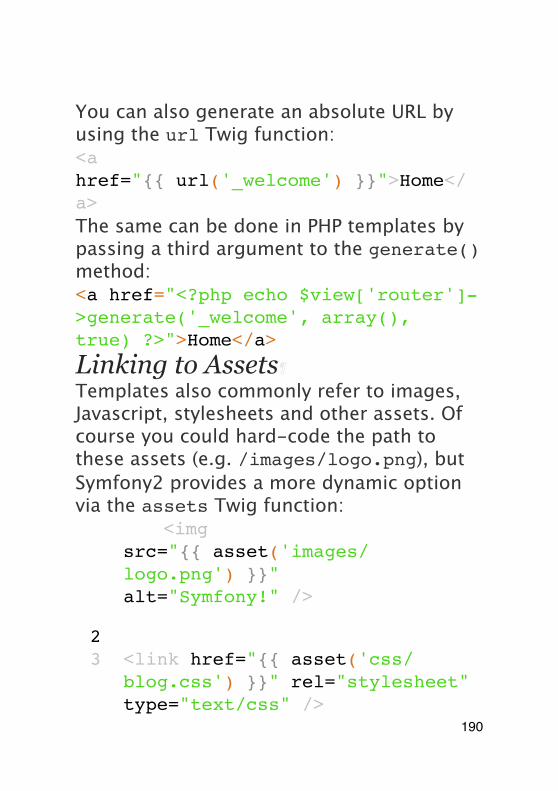
You can also generate an absolute URL by using the url Twig function:<a href="{{ url('_welcome') }}">Home</a>The same can be done in PHP templates by passing a third argument to the generate() method:<a href="<?php echo $view['router']->generate('_welcome', array(), true) ?>">Home</a>
Linking to Assets¶Templates also commonly refer to images, Javascript, stylesheets and other assets. Of course you could hard-code the path to these assets (e.g. /images/logo.png), but Symfony2 provides a more dynamic option via the assets Twig function:
1 Twig<img src="{{ asset('images/logo.png') }}" alt="Symfony!" />
23 <link href="{{ asset('css/
blog.css') }}" rel="stylesheet" type="text/css" />
190
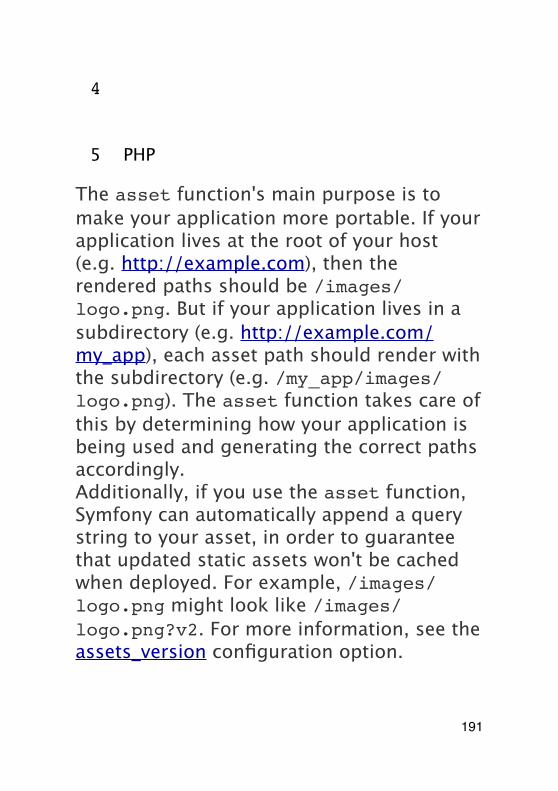
4
5 PHP
The asset function's main purpose is to make your application more portable. If your application lives at the root of your host (e.g. http://example.com), then the rendered paths should be /images/logo.png. But if your application lives in a subdirectory (e.g. http://example.com/my_app), each asset path should render with the subdirectory (e.g. /my_app/images/logo.png). The asset function takes care of this by determining how your application is being used and generating the correct paths accordingly.Additionally, if you use the asset function, Symfony can automatically append a query string to your asset, in order to guarantee that updated static assets won't be cached when deployed. For example, /images/logo.png might look like /images/logo.png?v2. For more information, see the assets_version configuration option.
191
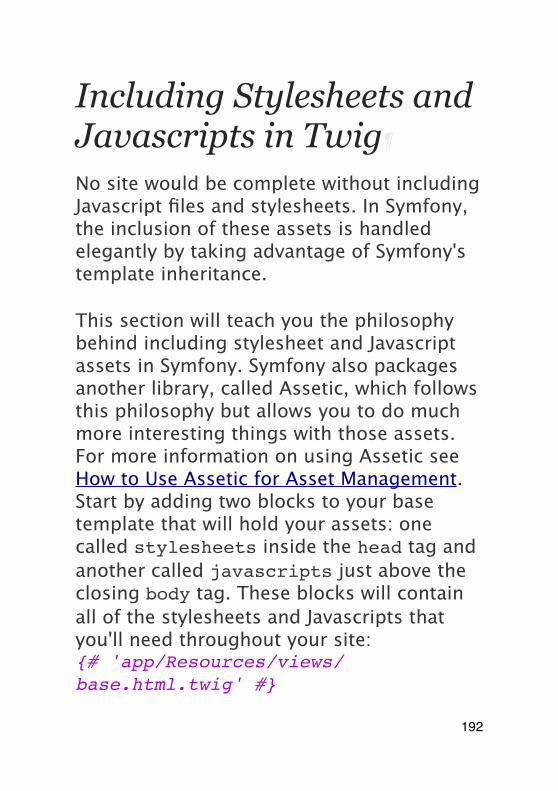
Including Stylesheets and Javascripts in Twig
No site would be complete without including Javascript files and stylesheets. In Symfony, the inclusion of these assets is handled elegantly by taking advantage of Symfony's template inheritance.
This section will teach you the philosophy behind including stylesheet and Javascript assets in Symfony. Symfony also packages another library, called Assetic, which follows this philosophy but allows you to do much more interesting things with those assets. For more information on using Assetic see How to Use Assetic for Asset Management.Start by adding two blocks to your base template that will hold your assets: one called stylesheets inside the head tag and another called javascripts just above the closing body tag. These blocks will contain all of the stylesheets and Javascripts that you'll need throughout your site:{# 'app/Resources/views/base.html.twig' #}
192
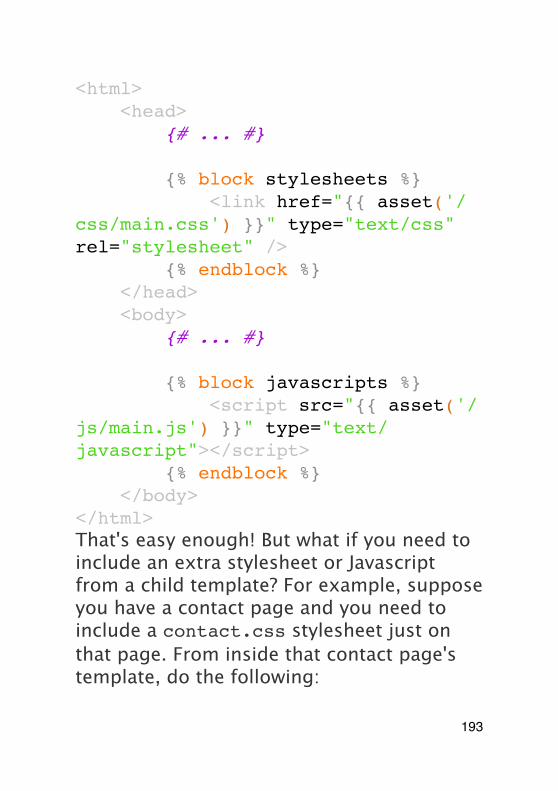
<html> <head> {# ... #}
{% block stylesheets %} <link href="{{ asset('/css/main.css') }}" type="text/css" rel="stylesheet" /> {% endblock %} </head> <body> {# ... #}
{% block javascripts %} <script src="{{ asset('/js/main.js') }}" type="text/javascript"></script> {% endblock %} </body></html>That's easy enough! But what if you need to include an extra stylesheet or Javascript from a child template? For example, suppose you have a contact page and you need to include a contact.css stylesheet just on that page. From inside that contact page's template, do the following:
193
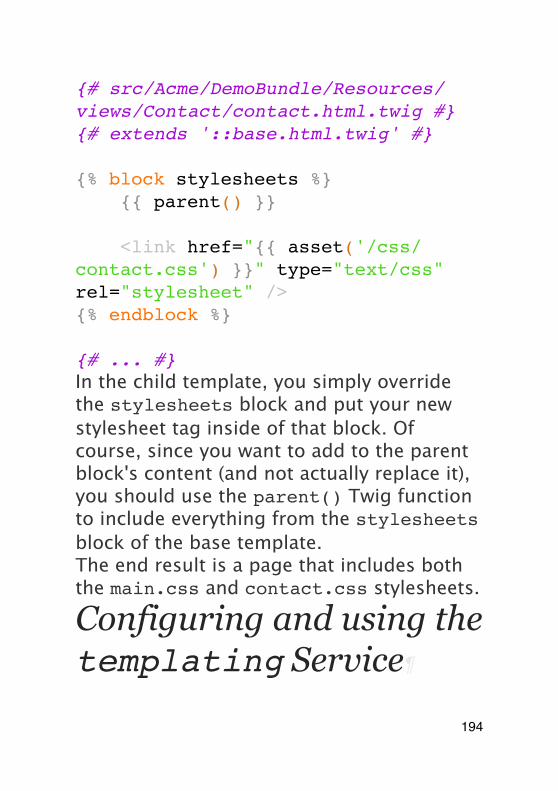
{# src/Acme/DemoBundle/Resources/views/Contact/contact.html.twig #}{# extends '::base.html.twig' #}
{% block stylesheets %} {{ parent() }}
<link href="{{ asset('/css/contact.css') }}" type="text/css" rel="stylesheet" />{% endblock %}
{# ... #}In the child template, you simply override the stylesheets block and put your new stylesheet tag inside of that block. Of course, since you want to add to the parent block's content (and not actually replace it), you should use the parent() Twig function to include everything from the stylesheets block of the base template.The end result is a page that includes both the main.css and contact.css stylesheets.
Configuring and using the templating Service
194
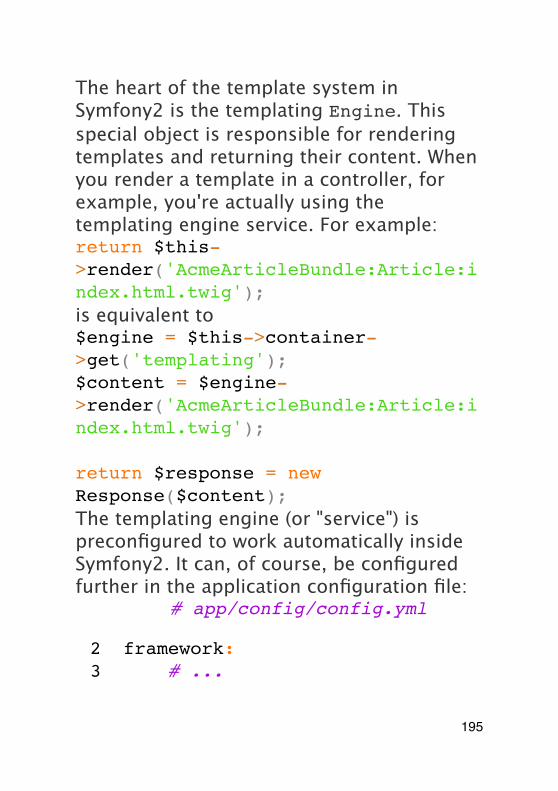
The heart of the template system in Symfony2 is the templating Engine. This special object is responsible for rendering templates and returning their content. When you render a template in a controller, for example, you're actually using the templating engine service. For example:return $this->render('AcmeArticleBundle:Article:index.html.twig');is equivalent to$engine = $this->container->get('templating');$content = $engine->render('AcmeArticleBundle:Article:index.html.twig');
return $response = new Response($content);The templating engine (or "service") is preconfigured to work automatically inside Symfony2. It can, of course, be configured further in the application configuration file:
1 YAML# app/config/config.yml
2 framework:3 # ...
195
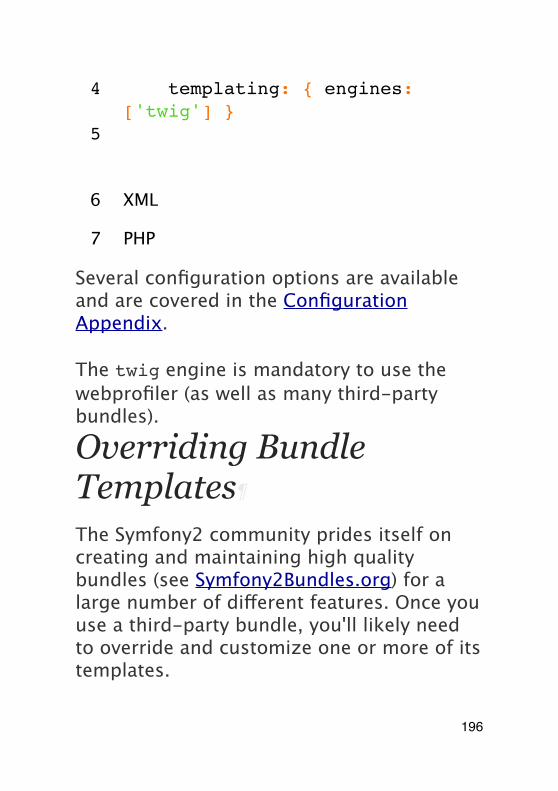
4 templating: { engines: ['twig'] }
5
6 XML
7 PHP
Several configuration options are available and are covered in the Configuration Appendix.
The twig engine is mandatory to use the webprofiler (as well as many third-party bundles).
Overriding Bundle Templates
The Symfony2 community prides itself on creating and maintaining high quality bundles (see Symfony2Bundles.org) for a large number of different features. Once you use a third-party bundle, you'll likely need to override and customize one or more of its templates.
196
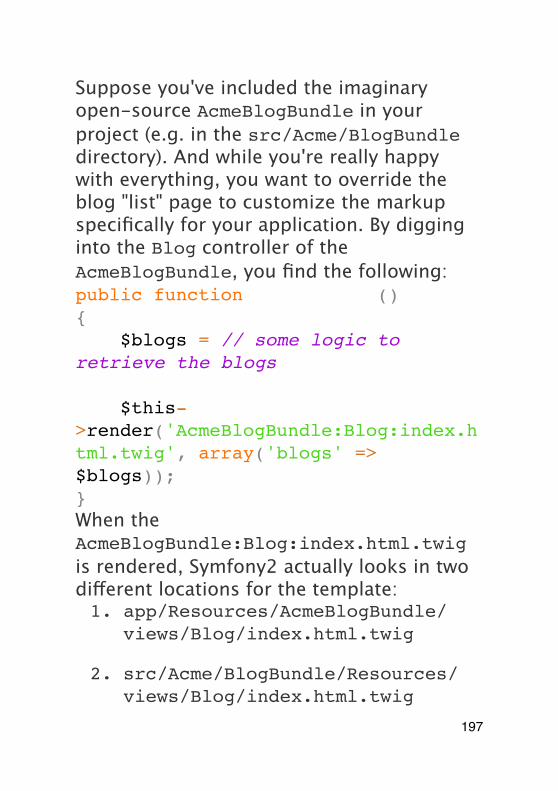
Suppose you've included the imaginary open-source AcmeBlogBundle in your project (e.g. in the src/Acme/BlogBundle directory). And while you're really happy with everything, you want to override the blog "list" page to customize the markup specifically for your application. By digging into the Blog controller of the AcmeBlogBundle, you find the following:public function indexAction(){ $blogs = // some logic to retrieve the blogs
$this->render('AcmeBlogBundle:Blog:index.html.twig', array('blogs' => $blogs));}When the AcmeBlogBundle:Blog:index.html.twig is rendered, Symfony2 actually looks in two different locations for the template:1. app/Resources/AcmeBlogBundle/
views/Blog/index.html.twig
2. src/Acme/BlogBundle/Resources/views/Blog/index.html.twig
197
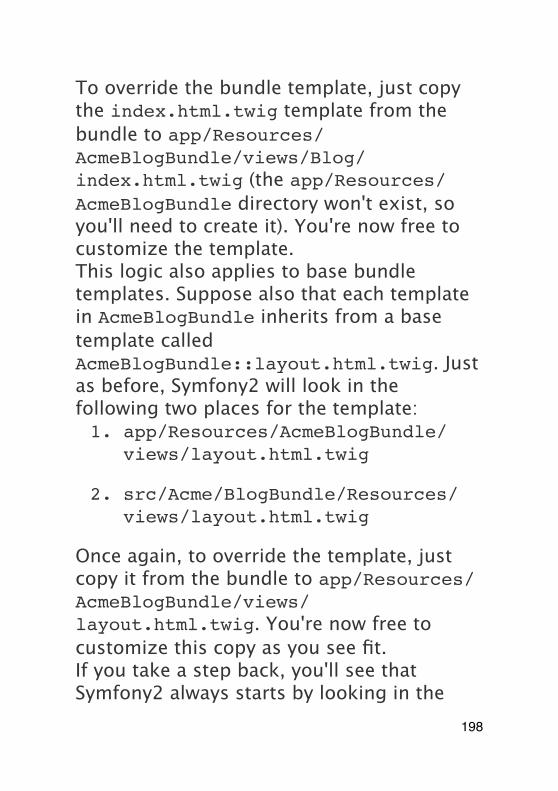
To override the bundle template, just copy the index.html.twig template from the bundle to app/Resources/AcmeBlogBundle/views/Blog/index.html.twig (the app/Resources/AcmeBlogBundle directory won't exist, so you'll need to create it). You're now free to customize the template.This logic also applies to base bundle templates. Suppose also that each template in AcmeBlogBundle inherits from a base template called AcmeBlogBundle::layout.html.twig. Just as before, Symfony2 will look in the following two places for the template:1. app/Resources/AcmeBlogBundle/
views/layout.html.twig
2. src/Acme/BlogBundle/Resources/views/layout.html.twig
Once again, to override the template, just copy it from the bundle to app/Resources/AcmeBlogBundle/views/layout.html.twig. You're now free to customize this copy as you see fit.If you take a step back, you'll see that Symfony2 always starts by looking in the
198
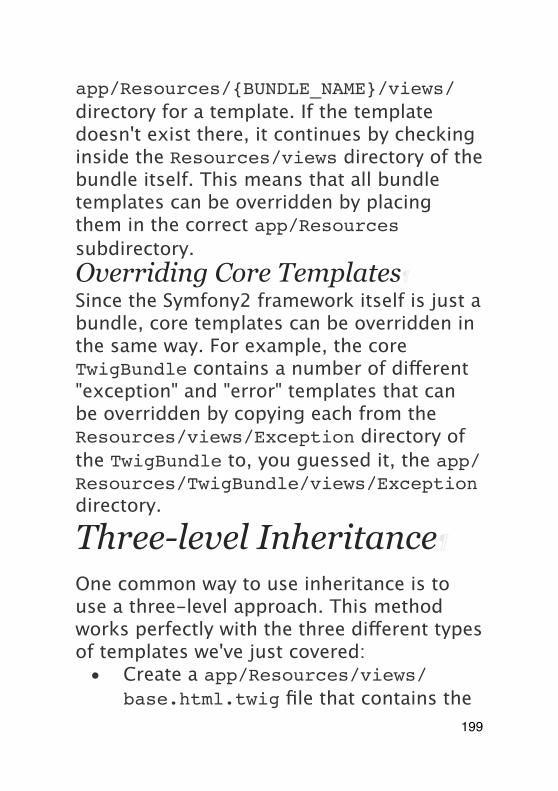
app/Resources/{BUNDLE_NAME}/views/ directory for a template. If the template doesn't exist there, it continues by checking inside the Resources/views directory of the bundle itself. This means that all bundle templates can be overridden by placing them in the correct app/Resources subdirectory.Overriding Core Templates¶Since the Symfony2 framework itself is just a bundle, core templates can be overridden in the same way. For example, the core TwigBundle contains a number of different "exception" and "error" templates that can be overridden by copying each from the Resources/views/Exception directory of the TwigBundle to, you guessed it, the app/Resources/TwigBundle/views/Exception directory.
Three-level Inheritance
One common way to use inheritance is to use a three-level approach. This method works perfectly with the three different types of templates we've just covered:
• Create a app/Resources/views/base.html.twig file that contains the
199
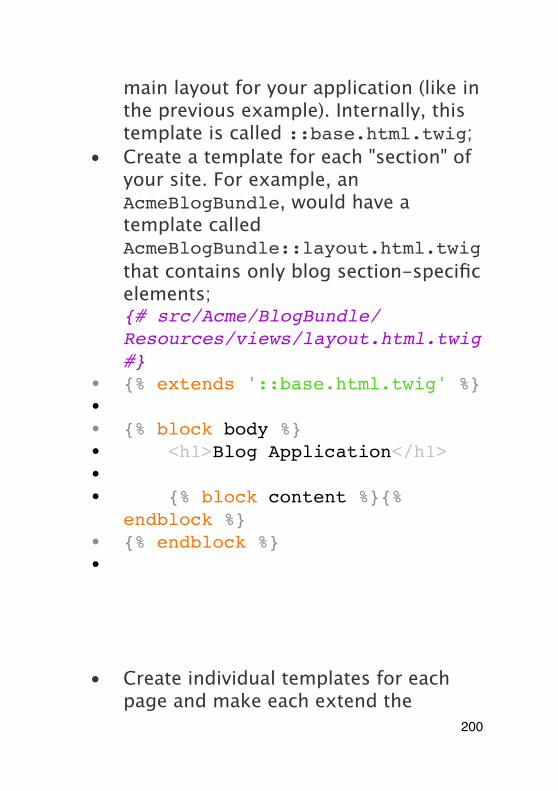
main layout for your application (like in the previous example). Internally, this template is called ::base.html.twig;
• Create a template for each "section" of your site. For example, an AcmeBlogBundle, would have a template called AcmeBlogBundle::layout.html.twig that contains only blog section-specific elements;{# src/Acme/BlogBundle/Resources/views/layout.html.twig #}
• {% extends '::base.html.twig' %}•• {% block body %}• <h1>Blog Application</h1>•• {% block content %}{%
endblock %}• {% endblock %}•
• Create individual templates for each page and make each extend the
200
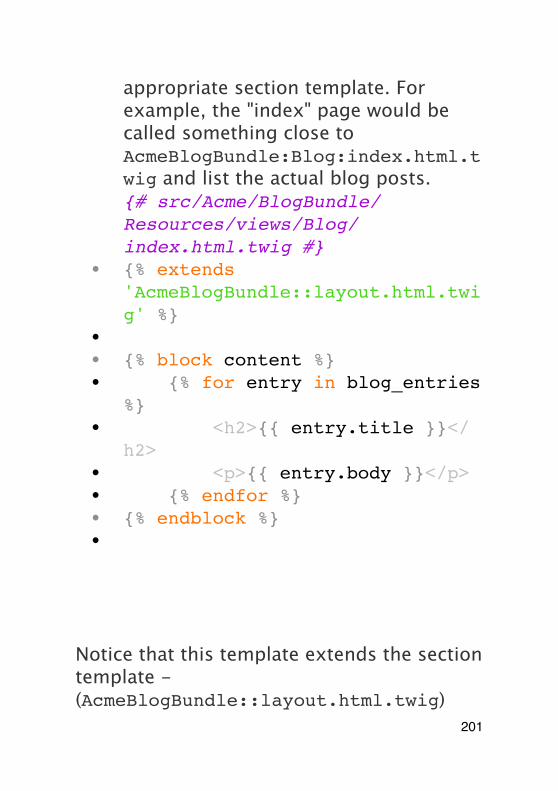
appropriate section template. For example, the "index" page would be called something close to AcmeBlogBundle:Blog:index.html.twig and list the actual blog posts.{# src/Acme/BlogBundle/Resources/views/Blog/index.html.twig #}
• {% extends 'AcmeBlogBundle::layout.html.twig' %}
•• {% block content %}• {% for entry in blog_entries
%}• <h2>{{ entry.title }}</
h2>• <p>{{ entry.body }}</p>• {% endfor %}• {% endblock %}•
Notice that this template extends the section template -(AcmeBlogBundle::layout.html.twig)
201
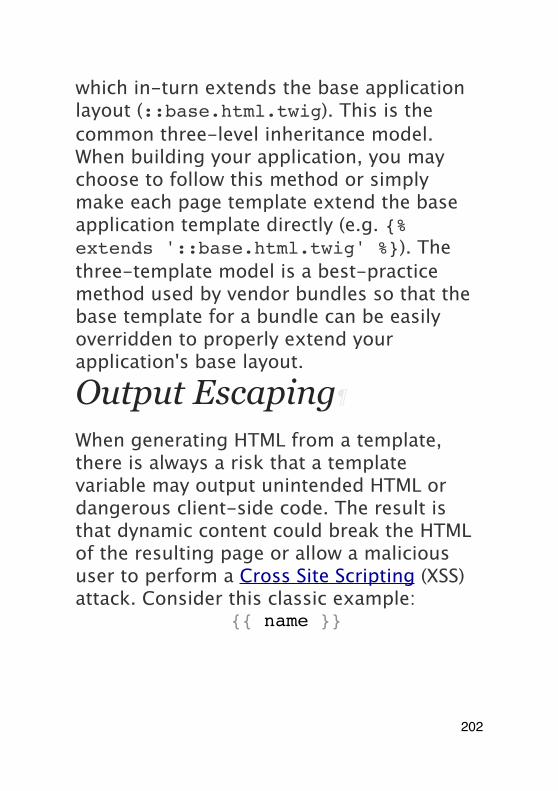
which in-turn extends the base application layout (::base.html.twig). This is the common three-level inheritance model.When building your application, you may choose to follow this method or simply make each page template extend the base application template directly (e.g. {% extends '::base.html.twig' %}). The three-template model is a best-practice method used by vendor bundles so that the base template for a bundle can be easily overridden to properly extend your application's base layout.
Output Escaping
When generating HTML from a template, there is always a risk that a template variable may output unintended HTML or dangerous client-side code. The result is that dynamic content could break the HTML of the resulting page or allow a malicious user to perform a Cross Site Scripting (XSS) attack. Consider this classic example:
1 TwigHello {{ name }}
202
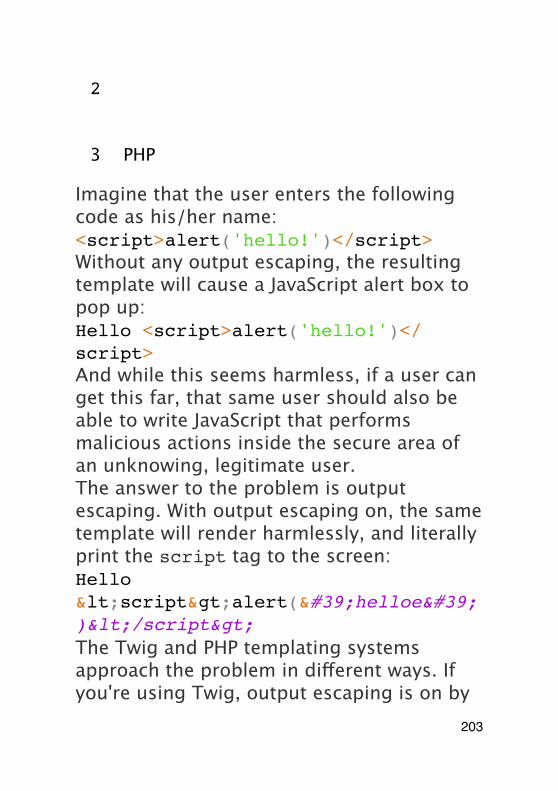
2
3 PHP
Imagine that the user enters the following code as his/her name:<script>alert('hello!')</script>Without any output escaping, the resulting template will cause a JavaScript alert box to pop up:Hello <script>alert('hello!')</script>And while this seems harmless, if a user can get this far, that same user should also be able to write JavaScript that performs malicious actions inside the secure area of an unknowing, legitimate user.The answer to the problem is output escaping. With output escaping on, the same template will render harmlessly, and literally print the script tag to the screen:Hello <script>alert('helloe')</script>The Twig and PHP templating systems approach the problem in different ways. If you're using Twig, output escaping is on by
203
default and you're protected. In PHP, output escaping is not automatic, meaning you'll need to manually escape where necessary.Output Escaping in Twig¶If you're using Twig templates, then output escaping is on by default. This means that you're protected out-of-the-box from the unintentional consequences of user-submitted code. By default, the output escaping assumes that content is being escaped for HTML output.In some cases, you'll need to disable output escaping when you're rendering a variable that is trusted and contains markup that should not be escaped. Suppose that administrative users are able to write articles that contain HTML code. By default, Twig will escape the article body. To render it normally, add the raw filter: {{ article.body | raw }}.You can also disable output escaping inside a {% block %} area or for an entire template. For more information, see Output Escaping in the Twig documentation.Output Escaping in PHP¶Output escaping is not automatic when using PHP templates. This means that unless
204
you explicitly choose to escape a variable, you're not protected. To use output escaping, use the special escape() view method:Hello <?php echo $view->escape($name) ?>By default, the escape() method assumes that the variable is being rendered within an HTML context (and thus the variable is escaped to be safe for HTML). The second argument lets you change the context. For example, to output something in a JavaScript string, use the js context:var myMsg = 'Hello <?php echo $view->escape($name, 'js') ?>';
Template Formats
Templates are a generic way to render content in any format. And while in most cases you'll use templates to render HTML content, a template can just as easily generate JavaScript, CSS, XML or any other format you can dream of.For example, the same "resource" is often rendered in several different formats. To render an article index page in XML, simply include the format in the template name:
205
• XML template name: AcmeArticleBundle:Article:index.xml.twig
• XML template filename: index.xml.twig
In reality, this is nothing more than a naming convention and the template isn't actually rendered differently based on its format.In many cases, you may want to allow a single controller to render multiple different formats based on the "request format". For that reason, a common pattern is to do the following:public function indexAction(){ $format = $this->getRequest()->getRequestFormat();
return $this->render('AcmeBlogBundle:Blog:index.'.$format.'.twig');}The getRequestFormat on the Request object defaults to html, but can return any other format based on the format requested
206
by the user. The request format is most often managed by the routing, where a route can be configured so that /contact sets the request format to html while /contact.xml sets the format to xml. For more information, see the Advanced Example in the Routing chapter.To create links that include the format parameter, include a _format key in the parameter hash:
1 Twig<a href="{{ path('article_show', {'id': 123, '_format': 'pdf'}) }}">
2 PDF Version3 </a>4
5 PHP
Final Thoughts
The templating engine in Symfony is a powerful tool that can be used each time you need to generate presentational content
207
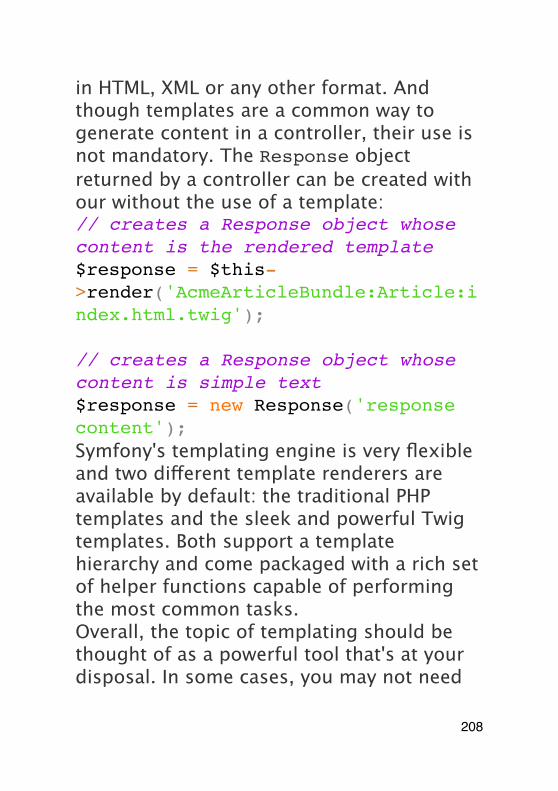
in HTML, XML or any other format. And though templates are a common way to generate content in a controller, their use is not mandatory. The Response object returned by a controller can be created with our without the use of a template:// creates a Response object whose content is the rendered template$response = $this->render('AcmeArticleBundle:Article:index.html.twig');
// creates a Response object whose content is simple text$response = new Response('response content');Symfony's templating engine is very flexible and two different template renderers are available by default: the traditional PHP templates and the sleek and powerful Twig templates. Both support a template hierarchy and come packaged with a rich set of helper functions capable of performing the most common tasks.Overall, the topic of templating should be thought of as a powerful tool that's at your disposal. In some cases, you may not need
208
to render a template, and in Symfony2, that's absolutely fine.
Learn more from the Cookbook
• How to use PHP instead of Twig for Templates
• How to customize Error Pages
209
Databases and Doctrine ("The Model")Let's face it, one of the most common and challenging tasks for any application involves persisting and reading information to and from a database. Fortunately, Symfony comes integrated with Doctrine, a library whose sole goal is to give you powerful tools to make this easy. In this chapter, you'll learn the basic philosophy behind Doctrine and see how easy working with a database can be.
Doctrine is totally decoupled from Symfony and using it is optional. This chapter is all about the Doctrine ORM, which aims to let you map objects to a relational database (such as MySQL, PostgreSQL or Microsoft SQL). If you prefer to use raw database queries, this is easy, and explained in the
210

"How to use Doctrine's DBAL Layer" cookbook entry.You can also persist data to MongoDB using Doctrine ODM library. For more information, read the "DoctrineMongoDBBundle" documentation.
A Simple Example: A Product
The easiest way to understand how Doctrine works is to see it in action. In this section, you'll configure your database, create a Product object, persist it to the database and fetch it back out.
Code along with the exampleIf you want to follow along with the example in this chapter, create an AcmeStoreBundle via:php app/console generate:bundle --namespace=Acme/StoreBundle
Configuring the Database¶Before you really begin, you'll need to configure your database connection information. By convention, this information
211
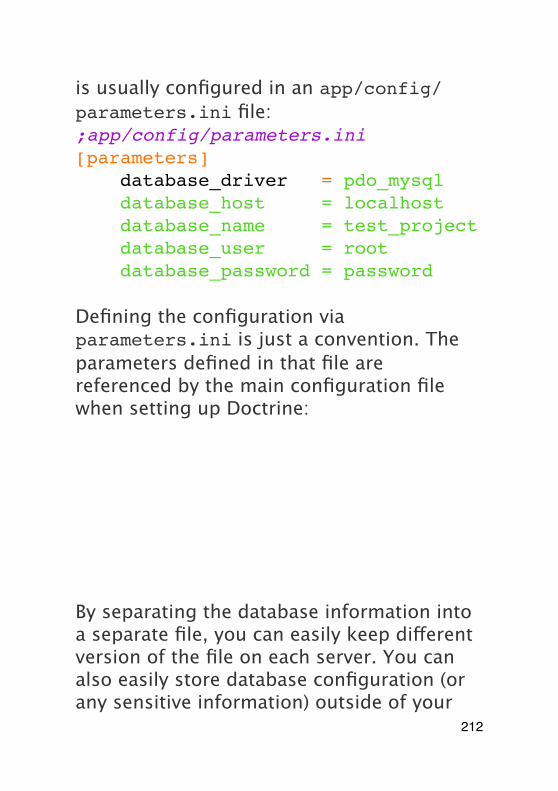
is usually configured in an app/config/parameters.ini file:;app/config/parameters.ini[parameters] database_driver = pdo_mysql database_host = localhost database_name = test_project database_user = root database_password = password
Defining the configuration via parameters.ini is just a convention. The parameters defined in that file are referenced by the main configuration file when setting up Doctrine:doctrine: dbal: driver: %database_driver% host: %database_host% dbname: %database_name% user: %database_user% password: %database_password%By separating the database information into a separate file, you can easily keep different version of the file on each server. You can also easily store database configuration (or any sensitive information) outside of your
212
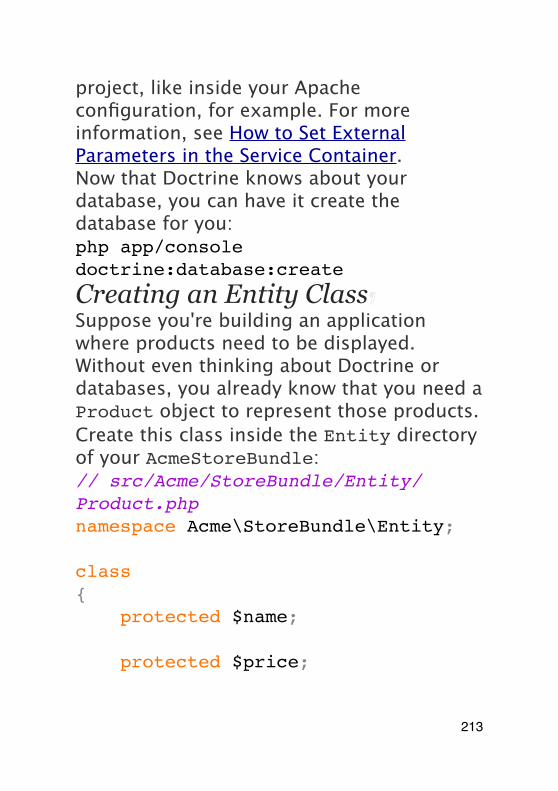
project, like inside your Apache configuration, for example. For more information, see How to Set External Parameters in the Service Container.Now that Doctrine knows about your database, you can have it create the database for you:php app/console doctrine:database:create
Creating an Entity Class¶Suppose you're building an application where products need to be displayed. Without even thinking about Doctrine or databases, you already know that you need a Product object to represent those products. Create this class inside the Entity directory of your AcmeStoreBundle:// src/Acme/StoreBundle/Entity/Product.phpnamespace Acme\StoreBundle\Entity;
class Product{ protected $name;
protected $price;
213
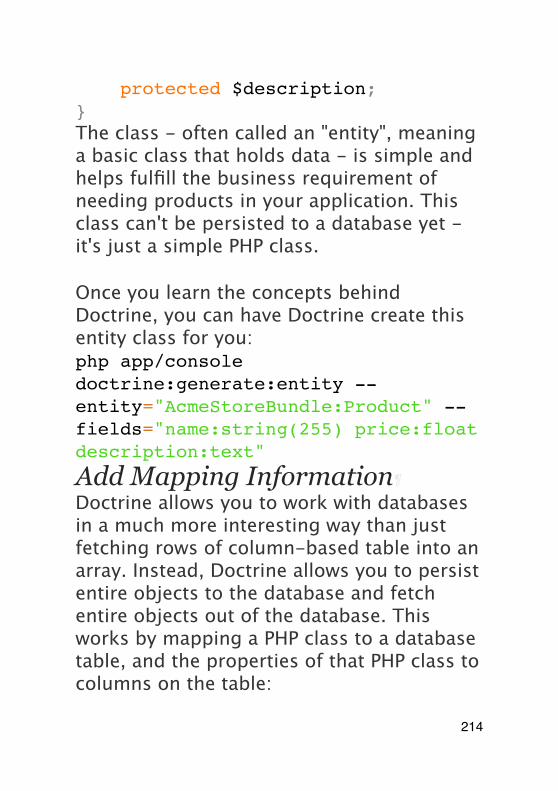
protected $description;}The class - often called an "entity", meaning a basic class that holds data - is simple and helps fulfill the business requirement of needing products in your application. This class can't be persisted to a database yet - it's just a simple PHP class.
Once you learn the concepts behind Doctrine, you can have Doctrine create this entity class for you:php app/console doctrine:generate:entity --entity="AcmeStoreBundle:Product" --fields="name:string(255) price:float description:text"
Add Mapping Information¶Doctrine allows you to work with databases in a much more interesting way than just fetching rows of column-based table into an array. Instead, Doctrine allows you to persist entire objects to the database and fetch entire objects out of the database. This works by mapping a PHP class to a database table, and the properties of that PHP class to columns on the table:
214

For Doctrine to be able to do this, you just have to create "metadata", or configuration that tells Doctrine exactly how the Product class and its properties should be mapped to the database. This metadata can be specified in a number of different formats including YAML, XML or directly inside the Product class via annotations:
A bundle can accept only one metadata definition format. For example, it's not possible to mix YAML metadata definitions with annotated PHP entity class definitions.
1 Annotations// src/Acme/StoreBundle/Entity/Product.php
2 namespace Acme\StoreBundle\Entity;
34 use Doctrine\ORM\Mapping as ORM;5
215
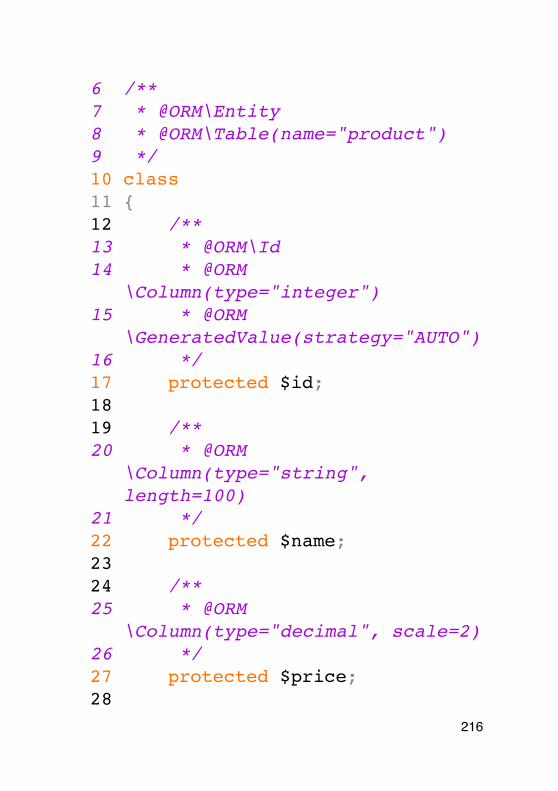
6 /**7 * @ORM\Entity8 * @ORM\Table(name="product")9 */10 class Product11 {12 /**13 * @ORM\Id14 * @ORM
\Column(type="integer")15 * @ORM
\GeneratedValue(strategy="AUTO")16 */17 protected $id;1819 /**20 * @ORM
\Column(type="string", length=100)
21 */22 protected $name;2324 /**25 * @ORM
\Column(type="decimal", scale=2)26 */27 protected $price;28
216
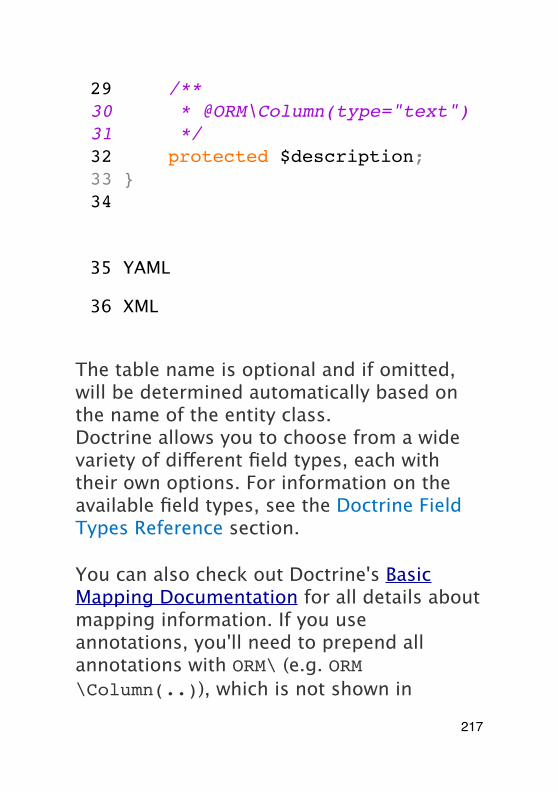
29 /**30 * @ORM\Column(type="text")31 */32 protected $description;33 }34
35 YAML
36 XML
The table name is optional and if omitted, will be determined automatically based on the name of the entity class.Doctrine allows you to choose from a wide variety of different field types, each with their own options. For information on the available field types, see the Doctrine Field Types Reference section.
You can also check out Doctrine's Basic Mapping Documentation for all details about mapping information. If you use annotations, you'll need to prepend all annotations with ORM\ (e.g. ORM\Column(..)), which is not shown in
217
Doctrine's documentation. You'll also need to include the use Doctrine\ORM\Mapping as ORM; statement, which imports the ORM annotations prefix.
Be careful that your class name and properties aren't mapped to a protected SQL keyword (such as group or user). For example, if your entity class name is Group, then, by default, your table name will be group, which will cause an SQL error in some engines. See Doctrine's Reserved SQL keywords documentation on how to properly escape these names.
When using another library or program (ie. Doxygen) that uses annotations, you should place the @IgnoreAnnotation annotation on the class to indicate which annotations Symfony should ignore.For example, to prevent the @fn annotation from throwing an exception, add the following:/** * @IgnoreAnnotation("fn") */class Product
218
Generating Getters and Setters¶Even though Doctrine now knows how to persist a Product object to the database, the class itself isn't really useful yet. Since Product is just a regular PHP class, you need to create getter and setter methods (e.g. getName(), setName()) in order to access its properties (since the properties are protected). Fortunately, Doctrine can do this for you by running:php app/console doctrine:generate:entities Acme/StoreBundle/Entity/ProductThis command makes sure that all of the getters and setters are generated for the Product class. This is a safe command - you can run it over and over again: it only generates getters and setters that don't exist (i.e. it doesn't replace your existing methods).
The doctrine:generate:entities command saves a backup of the original Product.php named Product.php~. In some cases, the presence of this file can cause a "Cannot redeclare class" error. It can be safely removed.
219
You can also generate all known entities (i.e. any PHP class with Doctrine mapping information) of a bundle or an entire namespace:php app/console doctrine:generate:entities AcmeStoreBundlephp app/console doctrine:generate:entities Acme
Doctrine doesn't care whether your properties are protected or private, or whether or not you have a getter or setter function for a property. The getters and setters are generated here only because you'll need them to interact with your PHP object.Creating the Database Tables/Schema¶You now have a usable Product class with mapping information so that Doctrine knows exactly how to persist it. Of course, you don't yet have the corresponding product table in your database. Fortunately, Doctrine can automatically create all the database tables needed for every known entity in your application. To do this, run:
220
php app/console doctrine:schema:update --force
Actually, this command is incredibly powerful. It compares what your database should look like (based on the mapping information of your entities) with how it actually looks, and generates the SQL statements needed to update the database to where it should be. In other words, if you add a new property with mapping metadata to Product and run this task again, it will generate the "alter table" statement needed to add that new column to the existing products table.An even better way to take advantage of this functionality is via migrations, which allow you to generate these SQL statements and store them in migration classes that can be run systematically on your production server in order to track and migrate your database schema safely and reliably.Your database now has a fully-functional product table with columns that match the metadata you've specified.Persisting Objects to the Database
221
Now that you have a mapped Product entity and corresponding product table, you're ready to persist data to the database. From inside a controller, this is pretty easy. Add the following method to the DefaultController of the bundle:
222
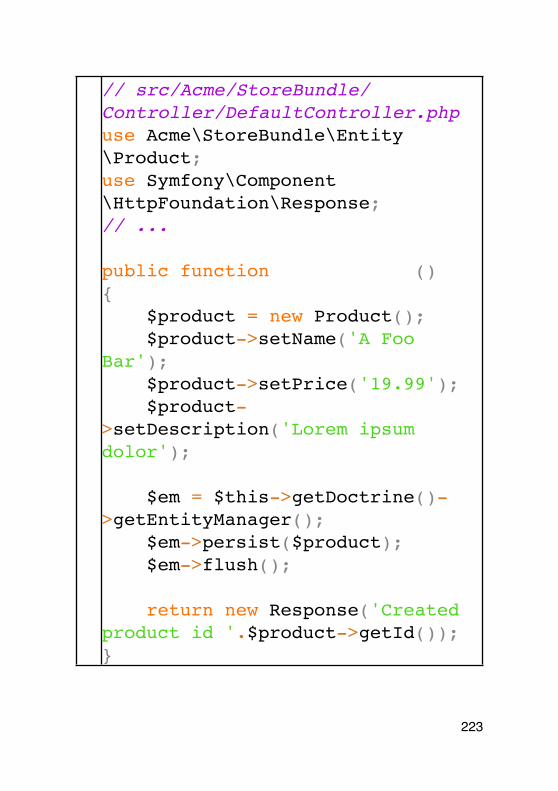
1 2 3 4 5 6 7 8 9101112131415161718
// src/Acme/StoreBundle/Controller/DefaultController.phpuse Acme\StoreBundle\Entity\Product;use Symfony\Component\HttpFoundation\Response;// ...
public function createAction(){ $product = new Product(); $product->setName('A Foo Bar'); $product->setPrice('19.99'); $product->setDescription('Lorem ipsum dolor');
$em = $this->getDoctrine()->getEntityManager(); $em->persist($product); $em->flush();
return new Response('Created product id '.$product->getId());}
223
If you're following along with this example, you'll need to create a route that points to this action to see it in work.Let's walk through this example:
• lines 8-11 In this section, you instantiate and work with the $product object like any other, normal PHP object;
• line 13 This line fetches Doctrine's entity manager object, which is responsible for handling the process of persisting and fetching objects to and from the database;
• line 14 The persist() method tells Doctrine to "manage" the $product object. This does not actually cause a query to be made to the database (yet).
• line 15 When the flush() method is called, Doctrine looks through all of the objects that it's managing to see if they need to be persisted to the database. In this example, the $product object has not been persisted yet, so the entity manager executes an INSERT
224
query and a row is created in the product table.
In fact, since Doctrine is aware of all your managed entities, when you call the flush() method, it calculates an overall changeset and executes the most efficient query/queries possible. For example, if you persist a total of 100 Product objects and then subsequently call flush(), Doctrine will create a single prepared statement and re-use it for each insert. This pattern is called Unit of Work, and it's used because it's fast and efficient.When creating or updating objects, the workflow is always the same. In the next section, you'll see how Doctrine is smart enough to automatically issue an UPDATE query if the record already exists in the database.
Doctrine provides a library that allows you to programmatically load testing data into your project (i.e. "fixture data"). For information, see DoctrineFixturesBundle.
225
Fetching Objects from the Database¶Fetching an object back out of the database is even easier. For example, suppose you've configured a route to display a specific Product based on its id value:public function showAction($id){ $product = $this->getDoctrine() ->getRepository('AcmeStoreBundle:Product') ->find($id);
if (!$product) { throw $this->createNotFoundException('No product found for id '.$id); }
// do something, like pass the $product object into a template}When you query for a particular type of object, you always use what's known as its "repository". You can think of a repository as a PHP class whose only job is to help you
226
fetch entities of a certain class. You can access the repository object for an entity class via:$repository = $this->getDoctrine() ->getRepository('AcmeStoreBundle:Product');
The AcmeStoreBundle:Product string is a shortcut you can use anywhere in Doctrine instead of the full class name of the entity (i.e. Acme\StoreBundle\Entity\Product). As long as your entity lives under the Entity namespace of your bundle, this will work.Once you have your repository, you have access to all sorts of helpful methods:// query by the primary key (usually "id")$product = $repository->find($id);
// dynamic method names to find based on a column value$product = $repository->findOneById($id);$product = $repository->findOneByName('foo');
227
// find *all* products$products = $repository->findAll();
// find a group of products based on an arbitrary column value$products = $repository->findByPrice(19.99);
Of course, you can also issue complex queries, which you'll learn more about in the Querying for Objects section.You can also take advantage of the useful findBy and findOneBy methods to easily fetch objects based on multiple conditions:// query for one product matching be name and price$product = $repository->findOneBy(array('name' => 'foo', 'price' => 19.99));
// query for all products matching the name, ordered by price$product = $repository->findBy( array('name' => 'foo'), array('price' => 'ASC'));
228
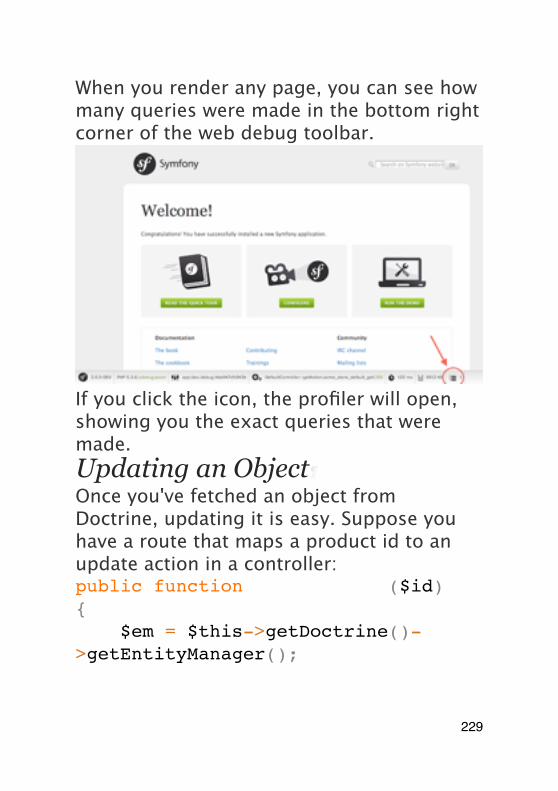
When you render any page, you can see how many queries were made in the bottom right corner of the web debug toolbar.
If you click the icon, the profiler will open, showing you the exact queries that were made.Updating an Object¶Once you've fetched an object from Doctrine, updating it is easy. Suppose you have a route that maps a product id to an update action in a controller:public function updateAction($id){ $em = $this->getDoctrine()->getEntityManager();
229
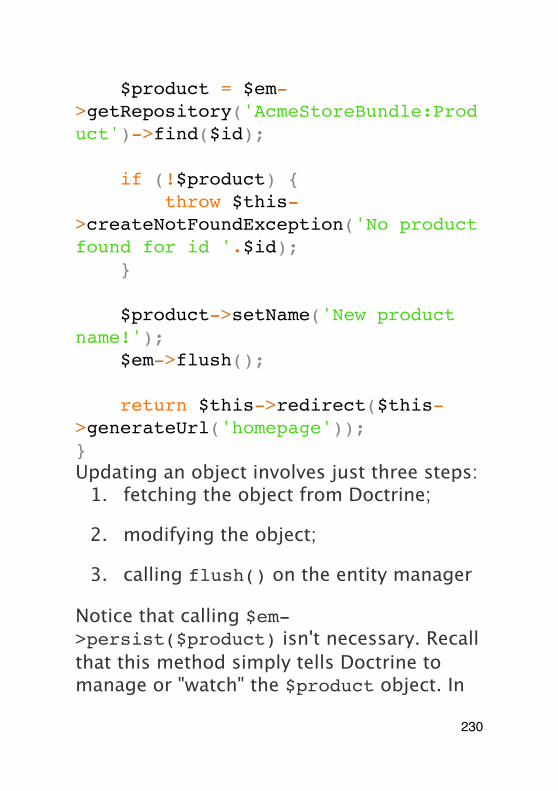
$product = $em->getRepository('AcmeStoreBundle:Product')->find($id);
if (!$product) { throw $this->createNotFoundException('No product found for id '.$id); }
$product->setName('New product name!'); $em->flush();
return $this->redirect($this->generateUrl('homepage'));}Updating an object involves just three steps:
1. fetching the object from Doctrine;
2. modifying the object;
3. calling flush() on the entity manager
Notice that calling $em->persist($product) isn't necessary. Recall that this method simply tells Doctrine to manage or "watch" the $product object. In
230
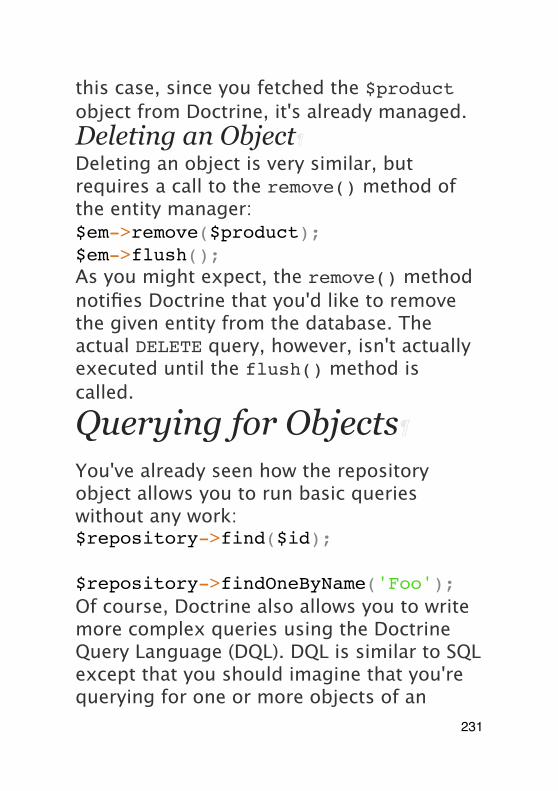
this case, since you fetched the $product object from Doctrine, it's already managed.Deleting an Object¶Deleting an object is very similar, but requires a call to the remove() method of the entity manager:$em->remove($product);$em->flush();As you might expect, the remove() method notifies Doctrine that you'd like to remove the given entity from the database. The actual DELETE query, however, isn't actually executed until the flush() method is called.
Querying for Objects
You've already seen how the repository object allows you to run basic queries without any work:$repository->find($id);
$repository->findOneByName('Foo');Of course, Doctrine also allows you to write more complex queries using the Doctrine Query Language (DQL). DQL is similar to SQL except that you should imagine that you're querying for one or more objects of an
231
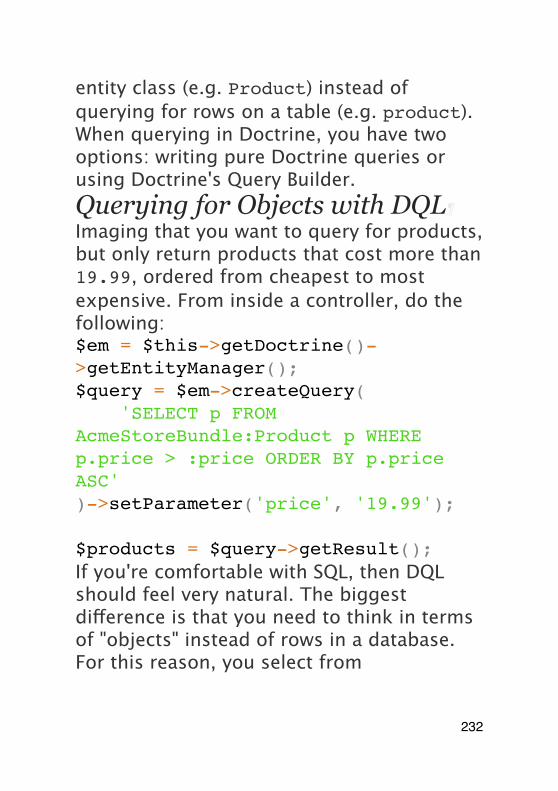
entity class (e.g. Product) instead of querying for rows on a table (e.g. product).When querying in Doctrine, you have two options: writing pure Doctrine queries or using Doctrine's Query Builder.Querying for Objects with DQL¶Imaging that you want to query for products, but only return products that cost more than 19.99, ordered from cheapest to most expensive. From inside a controller, do the following:$em = $this->getDoctrine()->getEntityManager();$query = $em->createQuery( 'SELECT p FROM AcmeStoreBundle:Product p WHERE p.price > :price ORDER BY p.price ASC')->setParameter('price', '19.99');
$products = $query->getResult();If you're comfortable with SQL, then DQL should feel very natural. The biggest difference is that you need to think in terms of "objects" instead of rows in a database. For this reason, you select from
232
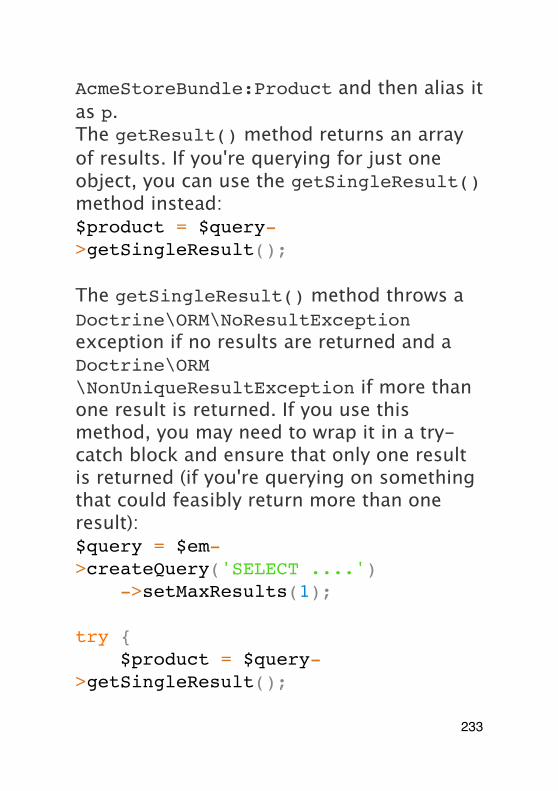
AcmeStoreBundle:Product and then alias it as p.The getResult() method returns an array of results. If you're querying for just one object, you can use the getSingleResult() method instead:$product = $query->getSingleResult();
The getSingleResult() method throws a Doctrine\ORM\NoResultException exception if no results are returned and a Doctrine\ORM\NonUniqueResultException if more than one result is returned. If you use this method, you may need to wrap it in a try-catch block and ensure that only one result is returned (if you're querying on something that could feasibly return more than one result):$query = $em->createQuery('SELECT ....') ->setMaxResults(1);
try { $product = $query->getSingleResult();
233
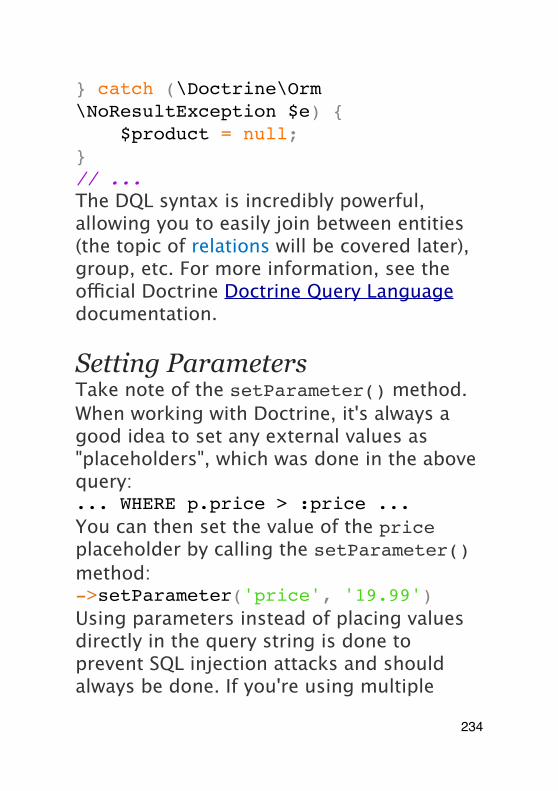
} catch (\Doctrine\Orm\NoResultException $e) { $product = null;}// ...The DQL syntax is incredibly powerful, allowing you to easily join between entities (the topic of relations will be covered later), group, etc. For more information, see the official Doctrine Doctrine Query Language documentation.
Setting ParametersTake note of the setParameter() method. When working with Doctrine, it's always a good idea to set any external values as "placeholders", which was done in the above query:... WHERE p.price > :price ...You can then set the value of the price placeholder by calling the setParameter() method:->setParameter('price', '19.99')Using parameters instead of placing values directly in the query string is done to prevent SQL injection attacks and should always be done. If you're using multiple
234
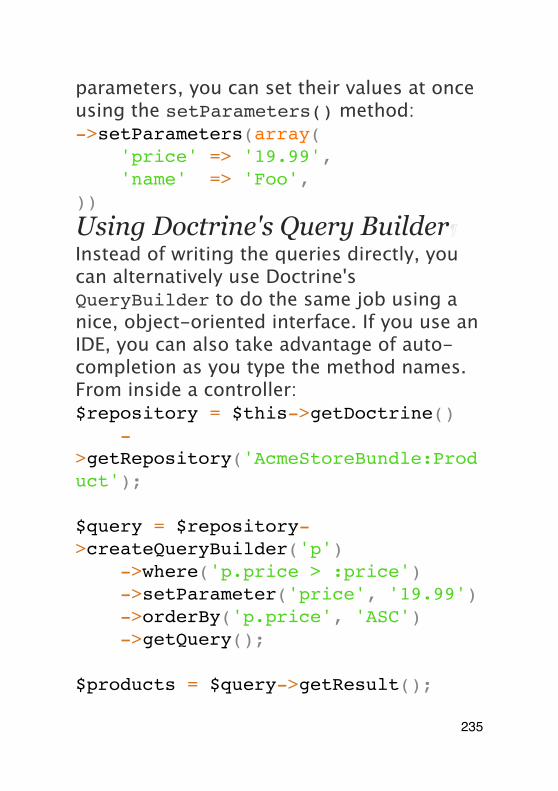
parameters, you can set their values at once using the setParameters() method:->setParameters(array( 'price' => '19.99', 'name' => 'Foo',))
Using Doctrine's Query Builder¶Instead of writing the queries directly, you can alternatively use Doctrine's QueryBuilder to do the same job using a nice, object-oriented interface. If you use an IDE, you can also take advantage of auto-completion as you type the method names. From inside a controller:$repository = $this->getDoctrine() ->getRepository('AcmeStoreBundle:Product');
$query = $repository->createQueryBuilder('p') ->where('p.price > :price') ->setParameter('price', '19.99') ->orderBy('p.price', 'ASC') ->getQuery();
$products = $query->getResult();
235
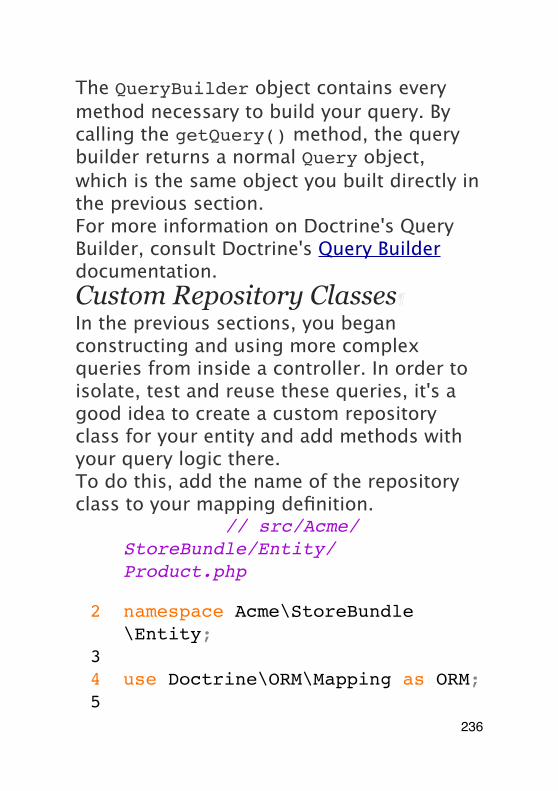
The QueryBuilder object contains every method necessary to build your query. By calling the getQuery() method, the query builder returns a normal Query object, which is the same object you built directly in the previous section.For more information on Doctrine's Query Builder, consult Doctrine's Query Builder documentation.Custom Repository Classes¶In the previous sections, you began constructing and using more complex queries from inside a controller. In order to isolate, test and reuse these queries, it's a good idea to create a custom repository class for your entity and add methods with your query logic there.To do this, add the name of the repository class to your mapping definition.
1 Annotations// src/Acme/StoreBundle/Entity/Product.php
2 namespace Acme\StoreBundle\Entity;
34 use Doctrine\ORM\Mapping as ORM;5
236
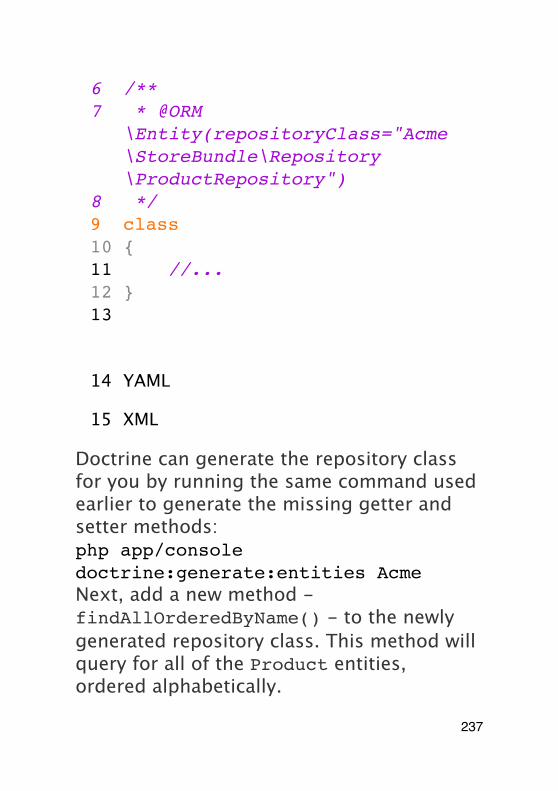
6 /**7 * @ORM
\Entity(repositoryClass="Acme\StoreBundle\Repository\ProductRepository")
8 */9 class Product10 {11 //...12 }13
14 YAML
15 XML
Doctrine can generate the repository class for you by running the same command used earlier to generate the missing getter and setter methods:php app/console doctrine:generate:entities AcmeNext, add a new method - findAllOrderedByName() - to the newly generated repository class. This method will query for all of the Product entities, ordered alphabetically.
237
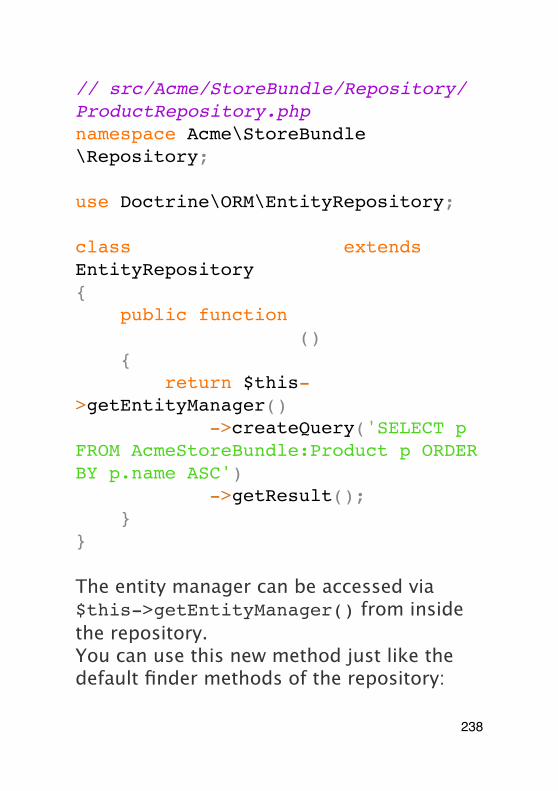
// src/Acme/StoreBundle/Repository/ProductRepository.phpnamespace Acme\StoreBundle\Repository;
use Doctrine\ORM\EntityRepository;
class ProductRepository extends EntityRepository{ public function findAllOrderedByName() { return $this->getEntityManager() ->createQuery('SELECT p FROM AcmeStoreBundle:Product p ORDER BY p.name ASC') ->getResult(); }}
The entity manager can be accessed via $this->getEntityManager() from inside the repository.You can use this new method just like the default finder methods of the repository:
238
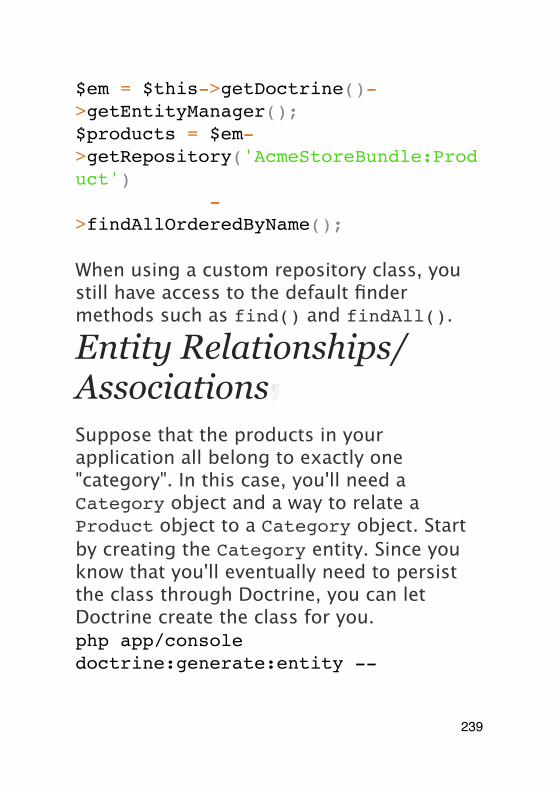
$em = $this->getDoctrine()->getEntityManager();$products = $em->getRepository('AcmeStoreBundle:Product') ->findAllOrderedByName();
When using a custom repository class, you still have access to the default finder methods such as find() and findAll().
Entity Relationships/Associations
Suppose that the products in your application all belong to exactly one "category". In this case, you'll need a Category object and a way to relate a Product object to a Category object. Start by creating the Category entity. Since you know that you'll eventually need to persist the class through Doctrine, you can let Doctrine create the class for you.php app/console doctrine:generate:entity --
239

entity="AcmeStoreBundle:Category" --fields="name:string(255)"This task generates the Category entity for you, with an id field, a name field and the associated getter and setter functions.Relationship Mapping Metadata¶To relate the Category and Product entities, start by creating a products property on the Category class:// src/Acme/StoreBundle/Entity/Category.php// ...use Doctrine\Common\Collections\ArrayCollection;
class Category{ // ...
/** * @ORM\OneToMany(targetEntity="Product", mappedBy="category") */ protected $products;
public function __construct()
240
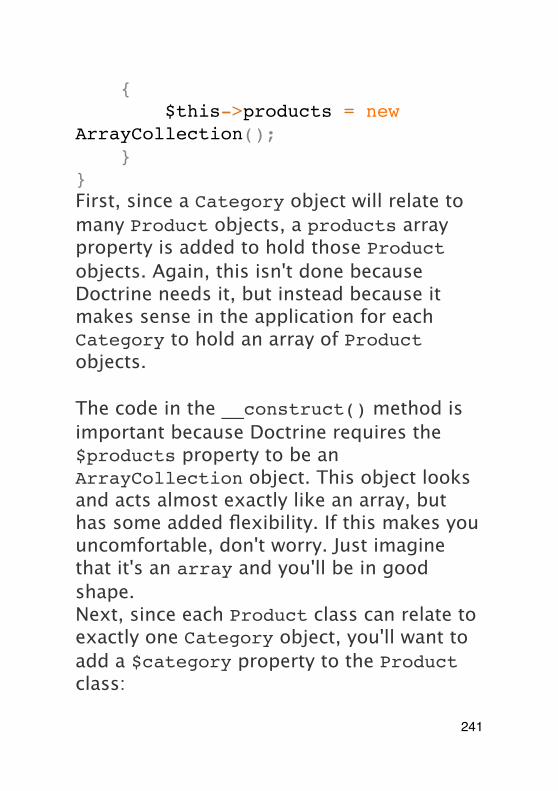
{ $this->products = new ArrayCollection(); }}First, since a Category object will relate to many Product objects, a products array property is added to hold those Product objects. Again, this isn't done because Doctrine needs it, but instead because it makes sense in the application for each Category to hold an array of Product objects.
The code in the __construct() method is important because Doctrine requires the $products property to be an ArrayCollection object. This object looks and acts almost exactly like an array, but has some added flexibility. If this makes you uncomfortable, don't worry. Just imagine that it's an array and you'll be in good shape.Next, since each Product class can relate to exactly one Category object, you'll want to add a $category property to the Product class:
241
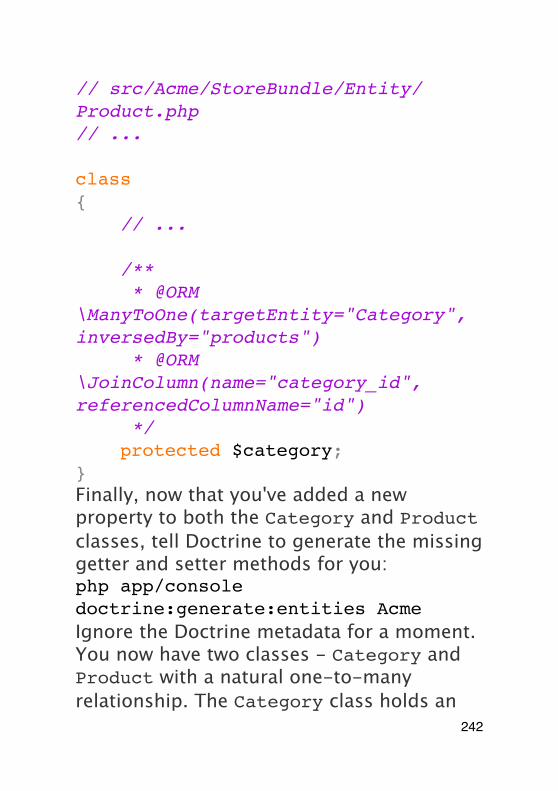
// src/Acme/StoreBundle/Entity/Product.php// ...
class Product{ // ...
/** * @ORM\ManyToOne(targetEntity="Category", inversedBy="products") * @ORM\JoinColumn(name="category_id", referencedColumnName="id") */ protected $category;}Finally, now that you've added a new property to both the Category and Product classes, tell Doctrine to generate the missing getter and setter methods for you:php app/console doctrine:generate:entities AcmeIgnore the Doctrine metadata for a moment. You now have two classes - Category and Product with a natural one-to-many relationship. The Category class holds an
242
array of Product objects and the Product object can hold one Category object. In other words - you've built your classes in a way that makes sense for your needs. The fact that the data needs to be persisted to a database is always secondary.Now, look at the metadata above the $category property on the Product class. The information here tells doctrine that the related class is Category and that it should store the id of the category record on a category_id field that lives on the product table. In other words, the related Category object will be stored on the $category property, but behind the scenes, Doctrine will persist this relationship by storing the category's id value on a category_id column of the product table.
243
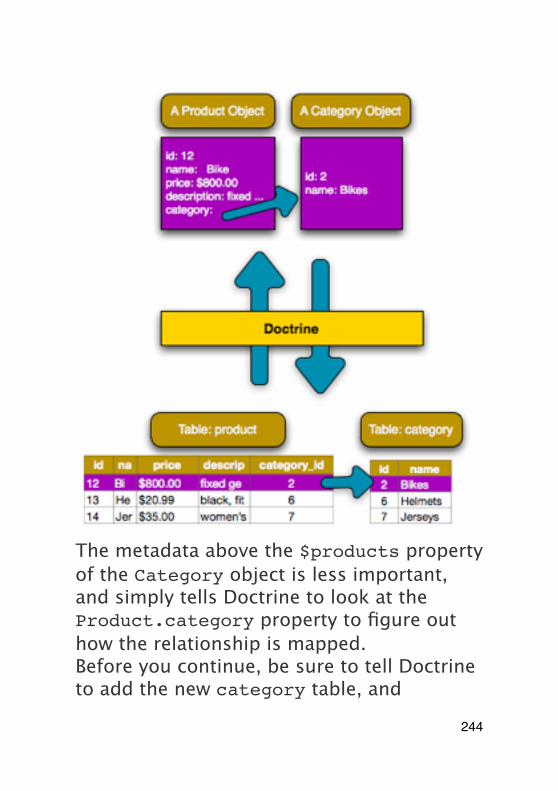
The metadata above the $products property of the Category object is less important, and simply tells Doctrine to look at the Product.category property to figure out how the relationship is mapped.Before you continue, be sure to tell Doctrine to add the new category table, and
244
product.category_id column, and new foreign key:php app/console doctrine:schema:update --force
This task should only be really used during development. For a more robust method of systematically updating your production database, read about Doctrine migrations.Saving Related Entities¶Now, let's see the code in action. Imagine you're inside a controller:// ...use Acme\StoreBundle\Entity\Category;use Acme\StoreBundle\Entity\Product;use Symfony\Component\HttpFoundation\Response;// ...
class DefaultController extends Controller{ public function createProductAction() { $category = new Category();
245
$category->setName('Main Products');
$product = new Product(); $product->setName('Foo'); $product->setPrice(19.99); // relate this product to the category $product->setCategory($category);
$em = $this->getDoctrine()->getEntityManager(); $em->persist($category); $em->persist($product); $em->flush();
return new Response( 'Created product id: '.$product->getId().' and category id: '.$category->getId() ); }}Now, a single row is added to both the category and product tables. The product.category_id column for the new product is set to whatever the id is of the
246
new category. Doctrine manages the persistence of this relationship for you.Fetching Related Objects¶When you need to fetch associated objects, your workflow looks just like it did before. First, fetch a $product object and then access its related Category:public function showAction($id){ $product = $this->getDoctrine() ->getRepository('AcmeStoreBundle:Product') ->find($id);
$categoryName = $product->getCategory()->getName();
// ...}In this example, you first query for a Product object based on the product's id. This issues a query for just the product data and hydrates the $product object with that data. Later, when you call $product->getCategory()->getName(), Doctrine silently makes a second query to find the
247
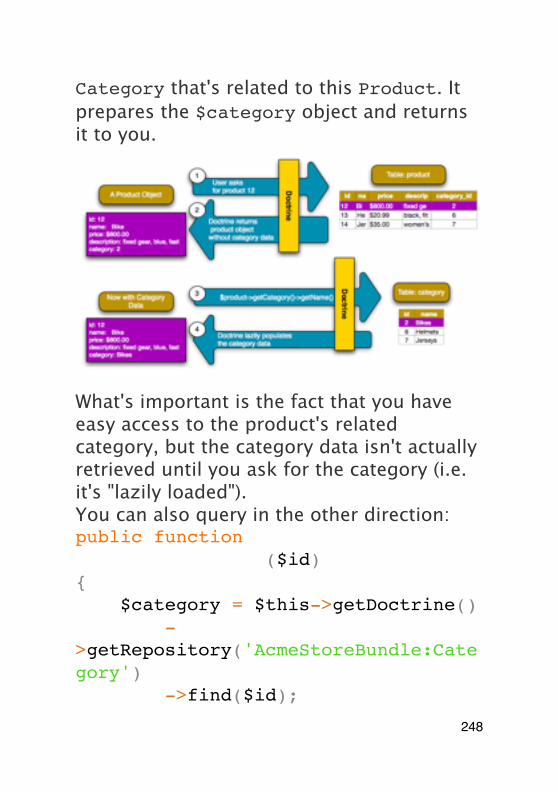
Category that's related to this Product. It prepares the $category object and returns it to you.
What's important is the fact that you have easy access to the product's related category, but the category data isn't actually retrieved until you ask for the category (i.e. it's "lazily loaded").You can also query in the other direction:public function showProductAction($id){ $category = $this->getDoctrine() ->getRepository('AcmeStoreBundle:Category') ->find($id);
248
$products = $category->getProducts();
// ...}In this case, the same things occurs: you first query out for a single Category object, and then Doctrine makes a second query to retrieve the related Product objects, but only once/if you ask for them (i.e. when you call ->getProducts()). The $products variable is an array of all Product objects that relate to the given Category object via their category_id value.
Relationships and Proxy ClassesThis "lazy loading" is possible because, when necessary, Doctrine returns a "proxy" object in place of the true object. Look again at the above example:$product = $this->getDoctrine() ->getRepository('AcmeStoreBundle:Product') ->find($id);
249
$category = $product->getCategory();
// prints "Proxies\AcmeStoreBundleEntityCategoryProxy"echo get_class($category);This proxy object extends the true Category object, and looks and acts exactly like it. The difference is that, by using a proxy object, Doctrine can delay querying for the real Category data until you actually need that data (e.g. until you call $category->getName()).The proxy classes are generated by Doctrine and stored in the cache directory. And though you'll probably never even notice that your $category object is actually a proxy object, it's important to keep in mind.In the next section, when you retrieve the product and category data all at once (via a join), Doctrine will return the true Category object, since nothing needs to be lazily loaded.Joining to Related Records¶In the above examples, two queries were made - one for the original object (e.g. a Category) and one for the related object(s) (e.g. the Product objects).
250
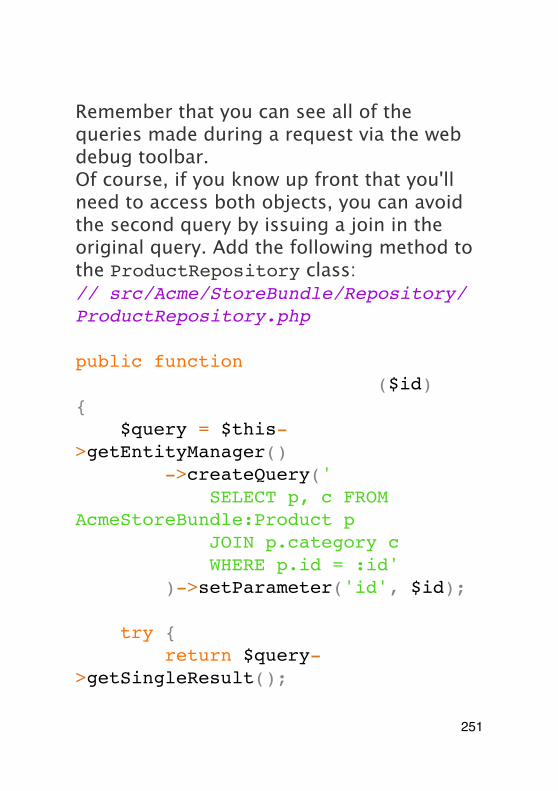
Remember that you can see all of the queries made during a request via the web debug toolbar.Of course, if you know up front that you'll need to access both objects, you can avoid the second query by issuing a join in the original query. Add the following method to the ProductRepository class:// src/Acme/StoreBundle/Repository/ProductRepository.php
public function findOneByIdJoinedToCategory($id){ $query = $this->getEntityManager() ->createQuery(' SELECT p, c FROM AcmeStoreBundle:Product p JOIN p.category c WHERE p.id = :id' )->setParameter('id', $id);
try { return $query->getSingleResult();
251
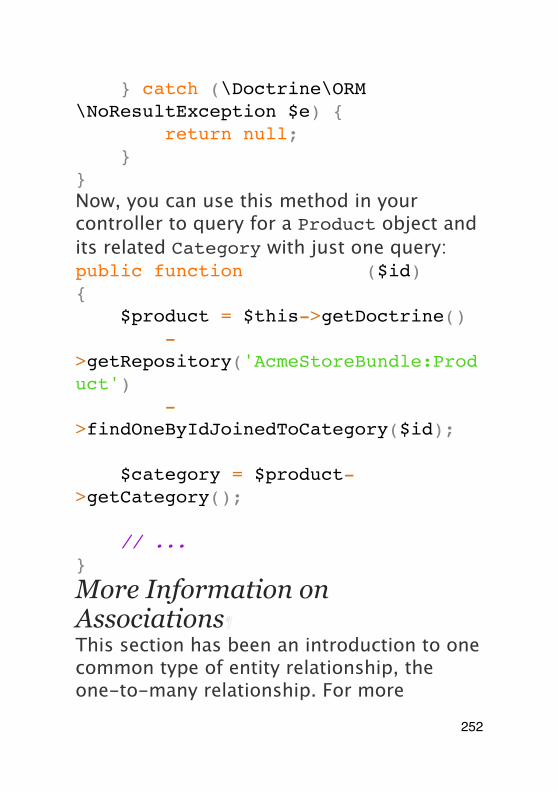
} catch (\Doctrine\ORM\NoResultException $e) { return null; }}Now, you can use this method in your controller to query for a Product object and its related Category with just one query:public function showAction($id){ $product = $this->getDoctrine() ->getRepository('AcmeStoreBundle:Product') ->findOneByIdJoinedToCategory($id);
$category = $product->getCategory();
// ...}
More Information on Associations¶This section has been an introduction to one common type of entity relationship, the one-to-many relationship. For more
252
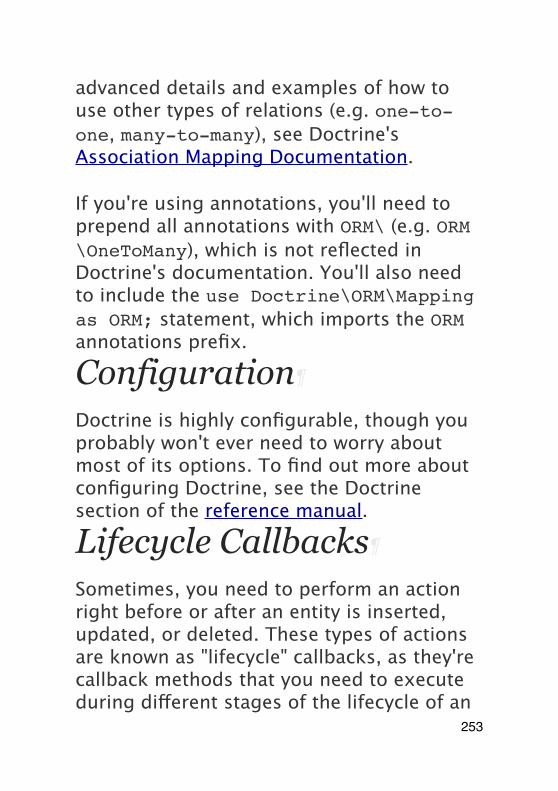
advanced details and examples of how to use other types of relations (e.g. one-to-one, many-to-many), see Doctrine's Association Mapping Documentation.
If you're using annotations, you'll need to prepend all annotations with ORM\ (e.g. ORM\OneToMany), which is not reflected in Doctrine's documentation. You'll also need to include the use Doctrine\ORM\Mapping as ORM; statement, which imports the ORM annotations prefix.
Configuration
Doctrine is highly configurable, though you probably won't ever need to worry about most of its options. To find out more about configuring Doctrine, see the Doctrine section of the reference manual.
Lifecycle Callbacks
Sometimes, you need to perform an action right before or after an entity is inserted, updated, or deleted. These types of actions are known as "lifecycle" callbacks, as they're callback methods that you need to execute during different stages of the lifecycle of an
253
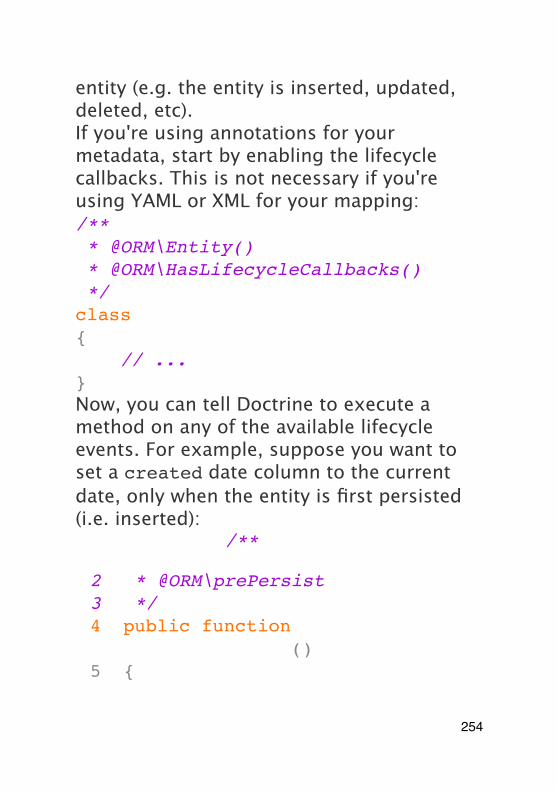
entity (e.g. the entity is inserted, updated, deleted, etc).If you're using annotations for your metadata, start by enabling the lifecycle callbacks. This is not necessary if you're using YAML or XML for your mapping:/** * @ORM\Entity() * @ORM\HasLifecycleCallbacks() */class Product{ // ...}Now, you can tell Doctrine to execute a method on any of the available lifecycle events. For example, suppose you want to set a created date column to the current date, only when the entity is first persisted (i.e. inserted):
1 Annotations/**
2 * @ORM\prePersist3 */4 public function
setCreatedValue()5 {
254
6 $this->created = new \DateTime();
7 }8
9 YAML
10 XML
The above example assumes that you've created and mapped a created property (not shown here).Now, right before the entity is first persisted, Doctrine will automatically call this method and the created field will be set to the current date.This can be repeated for any of the other lifecycle events, which include:• preRemove
• postRemove
• prePersist
• postPersist
• preUpdate
255
• postUpdate
• postLoad
• loadClassMetadata
For more information on what these lifecycle events mean and lifecycle callbacks in general, see Doctrine's Lifecycle Events documentation
Lifecycle Callbacks and Event ListenersNotice that the setCreatedValue() method receives no arguments. This is always the case for lifecylce callbacks and is intentional: lifecycle callbacks should be simple methods that are concerned with internally transforming data in the entity (e.g. setting a created/updated field, generating a slug value).If you need to do some heavier lifting - like perform logging or send an email - you should register an external class as an event listener or subscriber and give it access to whatever resources you need. For more information, see Registering Event Listeners and Subscribers.
256
Doctrine Extensions: Timestampable, Sluggable, etc.
Doctrine is quite flexible, and a number of third-party extensions are available that allow you to easily perform repeated and common tasks on your entities. These include thing such as Sluggable, Timestampable, Loggable, Translatable, and Tree.For more information on how to find and use these extensions, see the cookbook article about using common Doctrine extensions.
Doctrine Field Types Reference
Doctrine comes with a large number of field types available. Each of these maps a PHP data type to a specific column type in whatever database you're using. The following types are supported in Doctrine:
• Strings
257
◦ string (used for shorter strings)
◦ text (used for larger strings)
• Numbers
◦ integer
◦ smallint
◦ bigint
◦ decimal
◦ float
• Dates and Times (use a DateTime object for these fields in PHP)
◦ date
◦ time
◦ datetime
• Other Types
◦ boolean
◦ object (serialized and stored in a CLOB field)
258
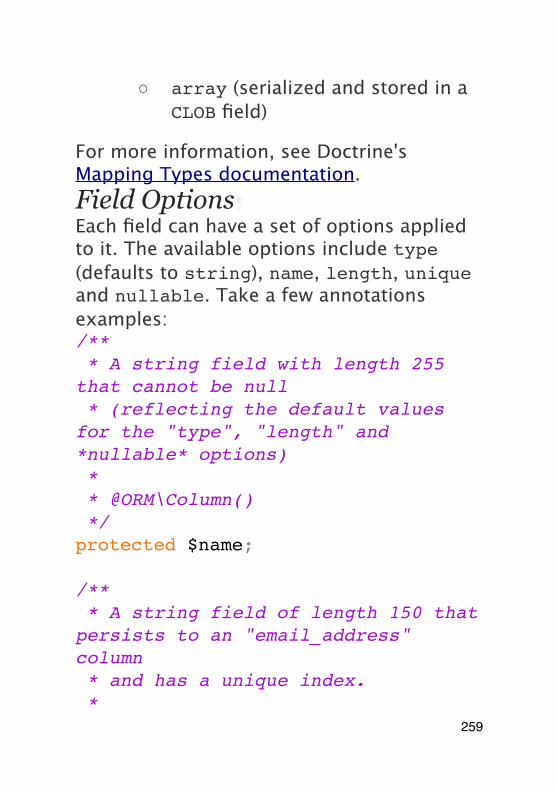
◦ array (serialized and stored in a CLOB field)
For more information, see Doctrine's Mapping Types documentation.Field Options¶Each field can have a set of options applied to it. The available options include type (defaults to string), name, length, unique and nullable. Take a few annotations examples:/** * A string field with length 255 that cannot be null * (reflecting the default values for the "type", "length" and *nullable* options) * * @ORM\Column() */protected $name;
/** * A string field of length 150 that persists to an "email_address" column * and has a unique index. *
259
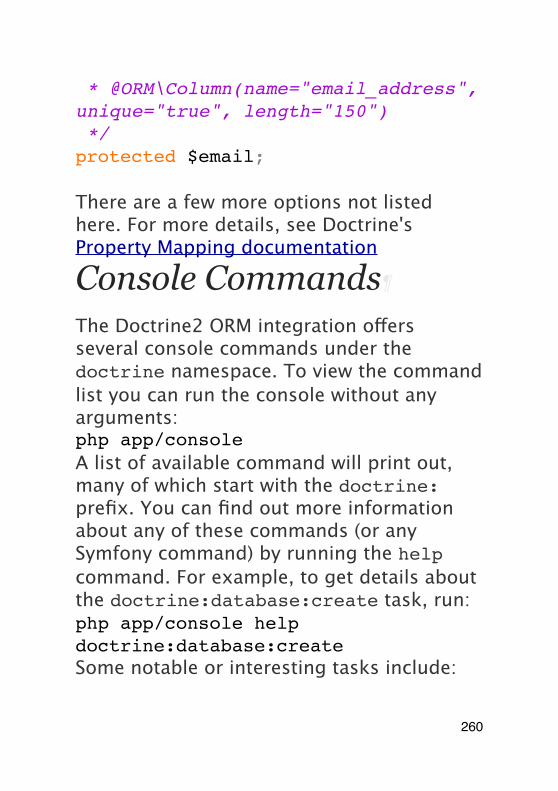
* @ORM\Column(name="email_address", unique="true", length="150") */protected $email;
There are a few more options not listed here. For more details, see Doctrine's Property Mapping documentation
Console Commands
The Doctrine2 ORM integration offers several console commands under the doctrine namespace. To view the command list you can run the console without any arguments:php app/consoleA list of available command will print out, many of which start with the doctrine: prefix. You can find out more information about any of these commands (or any Symfony command) by running the help command. For example, to get details about the doctrine:database:create task, run:php app/console help doctrine:database:createSome notable or interesting tasks include:
260
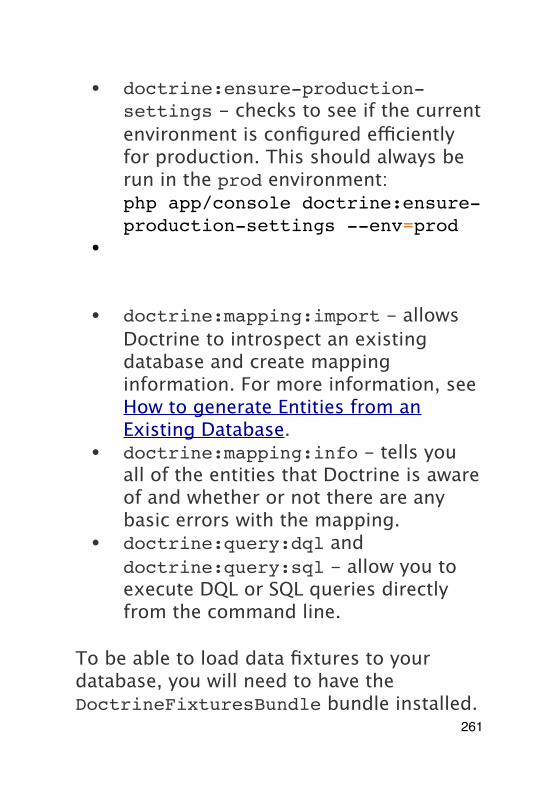
• doctrine:ensure-production-settings - checks to see if the current environment is configured efficiently for production. This should always be run in the prod environment:php app/console doctrine:ensure-production-settings --env=prod
•
• doctrine:mapping:import - allows Doctrine to introspect an existing database and create mapping information. For more information, see How to generate Entities from an Existing Database.
• doctrine:mapping:info - tells you all of the entities that Doctrine is aware of and whether or not there are any basic errors with the mapping.
• doctrine:query:dql and doctrine:query:sql - allow you to execute DQL or SQL queries directly from the command line.
To be able to load data fixtures to your database, you will need to have the DoctrineFixturesBundle bundle installed.
261
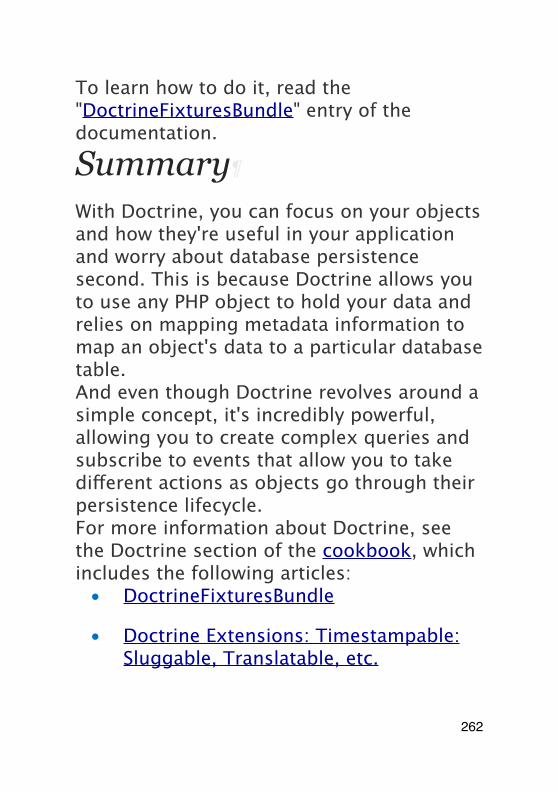
To learn how to do it, read the "DoctrineFixturesBundle" entry of the documentation.
Summary
With Doctrine, you can focus on your objects and how they're useful in your application and worry about database persistence second. This is because Doctrine allows you to use any PHP object to hold your data and relies on mapping metadata information to map an object's data to a particular database table.And even though Doctrine revolves around a simple concept, it's incredibly powerful, allowing you to create complex queries and subscribe to events that allow you to take different actions as objects go through their persistence lifecycle.For more information about Doctrine, see the Doctrine section of the cookbook, which includes the following articles:
• DoctrineFixturesBundle
• Doctrine Extensions: Timestampable: Sluggable, Translatable, etc.
262

TestingWhenever you write a new line of code, you also potentially add new bugs. Automated tests should have you covered and this tutorial shows you how to write unit and functional tests for your Symfony2 application.
Testing Framework
Symfony2 tests rely heavily on PHPUnit, its best practices, and some conventions. This part does not document PHPUnit itself, but if you don't know it yet, you can read its excellent documentation.
Symfony2 works with PHPUnit 3.5.11 or later.The default PHPUnit configuration looks for tests under the Tests/ sub-directory of your bundles:<!-- app/phpunit.xml.dist -->
<phpunit bootstrap="../src/autoload.php">
263
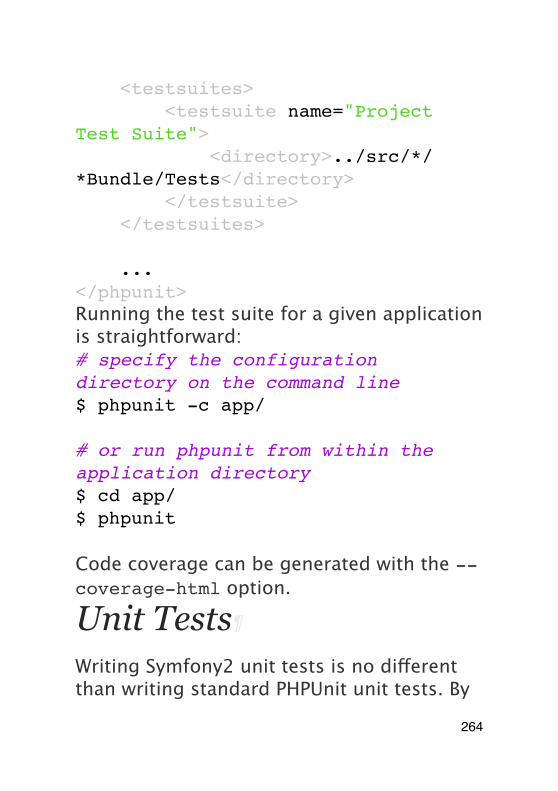
<testsuites> <testsuite name="Project Test Suite"> <directory>../src/*/*Bundle/Tests</directory> </testsuite> </testsuites>
...</phpunit>Running the test suite for a given application is straightforward:# specify the configuration directory on the command line$ phpunit -c app/
# or run phpunit from within the application directory$ cd app/$ phpunit
Code coverage can be generated with the --coverage-html option.
Unit Tests
Writing Symfony2 unit tests is no different than writing standard PHPUnit unit tests. By
264

convention, it's recommended to replicate the bundle directory structure under its Tests/ sub-directory. So, write tests for the Acme\HelloBundle\Model\Article class in the Acme/HelloBundle/Tests/Model/ArticleTest.php file.In a unit test, autoloading is automatically enabled via the src/autoload.php file (as configured by default in the phpunit.xml.dist file).Running tests for a given file or directory is also very easy:# run all tests for the Controller$ phpunit -c app src/Acme/HelloBundle/Tests/Controller/
# run all tests for the Model$ phpunit -c app src/Acme/HelloBundle/Tests/Model/
# run tests for the Article class$ phpunit -c app src/Acme/HelloBundle/Tests/Model/ArticleTest.php
# run all tests for the entire Bundle
265
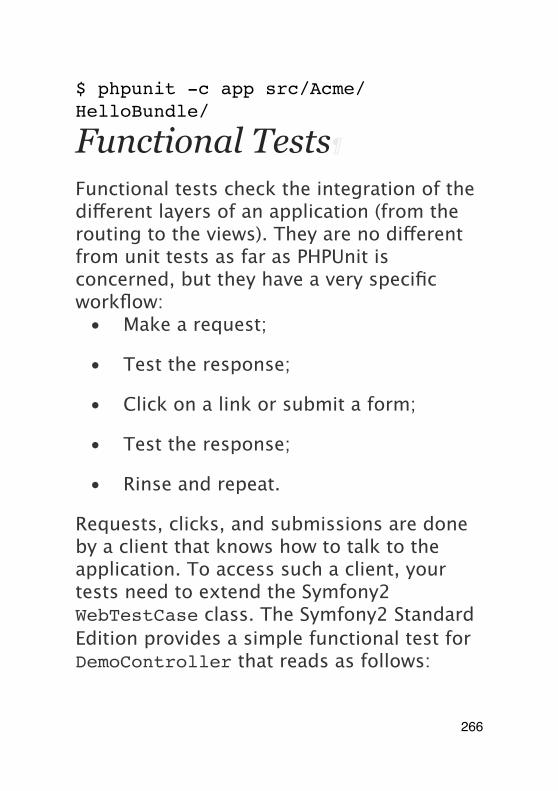
$ phpunit -c app src/Acme/HelloBundle/
Functional Tests
Functional tests check the integration of the different layers of an application (from the routing to the views). They are no different from unit tests as far as PHPUnit is concerned, but they have a very specific workflow:
• Make a request;
• Test the response;
• Click on a link or submit a form;
• Test the response;
• Rinse and repeat.
Requests, clicks, and submissions are done by a client that knows how to talk to the application. To access such a client, your tests need to extend the Symfony2 WebTestCase class. The Symfony2 Standard Edition provides a simple functional test for DemoController that reads as follows:
266
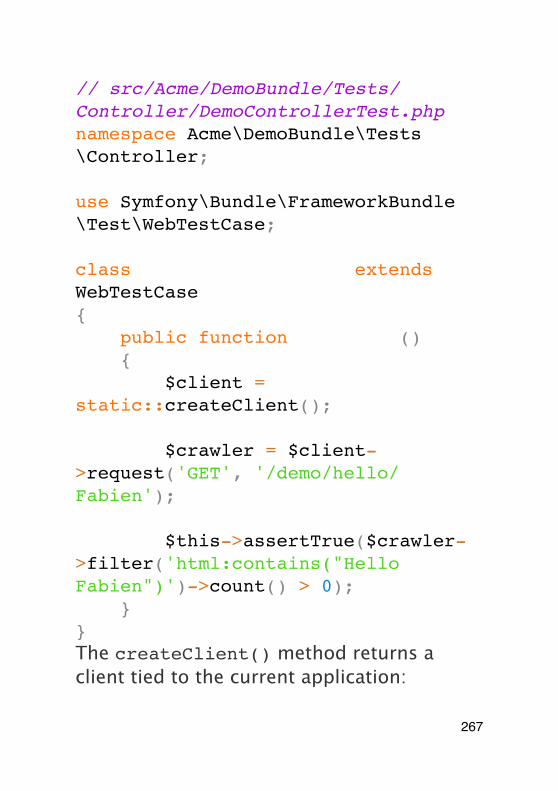
// src/Acme/DemoBundle/Tests/Controller/DemoControllerTest.phpnamespace Acme\DemoBundle\Tests\Controller;
use Symfony\Bundle\FrameworkBundle\Test\WebTestCase;
class DemoControllerTest extends WebTestCase{ public function testIndex() { $client = static::createClient();
$crawler = $client->request('GET', '/demo/hello/Fabien');
$this->assertTrue($crawler->filter('html:contains("Hello Fabien")')->count() > 0); }}The createClient() method returns a client tied to the current application:
267
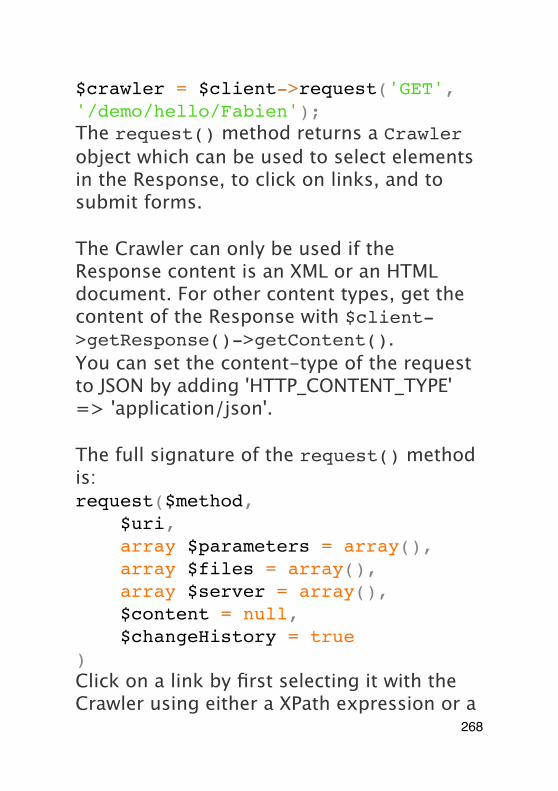
$crawler = $client->request('GET', '/demo/hello/Fabien');The request() method returns a Crawler object which can be used to select elements in the Response, to click on links, and to submit forms.
The Crawler can only be used if the Response content is an XML or an HTML document. For other content types, get the content of the Response with $client->getResponse()->getContent().You can set the content-type of the request to JSON by adding 'HTTP_CONTENT_TYPE' => 'application/json'.
The full signature of the request() method is:request($method, $uri, array $parameters = array(), array $files = array(), array $server = array(), $content = null, $changeHistory = true)Click on a link by first selecting it with the Crawler using either a XPath expression or a
268
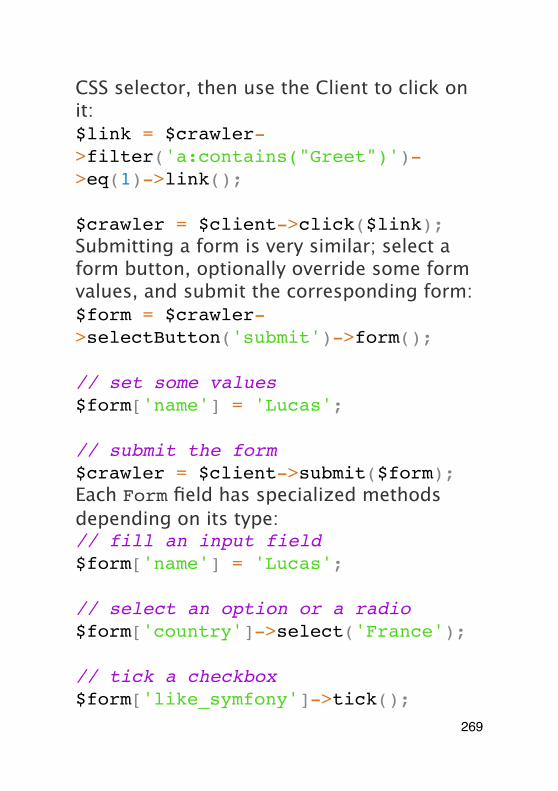
CSS selector, then use the Client to click on it:$link = $crawler->filter('a:contains("Greet")')->eq(1)->link();
$crawler = $client->click($link);Submitting a form is very similar; select a form button, optionally override some form values, and submit the corresponding form:$form = $crawler->selectButton('submit')->form();
// set some values$form['name'] = 'Lucas';
// submit the form$crawler = $client->submit($form);Each Form field has specialized methods depending on its type:// fill an input field$form['name'] = 'Lucas';
// select an option or a radio$form['country']->select('France');
// tick a checkbox$form['like_symfony']->tick();
269

// upload a file$form['photo']->upload('/path/to/lucas.jpg');Instead of changing one field at a time, you can also pass an array of values to the submit() method:$crawler = $client->submit($form, array( 'name' => 'Lucas', 'country' => 'France', 'like_symfony' => true, 'photo' => '/path/to/lucas.jpg',));Now that you can easily navigate through an application, use assertions to test that it actually does what you expect it to. Use the Crawler to make assertions on the DOM:// Assert that the response matches a given CSS selector.$this->assertTrue($crawler->filter('h1')->count() > 0);Or, test against the Response content directly if you just want to assert that the content contains some text, or if the Response is not an XML/HTML document:
270
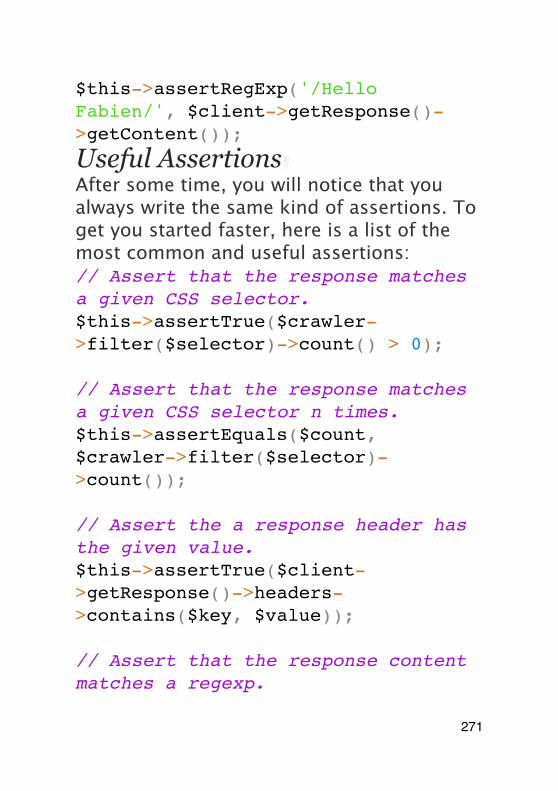
$this->assertRegExp('/Hello Fabien/', $client->getResponse()->getContent());
Useful Assertions¶After some time, you will notice that you always write the same kind of assertions. To get you started faster, here is a list of the most common and useful assertions:// Assert that the response matches a given CSS selector.$this->assertTrue($crawler->filter($selector)->count() > 0);
// Assert that the response matches a given CSS selector n times.$this->assertEquals($count, $crawler->filter($selector)->count());
// Assert the a response header has the given value.$this->assertTrue($client->getResponse()->headers->contains($key, $value));
// Assert that the response content matches a regexp.
271
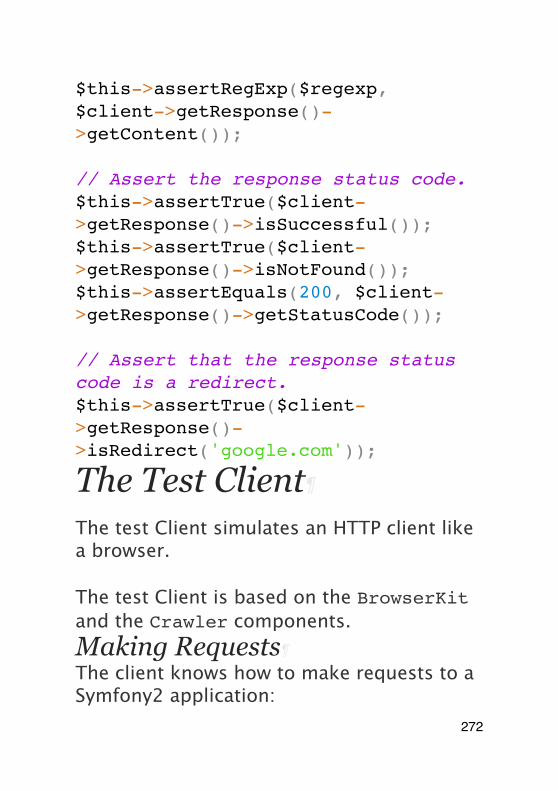
$this->assertRegExp($regexp, $client->getResponse()->getContent());
// Assert the response status code.$this->assertTrue($client->getResponse()->isSuccessful());$this->assertTrue($client->getResponse()->isNotFound());$this->assertEquals(200, $client->getResponse()->getStatusCode());
// Assert that the response status code is a redirect.$this->assertTrue($client->getResponse()->isRedirect('google.com'));
The Test Client
The test Client simulates an HTTP client like a browser.
The test Client is based on the BrowserKit and the Crawler components.Making Requests¶The client knows how to make requests to a Symfony2 application:
272
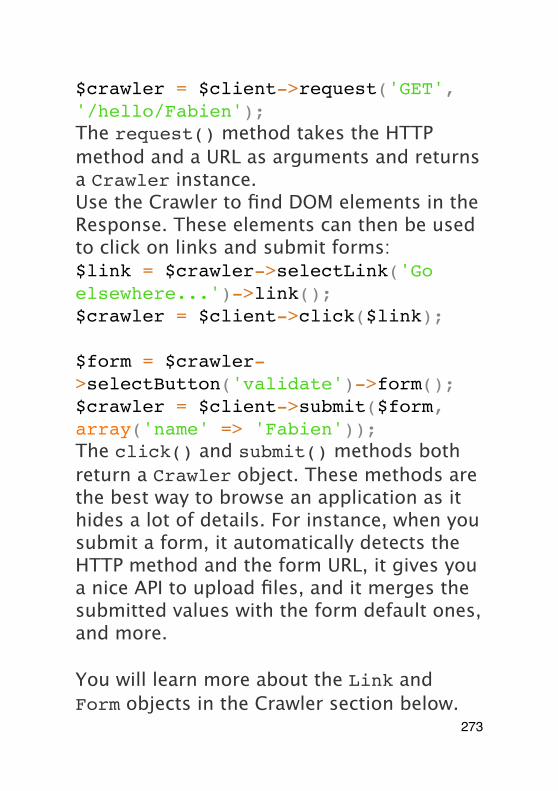
$crawler = $client->request('GET', '/hello/Fabien');The request() method takes the HTTP method and a URL as arguments and returns a Crawler instance.Use the Crawler to find DOM elements in the Response. These elements can then be used to click on links and submit forms:$link = $crawler->selectLink('Go elsewhere...')->link();$crawler = $client->click($link);
$form = $crawler->selectButton('validate')->form();$crawler = $client->submit($form, array('name' => 'Fabien'));The click() and submit() methods both return a Crawler object. These methods are the best way to browse an application as it hides a lot of details. For instance, when you submit a form, it automatically detects the HTTP method and the form URL, it gives you a nice API to upload files, and it merges the submitted values with the form default ones, and more.
You will learn more about the Link and Form objects in the Crawler section below.
273
But you can also simulate form submissions and complex requests with the additional arguments of the request() method:// Form submission$client->request('POST', '/submit', array('name' => 'Fabien'));
// Form submission with a file uploaduse Symfony\Component\HttpFoundation\File\UploadedFile;
$photo = new UploadedFile('/path/to/photo.jpg', 'photo.jpg', 'image/jpeg', 123);// or$photo = array('tmp_name' => '/path/to/photo.jpg', 'name' => 'photo.jpg', 'type' => 'image/jpeg', 'size' => 123, 'error' => UPLOAD_ERR_OK);
$client->request('POST', '/submit', array('name' => 'Fabien'), array('photo' => $photo));
// Specify HTTP headers
274
$client->request('DELETE', '/post/12', array(), array(), array('PHP_AUTH_USER' => 'username', 'PHP_AUTH_PW' => 'pa$$word'));
Form submissions are greatly simplified by using a crawler object (see below).When a request returns a redirect response, the client automatically follows it. This behavior can be changed with the followRedirects() method:$client->followRedirects(false);When the client does not follow redirects, you can force the redirection with the followRedirect() method:$crawler = $client->followRedirect();Last but not least, you can force each request to be executed in its own PHP process to avoid any side-effects when working with several clients in the same script:$client->insulate();
Browsing¶The Client supports many operations that can be done in a real browser:$client->back();
275
$client->forward();$client->reload();
// Clears all cookies and the history$client->restart();
Accessing Internal Objects¶If you use the client to test your application, you might want to access the client's internal objects:$history = $client->getHistory();$cookieJar = $client->getCookieJar();You can also get the objects related to the latest request:$request = $client->getRequest();$response = $client->getResponse();$crawler = $client->getCrawler();If your requests are not insulated, you can also access the Container and the Kernel:$container = $client->getContainer();$kernel = $client->getKernel();
Accessing the Container¶It's highly recommended that a functional test only tests the Response. But under certain very rare circumstances, you might
276
want to access some internal objects to write assertions. In such cases, you can access the dependency injection container:$container = $client->getContainer();Be warned that this does not work if you insulate the client or if you use an HTTP layer.
If the information you need to check are available from the profiler, use them instead.Accessing the Profiler Data¶To assert data collected by the profiler, you can get the profile for the current request like this:$profile = $client->getProfile();
Redirecting¶By default, the Client doesn't follow HTTP redirects, so that you can get and examine the Response before redirecting. Once you do want the client to redirect, call the followRedirect() method:// do something that would cause a redirect to be issued (e.g. fill out a form)
// follow the redirect
277
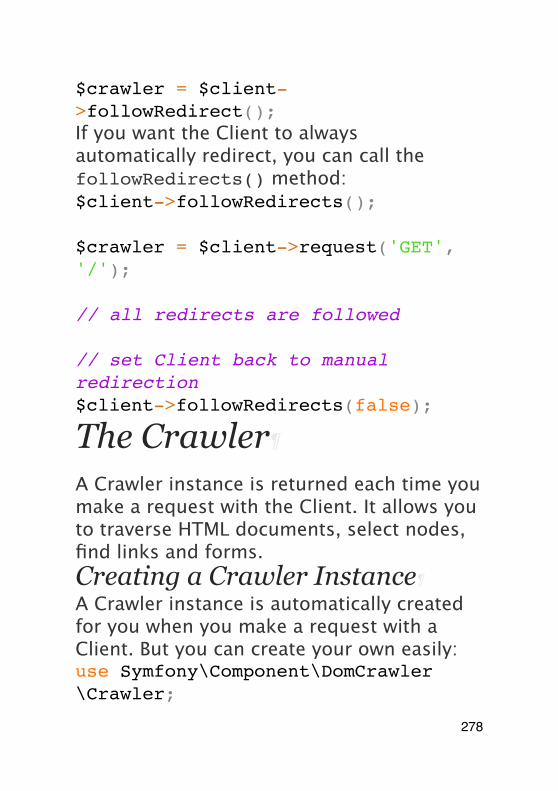
$crawler = $client->followRedirect();If you want the Client to always automatically redirect, you can call the followRedirects() method:$client->followRedirects();
$crawler = $client->request('GET', '/');
// all redirects are followed
// set Client back to manual redirection$client->followRedirects(false);
The Crawler
A Crawler instance is returned each time you make a request with the Client. It allows you to traverse HTML documents, select nodes, find links and forms.Creating a Crawler Instance¶A Crawler instance is automatically created for you when you make a request with a Client. But you can create your own easily:use Symfony\Component\DomCrawler\Crawler;
278
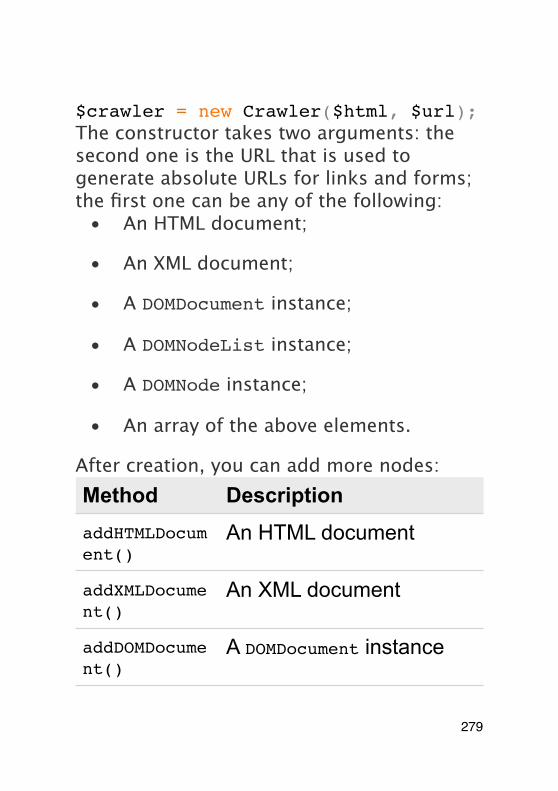
$crawler = new Crawler($html, $url);The constructor takes two arguments: the second one is the URL that is used to generate absolute URLs for links and forms; the first one can be any of the following:
• An HTML document;
• An XML document;
• A DOMDocument instance;
• A DOMNodeList instance;
• A DOMNode instance;
• An array of the above elements.
After creation, you can add more nodes:Method DescriptionaddHTMLDocument()
An HTML document
addXMLDocument()
An XML document
addDOMDocument()
A DOMDocument instance
279
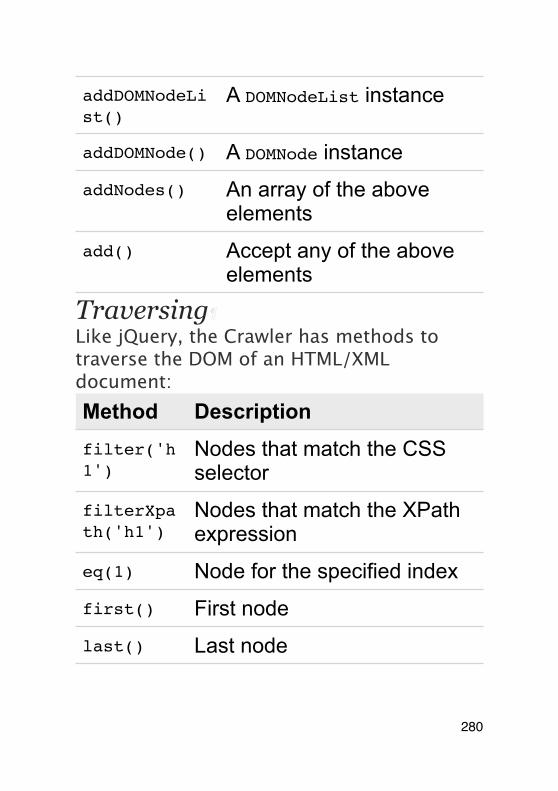
addDOMNodeList()
A DOMNodeList instance
addDOMNode() A DOMNode instance
addNodes() An array of the above elements
add() Accept any of the above elements
Traversing¶Like jQuery, the Crawler has methods to traverse the DOM of an HTML/XML document:Method Descriptionfilter('h1')
Nodes that match the CSS selector
filterXpath('h1')
Nodes that match the XPath expression
eq(1) Node for the specified index
first() First node
last() Last node
280
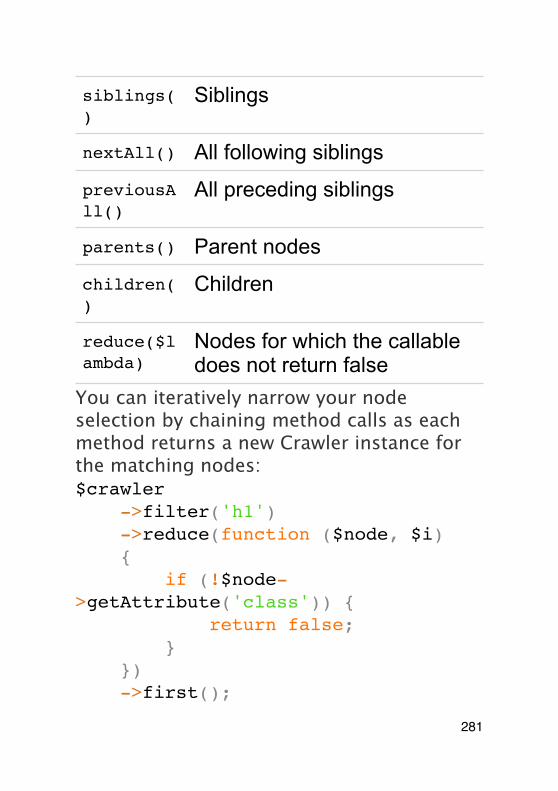
siblings()
Siblings
nextAll() All following siblings
previousAll()
All preceding siblings
parents() Parent nodes
children()
Children
reduce($lambda)
Nodes for which the callable does not return false
You can iteratively narrow your node selection by chaining method calls as each method returns a new Crawler instance for the matching nodes:$crawler ->filter('h1') ->reduce(function ($node, $i) { if (!$node->getAttribute('class')) { return false; } }) ->first();
281
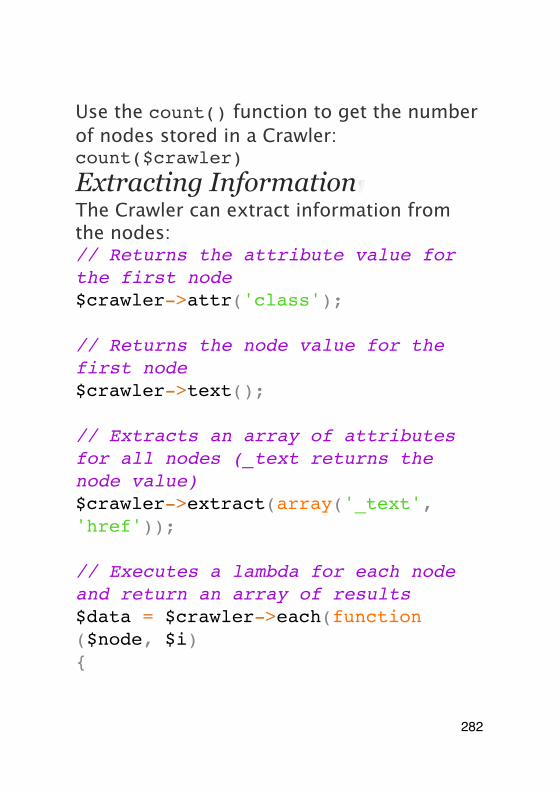
Use the count() function to get the number of nodes stored in a Crawler: count($crawler)
Extracting Information¶The Crawler can extract information from the nodes:// Returns the attribute value for the first node$crawler->attr('class');
// Returns the node value for the first node$crawler->text();
// Extracts an array of attributes for all nodes (_text returns the node value)$crawler->extract(array('_text', 'href'));
// Executes a lambda for each node and return an array of results$data = $crawler->each(function ($node, $i){
282
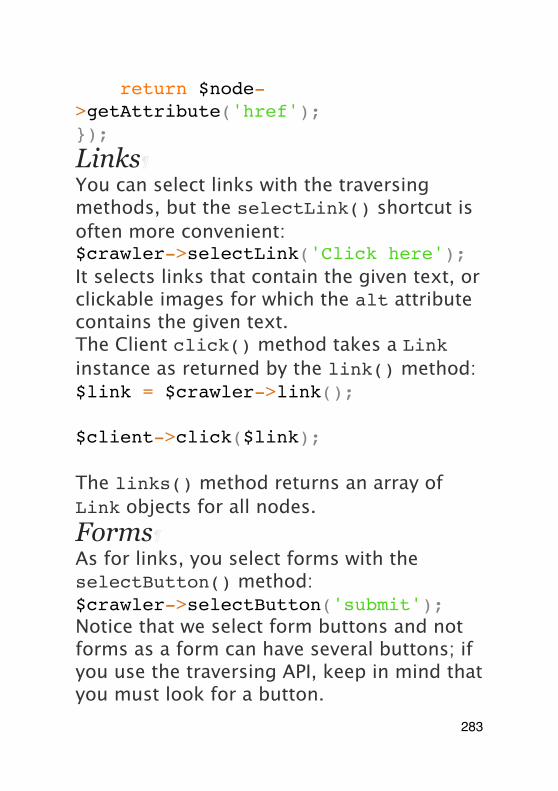
return $node->getAttribute('href');});
Links¶You can select links with the traversing methods, but the selectLink() shortcut is often more convenient:$crawler->selectLink('Click here');It selects links that contain the given text, or clickable images for which the alt attribute contains the given text.The Client click() method takes a Link instance as returned by the link() method:$link = $crawler->link();
$client->click($link);
The links() method returns an array of Link objects for all nodes.Forms¶As for links, you select forms with the selectButton() method:$crawler->selectButton('submit');Notice that we select form buttons and not forms as a form can have several buttons; if you use the traversing API, keep in mind that you must look for a button.
283

The selectButton() method can select button tags and submit input tags; it has several heuristics to find them:
• The value attribute value;
• The id or alt attribute value for images;
• The id or name attribute value for button tags.
When you have a node representing a button, call the form() method to get a Form instance for the form wrapping the button node:$form = $crawler->form();When calling the form() method, you can also pass an array of field values that overrides the default ones:$form = $crawler->form(array( 'name' => 'Fabien', 'like_symfony' => true,));And if you want to simulate a specific HTTP method for the form, pass it as a second argument:$form = $crawler->form(array(), 'DELETE');
284
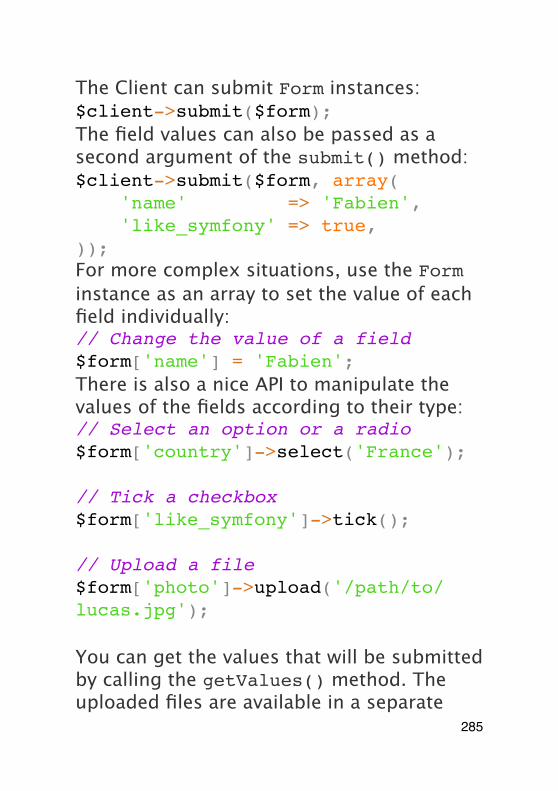
The Client can submit Form instances:$client->submit($form);The field values can also be passed as a second argument of the submit() method:$client->submit($form, array( 'name' => 'Fabien', 'like_symfony' => true,));For more complex situations, use the Form instance as an array to set the value of each field individually:// Change the value of a field$form['name'] = 'Fabien';There is also a nice API to manipulate the values of the fields according to their type:// Select an option or a radio$form['country']->select('France');
// Tick a checkbox$form['like_symfony']->tick();
// Upload a file$form['photo']->upload('/path/to/lucas.jpg');
You can get the values that will be submitted by calling the getValues() method. The uploaded files are available in a separate
285
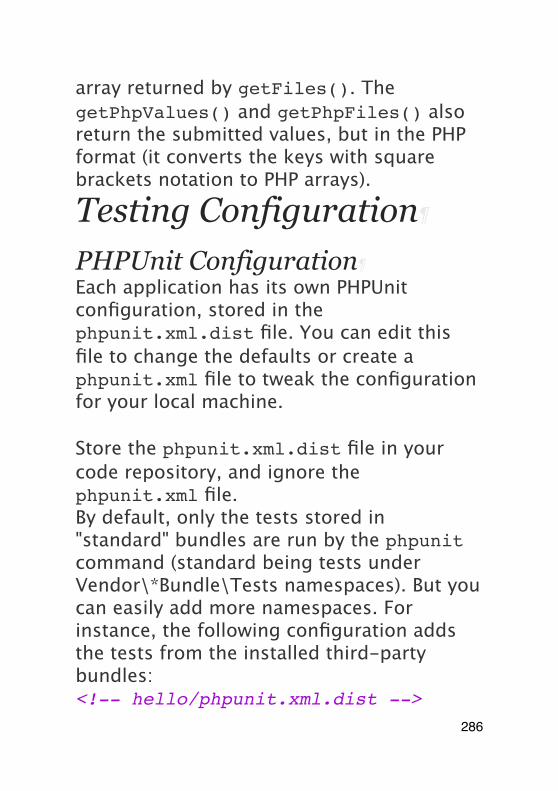
array returned by getFiles(). The getPhpValues() and getPhpFiles() also return the submitted values, but in the PHP format (it converts the keys with square brackets notation to PHP arrays).
Testing Configuration
PHPUnit Configuration¶Each application has its own PHPUnit configuration, stored in the phpunit.xml.dist file. You can edit this file to change the defaults or create a phpunit.xml file to tweak the configuration for your local machine.
Store the phpunit.xml.dist file in your code repository, and ignore the phpunit.xml file.By default, only the tests stored in "standard" bundles are run by the phpunit command (standard being tests under Vendor\*Bundle\Tests namespaces). But you can easily add more namespaces. For instance, the following configuration adds the tests from the installed third-party bundles:<!-- hello/phpunit.xml.dist -->
286
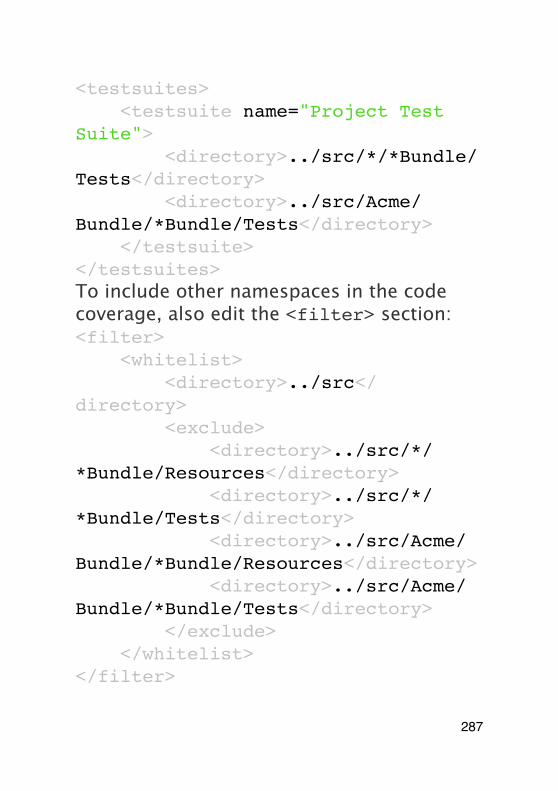
<testsuites> <testsuite name="Project Test Suite"> <directory>../src/*/*Bundle/Tests</directory> <directory>../src/Acme/Bundle/*Bundle/Tests</directory> </testsuite></testsuites>To include other namespaces in the code coverage, also edit the <filter> section:<filter> <whitelist> <directory>../src</directory> <exclude> <directory>../src/*/*Bundle/Resources</directory> <directory>../src/*/*Bundle/Tests</directory> <directory>../src/Acme/Bundle/*Bundle/Resources</directory> <directory>../src/Acme/Bundle/*Bundle/Tests</directory> </exclude> </whitelist></filter>
287
Client Configuration¶The Client used by functional tests creates a Kernel that runs in a special test environment, so you can tweak it as much as you want:
1 YAML# app/config/config_test.yml
2 imports:3 - { resource:
config_dev.yml }45 framework:6 error_handler: false7 test: ~89 web_profiler:10 toolbar: false11 intercept_redirects: false1213 monolog:14 handlers:15 main:16 type: stream17 path:
%kernel.logs_dir%/%kernel.environment%.log
288
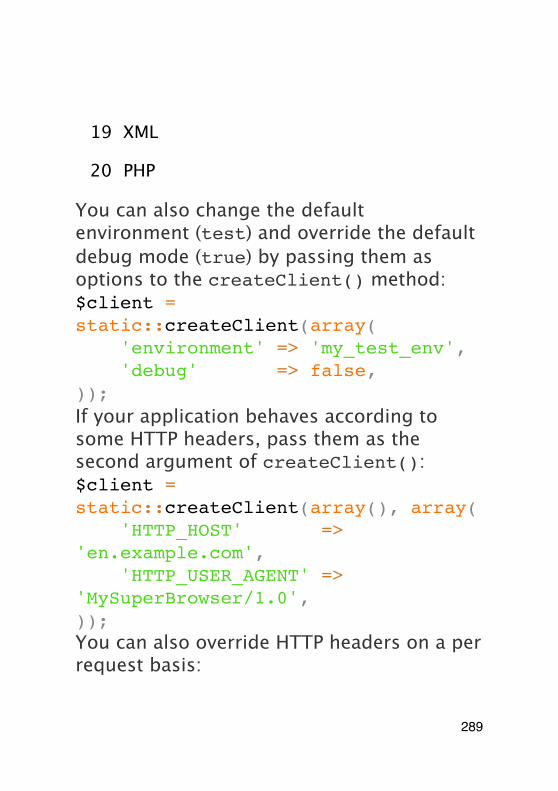
18 level: debug
19 XML
20 PHP
You can also change the default environment (test) and override the default debug mode (true) by passing them as options to the createClient() method:$client = static::createClient(array( 'environment' => 'my_test_env', 'debug' => false,));If your application behaves according to some HTTP headers, pass them as the second argument of createClient():$client = static::createClient(array(), array( 'HTTP_HOST' => 'en.example.com', 'HTTP_USER_AGENT' => 'MySuperBrowser/1.0',));You can also override HTTP headers on a per request basis:
289
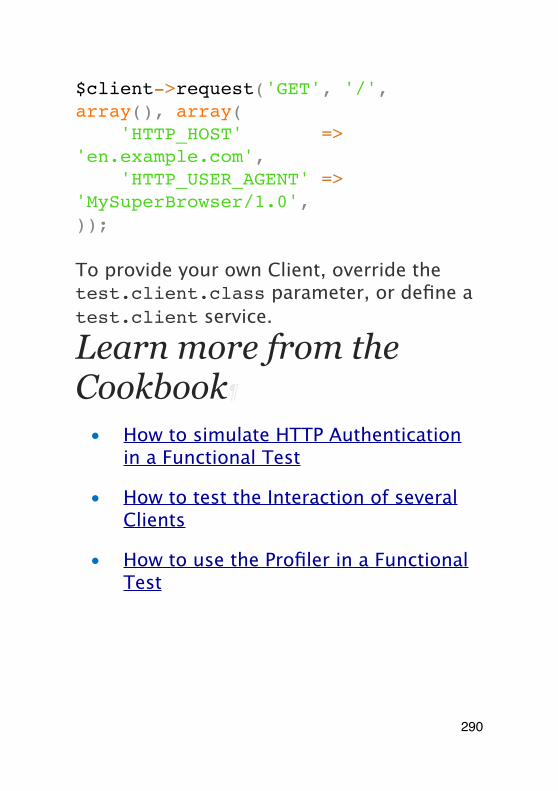
$client->request('GET', '/', array(), array( 'HTTP_HOST' => 'en.example.com', 'HTTP_USER_AGENT' => 'MySuperBrowser/1.0',));
To provide your own Client, override the test.client.class parameter, or define a test.client service.
Learn more from the Cookbook
• How to simulate HTTP Authentication in a Functional Test
• How to test the Interaction of several Clients
• How to use the Profiler in a Functional Test
290
ValidationValidation is a very common task in web applications. Data entered in forms needs to be validated. Data also needs to be validated before it is written into a database or passed to a web service.Symfony2 ships with a Validator component that makes this task easy and transparent. This component is based on the JSR303 Bean Validation specification. What? A Java specification in PHP? You heard right, but it's not as bad as it sounds. Let's look at how it can be used in PHP.
The Basics of Validation
The best way to understand validation is to see it in action. To start, suppose you've created a plain-old-PHP object that you need to use somewhere in your application:// src/Acme/BlogBundle/Entity/Author.phpnamespace Acme\BlogBundle\Entity;
class Author{
291
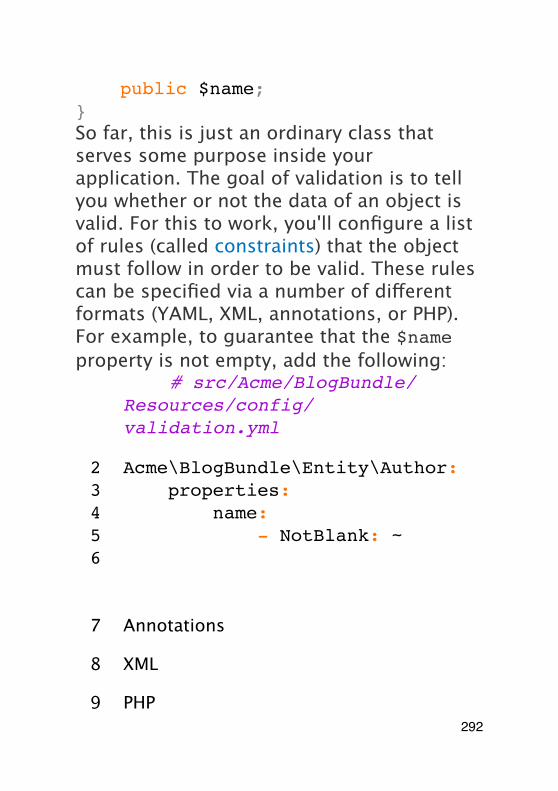
public $name;}So far, this is just an ordinary class that serves some purpose inside your application. The goal of validation is to tell you whether or not the data of an object is valid. For this to work, you'll configure a list of rules (called constraints) that the object must follow in order to be valid. These rules can be specified via a number of different formats (YAML, XML, annotations, or PHP).For example, to guarantee that the $name property is not empty, add the following:
1 YAML# src/Acme/BlogBundle/Resources/config/validation.yml
2 Acme\BlogBundle\Entity\Author:3 properties:4 name:5 - NotBlank: ~6
7 Annotations
8 XML
9 PHP292
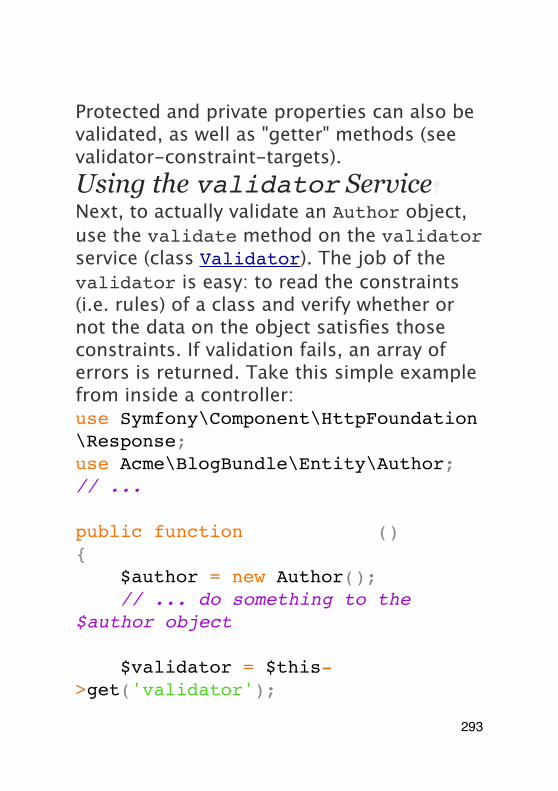
Protected and private properties can also be validated, as well as "getter" methods (see validator-constraint-targets).Using the validator Service¶Next, to actually validate an Author object, use the validate method on the validator service (class Validator). The job of the validator is easy: to read the constraints (i.e. rules) of a class and verify whether or not the data on the object satisfies those constraints. If validation fails, an array of errors is returned. Take this simple example from inside a controller:use Symfony\Component\HttpFoundation\Response;use Acme\BlogBundle\Entity\Author;// ...
public function indexAction(){ $author = new Author(); // ... do something to the $author object
$validator = $this->get('validator');
293
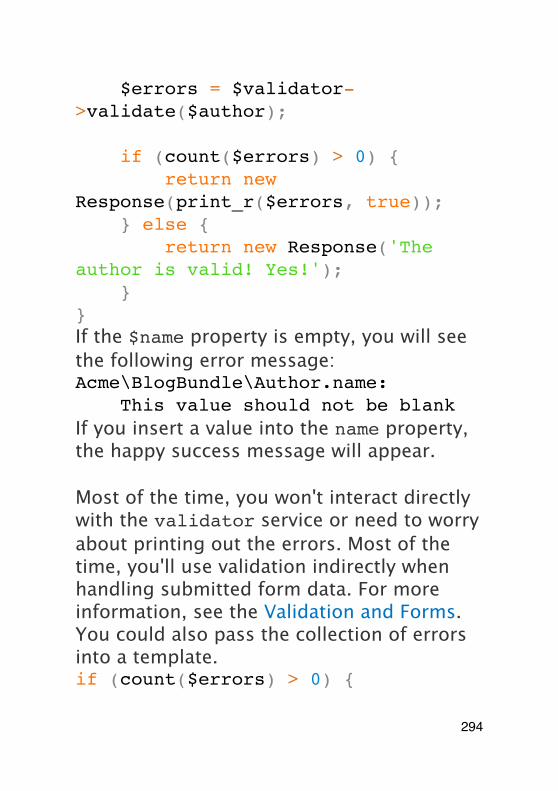
$errors = $validator->validate($author);
if (count($errors) > 0) { return new Response(print_r($errors, true)); } else { return new Response('The author is valid! Yes!'); }}If the $name property is empty, you will see the following error message:Acme\BlogBundle\Author.name: This value should not be blankIf you insert a value into the name property, the happy success message will appear.
Most of the time, you won't interact directly with the validator service or need to worry about printing out the errors. Most of the time, you'll use validation indirectly when handling submitted form data. For more information, see the Validation and Forms.You could also pass the collection of errors into a template.if (count($errors) > 0) {
294
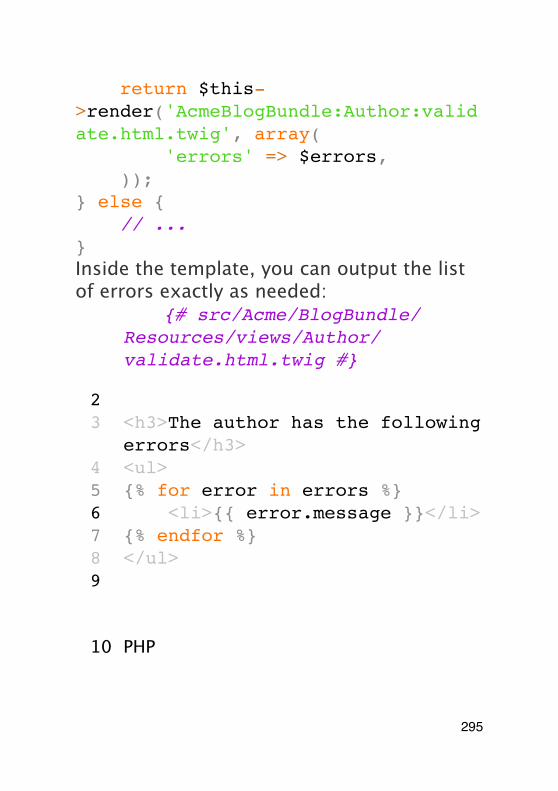
return $this->render('AcmeBlogBundle:Author:validate.html.twig', array( 'errors' => $errors, ));} else { // ...}Inside the template, you can output the list of errors exactly as needed:
1 Twig{# src/Acme/BlogBundle/Resources/views/Author/validate.html.twig #}
23 <h3>The author has the following
errors</h3>4 <ul>5 {% for error in errors %}6 <li>{{ error.message }}</li>7 {% endfor %}8 </ul>9
10 PHP
295
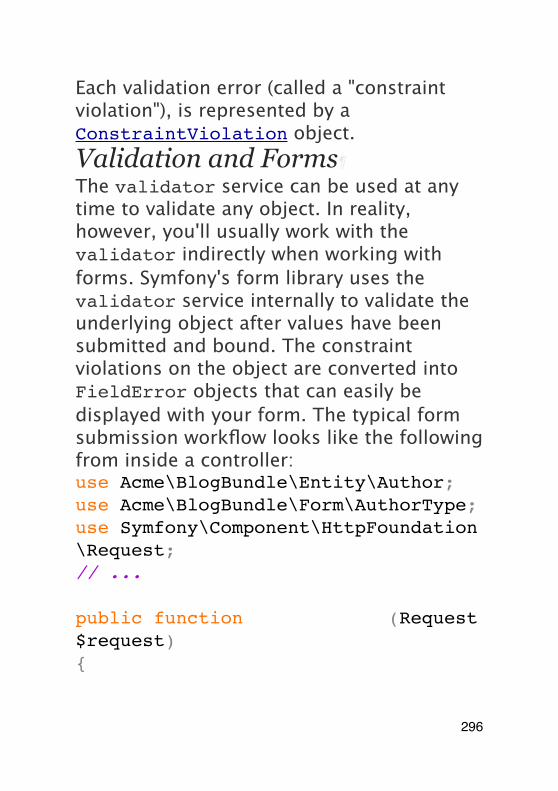
Each validation error (called a "constraint violation"), is represented by a ConstraintViolation object.Validation and Forms¶The validator service can be used at any time to validate any object. In reality, however, you'll usually work with the validator indirectly when working with forms. Symfony's form library uses the validator service internally to validate the underlying object after values have been submitted and bound. The constraint violations on the object are converted into FieldError objects that can easily be displayed with your form. The typical form submission workflow looks like the following from inside a controller:use Acme\BlogBundle\Entity\Author;use Acme\BlogBundle\Form\AuthorType;use Symfony\Component\HttpFoundation\Request;// ...
public function updateAction(Request $request){
296
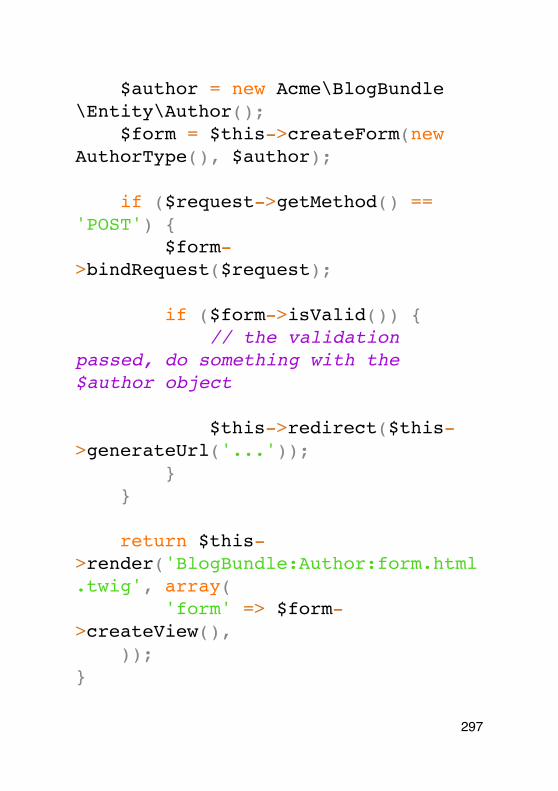
$author = new Acme\BlogBundle\Entity\Author(); $form = $this->createForm(new AuthorType(), $author);
if ($request->getMethod() == 'POST') { $form->bindRequest($request);
if ($form->isValid()) { // the validation passed, do something with the $author object
$this->redirect($this->generateUrl('...')); } }
return $this->render('BlogBundle:Author:form.html.twig', array( 'form' => $form->createView(), ));}
297
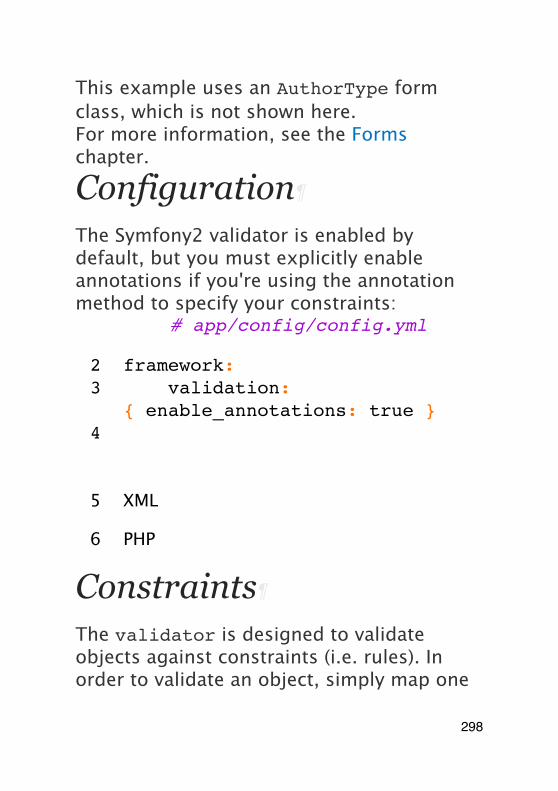
This example uses an AuthorType form class, which is not shown here.For more information, see the Forms chapter.
Configuration
The Symfony2 validator is enabled by default, but you must explicitly enable annotations if you're using the annotation method to specify your constraints:
1 YAML# app/config/config.yml
2 framework:3 validation:
{ enable_annotations: true }4
5 XML
6 PHP
Constraints
The validator is designed to validate objects against constraints (i.e. rules). In order to validate an object, simply map one
298
or more constraints to its class and then pass it to the validator service.Behind the scenes, a constraint is simply a PHP object that makes an assertive statement. In real life, a constraint could be: "The cake must not be burned". In Symfony2, constraints are similar: they are assertions that a condition is true. Given a value, a constraint will tell you whether or not that value adheres to the rules of the constraint.Supported Constraints¶Symfony2 packages a large number of the most commonly-needed constraints. The full list of constraints with details is available in the constraints reference section.Constraint Configuration¶Some constraints, like NotBlank, are simple whereas others, like the Choice constraint, have several configuration options available. Suppose that the Author class has another property, gender that can be set to either "male" or "female":
1 YAML# src/Acme/BlogBundle/Resources/config/validation.yml
299
2 Acme\BlogBundle\Entity\Author:3 properties:4 gender:5 - Choice: { choices:
[male, female], message: Choose a valid gender. }
6
7 Annotations
8 XML
9 PHP
The options of a constraint can always be passed in as an array. Some constraints, however, also allow you to pass the value of one, "default", option in place of the array. In the case of the Choice constraint, the choices options can be specified in this way.
1 YAML# src/Acme/BlogBundle/Resources/config/validation.yml
2 Acme\BlogBundle\Entity\Author:3 properties:4 gender:
300
5 - Choice: [male, female]
6
7 Annotations
8 XML
9 PHP
This is purely meant to make the configuration of the most common option of a constraint shorter and quicker.If you're ever unsure of how to specify an option, either check the API documentation for the constraint or play it safe by always passing in an array of options (the first method shown above).
Constraint Targets
Constraints can be applied to a class property (e.g. name) or a public getter method (e.g. getFullName). The first is the most common and easy to use, but the second allows you to specify more complex validation rules.Properties
301
Validating class properties is the most basic validation technique. Symfony2 allows you to validate private, protected or public properties. The next listing shows you how to configure the $firstName property of an Author class to have at least 3 characters.
1 YAML# src/Acme/BlogBundle/Resources/config/validation.yml
2 Acme\BlogBundle\Entity\Author:3 properties:4 firstName:5 - NotBlank: ~6 - MinLength: 37
8 Annotations
9 XML
10 PHP
Getters¶Constraints can also be applied to the return value of a method. Symfony2 allows you to add a constraint to any public method whose name starts with "get" or "is". In this
302
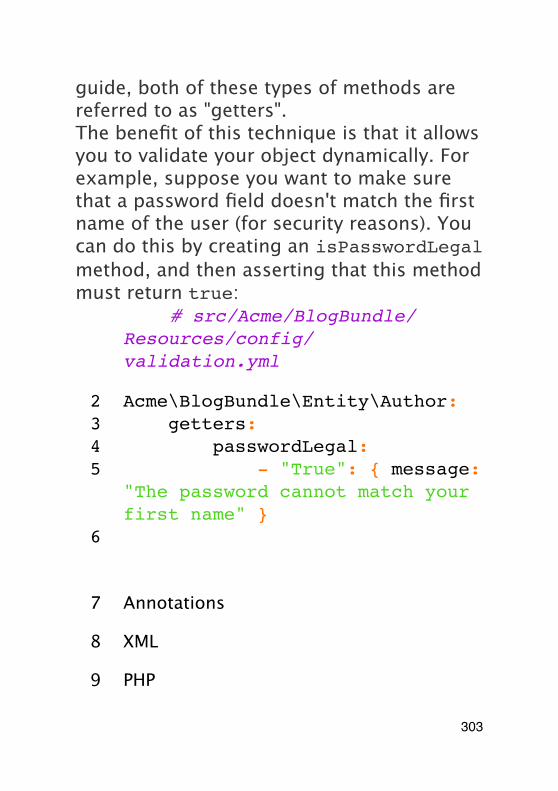
guide, both of these types of methods are referred to as "getters".The benefit of this technique is that it allows you to validate your object dynamically. For example, suppose you want to make sure that a password field doesn't match the first name of the user (for security reasons). You can do this by creating an isPasswordLegal method, and then asserting that this method must return true:
1 YAML# src/Acme/BlogBundle/Resources/config/validation.yml
2 Acme\BlogBundle\Entity\Author:3 getters:4 passwordLegal:5 - "True": { message:
"The password cannot match your first name" }
6
7 Annotations
8 XML
9 PHP
303
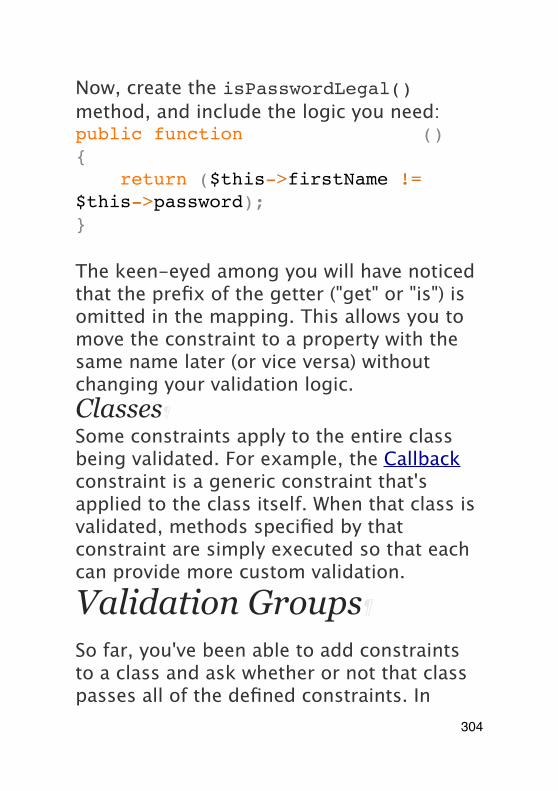
Now, create the isPasswordLegal() method, and include the logic you need:public function isPasswordLegal(){ return ($this->firstName != $this->password);}
The keen-eyed among you will have noticed that the prefix of the getter ("get" or "is") is omitted in the mapping. This allows you to move the constraint to a property with the same name later (or vice versa) without changing your validation logic.Classes¶Some constraints apply to the entire class being validated. For example, the Callback constraint is a generic constraint that's applied to the class itself. When that class is validated, methods specified by that constraint are simply executed so that each can provide more custom validation.
Validation Groups
So far, you've been able to add constraints to a class and ask whether or not that class passes all of the defined constraints. In
304
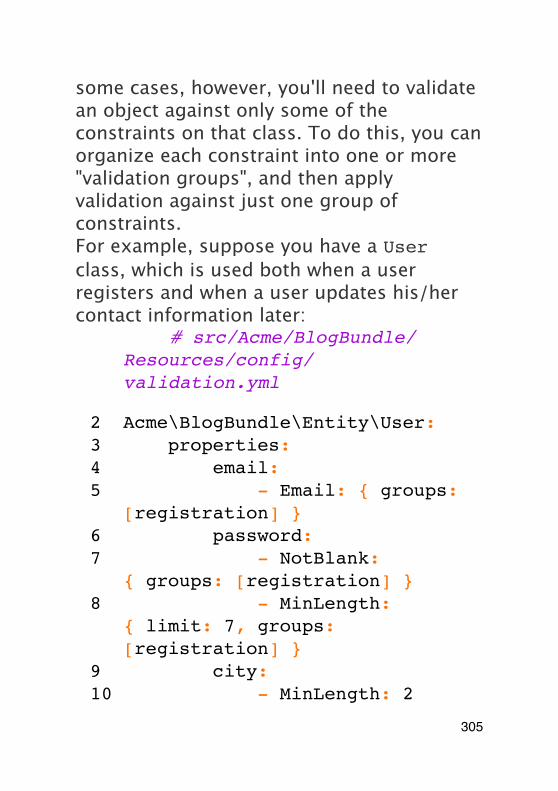
some cases, however, you'll need to validate an object against only some of the constraints on that class. To do this, you can organize each constraint into one or more "validation groups", and then apply validation against just one group of constraints.For example, suppose you have a User class, which is used both when a user registers and when a user updates his/her contact information later:
1 YAML# src/Acme/BlogBundle/Resources/config/validation.yml
2 Acme\BlogBundle\Entity\User:3 properties:4 email:5 - Email: { groups:
[registration] }6 password:7 - NotBlank:
{ groups: [registration] }8 - MinLength:
{ limit: 7, groups: [registration] }
9 city:10 - MinLength: 2
305
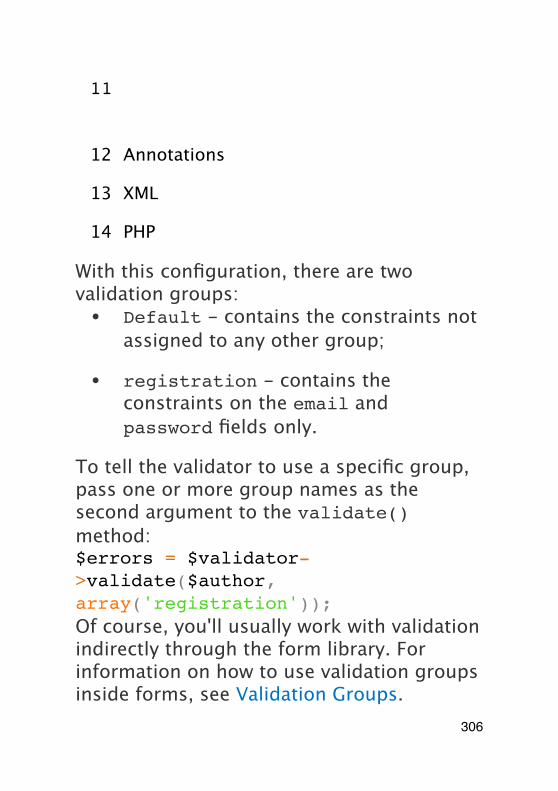
11
12 Annotations
13 XML
14 PHP
With this configuration, there are two validation groups:• Default - contains the constraints not
assigned to any other group;
• registration - contains the constraints on the email and password fields only.
To tell the validator to use a specific group, pass one or more group names as the second argument to the validate() method:$errors = $validator->validate($author, array('registration'));Of course, you'll usually work with validation indirectly through the form library. For information on how to use validation groups inside forms, see Validation Groups.
306
Final Thoughts
The Symfony2 validator is a powerful tool that can be leveraged to guarantee that the data of any object is "valid". The power behind validation lies in "constraints", which are rules that you can apply to properties or getter methods of your object. And while you'll most commonly use the validation framework indirectly when using forms, remember that it can be used anywhere to validate any object.
Learn more from the Cookbook
• How to create a Custom Validation Constraint
307
FormsDealing with HTML forms is one of the most common - and challenging - tasks for a web developer. Symfony2 integrates a Form component that makes dealing with forms easy. In this chapter, you'll build a complex form from the ground-up, learning the most important features of the form library along the way.
The Symfony form component is a standalone library that can be used outside of Symfony2 projects. For more information, see the Symfony2 Form Component on Github.
Creating a Simple Form
Suppose you're building a simple todo list application that will need to display "tasks". Because your users will need to edit and create tasks, you're going to need to build a form. But before you begin, first focus on the generic Task class that represents and stores the data for a single task:
308
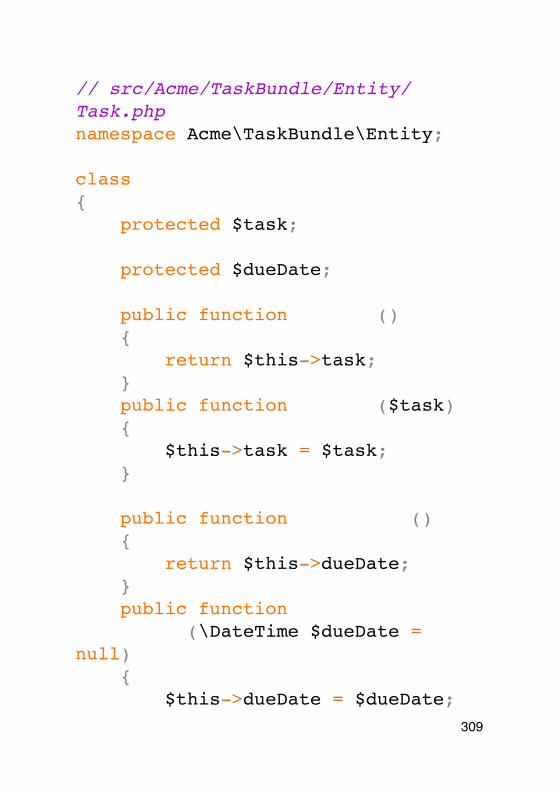
// src/Acme/TaskBundle/Entity/Task.phpnamespace Acme\TaskBundle\Entity;
class Task{ protected $task;
protected $dueDate;
public function getTask() { return $this->task; } public function setTask($task) { $this->task = $task; }
public function getDueDate() { return $this->dueDate; } public function setDueDate(\DateTime $dueDate = null) { $this->dueDate = $dueDate;
309
}}
If you're coding along with this example, create the AcmeTaskBundle first by running the following command (and accepting all of the default options):php app/console generate:bundle --namespace=Acme/TaskBundleThis class is a "plain-old-PHP-object" because, so far, it has nothing to do with Symfony or any other library. It's quite simply a normal PHP object that directly solves a problem inside your application (i.e. the need to represent a task in your application). Of course, by the end of this chapter, you'll be able to submit data to a Task instance (via an HTML form), validate its data, and persist it to the database.Building the Form¶Now that you've created a Task class, the next step is to create and render the actual HTML form. In Symfony2, this is done by building a form object and then rendering it in a template. For now, this can all be done from inside a controller:
310
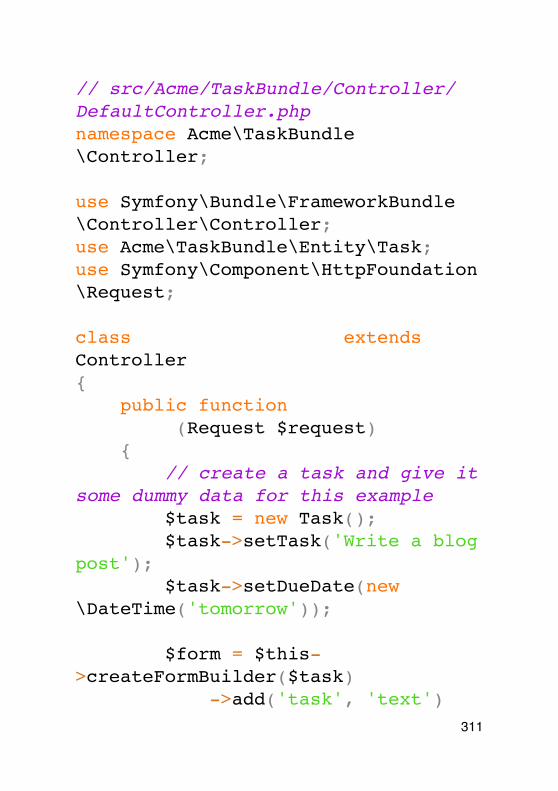
// src/Acme/TaskBundle/Controller/DefaultController.phpnamespace Acme\TaskBundle\Controller;
use Symfony\Bundle\FrameworkBundle\Controller\Controller;use Acme\TaskBundle\Entity\Task;use Symfony\Component\HttpFoundation\Request;
class DefaultController extends Controller{ public function newAction(Request $request) { // create a task and give it some dummy data for this example $task = new Task(); $task->setTask('Write a blog post'); $task->setDueDate(new \DateTime('tomorrow'));
$form = $this->createFormBuilder($task) ->add('task', 'text')
311
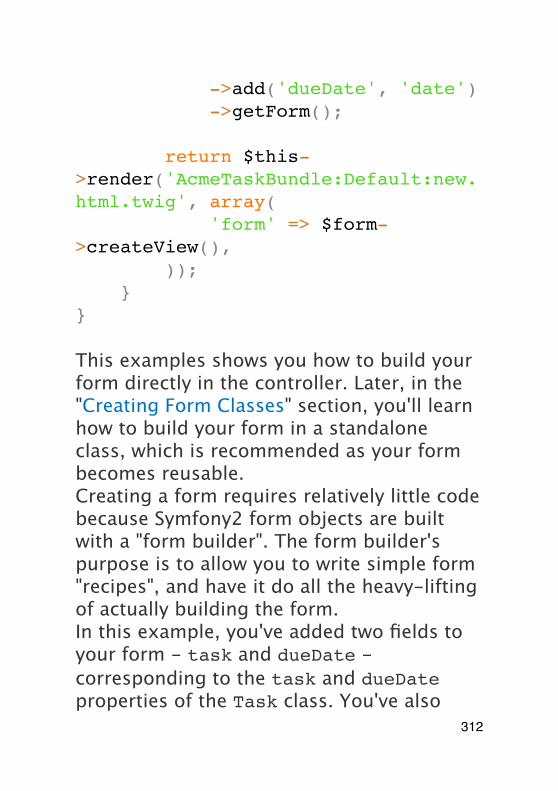
->add('dueDate', 'date') ->getForm();
return $this->render('AcmeTaskBundle:Default:new.html.twig', array( 'form' => $form->createView(), )); }}
This examples shows you how to build your form directly in the controller. Later, in the "Creating Form Classes" section, you'll learn how to build your form in a standalone class, which is recommended as your form becomes reusable.Creating a form requires relatively little code because Symfony2 form objects are built with a "form builder". The form builder's purpose is to allow you to write simple form "recipes", and have it do all the heavy-lifting of actually building the form.In this example, you've added two fields to your form - task and dueDate - corresponding to the task and dueDate properties of the Task class. You've also
312
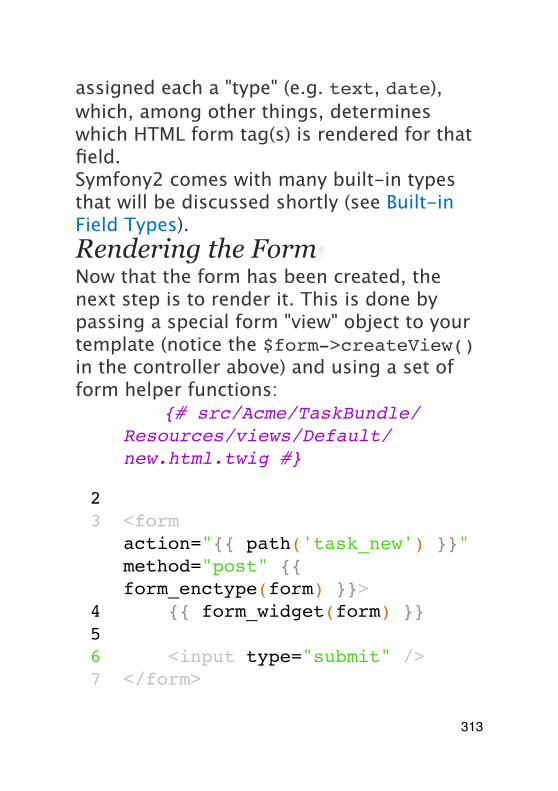
assigned each a "type" (e.g. text, date), which, among other things, determines which HTML form tag(s) is rendered for that field.Symfony2 comes with many built-in types that will be discussed shortly (see Built-in Field Types).Rendering the Form¶Now that the form has been created, the next step is to render it. This is done by passing a special form "view" object to your template (notice the $form->createView() in the controller above) and using a set of form helper functions:
1 Twig{# src/Acme/TaskBundle/Resources/views/Default/new.html.twig #}
23 <form
action="{{ path('task_new') }}" method="post" {{ form_enctype(form) }}>
4 {{ form_widget(form) }}56 <input type="submit" />7 </form>
313
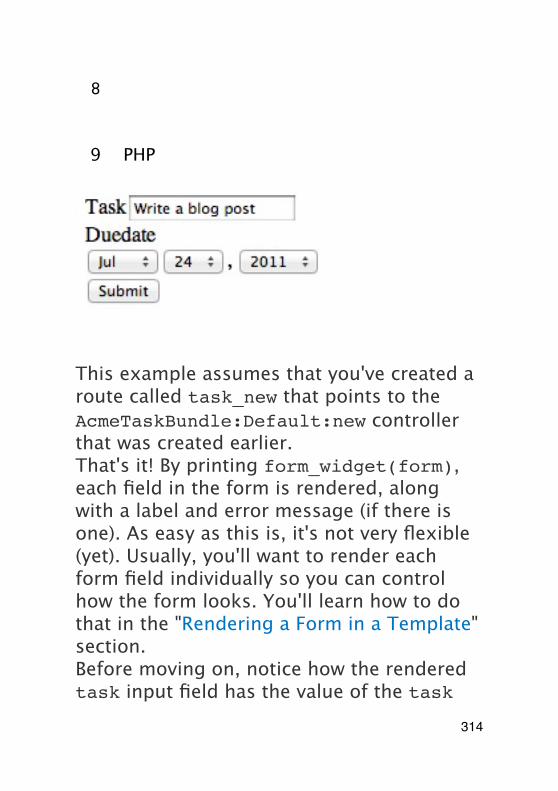
8
9 PHP
This example assumes that you've created a route called task_new that points to the AcmeTaskBundle:Default:new controller that was created earlier.That's it! By printing form_widget(form), each field in the form is rendered, along with a label and error message (if there is one). As easy as this is, it's not very flexible (yet). Usually, you'll want to render each form field individually so you can control how the form looks. You'll learn how to do that in the "Rendering a Form in a Template" section.Before moving on, notice how the rendered task input field has the value of the task
314
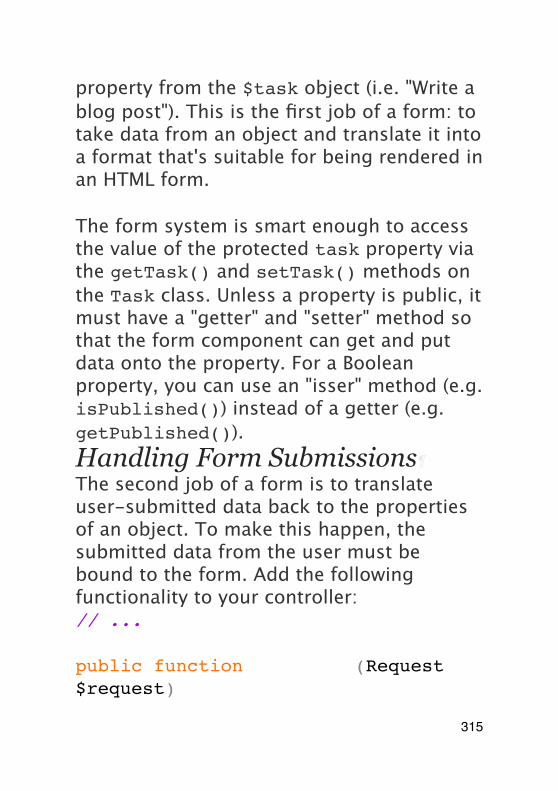
property from the $task object (i.e. "Write a blog post"). This is the first job of a form: to take data from an object and translate it into a format that's suitable for being rendered in an HTML form.
The form system is smart enough to access the value of the protected task property via the getTask() and setTask() methods on the Task class. Unless a property is public, it must have a "getter" and "setter" method so that the form component can get and put data onto the property. For a Boolean property, you can use an "isser" method (e.g. isPublished()) instead of a getter (e.g. getPublished()).Handling Form Submissions¶The second job of a form is to translate user-submitted data back to the properties of an object. To make this happen, the submitted data from the user must be bound to the form. Add the following functionality to your controller:// ...
public function newAction(Request $request)
315
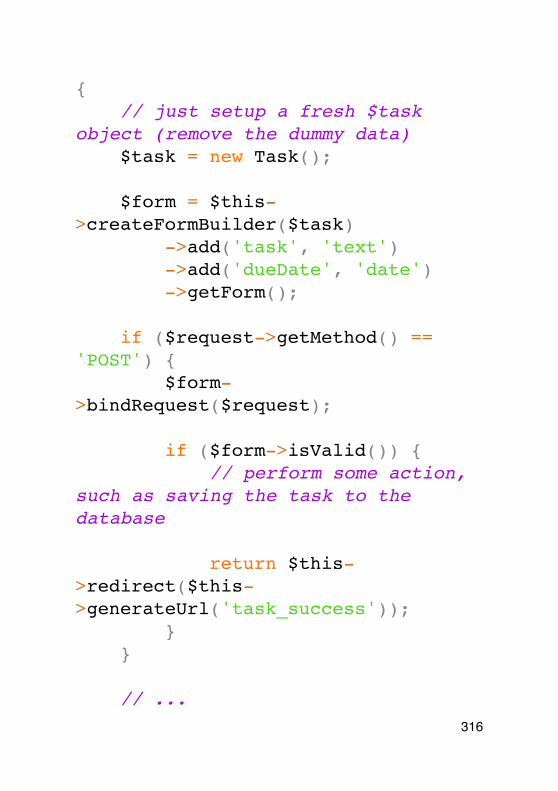
{ // just setup a fresh $task object (remove the dummy data) $task = new Task();
$form = $this->createFormBuilder($task) ->add('task', 'text') ->add('dueDate', 'date') ->getForm();
if ($request->getMethod() == 'POST') { $form->bindRequest($request);
if ($form->isValid()) { // perform some action, such as saving the task to the database
return $this->redirect($this->generateUrl('task_success')); } }
// ...316
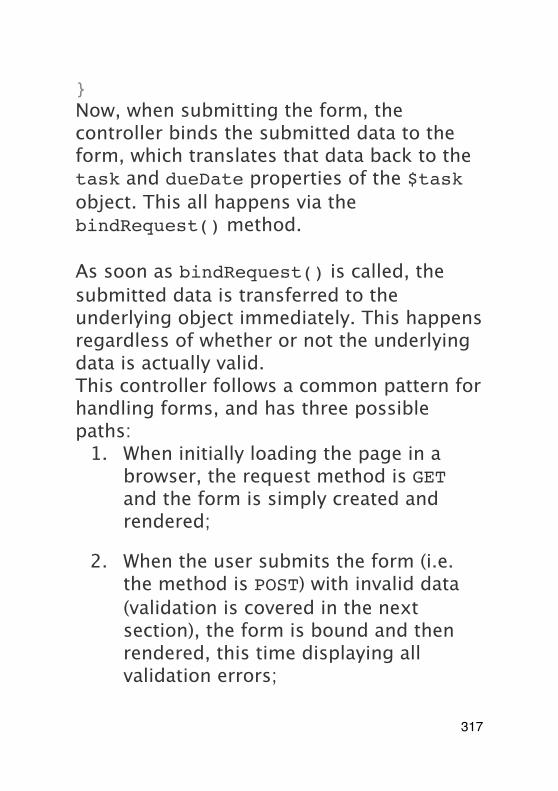
}Now, when submitting the form, the controller binds the submitted data to the form, which translates that data back to the task and dueDate properties of the $task object. This all happens via the bindRequest() method.
As soon as bindRequest() is called, the submitted data is transferred to the underlying object immediately. This happens regardless of whether or not the underlying data is actually valid.This controller follows a common pattern for handling forms, and has three possible paths:
1. When initially loading the page in a browser, the request method is GET and the form is simply created and rendered;
2. When the user submits the form (i.e. the method is POST) with invalid data (validation is covered in the next section), the form is bound and then rendered, this time displaying all validation errors;
317
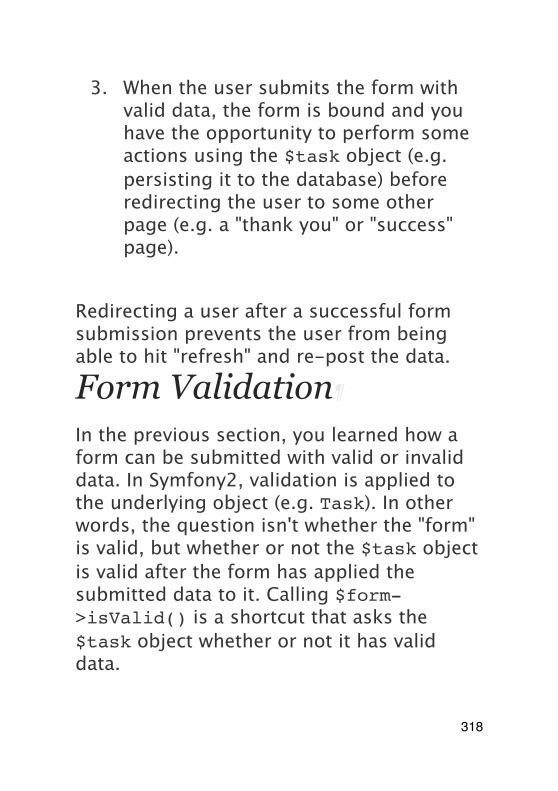
3. When the user submits the form with valid data, the form is bound and you have the opportunity to perform some actions using the $task object (e.g. persisting it to the database) before redirecting the user to some other page (e.g. a "thank you" or "success" page).
Redirecting a user after a successful form submission prevents the user from being able to hit "refresh" and re-post the data.
Form Validation
In the previous section, you learned how a form can be submitted with valid or invalid data. In Symfony2, validation is applied to the underlying object (e.g. Task). In other words, the question isn't whether the "form" is valid, but whether or not the $task object is valid after the form has applied the submitted data to it. Calling $form->isValid() is a shortcut that asks the $task object whether or not it has valid data.
318
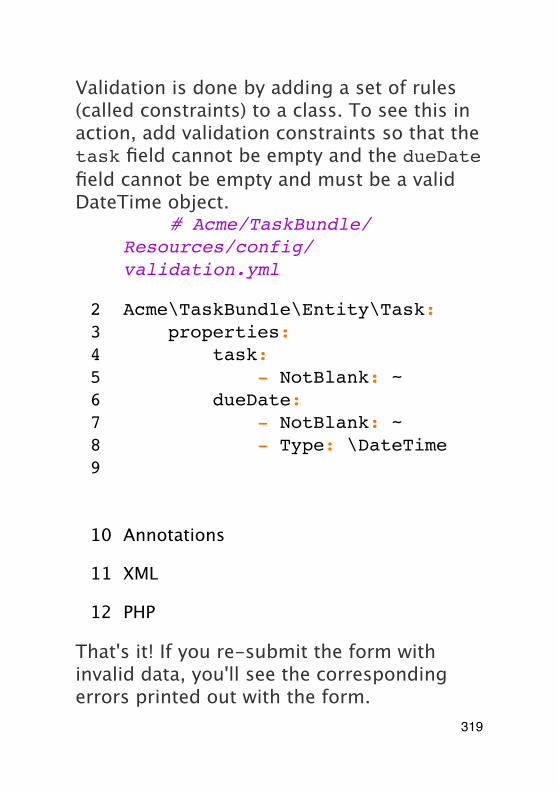
Validation is done by adding a set of rules (called constraints) to a class. To see this in action, add validation constraints so that the task field cannot be empty and the dueDate field cannot be empty and must be a valid DateTime object.
1 YAML# Acme/TaskBundle/Resources/config/validation.yml
2 Acme\TaskBundle\Entity\Task:3 properties:4 task:5 - NotBlank: ~6 dueDate:7 - NotBlank: ~8 - Type: \DateTime9
10 Annotations
11 XML
12 PHP
That's it! If you re-submit the form with invalid data, you'll see the corresponding errors printed out with the form.
319
HTML5 ValidationAs of HTML5, many browsers can natively enforce certain validation constraints on the client side. The most common validation is activated by rendering a required attribute on fields that are required. For browsers that support HTML5, this will result in a native browser message being displayed if the user tries to submit the form with that field blank.Generated forms take full advantage of this new feature by adding sensible HTML attributes that trigger the validation. The client-side validation, however, can be disabled by adding the novalidate attribute to the form tag or formnovalidate to the submit tag. This is especially useful when you want to test your server-side validation constraints, but are being prevented by your browser from, for example, submitting blank fields.Validation is a very powerful feature of Symfony2 and has its own dedicated chapter.Validation Groups
320
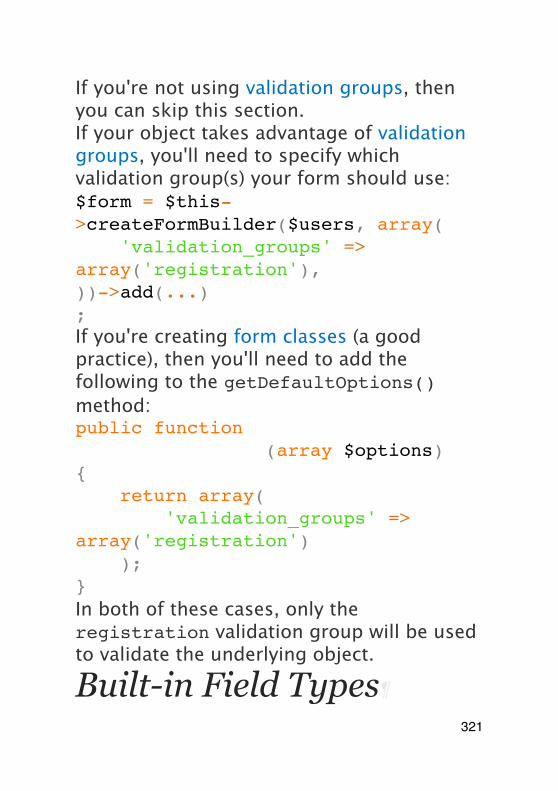
If you're not using validation groups, then you can skip this section.If your object takes advantage of validation groups, you'll need to specify which validation group(s) your form should use:$form = $this->createFormBuilder($users, array( 'validation_groups' => array('registration'),))->add(...);If you're creating form classes (a good practice), then you'll need to add the following to the getDefaultOptions() method:public function getDefaultOptions(array $options){ return array( 'validation_groups' => array('registration') );}In both of these cases, only the registration validation group will be used to validate the underlying object.
Built-in Field Types
321
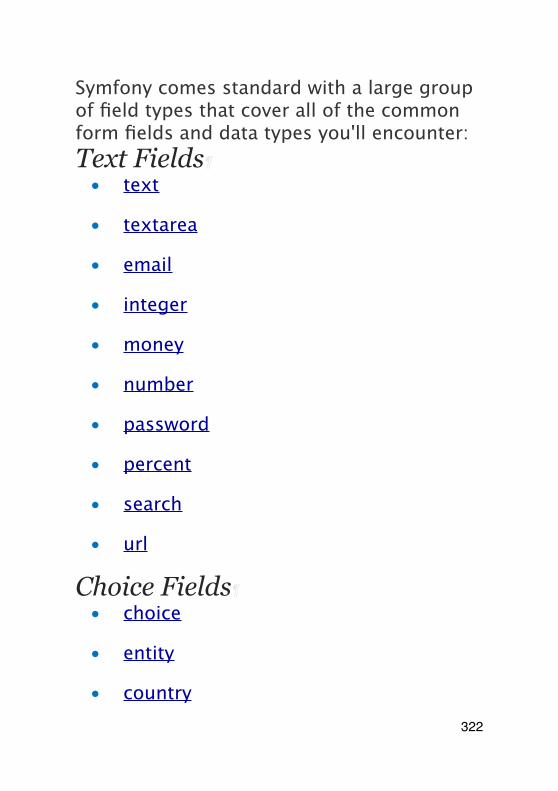
Symfony comes standard with a large group of field types that cover all of the common form fields and data types you'll encounter:Text Fields
• text
• textarea
• integer
• money
• number
• password
• percent
• search
• url
Choice Fields¶• choice
• entity
• country322
• language
• locale
• timezone
Date and Time Fields¶• date
• datetime
• time
• birthday
Other Fields¶• checkbox
• file
• radio
Field Groups¶• collection
• repeated
Hidden Fields¶• hidden
323
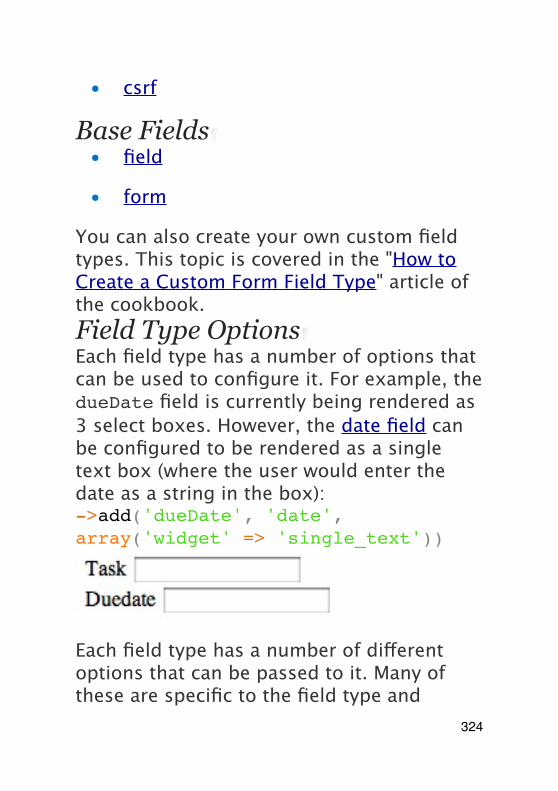
• csrf
Base Fields¶• field
• form
You can also create your own custom field types. This topic is covered in the "How to Create a Custom Form Field Type" article of the cookbook.Field Type Options¶Each field type has a number of options that can be used to configure it. For example, the dueDate field is currently being rendered as 3 select boxes. However, the date field can be configured to be rendered as a single text box (where the user would enter the date as a string in the box):->add('dueDate', 'date', array('widget' => 'single_text'))
Each field type has a number of different options that can be passed to it. Many of these are specific to the field type and
324
details can be found in the documentation for each type.
The required optionThe most common option is the required option, which can be applied to any field. By default, the required option is set to true, meaning that HTML5-ready browsers will apply client-side validation if the field is left blank. If you don't want this behavior, either set the required option on your field to false or disable HTML5 validation.Also note that setting the required option to true will not result in server-side validation to be applied. In other words, if a user submits a blank value for the field (either with an old browser or web service, for example), it will be accepted as a valid value unless you use Symfony's NotBlank or NotNull validation constraint.In other words, the required option is "nice", but true server-side validation should always be used.
Field Type Guessing
Now that you've added validation metadata to the Task class, Symfony already knows a
325
bit about your fields. If you allow it, Symfony can "guess" the type of your field and set it up for you. In this example, Symfony can guess from the validation rules that both the task field is a normal text field and the dueDate field is a date field:public function newAction(){ $task = new Task();
$form = $this->createFormBuilder($task) ->add('task') ->add('dueDate', null, array('widget' => 'single_text')) ->getForm();}The "guessing" is activated when you omit the second argument to the add() method (or if you pass null to it). If you pass an options array as the third argument (done for dueDate above), these options are applied to the guessed field.
If your form uses a specific validation group, the field type guesser will still consider all validation constraints when guessing your
326
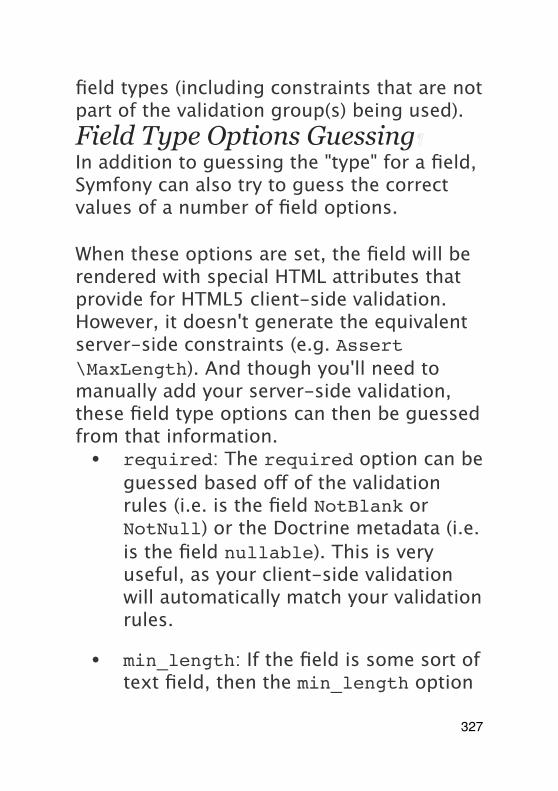
field types (including constraints that are not part of the validation group(s) being used).Field Type Options Guessing¶In addition to guessing the "type" for a field, Symfony can also try to guess the correct values of a number of field options.
When these options are set, the field will be rendered with special HTML attributes that provide for HTML5 client-side validation. However, it doesn't generate the equivalent server-side constraints (e.g. Assert\MaxLength). And though you'll need to manually add your server-side validation, these field type options can then be guessed from that information.• required: The required option can be
guessed based off of the validation rules (i.e. is the field NotBlank or NotNull) or the Doctrine metadata (i.e. is the field nullable). This is very useful, as your client-side validation will automatically match your validation rules.
• min_length: If the field is some sort of text field, then the min_length option
327
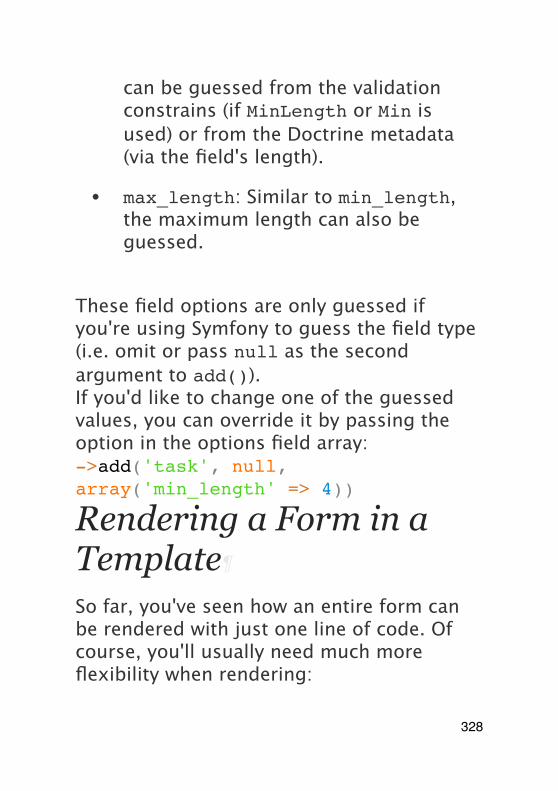
can be guessed from the validation constrains (if MinLength or Min is used) or from the Doctrine metadata (via the field's length).
• max_length: Similar to min_length, the maximum length can also be guessed.
These field options are only guessed if you're using Symfony to guess the field type (i.e. omit or pass null as the second argument to add()).If you'd like to change one of the guessed values, you can override it by passing the option in the options field array:->add('task', null, array('min_length' => 4))
Rendering a Form in a Template
So far, you've seen how an entire form can be rendered with just one line of code. Of course, you'll usually need much more flexibility when rendering:
328
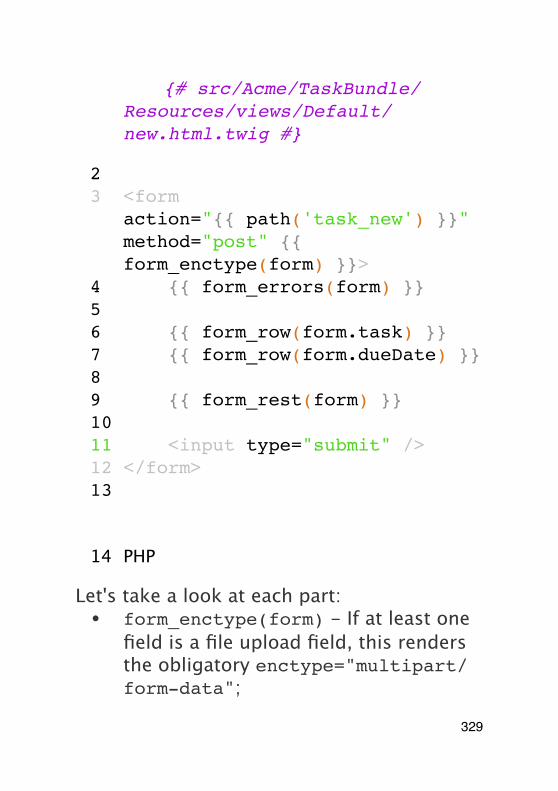
1 Twig{# src/Acme/TaskBundle/Resources/views/Default/new.html.twig #}
23 <form
action="{{ path('task_new') }}" method="post" {{ form_enctype(form) }}>
4 {{ form_errors(form) }}56 {{ form_row(form.task) }}7 {{ form_row(form.dueDate) }}89 {{ form_rest(form) }}1011 <input type="submit" />12 </form>13
14 PHP
Let's take a look at each part:• form_enctype(form) - If at least one
field is a file upload field, this renders the obligatory enctype="multipart/form-data";
329
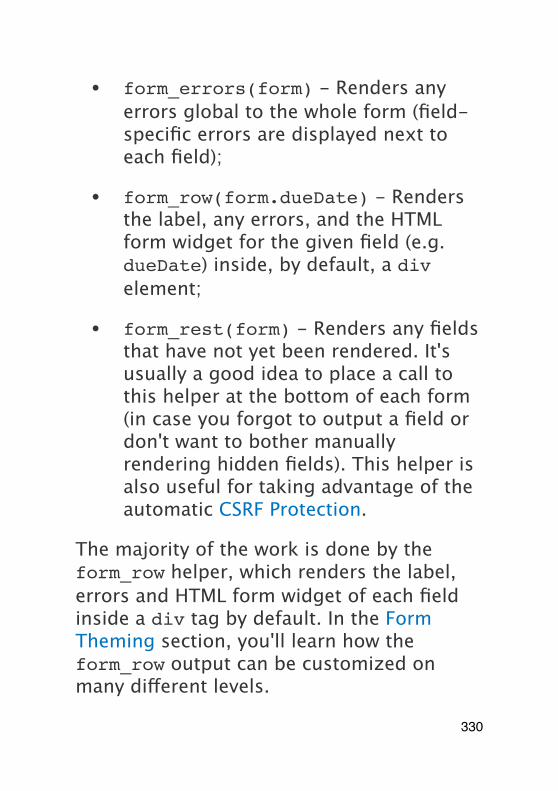
• form_errors(form) - Renders any errors global to the whole form (field-specific errors are displayed next to each field);
• form_row(form.dueDate) - Renders the label, any errors, and the HTML form widget for the given field (e.g. dueDate) inside, by default, a div element;
• form_rest(form) - Renders any fields that have not yet been rendered. It's usually a good idea to place a call to this helper at the bottom of each form (in case you forgot to output a field or don't want to bother manually rendering hidden fields). This helper is also useful for taking advantage of the automatic CSRF Protection.
The majority of the work is done by the form_row helper, which renders the label, errors and HTML form widget of each field inside a div tag by default. In the Form Theming section, you'll learn how the form_row output can be customized on many different levels.
330
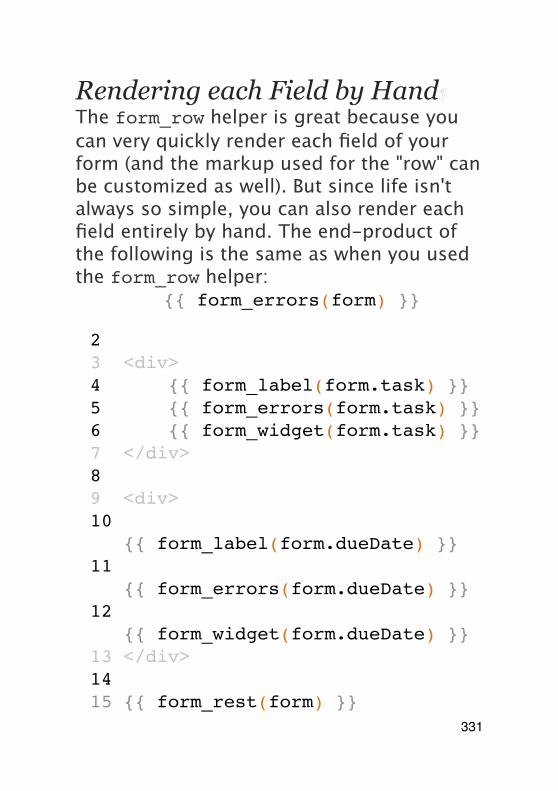
Rendering each Field by Hand¶The form_row helper is great because you can very quickly render each field of your form (and the markup used for the "row" can be customized as well). But since life isn't always so simple, you can also render each field entirely by hand. The end-product of the following is the same as when you used the form_row helper:
1 Twig{{ form_errors(form) }}
23 <div>4 {{ form_label(form.task) }}5 {{ form_errors(form.task) }}6 {{ form_widget(form.task) }}7 </div>89 <div>10
{{ form_label(form.dueDate) }}11
{{ form_errors(form.dueDate) }}12
{{ form_widget(form.dueDate) }}13 </div>1415 {{ form_rest(form) }}
331

16
17 PHP
If the auto-generated label for a field isn't quite right, you can explicitly specify it:
1 Twig{{ form_label(form.task, 'Task Description') }}
2
3 PHP
Finally, some field types have additional rendering options that can be passed to the widget. These options are documented with each type, but one common options is attr, which allows you to modify attributes on the form element. The following would add the task_field class to the rendered input text field:
1 Twig{{ form_widget(form.task, { 'attr': {'class': 'task_field'} }) }}
332
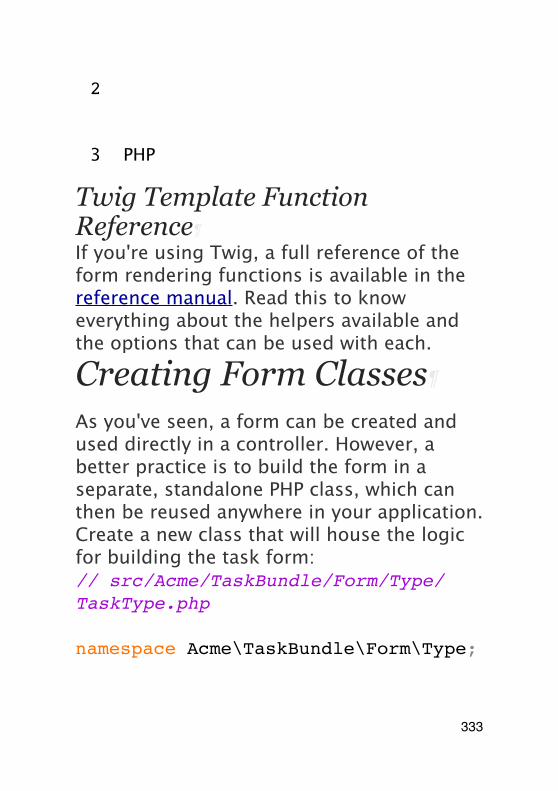
2
3 PHP
Twig Template Function Reference¶If you're using Twig, a full reference of the form rendering functions is available in the reference manual. Read this to know everything about the helpers available and the options that can be used with each.
Creating Form Classes
As you've seen, a form can be created and used directly in a controller. However, a better practice is to build the form in a separate, standalone PHP class, which can then be reused anywhere in your application. Create a new class that will house the logic for building the task form:// src/Acme/TaskBundle/Form/Type/TaskType.php
namespace Acme\TaskBundle\Form\Type;
333
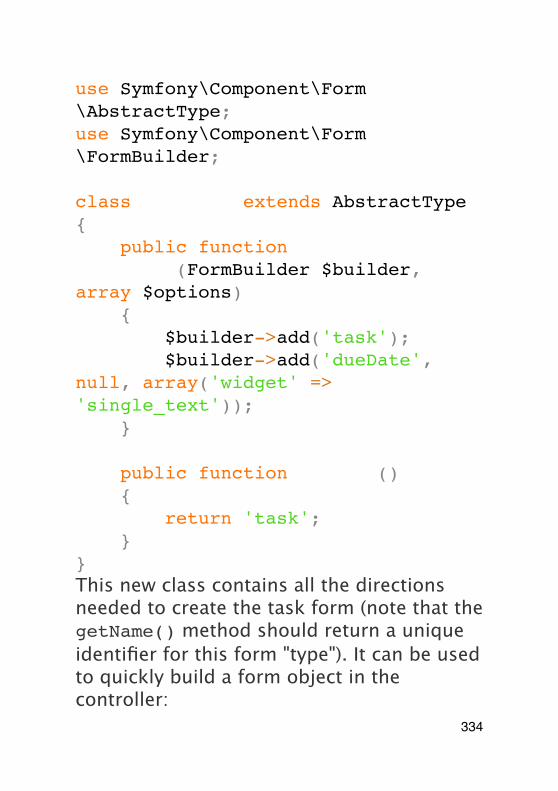
use Symfony\Component\Form\AbstractType;use Symfony\Component\Form\FormBuilder;
class TaskType extends AbstractType{ public function buildForm(FormBuilder $builder, array $options) { $builder->add('task'); $builder->add('dueDate', null, array('widget' => 'single_text')); }
public function getName() { return 'task'; }}This new class contains all the directions needed to create the task form (note that the getName() method should return a unique identifier for this form "type"). It can be used to quickly build a form object in the controller:
334
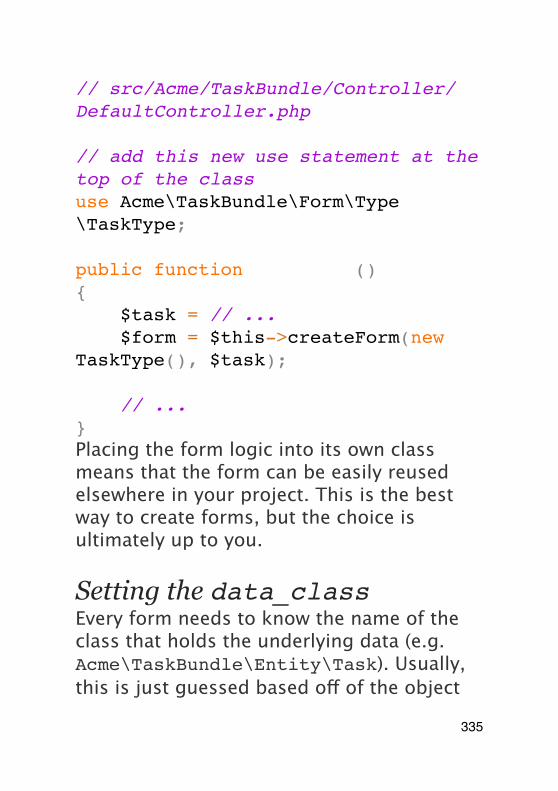
// src/Acme/TaskBundle/Controller/DefaultController.php
// add this new use statement at the top of the classuse Acme\TaskBundle\Form\Type\TaskType;
public function newAction(){ $task = // ... $form = $this->createForm(new TaskType(), $task);
// ...}Placing the form logic into its own class means that the form can be easily reused elsewhere in your project. This is the best way to create forms, but the choice is ultimately up to you.
Setting the data_classEvery form needs to know the name of the class that holds the underlying data (e.g. Acme\TaskBundle\Entity\Task). Usually, this is just guessed based off of the object
335

passed to the second argument to createForm (i.e. $task). Later, when you begin embedding forms, this will no longer be sufficient. So, while not always necessary, it's generally a good idea to explicitly specify the data_class option by add the following to your form type class:public function getDefaultOptions(array $options){ return array( 'data_class' => 'Acme\TaskBundle\Entity\Task', );}
Forms and Doctrine
The goal of a form is to translate data from an object (e.g. Task) to an HTML form and then translate user-submitted data back to the original object. As such, the topic of persisting the Task object to the database is entirely unrelated to the topic of forms. But, if you've configured the Task class to be persisted via Doctrine (i.e. you've added mapping metadata for it), then persisting it
336
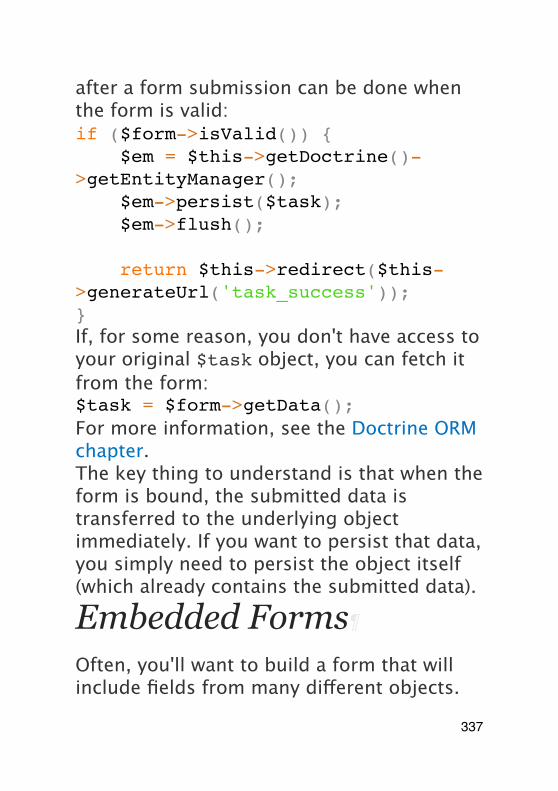
after a form submission can be done when the form is valid:if ($form->isValid()) { $em = $this->getDoctrine()->getEntityManager(); $em->persist($task); $em->flush();
return $this->redirect($this->generateUrl('task_success'));}If, for some reason, you don't have access to your original $task object, you can fetch it from the form:$task = $form->getData();For more information, see the Doctrine ORM chapter.The key thing to understand is that when the form is bound, the submitted data is transferred to the underlying object immediately. If you want to persist that data, you simply need to persist the object itself (which already contains the submitted data).
Embedded Forms
Often, you'll want to build a form that will include fields from many different objects.
337
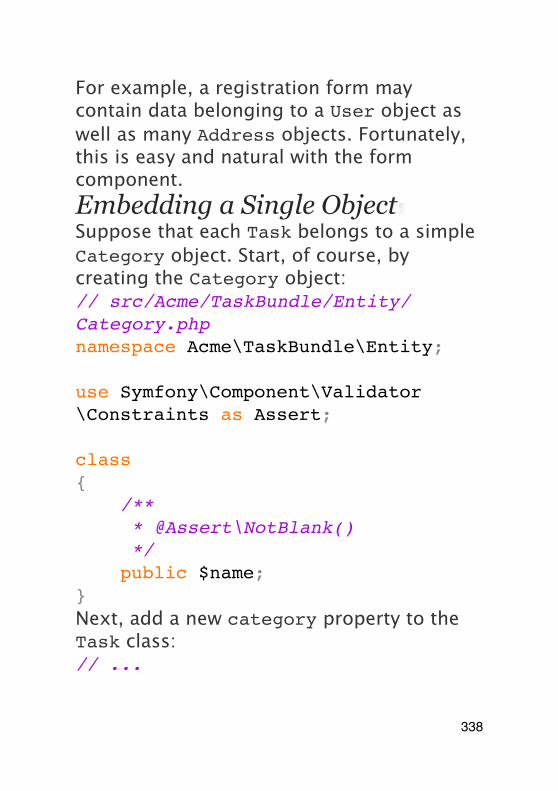
For example, a registration form may contain data belonging to a User object as well as many Address objects. Fortunately, this is easy and natural with the form component.Embedding a Single Object¶Suppose that each Task belongs to a simple Category object. Start, of course, by creating the Category object:// src/Acme/TaskBundle/Entity/Category.phpnamespace Acme\TaskBundle\Entity;
use Symfony\Component\Validator\Constraints as Assert;
class Category{ /** * @Assert\NotBlank() */ public $name;}Next, add a new category property to the Task class:// ...
338
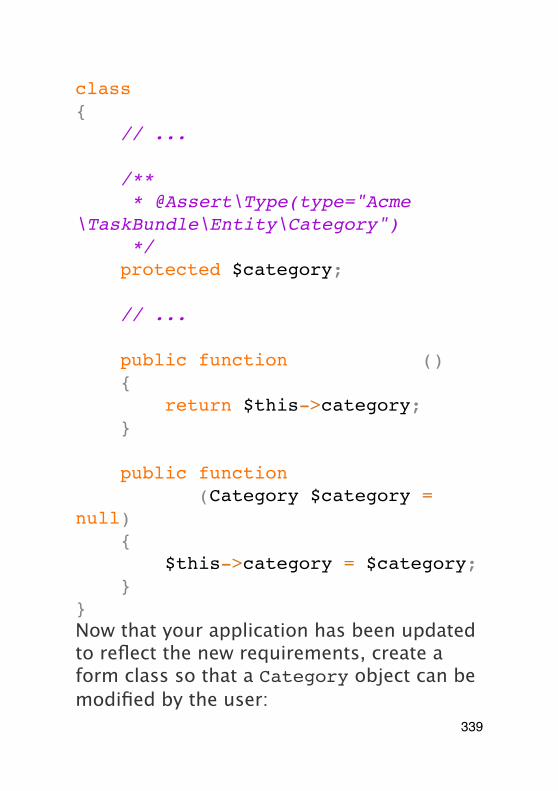
class Task{ // ...
/** * @Assert\Type(type="Acme\TaskBundle\Entity\Category") */ protected $category;
// ...
public function getCategory() { return $this->category; }
public function setCategory(Category $category = null) { $this->category = $category; }}Now that your application has been updated to reflect the new requirements, create a form class so that a Category object can be modified by the user:
339
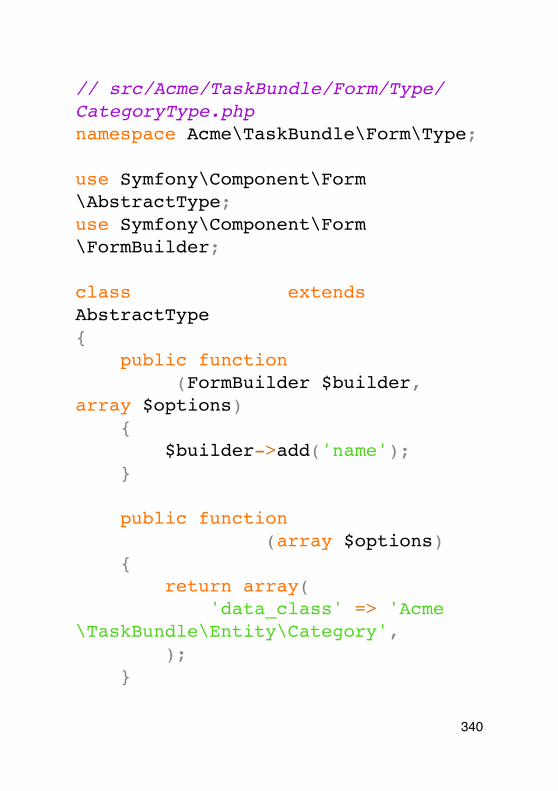
// src/Acme/TaskBundle/Form/Type/CategoryType.phpnamespace Acme\TaskBundle\Form\Type;
use Symfony\Component\Form\AbstractType;use Symfony\Component\Form\FormBuilder;
class CategoryType extends AbstractType{ public function buildForm(FormBuilder $builder, array $options) { $builder->add('name'); }
public function getDefaultOptions(array $options) { return array( 'data_class' => 'Acme\TaskBundle\Entity\Category', ); }
340
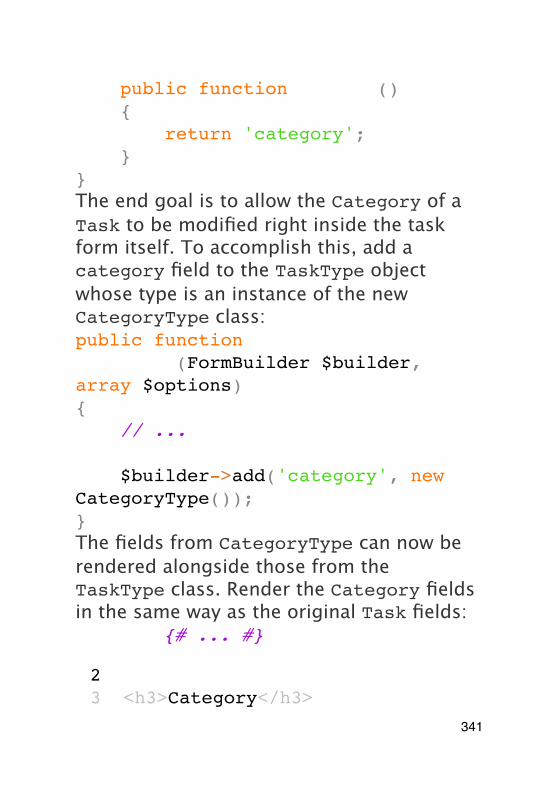
public function getName() { return 'category'; }}The end goal is to allow the Category of a Task to be modified right inside the task form itself. To accomplish this, add a category field to the TaskType object whose type is an instance of the new CategoryType class:public function buildForm(FormBuilder $builder, array $options){ // ...
$builder->add('category', new CategoryType());}The fields from CategoryType can now be rendered alongside those from the TaskType class. Render the Category fields in the same way as the original Task fields:
1 Twig{# ... #}
23 <h3>Category</h3>
341
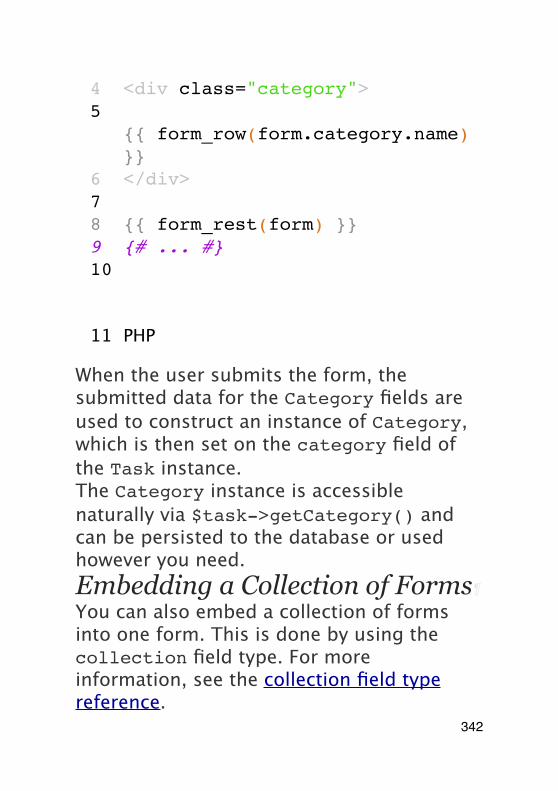
4 <div class="category">5
{{ form_row(form.category.name) }}
6 </div>78 {{ form_rest(form) }}9 {# ... #}10
11 PHP
When the user submits the form, the submitted data for the Category fields are used to construct an instance of Category, which is then set on the category field of the Task instance.The Category instance is accessible naturally via $task->getCategory() and can be persisted to the database or used however you need.Embedding a Collection of Forms¶You can also embed a collection of forms into one form. This is done by using the collection field type. For more information, see the collection field type reference.
342
Form Theming
Every part of how a form is rendered can be customized. You're free to change how each form "row" renders, change the markup used to render errors, or even customize how a textarea tag should be rendered. Nothing is off-limits, and different customizations can be used in different places.Symfony uses templates to render each and every part of a form, such as label tags, input tags, error messages and everything else.In Twig, each form "fragment" is represented by a Twig block. To customize any part of how a form renders, you just need to override the appropriate block.In PHP, each form "fragment" is rendered via an individual template file. To customize any part of how a form renders, you just need to override the existing template by creating a new one.To understand how this works, let's customize the form_row fragment and add a class attribute to the div element that surrounds each row. To do this, create a new template file that will store the new markup:
343
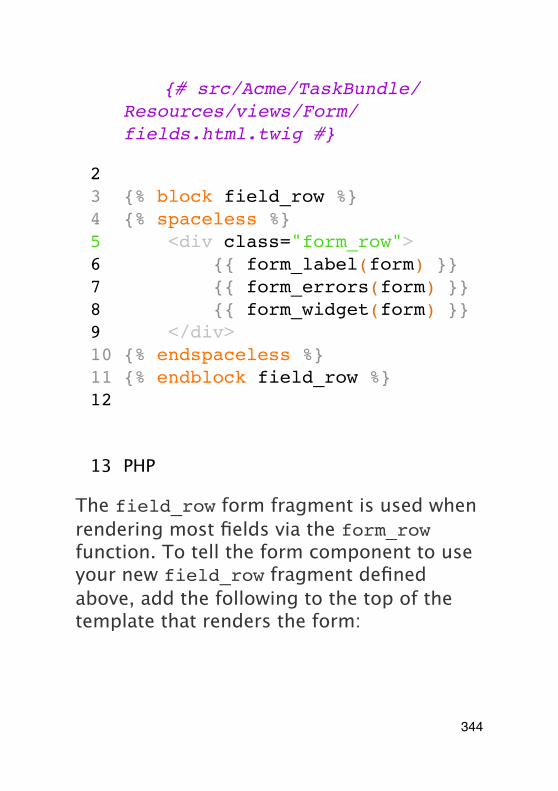
1 Twig{# src/Acme/TaskBundle/Resources/views/Form/fields.html.twig #}
23 {% block field_row %}4 {% spaceless %}5 <div class="form_row">6 {{ form_label(form) }}7 {{ form_errors(form) }}8 {{ form_widget(form) }}9 </div>10 {% endspaceless %}11 {% endblock field_row %}12
13 PHP
The field_row form fragment is used when rendering most fields via the form_row function. To tell the form component to use your new field_row fragment defined above, add the following to the top of the template that renders the form:
1 Twig{# src/Acme/TaskBundle/Resources/views/Default/new.html.twig #}
344
23 {% form_theme form
'AcmeTaskBundle:Form:fields.html.twig' %}
45 <form ...>
6 PHP
The form_theme tag (in Twig) "imports" the fragments defined in the given template and uses them when rendering the form. In other words, when the ``form_row` function is called later in this template, it will use the field_row block from your custom theme (instead of the default field_row block that ships with Symfony).To customize any portion of a form, you just need to override the appropriate fragment. Knowing exactly which block or file to override is the subject of the next section.For a more extensive discussion, see How to customize Form Rendering.Form Fragment Naming¶In Symfony, every part a form that is rendered - HTML form elements, errors, labels, etc - is defined in a base theme,
345
which is a collection of blocks in Twig and a collection of template files in PHP.In Twig, every block needed is defined in a single template file (form_div_layout.html.twig) that lives inside the Twig Bridge. Inside this file, you can see every block needed to render a form and every default field type.In PHP, the fragments are individual template files. By default they are located in the Resources/views/Form directory of the framework bundle (view on GitHub).Each fragment name follows the same basic pattern and is broken up into two pieces, separated by a single underscore character (_). A few examples are:• field_row - used by form_row to
render most fields;
• textarea_widget - used by form_widget to render a textarea field type;
• field_errors - used by form_errors to render errors for a field;
Each fragment follows the same basic pattern: type_part. The type portion
346
corresponds to the field type being rendered (e.g. textarea, checkbox, date, etc) whereas the part portion corresponds to what is being rendered (e.g. label, widget, errors, etc). By default, there are 4 possible parts of a form that can be rendered:label
(e.g. field_label)
renders the field's label
widget
(e.g. field_widget)
renders the field's HTML representation
errors
(e.g. field_errors)
renders the field's errors
row (e.g. field_row)
renders the field's entire row (label, widget & errors)
There are actually 3 other parts - rows, rest, and enctype - but you should rarely if ever need to worry about overriding them.By knowing the field type (e.g. textarea) and which part you want to customize (e.g. widget), you can construct the fragment
347
name that needs to be overridden (e.g. textarea_widget).Template Fragment Inheritance¶In some cases, the fragment you want to customize will appear to be missing. For example, there is no textarea_errors fragment in the default themes provided with Symfony. So how are the errors for a textarea field rendered?The answer is: via the field_errors fragment. When Symfony renders the errors for a textarea type, it looks first for a textarea_errors fragment before falling back to the field_errors fragment. Each field type has a parent type (the parent type of textarea is field), and Symfony uses the fragment for the parent type if the base fragment doesn't exist.So, to override the errors for only textarea fields, copy the field_errors fragment, rename it to textarea_errors and customize it. To override the default error rendering for all fields, copy and customize the field_errors fragment directly.
348
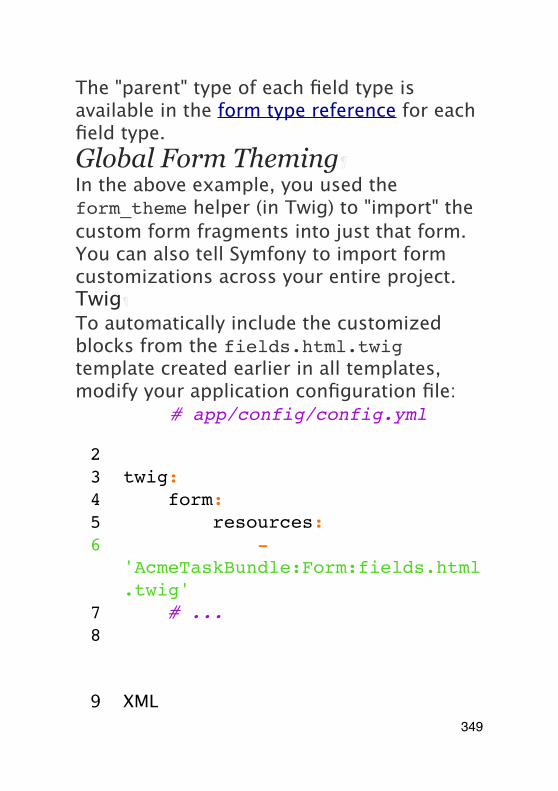
The "parent" type of each field type is available in the form type reference for each field type.Global Form Theming¶In the above example, you used the form_theme helper (in Twig) to "import" the custom form fragments into just that form. You can also tell Symfony to import form customizations across your entire project.Twig
To automatically include the customized blocks from the fields.html.twig template created earlier in all templates, modify your application configuration file:
1 YAML# app/config/config.yml
23 twig:4 form:5 resources:6 -
'AcmeTaskBundle:Form:fields.html.twig'
7 # ...8
9 XML349
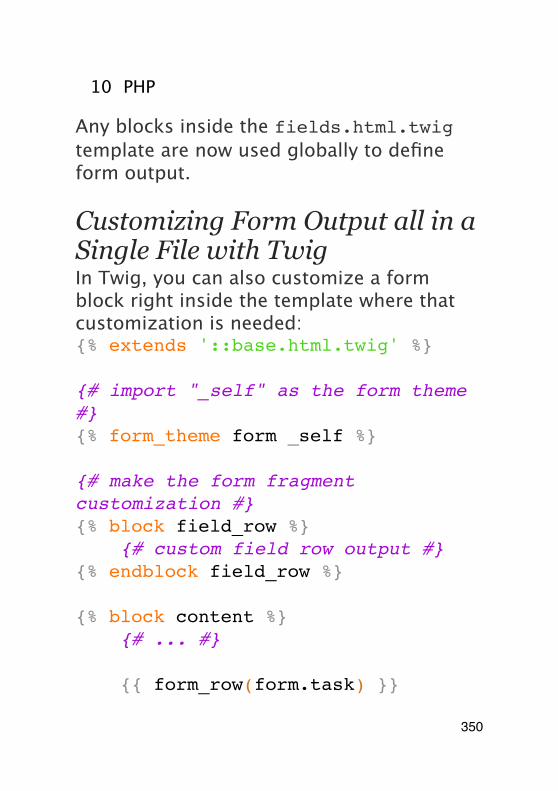
10 PHP
Any blocks inside the fields.html.twig template are now used globally to define form output.
Customizing Form Output all in a Single File with TwigIn Twig, you can also customize a form block right inside the template where that customization is needed:{% extends '::base.html.twig' %}
{# import "_self" as the form theme #}{% form_theme form _self %}
{# make the form fragment customization #}{% block field_row %} {# custom field row output #}{% endblock field_row %}
{% block content %} {# ... #}
{{ form_row(form.task) }}
350
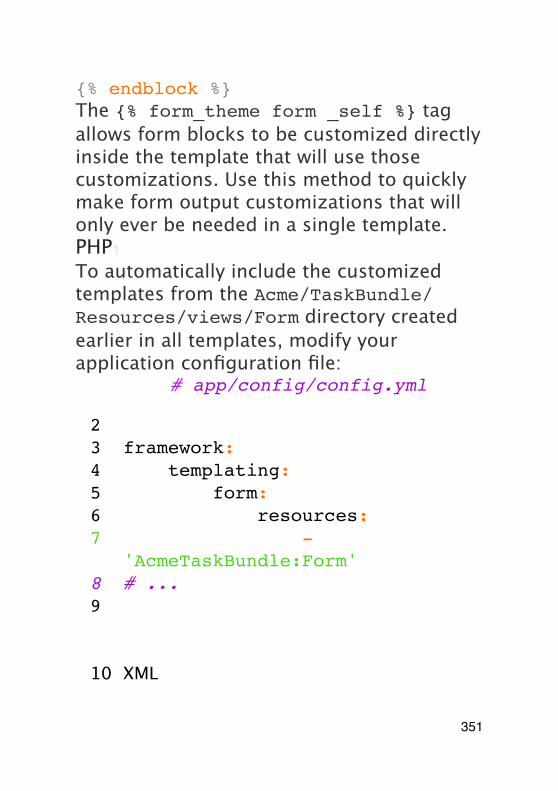
{% endblock %}The {% form_theme form _self %} tag allows form blocks to be customized directly inside the template that will use those customizations. Use this method to quickly make form output customizations that will only ever be needed in a single template.PHP
To automatically include the customized templates from the Acme/TaskBundle/Resources/views/Form directory created earlier in all templates, modify your application configuration file:
1 YAML# app/config/config.yml
23 framework:4 templating:5 form:6 resources:7 -
'AcmeTaskBundle:Form'8 # ...9
10 XML
351
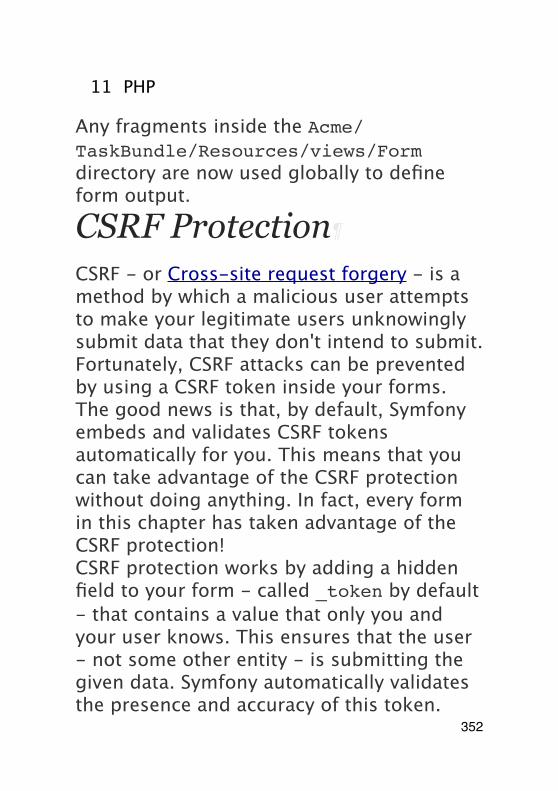
11 PHP
Any fragments inside the Acme/TaskBundle/Resources/views/Form directory are now used globally to define form output.
CSRF Protection
CSRF - or Cross-site request forgery - is a method by which a malicious user attempts to make your legitimate users unknowingly submit data that they don't intend to submit. Fortunately, CSRF attacks can be prevented by using a CSRF token inside your forms.The good news is that, by default, Symfony embeds and validates CSRF tokens automatically for you. This means that you can take advantage of the CSRF protection without doing anything. In fact, every form in this chapter has taken advantage of the CSRF protection!CSRF protection works by adding a hidden field to your form - called _token by default - that contains a value that only you and your user knows. This ensures that the user - not some other entity - is submitting the given data. Symfony automatically validates the presence and accuracy of this token.
352
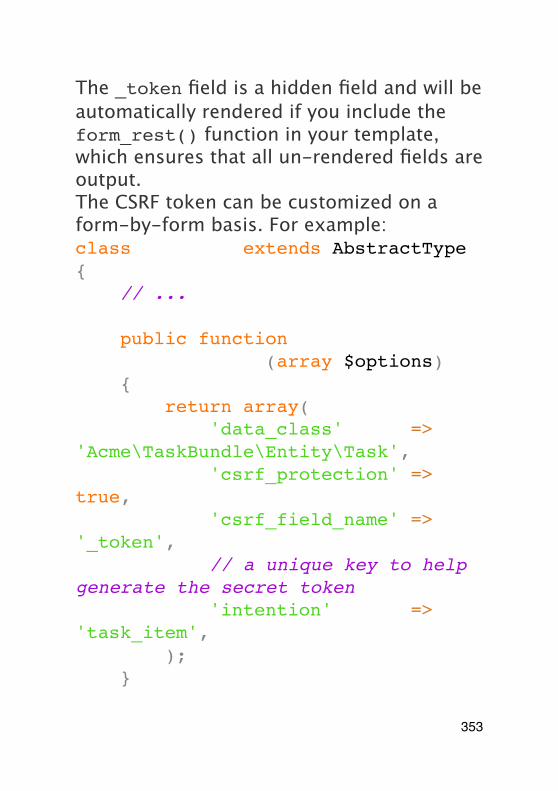
The _token field is a hidden field and will be automatically rendered if you include the form_rest() function in your template, which ensures that all un-rendered fields are output.The CSRF token can be customized on a form-by-form basis. For example:class TaskType extends AbstractType{ // ...
public function getDefaultOptions(array $options) { return array( 'data_class' => 'Acme\TaskBundle\Entity\Task', 'csrf_protection' => true, 'csrf_field_name' => '_token', // a unique key to help generate the secret token 'intention' => 'task_item', ); }
353
// ...}To disable CSRF protection, set the csrf_protection option to false. Customizations can also be made globally in your project. For more information, see the form configuration reference section.
The intention option is optional but greatly enhances the security of the generated token by making it different for each form.
Final Thoughts
You now know all of the building blocks necessary to build complex and functional forms for your application. When building forms, keep in mind that the first goal of a form is to translate data from an object (Task) to an HTML form so that the user can modify that data. The second goal of a form is to take the data submitted by the user and to re-apply it to the object.There's still much more to learn about the powerful world of forms, such as how to handle file uploads with Doctrine or how to create a form where a dynamic number of
354
sub-forms can be added (e.g. a todo list where you can keep adding more fields via Javascript before submitting). See the cookbook for these topics. Also, be sure to lean on the field type reference documentation, which includes examples of how to use each field type and its options.
Learn more from the Cookbook
• How to handle File Uploads with Doctrine
• File Field Reference
• Creating Custom Field Types
• How to customize Form Rendering
355
SecuritySecurity is a two-step process whose goal is to prevent a user from accessing a resource that he/she should not have access to.In the first step of the process, the security system identifies who the user is by requiring the user to submit some sort of identification. This is called authentication, and it means that the system is trying to find out who you are.Once the system knows who you are, the next step is to determine if you should have access to a given resource. This part of the process is called authorization, and it means that the system is checking to see if you have privileges to perform a certain action.
356
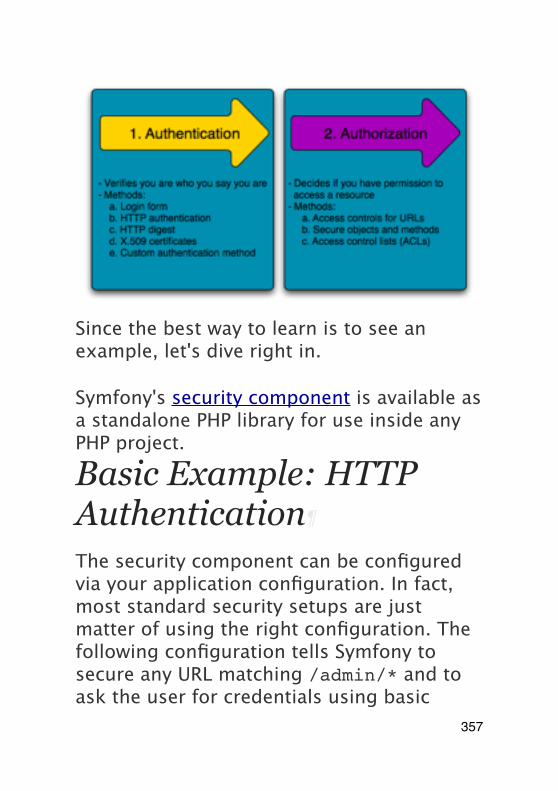
Since the best way to learn is to see an example, let's dive right in.
Symfony's security component is available as a standalone PHP library for use inside any PHP project.
Basic Example: HTTP Authentication
The security component can be configured via your application configuration. In fact, most standard security setups are just matter of using the right configuration. The following configuration tells Symfony to secure any URL matching /admin/* and to ask the user for credentials using basic
357
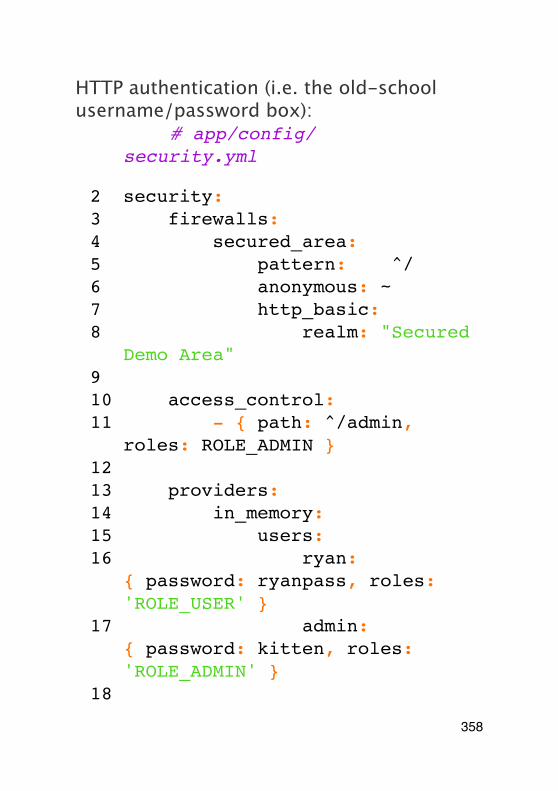
HTTP authentication (i.e. the old-school username/password box):
1 YAML# app/config/security.yml
2 security:3 firewalls:4 secured_area:5 pattern: ^/6 anonymous: ~7 http_basic:8 realm: "Secured
Demo Area"910 access_control:11 - { path: ^/admin,
roles: ROLE_ADMIN }1213 providers:14 in_memory:15 users:16 ryan:
{ password: ryanpass, roles: 'ROLE_USER' }
17 admin: { password: kitten, roles: 'ROLE_ADMIN' }
18
358
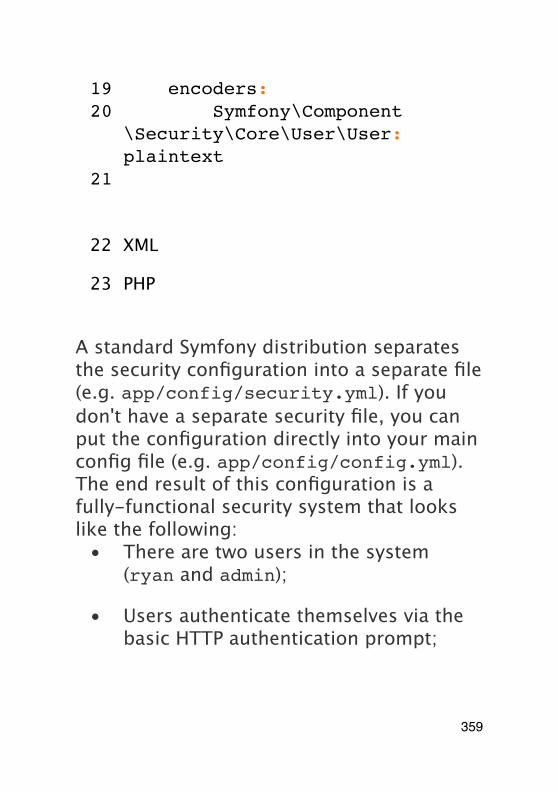
19 encoders:20 Symfony\Component
\Security\Core\User\User: plaintext
21
22 XML
23 PHP
A standard Symfony distribution separates the security configuration into a separate file (e.g. app/config/security.yml). If you don't have a separate security file, you can put the configuration directly into your main config file (e.g. app/config/config.yml).The end result of this configuration is a fully-functional security system that looks like the following:
• There are two users in the system (ryan and admin);
• Users authenticate themselves via the basic HTTP authentication prompt;
359
• Any URL matching /admin/* is secured, and only the admin user can access it;
• All URLs not matching /admin/* are accessible by all users (and the user is never prompted to login).
Let's look briefly at how security works and how each part of the configuration comes into play.
How Security Works: Authentication and Authorization
Symfony's security system works by determining who a user is (i.e. authentication) and then checking to see if that user should have access to a specific resource or URL.Firewalls (Authentication)¶When a user makes a request to a URL that's protected by a firewall, the security system is activated. The job of the firewall is to determine whether or not the user needs to be authenticated, and if he does, to send a
360
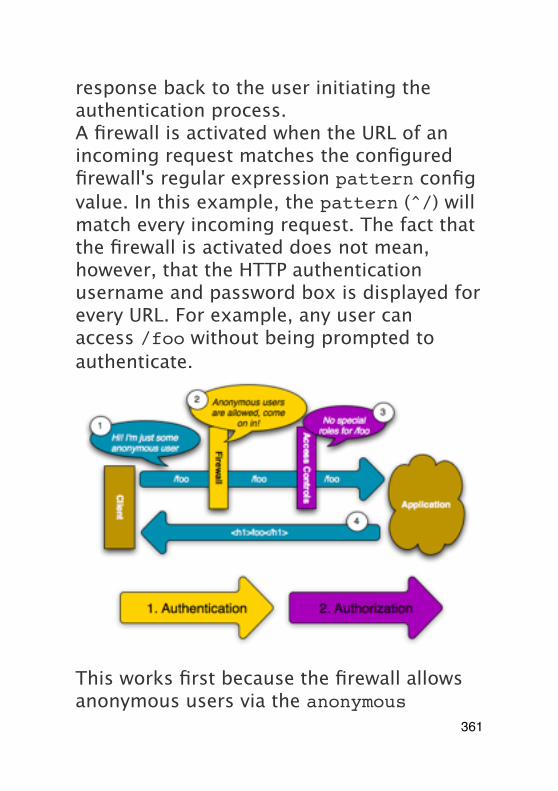
response back to the user initiating the authentication process.A firewall is activated when the URL of an incoming request matches the configured firewall's regular expression pattern config value. In this example, the pattern (^/) will match every incoming request. The fact that the firewall is activated does not mean, however, that the HTTP authentication username and password box is displayed for every URL. For example, any user can access /foo without being prompted to authenticate.
This works first because the firewall allows anonymous users via the anonymous
361
configuration parameter. In other words, the firewall doesn't require the user to fully authenticate immediately. And because no special role is needed to access /foo (under the access_control section), the request can be fulfilled without ever asking the user to authenticate.If you remove the anonymous key, the firewall will always make a user fully authenticate immediately.Access Controls (Authorization)¶If a user requests /admin/foo, however, the process behaves differently. This is because of the access_control configuration section that says that any URL matching the regular expression pattern ^/admin (i.e. /admin or anything matching /admin/*) requires the ROLE_ADMIN role. Roles are the basis for most authorization: a user can access /admin/foo only if it has the ROLE_ADMIN role.
362

Like before, when the user originally makes the request, the firewall doesn't ask for any identification. However, as soon as the access control layer denies the user access (because the anonymous user doesn't have the ROLE_ADMIN role), the firewall jumps into action and initiates the authentication process. The authentication process depends on the authentication mechanism you're using. For example, if you're using the form login authentication method, the user will be redirected to the login page. If you're using HTTP authentication, the user
363
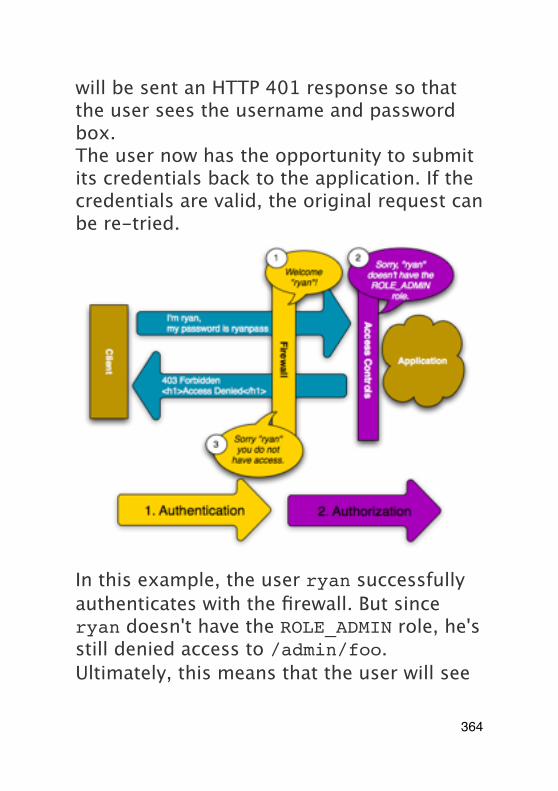
will be sent an HTTP 401 response so that the user sees the username and password box.The user now has the opportunity to submit its credentials back to the application. If the credentials are valid, the original request can be re-tried.
In this example, the user ryan successfully authenticates with the firewall. But since ryan doesn't have the ROLE_ADMIN role, he's still denied access to /admin/foo. Ultimately, this means that the user will see
364
some sort of message indicating that access has been denied.
When Symfony denies the user access, the user sees an error screen and receives a 403 HTTP status code (Forbidden). You can customize the access denied error screen by following the directions in the Error Pages cookbook entry to customize the 403 error page.Finally, if the admin user requests /admin/foo, a similar process takes place, except now, after being authenticated, the access control layer will let the request pass through:
365
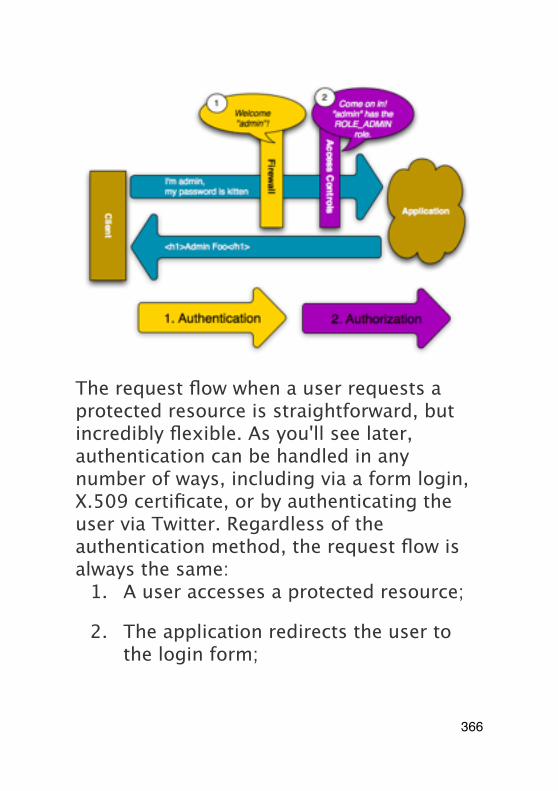
The request flow when a user requests a protected resource is straightforward, but incredibly flexible. As you'll see later, authentication can be handled in any number of ways, including via a form login, X.509 certificate, or by authenticating the user via Twitter. Regardless of the authentication method, the request flow is always the same:
1. A user accesses a protected resource;
2. The application redirects the user to the login form;
366
3. The user submits its credentials (e.g. username/password);
4. The firewall authenticates the user;
5. The authenticated user re-tries the original request.
The exact process actually depends a little bit on which authentication mechanism you're using. For example, when using form login, the user submits its credentials to one URL that processes the form (e.g. /login_check) and then is redirected back to the originally requested URL (e.g. /admin/foo). But with HTTP authentication, the user submits its credentials directly to the original URL (e.g. /admin/foo) and then the page is returned to the user in that same request (i.e. no redirect).These types of idiosyncrasies shouldn't cause you any problems, but they're good to keep in mind.
You'll also learn later how anything can be secured in Symfony2, including specific controllers, objects, or even PHP methods.
367
Using a Traditional Login Form
So far, you've seen how to blanket your application beneath a firewall and then protect access to certain areas with roles. By using HTTP Authentication, you can effortlessly tap into the native username/password box offered by all browsers. However, Symfony supports many authentication mechanisms out of the box. For details on all of them, see the Security Configuration Reference.In this section, you'll enhance this process by allowing the user to authenticate via a traditional HTML login form.First, enable form login under your firewall:
1 YAML# app/config/config.yml
2 security:3 firewalls:4 secured_area:5 pattern: ^/6 anonymous: ~7 form_login:8 login_path: /
login368
9 check_path: /login_check
10
11 XML
12 PHP
If you don't need to customize your login_path or check_path values (the values used here are the default values), you can shorten your configuration:
1 YAMLform_login: ~
2
3 XML
4 PHP
Now, when the security system initiates the authentication process, it will redirect the user to the login form (/login by default). Implementing this login form visually is your job. First, create two routes: one that will display the login form (i.e. /login) and one
369
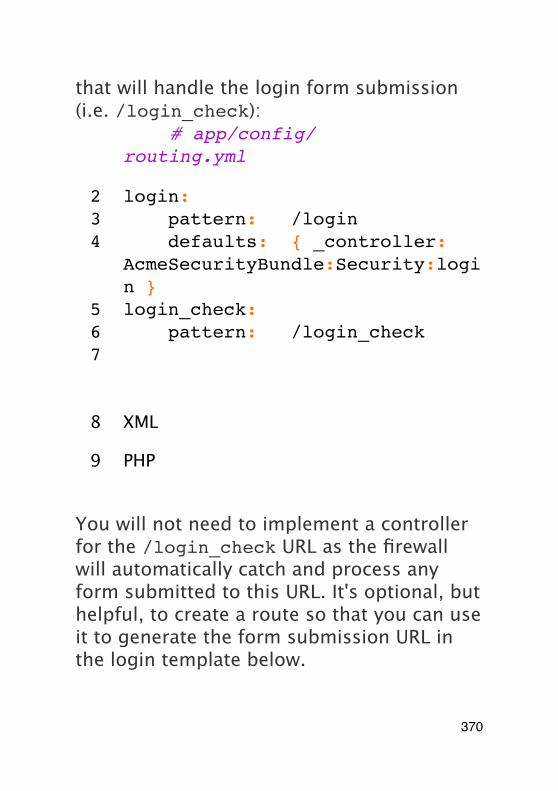
that will handle the login form submission (i.e. /login_check):
1 YAML# app/config/routing.yml
2 login:3 pattern: /login4 defaults: { _controller:
AcmeSecurityBundle:Security:login }
5 login_check:6 pattern: /login_check7
8 XML
9 PHP
You will not need to implement a controller for the /login_check URL as the firewall will automatically catch and process any form submitted to this URL. It's optional, but helpful, to create a route so that you can use it to generate the form submission URL in the login template below.
370
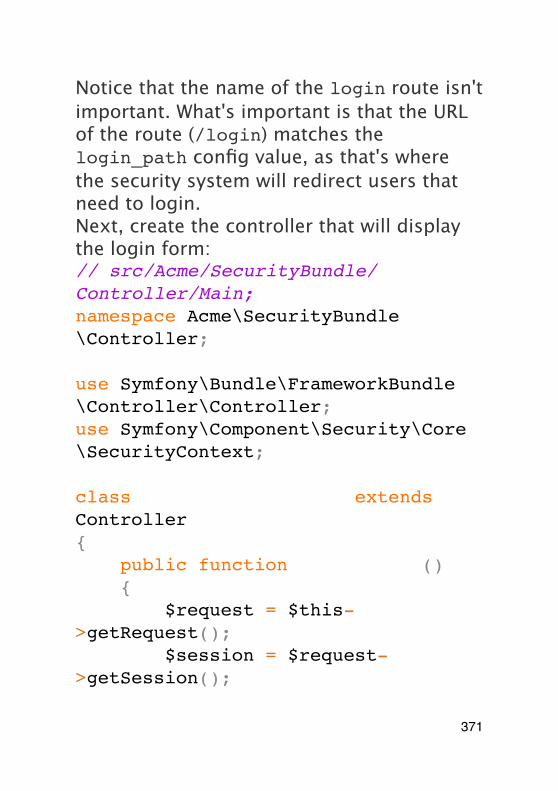
Notice that the name of the login route isn't important. What's important is that the URL of the route (/login) matches the login_path config value, as that's where the security system will redirect users that need to login.Next, create the controller that will display the login form:// src/Acme/SecurityBundle/Controller/Main;namespace Acme\SecurityBundle\Controller;
use Symfony\Bundle\FrameworkBundle\Controller\Controller;use Symfony\Component\Security\Core\SecurityContext;
class SecurityController extends Controller{ public function loginAction() { $request = $this->getRequest(); $session = $request->getSession();
371
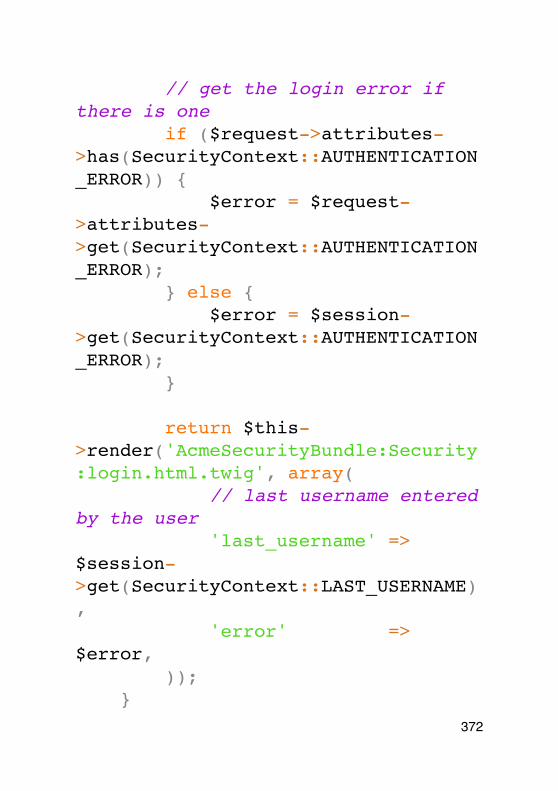
// get the login error if there is one if ($request->attributes->has(SecurityContext::AUTHENTICATION_ERROR)) { $error = $request->attributes->get(SecurityContext::AUTHENTICATION_ERROR); } else { $error = $session->get(SecurityContext::AUTHENTICATION_ERROR); }
return $this->render('AcmeSecurityBundle:Security:login.html.twig', array( // last username entered by the user 'last_username' => $session->get(SecurityContext::LAST_USERNAME), 'error' => $error, )); }
372
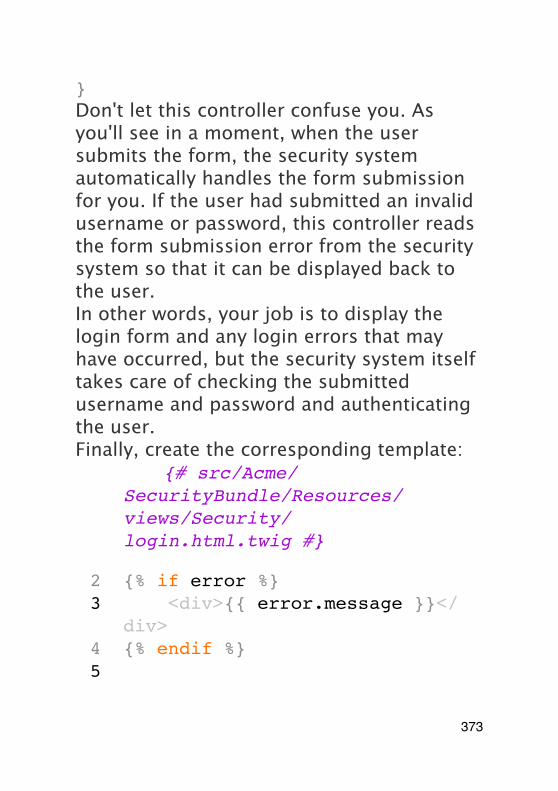
}Don't let this controller confuse you. As you'll see in a moment, when the user submits the form, the security system automatically handles the form submission for you. If the user had submitted an invalid username or password, this controller reads the form submission error from the security system so that it can be displayed back to the user.In other words, your job is to display the login form and any login errors that may have occurred, but the security system itself takes care of checking the submitted username and password and authenticating the user.Finally, create the corresponding template:
1 Twig{# src/Acme/SecurityBundle/Resources/views/Security/login.html.twig #}
2 {% if error %}3 <div>{{ error.message }}</
div>4 {% endif %}5
373
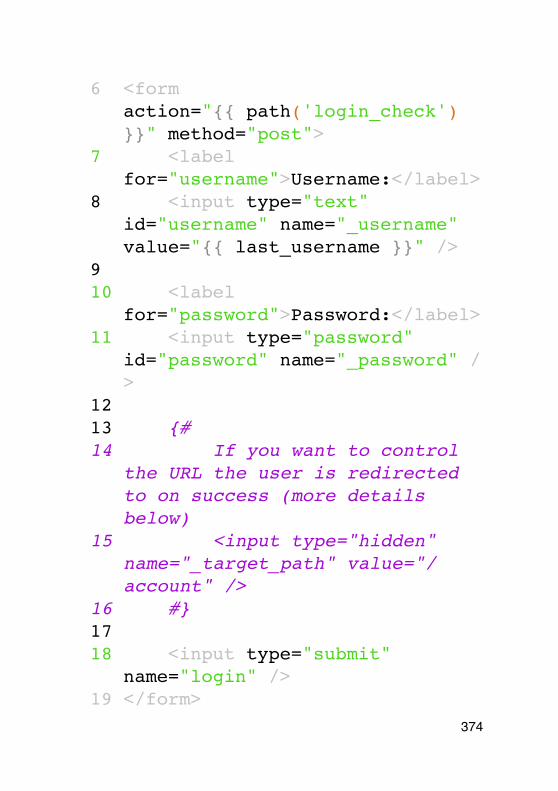
6 <form action="{{ path('login_check') }}" method="post">
7 <label for="username">Username:</label>
8 <input type="text" id="username" name="_username" value="{{ last_username }}" />
910 <label
for="password">Password:</label>11 <input type="password"
id="password" name="_password" />
1213 {#14 If you want to control
the URL the user is redirected to on success (more details below)
15 <input type="hidden" name="_target_path" value="/account" />
16 #}1718 <input type="submit"
name="login" />19 </form>
374
20
21 PHP
The error variable passed into the template is an instance of AuthenticationException. It may contain more information - or even sensitive information - about the authentication failure, so use it wisely!The form has very few requirements. First, by submitting the form to /login_check (via the login_check route), the security system will intercept the form submission and process the form for you automatically. Second, the security system expects the submitted fields to be called _username and _password (these field names can be configured).And that's it! When you submit the form, the security system will automatically check the user's credentials and either authenticate the user or send the user back to the login form where the error can be displayed.Let's review the whole process:
375
1. The user tries to access a resource that is protected;
2. The firewall initiates the authentication process by redirecting the user to the login form (/login);
3. The /login page renders login form via the route and controller created in this example;
4. The user submits the login form to /login_check;
5. The security system intercepts the request, checks the user's submitted credentials, authenticates the user if they are correct, and sends the user back to the login form if they are not.
By default, if the submitted credentials are correct, the user will be redirected to the original page that was requested (e.g. /admin/foo). If the user originally went straight to the login page, he'll be redirected to the homepage. This can be highly customized, allowing you to, for example, redirect the user to a specific URL.
376
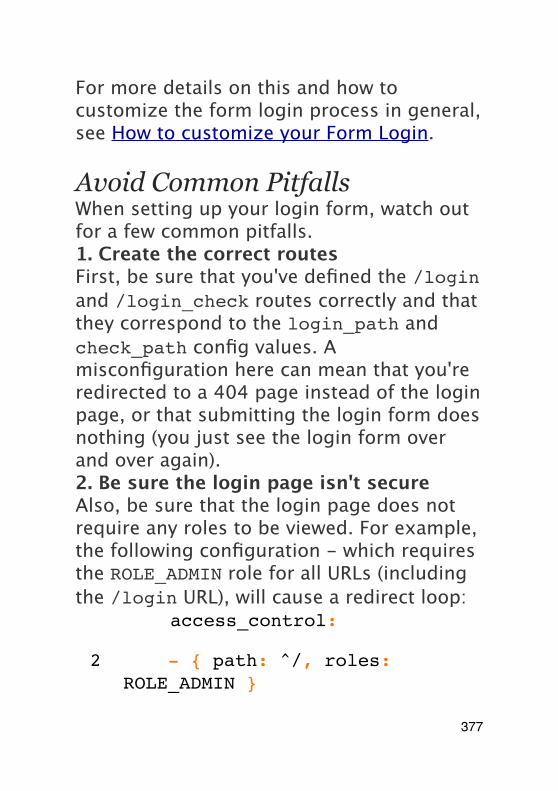
For more details on this and how to customize the form login process in general, see How to customize your Form Login.
Avoid Common PitfallsWhen setting up your login form, watch out for a few common pitfalls.1. Create the correct routesFirst, be sure that you've defined the /login and /login_check routes correctly and that they correspond to the login_path and check_path config values. A misconfiguration here can mean that you're redirected to a 404 page instead of the login page, or that submitting the login form does nothing (you just see the login form over and over again).2. Be sure the login page isn't secureAlso, be sure that the login page does not require any roles to be viewed. For example, the following configuration - which requires the ROLE_ADMIN role for all URLs (including the /login URL), will cause a redirect loop:
1 YAMLaccess_control:
2 - { path: ^/, roles: ROLE_ADMIN }
377
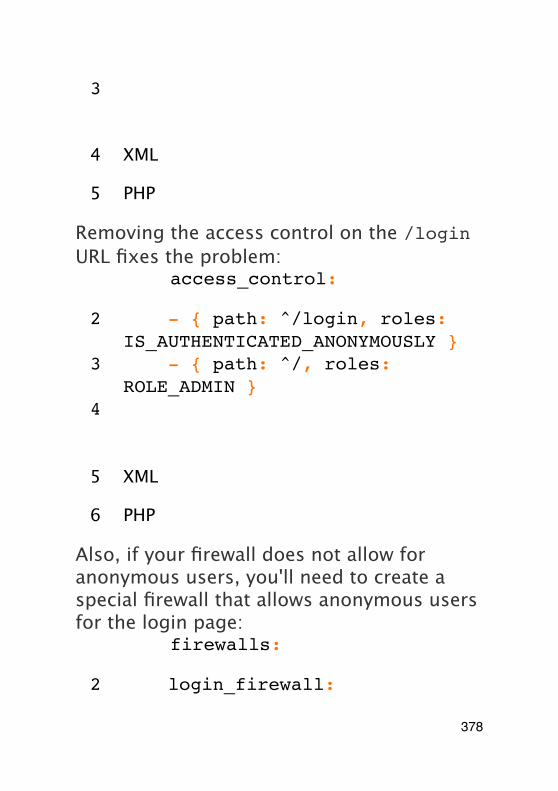
3
4 XML
5 PHP
Removing the access control on the /login URL fixes the problem:
1 YAMLaccess_control:
2 - { path: ^/login, roles: IS_AUTHENTICATED_ANONYMOUSLY }
3 - { path: ^/, roles: ROLE_ADMIN }
4
5 XML
6 PHP
Also, if your firewall does not allow for anonymous users, you'll need to create a special firewall that allows anonymous users for the login page:
1 YAMLfirewalls:
2 login_firewall:
378
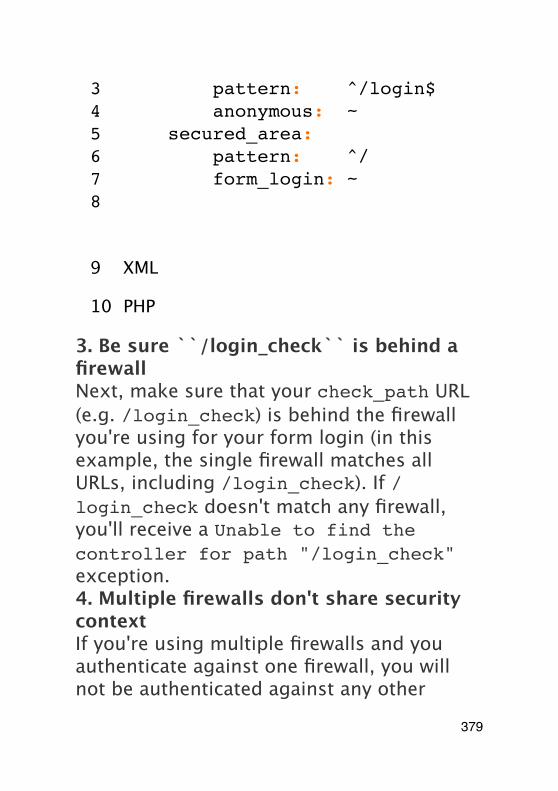
3 pattern: ^/login$4 anonymous: ~5 secured_area:6 pattern: ^/7 form_login: ~8
9 XML
10 PHP
3. Be sure ``/login_check`` is behind a firewallNext, make sure that your check_path URL (e.g. /login_check) is behind the firewall you're using for your form login (in this example, the single firewall matches all URLs, including /login_check). If /login_check doesn't match any firewall, you'll receive a Unable to find the controller for path "/login_check" exception.4. Multiple firewalls don't share security contextIf you're using multiple firewalls and you authenticate against one firewall, you will not be authenticated against any other
379
firewalls automatically. Different firewalls are like different security systems. That's why, for most applications, having one main firewall is enough.
Authorization
The first step in security is always authentication: the process of verifying who the user is. With Symfony, authentication can be done in any way - via a form login, basic HTTP Authentication, or even via Facebook.Once the user has been authenticated, authorization begins. Authorization provides a standard and powerful way to decide if a user can access any resource (a URL, a model object, a method call, ...). This works by assigning specific roles to each user, and then requiring different roles for different resources.The process of authorization has two different sides:
1. The user has a specific set of roles;
2. A resource requires a specific role in order to be accessed.
In this section, you'll focus on how to secure different resources (e.g. URLs, method calls,
380
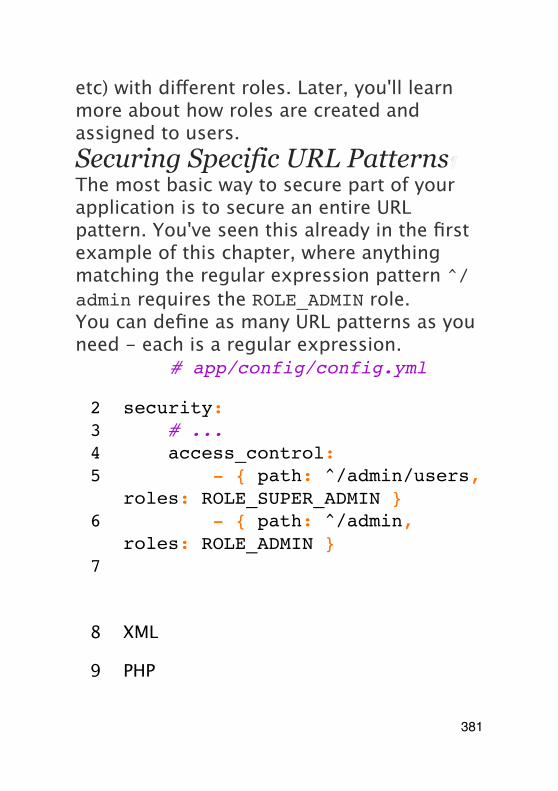
etc) with different roles. Later, you'll learn more about how roles are created and assigned to users.Securing Specific URL Patterns¶The most basic way to secure part of your application is to secure an entire URL pattern. You've seen this already in the first example of this chapter, where anything matching the regular expression pattern ^/admin requires the ROLE_ADMIN role.You can define as many URL patterns as you need - each is a regular expression.
1 YAML# app/config/config.yml
2 security:3 # ...4 access_control:5 - { path: ^/admin/users,
roles: ROLE_SUPER_ADMIN }6 - { path: ^/admin,
roles: ROLE_ADMIN }7
8 XML
9 PHP
381
Prepending the path with ^ ensures that only URLs beginning with the pattern are matched. For example, a path of simply /admin (without the ^) would correctly match /admin/foo but would also match URLs like /foo/admin.For each incoming request, Symfony2 tries to find a matching access control rule (the first one wins). If the user isn't authenticated yet, the authentication process is initiated (i.e. the user is given a chance to login). However, if the user is authenticated but doesn't have the required role, an AccessDeniedException exception is thrown, which you can handle and turn into a nice "access denied" error page for the user. See How to customize Error Pages for more information.Since Symfony uses the first access control rule it matches, a URL like /admin/users/new will match the first rule and require only the ROLE_SUPER_ADMIN role. Any URL like /admin/blog will match the second rule and require ROLE_ADMIN.You can also force HTTP or HTTPS via an access_control entry. For more
382
information, see How to force HTTPS or HTTP for Different URLs.Securing a Controller¶Protecting your application based on URL patterns is easy, but may not be fine-grained enough in certain cases. When necessary, you can easily force authorization from inside a controller:use Symfony\Component\Security\Core\Exception\AccessDeniedException// ...
public function helloAction($name){ if (false === $this->get('security.context')->isGranted('ROLE_ADMIN')) { throw new AccessDeniedException(); }
// ...}You can also choose to install and use the optional JMSSecurityExtraBundle, which can secure your controller using annotations:
383
use JMS\SecurityExtraBundle\Annotation\Secure;
/** * @Secure(roles="ROLE_ADMIN") */public function helloAction($name){ // ...}For more information, see the JMSSecurityExtraBundle documentation. If you're using Symfony's Standard Distribution, this bundle is available by default. If not, you can easily download and install it.Securing other Services¶In fact, anything in Symfony can be protected using a strategy similar to the one seen in the previous section. For example, suppose you have a service (i.e. a PHP class) whose job is to send emails from one user to another. You can restrict use of this class - no matter where it's being used from - to users that have a specific role.For more information on how you can use the security component to secure different services and methods in your application,
384
see How to secure any Service or Method in your Application.Access Control Lists (ACLs): Securing Individual Database Objects¶Imagine you are designing a blog system where your users can comment on your posts. Now, you want a user to be able to edit his own comments, but not those of other users. Also, as the admin user, you yourself want to be able to edit all comments.The security component comes with an optional access control list (ACL) system that you can use when you need to control access to individual instances of an object in your system. Without ACL, you can secure your system so that only certain users can edit blog comments in general. But with ACL, you can restrict or allow access on a comment-by-comment basis.For more information, see the cookbook article: Access Control Lists (ACLs).
Users
385
In the previous sections, you learned how you can protect different resources by requiring a set of roles for a resource. In this section we'll explore the other side of authorization: users.Where do Users come from? (User Providers)¶During authentication, the user submits a set of credentials (usually a username and password). The job of the authentication system is to match those credentials against some pool of users. So where does this list of users come from?In Symfony2, users can come from anywhere - a configuration file, a database table, a web service, or anything else you can dream up. Anything that provides one or more users to the authentication system is known as a "user provider". Symfony2 comes standard with the two most common user providers: one that loads users from a configuration file and one that loads users from a database table.Specifying Users in a Configuration File
The easiest way to specify your users is directly in a configuration file. In fact, you've
386
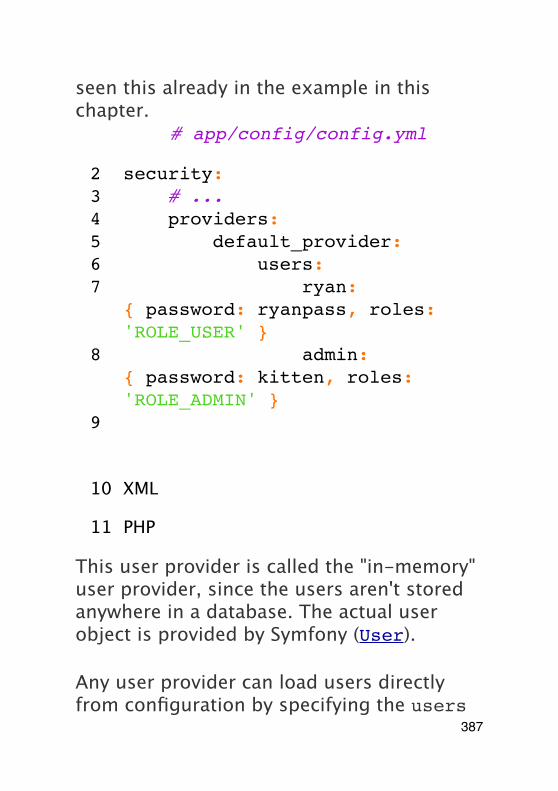
seen this already in the example in this chapter.
1 YAML# app/config/config.yml
2 security:3 # ...4 providers:5 default_provider:6 users:7 ryan:
{ password: ryanpass, roles: 'ROLE_USER' }
8 admin: { password: kitten, roles: 'ROLE_ADMIN' }
9
10 XML
11 PHP
This user provider is called the "in-memory" user provider, since the users aren't stored anywhere in a database. The actual user object is provided by Symfony (User).
Any user provider can load users directly from configuration by specifying the users
387
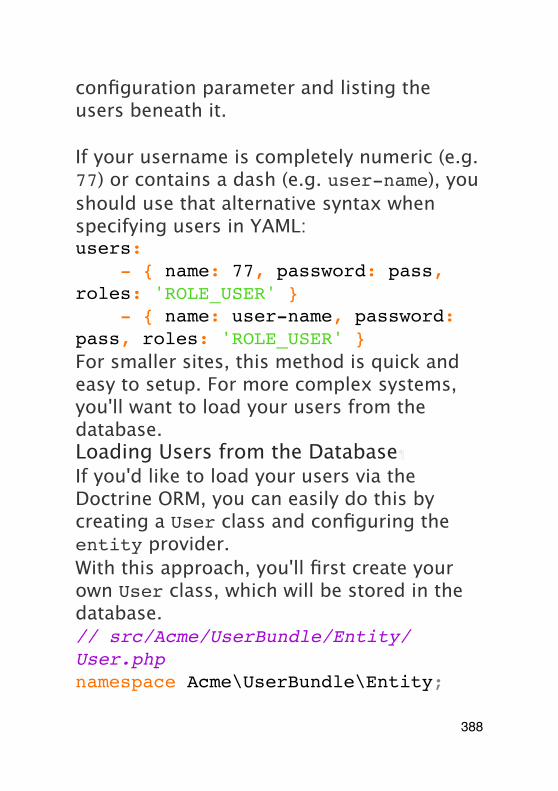
configuration parameter and listing the users beneath it.
If your username is completely numeric (e.g. 77) or contains a dash (e.g. user-name), you should use that alternative syntax when specifying users in YAML:users: - { name: 77, password: pass, roles: 'ROLE_USER' } - { name: user-name, password: pass, roles: 'ROLE_USER' }For smaller sites, this method is quick and easy to setup. For more complex systems, you'll want to load your users from the database.Loading Users from the Database
If you'd like to load your users via the Doctrine ORM, you can easily do this by creating a User class and configuring the entity provider.With this approach, you'll first create your own User class, which will be stored in the database.// src/Acme/UserBundle/Entity/User.phpnamespace Acme\UserBundle\Entity;
388
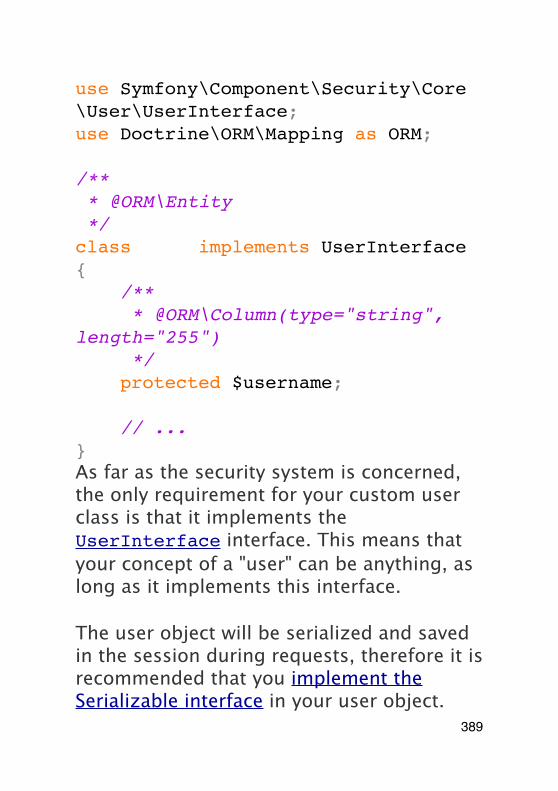
use Symfony\Component\Security\Core\User\UserInterface;use Doctrine\ORM\Mapping as ORM;
/** * @ORM\Entity */class User implements UserInterface{ /** * @ORM\Column(type="string", length="255") */ protected $username;
// ...}As far as the security system is concerned, the only requirement for your custom user class is that it implements the UserInterface interface. This means that your concept of a "user" can be anything, as long as it implements this interface.
The user object will be serialized and saved in the session during requests, therefore it is recommended that you implement the Serializable interface in your user object.
389
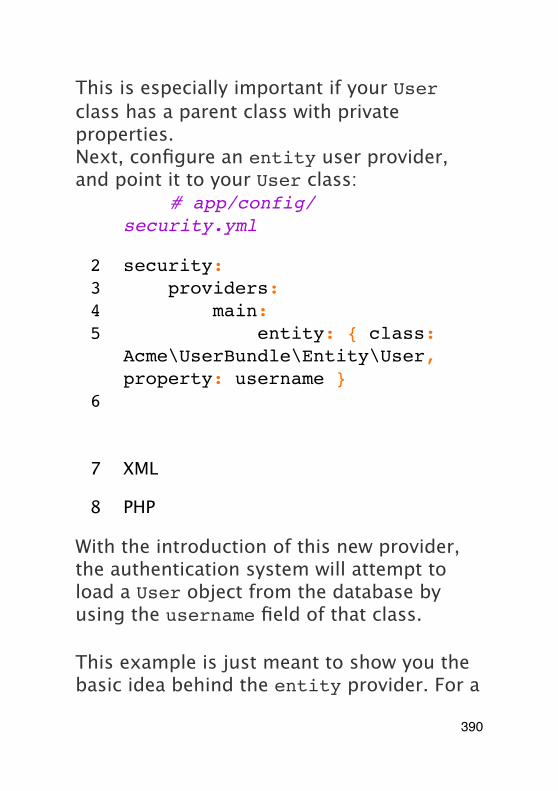
This is especially important if your User class has a parent class with private properties.Next, configure an entity user provider, and point it to your User class:
1 YAML# app/config/security.yml
2 security:3 providers:4 main:5 entity: { class:
Acme\UserBundle\Entity\User, property: username }
6
7 XML
8 PHP
With the introduction of this new provider, the authentication system will attempt to load a User object from the database by using the username field of that class.
This example is just meant to show you the basic idea behind the entity provider. For a
390
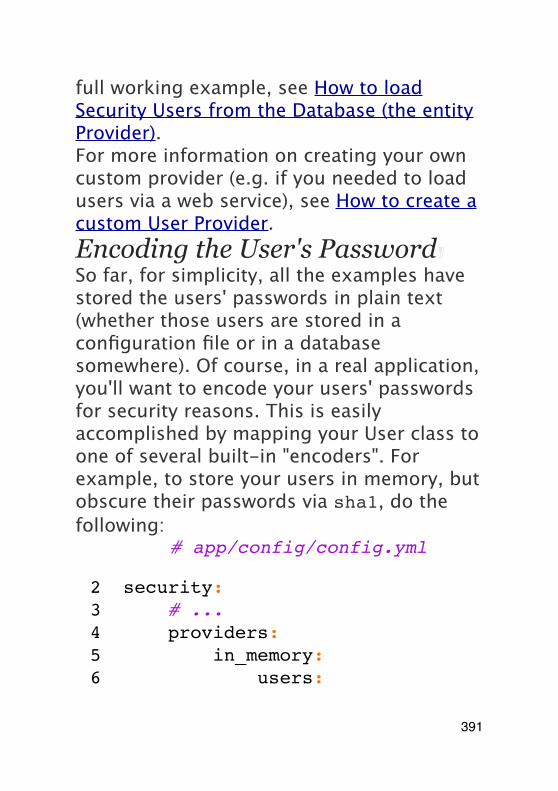
full working example, see How to load Security Users from the Database (the entity Provider).For more information on creating your own custom provider (e.g. if you needed to load users via a web service), see How to create a custom User Provider.Encoding the User's Password¶So far, for simplicity, all the examples have stored the users' passwords in plain text (whether those users are stored in a configuration file or in a database somewhere). Of course, in a real application, you'll want to encode your users' passwords for security reasons. This is easily accomplished by mapping your User class to one of several built-in "encoders". For example, to store your users in memory, but obscure their passwords via sha1, do the following:
1 YAML# app/config/config.yml
2 security:3 # ...4 providers:5 in_memory:6 users:
391
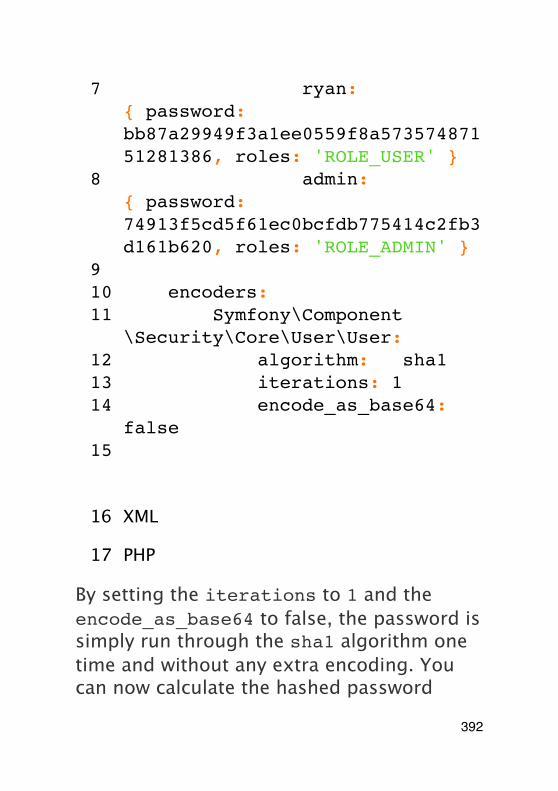
7 ryan: { password: bb87a29949f3a1ee0559f8a57357487151281386, roles: 'ROLE_USER' }
8 admin: { password: 74913f5cd5f61ec0bcfdb775414c2fb3d161b620, roles: 'ROLE_ADMIN' }
910 encoders:11 Symfony\Component
\Security\Core\User\User:12 algorithm: sha113 iterations: 114 encode_as_base64:
false15
16 XML
17 PHP
By setting the iterations to 1 and the encode_as_base64 to false, the password is simply run through the sha1 algorithm one time and without any extra encoding. You can now calculate the hashed password
392
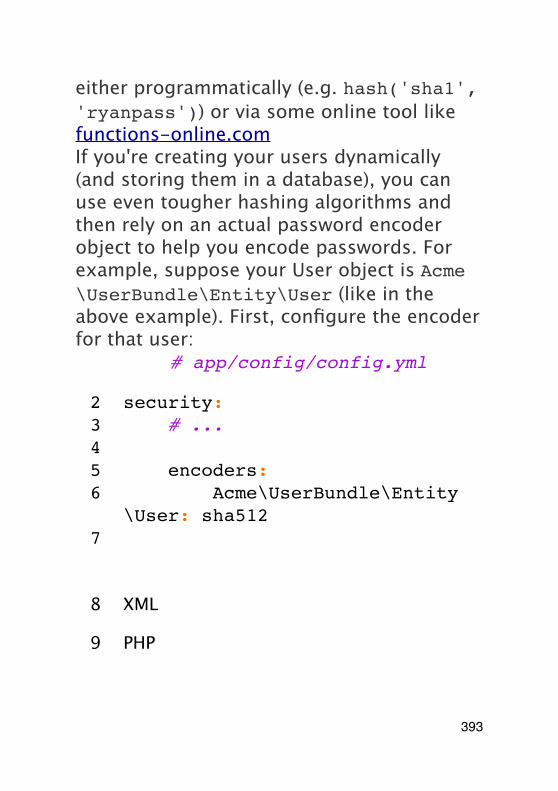
either programmatically (e.g. hash('sha1', 'ryanpass')) or via some online tool like functions-online.comIf you're creating your users dynamically (and storing them in a database), you can use even tougher hashing algorithms and then rely on an actual password encoder object to help you encode passwords. For example, suppose your User object is Acme\UserBundle\Entity\User (like in the above example). First, configure the encoder for that user:
1 YAML# app/config/config.yml
2 security:3 # ...45 encoders:6 Acme\UserBundle\Entity
\User: sha5127
8 XML
9 PHP
393
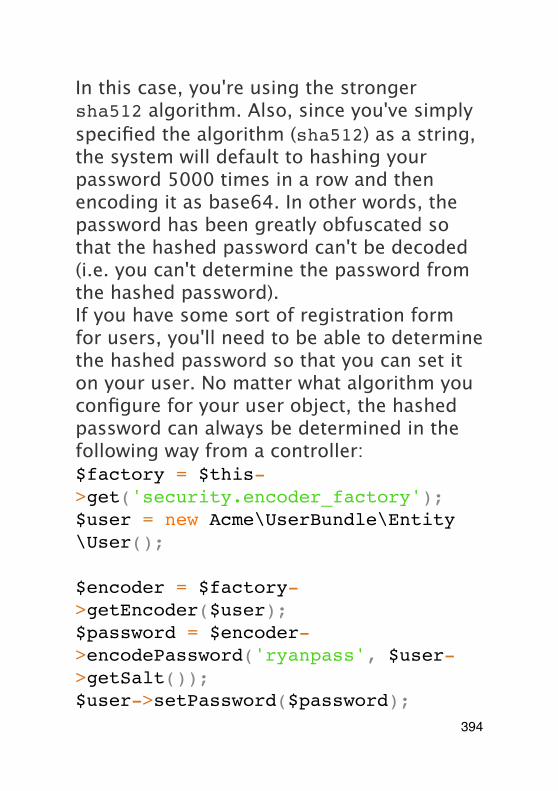
In this case, you're using the stronger sha512 algorithm. Also, since you've simply specified the algorithm (sha512) as a string, the system will default to hashing your password 5000 times in a row and then encoding it as base64. In other words, the password has been greatly obfuscated so that the hashed password can't be decoded (i.e. you can't determine the password from the hashed password).If you have some sort of registration form for users, you'll need to be able to determine the hashed password so that you can set it on your user. No matter what algorithm you configure for your user object, the hashed password can always be determined in the following way from a controller:$factory = $this->get('security.encoder_factory');$user = new Acme\UserBundle\Entity\User();
$encoder = $factory->getEncoder($user);$password = $encoder->encodePassword('ryanpass', $user->getSalt());$user->setPassword($password);
394
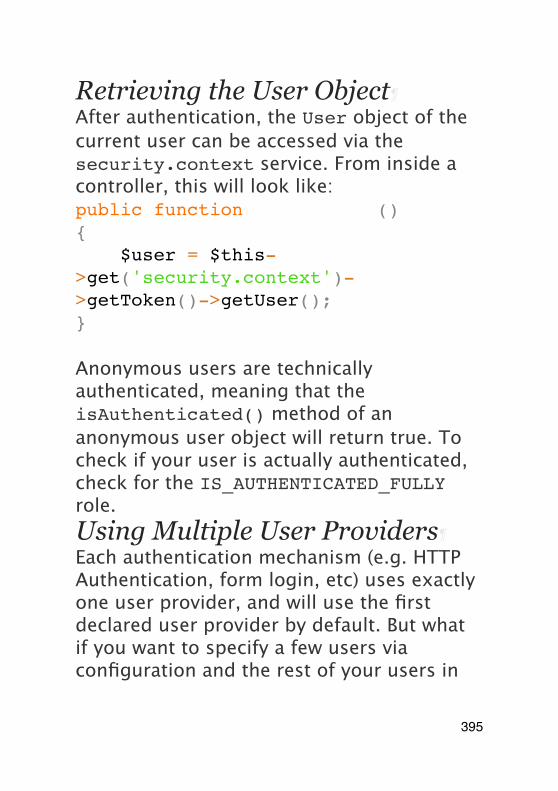
Retrieving the User Object¶After authentication, the User object of the current user can be accessed via the security.context service. From inside a controller, this will look like:public function indexAction(){ $user = $this->get('security.context')->getToken()->getUser();}
Anonymous users are technically authenticated, meaning that the isAuthenticated() method of an anonymous user object will return true. To check if your user is actually authenticated, check for the IS_AUTHENTICATED_FULLY role.Using Multiple User Providers¶Each authentication mechanism (e.g. HTTP Authentication, form login, etc) uses exactly one user provider, and will use the first declared user provider by default. But what if you want to specify a few users via configuration and the rest of your users in
395
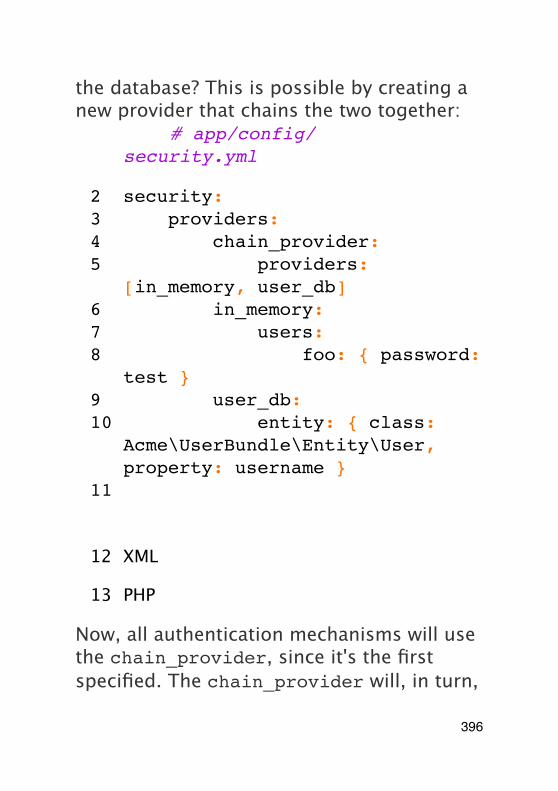
the database? This is possible by creating a new provider that chains the two together:
1 YAML# app/config/security.yml
2 security:3 providers:4 chain_provider:5 providers:
[in_memory, user_db]6 in_memory:7 users:8 foo: { password:
test }9 user_db:10 entity: { class:
Acme\UserBundle\Entity\User, property: username }
11
12 XML
13 PHP
Now, all authentication mechanisms will use the chain_provider, since it's the first specified. The chain_provider will, in turn,
396
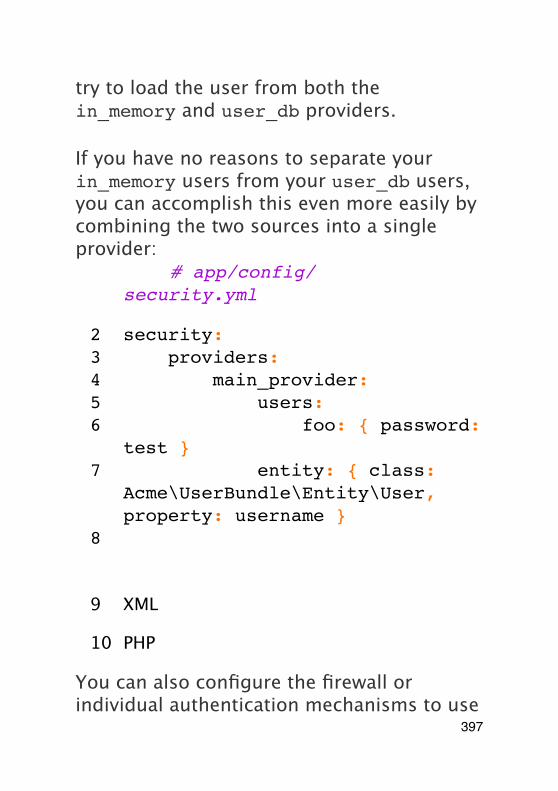
try to load the user from both the in_memory and user_db providers.
If you have no reasons to separate your in_memory users from your user_db users, you can accomplish this even more easily by combining the two sources into a single provider:
1 YAML# app/config/security.yml
2 security:3 providers:4 main_provider:5 users:6 foo: { password:
test }7 entity: { class:
Acme\UserBundle\Entity\User, property: username }
8
9 XML
10 PHP
You can also configure the firewall or individual authentication mechanisms to use
397
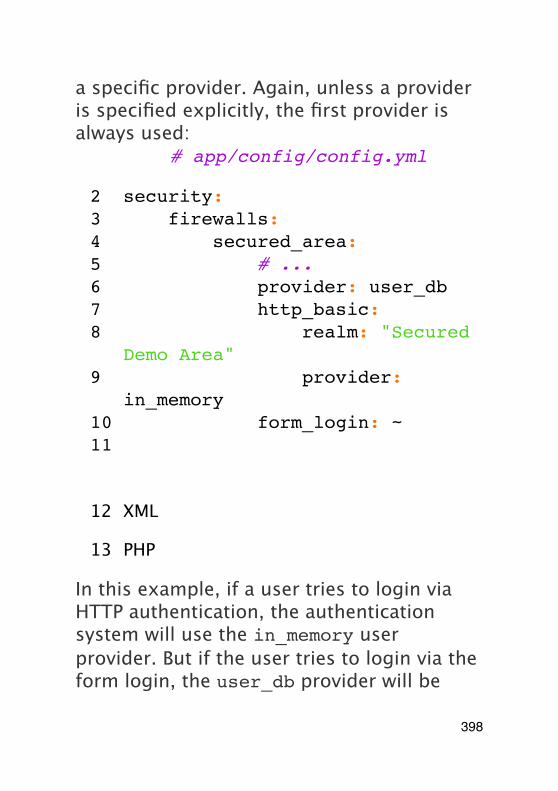
a specific provider. Again, unless a provider is specified explicitly, the first provider is always used:
1 YAML# app/config/config.yml
2 security:3 firewalls:4 secured_area:5 # ...6 provider: user_db7 http_basic:8 realm: "Secured
Demo Area"9 provider:
in_memory10 form_login: ~11
12 XML
13 PHP
In this example, if a user tries to login via HTTP authentication, the authentication system will use the in_memory user provider. But if the user tries to login via the form login, the user_db provider will be
398
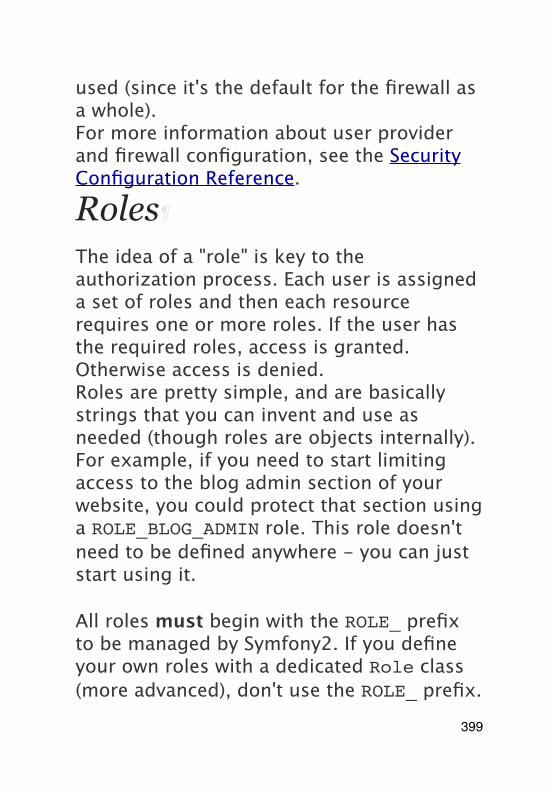
used (since it's the default for the firewall as a whole).For more information about user provider and firewall configuration, see the Security Configuration Reference.
Roles
The idea of a "role" is key to the authorization process. Each user is assigned a set of roles and then each resource requires one or more roles. If the user has the required roles, access is granted. Otherwise access is denied.Roles are pretty simple, and are basically strings that you can invent and use as needed (though roles are objects internally). For example, if you need to start limiting access to the blog admin section of your website, you could protect that section using a ROLE_BLOG_ADMIN role. This role doesn't need to be defined anywhere - you can just start using it.
All roles must begin with the ROLE_ prefix to be managed by Symfony2. If you define your own roles with a dedicated Role class (more advanced), don't use the ROLE_ prefix.
399
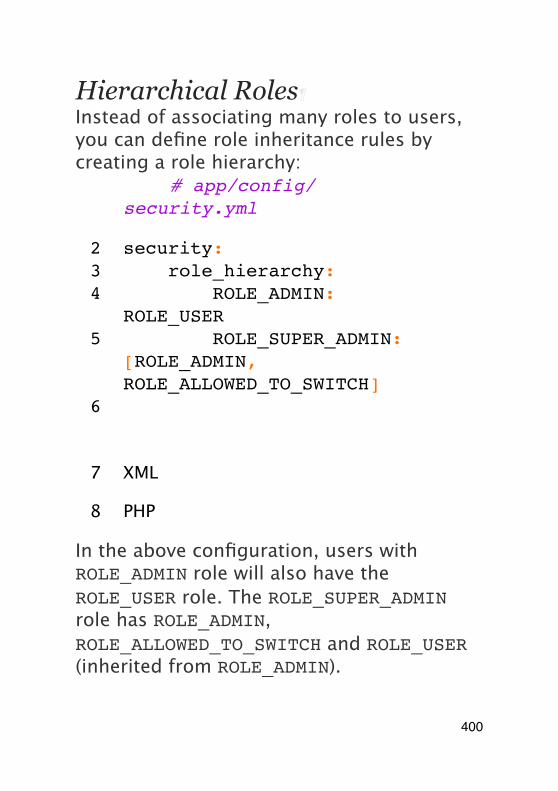
Hierarchical Roles¶Instead of associating many roles to users, you can define role inheritance rules by creating a role hierarchy:
1 YAML# app/config/security.yml
2 security:3 role_hierarchy:4 ROLE_ADMIN:
ROLE_USER5 ROLE_SUPER_ADMIN:
[ROLE_ADMIN, ROLE_ALLOWED_TO_SWITCH]
6
7 XML
8 PHP
In the above configuration, users with ROLE_ADMIN role will also have the ROLE_USER role. The ROLE_SUPER_ADMIN role has ROLE_ADMIN, ROLE_ALLOWED_TO_SWITCH and ROLE_USER (inherited from ROLE_ADMIN).
400
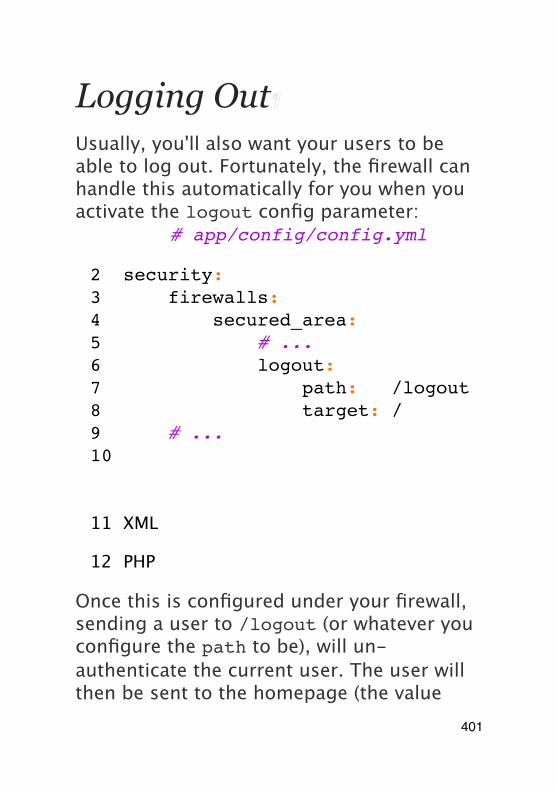
Logging Out
Usually, you'll also want your users to be able to log out. Fortunately, the firewall can handle this automatically for you when you activate the logout config parameter:
1 YAML# app/config/config.yml
2 security:3 firewalls:4 secured_area:5 # ...6 logout:7 path: /logout8 target: /9 # ...10
11 XML
12 PHP
Once this is configured under your firewall, sending a user to /logout (or whatever you configure the path to be), will un-authenticate the current user. The user will then be sent to the homepage (the value
401
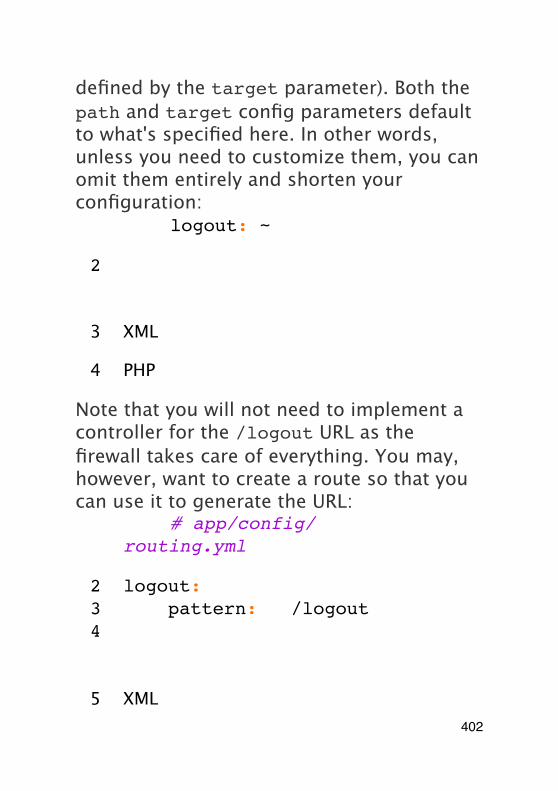
defined by the target parameter). Both the path and target config parameters default to what's specified here. In other words, unless you need to customize them, you can omit them entirely and shorten your configuration:
1 YAMLlogout: ~
2
3 XML
4 PHP
Note that you will not need to implement a controller for the /logout URL as the firewall takes care of everything. You may, however, want to create a route so that you can use it to generate the URL:
1 YAML# app/config/routing.yml
2 logout:3 pattern: /logout4
5 XML402
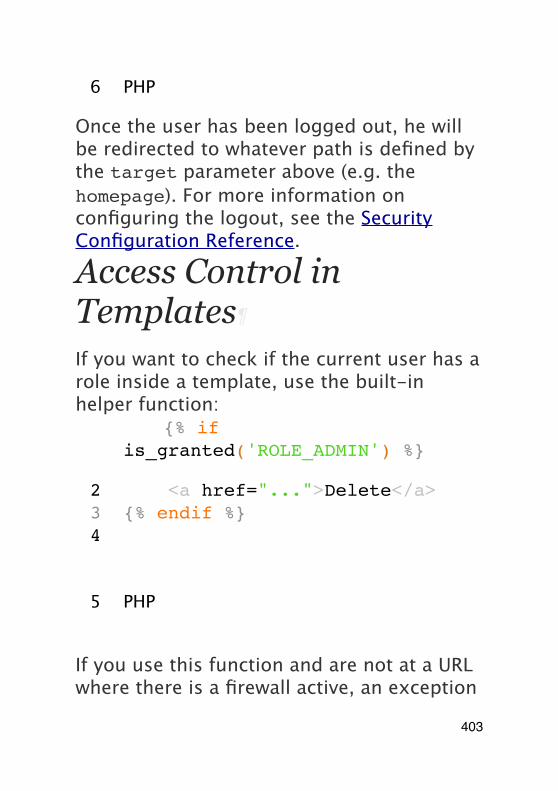
6 PHP
Once the user has been logged out, he will be redirected to whatever path is defined by the target parameter above (e.g. the homepage). For more information on configuring the logout, see the Security Configuration Reference.
Access Control in Templates
If you want to check if the current user has a role inside a template, use the built-in helper function:
1 Twig{% if is_granted('ROLE_ADMIN') %}
2 <a href="...">Delete</a>3 {% endif %}4
5 PHP
If you use this function and are not at a URL where there is a firewall active, an exception
403
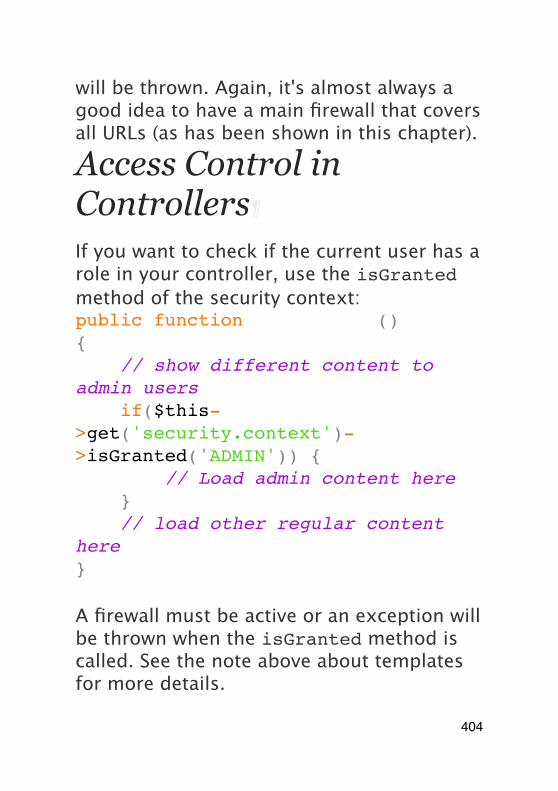
will be thrown. Again, it's almost always a good idea to have a main firewall that covers all URLs (as has been shown in this chapter).
Access Control in Controllers
If you want to check if the current user has a role in your controller, use the isGranted method of the security context:public function indexAction(){ // show different content to admin users if($this->get('security.context')->isGranted('ADMIN')) { // Load admin content here } // load other regular content here}
A firewall must be active or an exception will be thrown when the isGranted method is called. See the note above about templates for more details.
404

Impersonating a User
Sometimes, it's useful to be able to switch from one user to another without having to logout and login again (for instance when you are debugging or trying to understand a bug a user sees that you can't reproduce). This can be easily done by activating the switch_user firewall listener:
1 YAML# app/config/security.yml
2 security:3 firewalls:4 main:5 # ...6 switch_user: true7
8 XML
9 PHP
To switch to another user, just add a query string with the _switch_user parameter and the username as the value to the current URL:
405
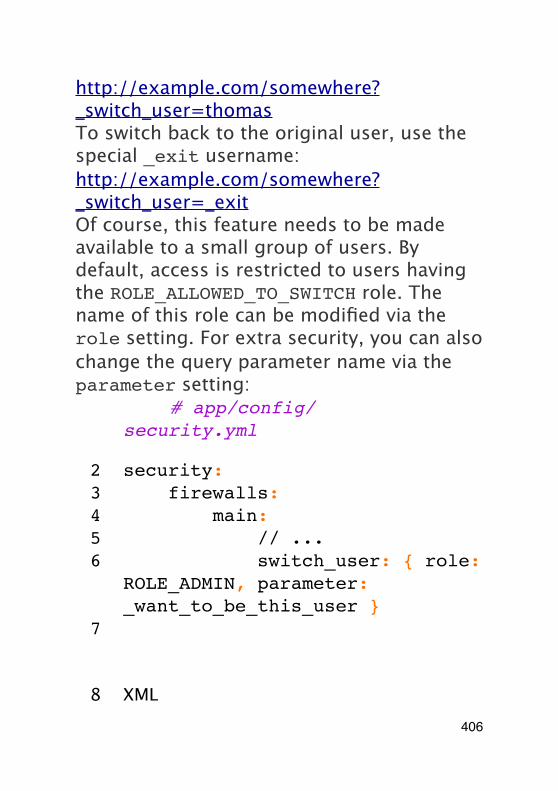
http://example.com/somewhere?_switch_user=thomasTo switch back to the original user, use the special _exit username:http://example.com/somewhere?_switch_user=_exitOf course, this feature needs to be made available to a small group of users. By default, access is restricted to users having the ROLE_ALLOWED_TO_SWITCH role. The name of this role can be modified via the role setting. For extra security, you can also change the query parameter name via the parameter setting:
1 YAML# app/config/security.yml
2 security:3 firewalls:4 main:5 // ...6 switch_user: { role:
ROLE_ADMIN, parameter: _want_to_be_this_user }
7
8 XML406
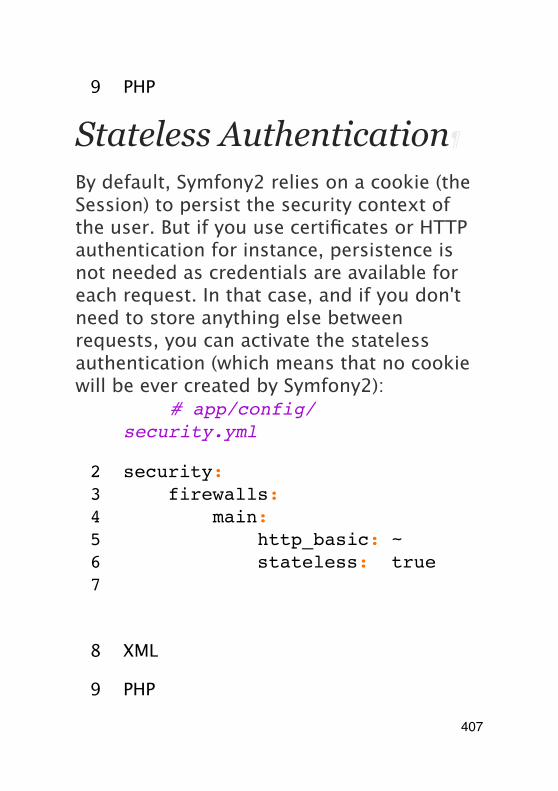
9 PHP
Stateless Authentication
By default, Symfony2 relies on a cookie (the Session) to persist the security context of the user. But if you use certificates or HTTP authentication for instance, persistence is not needed as credentials are available for each request. In that case, and if you don't need to store anything else between requests, you can activate the stateless authentication (which means that no cookie will be ever created by Symfony2):
1 YAML# app/config/security.yml
2 security:3 firewalls:4 main:5 http_basic: ~6 stateless: true7
8 XML
9 PHP
407
If you use a form login, Symfony2 will create a cookie even if you set stateless to true.
Final Words
Security can be a deep and complex issue to solve correctly in your application. Fortunately, Symfony's security component follows a well-proven security model based around authentication and authorization. Authentication, which always happens first, is handled by a firewall whose job is to determine the identity of the user through several different methods (e.g. HTTP authentication, login form, etc). In the cookbook, you'll find examples of other methods for handling authentication, including how to implement a "remember me" cookie functionality.Once a user is authenticated, the authorization layer can determine whether or not the user should have access to a specific resource. Most commonly, roles are applied to URLs, classes or methods and if the current user doesn't have that role, access is denied. The authorization layer, however, is much deeper, and follows a
408
system of "voting" so that multiple parties can determine if the current user should have access to a given resource. Find out more about this and other topics in the cookbook.
Learn more from the Cookbook
• Forcing HTTP/HTTPS
• Blacklist users by IP address with a custom voter
• Access Control Lists (ACLs)
• How to add "Remember Me" Login Functionality
409

HTTP CacheThe nature of rich web applications means that they're dynamic. No matter how efficient your application, each request will always contain more overhead than serving a static file.And for most Web applications, that's fine. Symfony2 is lightning fast, and unless you're doing some serious heavy-lifting, each request will come back quickly without putting too much stress on your server.But as your site grows, that overhead can become a problem. The processing that's normally performed on every request should be done only once. This is exactly what caching aims to accomplish.
Caching on the Shoulders of Giants
The most effective way to improve performance of an application is to cache the full output of a page and then bypass the application entirely on each subsequent request. Of course, this isn't always possible
410
for highly dynamic websites, or is it? In this chapter, we'll show you how the Symfony2 cache system works and why we think this is the best possible approach.The Symfony2 cache system is different because it relies on the simplicity and power of the HTTP cache as defined in the HTTP specification. Instead of reinventing a caching methodology, Symfony2 embraces the standard that defines basic communication on the Web. Once you understand the fundamental HTTP validation and expiration caching models, you'll be ready to master the Symfony2 cache system.For the purposes of learning how to cache with Symfony2, we'll cover the subject in four steps:
• Step 1: A gateway cache, or reverse proxy, is an independent layer that sits in front of your application. The reverse proxy caches responses as they're returned from your application and answers requests with cached responses before they hit your application. Symfony2 provides its own reverse proxy, but any reverse proxy can be used.
411
• Step 2: HTTP cache headers are used to communicate with the gateway cache and any other caches between your application and the client. Symfony2 provides sensible defaults and a powerful interface for interacting with the cache headers.
• Step 3: HTTP expiration and validation are the two models used for determining whether cached content is fresh (can be reused from the cache) or stale (should be regenerated by the application).
• Step 4: Edge Side Includes (ESI) allow HTTP cache to be used to cache page fragments (even nested fragments) independently. With ESI, you can even cache an entire page for 60 minutes, but an embedded sidebar for only 5 minutes.
Since caching with HTTP isn't unique to Symfony, many articles already exist on the topic. If you're new to HTTP caching, we highly recommend Ryan Tomayko's article Things Caches Do. Another in-depth
412
resource is Mark Nottingham's Cache Tutorial.
Caching with a Gateway Cache
When caching with HTTP, the cache is separated from your application entirely and sits between your application and the client making the request.The job of the cache is to accept requests from the client and pass them back to your application. The cache will also receive responses back from your application and forward them on to the client. The cache is the "middle-man" of the request-response communication between the client and your application.Along the way, the cache will store each response that is deemed "cacheable" (See Introduction to HTTP Caching). If the same resource is requested again, the cache sends the cached response to the client, ignoring your application entirely.This type of cache is known as a HTTP gateway cache and many exist such as Varnish, Squid in reverse proxy mode, and the Symfony2 reverse proxy.
413
Types of Caches¶But a gateway cache isn't the only type of cache. In fact, the HTTP cache headers sent by your application are consumed and interpreted by up to three different types of caches:
• Browser caches: Every browser comes with its own local cache that is mainly useful for when you hit "back" or for images and other assets. The browser cache is a private cache as cached resources aren't shared with anyone else.
• Proxy caches: A proxy is a shared cache as many people can be behind a single one. It's usually installed by large corporations and ISPs to reduce latency and network traffic.
• Gateway caches: Like a proxy, it's also a shared cache but on the server side. Installed by network administrators, it makes websites more scalable, reliable and performant.
414
Gateway caches are sometimes referred to as reverse proxy caches, surrogate caches, or even HTTP accelerators.
The significance of private versus shared caches will become more obvious as we talk about caching responses containing content that is specific to exactly one user (e.g. account information).Each response from your application will likely go through one or both of the first two cache types. These caches are outside of your control but follow the HTTP cache directions set in the response.Symfony2 Reverse Proxy¶Symfony2 comes with a reverse proxy (also called a gateway cache) written in PHP. Enable it and cacheable responses from your application will start to be cached right away. Installing it is just as easy. Each new Symfony2 application comes with a pre-configured caching kernel (AppCache) that wraps the default one (AppKernel). The caching Kernel is the reverse proxy.To enable caching, modify the code of a front controller to use the caching kernel:// web/app.php
415
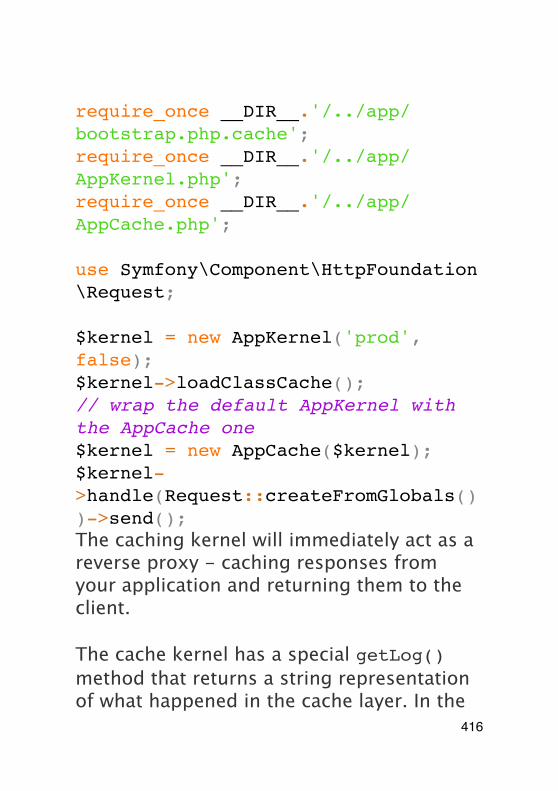
require_once __DIR__.'/../app/bootstrap.php.cache';require_once __DIR__.'/../app/AppKernel.php';require_once __DIR__.'/../app/AppCache.php';
use Symfony\Component\HttpFoundation\Request;
$kernel = new AppKernel('prod', false);$kernel->loadClassCache();// wrap the default AppKernel with the AppCache one$kernel = new AppCache($kernel);$kernel->handle(Request::createFromGlobals())->send();The caching kernel will immediately act as a reverse proxy - caching responses from your application and returning them to the client.
The cache kernel has a special getLog() method that returns a string representation of what happened in the cache layer. In the
416
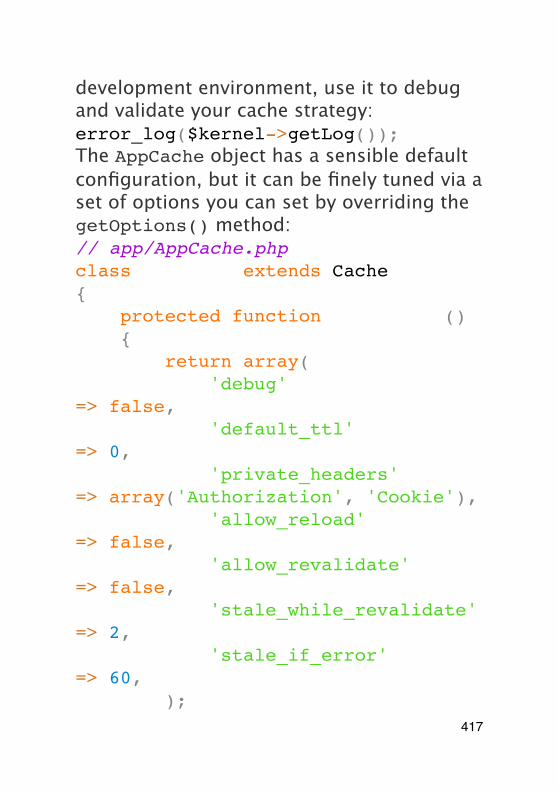
development environment, use it to debug and validate your cache strategy:error_log($kernel->getLog());The AppCache object has a sensible default configuration, but it can be finely tuned via a set of options you can set by overriding the getOptions() method:// app/AppCache.phpclass AppCache extends Cache{ protected function getOptions() { return array( 'debug' => false, 'default_ttl' => 0, 'private_headers' => array('Authorization', 'Cookie'), 'allow_reload' => false, 'allow_revalidate' => false, 'stale_while_revalidate' => 2, 'stale_if_error' => 60, );
417
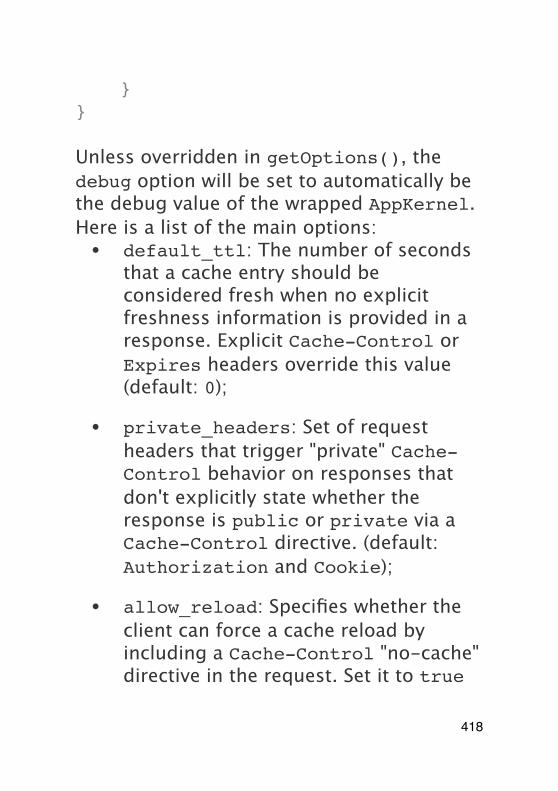
}}
Unless overridden in getOptions(), the debug option will be set to automatically be the debug value of the wrapped AppKernel.Here is a list of the main options:• default_ttl: The number of seconds
that a cache entry should be considered fresh when no explicit freshness information is provided in a response. Explicit Cache-Control or Expires headers override this value (default: 0);
• private_headers: Set of request headers that trigger "private" Cache-Control behavior on responses that don't explicitly state whether the response is public or private via a Cache-Control directive. (default: Authorization and Cookie);
• allow_reload: Specifies whether the client can force a cache reload by including a Cache-Control "no-cache" directive in the request. Set it to true
418
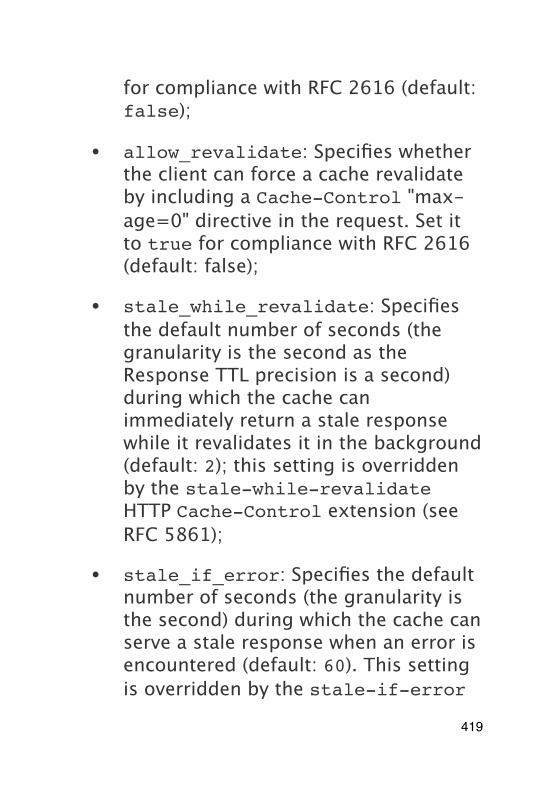
for compliance with RFC 2616 (default: false);
• allow_revalidate: Specifies whether the client can force a cache revalidate by including a Cache-Control "max-age=0" directive in the request. Set it to true for compliance with RFC 2616 (default: false);
• stale_while_revalidate: Specifies the default number of seconds (the granularity is the second as the Response TTL precision is a second) during which the cache can immediately return a stale response while it revalidates it in the background (default: 2); this setting is overridden by the stale-while-revalidate HTTP Cache-Control extension (see RFC 5861);
• stale_if_error: Specifies the default number of seconds (the granularity is the second) during which the cache can serve a stale response when an error is encountered (default: 60). This setting is overridden by the stale-if-error
419
HTTP Cache-Control extension (see RFC 5861).
If debug is true, Symfony2 automatically adds a X-Symfony-Cache header to the response containing useful information about cache hits and misses.
Changing from one Reverse Proxy to AnotherThe Symfony2 reverse proxy is a great tool to use when developing your website or when you deploy your website to a shared host where you cannot install anything beyond PHP code. But being written in PHP, it cannot be as fast as a proxy written in C. That's why we highly recommend you to use Varnish or Squid on your production servers if possible. The good news is that the switch from one proxy server to another is easy and transparent as no code modification is needed in your application. Start easy with the Symfony2 reverse proxy and upgrade later to Varnish when your traffic increases.For more information on using Varnish with Symfony2, see the How to use Varnish cookbook chapter.
420
The performance of the Symfony2 reverse proxy is independent of the complexity of the application. That's because the application kernel is only booted when the request needs to be forwarded to it.
Introduction to HTTP Caching
To take advantage of the available cache layers, your application must be able to communicate which responses are cacheable and the rules that govern when/how that cache should become stale. This is done by setting HTTP cache headers on the response.
Keep in mind that "HTTP" is nothing more than the language (a simple text language) that web clients (e.g. browsers) and web servers use to communicate with each other. When we talk about HTTP caching, we're talking about the part of that language that allows clients and servers to exchange information related to caching.HTTP specifies four response cache headers that we're concerned with:
421
• Cache-Control
• Expires
• ETag
• Last-Modified
The most important and versatile header is the Cache-Control header, which is actually a collection of various cache information.
Each of the headers will be explained in full detail in the HTTP Expiration and Validation section.The Cache-Control Header¶The Cache-Control header is unique in that it contains not one, but various pieces of information about the cacheability of a response. Each piece of information is separated by a comma:Cache-Control: private, max-age=0, must-revalidateCache-Control: max-age=3600, must-revalidateSymfony provides an abstraction around the Cache-Control header to make its creation more manageable:
422
$response = new Response();
// mark the response as either public or private$response->setPublic();$response->setPrivate();
// set the private or shared max age$response->setMaxAge(600);$response->setSharedMaxAge(600);
// set a custom Cache-Control directive$response->headers->addCacheControlDirective('must-revalidate', true);
Public vs Private Responses¶Both gateway and proxy caches are considered "shared" caches as the cached content is shared by more than one user. If a user-specific response were ever mistakenly stored by a shared cache, it might be returned later to any number of different users. Imagine if your account information were cached and then returned to every subsequent user who asked for their account page!
423
To handle this situation, every response may be set to be public or private:
• public: Indicates that the response may be cached by both private and shared caches;
• private: Indicates that all or part of the response message is intended for a single user and must not be cached by a shared cache.
Symfony conservatively defaults each response to be private. To take advantage of shared caches (like the Symfony2 reverse proxy), the response will need to be explicitly set as public.Safe Methods¶HTTP caching only works for "safe" HTTP methods (like GET and HEAD). Being safe means that you never change the application's state on the server when serving the request (you can of course log information, cache data, etc). This has two very reasonable consequences:
• You should never change the state of your application when responding to a GET or HEAD request. Even if you don't use a gateway cache, the presence of
424
proxy caches mean that any GET or HEAD request may or may not actually hit your server.
• Don't expect PUT, POST or DELETE methods to cache. These methods are meant to be used when mutating the state of your application (e.g. deleting a blog post). Caching them would prevent certain requests from hitting and mutating your application.
Caching Rules and Defaults¶HTTP 1.1 allows caching anything by default unless there is an explicit Cache-Control header. In practice, most caches do nothing when requests have a cookie, an authorization header, use a non-safe method (i.e. PUT, POST, DELETE), or when responses have a redirect status code.Symfony2 automatically sets a sensible and conservative Cache-Control header when none is set by the developer by following these rules:
• If no cache header is defined (Cache-Control, Expires, ETag or Last-Modified), Cache-Control is set to
425
no-cache, meaning that the response will not be cached;
• If Cache-Control is empty (but one of the other cache headers is present), its value is set to private, must-revalidate;
• But if at least one Cache-Control directive is set, and no 'public' or private directives have been explicitly added, Symfony2 adds the private directive automatically (except when s-maxage is set).
HTTP Expiration and Validation
The HTTP specification defines two caching models:
• With the expiration model, you simply specify how long a response should be considered "fresh" by including a Cache-Control and/or an Expires header. Caches that understand expiration will not make the same request until the cached version
426
reaches its expiration time and becomes "stale".
• When pages are really dynamic (i.e. their representation changes often), the validation model model is often necessary. With this model, the cache stores the response, but asks the server on each request whether or not the cached response is still valid. The application uses a unique response identifier (the Etag header) and/or a timestamp (the Last-Modified header) to check if the page has changed since being cached.
The goal of both models is to never generate the same response twice by relying on a cache to store and return "fresh" responses.
Reading the HTTP SpecificationThe HTTP specification defines a simple but powerful language in which clients and servers can communicate. As a web developer, the request-response model of the specification dominates our work. Unfortunately, the actual specification
427
document - RFC 2616 - can be difficult to read.There is an on-going effort (HTTP Bis) to rewrite the RFC 2616. It does not describe a new version of HTTP, but mostly clarifies the original HTTP specification. The organization is also improved as the specification is split into seven parts; everything related to HTTP caching can be found in two dedicated parts (P4 - Conditional Requests and P6 - Caching: Browser and intermediary caches).As a web developer, we strongly urge you to read the specification. Its clarity and power - even more than ten years after its creation - is invaluable. Don't be put-off by the appearance of the spec - its contents are much more beautiful than its cover.Expiration¶The expiration model is the more efficient and straightforward of the two caching models and should be used whenever possible. When a response is cached with an expiration, the cache will store the response and return it directly without hitting the application until it expires.
428
The expiration model can be accomplished using one of two, nearly identical, HTTP headers: Expires or Cache-Control.Expiration with the Expires Header¶According to the HTTP specification, "the Expires header field gives the date/time after which the response is considered stale." The Expires header can be set with the setExpires() Response method. It takes a DateTime instance as an argument:$date = new DateTime();$date->modify('+600 seconds');
$response->setExpires($date);The resulting HTTP header will look like this:Expires: Thu, 01 Mar 2011 16:00:00 GMT
The setExpires() method automatically converts the date to the GMT timezone as required by the specification.The Expires header suffers from two limitations. First, the clocks on the Web server and the cache (e.g. the browser) must be synchronized. Then, the specification states that "HTTP/1.1 servers should not
429
send Expires dates more than one year in the future."Expiration with the Cache-Control Header¶Because of the Expires header limitations, most of the time, you should use the Cache-Control header instead. Recall that the Cache-Control header is used to specify many different cache directives. For expiration, there are two directives, max-age and s-maxage. The first one is used by all caches, whereas the second one is only taken into account by shared caches:// Sets the number of seconds after which the response// should no longer be considered fresh$response->setMaxAge(600);
// Same as above but only for shared caches$response->setSharedMaxAge(600);The Cache-Control header would take on the following format (it may have additional directives):Cache-Control: max-age=600, s-maxage=600
430
Validation¶When a resource needs to be updated as soon as a change is made to the underlying data, the expiration model falls short. With the expiration model, the application won't be asked to return the updated response until the cache finally becomes stale.The validation model addresses this issue. Under this model, the cache continues to store responses. The difference is that, for each request, the cache asks the application whether or not the cached response is still valid. If the cache is still valid, your application should return a 304 status code and no content. This tells the cache that it's ok to return the cached response.Under this model, you mainly save bandwidth as the representation is not sent twice to the same client (a 304 response is sent instead). But if you design your application carefully, you might be able to get the bare minimum data needed to send a 304 response and save CPU also (see below for an implementation example).
The 304 status code means "Not Modified". It's important because with this status code
431
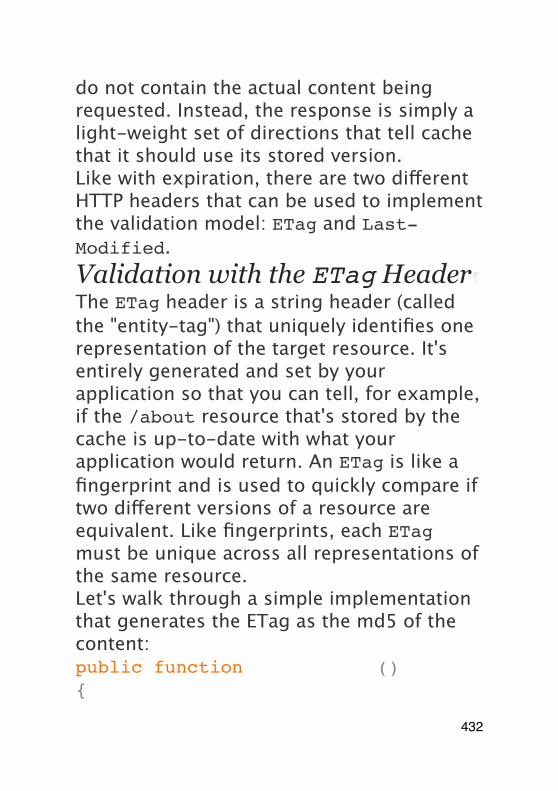
do not contain the actual content being requested. Instead, the response is simply a light-weight set of directions that tell cache that it should use its stored version.Like with expiration, there are two different HTTP headers that can be used to implement the validation model: ETag and Last-Modified.Validation with the ETag Header¶The ETag header is a string header (called the "entity-tag") that uniquely identifies one representation of the target resource. It's entirely generated and set by your application so that you can tell, for example, if the /about resource that's stored by the cache is up-to-date with what your application would return. An ETag is like a fingerprint and is used to quickly compare if two different versions of a resource are equivalent. Like fingerprints, each ETag must be unique across all representations of the same resource.Let's walk through a simple implementation that generates the ETag as the md5 of the content:public function indexAction(){
432
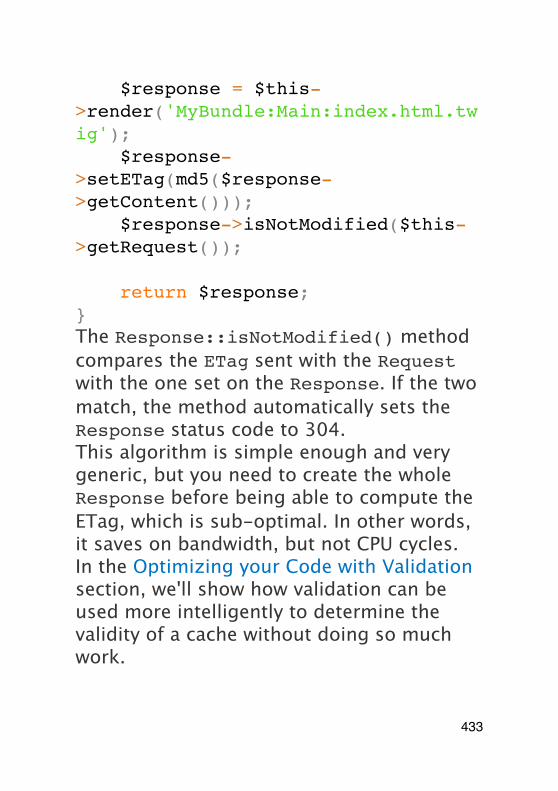
$response = $this->render('MyBundle:Main:index.html.twig'); $response->setETag(md5($response->getContent())); $response->isNotModified($this->getRequest());
return $response;}The Response::isNotModified() method compares the ETag sent with the Request with the one set on the Response. If the two match, the method automatically sets the Response status code to 304.This algorithm is simple enough and very generic, but you need to create the whole Response before being able to compute the ETag, which is sub-optimal. In other words, it saves on bandwidth, but not CPU cycles.In the Optimizing your Code with Validation section, we'll show how validation can be used more intelligently to determine the validity of a cache without doing so much work.
433

Symfony2 also supports weak ETags by passing true as the second argument to the setETag() method.Validation with the Last-Modified Header¶The Last-Modified header is the second form of validation. According to the HTTP specification, "The Last-Modified header field indicates the date and time at which the origin server believes the representation was last modified." In other words, the application decides whether or not the cached content has been updated based on whether or not it's been updated since the response was cached.For instance, you can use the latest update date for all the objects needed to compute the resource representation as the value for the Last-Modified header value:public function showAction($articleSlug){ // ...
$articleDate = new \DateTime($article->getUpdatedAt());
434
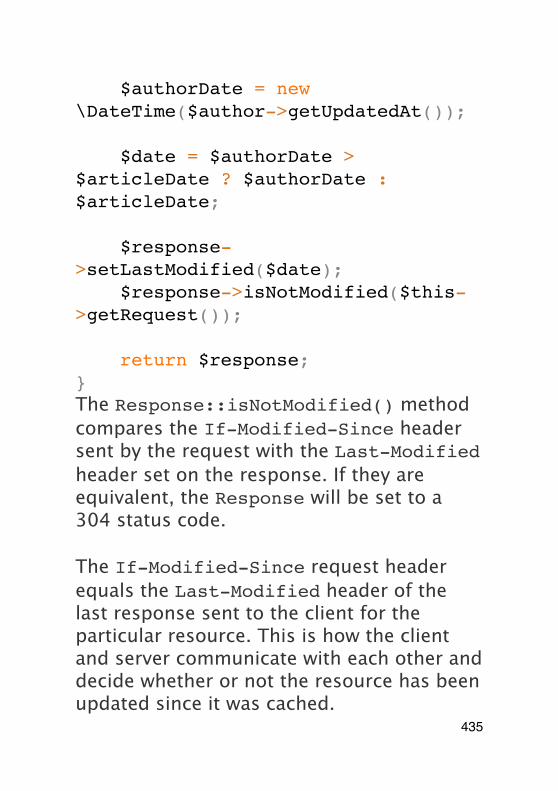
$authorDate = new \DateTime($author->getUpdatedAt());
$date = $authorDate > $articleDate ? $authorDate : $articleDate;
$response->setLastModified($date); $response->isNotModified($this->getRequest());
return $response;}The Response::isNotModified() method compares the If-Modified-Since header sent by the request with the Last-Modified header set on the response. If they are equivalent, the Response will be set to a 304 status code.
The If-Modified-Since request header equals the Last-Modified header of the last response sent to the client for the particular resource. This is how the client and server communicate with each other and decide whether or not the resource has been updated since it was cached.
435
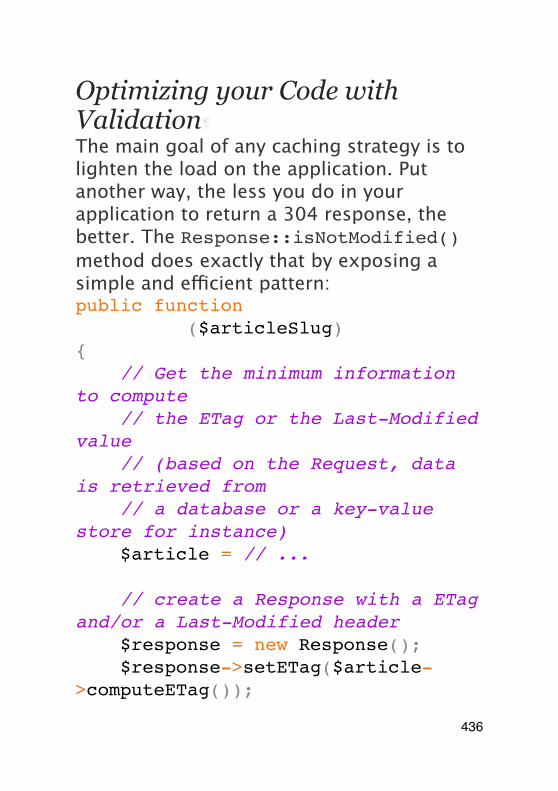
Optimizing your Code with Validation¶The main goal of any caching strategy is to lighten the load on the application. Put another way, the less you do in your application to return a 304 response, the better. The Response::isNotModified() method does exactly that by exposing a simple and efficient pattern:public function showAction($articleSlug){ // Get the minimum information to compute // the ETag or the Last-Modified value // (based on the Request, data is retrieved from // a database or a key-value store for instance) $article = // ...
// create a Response with a ETag and/or a Last-Modified header $response = new Response(); $response->setETag($article->computeETag());
436
$response->setLastModified($article->getPublishedAt());
// Check that the Response is not modified for the given Request if ($response->isNotModified($this->getRequest())) { // return the 304 Response immediately return $response; } else { // do more work here - like retrieving more data $comments = // ...
// or render a template with the $response you've already started return $this->render( 'MyBundle:MyController:article.html.twig', array('article' => $article, 'comments' => $comments), $response ); }
437

}When the Response is not modified, the isNotModified() automatically sets the response status code to 304, removes the content, and removes some headers that must not be present for 304 responses (see setNotModified()).Varying the Response¶So far, we've assumed that each URI has exactly one representation of the target resource. By default, HTTP caching is done by using the URI of the resource as the cache key. If two people request the same URI of a cacheable resource, the second person will receive the cached version.Sometimes this isn't enough and different versions of the same URI need to be cached based on one or more request header values. For instance, if you compress pages when the client supports it, any given URI has two representations: one when the client supports compression, and one when it does not. This determination is done by the value of the Accept-Encoding request header.In this case, we need the cache to store both a compressed and uncompressed version of the response for the particular URI and
438
return them based on the request's Accept-Encoding value. This is done by using the Vary response header, which is a comma-separated list of different headers whose values trigger a different representation of the requested resource:Vary: Accept-Encoding, User-Agent
This particular Vary header would cache different versions of each resource based on the URI and the value of the Accept-Encoding and User-Agent request header.The Response object offers a clean interface for managing the Vary header:// set one vary header$response->setVary('Accept-Encoding');
// set multiple vary headers$response->setVary(array('Accept-Encoding', 'User-Agent'));The setVary() method takes a header name or an array of header names for which the response varies.Expiration and Validation¶You can of course use both validation and expiration within the same Response. As
439
expiration wins over validation, you can easily benefit from the best of both worlds. In other words, by using both expiration and validation, you can instruct the cache to serve the cached content, while checking back at some interval (the expiration) to verify that the content is still valid.More Response Methods¶The Response class provides many more methods related to the cache. Here are the most useful ones:// Marks the Response stale$response->expire();
// Force the response to return a proper 304 response with no content$response->setNotModified();Additionally, most cache-related HTTP headers can be set via the single setCache() method:// Set cache settings in one call$response->setCache(array( 'etag' => $etag, 'last_modified' => $date, 'max_age' => 10, 's_maxage' => 10, 'public' => true,
440
// 'private' => true,));
Using Edge Side Includes
Gateway caches are a great way to make your website perform better. But they have one limitation: they can only cache whole pages. If you can't cache whole pages or if parts of a page has "more" dynamic parts, you are out of luck. Fortunately, Symfony2 provides a solution for these cases, based on a technology called ESI, or Edge Side Includes. Akamaï wrote this specification almost 10 years ago, and it allows specific parts of a page to have a different caching strategy than the main page.The ESI specification describes tags you can embed in your pages to communicate with the gateway cache. Only one tag is implemented in Symfony2, include, as this is the only useful one outside of Akamaï context:<html> <body> Some content
441
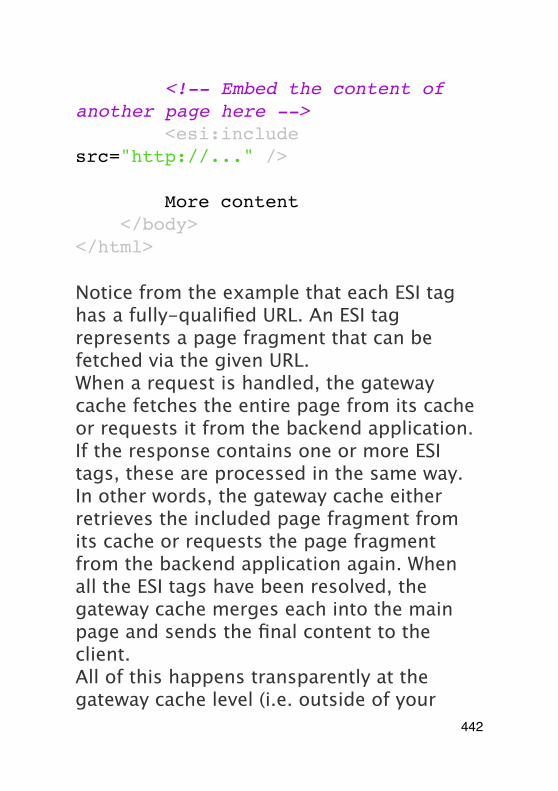
<!-- Embed the content of another page here --> <esi:include src="http://..." />
More content </body></html>
Notice from the example that each ESI tag has a fully-qualified URL. An ESI tag represents a page fragment that can be fetched via the given URL.When a request is handled, the gateway cache fetches the entire page from its cache or requests it from the backend application. If the response contains one or more ESI tags, these are processed in the same way. In other words, the gateway cache either retrieves the included page fragment from its cache or requests the page fragment from the backend application again. When all the ESI tags have been resolved, the gateway cache merges each into the main page and sends the final content to the client.All of this happens transparently at the gateway cache level (i.e. outside of your
442
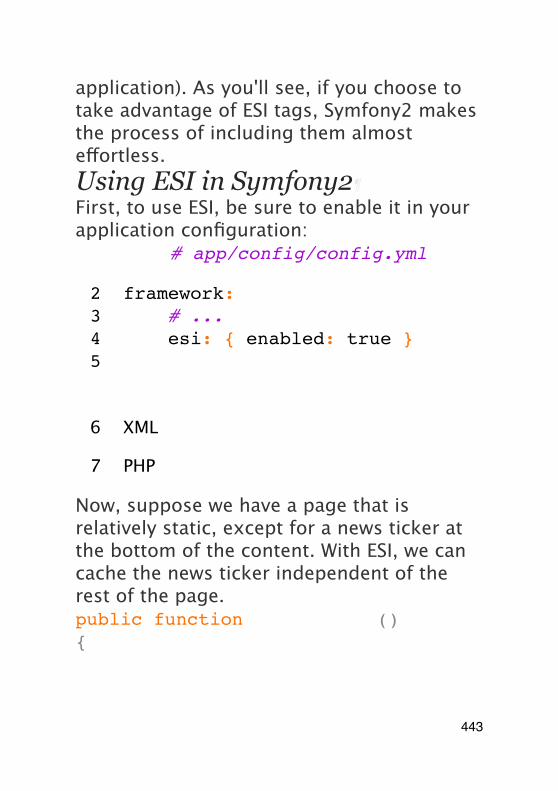
application). As you'll see, if you choose to take advantage of ESI tags, Symfony2 makes the process of including them almost effortless.Using ESI in Symfony2¶First, to use ESI, be sure to enable it in your application configuration:
1 YAML# app/config/config.yml
2 framework:3 # ...4 esi: { enabled: true }5
6 XML
7 PHP
Now, suppose we have a page that is relatively static, except for a news ticker at the bottom of the content. With ESI, we can cache the news ticker independent of the rest of the page.public function indexAction(){
443
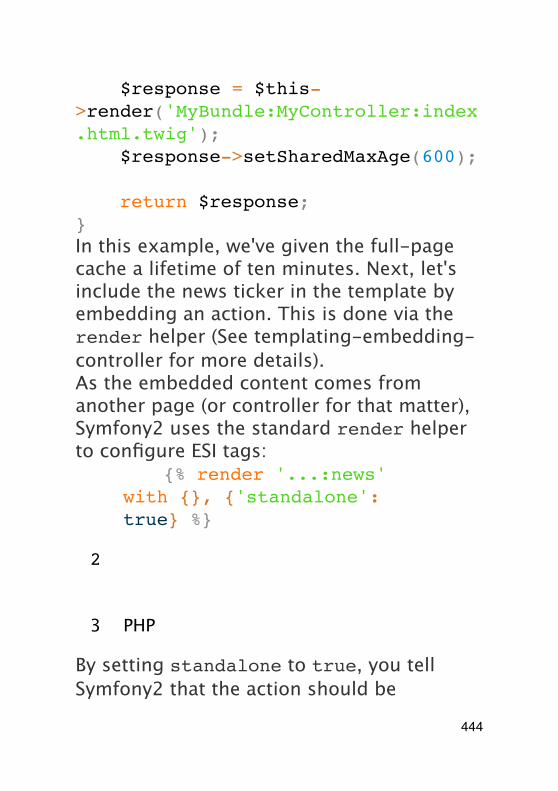
$response = $this->render('MyBundle:MyController:index.html.twig'); $response->setSharedMaxAge(600);
return $response;}In this example, we've given the full-page cache a lifetime of ten minutes. Next, let's include the news ticker in the template by embedding an action. This is done via the render helper (See templating-embedding-controller for more details).As the embedded content comes from another page (or controller for that matter), Symfony2 uses the standard render helper to configure ESI tags:
1 Twig{% render '...:news' with {}, {'standalone': true} %}
2
3 PHP
By setting standalone to true, you tell Symfony2 that the action should be
444
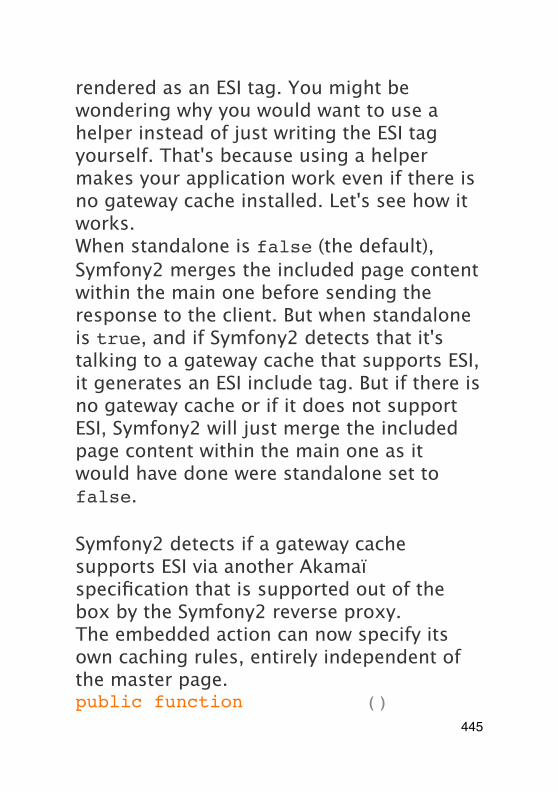
rendered as an ESI tag. You might be wondering why you would want to use a helper instead of just writing the ESI tag yourself. That's because using a helper makes your application work even if there is no gateway cache installed. Let's see how it works.When standalone is false (the default), Symfony2 merges the included page content within the main one before sending the response to the client. But when standalone is true, and if Symfony2 detects that it's talking to a gateway cache that supports ESI, it generates an ESI include tag. But if there is no gateway cache or if it does not support ESI, Symfony2 will just merge the included page content within the main one as it would have done were standalone set to false.
Symfony2 detects if a gateway cache supports ESI via another Akamaï specification that is supported out of the box by the Symfony2 reverse proxy.The embedded action can now specify its own caching rules, entirely independent of the master page.public function newsAction()
445
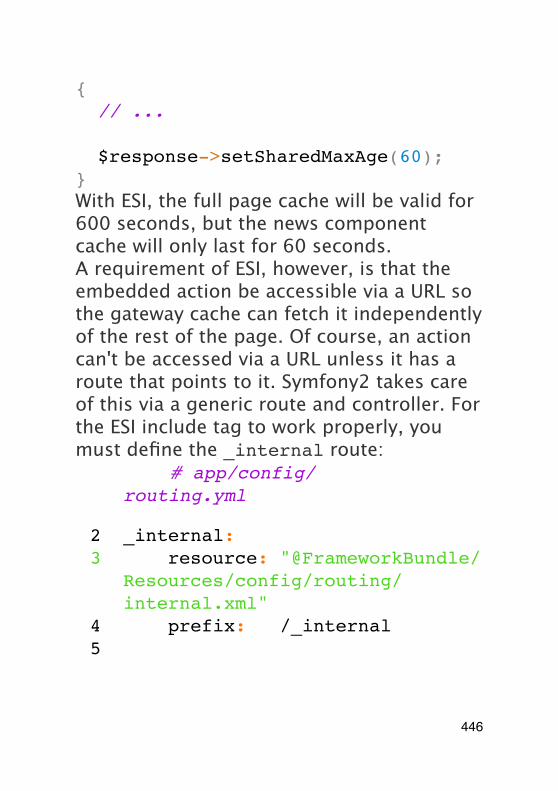
{ // ...
$response->setSharedMaxAge(60);}With ESI, the full page cache will be valid for 600 seconds, but the news component cache will only last for 60 seconds.A requirement of ESI, however, is that the embedded action be accessible via a URL so the gateway cache can fetch it independently of the rest of the page. Of course, an action can't be accessed via a URL unless it has a route that points to it. Symfony2 takes care of this via a generic route and controller. For the ESI include tag to work properly, you must define the _internal route:
1 YAML# app/config/routing.yml
2 _internal:3 resource: "@FrameworkBundle/
Resources/config/routing/internal.xml"
4 prefix: /_internal5
446
6 XML
7 PHP
Since this route allows all actions to be accessed via a URL, you might want to protect it by using the Symfony2 firewall feature (by allowing access to your reverse proxy's IP range). See the Security Configuration Reference for more information on how to do this.One great advantage of this caching strategy is that you can make your application as dynamic as needed and at the same time, hit the application as little as possible.
Once you start using ESI, remember to always use the s-maxage directive instead of max-age. As the browser only ever receives the aggregated resource, it is not aware of the sub-components, and so it will obey the max-age directive and cache the entire page. And you don't want that.The render helper supports two other useful options:• alt: used as the alt attribute on the
ESI tag, which allows you to specify an 447
alternative URL to be used if the src cannot be found;
• ignore_errors: if set to true, an onerror attribute will be added to the ESI with a value of continue indicating that, in the event of a failure, the gateway cache will simply remove the ESI tag silently.
Cache Invalidation
"There are only two hard things in Computer Science: cache invalidation and naming things." --Phil KarltonYou should never need to invalidate cached data because invalidation is already taken into account natively in the HTTP cache models. If you use validation, you never need to invalidate anything by definition; and if you use expiration and need to invalidate a resource, it means that you set the expires date too far away in the future.
It's also because there is no invalidation mechanism that you can use any reverse proxy without changing anything in your application code.
448

Actually, all reverse proxies provide ways to purge cached data, but you should avoid them as much as possible. The most standard way is to purge the cache for a given URL by requesting it with the special PURGE HTTP method.Here is how you can configure the Symfony2 reverse proxy to support the PURGE HTTP method:// app/AppCache.phpclass AppCache extends Cache{ protected function invalidate(Request $request) { if ('PURGE' !== $request->getMethod()) { return parent::invalidate($request); }
$response = new Response(); if (!$this->store->purge($request->getUri())) { $response->setStatusCode(404, 'Not purged'); } else {
449
$response->setStatusCode(200, 'Purged'); }
return $response; }}
You must protect the PURGE HTTP method somehow to avoid random people purging your cached data.
Summary
Symfony2 was designed to follow the proven rules of the road: HTTP. Caching is no exception. Mastering the Symfony2 cache system means becoming familiar with the HTTP cache models and using them effectively. This means that, instead of relying only on Symfony2 documentation and code examples, you have access to a world of knowledge related to HTTP caching and gateway caches such as Varnish.
Learn more from the Cookbook
450

• How to use Varnish to speedup my Website
451
TranslationsThe term "internationalization" refers to the process of abstracting strings and other locale-specific pieces out of your application and into a layer where they can be translated and converted based on the user's locale (i.e. language and country). For text, this means wrapping each with a function capable of translating the text (or "message") into the language of the user:// text will *always* print out in Englishecho 'Hello World';
// text can be translated into the end-user's language or default to Englishecho $translator->trans('Hello World');
The term locale refers roughly to the user's language and country. It can be any string that your application then uses to manage translations and other format differences (e.g. currency format). We recommended the
452
ISO639-1 language code, an underscore (_), then the ISO3166 country code (e.g. fr_FR for French/France).In this chapter, we'll learn how to prepare an application to support multiple locales and then how to create translations for multiple locales. Overall, the process has several common steps:
1. Enable and configure Symfony's Translation component;
2. Abstract strings (i.e. "messages") by wrapping them in calls to the Translator;
3. Create translation resources for each supported locale that translate each message in the application;
4. Determine, set and manage the user's locale in the session.
Configuration
Translations are handled by a Translator service that uses the user's locale to lookup and return translated messages. Before
453
using it, enable the Translator in your configuration:
1 YAML# app/config/config.yml
2 framework:3 translator: { fallback: en }4
5 XML
6 PHP
The fallback option defines the fallback locale when a translation does not exist in the user's locale.
When a translation does not exist for a locale, the translator first tries to find the translation for the language (fr if the locale is fr_FR for instance). If this also fails, it looks for a translation using the fallback locale.The locale used in translations is the one stored in the user session.
Basic Translation
454
Translation of text is done through the translator service (Translator). To translate a block of text (called a message), use the trans() method. Suppose, for example, that we're translating a simple message from inside a controller:public function indexAction(){ $t = $this->get('translator')->trans('Symfony2 is great');
return new Response($t);}When this code is executed, Symfony2 will attempt to translate the message "Symfony2 is great" based on the locale of the user. For this to work, we need to tell Symfony2 how to translate the message via a "translation resource", which is a collection of message translations for a given locale. This "dictionary" of translations can be created in several different formats, XLIFF being the recommended format:
1 XML<!-- messages.fr.xliff -->
2 <?xml version="1.0"?>
455
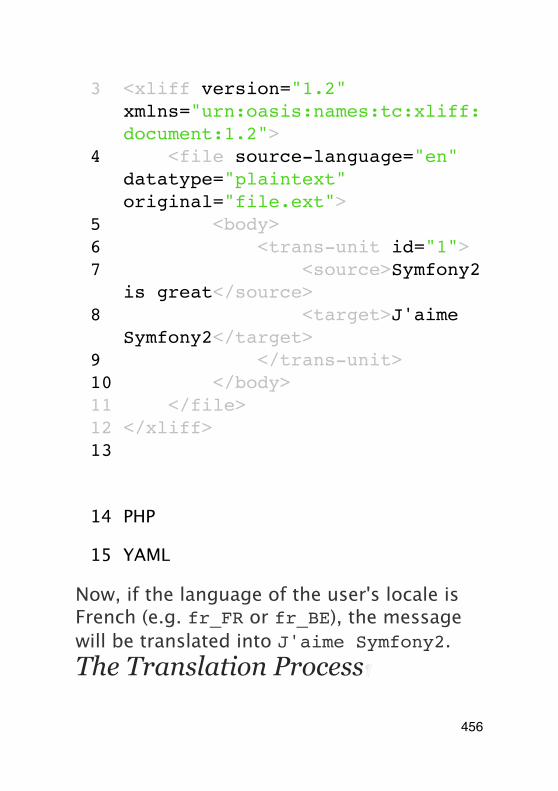
3 <xliff version="1.2" xmlns="urn:oasis:names:tc:xliff:document:1.2">
4 <file source-language="en" datatype="plaintext" original="file.ext">
5 <body>6 <trans-unit id="1">7 <source>Symfony2
is great</source>8 <target>J'aime
Symfony2</target>9 </trans-unit>10 </body>11 </file>12 </xliff>13
14 PHP
15 YAML
Now, if the language of the user's locale is French (e.g. fr_FR or fr_BE), the message will be translated into J'aime Symfony2.The Translation Process
456
To actually translate the message, Symfony2 uses a simple process:
• The locale of the current user, which is stored in the session, is determined;
• A catalog of translated messages is loaded from translation resources defined for the locale (e.g. fr_FR). Messages from the fallback locale are also loaded and added to the catalog if they don't already exist. The end result is a large "dictionary" of translations. See Message Catalogues for more details;
• If the message is located in the catalog, the translation is returned. If not, the translator returns the original message.
When using the trans() method, Symfony2 looks for the exact string inside the appropriate message catalog and returns it (if it exists).Message Placeholders¶Sometimes, a message containing a variable needs to be translated:public function indexAction($name){
457
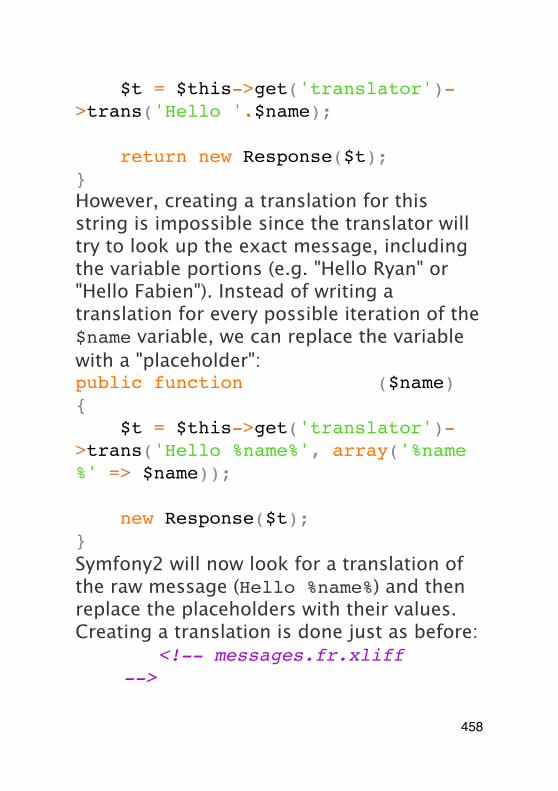
$t = $this->get('translator')->trans('Hello '.$name);
return new Response($t);}However, creating a translation for this string is impossible since the translator will try to look up the exact message, including the variable portions (e.g. "Hello Ryan" or "Hello Fabien"). Instead of writing a translation for every possible iteration of the $name variable, we can replace the variable with a "placeholder":public function indexAction($name){ $t = $this->get('translator')->trans('Hello %name%', array('%name%' => $name));
new Response($t);}Symfony2 will now look for a translation of the raw message (Hello %name%) and then replace the placeholders with their values. Creating a translation is done just as before:
1 XML<!-- messages.fr.xliff -->
458
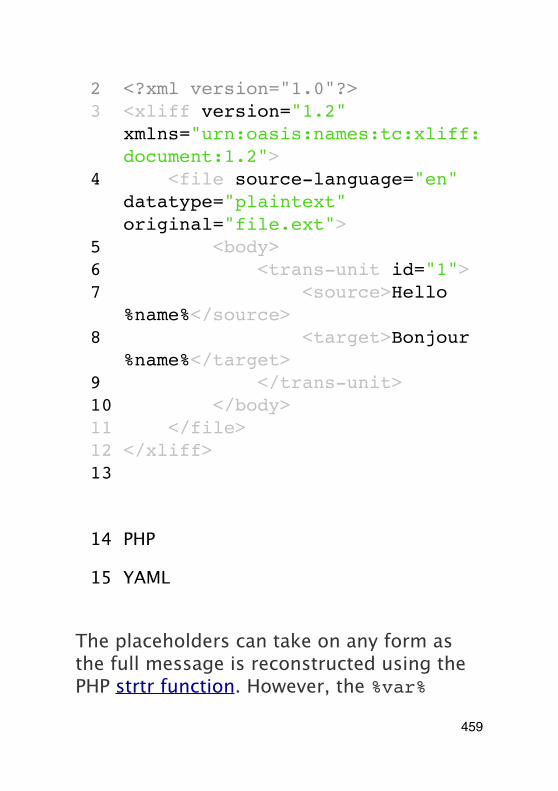
2 <?xml version="1.0"?>3 <xliff version="1.2"
xmlns="urn:oasis:names:tc:xliff:document:1.2">
4 <file source-language="en" datatype="plaintext" original="file.ext">
5 <body>6 <trans-unit id="1">7 <source>Hello
%name%</source>8 <target>Bonjour
%name%</target>9 </trans-unit>10 </body>11 </file>12 </xliff>13
14 PHP
15 YAML
The placeholders can take on any form as the full message is reconstructed using the PHP strtr function. However, the %var%
459
notation is required when translating in Twig templates, and is overall a sensible convention to follow.As we've seen, creating a translation is a two-step process:
1. Abstract the message that needs to be translated by processing it through the Translator.
2. Create a translation for the message in each locale that you choose to support.
The second step is done by creating message catalogues that define the translations for any number of different locales.
Message Catalogues
When a message is translated, Symfony2 compiles a message catalogue for the user's locale and looks in it for a translation of the message. A message catalogue is like a dictionary of translations for a specific locale. For example, the catalogue for the fr_FR locale might contain the following translation:Symfony2 is Great => J'aime Symfony2
460
It's the responsibility of the developer (or translator) of an internationalized application to create these translations. Translations are stored on the filesystem and discovered by Symfony, thanks to some conventions.
Each time you create a new translation resource (or install a bundle that includes a translation resource), be sure to clear your cache so that Symfony can discover the new translation resource:php app/console cache:clear
Translation Locations and Naming Conventions¶Symfony2 looks for message files (i.e. translations) in two locations:
• For messages found in a bundle, the corresponding message files should live in the Resources/translations/ directory of the bundle;
• To override any bundle translations, place message files in the app/Resources/translations directory.
The filename of the translations is also important as Symfony2 uses a convention to
461
determine details about the translations. Each message file must be named according to the following pattern: domain.locale.loader:
• domain: An optional way to organize messages into groups (e.g. admin, navigation or the default messages) - see Using Message Domains;
• locale: The locale that the translations are for (e.g. en_GB, en, etc);
• loader: How Symfony2 should load and parse the file (e.g. xliff, php or yml).
The loader can be the name of any registered loader. By default, Symfony provides the following loaders:• xliff: XLIFF file;
• php: PHP file;
• yml: YAML file.
The choice of which loader to use is entirely up to you and is a matter of taste.
You can also store translations in a database, or any other storage by providing
462
a custom class implementing the LoaderInterface interface. See Custom Translation Loaders below to learn how to register custom loaders.Creating Translations¶Each file consists of a series of id-translation pairs for the given domain and locale. The id is the identifier for the individual translation, and can be the message in the main locale (e.g. "Symfony is great") of your application or a unique identifier (e.g. "symfony2.great" - see the sidebar below):
1 XML<!-- src/Acme/DemoBundle/Resources/translations/messages.fr.xliff -->
2 <?xml version="1.0"?>3 <xliff version="1.2"
xmlns="urn:oasis:names:tc:xliff:document:1.2">
4 <file source-language="en" datatype="plaintext" original="file.ext">
5 <body>6 <trans-unit id="1">
463
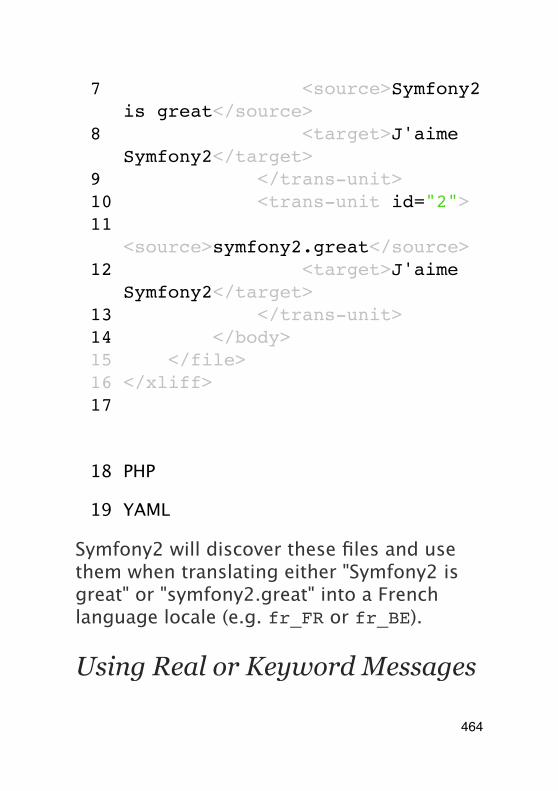
7 <source>Symfony2 is great</source>
8 <target>J'aime Symfony2</target>
9 </trans-unit>10 <trans-unit id="2">11
<source>symfony2.great</source>12 <target>J'aime
Symfony2</target>13 </trans-unit>14 </body>15 </file>16 </xliff>17
18 PHP
19 YAML
Symfony2 will discover these files and use them when translating either "Symfony2 is great" or "symfony2.great" into a French language locale (e.g. fr_FR or fr_BE).
Using Real or Keyword Messages
464
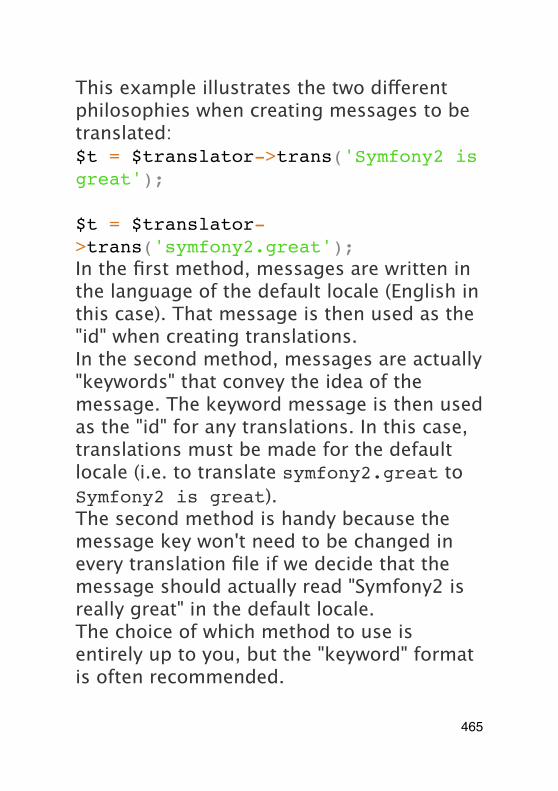
This example illustrates the two different philosophies when creating messages to be translated:$t = $translator->trans('Symfony2 is great');
$t = $translator->trans('symfony2.great');In the first method, messages are written in the language of the default locale (English in this case). That message is then used as the "id" when creating translations.In the second method, messages are actually "keywords" that convey the idea of the message. The keyword message is then used as the "id" for any translations. In this case, translations must be made for the default locale (i.e. to translate symfony2.great to Symfony2 is great).The second method is handy because the message key won't need to be changed in every translation file if we decide that the message should actually read "Symfony2 is really great" in the default locale.The choice of which method to use is entirely up to you, but the "keyword" format is often recommended.
465
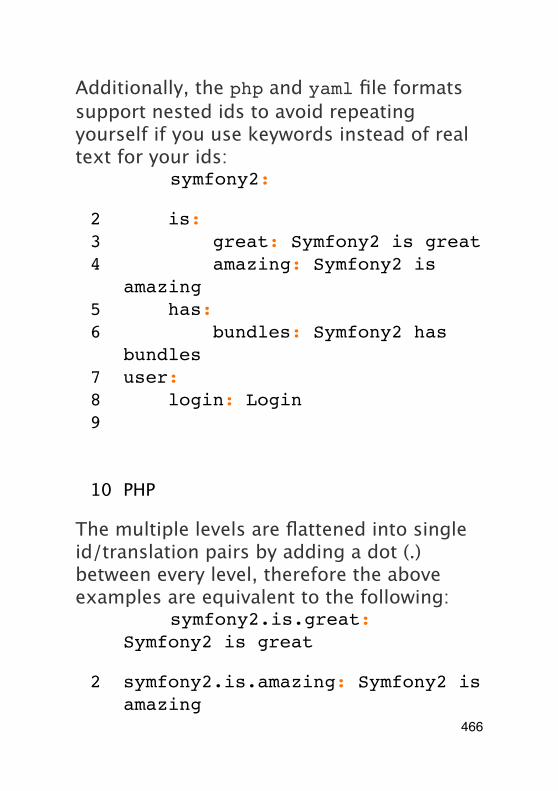
Additionally, the php and yaml file formats support nested ids to avoid repeating yourself if you use keywords instead of real text for your ids:
1 YAMLsymfony2:
2 is:3 great: Symfony2 is great4 amazing: Symfony2 is
amazing5 has:6 bundles: Symfony2 has
bundles7 user:8 login: Login9
10 PHP
The multiple levels are flattened into single id/translation pairs by adding a dot (.) between every level, therefore the above examples are equivalent to the following:
1 YAMLsymfony2.is.great: Symfony2 is great
2 symfony2.is.amazing: Symfony2 is amazing
466

3 symfony2.has.bundles: Symfony2 has bundles
4 user.login: Login5
6 PHP
Using Message Domains
As we've seen, message files are organized into the different locales that they translate. The message files can also be organized further into "domains". When creating message files, the domain is the first portion of the filename. The default domain is messages. For example, suppose that, for organization, translations were split into three different domains: messages, admin and navigation. The French translation would have the following message files:• messages.fr.xliff
• admin.fr.xliff
• navigation.fr.xliff
467
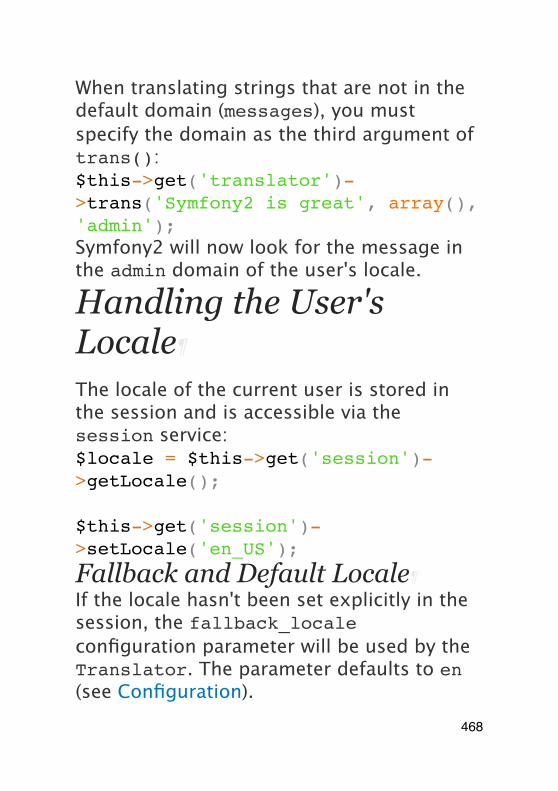
When translating strings that are not in the default domain (messages), you must specify the domain as the third argument of trans():$this->get('translator')->trans('Symfony2 is great', array(), 'admin');Symfony2 will now look for the message in the admin domain of the user's locale.
Handling the User's Locale
The locale of the current user is stored in the session and is accessible via the session service:$locale = $this->get('session')->getLocale();
$this->get('session')->setLocale('en_US');
Fallback and Default Locale¶If the locale hasn't been set explicitly in the session, the fallback_locale configuration parameter will be used by the Translator. The parameter defaults to en (see Configuration).
468
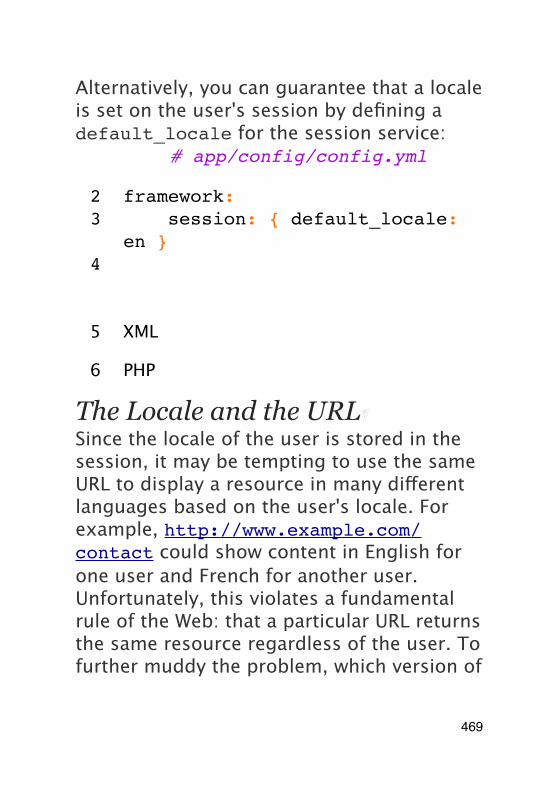
Alternatively, you can guarantee that a locale is set on the user's session by defining a default_locale for the session service:
1 YAML# app/config/config.yml
2 framework:3 session: { default_locale:
en }4
5 XML
6 PHP
The Locale and the URL¶Since the locale of the user is stored in the session, it may be tempting to use the same URL to display a resource in many different languages based on the user's locale. For example, http://www.example.com/contact could show content in English for one user and French for another user. Unfortunately, this violates a fundamental rule of the Web: that a particular URL returns the same resource regardless of the user. To further muddy the problem, which version of
469
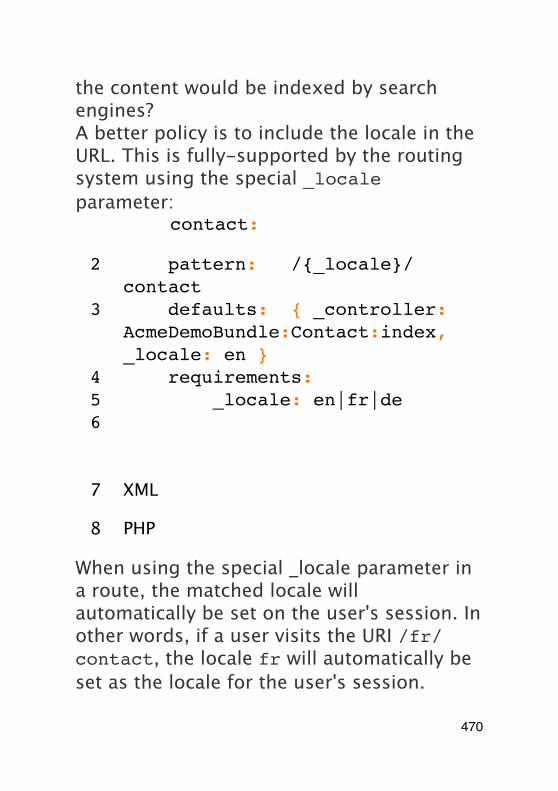
the content would be indexed by search engines?A better policy is to include the locale in the URL. This is fully-supported by the routing system using the special _locale parameter:
1 YAMLcontact:
2 pattern: /{_locale}/contact
3 defaults: { _controller: AcmeDemoBundle:Contact:index, _locale: en }
4 requirements:5 _locale: en|fr|de6
7 XML
8 PHP
When using the special _locale parameter in a route, the matched locale will automatically be set on the user's session. In other words, if a user visits the URI /fr/contact, the locale fr will automatically be set as the locale for the user's session.
470
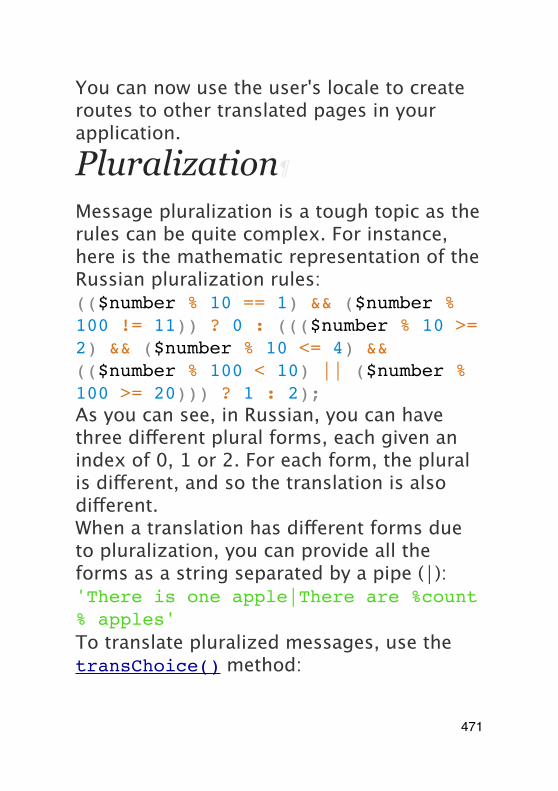
You can now use the user's locale to create routes to other translated pages in your application.
Pluralization
Message pluralization is a tough topic as the rules can be quite complex. For instance, here is the mathematic representation of the Russian pluralization rules:(($number % 10 == 1) && ($number % 100 != 11)) ? 0 : ((($number % 10 >= 2) && ($number % 10 <= 4) && (($number % 100 < 10) || ($number % 100 >= 20))) ? 1 : 2);As you can see, in Russian, you can have three different plural forms, each given an index of 0, 1 or 2. For each form, the plural is different, and so the translation is also different.When a translation has different forms due to pluralization, you can provide all the forms as a string separated by a pipe (|):'There is one apple|There are %count% apples'To translate pluralized messages, use the transChoice() method:
471
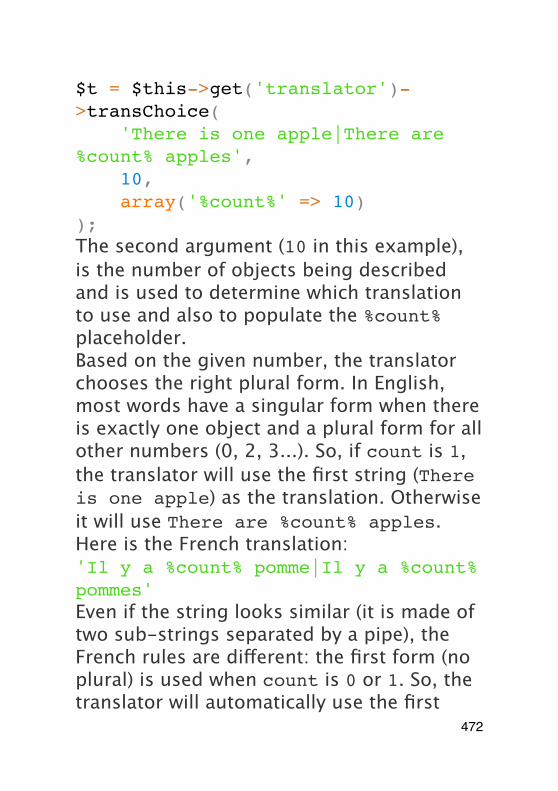
$t = $this->get('translator')->transChoice( 'There is one apple|There are %count% apples', 10, array('%count%' => 10));The second argument (10 in this example), is the number of objects being described and is used to determine which translation to use and also to populate the %count% placeholder.Based on the given number, the translator chooses the right plural form. In English, most words have a singular form when there is exactly one object and a plural form for all other numbers (0, 2, 3...). So, if count is 1, the translator will use the first string (There is one apple) as the translation. Otherwise it will use There are %count% apples.Here is the French translation:'Il y a %count% pomme|Il y a %count% pommes'Even if the string looks similar (it is made of two sub-strings separated by a pipe), the French rules are different: the first form (no plural) is used when count is 0 or 1. So, the translator will automatically use the first
472
string (Il y a %count% pomme) when count is 0 or 1.Each locale has its own set of rules, with some having as many as six different plural forms with complex rules behind which numbers map to which plural form. The rules are quite simple for English and French, but for Russian, you'd may want a hint to know which rule matches which string. To help translators, you can optionally "tag" each string:'one: There is one apple|some: There are %count% apples'
'none_or_one: Il y a %count% pomme|some: Il y a %count% pommes'The tags are really only hints for translators and don't affect the logic used to determine which plural form to use. The tags can be any descriptive string that ends with a colon (:). The tags also do not need to be the same in the original message as in the translated one.Explicit Interval Pluralization¶The easiest way to pluralize a message is to let Symfony2 use internal logic to choose which string to use based on a given
473
number. Sometimes, you'll need more control or want a different translation for specific cases (for 0, or when the count is negative, for example). For such cases, you can use explicit math intervals:'{0} There is no apples|{1} There is one apple|]1,19] There are %count% apples|[20,Inf] There are many apples'The intervals follow the ISO 31-11 notation. The above string specifies four different intervals: exactly 0, exactly 1, 2-19, and 20 and higher.You can also mix explicit math rules and standard rules. In this case, if the count is not matched by a specific interval, the standard rules take effect after removing the explicit rules:'{0} There is no apples|[20,Inf] There are many apples|There is one apple|a_few: There are %count% apples'For example, for 1 apple, the standard rule There is one apple will be used. For 2-19 apples, the second standard rule There are %count% apples will be selected.An Interval can represent a finite set of numbers:
474
{1,2,3,4}Or numbers between two other numbers:[1, +Inf[]-1,2[The left delimiter can be [ (inclusive) or ] (exclusive). The right delimiter can be [ (exclusive) or ] (inclusive). Beside numbers, you can use -Inf and +Inf for the infinite.
Translations in Templates
Most of the time, translation occurs in templates. Symfony2 provides native support for both Twig and PHP templates.Twig Templates¶Symfony2 provides specialized Twig tags (trans and transchoice) to help with message translation of static blocks of text:{% trans %}Hello %name%{% endtrans %}
{% transchoice count %} {0} There is no apples|{1} There is one apple|]1,Inf] There are %count% apples
475
{% endtranschoice %}The transchoice tag automatically gets the %count% variable from the current context and passes it to the translator. This mechanism only works when you use a placeholder following the %var% pattern.
If you need to use the percent character (%) in a string, escape it by doubling it: {% trans %}Percent: %percent%%%{% endtrans %}You can also specify the message domain and pass some additional variables:{% trans with {'%name%': 'Fabien'} from "app" %}Hello %name%{% endtrans %}
{% transchoice count with {'%name%': 'Fabien'} from "app" %} {0} There is no apples|{1} There is one apple|]1,Inf] There are %count% apples{% endtranschoice %}The trans and transchoice filters can be used to translate variable texts and complex expressions:{{ message | trans }}
476
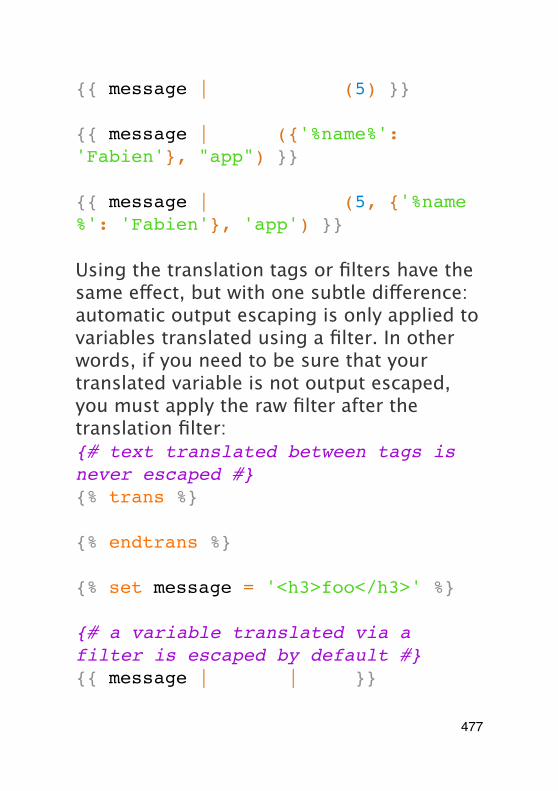
{{ message | transchoice(5) }}
{{ message | trans({'%name%': 'Fabien'}, "app") }}
{{ message | transchoice(5, {'%name%': 'Fabien'}, 'app') }}
Using the translation tags or filters have the same effect, but with one subtle difference: automatic output escaping is only applied to variables translated using a filter. In other words, if you need to be sure that your translated variable is not output escaped, you must apply the raw filter after the translation filter:{# text translated between tags is never escaped #}{% trans %} <h3>foo</h3>{% endtrans %}
{% set message = '<h3>foo</h3>' %}
{# a variable translated via a filter is escaped by default #}{{ message | trans | raw }}
477
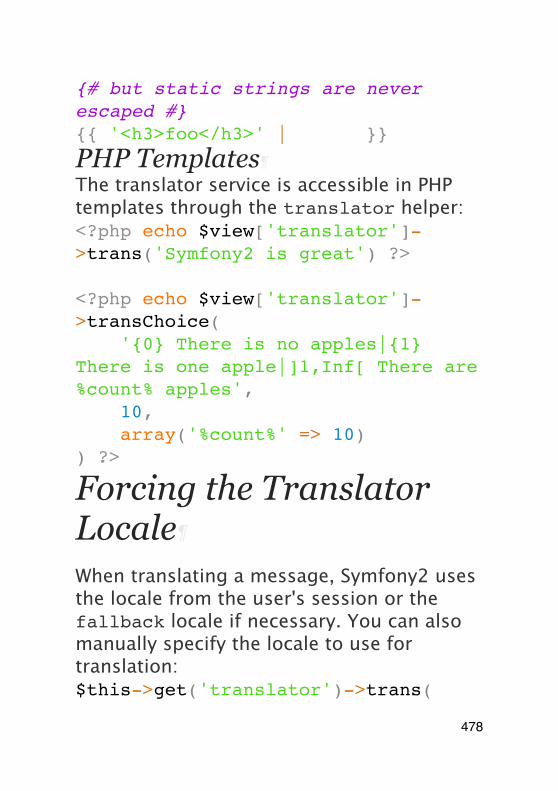
{# but static strings are never escaped #}{{ '<h3>foo</h3>' | trans }}
PHP Templates¶The translator service is accessible in PHP templates through the translator helper:<?php echo $view['translator']->trans('Symfony2 is great') ?>
<?php echo $view['translator']->transChoice( '{0} There is no apples|{1} There is one apple|]1,Inf[ There are %count% apples', 10, array('%count%' => 10)) ?>
Forcing the Translator Locale
When translating a message, Symfony2 uses the locale from the user's session or the fallback locale if necessary. You can also manually specify the locale to use for translation:$this->get('translator')->trans(
478
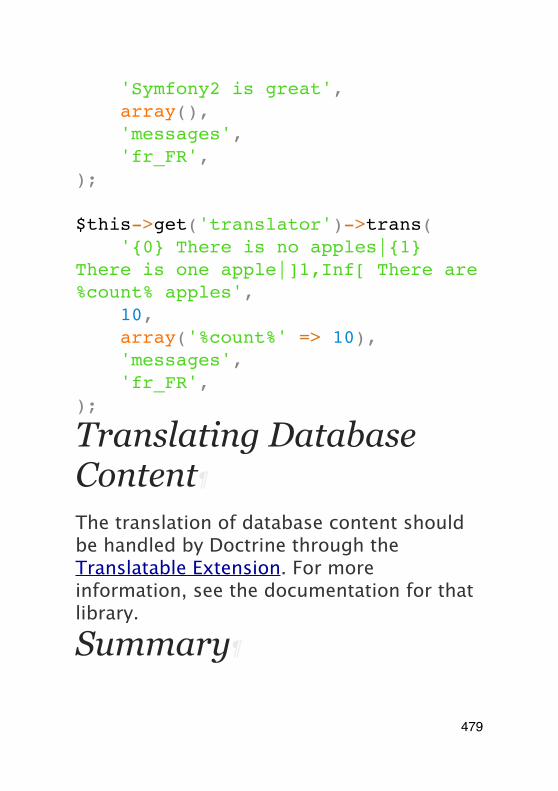
'Symfony2 is great', array(), 'messages', 'fr_FR',);
$this->get('translator')->trans( '{0} There is no apples|{1} There is one apple|]1,Inf[ There are %count% apples', 10, array('%count%' => 10), 'messages', 'fr_FR',);
Translating Database Content
The translation of database content should be handled by Doctrine through the Translatable Extension. For more information, see the documentation for that library.
Summary
479
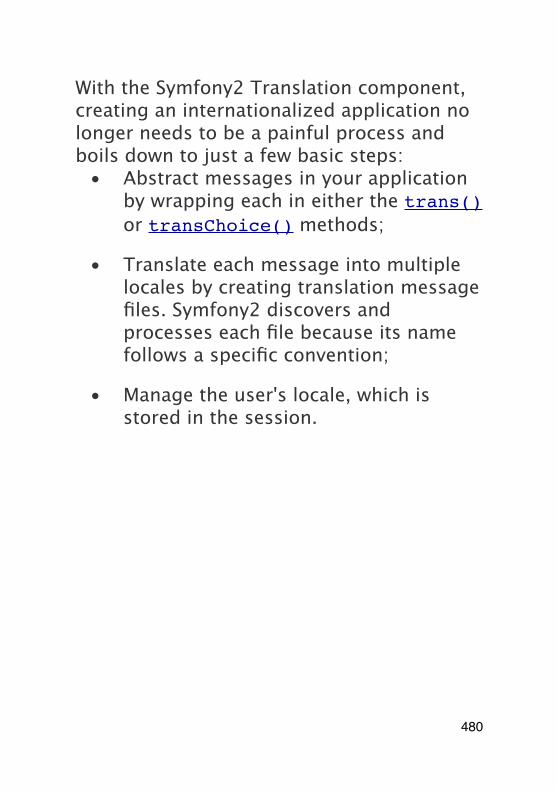
With the Symfony2 Translation component, creating an internationalized application no longer needs to be a painful process and boils down to just a few basic steps:
• Abstract messages in your application by wrapping each in either the trans() or transChoice() methods;
• Translate each message into multiple locales by creating translation message files. Symfony2 discovers and processes each file because its name follows a specific convention;
• Manage the user's locale, which is stored in the session.
480
Service ContainerA modern PHP application is full of objects. One object may facilitate the delivery of email messages while another may allow you to persist information into a database. In your application, you may create an object that manages your product inventory, or another object that processes data from a third-party API. The point is that a modern application does many things and is organized into many objects that handle each task.In this chapter, we'll talk about a special PHP object in Symfony2 that helps you instantiate, organize and retrieve the many objects of your application. This object, called a service container, will allow you to standardize and centralize the way objects are constructed in your application. The container makes your life easier, is super fast, and emphasizes an architecture that promotes reusable and decoupled code. And
481

since all core Symfony2 classes use the container, you'll learn how to extend, configure and use any object in Symfony2. In large part, the service container is the biggest contributor to the speed and extensibility of Symfony2.Finally, configuring and using the service container is easy. By the end of this chapter, you'll be comfortable creating your own objects via the container and customizing objects from any third-party bundle. You'll begin writing code that is more reusable, testable and decoupled, simply because the service container makes writing good code so easy.
What is a Service?
Put simply, a Service is any PHP object that performs some sort of "global" task. It's a purposefully-generic name used in computer science to describe an object that's created for a specific purpose (e.g. delivering emails). Each service is used throughout your application whenever you need the specific functionality it provides. You don't have to do anything special to make a service: simply write a PHP class with
482
some code that accomplishes a specific task. Congratulations, you've just created a service!
As a rule, a PHP object is a service if it is used globally in your application. A single Mailer service is used globally to send email messages whereas the many Message objects that it delivers are not services. Similarly, a Product object is not a service, but an object that persists Product objects to a database is a service.So what's the big deal then? The advantage of thinking about "services" is that you begin to think about separating each piece of functionality in your application into a series of services. Since each service does just one job, you can easily access each service and use its functionality wherever you need it. Each service can also be more easily tested and configured since it's separated from the other functionality in your application. This idea is called service-oriented architecture and is not unique to Symfony2 or even PHP. Structuring your application around a set of independent service classes is a well-known and trusted object-oriented best-practice.
483

These skills are key to being a good developer in almost any language.
What is a Service Container?
A Service Container (or dependency injection container) is simply a PHP object that manages the instantiation of services (i.e. objects). For example, suppose we have a simple PHP class that delivers email messages. Without a service container, we must manually create the object whenever we need it:use Acme\HelloBundle\Mailer;
$mailer = new Mailer('sendmail');$mailer->send('[email protected]', ... );This is easy enough. The imaginary Mailer class allows us to configure the method used to deliver the email messages (e.g. sendmail, smtp, etc). But what if we wanted to use the mailer service somewhere else? We certainly don't want to repeat the mailer configuration every time we need to use the Mailer object. What if we needed to change
484
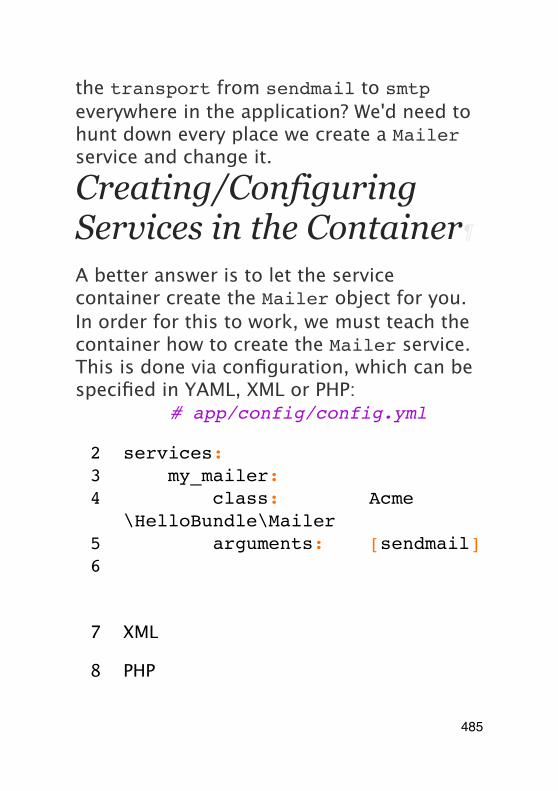
the transport from sendmail to smtp everywhere in the application? We'd need to hunt down every place we create a Mailer service and change it.
Creating/Configuring Services in the Container
A better answer is to let the service container create the Mailer object for you. In order for this to work, we must teach the container how to create the Mailer service. This is done via configuration, which can be specified in YAML, XML or PHP:
1 YAML# app/config/config.yml
2 services:3 my_mailer:4 class: Acme
\HelloBundle\Mailer5 arguments: [sendmail]6
7 XML
8 PHP
485
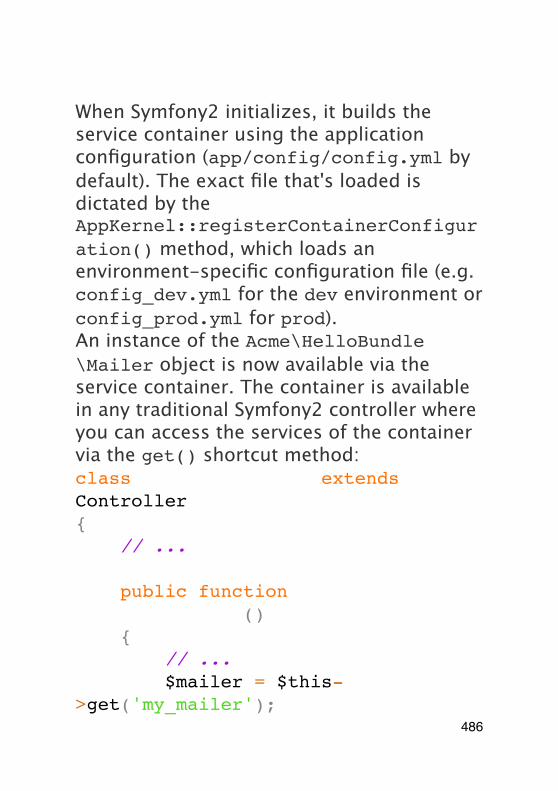
When Symfony2 initializes, it builds the service container using the application configuration (app/config/config.yml by default). The exact file that's loaded is dictated by the AppKernel::registerContainerConfiguration() method, which loads an environment-specific configuration file (e.g. config_dev.yml for the dev environment or config_prod.yml for prod).An instance of the Acme\HelloBundle\Mailer object is now available via the service container. The container is available in any traditional Symfony2 controller where you can access the services of the container via the get() shortcut method:class HelloController extends Controller{ // ...
public function sendEmailAction() { // ... $mailer = $this->get('my_mailer');
486
$mailer->send('[email protected]', ... ); }}When we ask for the my_mailer service from the container, the container constructs the object and returns it. This is another major advantage of using the service container. Namely, a service is never constructed until it's needed. If you define a service and never use it on a request, the service is never created. This saves memory and increases the speed of your application. This also means that there's very little or no performance hit for defining lots of services. Services that are never used are never constructed.As an added bonus, the Mailer service is only created once and the same instance is returned each time you ask for the service. This is almost always the behavior you'll need (it's more flexible and powerful), but we'll learn later how you can configure a service that has multiple instances.
Service Parameters
487
The creation of new services (i.e. objects) via the container is pretty straightforward. Parameters make defining services more organized and flexible:
1 YAML# app/config/config.yml
2 parameters:3 my_mailer.class: Acme
\HelloBundle\Mailer4 my_mailer.transport:
sendmail56 services:7 my_mailer:8 class:
%my_mailer.class%9 arguments:
[%my_mailer.transport%]
10 XML
11 PHP
The end result is exactly the same as before - the difference is only in how we defined the service. By surrounding the my_mailer.class and my_mailer.transport strings in percent (%) signs, the container knows to look for
488
parameters with those names. When the container is built, it looks up the value of each parameter and uses it in the service definition.The purpose of parameters is to feed information into services. Of course there was nothing wrong with defining the service without using any parameters. Parameters, however, have several advantages:
• separation and organization of all service "options" under a single parameters key;
• parameter values can be used in multiple service definitions;
• when creating a service in a bundle (we'll show this shortly), using parameters allows the service to be easily customized in your application.
The choice of using or not using parameters is up to you. High-quality third-party bundles will always use parameters as they make the service stored in the container more configurable. For the services in your application, however, you may not need the flexibility of parameters.
489
Importing other Container Configuration Resources
In this section, we'll refer to service configuration files as resources. This is to highlight that fact that, while most configuration resources will be files (e.g. YAML, XML, PHP), Symfony2 is so flexible that configuration could be loaded from anywhere (e.g. a database or even via an external web service).The service container is built using a single configuration resource (app/config/config.yml by default). All other service configuration (including the core Symfony2 and third-party bundle configuration) must be imported from inside this file in one way or another. This gives you absolute flexibility over the services in your application.External service configuration can be imported in two different ways. First, we'll talk about the method that you'll use most commonly in your application: the imports
490
directive. In the following section, we'll introduce the second method, which is the flexible and preferred method for importing service configuration from third-party bundles.Importing Configuration with imports¶So far, we've placed our my_mailer service container definition directly in the application configuration file (e.g. app/config/config.yml). Of course, since the Mailer class itself lives inside the AcmeHelloBundle, it makes more sense to put the my_mailer container definition inside the bundle as well.First, move the my_mailer container definition into a new container resource file inside AcmeHelloBundle. If the Resources or Resources/config directories don't exist, create them.
1 YAML# src/Acme/HelloBundle/Resources/config/services.yml
2 parameters:3 my_mailer.class: Acme
\HelloBundle\Mailer
491
4 my_mailer.transport: sendmail
56 services:7 my_mailer:8 class:
%my_mailer.class%9 arguments:
[%my_mailer.transport%]
10 XML
11 PHP
The definition itself hasn't changed, only its location. Of course the service container doesn't know about the new resource file. Fortunately, we can easily import the resource file using the imports key in the application configuration.
1 YAML# app/config/config.yml
2 imports:3 hello_bundle:4 resource:
@AcmeHelloBundle/Resources/config/services.yml
5 XML492
6 PHP
The imports directive allows your application to include service container configuration resources from any other location (most commonly from bundles). The resource location, for files, is the absolute path to the resource file. The special @AcmeHello syntax resolves the directory path of the AcmeHelloBundle bundle. This helps you specify the path to the resource without worrying later if you move the AcmeHelloBundle to a different directory.Importing Configuration via Container Extensions¶When developing in Symfony2, you'll most commonly use the imports directive to import container configuration from the bundles you've created specifically for your application. Third-party bundle container configuration, including Symfony2 core services, are usually loaded using another method that's more flexible and easy to configure in your application.Here's how it works. Internally, each bundle defines its services very much like we've seen so far. Namely, a bundle uses one or
493
more configuration resource files (usually XML) to specify the parameters and services for that bundle. However, instead of importing each of these resources directly from your application configuration using the imports directive, you can simply invoke a service container extension inside the bundle that does the work for you. A service container extension is a PHP class created by the bundle author to accomplish two things:
• import all service container resources needed to configure the services for the bundle;
• provide semantic, straightforward configuration so that the bundle can be configured without interacting with the flat parameters of the bundle's service container configuration.
In other words, a service container extension configures the services for a bundle on your behalf. And as we'll see in a moment, the extension provides a sensible, high-level interface for configuring the bundle.Take the FrameworkBundle - the core Symfony2 framework bundle - as an example. The presence of the following code
494
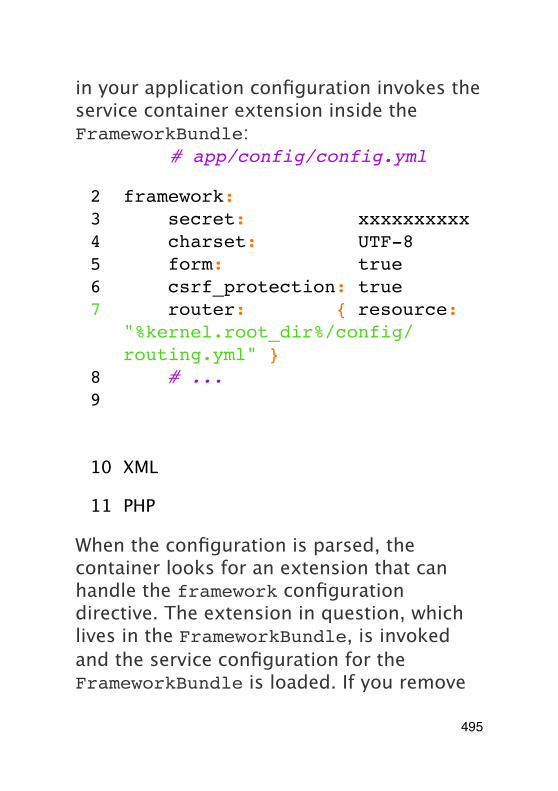
in your application configuration invokes the service container extension inside the FrameworkBundle:
1 YAML# app/config/config.yml
2 framework:3 secret: xxxxxxxxxx4 charset: UTF-85 form: true6 csrf_protection: true7 router: { resource:
"%kernel.root_dir%/config/routing.yml" }
8 # ...9
10 XML
11 PHP
When the configuration is parsed, the container looks for an extension that can handle the framework configuration directive. The extension in question, which lives in the FrameworkBundle, is invoked and the service configuration for the FrameworkBundle is loaded. If you remove
495

the framework key from your application configuration file entirely, the core Symfony2 services won't be loaded. The point is that you're in control: the Symfony2 framework doesn't contain any magic or perform any actions that you don't have control over.Of course you can do much more than simply "activate" the service container extension of the FrameworkBundle. Each extension allows you to easily customize the bundle, without worrying about how the internal services are defined.In this case, the extension allows you to customize the charset, error_handler, csrf_protection, router configuration and much more. Internally, the FrameworkBundle uses the options specified here to define and configure the services specific to it. The bundle takes care of creating all the necessary parameters and services for the service container, while still allowing much of the configuration to be easily customized. As an added bonus, most service container extensions are also smart enough to perform validation - notifying you of options that are missing or the wrong data type.
496
When installing or configuring a bundle, see the bundle's documentation for how the services for the bundle should be installed and configured. The options available for the core bundles can be found inside the Reference Guide.
Natively, the service container only recognizes the parameters, services, and imports directives. Any other directives are handled by a service container extension.
Referencing (Injecting) Services
So far, our original my_mailer service is simple: it takes just one argument in its constructor, which is easily configurable. As you'll see, the real power of the container is realized when you need to create a service that depends on one or more other services in the container.Let's start with an example. Suppose we have a new service, NewsletterManager, that helps to manage the preparation and delivery of an email message to a collection of addresses. Of course the my_mailer
497
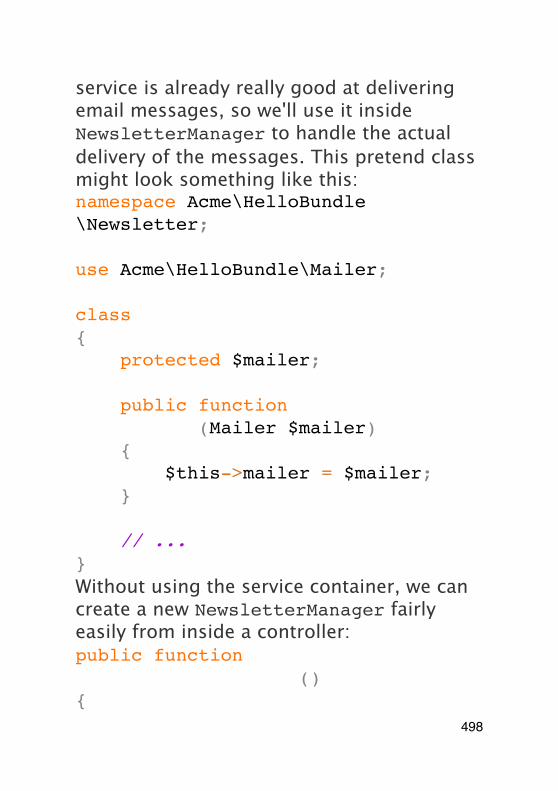
service is already really good at delivering email messages, so we'll use it inside NewsletterManager to handle the actual delivery of the messages. This pretend class might look something like this:namespace Acme\HelloBundle\Newsletter;
use Acme\HelloBundle\Mailer;
class NewsletterManager{ protected $mailer;
public function __construct(Mailer $mailer) { $this->mailer = $mailer; }
// ...}Without using the service container, we can create a new NewsletterManager fairly easily from inside a controller:public function sendNewsletterAction(){
498
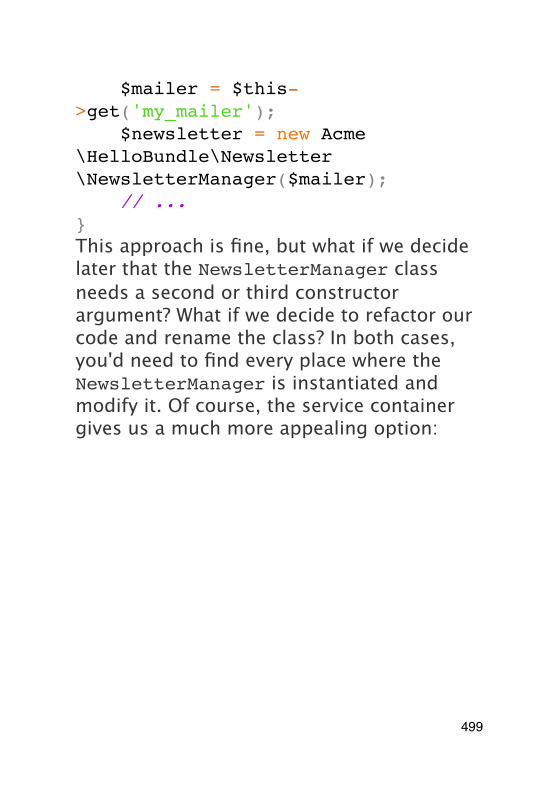
$mailer = $this->get('my_mailer'); $newsletter = new Acme\HelloBundle\Newsletter\NewsletterManager($mailer); // ...}This approach is fine, but what if we decide later that the NewsletterManager class needs a second or third constructor argument? What if we decide to refactor our code and rename the class? In both cases, you'd need to find every place where the NewsletterManager is instantiated and modify it. Of course, the service container gives us a much more appealing option:
1 YAML# src/Acme/HelloBundle/Resources/config/services.yml
2 parameters:3 # ...4 newsletter_manager.class:
Acme\HelloBundle\Newsletter\NewsletterManager
56 services:7 my_mailer:
499
8 # ...9 newsletter_manager:10 class:
%newsletter_manager.class%11 arguments: [@my_mailer]
12 XML
13 PHP
In YAML, the special @my_mailer syntax tells the container to look for a service named my_mailer and to pass that object into the constructor of NewsletterManager. In this case, however, the specified service my_mailer must exist. If it does not, an exception will be thrown. You can mark your dependencies as optional - this will be discussed in the next section.Using references is a very powerful tool that allows you to create independent service classes with well-defined dependencies. In this example, the newsletter_manager service needs the my_mailer service in order to function. When you define this dependency in the service container, the container takes care of all the work of instantiating the objects.
500

Optional Dependencies: Setter Injection¶Injecting dependencies into the constructor in this manner is an excellent way of ensuring that the dependency is available to use. If you have optional dependencies for a class, then "setter injection" may be a better option. This means injecting the dependency using a method call rather than through the constructor. The class would look like this:namespace Acme\HelloBundle\Newsletter;
use Acme\HelloBundle\Mailer;
class NewsletterManager{ protected $mailer;
public function setMailer(Mailer $mailer) { $this->mailer = $mailer; }
// ...}
501
Injecting the dependency by the setter method just needs a change of syntax:
1 YAML# src/Acme/HelloBundle/Resources/config/services.yml
2 parameters:3 # ...4 newsletter_manager.class:
Acme\HelloBundle\Newsletter\NewsletterManager
56 services:7 my_mailer:8 # ...9 newsletter_manager:10 class:
%newsletter_manager.class%11 calls:12 - [ setMailer,
[ @my_mailer ] ]
13 XML
14 PHP
The approaches presented in this section are called "constructor injection" and "setter
502
injection". The Symfony2 service container also supports "property injection".
Making References Optional
Sometimes, one of your services may have an optional dependency, meaning that the dependency is not required for your service to work properly. In the example above, the my_mailer service must exist, otherwise an exception will be thrown. By modifying the newsletter_manager service definition, you can make this reference optional. The container will then inject it if it exists and do nothing if it doesn't:
1 YAML# src/Acme/HelloBundle/Resources/config/services.yml
2 parameters:3 # ...45 services:6 newsletter_manager:7 class:
%newsletter_manager.class%
503
8 arguments: [@?my_mailer]
9 XML
10 PHP
In YAML, the special @? syntax tells the service container that the dependency is optional. Of course, the NewsletterManager must also be written to allow for an optional dependency:public function __construct(Mailer $mailer = null){ // ...}
Core Symfony and Third-Party Bundle Services
Since Symfony2 and all third-party bundles configure and retrieve their services via the container, you can easily access them or even use them in your own services. To keep things simple, Symfony2 by default does not require that controllers be defined as services. Furthermore Symfony2 injects the entire service container into your controller.
504
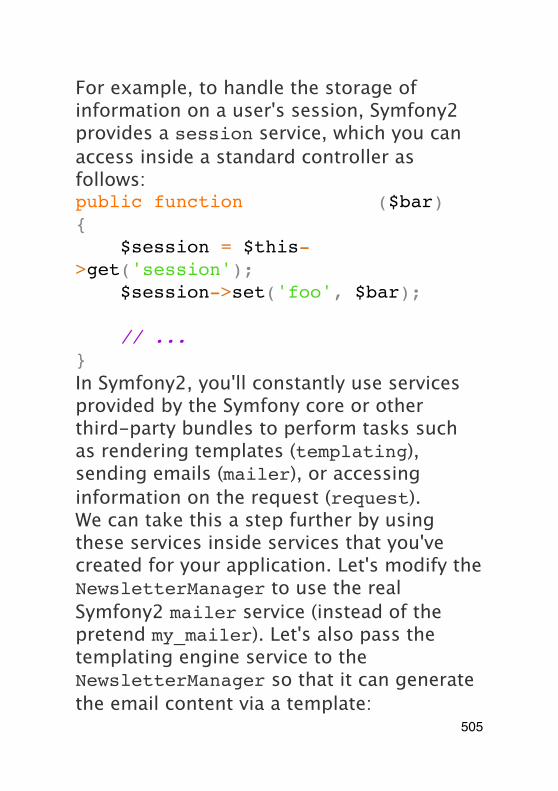
For example, to handle the storage of information on a user's session, Symfony2 provides a session service, which you can access inside a standard controller as follows:public function indexAction($bar){ $session = $this->get('session'); $session->set('foo', $bar);
// ...}In Symfony2, you'll constantly use services provided by the Symfony core or other third-party bundles to perform tasks such as rendering templates (templating), sending emails (mailer), or accessing information on the request (request).We can take this a step further by using these services inside services that you've created for your application. Let's modify the NewsletterManager to use the real Symfony2 mailer service (instead of the pretend my_mailer). Let's also pass the templating engine service to the NewsletterManager so that it can generate the email content via a template:
505
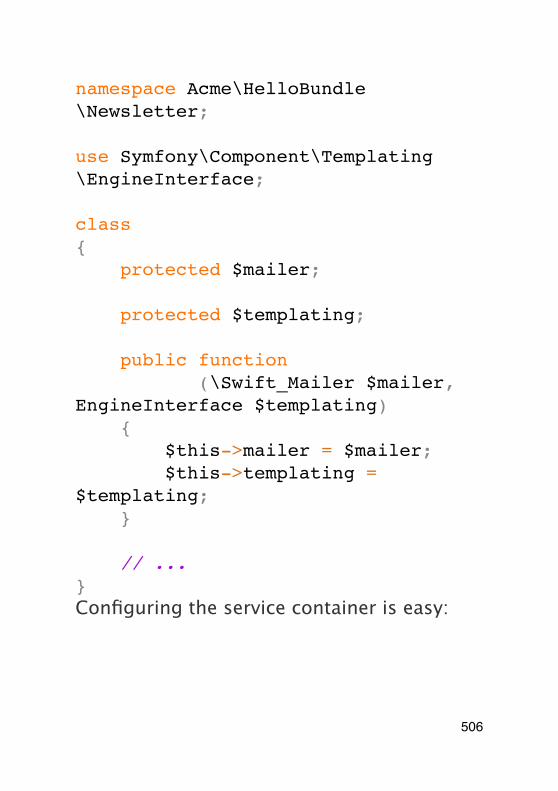
namespace Acme\HelloBundle\Newsletter;
use Symfony\Component\Templating\EngineInterface;
class NewsletterManager{ protected $mailer;
protected $templating;
public function __construct(\Swift_Mailer $mailer, EngineInterface $templating) { $this->mailer = $mailer; $this->templating = $templating; }
// ...}Configuring the service container is easy:
1 YAMLservices:
2 newsletter_manager:
506
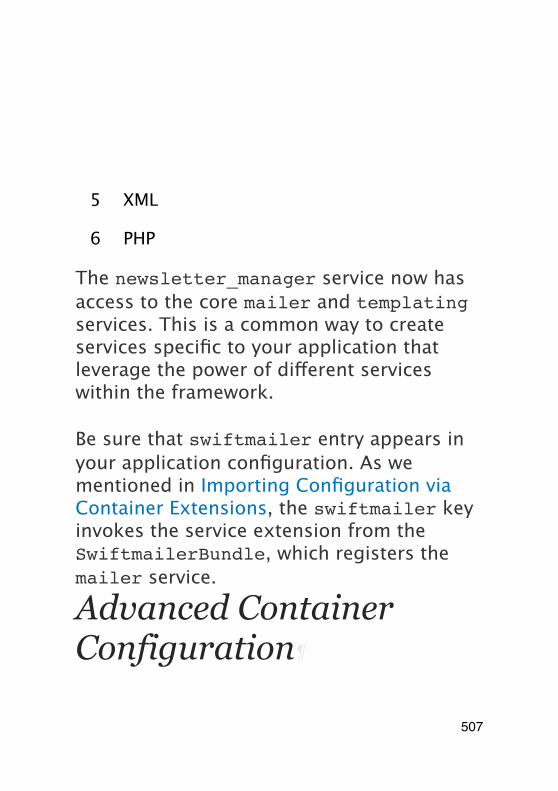
3 class: %newsletter_manager.class%
4 arguments: [@mailer, @templating]
5 XML
6 PHP
The newsletter_manager service now has access to the core mailer and templating services. This is a common way to create services specific to your application that leverage the power of different services within the framework.
Be sure that swiftmailer entry appears in your application configuration. As we mentioned in Importing Configuration via Container Extensions, the swiftmailer key invokes the service extension from the SwiftmailerBundle, which registers the mailer service.
Advanced Container Configuration
507
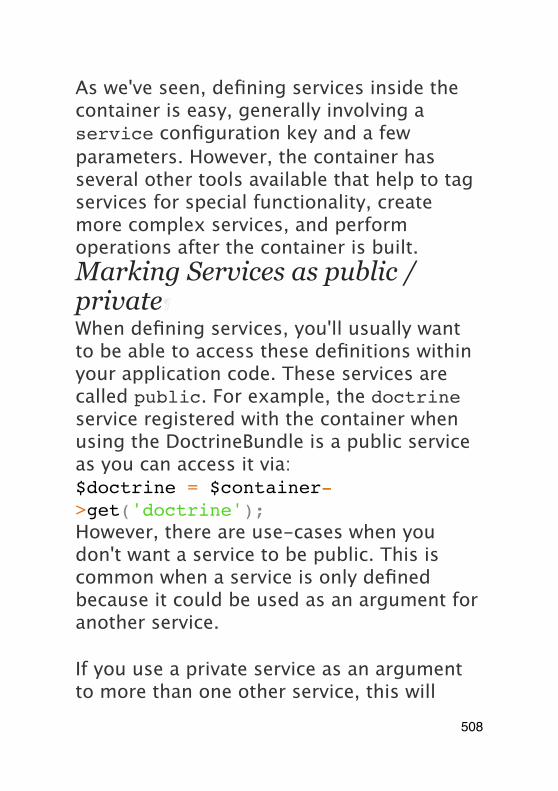
As we've seen, defining services inside the container is easy, generally involving a service configuration key and a few parameters. However, the container has several other tools available that help to tag services for special functionality, create more complex services, and perform operations after the container is built.Marking Services as public / private¶When defining services, you'll usually want to be able to access these definitions within your application code. These services are called public. For example, the doctrine service registered with the container when using the DoctrineBundle is a public service as you can access it via:$doctrine = $container->get('doctrine');However, there are use-cases when you don't want a service to be public. This is common when a service is only defined because it could be used as an argument for another service.
If you use a private service as an argument to more than one other service, this will
508
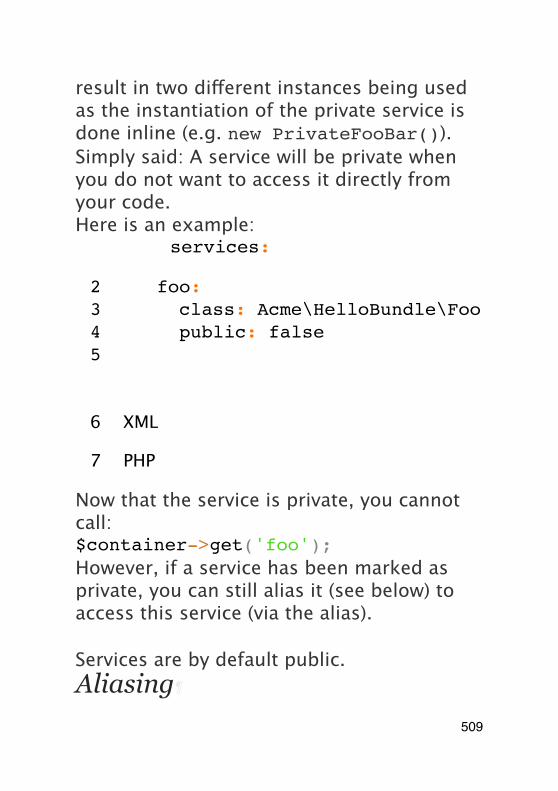
result in two different instances being used as the instantiation of the private service is done inline (e.g. new PrivateFooBar()).Simply said: A service will be private when you do not want to access it directly from your code.Here is an example:
1 YAMLservices:
2 foo:3 class: Acme\HelloBundle\Foo4 public: false5
6 XML
7 PHP
Now that the service is private, you cannot call:$container->get('foo');However, if a service has been marked as private, you can still alias it (see below) to access this service (via the alias).
Services are by default public.Aliasing
509
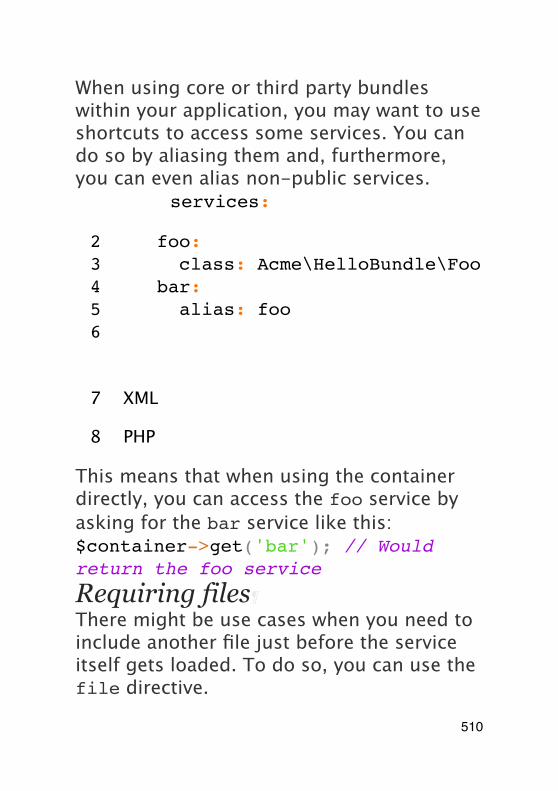
When using core or third party bundles within your application, you may want to use shortcuts to access some services. You can do so by aliasing them and, furthermore, you can even alias non-public services.
1 YAMLservices:
2 foo:3 class: Acme\HelloBundle\Foo4 bar:5 alias: foo6
7 XML
8 PHP
This means that when using the container directly, you can access the foo service by asking for the bar service like this:$container->get('bar'); // Would return the foo service
Requiring files¶There might be use cases when you need to include another file just before the service itself gets loaded. To do so, you can use the file directive.
510
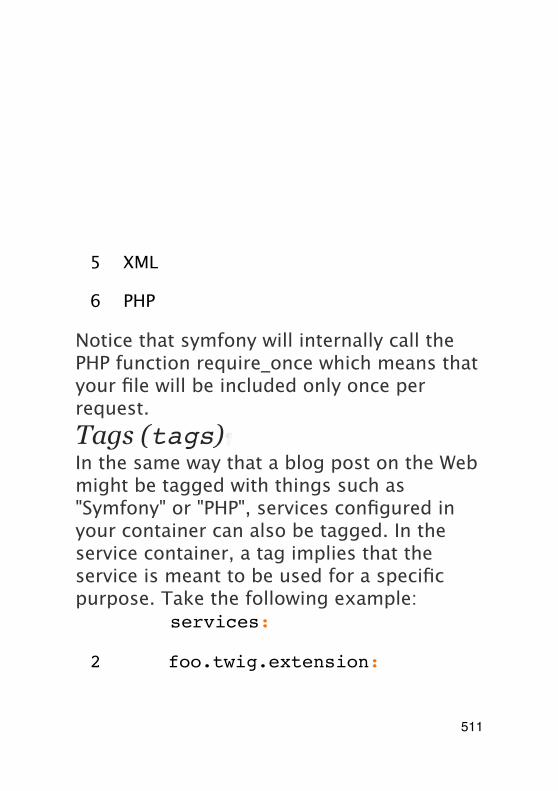
1 YAMLservices:
2 foo:3 class: Acme\HelloBundle\Foo
\Bar4 file: %kernel.root_dir%/
src/path/to/file/foo.php
5 XML
6 PHP
Notice that symfony will internally call the PHP function require_once which means that your file will be included only once per request.Tags (tags)¶In the same way that a blog post on the Web might be tagged with things such as "Symfony" or "PHP", services configured in your container can also be tagged. In the service container, a tag implies that the service is meant to be used for a specific purpose. Take the following example:
1 YAMLservices:
2 foo.twig.extension:
511
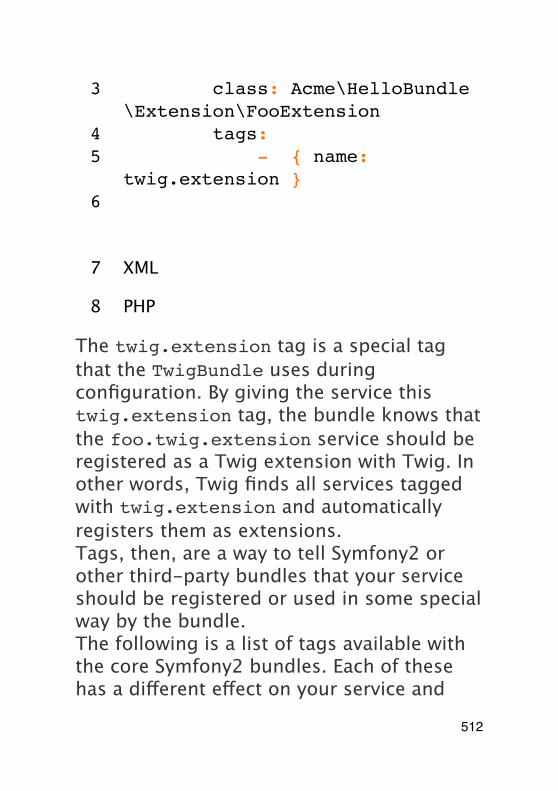
3 class: Acme\HelloBundle\Extension\FooExtension
4 tags:5 - { name:
twig.extension }6
7 XML
8 PHP
The twig.extension tag is a special tag that the TwigBundle uses during configuration. By giving the service this twig.extension tag, the bundle knows that the foo.twig.extension service should be registered as a Twig extension with Twig. In other words, Twig finds all services tagged with twig.extension and automatically registers them as extensions.Tags, then, are a way to tell Symfony2 or other third-party bundles that your service should be registered or used in some special way by the bundle.The following is a list of tags available with the core Symfony2 bundles. Each of these has a different effect on your service and
512
many tags require additional arguments (beyond just the name parameter).
• assetic.filter
• assetic.templating.php
• data_collector
• form.field_factory.guesser
• kernel.cache_warmer
• kernel.event_listener
• monolog.logger
• routing.loader
• security.listener.factory
• security.voter
• templating.helper
• twig.extension
• translation.loader
• validator.constraint_validator
513
Learn more from the Cookbook
• How to Use a Factory to Create Services
• How to Manage Common Dependencies with Parent Services
• How to define Controllers as Services
514

PerformanceSymfony2 is fast, right out of the box. Of course, if you really need speed, there are many ways that you can make Symfony even faster. In this chapter, you'll explore many of the most common and powerful ways to make your Symfony application even faster.
Use a Byte Code Cache (e.g. APC)
One the best (and easiest) things that you should do to improve your performance is to use a "byte code cache". The idea of a byte code cache is to remove the need to constantly recompile the PHP source code. There are a number of byte code caches available, some of which are open source. The most widely used byte code cache is probably APCUsing a byte code cache really has no downside, and Symfony2 has been architected to perform really well in this type of environment.Further Optimizations
515
Byte code caches usually monitor the source files for changes. This ensures that if the source of a file changes, the byte code is recompiled automatically. This is really convenient, but obviously adds overhead.For this reason, some byte code caches offer an option to disable these checks. Obviously, when disabling these checks, it will be up to the server admin to ensure that the cache is cleared whenever any source files change. Otherwise, the updates you've made won't be seen.For example, to disable these checks in APC, simply add apc.stat=0 to your php.ini configuration.
Use an Autoloader that caches (e.g. ApcUniversalClassLoader)
By default, the Symfony2 standard edition uses the UniversalClassLoader in the autoloader.php file. This autoloader is easy to use, as it will automatically find any new
516

classes that you've placed in the registered directories.Unfortunately, this comes at a cost, as the loader iterates over all configured namespaces to find a particular file, making file_exists calls until it finally finds the file it's looking for.The simplest solution is to cache the location of each class after it's located the first time. Symfony comes with a class - ApcUniversalClassLoader - loader that extends the UniversalClassLoader and stores the class locations in APC.To use this class loader, simply adapt your autoloader.php as follows:// app/autoload.phprequire __DIR__.'/../vendor/symfony/src/Symfony/Component/ClassLoader/ApcUniversalClassLoader.php';
use Symfony\Component\ClassLoader\ApcUniversalClassLoader;
$loader = new ApcUniversalClassLoader('some caching unique prefix');// ...
517
When using the APC autoloader, if you add new classes, they will be found automatically and everything will work the same as before (i.e. no reason to "clear" the cache). However, if you change the location of a particular namespace or prefix, you'll need to flush your APC cache. Otherwise, the autoloader will still be looking at the old location for all classes inside that namespace.
Use Bootstrap Files
To ensure optimal flexibility and code reuse, Symfony2 applications leverage a variety of classes and 3rd party components. But loading all of these classes from separate files on each request can result in some overhead. To reduce this overhead, the Symfony2 Standard Edition provides a script to generate a so-called bootstrap file, consisting of multiple classes definitions in a single file. By including this file (which contains a copy of many of the core classes), Symfony no longer needs to include any of the source files containing those classes. This will reduce disc IO quite a bit.
518
If you're using the Symfony2 Standard Edition, then you're probably already using the bootstrap file. To be sure, open your front controller (usually app.php) and check to make sure that the following line exists:require_once __DIR__.'/../app/bootstrap.php.cache';Note that there are two disadvantages when using a bootstrap file:
• the file needs to be regenerated whenever any of the original sources change (i.e. when you update the Symfony2 source or vendor libraries);
• when debugging, one will need to place break points inside the bootstrap file.
If you're using Symfony2 Standard Edition, the bootstrap file is automatically rebuilt after updating the vendor libraries via the php bin/vendors install command.Bootstrap Files and Byte Code Caches¶Even when using a byte code cache, performance will improve when using a bootstrap file since there will be less files to monitor for changes. Of course if this feature is disabled in the byte code cache
519
(e.g. apc.stat=0 in APC), there is no longer a reason to use a bootstrap file.
520
InternalsLooks like you want to understand how Symfony2 works and how to extend it. That makes me very happy! This section is an in-depth explanation of the Symfony2 internals.
You need to read this section only if you want to understand how Symfony2 works behind the scene, or if you want to extend Symfony2.
Overview
The Symfony2 code is made of several independent layers. Each layer is built on top of the previous one.
Autoloading is not managed by the framework directly; it's done independently with the help of the UniversalClassLoader class and the src/autoload.php file. Read the dedicated chapter for more information.HttpFoundation Component
521
The deepest level is the HttpFoundation component. HttpFoundation provides the main objects needed to deal with HTTP. It is an Object-Oriented abstraction of some native PHP functions and variables:
• The Request class abstracts the main PHP global variables like $_GET, $_POST, $_COOKIE, $_FILES, and $_SERVER;
• The Response class abstracts some PHP functions like header(), setcookie(), and echo;
• The Session class and SessionStorageInterface interface abstract session management session_*() functions.
HttpKernel Component¶On top of HttpFoundation is the HttpKernel component. HttpKernel handles the dynamic part of HTTP; it is a thin wrapper on top of the Request and Response classes to standardize the way requests are handled. It also provides extension points and tools that makes it the ideal starting point to
522
create a Web framework without too much overhead.It also optionally adds configurability and extensibility, thanks to the Dependency Injection component and a powerful plugin system (bundles).
Read more about the HttpKernel component. Read more about Dependency Injection and Bundles.FrameworkBundle Bundle¶The FrameworkBundle bundle is the bundle that ties the main components and libraries together to make a lightweight and fast MVC framework. It comes with a sensible default configuration and conventions to ease the learning curve.
Kernel
The HttpKernel class is the central class of Symfony2 and is responsible for handling client requests. Its main goal is to "convert" a Request object to a Response object.Every Symfony2 Kernel implements HttpKernelInterface:
523
function handle(Request $request, $type = self::MASTER_REQUEST, $catch = true)
Controllers¶To convert a Request to a Response, the Kernel relies on a "Controller". A Controller can be any valid PHP callable.The Kernel delegates the selection of what Controller should be executed to an implementation of ControllerResolverInterface:public function getController(Request $request);
public function getArguments(Request $request, $controller);The getController() method returns the Controller (a PHP callable) associated with the given Request. The default implementation (ControllerResolver) looks for a _controller request attribute that represents the controller name (a "class::method" string, like Bundle\BlogBundle\PostController:indexAction).
524
The default implementation uses the RouterListener to define the _controller Request attribute (see kernel.request Event).The getArguments() method returns an array of arguments to pass to the Controller callable. The default implementation automatically resolves the method arguments, based on the Request attributes.
Matching Controller method arguments from Request attributesFor each method argument, Symfony2 tries to get the value of a Request attribute with the same name. If it is not defined, the argument default value is used if defined:// Symfony2 will look for an 'id' attribute (mandatory)// and an 'admin' one (optional)public function showAction($id, $admin = true){ // ...}
Handling Requests
525
The handle() method takes a Request and always returns a Response. To convert the Request, handle() relies on the Resolver and an ordered chain of Event notifications (see the next section for more information about each Event):
1. Before doing anything else, the kernel.request event is notified -- if one of the listeners returns a Response, it jumps to step 8 directly;
2. The Resolver is called to determine the Controller to execute;
3. Listeners of the kernel.controller event can now manipulate the Controller callable the way they want (change it, wrap it, ...);
4. The Kernel checks that the Controller is actually a valid PHP callable;
5. The Resolver is called to determine the arguments to pass to the Controller;
6. The Kernel calls the Controller;
7. If the Controller does not return a Response, listeners of the
526
kernel.view event can convert the Controller return value to a Response;
8. Listeners of the kernel.response event can manipulate the Response (content and headers);
9. The Response is returned.
If an Exception is thrown during processing, the kernel.exception is notified and listeners are given a chance to convert the Exception to a Response. If that works, the kernel.response event is notified; if not, the Exception is re-thrown.If you don't want Exceptions to be caught (for embedded requests for instance), disable the kernel.exception event by passing false as the third argument to the handle() method.Internal Requests¶At any time during the handling of a request (the 'master' one), a sub-request can be handled. You can pass the request type to the handle() method (its second argument):• HttpKernelInterface::MASTER_REQU
EST;527
• HttpKernelInterface::SUB_REQUEST.
The type is passed to all events and listeners can act accordingly (some processing must only occur on the master request).Events¶Each event thrown by the Kernel is a subclass of KernelEvent. This means that each event has access to the same basic information:• getRequestType() - returns the type
of the request (HttpKernelInterface::MASTER_REQUEST or HttpKernelInterface::SUB_REQUEST);
• getKernel() - returns the Kernel handling the request;
• getRequest() - returns the current Request being handled.
getRequestType()
The getRequestType() method allows listeners to know the type of the request. For instance, if a listener must only be active
528
for master requests, add the following code at the beginning of your listener method:use Symfony\Component\HttpKernel\HttpKernelInterface;
if (HttpKernelInterface::MASTER_REQUEST !== $event->getRequestType()) { // return immediately return;}
If you are not yet familiar with the Symfony2 Event Dispatcher, read the Events section first.kernel.request Event
Event Class: GetResponseEventThe goal of this event is to either return a Response object immediately or setup variables so that a Controller can be called after the event. Any listener can return a Response object via the setResponse() method on the event. In this case, all other listeners won't be called.This event is used by FrameworkBundle to populate the _controller Request attribute, via the RouterListener.
529
RequestListener uses a RouterInterface object to match the Request and determine the Controller name (stored in the _controller Request attribute).kernel.controller Event
Event Class: FilterControllerEventThis event is not used by FrameworkBundle, but can be an entry point used to modify the controller that should be executed:use Symfony\Component\HttpKernel\Event\FilterControllerEvent;
public function onKernelController(FilterControllerEvent $event){ $controller = $event->getController(); // ...
// the controller can be changed to any PHP callable $event->setController($controller);}kernel.view Event
530
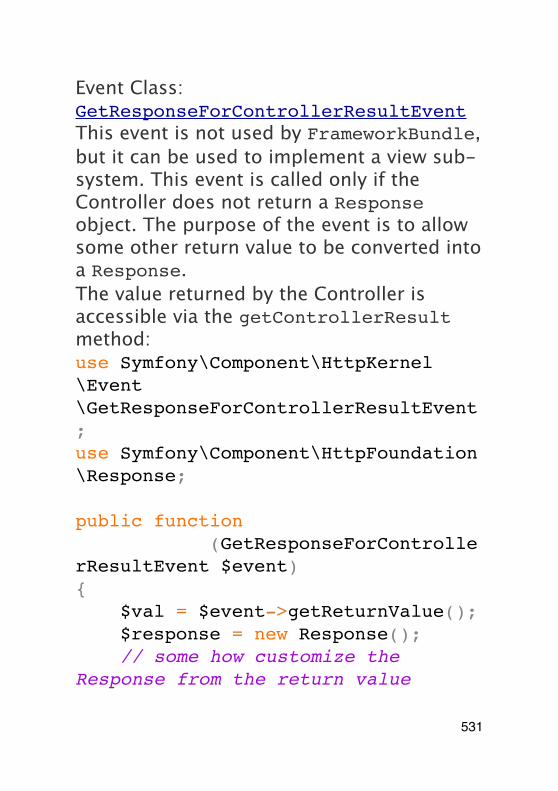
Event Class: GetResponseForControllerResultEventThis event is not used by FrameworkBundle, but it can be used to implement a view sub-system. This event is called only if the Controller does not return a Response object. The purpose of the event is to allow some other return value to be converted into a Response.The value returned by the Controller is accessible via the getControllerResult method:use Symfony\Component\HttpKernel\Event\GetResponseForControllerResultEvent;use Symfony\Component\HttpFoundation\Response;
public function onKernelView(GetResponseForControllerResultEvent $event){ $val = $event->getReturnValue(); $response = new Response(); // some how customize the Response from the return value
531
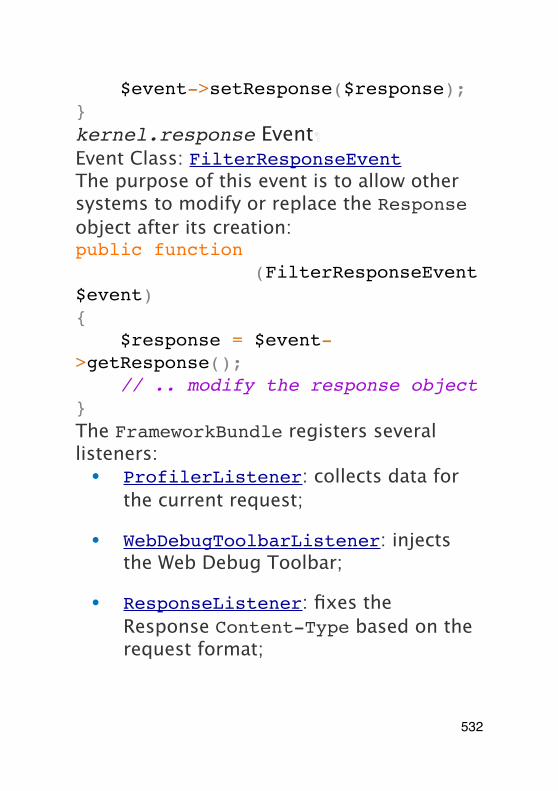
$event->setResponse($response);}kernel.response Event
Event Class: FilterResponseEventThe purpose of this event is to allow other systems to modify or replace the Response object after its creation:public function onKernelResponse(FilterResponseEvent $event){ $response = $event->getResponse(); // .. modify the response object}The FrameworkBundle registers several listeners:• ProfilerListener: collects data for
the current request;
• WebDebugToolbarListener: injects the Web Debug Toolbar;
• ResponseListener: fixes the Response Content-Type based on the request format;
532
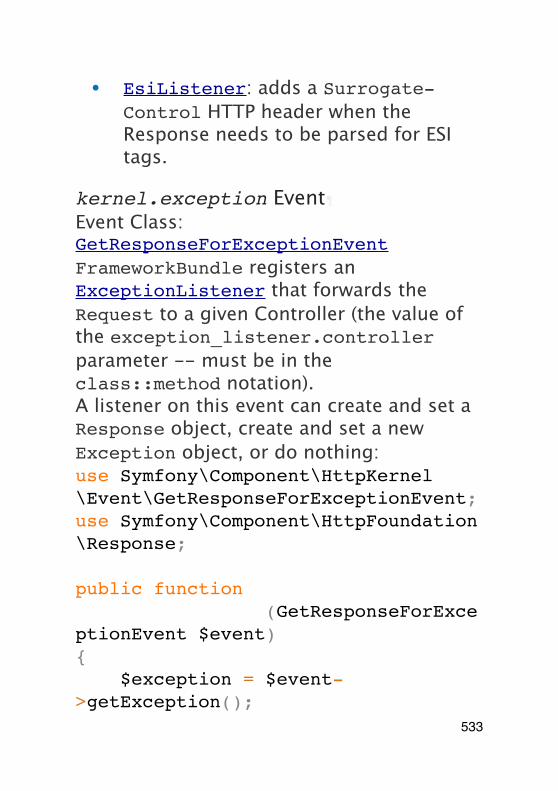
• EsiListener: adds a Surrogate-Control HTTP header when the Response needs to be parsed for ESI tags.
kernel.exception Event
Event Class: GetResponseForExceptionEventFrameworkBundle registers an ExceptionListener that forwards the Request to a given Controller (the value of the exception_listener.controller parameter -- must be in the class::method notation).A listener on this event can create and set a Response object, create and set a new Exception object, or do nothing:use Symfony\Component\HttpKernel\Event\GetResponseForExceptionEvent;use Symfony\Component\HttpFoundation\Response;
public function onKernelException(GetResponseForExceptionEvent $event){ $exception = $event->getException();
533
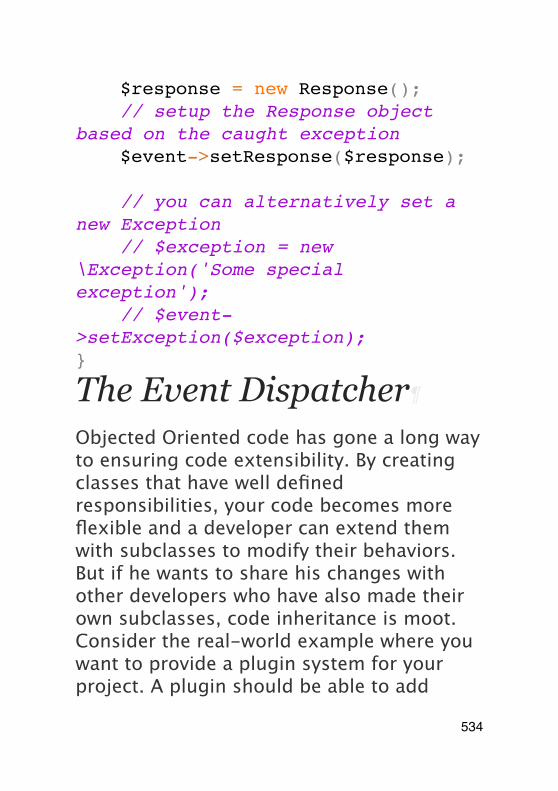
$response = new Response(); // setup the Response object based on the caught exception $event->setResponse($response);
// you can alternatively set a new Exception // $exception = new \Exception('Some special exception'); // $event->setException($exception);}
The Event Dispatcher
Objected Oriented code has gone a long way to ensuring code extensibility. By creating classes that have well defined responsibilities, your code becomes more flexible and a developer can extend them with subclasses to modify their behaviors. But if he wants to share his changes with other developers who have also made their own subclasses, code inheritance is moot.Consider the real-world example where you want to provide a plugin system for your project. A plugin should be able to add
534

methods, or do something before or after a method is executed, without interfering with other plugins. This is not an easy problem to solve with single inheritance, and multiple inheritance (were it possible with PHP) has its own drawbacks.The Symfony2 Event Dispatcher implements the Observer pattern in a simple and effective way to make all these things possible and to make your projects truly extensible.Take a simple example from the Symfony2 HttpKernel component. Once a Response object has been created, it may be useful to allow other elements in the system to modify it (e.g. add some cache headers) before it's actually used. To make this possible, the Symfony2 kernel throws an event - kernel.response. Here's how it work:
• A listener (PHP object) tells a central dispatcher object that it wants to listen to the kernel.response event;
• At some point, the Symfony2 kernel tells the dispatcher object to dispatch the kernel.response event, passing
535
with it an Event object that has access to the Response object;
• The dispatcher notifies (i.e. calls a method on) all listeners of the kernel.response event, allowing each of them to make modifications to the Response object.
Events¶When an event is dispatched, it's identified by a unique name (e.g. kernel.response), which any number of listeners might be listening to. An Event instance is also created and passed to all of the listeners. As you'll see later, the Event object itself often contains data about the event being dispatched.Naming Conventions
The unique event name can be any string, but optionally follows a few simple naming conventions:
• use only lowercase letters, numbers, dots (.), and underscores (_);
• prefix names with a namespace followed by a dot (e.g. kernel.);
536
• end names with a verb that indicates what action is being taken (e.g. request).
Here are some examples of good event names:• kernel.response
• form.pre_set_data
Event Names and Event Objects
When the dispatcher notifies listeners, it passes an actual Event object to those listeners. The base Event class is very simple: it contains a method for stopping event propagation, but not much else.Often times, data about a specific event needs to be passed along with the Event object so that the listeners have needed information. In the case of the kernel.response event, the Event object that's created and passed to each listener is actually of type FilterResponseEvent, a subclass of the base Event object. This class contains methods such as getResponse and setResponse, allowing listeners to get or even replace the Response object.
537
The moral of the story is this: when creating a listener to an event, the Event object that's passed to the listener may be a special subclass that has additional methods for retrieving information from and responding to the event.The Dispatcher¶The dispatcher is the central object of the event dispatcher system. In general, a single dispatcher is created, which maintains a registry of listeners. When an event is dispatched via the dispatcher, it notifies all listeners registered with that event.use Symfony\Component\EventDispatcher\EventDispatcher;
$dispatcher = new EventDispatcher();
Connecting Listeners¶To take advantage of an existing event, you need to connect a listener to the dispatcher so that it can be notified when the event is dispatched. A call to the dispatcher addListener() method associates any valid PHP callable to an event:$listener = new AcmeListener();
538
$dispatcher->addListener('foo.action', array($listener, 'onFooAction'));The addListener() method takes up to three arguments:
• The event name (string) that this listener wants to listen to;
• A PHP callable that will be notified when an event is thrown that it listens to;
• An optional priority integer (higher equals more important) that determines when a listener is triggered versus other listeners (defaults to 0). If two listeners have the same priority, they are executed in the order that they were added to the dispatcher.
A PHP callable is a PHP variable that can be used by the call_user_func() function and returns true when passed to the is_callable() function. It can be a \Closure instance, a string representing a function, or an array representing an object method or a class method.
539
So far, you've seen how PHP objects can be registered as listeners. You can also register PHP Closures as event listeners:use Symfony\Component\EventDispatcher\Event;
$dispatcher->addListener('foo.action', function (Event $event) { // will be executed when the foo.action event is dispatched});Once a listener is registered with the dispatcher, it waits until the event is notified. In the above example, when the foo.action event is dispatched, the dispatcher calls the AcmeListener::onFooAction method and passes the Event object as the single argument:use Symfony\Component\EventDispatcher\Event;
class AcmeListener{ // ...
540
public function onFooAction(Event $event) { // do something }}
If you use the Symfony2 MVC framework, listeners can be registered via your configuration. As an added bonus, the listener objects are instantiated only when needed.In many cases, a special Event subclass that's specific to the given event is passed to the listener. This gives the listener access to special information about the event. Check the documentation or implementation of each event to determine the exact Symfony\Component\EventDispatcher\Event instance that's being passed. For example, the kernel.event event passes an instance of Symfony\Component\HttpKernel\Event\FilterResponseEvent:use Symfony\Component\HttpKernel\Event\FilterResponseEvent
541
public function onKernelResponse(FilterResponseEvent $event){ $response = $event->getResponse(); $request = $event->getRequest();
// ...}
Creating and Dispatching an Event¶In addition to registering listeners with existing events, you can create and throw your own events. This is useful when creating third-party libraries and also when you want to keep different components of your own system flexible and decoupled.The Static Events Class
Suppose you want to create a new Event - store.order - that is dispatched each time an order is created inside your application. To keep things organized, start by creating a StoreEvents class inside your application that serves to define and document your event:namespace Acme\StoreBundle;
542
final class StoreEvents{ /** * The store.order event is thrown each time an order is created * in the system. * * The event listener receives an Acme\StoreBundle\Event\FilterOrderEvent * instance. * * @var string */ const onStoreOrder = 'store.order';}Notice that this class doesn't actually do anything. The purpose of the StoreEvents class is just to be a location where information about common events can be centralized. Notice also that a special FilterOrderEvent class will be passed to each listener of this event.Creating an Event object
Later, when you dispatch this new event, you'll create an Event instance and pass it
543
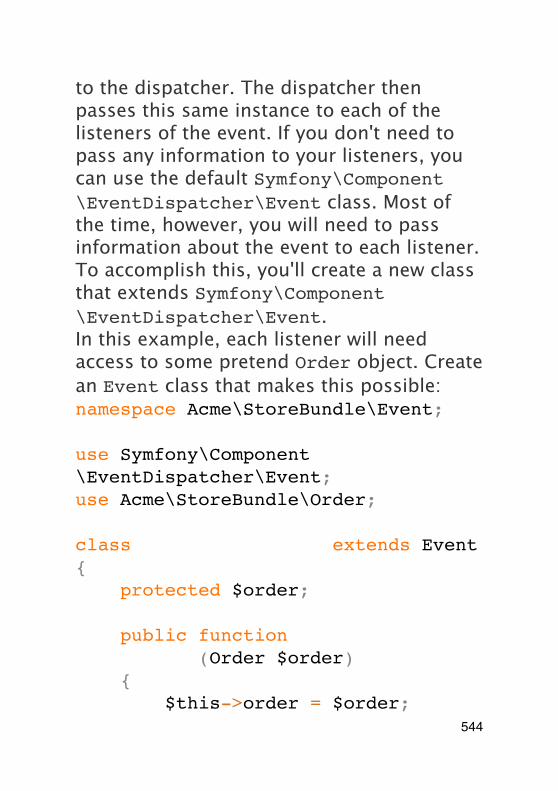
to the dispatcher. The dispatcher then passes this same instance to each of the listeners of the event. If you don't need to pass any information to your listeners, you can use the default Symfony\Component\EventDispatcher\Event class. Most of the time, however, you will need to pass information about the event to each listener. To accomplish this, you'll create a new class that extends Symfony\Component\EventDispatcher\Event.In this example, each listener will need access to some pretend Order object. Create an Event class that makes this possible:namespace Acme\StoreBundle\Event;
use Symfony\Component\EventDispatcher\Event;use Acme\StoreBundle\Order;
class FilterOrderEvent extends Event{ protected $order;
public function __construct(Order $order) { $this->order = $order;
544
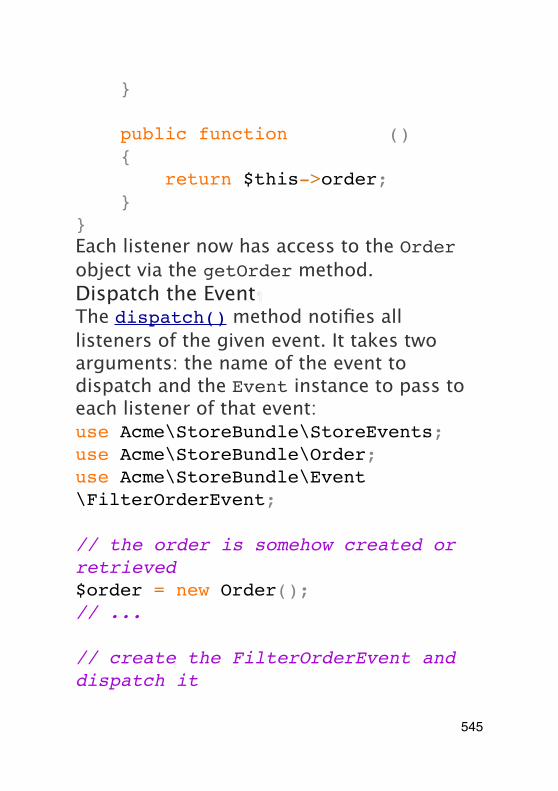
}
public function getOrder() { return $this->order; }}Each listener now has access to the Order object via the getOrder method.Dispatch the Event
The dispatch() method notifies all listeners of the given event. It takes two arguments: the name of the event to dispatch and the Event instance to pass to each listener of that event:use Acme\StoreBundle\StoreEvents;use Acme\StoreBundle\Order;use Acme\StoreBundle\Event\FilterOrderEvent;
// the order is somehow created or retrieved$order = new Order();// ...
// create the FilterOrderEvent and dispatch it
545
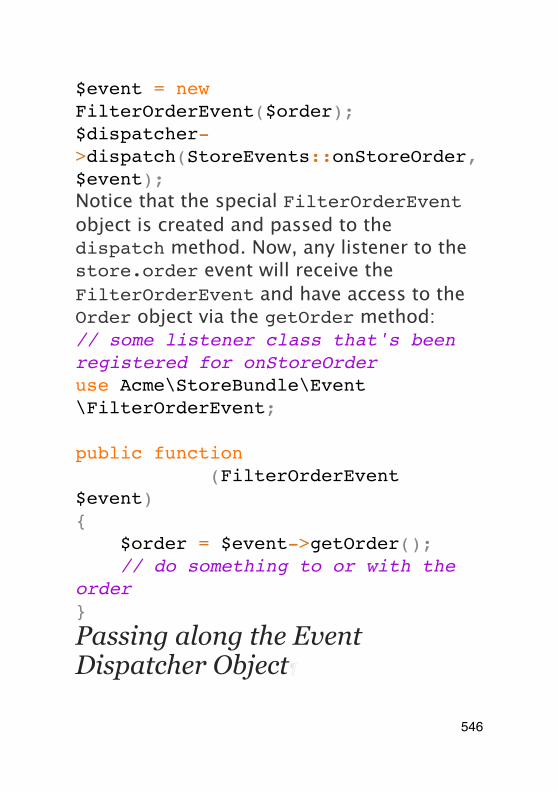
$event = new FilterOrderEvent($order);$dispatcher->dispatch(StoreEvents::onStoreOrder, $event);Notice that the special FilterOrderEvent object is created and passed to the dispatch method. Now, any listener to the store.order event will receive the FilterOrderEvent and have access to the Order object via the getOrder method:// some listener class that's been registered for onStoreOrderuse Acme\StoreBundle\Event\FilterOrderEvent;
public function onStoreOrder(FilterOrderEvent $event){ $order = $event->getOrder(); // do something to or with the order}
Passing along the Event Dispatcher Object
546
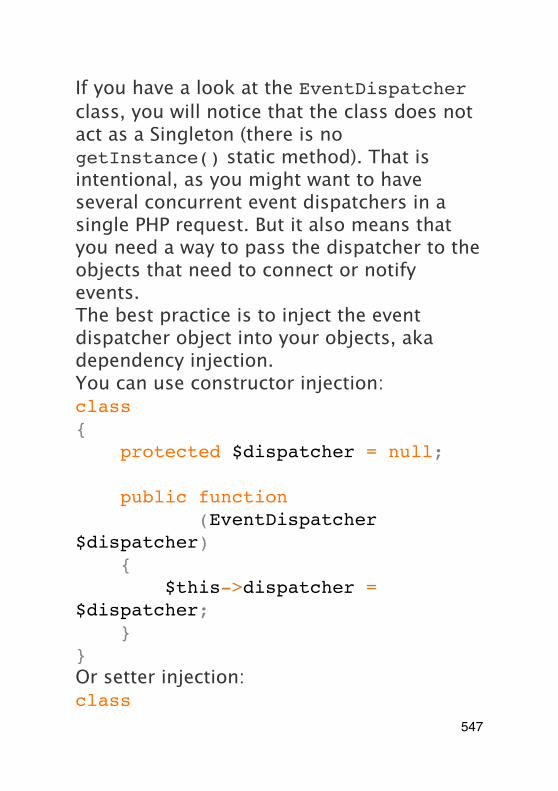
If you have a look at the EventDispatcher class, you will notice that the class does not act as a Singleton (there is no getInstance() static method). That is intentional, as you might want to have several concurrent event dispatchers in a single PHP request. But it also means that you need a way to pass the dispatcher to the objects that need to connect or notify events.The best practice is to inject the event dispatcher object into your objects, aka dependency injection.You can use constructor injection:class Foo{ protected $dispatcher = null;
public function __construct(EventDispatcher $dispatcher) { $this->dispatcher = $dispatcher; }}Or setter injection:class Foo
547
{ protected $dispatcher = null;
public function setEventDispatcher(EventDispatcher $dispatcher) { $this->dispatcher = $dispatcher; }}Choosing between the two is really a matter of taste. Many tend to prefer the constructor injection as the objects are fully initialized at construction time. But when you have a long list of dependencies, using setter injection can be the way to go, especially for optional dependencies.
If you use dependency injection like we did in the two examples above, you can then use the Symfony2 Dependency Injection component to elegantly manage these objects.Using Event Subscribers¶The most common way to listen to an event is to register an event listener with the
548
dispatcher. This listener can listen to one or more events and is notified each time those events are dispatched.Another way to listen to events is via an event subscriber. An event subscriber is a PHP class that's able to tell the dispatcher exactly which events it should subscribe to. It implements the EventSubscriberInterface interface, which requires a single static method called getSubscribedEvents. Take the following example of a subscriber that subscribes to the kernel.response and store.order events:namespace Acme\StoreBundle\Event;
use Symfony\Component\EventDispatcher\EventSubscriberInterface;use Symfony\Component\HttpKernel\Event\FilterResponseEvent;
class StoreSubscriber implements EventSubscriberInterface{ static public function getSubscribedEvents() {
549
return array( 'kernel.response' => 'onKernelResponse', 'store.order' => 'onStoreOrder', ); }
public function onKernelResponse(FilterResponseEvent $event) { // ... }
public function onStoreOrder(FilterOrderEvent $event) { // ... }}This is very similar to a listener class, except that the class itself can tell the dispatcher which events it should listen to. To register a subscriber with the dispatcher, use the addSubscriber() method:
550
use Acme\StoreBundle\Event\StoreSubscriber;
$subscriber = new StoreSubscriber();$dispatcher->addSubscriber($subscriber);The dispatcher will automatically register the subscriber for each event returned by the getSubscribedEvents method. This method returns an array indexed by event names and whose values are either the method name to call or an array composed of the method name to call and a priority.Stopping Event Flow/Propagation¶In some cases, it may make sense for a listener to prevent any other listeners from being called. In other words, the listener needs to be able to tell the dispatcher to stop all propagation of the event to future listeners (i.e. to not notify any more listeners). This can be accomplished from inside a listener via the stopPropagation() method:use Acme\StoreBundle\Event\FilterOrderEvent;
551
public function onStoreOrder(FilterOrderEvent $event){ // ...
$event->stopPropagation();}Now, any listeners to store.order that have not yet been called will not be called.
Profiler
When enabled, the Symfony2 profiler collects useful information about each request made to your application and store them for later analysis. Use the profiler in the development environment to help you to debug your code and enhance performance; use it in the production environment to explore problems after the fact.You rarely have to deal with the profiler directly as Symfony2 provides visualizer tools like the Web Debug Toolbar and the Web Profiler. If you use the Symfony2 Standard Edition, the profiler, the web debug toolbar, and the web profiler are all already configured with sensible settings.
552
The profiler collects information for all requests (simple requests, redirects, exceptions, Ajax requests, ESI requests; and for all HTTP methods and all formats). It means that for a single URL, you can have several associated profiling data (one per external request/response pair).Visualizing Profiling Data¶Using the Web Debug Toolbar
In the development environment, the web debug toolbar is available at the bottom of all pages. It displays a good summary of the profiling data that gives you instant access to a lot of useful information when something does not work as expected.If the summary provided by the Web Debug Toolbar is not enough, click on the token link (a string made of 13 random characters) to access the Web Profiler.
If the token is not clickable, it means that the profiler routes are not registered (see below for configuration information).Analyzing Profiling data with the Web Profiler
553
The Web Profiler is a visualization tool for profiling data that you can use in development to debug your code and enhance performance; but it can also be used to explore problems that occur in production. It exposes all information collected by the profiler in a web interface.Accessing the Profiling information
You don't need to use the default visualizer to access the profiling information. But how can you retrieve profiling information for a specific request after the fact? When the profiler stores data about a Request, it also associates a token with it; this token is available in the X-Debug-Token HTTP header of the Response:$profile = $container->get('profiler')->loadProfileFromResponse($response);
$profile = $container->get('profiler')->loadProfile($token);
When the profiler is enabled but not the web debug toolbar, or when you want to get the token for an Ajax request, use a tool like
554
Firebug to get the value of the X-Debug-Token HTTP header.Use the find() method to access tokens based on some criteria:// get the latest 10 tokens$tokens = $container->get('profiler')->find('', '', 10);
// get the latest 10 tokens for all URL containing /admin/$tokens = $container->get('profiler')->find('', '/admin/', 10);
// get the latest 10 tokens for local requests$tokens = $container->get('profiler')->find('127.0.0.1', '', 10);If you want to manipulate profiling data on a different machine than the one where the information were generated, use the export() and import() methods:// on the production machine$profile = $container->get('profiler')->loadProfile($token);$data = $profiler->export($profile);
555
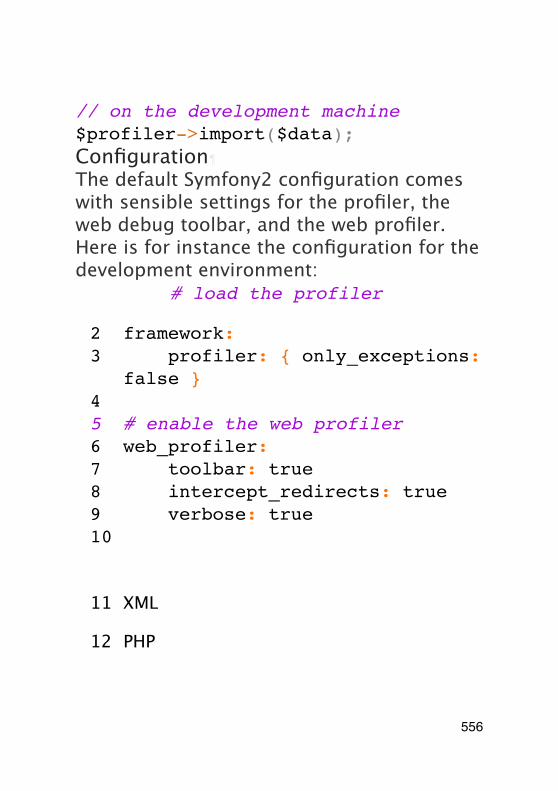
// on the development machine$profiler->import($data);Configuration
The default Symfony2 configuration comes with sensible settings for the profiler, the web debug toolbar, and the web profiler. Here is for instance the configuration for the development environment:
1 YAML# load the profiler
2 framework:3 profiler: { only_exceptions:
false }45 # enable the web profiler6 web_profiler:7 toolbar: true8 intercept_redirects: true9 verbose: true10
11 XML
12 PHP
556
When only-exceptions is set to true, the profiler only collects data when an exception is thrown by the application.When intercept-redirects is set to true, the web profiler intercepts the redirects and gives you the opportunity to look at the collected data before following the redirect.When verbose is set to true, the Web Debug Toolbar displays a lot of information. Setting verbose to false hides some secondary information to make the toolbar shorter.If you enable the web profiler, you also need to mount the profiler routes:
1 YAML_profiler:
2 resource: @WebProfilerBundle/Resources/config/routing/profiler.xml
3 prefix: /_profiler
4 XML
5 PHP
As the profiler adds some overhead, you might want to enable it only under certain circumstances in the production
557
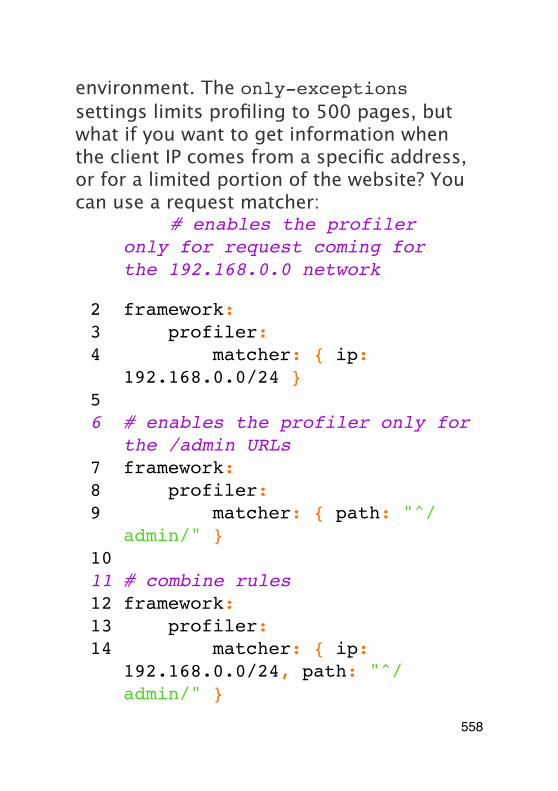
environment. The only-exceptions settings limits profiling to 500 pages, but what if you want to get information when the client IP comes from a specific address, or for a limited portion of the website? You can use a request matcher:
1 YAML# enables the profiler only for request coming for the 192.168.0.0 network
2 framework:3 profiler:4 matcher: { ip:
192.168.0.0/24 }56 # enables the profiler only for
the /admin URLs7 framework:8 profiler:9 matcher: { path: "^/
admin/" }1011 # combine rules12 framework:13 profiler:14 matcher: { ip:
192.168.0.0/24, path: "^/admin/" }
558
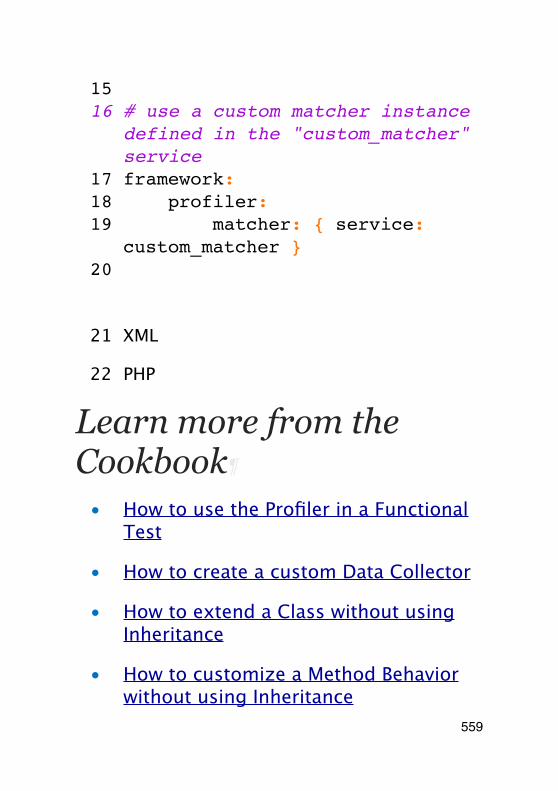
1516 # use a custom matcher instance
defined in the "custom_matcher" service
17 framework:18 profiler:19 matcher: { service:
custom_matcher }20
21 XML
22 PHP
Learn more from the Cookbook
• How to use the Profiler in a Functional Test
• How to create a custom Data Collector
• How to extend a Class without using Inheritance
• How to customize a Method Behavior without using Inheritance
559
The Symfony2 Stable APIThe Symfony2 stable API is a subset of all Symfony2 published public methods (components and core bundles) that share the following properties:
• The namespace and class name won't change;
• The method name won't change;
• The method signature (arguments and return value type) won't change;
• The semantic of what the method does won't change.
The implementation itself can change though. The only valid case for a change in the stable API is in order to fix a security issue.The stable API is based on a whitelist, tagged with @api. Therefore, everything not
560
tagged explicitly is not part of the stable API.
Any third party bundle should also publish its own stable API.As of Symfony 2.0, the following components have a public tagged API:
• BrowserKit
• ClassLoader
• Console
• CssSelector
• DependencyInjection
• DomCrawler
• EventDispatcher
• Finder
• HttpFoundation
• HttpKernel
• Locale
• Process
561
• Routing
• Templating
• Translation
• Validator
• Yaml
562