Embed Size (px)
Citation preview
Sustainable Vegetable Gardening Part 3 Planting - Starting from Seed
Paul Gibson Master Gardener Volunteer
VCE Prince William – 703 792-7747 [email protected]
March 14, 2011, 7pm, Chinn Library
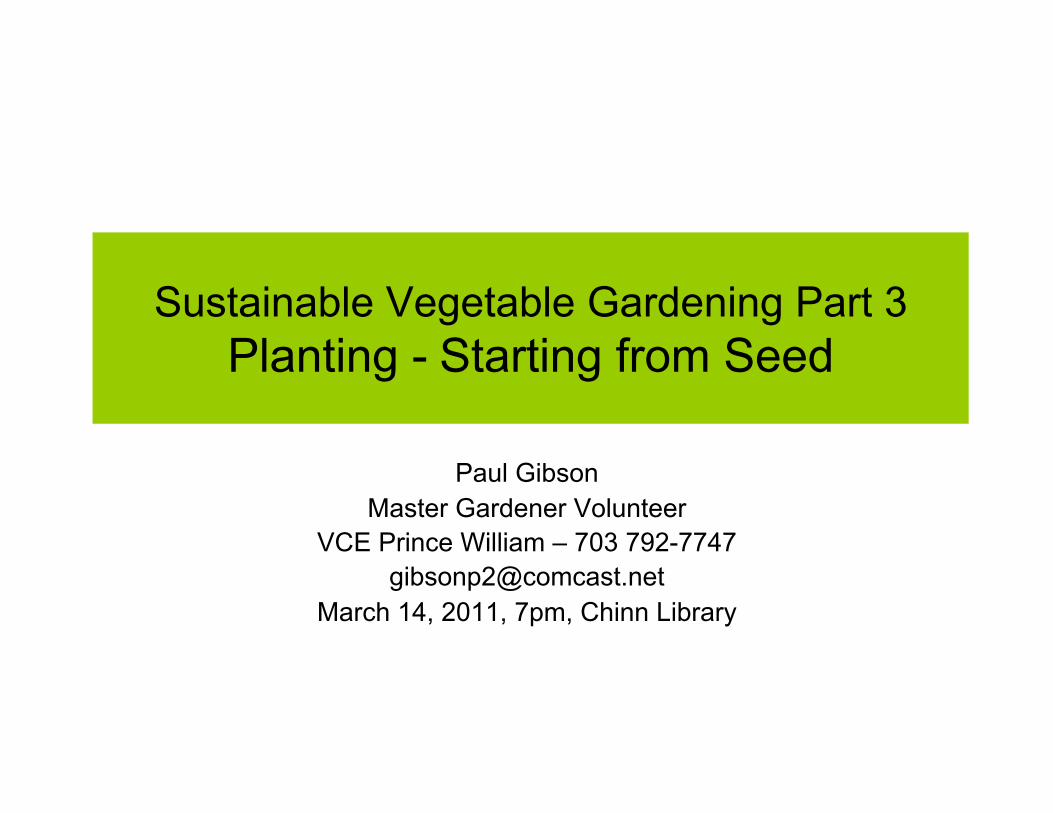
Sustainable Gardening
• Environmentally sound • Locally/garden-derived renewable resources • Manage ecological and biological processes • Acceptable nutrition, protection from pests, disease • Reduced reliance on external input (chemical,
organic) • Conservation of non-renewable resources (soil,
energy, minerals)
Scientific systems approach: understand the parts, how they work, the connections and dependencies among them, and harmonize them. Depends on feedback mechanisms.
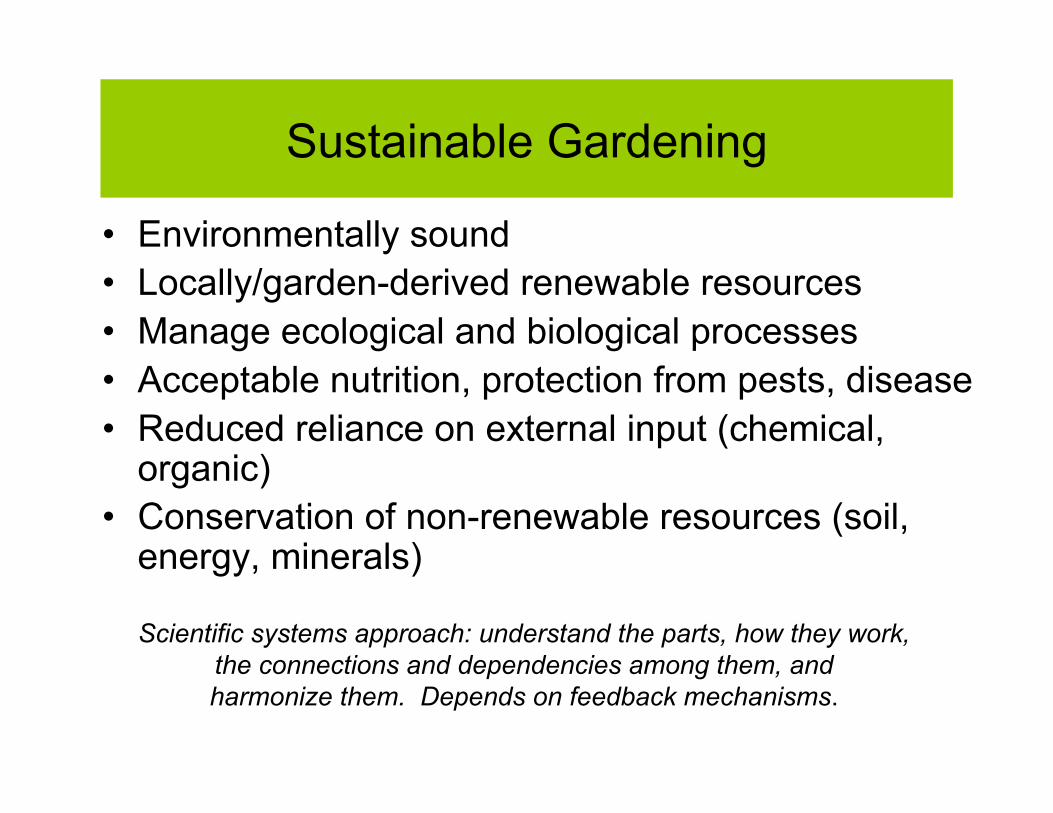
Recommended Practices
• Improve compacted soil by aerating, double digging • Test the soil to learn the pH and nutrients already present • Use cover crops/green manures to improve soil nutrients and structure • Rotate crops to avoid the build up of pathogens and pests in the garden • Determine soil drainage capacity before planting • Utilize companion planting/intercropping to attract beneficial insects and to
take advantage of symbiotic biochemical and cultural benefits • Practice right plant, right place, in order to take advantage of garden
microclimates- hot areas, light angles and moisture sinks, when planning your garden layout.
• Identify insects (friend or foe), diseases or weeds and susceptible life cycles and evaluate the extent of the problem before taking remedial action (using the least toxic alternative).
• Select cultivars of plants and seeds that are bred for resistance and tolerate local conditions; select open pollinated varieties to save seeds and improve plants
Overview
• Seed and seedling biology • Show and tell • Propagation
– Facilities – Media – Containers – Problems
• When to start seeds
Sexual Propagation
• Germination and growth of seeds created in previous generation through fertilization of plant ovary via the union of male and female sex cells. Results in a genetically unique plant generation.
• Types of plants grown from seed: annual, biennial, perennial.
• Open pollinated – parent plant fertilized by another member of same population: + genetic diversity, can be produced and saved, will grow true-to-seed – may not match hybrid performance
• Hybrid – product of two different lines. Resulting seeds are heterogeneous: + uniform characteristics – difficult for growers to produce and save seed.
Essential Factors in Germination
• Viability – seed must contain living, healthy embryonic tissue
• Physical and chemical dormancy factors must be broken to facilitate germination
• Temperature conditions: min, max, optimal • Moisture: delivered through soil media by capillary action
to initiate metabolic processes. Fine firm texture for good seed-to-soil contact.
• Aeration: to allow for Oxygen and CO2 exchange • Light: Most (not all) germinate best in dark, but all require
“sunlight” for photosynthesis

Germination Process
• Phase 1 – rapid uptake of water by dry seed, softening and swelling seed coat
• Phase 2 – activation of mitochondria, protein syntheses, metabolism of stored reserves to fuel development, enzyme production-syntheses, loosen cell walls
• Phase 3 - Root radical emergence, cell enlargement, elongation, cell division
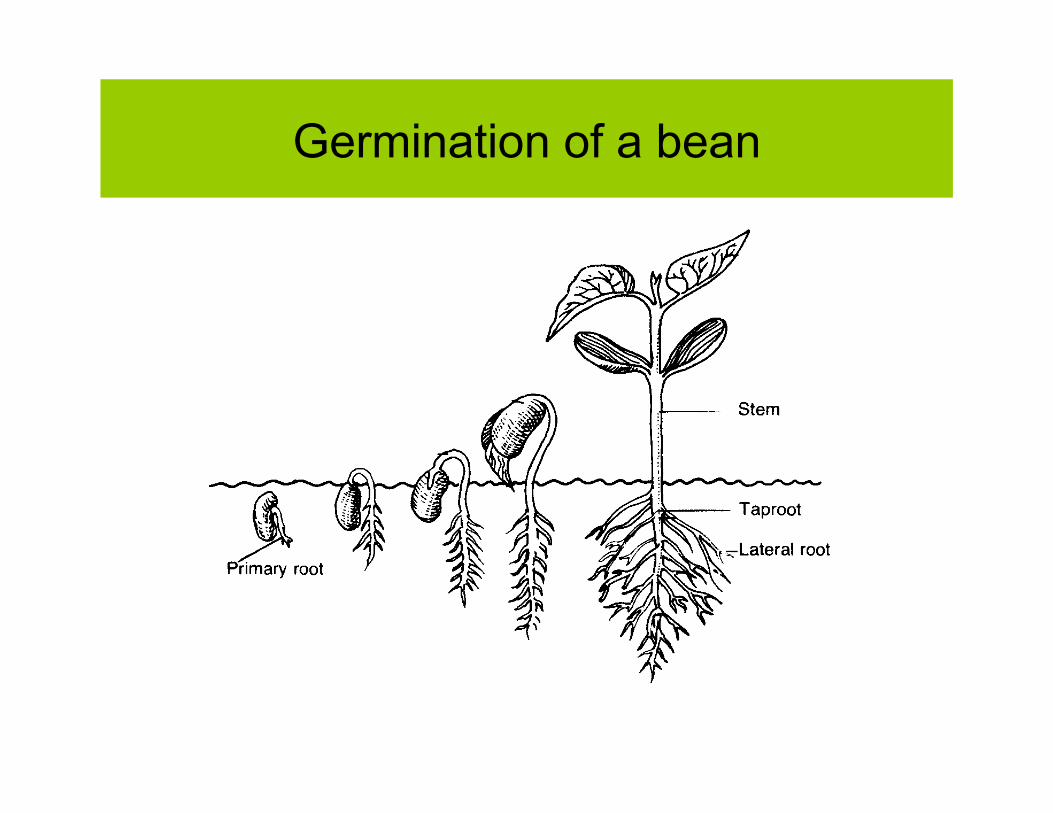
Germination of a bean
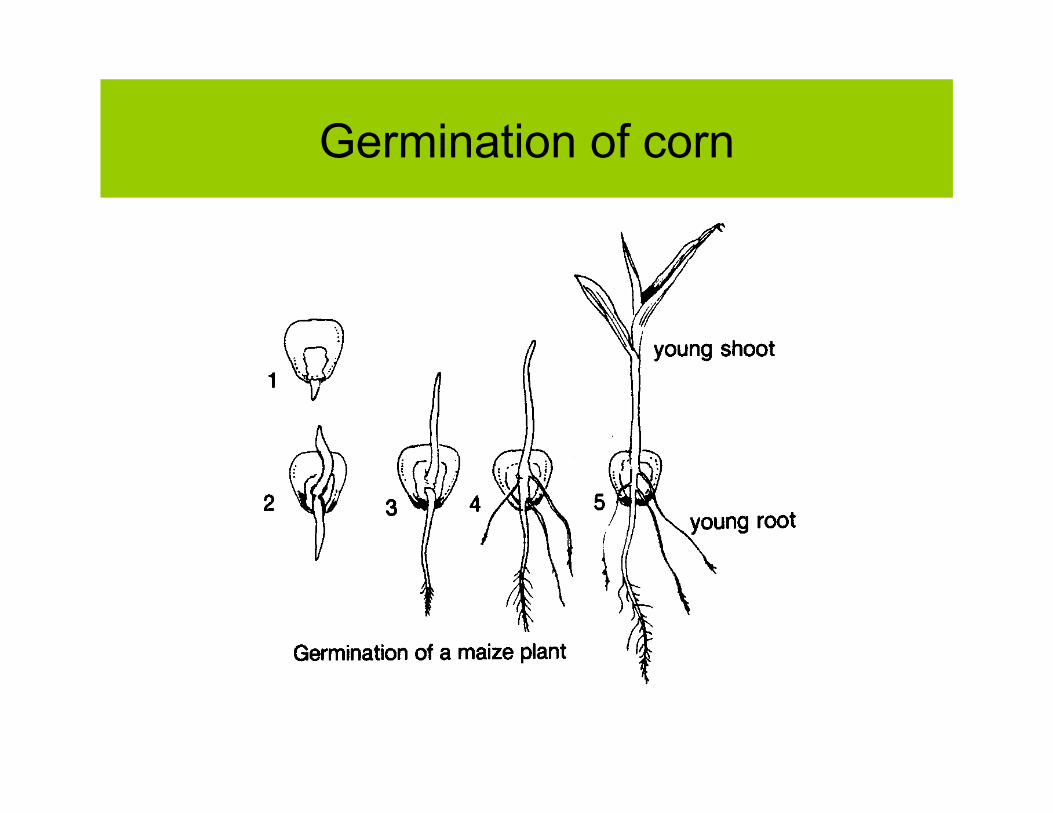
Germination of corn
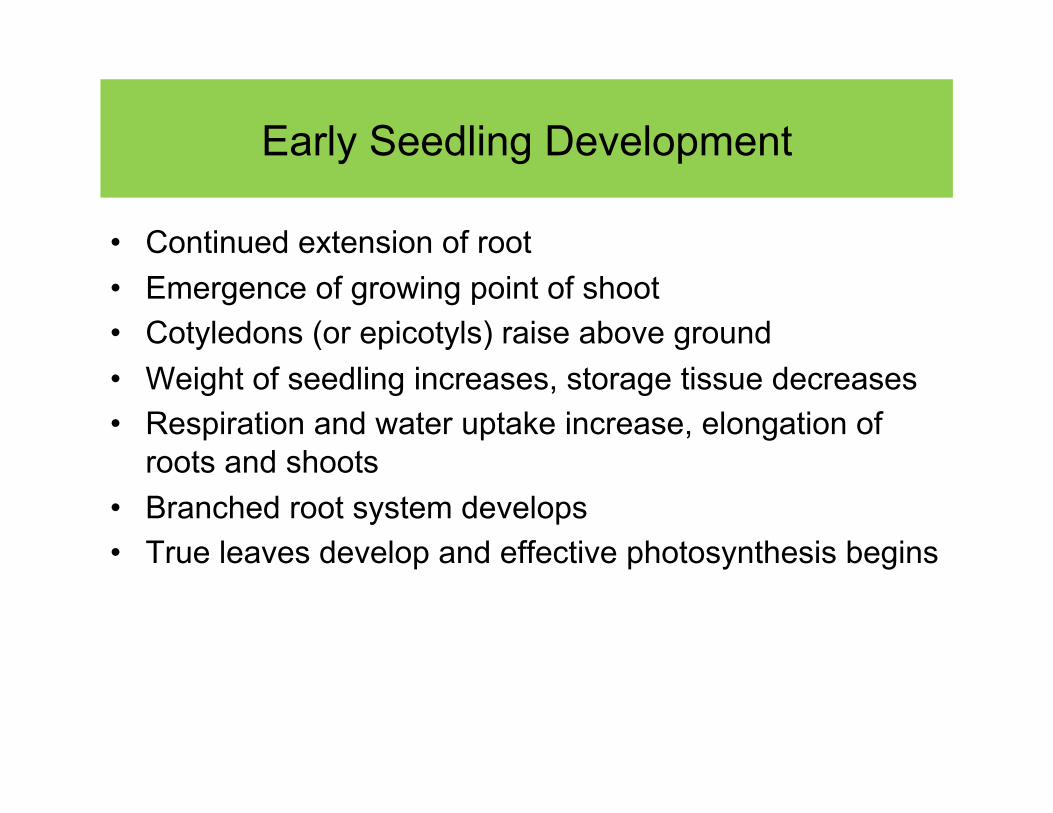
Early Seedling Development
• Continued extension of root • Emergence of growing point of shoot • Cotyledons (or epicotyls) raise above ground • Weight of seedling increases, storage tissue decreases • Respiration and water uptake increase, elongation of
roots and shoots • Branched root system develops • True leaves develop and effective photosynthesis begins
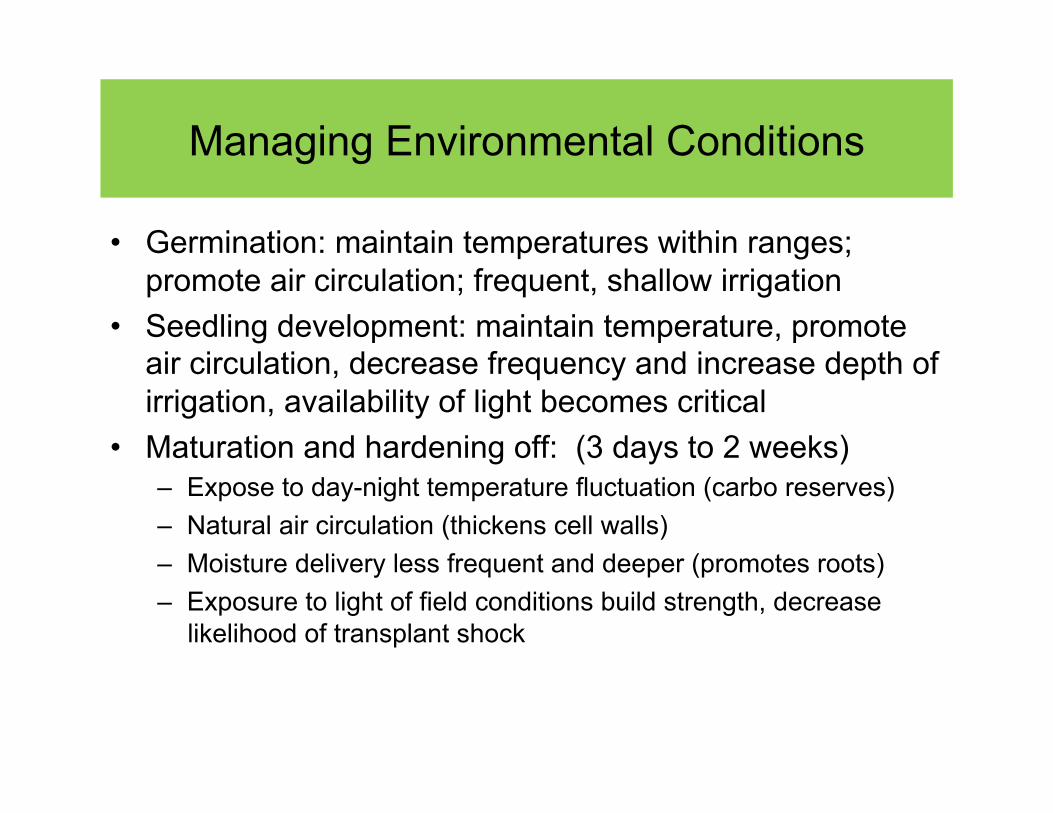
Managing Environmental Conditions
• Germination: maintain temperatures within ranges; promote air circulation; frequent, shallow irrigation
• Seedling development: maintain temperature, promote air circulation, decrease frequency and increase depth of irrigation, availability of light becomes critical
• Maturation and hardening off: (3 days to 2 weeks) – Expose to day-night temperature fluctuation (carbo reserves) – Natural air circulation (thickens cell walls) – Moisture delivery less frequent and deeper (promotes roots) – Exposure to light of field conditions build strength, decrease
likelihood of transplant shock
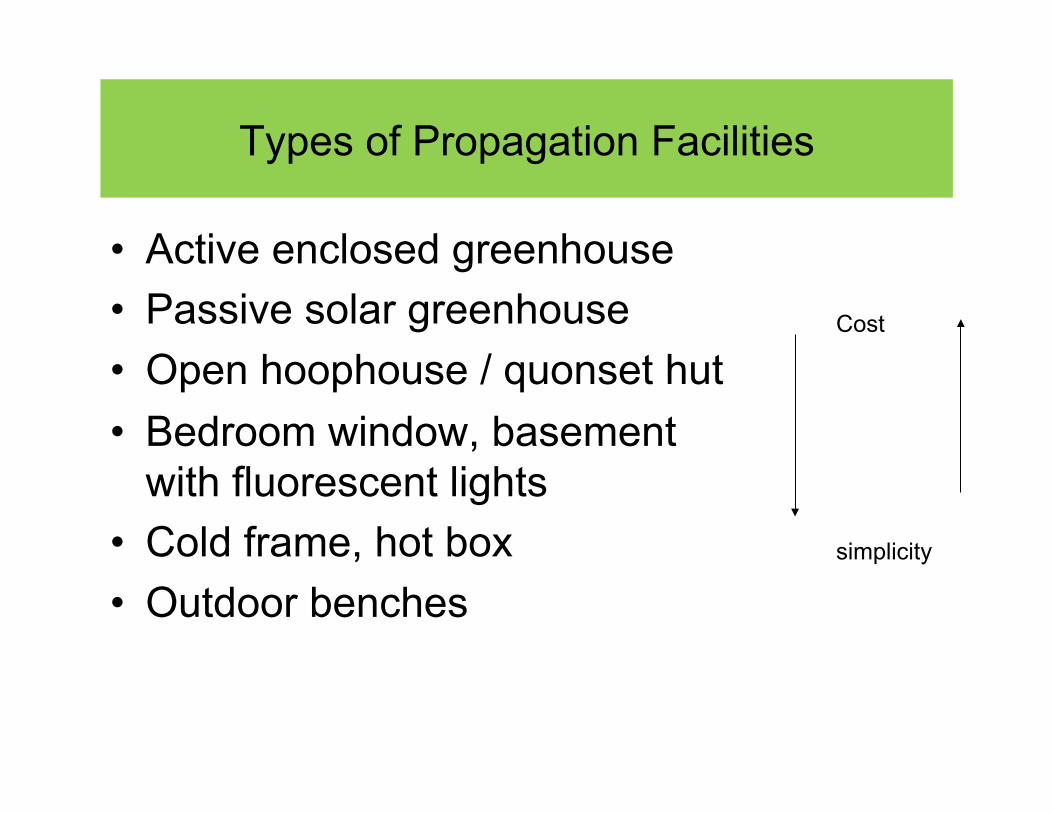
Types of Propagation Facilities
• Active enclosed greenhouse • Passive solar greenhouse • Open hoophouse / quonset hut • Bedroom window, basement
with fluorescent lights • Cold frame, hot box • Outdoor benches
Cost
simplicity
Propagation Facilities
• Advantages: – Control environment: temp, air circulation, moisture – Optimize growing conditions – Efficiency: yield, space, water, bed space
• Disadvantages: – Cost and labor higher – Total time for transplants usually longer – Density or plants increase risk of crop damage – Greater use of non-renewables: plastic, styrofoam,
mined resources, fossil fuels
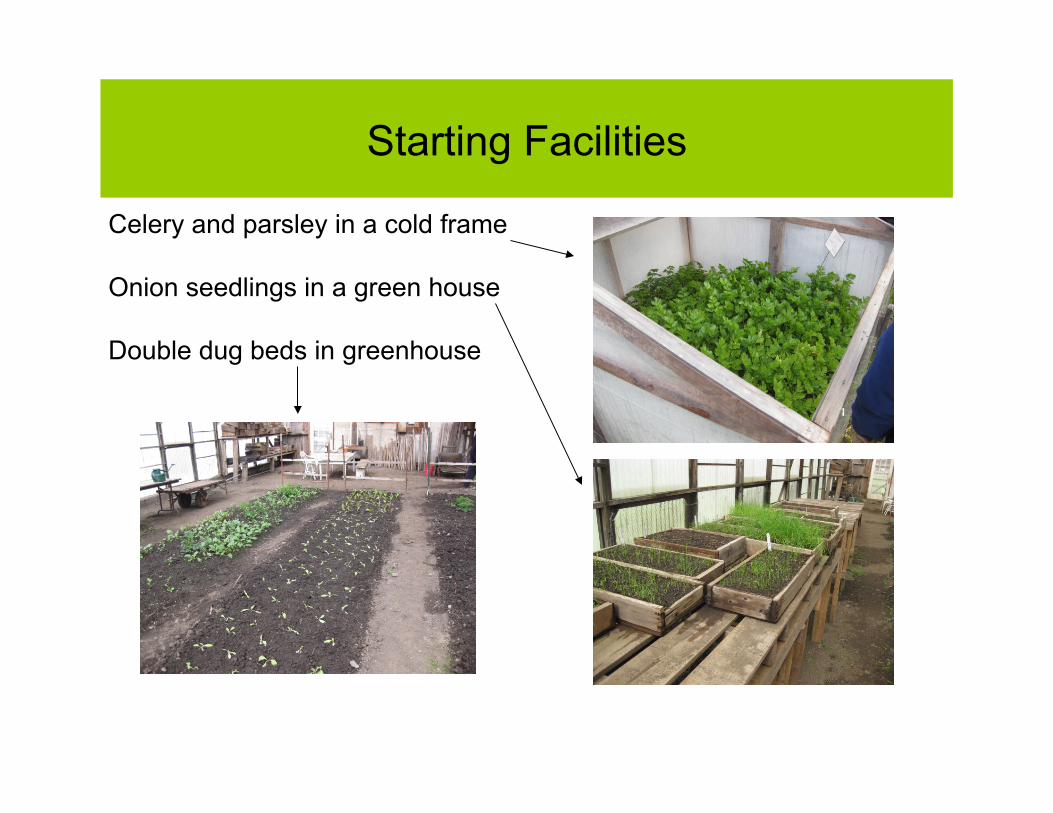
Starting Facilities
Celery and parsley in a cold frame
Onion seedlings in a green house
Double dug beds in greenhouse
Growing Media
• Provide idealized environment: air, water, nutrients, structure (pathogen free and resistant) – Nutrients: compost, soil, organic and mineral
amendments – Drainage: sand, perlite, compost, vermiculite,
peat moss, leaf mold – Moisture retention: compost, peat moss, coir
fiber, vermiculite, leaf mold – Aeration: perlite, sand, vermiculite, etc
Sustainablility Considerations
• Non-toxic, naturally occurring, renewable, non-extractive ingredients – Limit or avoid peat moss, vermiculite, pearlite
• Live, biologically active mixes – Nutrients and innoculation support longer
development before planting out • Texture, structure, nutrient supply and
cultural practices together foster growth
Some good choices
• Compost and garden soil (50/50) • Compost, flat soil, garden soil (33/33/33) • Organic potting soil:
– composted bark, sphagnum peat moss, pasteurized poultry litter, organic wetting agent (N - 0.1%, P - 0.05%, K - 0.05%)
• *Coconut husk (coir) “mini-greenhouse” • *Peat pellets “mini-greenhouse” • Test - NoDampOff™ sphagnum peat moss *Better to remove netting/peat pot for transplanting
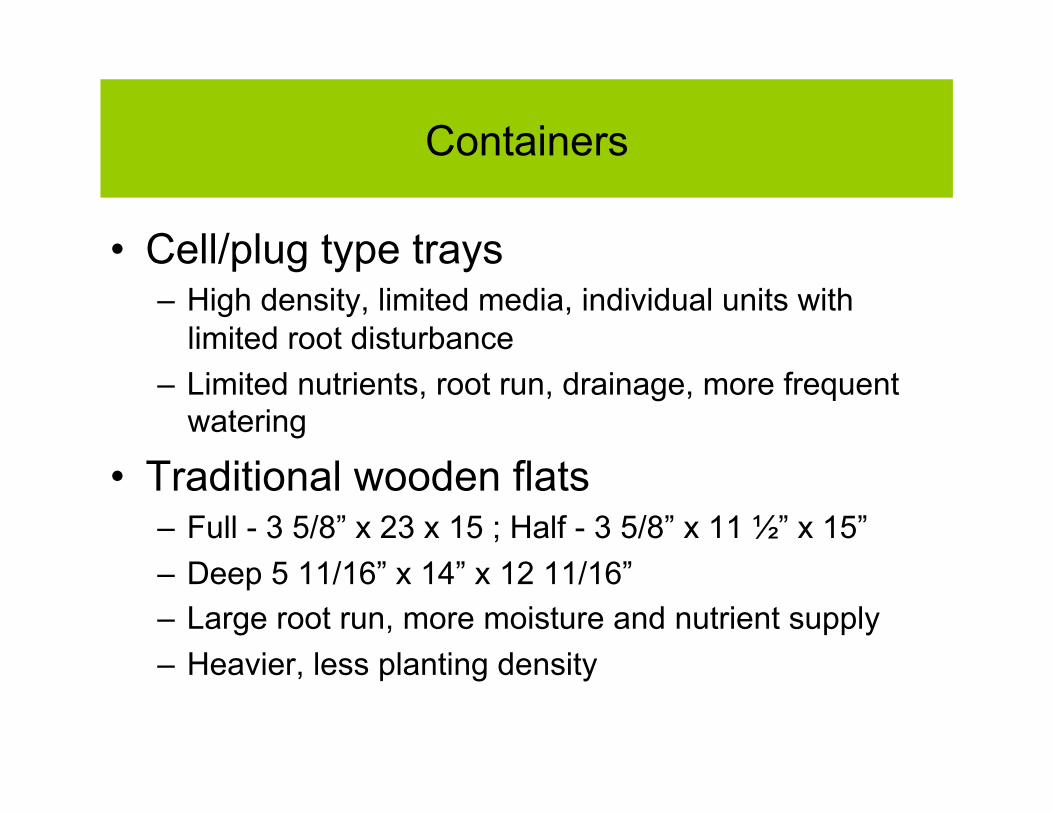
Containers
• Cell/plug type trays – High density, limited media, individual units with
limited root disturbance – Limited nutrients, root run, drainage, more frequent
watering
• Traditional wooden flats – Full - 3 5/8” x 23 x 15 ; Half - 3 5/8” x 11 ½” x 15” – Deep 5 11/16” x 14” x 12 11/16” – Large root run, more moisture and nutrient supply – Heavier, less planting density
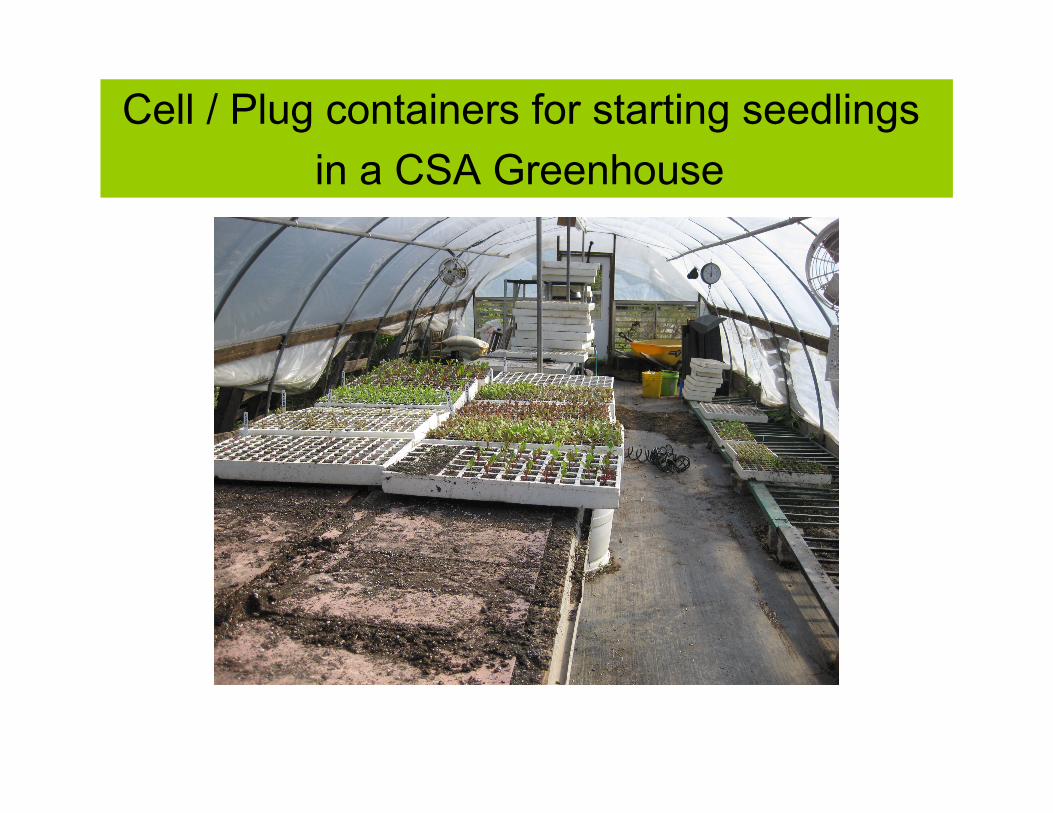
Cell / Plug containers for starting seedlings in a CSA Greenhouse
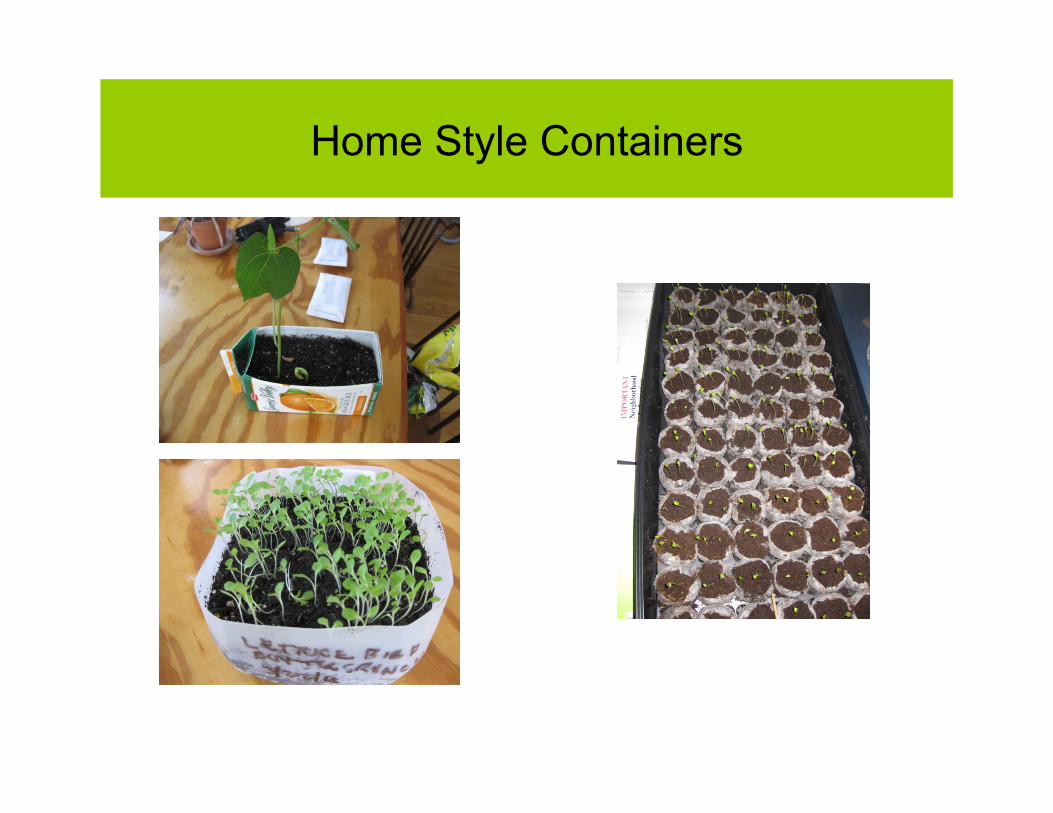
Home style Containers
• Gallon milk container bottoms • Half gallon milk carton on side • Commercial home alternatives:
– Jiffy 72 position “greenhouse” w/ peat pellets – Burpee 25 position “coir” unit, recyclable – Gardener’s Supply Accelerated Propagation System
combined with milled sphagnum moss media
• Rejects: – Last year’s plastic tray with organic (peat, vermiculite,
lime, wetting agent) mix – Egg cartons, Apple “bubble” containers
Home Style Containers
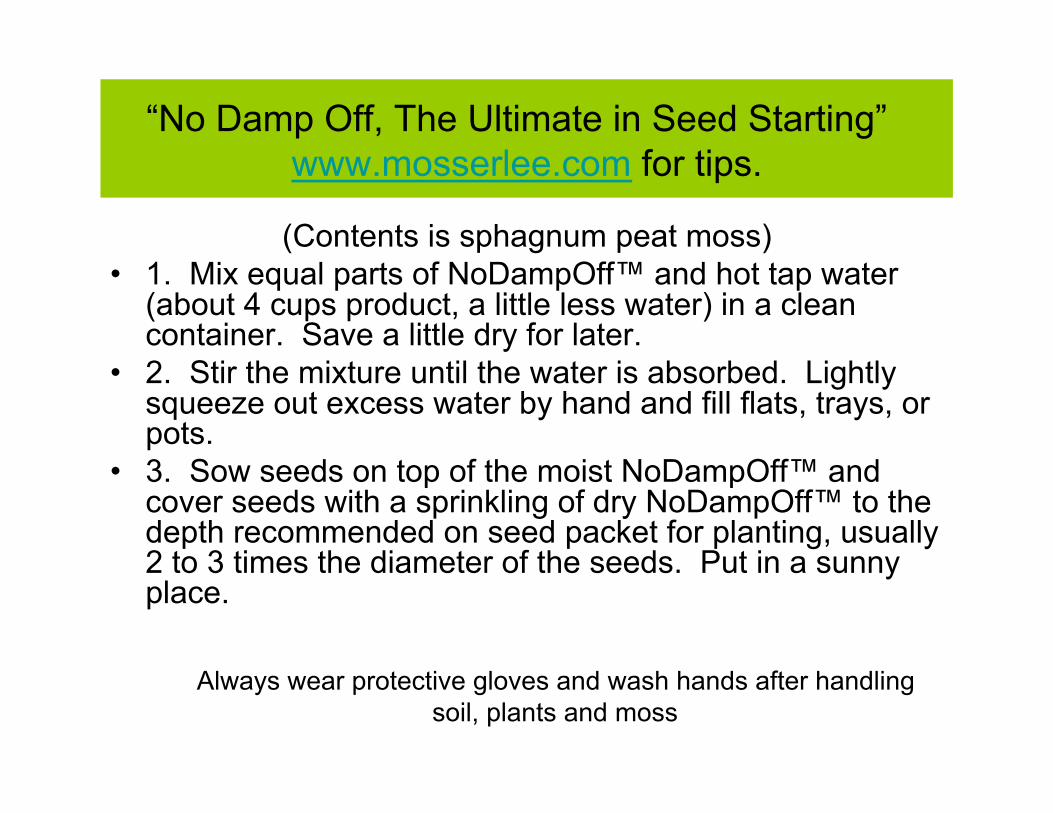
“No Damp Off, The Ultimate in Seed Starting” www.mosserlee.com for tips.
(Contents is sphagnum peat moss) • 1. Mix equal parts of NoDampOff™ and hot tap water
(about 4 cups product, a little less water) in a clean container. Save a little dry for later.
• 2. Stir the mixture until the water is absorbed. Lightly squeeze out excess water by hand and fill flats, trays, or pots.
• 3. Sow seeds on top of the moist NoDampOff™ and cover seeds with a sprinkling of dry NoDampOff™ to the depth recommended on seed packet for planting, usually 2 to 3 times the diameter of the seeds. Put in a sunny place.
Always wear protective gloves and wash hands after handling soil, plants and moss
Light
• Germination – not in direct sunlight, warm
• Light striking a green leaf causes photosynthesis – conversion through chlorophyll, of water and carbon dioxide to simple sugars and starches. The visible part of the spectrum provides the energy.
• Natural light – greenhouse, cold frame, south window
• Artificial – use fluorescent, not sunlamp or incandescent – One cool-white, one warm-white, or 2 daylight. Special plant
growth tubes are not necessary, more expensive, last shorter – Longer tubes are better; light is weaker at the ends
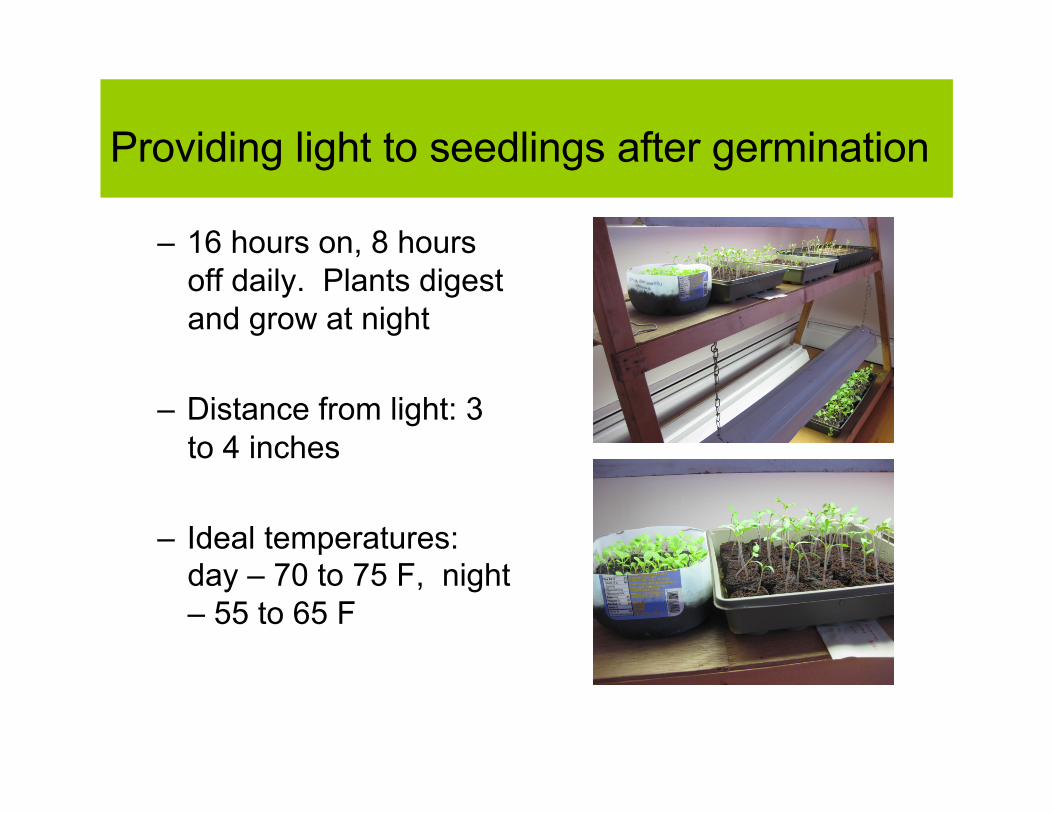
Providing light to seedlings after germination – 16 hours on, 8 hours
off daily. Plants digest and grow at night
– Distance from light: 3 to 4 inches
– Ideal temperatures: day – 70 to 75 F, night – 55 to 65 F
When to Start Seeds Indoors
• See individual instructions with seeds • Onion seeds – 12-14 weeks before plant out, which is 4
to 6 weeks before last frost • Cabbage, Cauliflower, Brussels Sprouts, Broccoli
– Start in flats 4 to 6 weeks before planting out • Tomato, Eggplant, Pepper
– Start in flats 6 to 8 to 10 weeks before and transplant into deeper flats (6 in) or pots midway
• Many plants can be started in flats to save space in the garden and improve yield: corn (3-5 days), wheat (1-2 weeks), melons & cucumbers (2 to 4 wks), herbs, etc. Usually not beans.
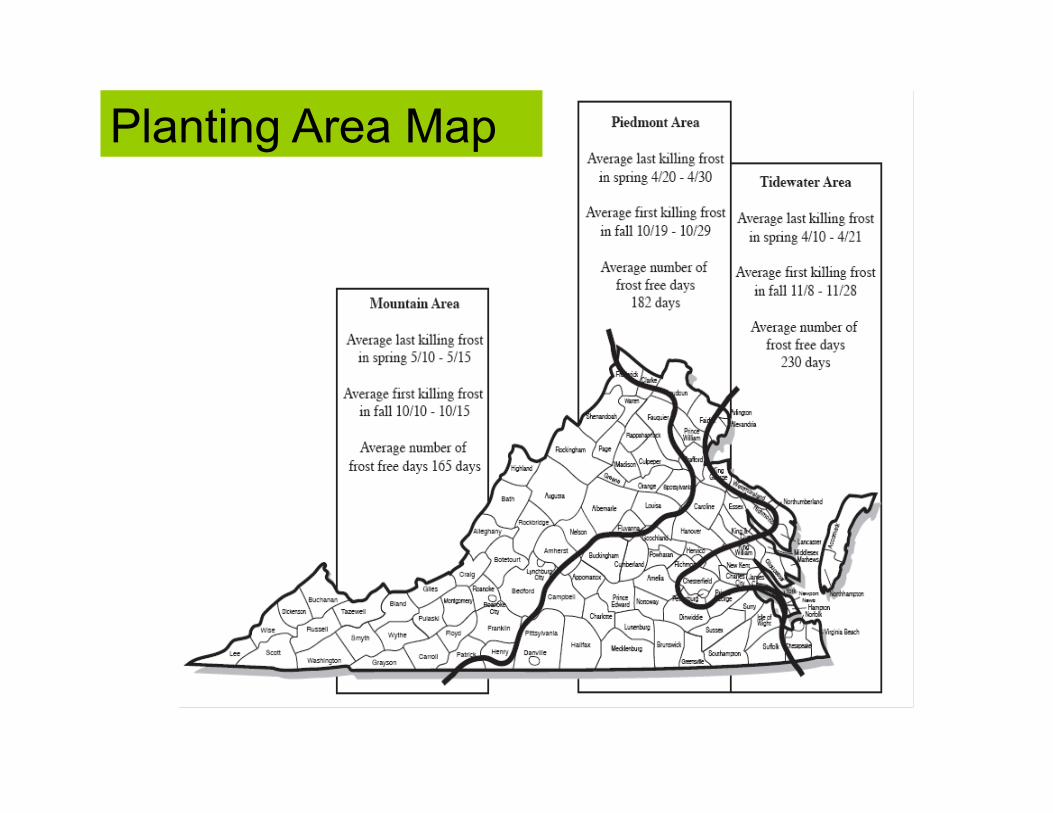
Planting Area Map
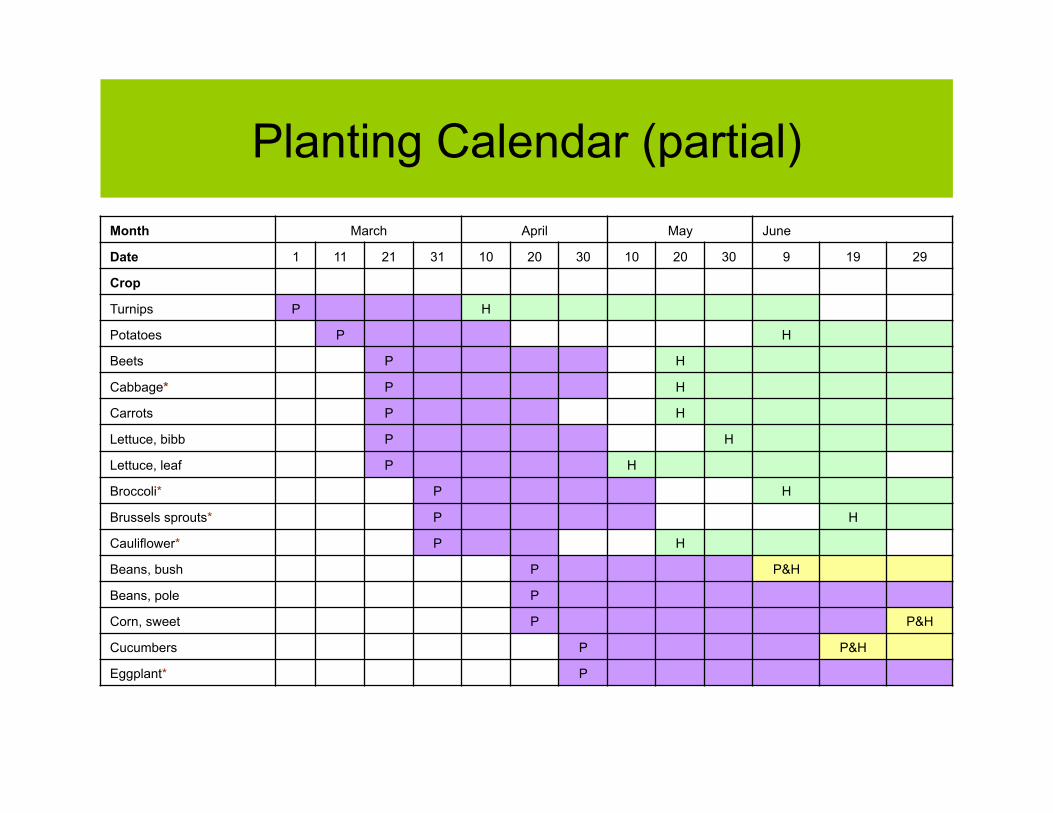
Planting Calendar (partial) Month March April May June Date 1 11 21 31 10 20 30 10 20 30 9 19 29 Crop Turnips P H Potatoes P H Beets P H Cabbage* P H Carrots P H Lettuce, bibb P H Lettuce, leaf P H Broccoli* P H Brussels sprouts* P H Cauliflower* P H Beans, bush P P&H Beans, pole P Corn, sweet P P&H Cucumbers P P&H Eggplant* P
Problems
• Leaf curl, yellowing lower leaves: overfertilization • Leggy plants: insufficient light, too much heat, crowding. • Leaf discoloration: nutrient deficiency • Mold: poor drainage, aeration, air movement • Insect damage: conditions not ideal • Damping off: fungus, stem withers at soil level. Cannot
correct; can avoid through air circulation, proper watering, sterile medium, treating seedlings with garlic spray, chamomile or nettle tea
• Failure to sprout: 9 possibilities – temp, moisture, planted too deep, top watering float away, old or poorly stored seed, toxic soil, too little or much light
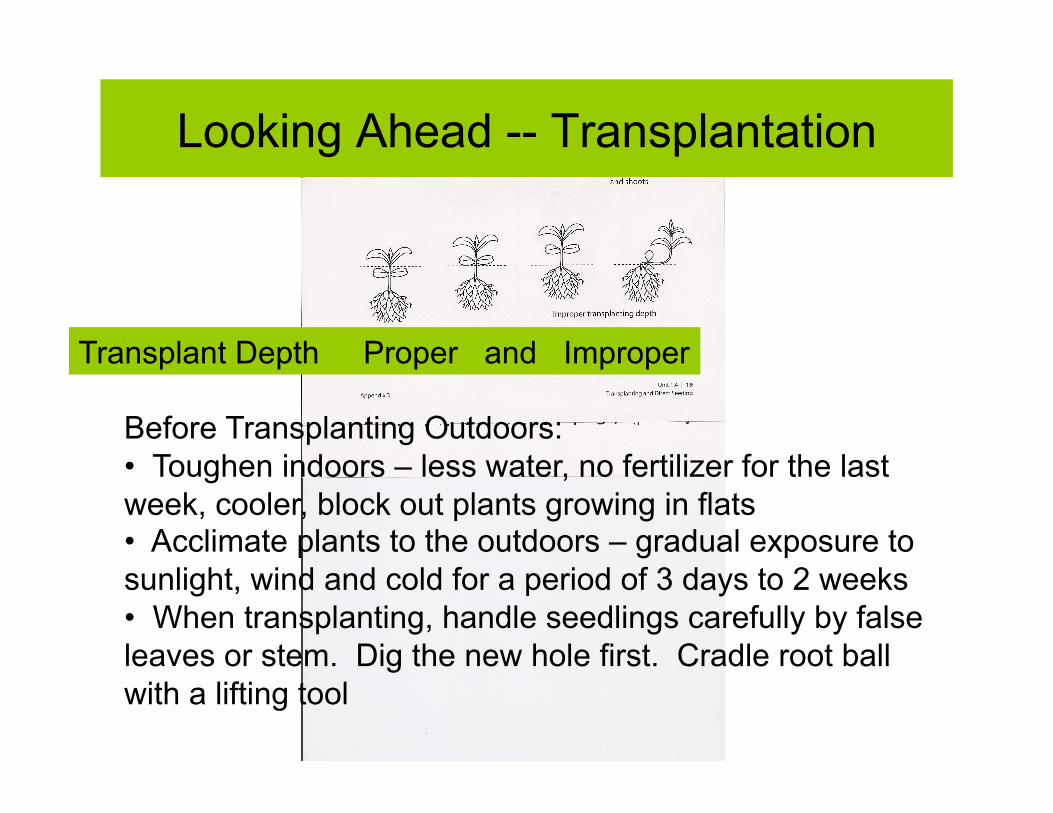
Looking Ahead -- Transplantation
Transplant Depth Proper and Improper
Before Transplanting Outdoors: • Toughen indoors – less water, no fertilizer for the last week, cooler, block out plants growing in flats • Acclimate plants to the outdoors – gradual exposure to sunlight, wind and cold for a period of 3 days to 2 weeks • When transplanting, handle seedlings carefully by false leaves or stem. Dig the new hole first. Cradle root ball with a lifting tool
Planting Out - Seedlings
• As seeds become plants they are more valuable and more difficult to replace.
• Success depends on – Judgment: weather, temperature, moisture,
microclimate, frost anticipation – Planting technique: hardened off, good day (cloudy,
still, warm), large holes, compost, planting depths, handling, water as you go, fill with fine soil, press/firm gently, form a soil saucer
– Shield from sun, wind, frost: shading, blocks, mulch, covers,
Direct Sowing Seeds
• Prepared beds • Presoaking, Inoculating esp. legumes • Mark soil: rows or centers • Sowing depth: not more than 3x diameter,
fine cover, firm seedbed, identify rows • Weeding • Thinning (if needed): consume or
transplant
Plant Spacing - Snap Beans, bush - Conventional vs Biointensive
• Plant “2" apart in rows 20" to 36" apart”
• RB =48(w) x 72(l) • 2 rows, 36 per = 72
plants
• Plant on 6”centers, 621 max plants per 100 sq ft
• RB = 4x6 = 24 sq ft • X= (24x621)/100 =
approximately 144
Result: Twice as many plants, “further” apart, in same area, higher yield, uniform green umbrella microclimate Why: deeply dug, richly composted soil provides more nutrients, better drainage, and more water. Caution: Do not plant intensively in raised beds, unless they are double dug and richly composted. (most TG beds are not)
Questions? Horticulture Help Line 703-792-7747
Resources & Credits • Virginia Cooperative Extension On-Line Research
References for Vegetable Gardening (Jan 24, 2011), attached to this package especially #14.
• Teaching Organic Farming and Gardening, Center for Agroecology & Sustainable Food Systems, UC Santa Cruz.
• The New Seed Starters Handbook, Nancy Bubel, Rodale Press, 1988.
• Teaming with Microbes, The Organic Gardener’s Guide to the Soil Food Web, Jeff Lowenfels and Wayne Hughes, Timber Press, 2010.
• The Sustainable Vegetable Garden, John Jeavons and Carol Cox, Ten Speed Press, 1999.
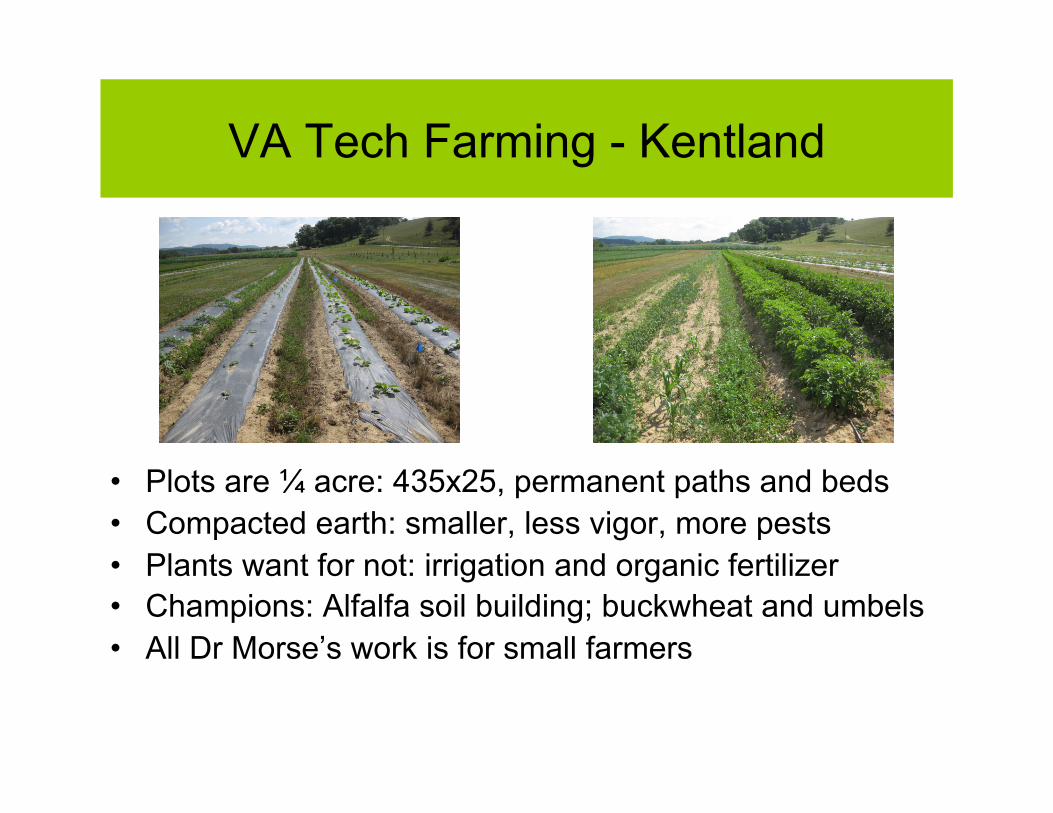
VA Tech Farming - Kentland
• Plots are ¼ acre: 435x25, permanent paths and beds • Compacted earth: smaller, less vigor, more pests • Plants want for not: irrigation and organic fertilizer • Champions: Alfalfa soil building; buckwheat and umbels • All Dr Morse’s work is for small farmers
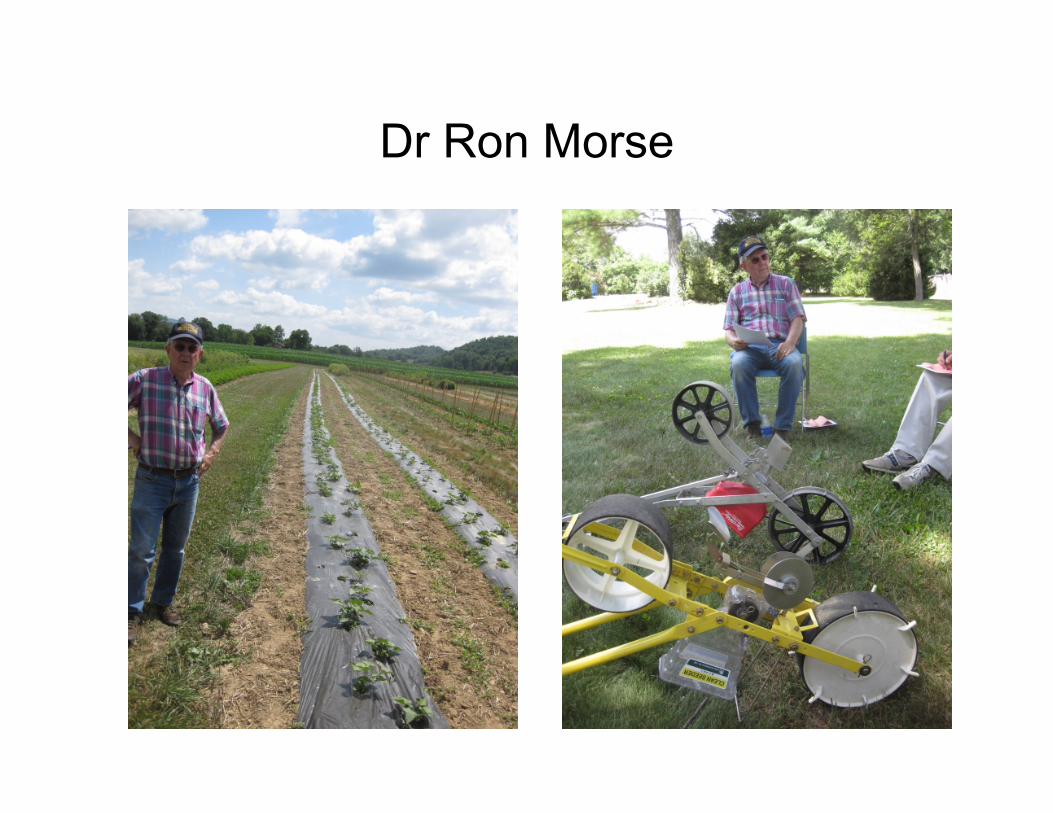
Dr Ron Morse