Embed Size (px)
Citation preview
Surviving RobotC
The Basics
Do’s
• Understand the syntax
• Understand what is an error and what is not
• Know the GUI
Don’ts
• Be a master programmer
• Try to figure out every little thing by yourself
• Point and Click to Guess and Check
The GUI
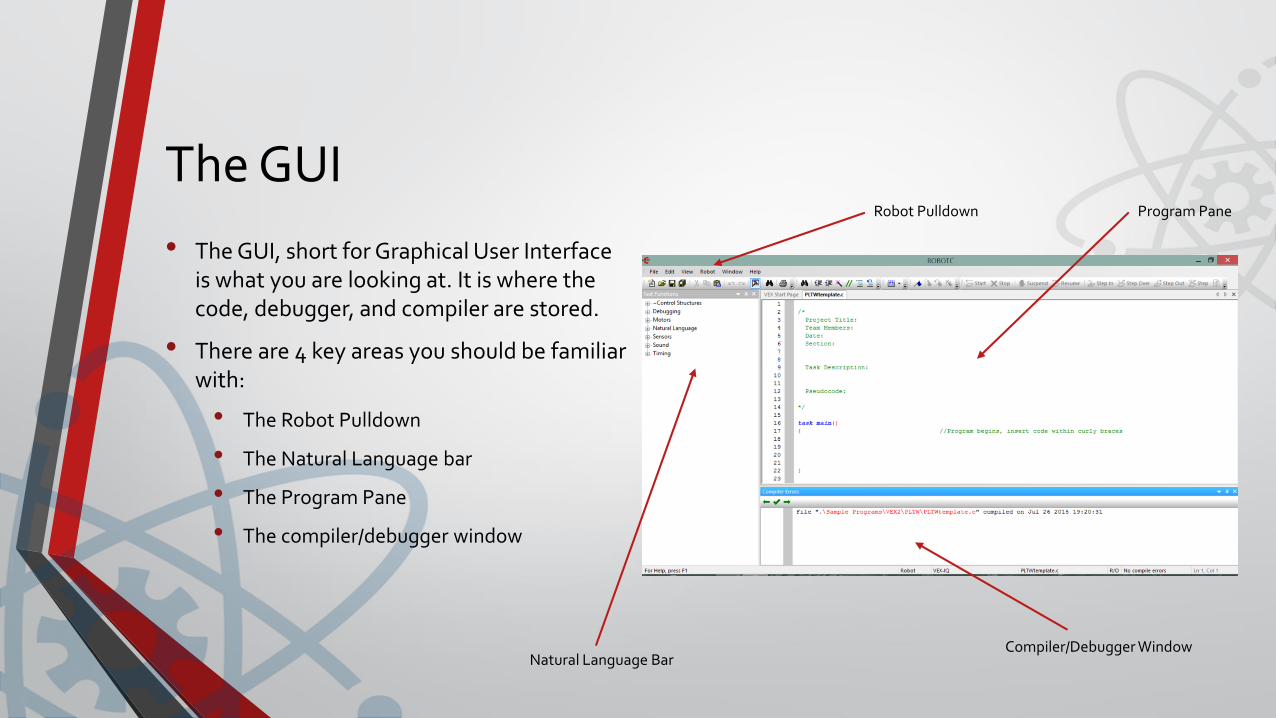
• The GUI, short for Graphical User Interface is what you are looking at. It is where the code, debugger, and compiler are stored.
• There are 4 key areas you should be familiar with:
• The Robot Pulldown
• The Natural Language bar
• The Program Pane
• The compiler/debugger window
Robot Pulldown Program Pane
Natural Language BarCompiler/Debugger Window
The Robot Pulldown
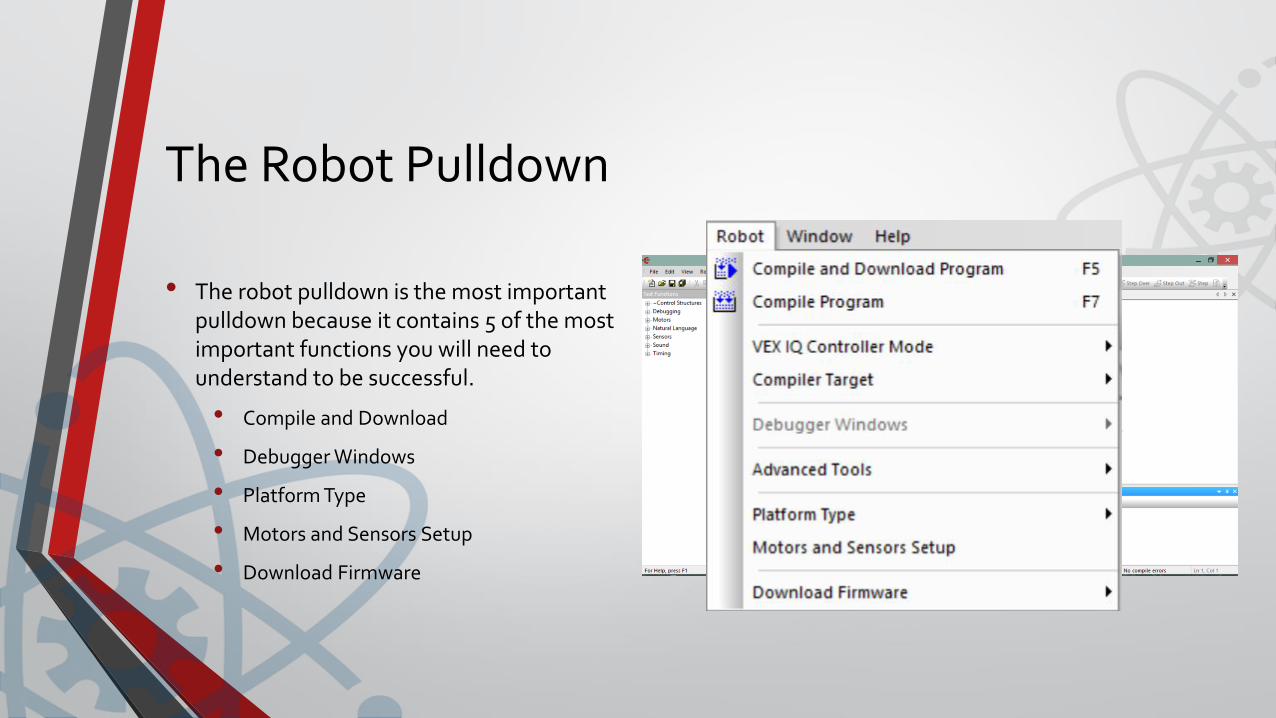
• The robot pulldown is the most important pulldown because it contains 5 of the most important functions you will need to understand to be successful.
• Compile and Download
• Debugger Windows
• Platform Type
• Motors and Sensors Setup
• Download Firmware
The Natural Language Bar
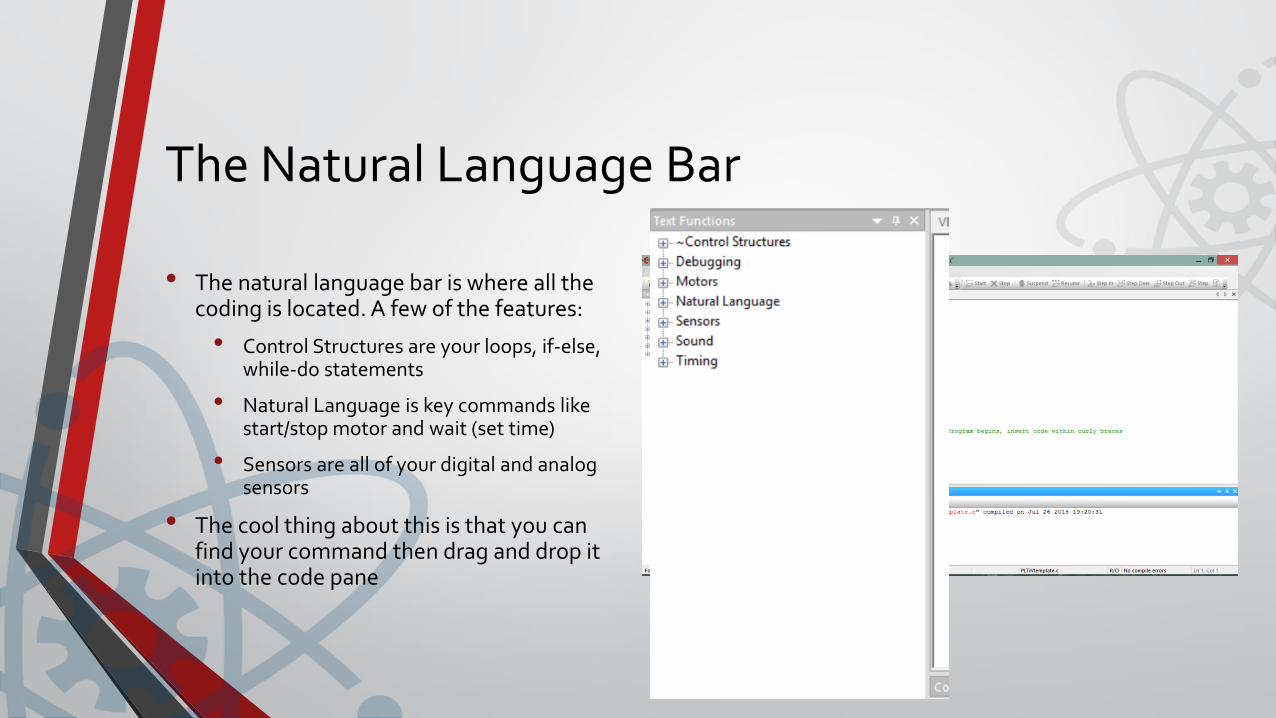
• The natural language bar is where all the coding is located. A few of the features:
• Control Structures are your loops, if-else, while-do statements
• Natural Language is key commands like start/stop motor and wait (set time)
• Sensors are all of your digital and analog sensors
• The cool thing about this is that you can find your command then drag and drop it into the code pane

The Program Pane
• The Program Pane is where you do your programming. If you are doing it right, you should have 2 programs in 1.
• Pseudocode is a program that is written in plain English. This is the one that is absolutely essential to you the teacher.
• RobotC code. If you teach your students right, you can follow their code by seeing the pseudocode right after the RobotC code.
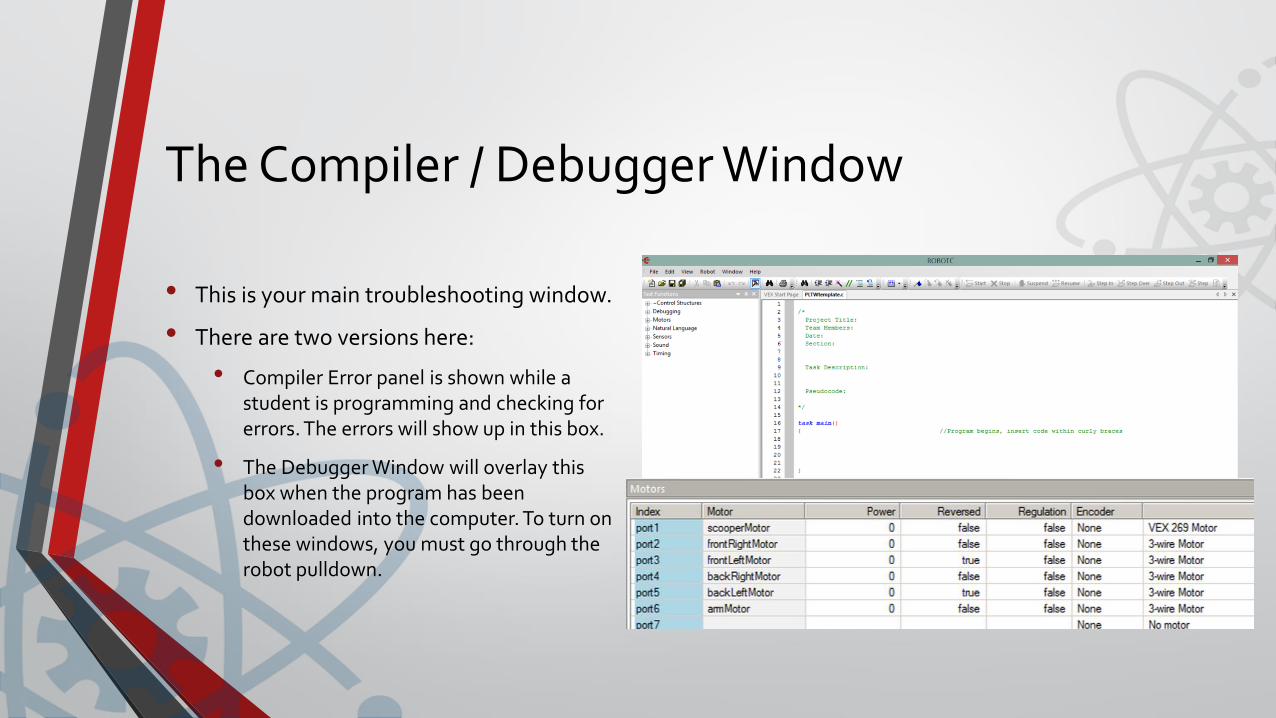
The Compiler / Debugger Window
• This is your main troubleshooting window.
• There are two versions here:
• Compiler Error panel is shown while a student is programming and checking for errors. The errors will show up in this box.
• The Debugger Window will overlay this box when the program has been downloaded into the computer. To turn on these windows, you must go through the robot pulldown.
Overview
• Keep in mind that understanding where things are will eliminate more than half the battles you are to face.
• Knowing where things are will speed up troubleshooting, spelling errors, and other common mistakes.
• Knowing what's in the specific pull downs and windows will reduce headaches at startup.
Troubleshooting Common MistakesMistake #1 – SensorValue is missing
• Program runs but doesn’t do what is intended. (i.e. doesn’t stop, misses a call, etc.)
• This most often occurs in the decision segment of your program. When using a While loop or an If-Else Statement, you are comparing two values. Key word here is Value! Comparing if a switch is equal to ‘1’ is wrong. Not wrong programmatically, but wrong in the sense that the computer has no idea what you are looking for so instead, reads it as false and moves on. Look at the following examples below:
• Incorrect: While (led == 1)
• Correct: While (SensorValue (led == 1))
• Remember that an LED cannot equal 1, it can only be on or off, but in order to be on or off, the value must be 1 or 0.
• Another issue with these is that you are comparing so a student may be missing an = as well.
Mistake #2 – Misspelled words
• Most commonly leads to a yellow x which is not bad, but it can lead to problems later on.
• The easiest way to eliminate misspelled words is by clicking and dragging from the left bank of actions to the right panel of coding. Many students do not like to do this because they believe they can type faster than actually looking for a function, but most of the students also have not been in a programming environment before. This leads to nomenclature errors like caps in the middle of a word (Leads to yellow x) or not often used words which leads to errors in the program because the computer doesn’t understand ‘turnLEDof’ (note the f missing on the end).
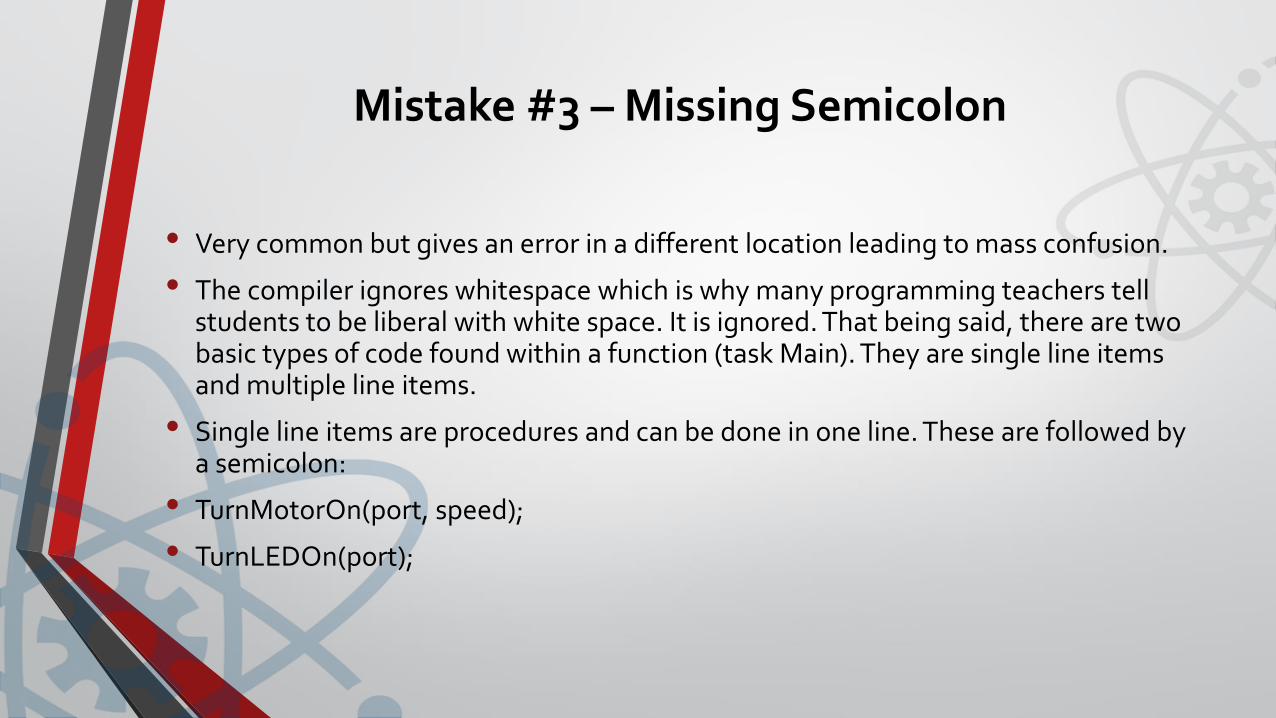
Mistake #3 – Missing Semicolon
• Very common but gives an error in a different location leading to mass confusion.
• The compiler ignores whitespace which is why many programming teachers tell students to be liberal with white space. It is ignored. That being said, there are two basic types of code found within a function (task Main). They are single line items and multiple line items.
• Single line items are procedures and can be done in one line. These are followed by a semicolon:
• TurnMotorOn(port, speed);
• TurnLEDOn(port);
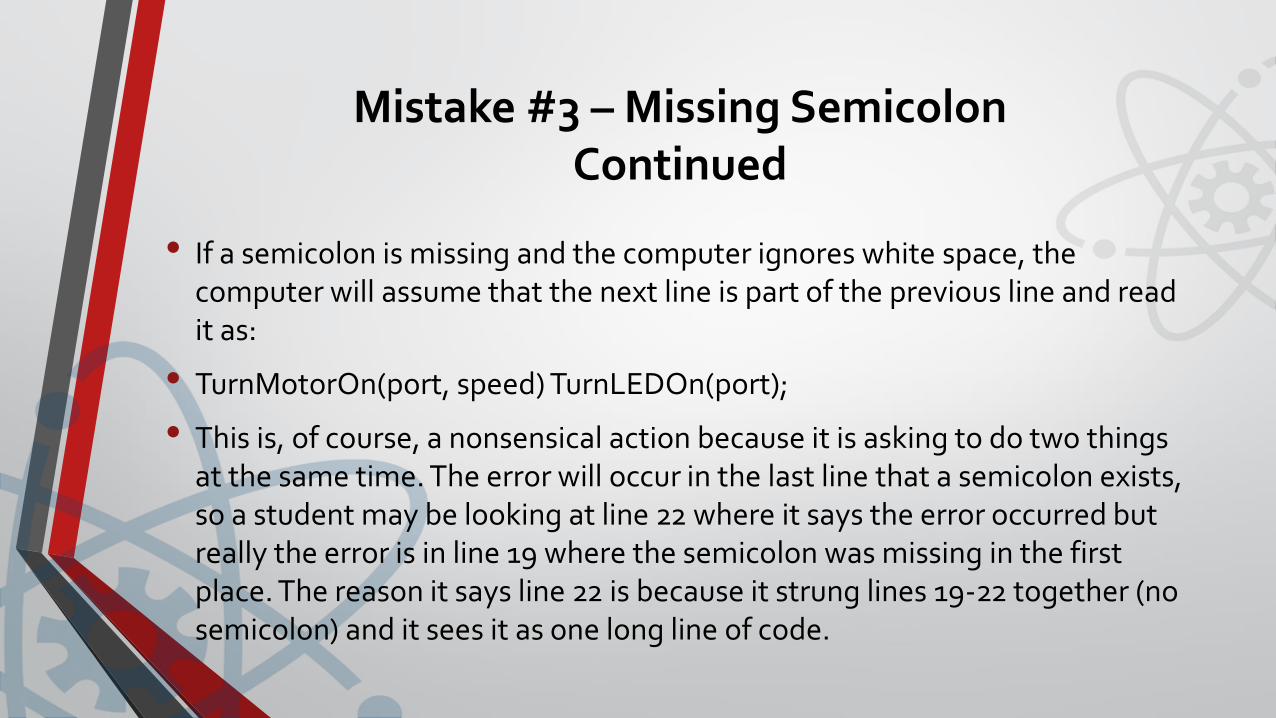
Mistake #3 – Missing Semicolon Continued
• If a semicolon is missing and the computer ignores white space, the computer will assume that the next line is part of the previous line and read it as:
• TurnMotorOn(port, speed) TurnLEDOn(port);
• This is, of course, a nonsensical action because it is asking to do two things at the same time. The error will occur in the last line that a semicolon exists, so a student may be looking at line 22 where it says the error occurred but really the error is in line 19 where the semicolon was missing in the first place. The reason it says line 22 is because it strung lines 19-22 together (no semicolon) and it sees it as one long line of code.
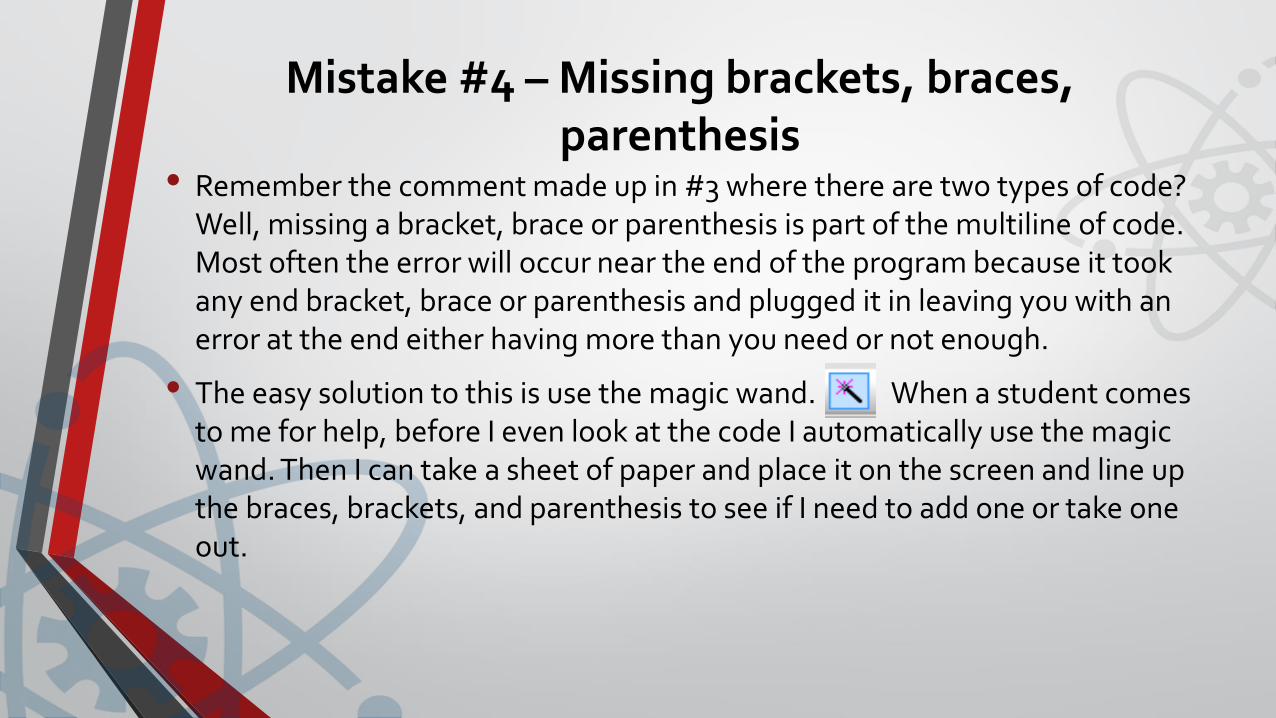
Mistake #4 – Missing brackets, braces, parenthesis
• Remember the comment made up in #3 where there are two types of code? Well, missing a bracket, brace or parenthesis is part of the multiline of code. Most often the error will occur near the end of the program because it took any end bracket, brace or parenthesis and plugged it in leaving you with an error at the end either having more than you need or not enough.
• The easy solution to this is use the magic wand. When a student comes to me for help, before I even look at the code I automatically use the magic wand. Then I can take a sheet of paper and place it on the screen and line up the braces, brackets, and parenthesis to see if I need to add one or take one out.


![ROBOTC for VEX Cortex and PIC VEXnet Remote Controlbssdt.weebly.com/uploads/1/3/2/6/13266197/robotc...ROBOTC for VEX Cortex and PIC VEXnet Remote Control vexRT[] Array that contains](https://img.pdfslide.us/doc/110x75/60e60742d77063770e564eb0/robotc-for-vex-cortex-and-pic-vexnet-remote-robotc-for-vex-cortex-and-pic-vexnet.jpg)


![Getting Started in RobotC - RobotC for VEX Workshop · Getting Started in RobotC • // Comment • task • main() • motor[] • {} • wait1Msec() • ; • = • Header • Code](https://img.pdfslide.us/doc/110x75/5d5751e588c9934f278bdeaa/getting-started-in-robotc-robotc-for-vex-workshop-getting-started-in-robotc.jpg)