Embed Size (px)
DESCRIPTION
LECTURE. 20, Unit. 3 Drawing Pencil drawing, graphite drawing, crayons, Pastels, etc. Shading techniques. SUMMERY OF LECTURE.18. UNIT. 3. LECTURE . 19 was practical. Printing and patterns. Printing. Vegetable printing, Leaf printing and Block printing - PowerPoint PPT Presentation
Citation preview
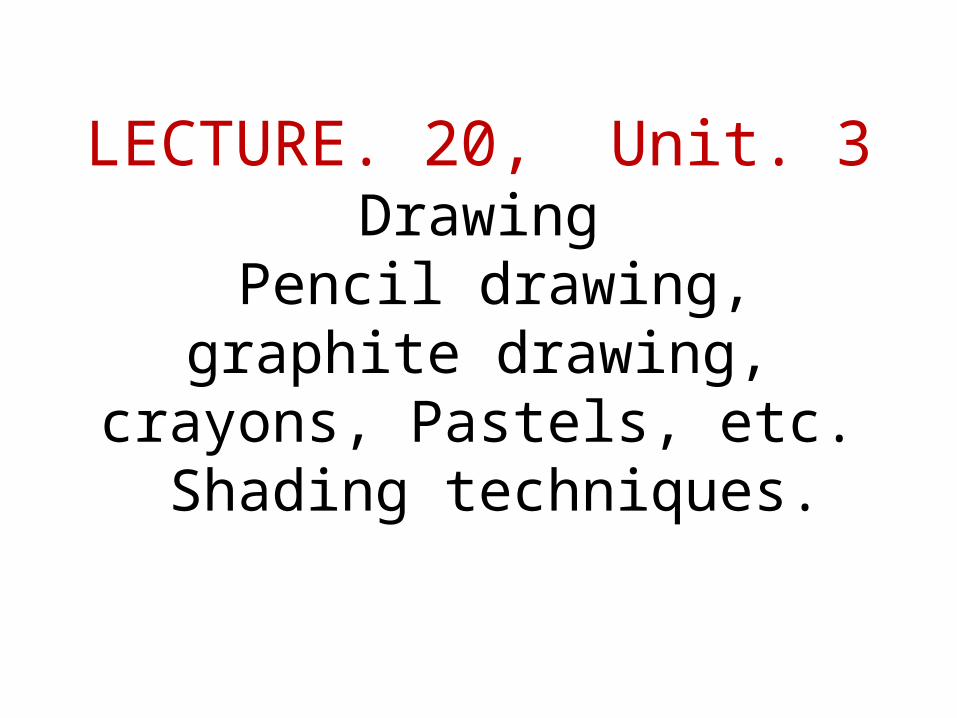
LECTURE. 20, Unit. 3Drawing
Pencil drawing, graphite drawing, crayons, Pastels, etc.
Shading techniques.
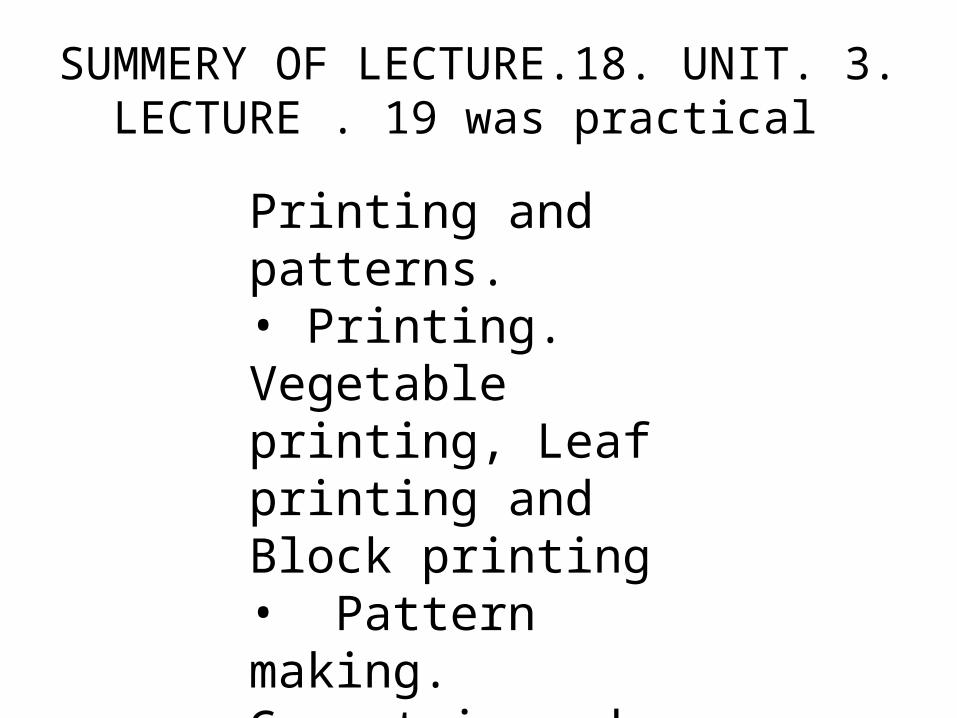
SUMMERY OF LECTURE.18. UNIT. 3.LECTURE . 19 was practical
Printing and patterns.• Printing. Vegetable printing, Leaf printing and Block printing• Pattern making. Geometric and organic patterns.
Drawing is a form of visual art that makes use of any number of drawing instruments to mark a two-dimensional medium. Instruments used include graphite pencils, pen and ink, inked brushes, wax color pencils, crayons, charcoal, chalk, pastels, various kinds of erasers, markers, styluses, and various metals (such as silverpoint). An artist who practices or works in drawing may be called a draftsman or draughtsman.
A small amount of material is released onto a surface, leaving a visible mark. The most common support for drawing is paper, although other materials, such as cardboard, plastic, leather, canvas, and board, may be used. Temporary drawings may be made on a blackboard or whiteboard or indeed almost anything. The medium has been a popular and fundamental means of public expression throughout human history.
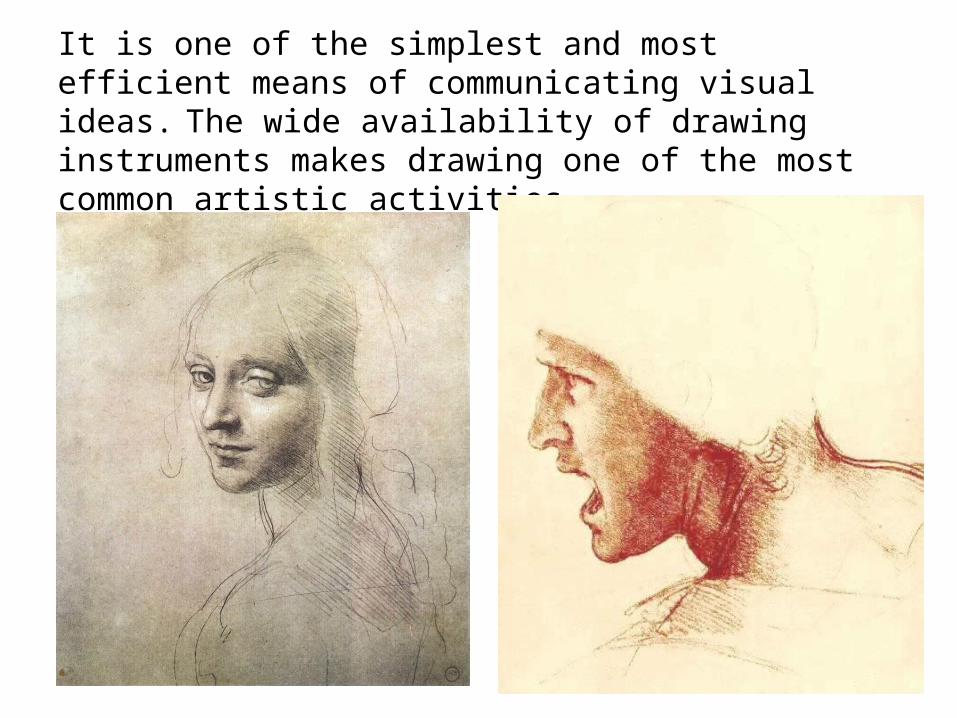
It is one of the simplest and most efficient means of communicating visual ideas. The wide availability of drawing instruments makes drawing one of the most common artistic activities.
Drawing is one of the major forms of expression within the visual arts. It is generally concerned with the marking of lines and areas of tone onto paper, where the accurate representation of the visual world is expressed upon a plane surface. Traditional drawings were monochrome, or at least had little colour
while modern colored-pencil drawings may approach or cross a boundary between drawing and painting. In Western terminology, drawing is distinct from painting, even though similar media often are employed in both tasks. Dry media, normally associated with drawing, such as chalk, may be used in pastel paintings. Drawing may be done with a liquid medium, applied with brushes or pens. Similar supports likewise can serve both: painting generally involves the application of liquid paint onto prepared canvas or panels, but sometimes an underdrawing is drawn first on that same support.
Drawing is often exploratory, with considerable emphasis on observation, problem-solving and composition. Drawing is also regularly used in preparation for a painting, further obfuscating their distinction. Drawings created for these purposes are called studies.There are several categories of drawing, including figure drawing, cartooning, doodling and shading.
There are also many drawing methods, such as line drawing, stippling, shading, the surrealist method of entopic graphomania (in which dots are made at the sites of impurities in a blank sheet of paper, and lines are then made between the dots), and tracing (drawing on a translucent paper, such as tracing paper, around the outline of preexisting shapes that show through the paper).A quick, unrefined drawing may be called a sketch.
The medium is the means by which ink, pigment or color are delivered onto the drawing surface. Most drawing media are either dry (e.g. graphite, charcoa, pastels, Conté, silverpoint), or use a fluid solvent or carrier (marker, pen and ink). Watercolor pencils can be used dry like ordinary pencils, then moistened with a wet brush to get various painterly effects. Very rarely, artists have drawn with (usually decoded) invisible ink. Metalpoint drawing usually employs either of two metals: silver or lead.More rarely used are gold, platinum, copper, brass, bronze, and tinpoint.
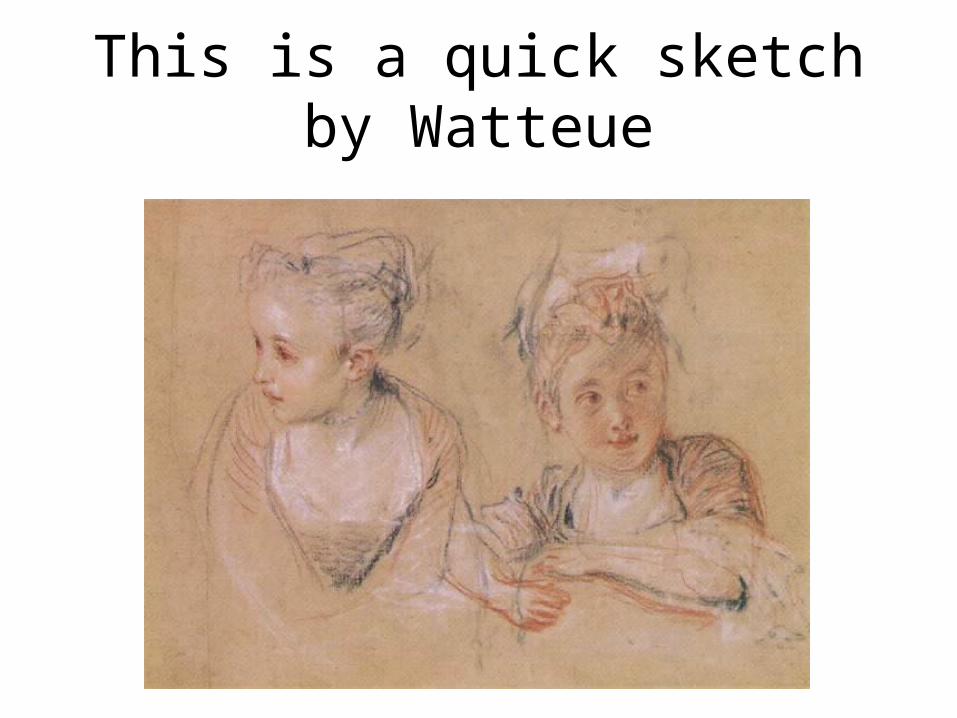
This is a quick sketch by Watteue
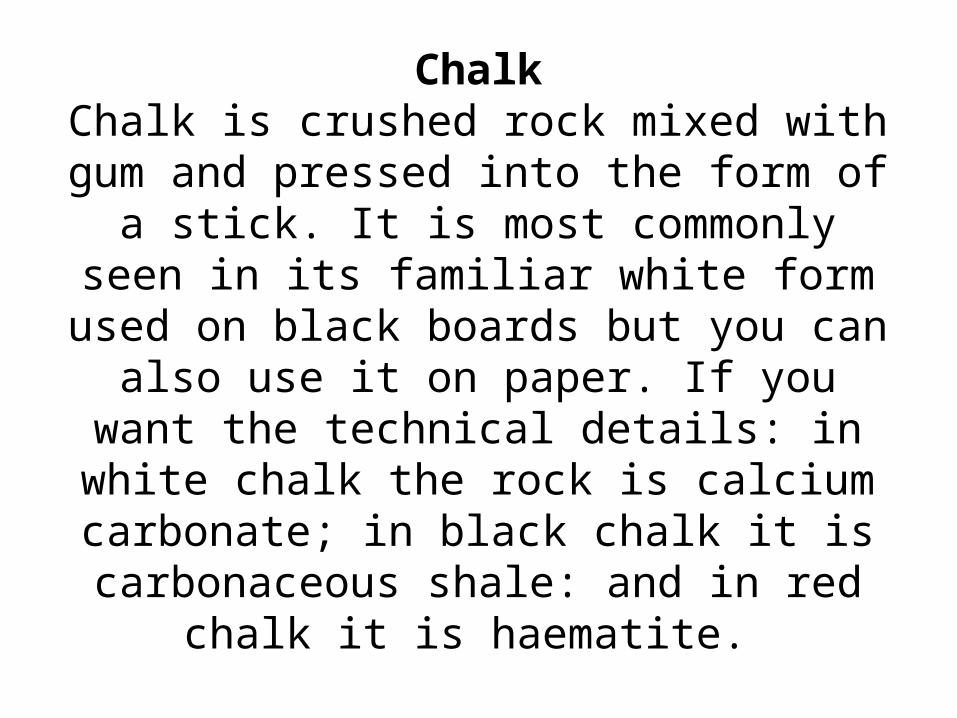
ChalkChalk is crushed rock mixed with gum and pressed into the form of a stick. It is most commonly seen in its familiar white form used on black boards but
you can also use it on paper. If you want the technical details: in white
chalk the rock is calcium carbonate; in black chalk it is carbonaceous shale:
and in red chalk it is haematite.
Red chalk is sometimes called sanguine which is the French word for bpaper and this deposit can be smudged with the finger. Sometimes an artist will choose to do this. To prevent unwanted smudgings after the drawing is finished it may be necessary to spray the drawing with a bs sharpened into a point or left blunt.
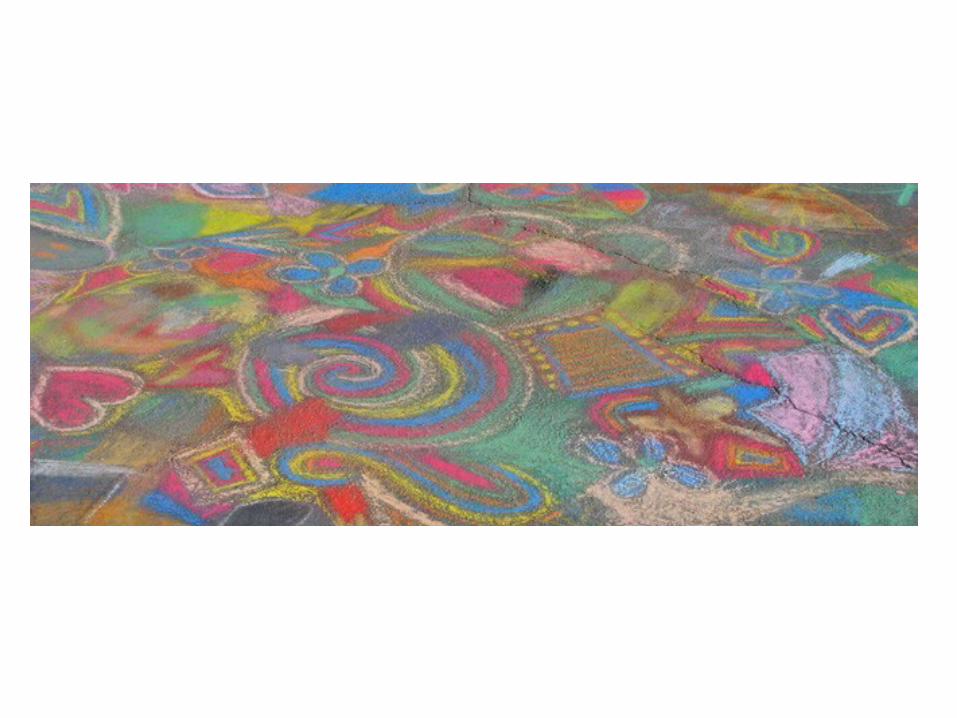
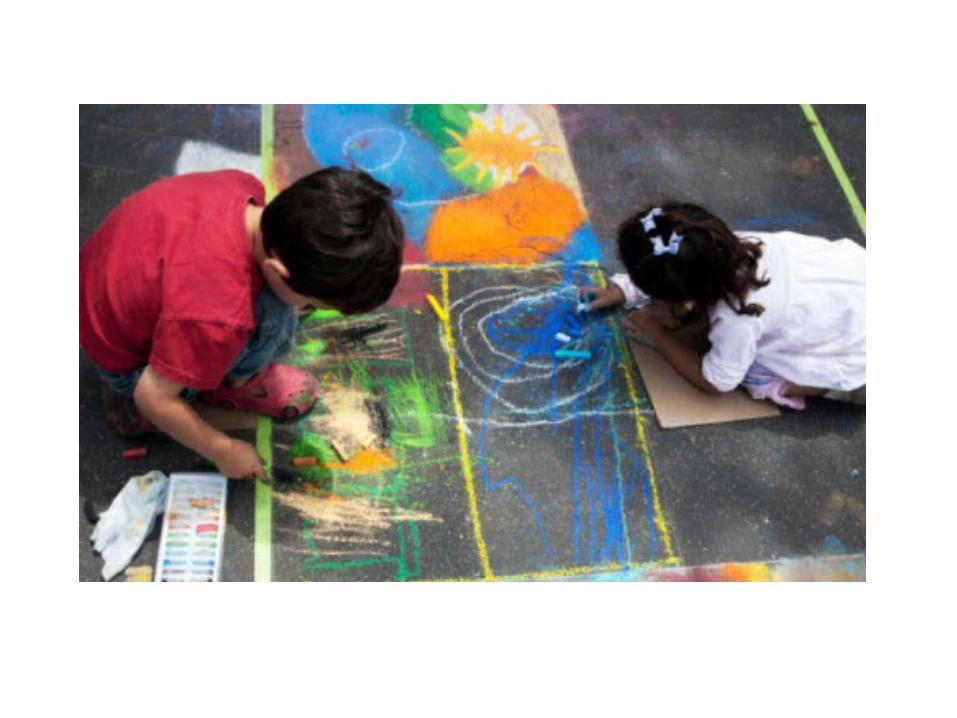
What you will need: artwork previously prepared, clean street surface that is not too smooth or too rough, chalk (artists chalk like Koss has great colors and covers the street better), tape measure & chalk line, ipod, hand wipes, some people use plastic gloves, some people use cardboard or pads to sit on, sunscreen, hat, and a camera.1) Selecting an image. Start off with something that you can handle. Each time you create a chalk drawing you will get better and be able to pull off larger and more complicated images. It’s better to win with a doable piece than have a disappointing first experience.

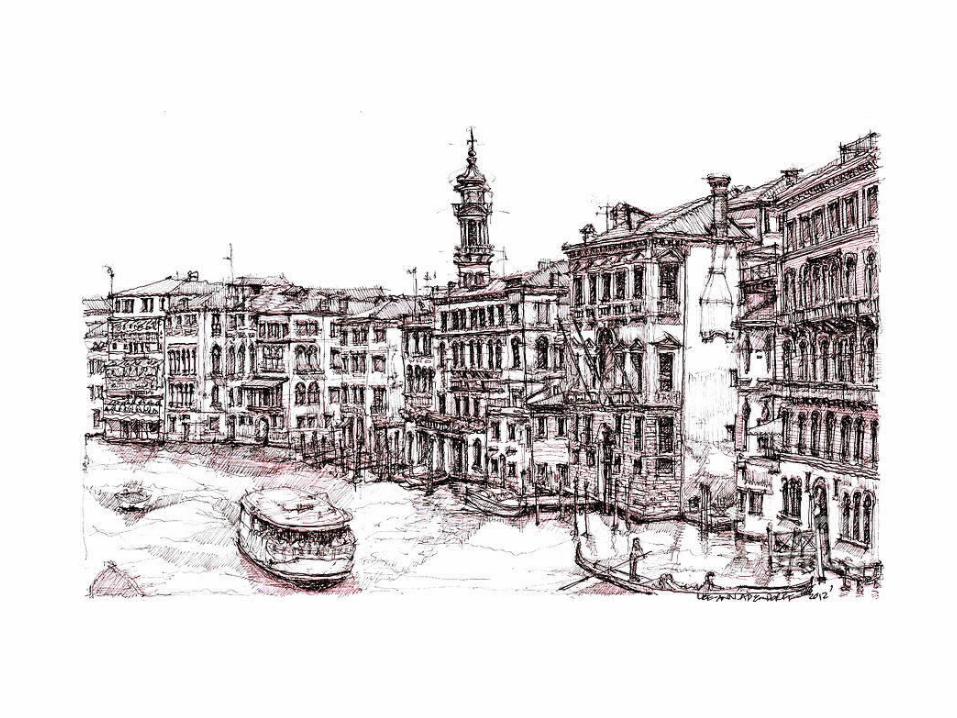
Pen and InkThe metal pen nib was not invented until the 18th century, and was not widely used until the second quarter of the 19th century. The earliest pens were made from reeds, cut with a sharp knife and shaped into a nib. They were effective but not very flexible and produced strong lines with distinctive patterns of broadening and narrowing.
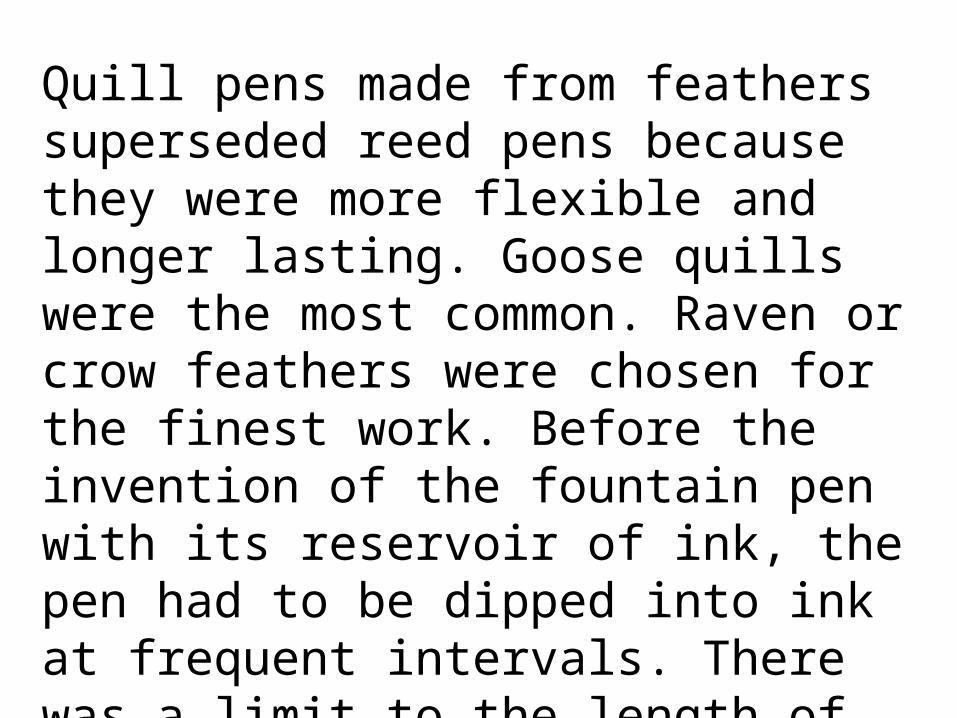
Quill pens made from feathers superseded reed pens because they were more flexible and longer lasting. Goose quills were the most common. Raven or crow feathers were chosen for the finest work. Before the invention of the fountain pen with its reservoir of ink, the pen had to be dipped into ink at frequent intervals. There was a limit to the length of line that could be made before the ink ran out, and this and the scratchy quality of the pen nib will be apparent.
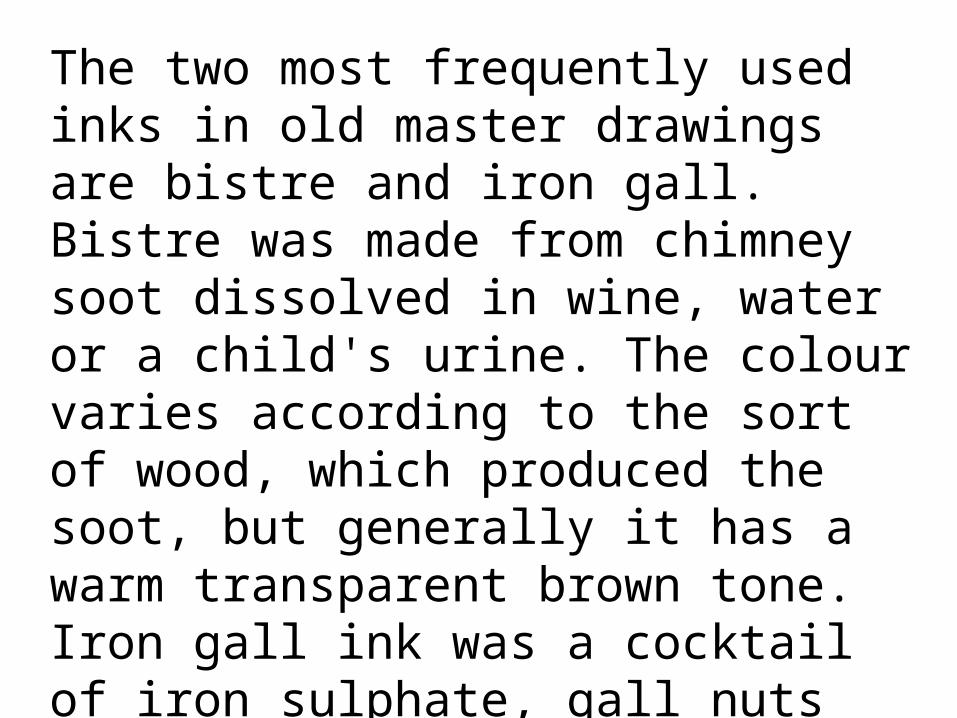
The two most frequently used inks in old master drawings are bistre and iron gall. Bistre was made from chimney soot dissolved in wine, water or a child's urine. The colour varies according to the sort of wood, which produced the soot, but generally it has a warm transparent brown tone. Iron gall ink was a cocktail of iron sulphate, gall nuts and gum arabic.
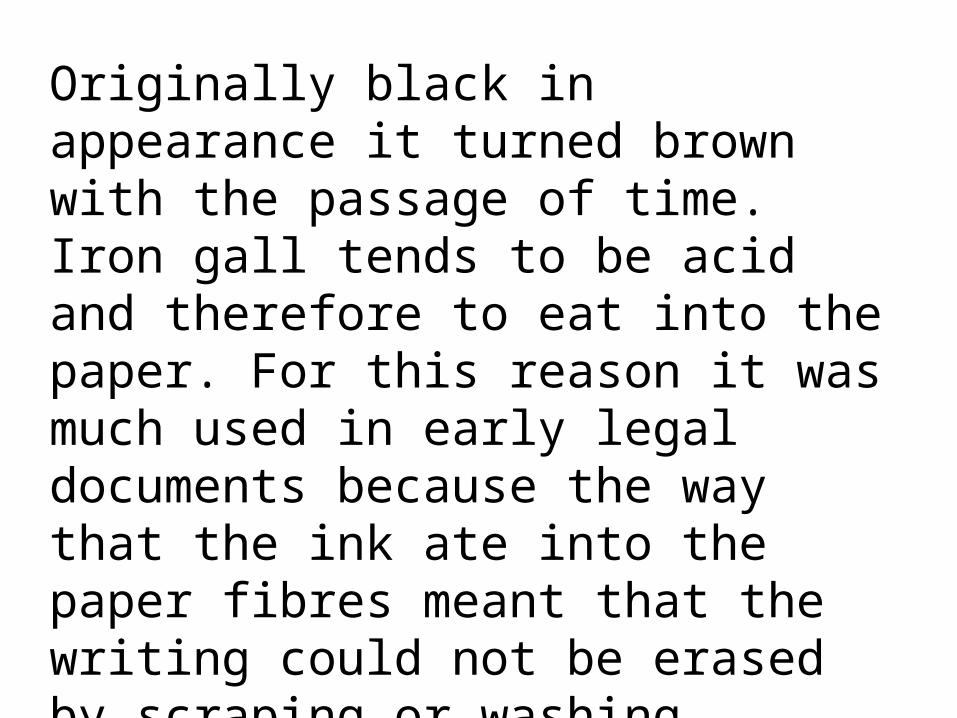
Originally black in appearance it turned brown with the passage of time. Iron gall tends to be acid and therefore to eat into the paper. For this reason it was much used in early legal documents because the way that the ink ate into the paper fibres meant that the writing could not be erased by scraping or washing.
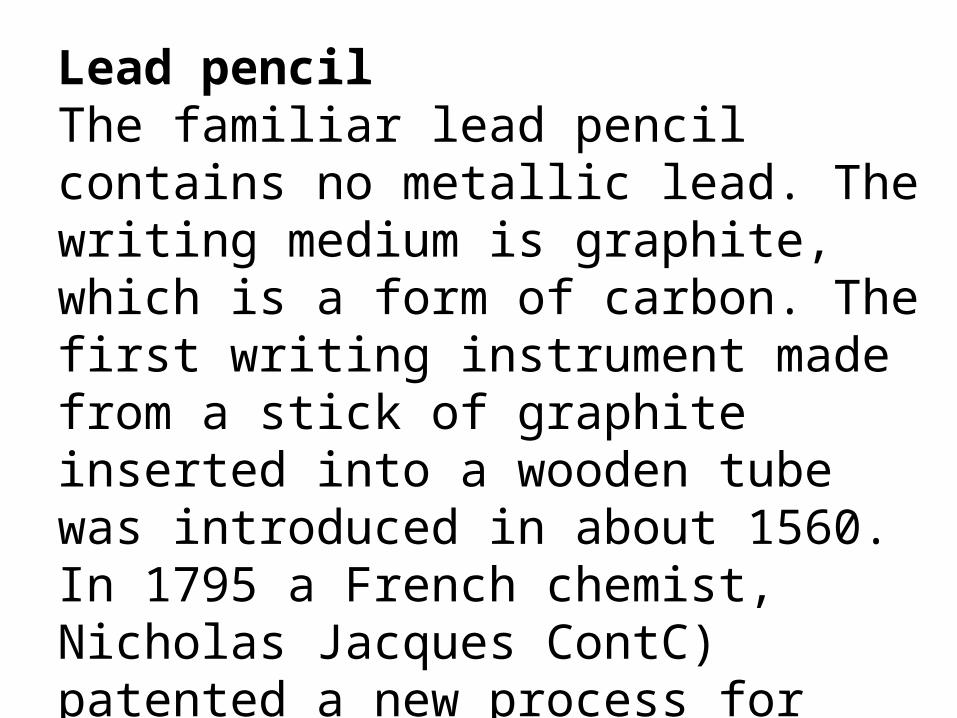
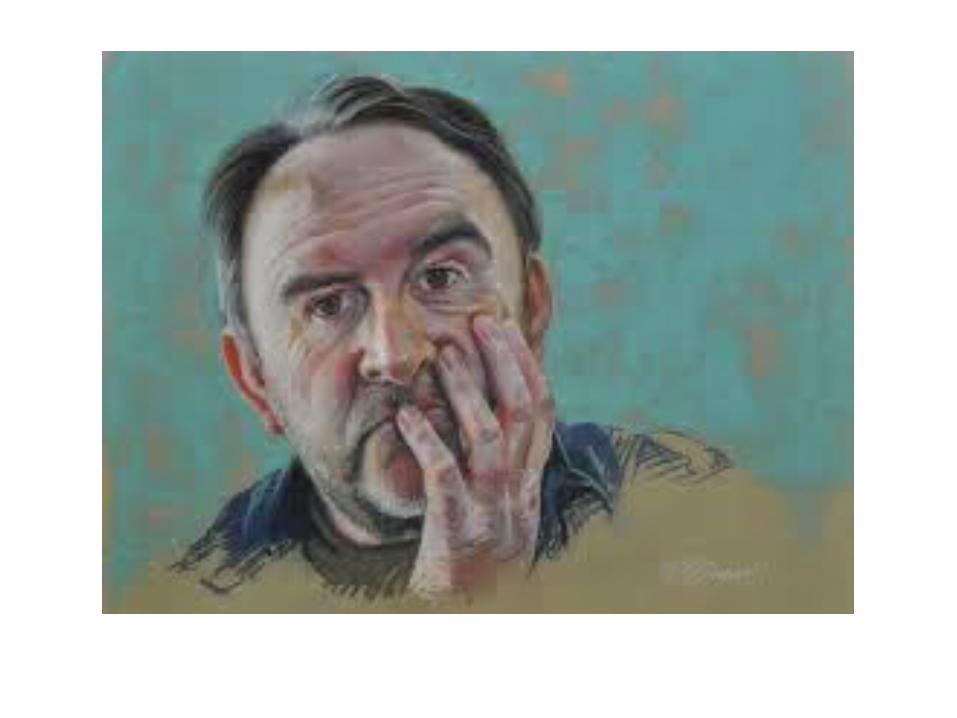
Lead pencilThe familiar lead pencil contains no metallic lead. The writing medium is graphite, which is a form of carbon. The first writing instrument made from a stick of graphite inserted into a wooden tube was introduced in about 1560. In 1795 a French chemist, Nicholas Jacques ContC) patented a new process for making lead pencils by mixing powdered graphite and clay which he hardened in a furnace.
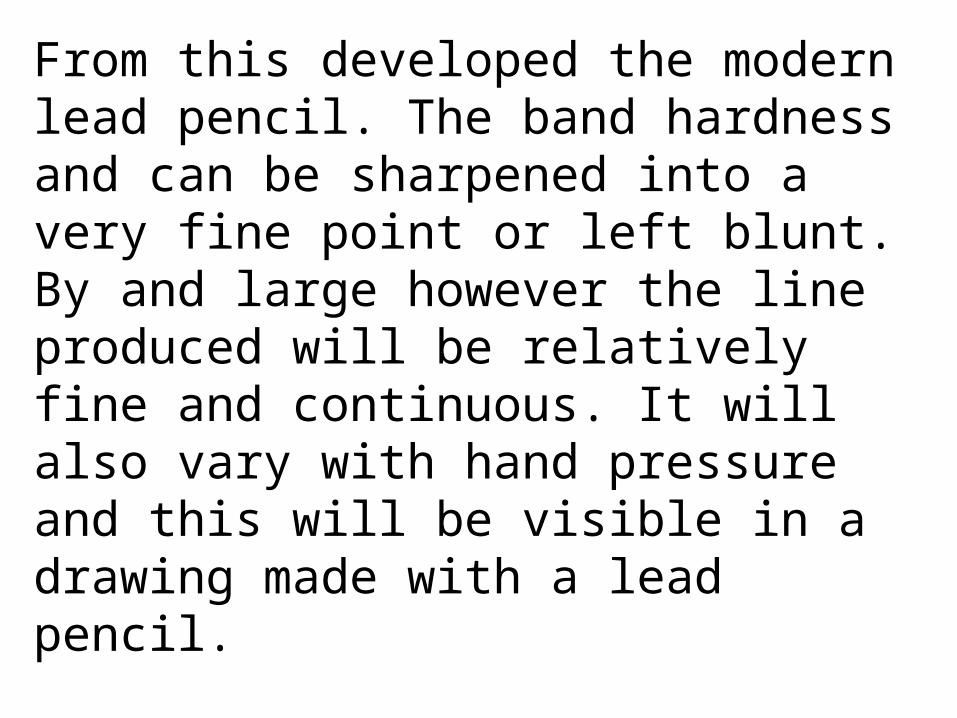
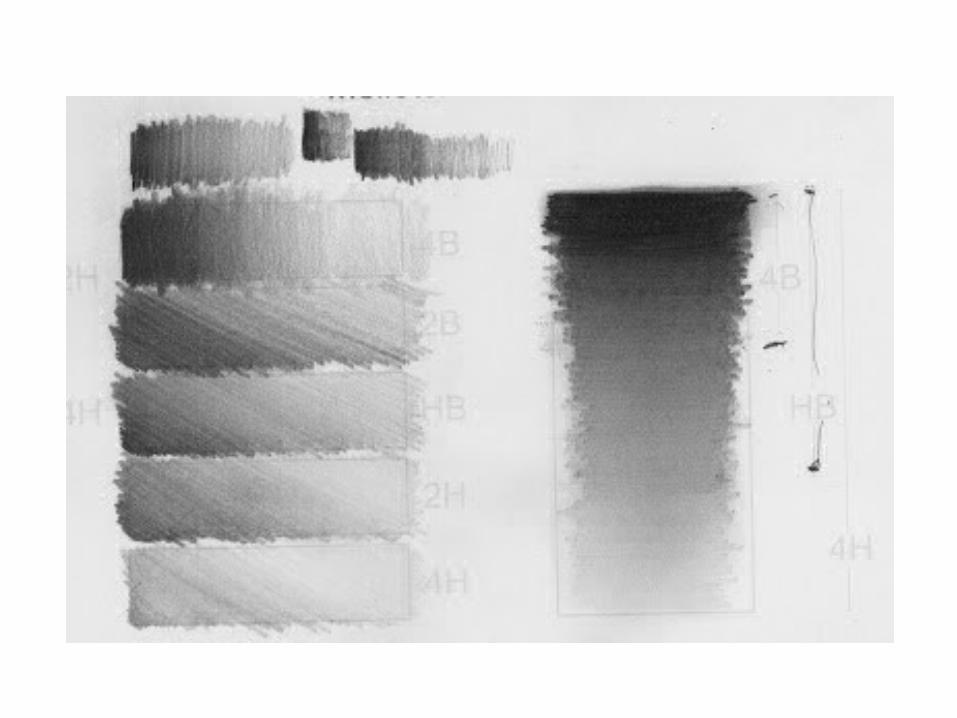
From this developed the modern lead pencil. The band hardness and can be sharpened into a very fine point or left blunt. By and large however the line produced will be relatively fine and continuous. It will also vary with hand pressure and this will be visible in a drawing made with a lead pencil.

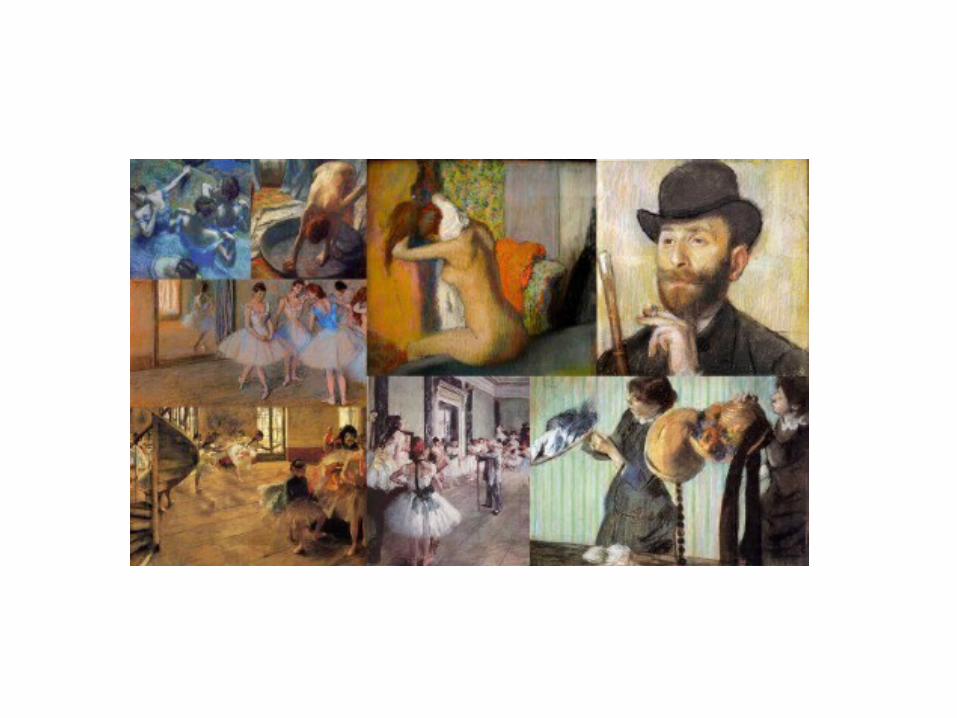
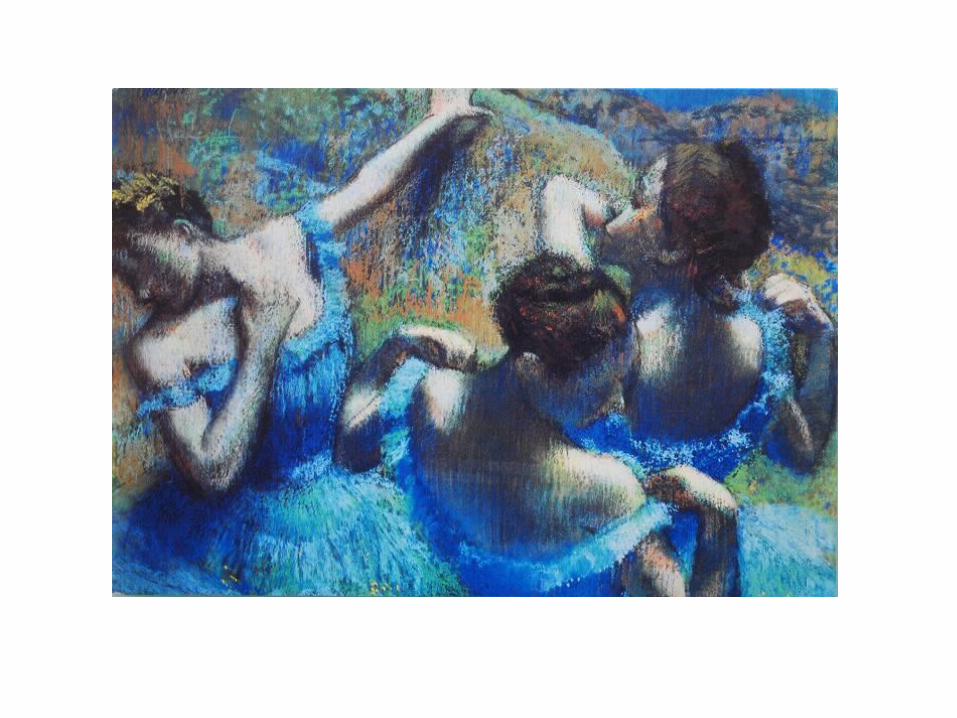
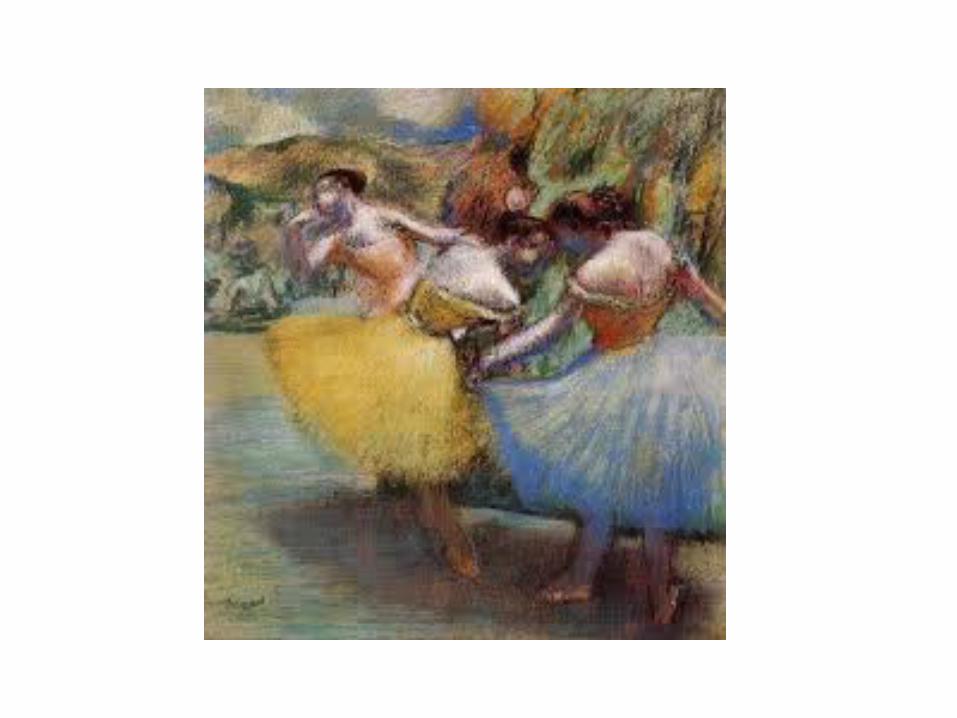
PastelA pastel is a stick of colour made from powdered pigment bound with resin or gum. The colours are usually pale and chalky, and the marks are soft and fragile. They can be worked or smudged with the fingers and different colours can be blended together. The softness means that outlines can be made as long flowing lines.
Areas of colour are usually produced by applying short strokes that can be left as they are or blended with the fingers. A fixative needs to be applied to protect the fragile material, although the fixative will probably dull the original brightness of the colours. The heyday for pastels was the 18th century although their use was revived at the end of the 19th.
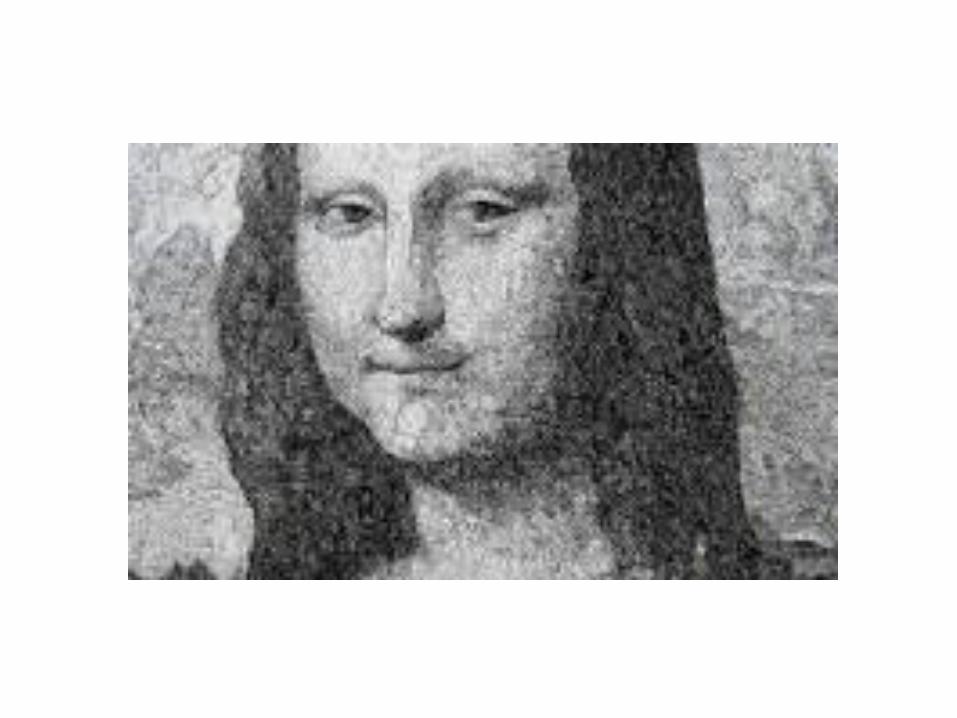
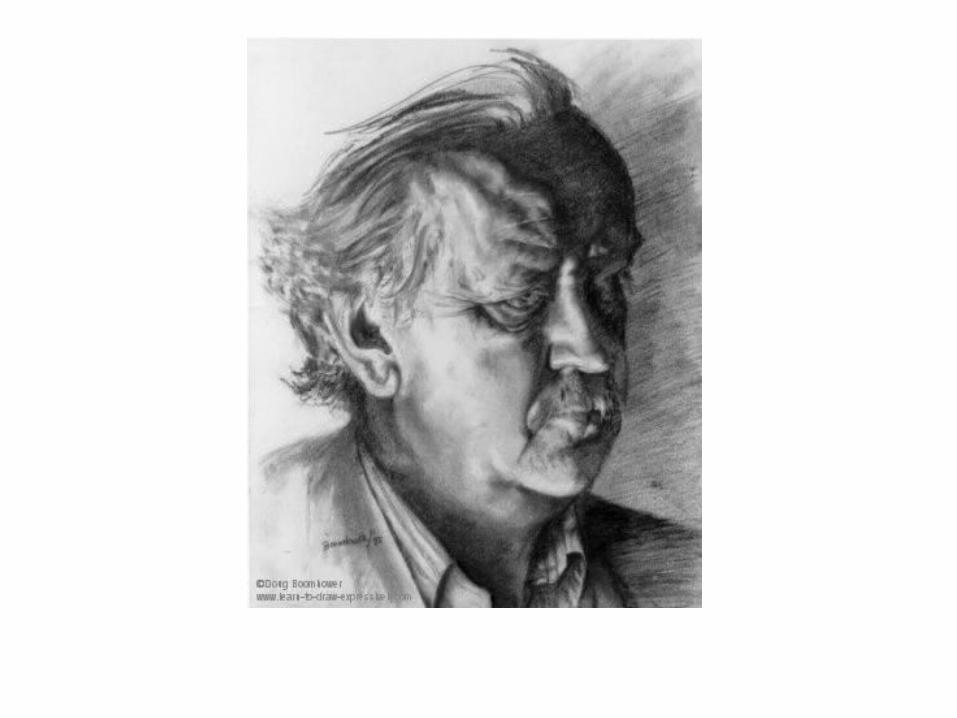
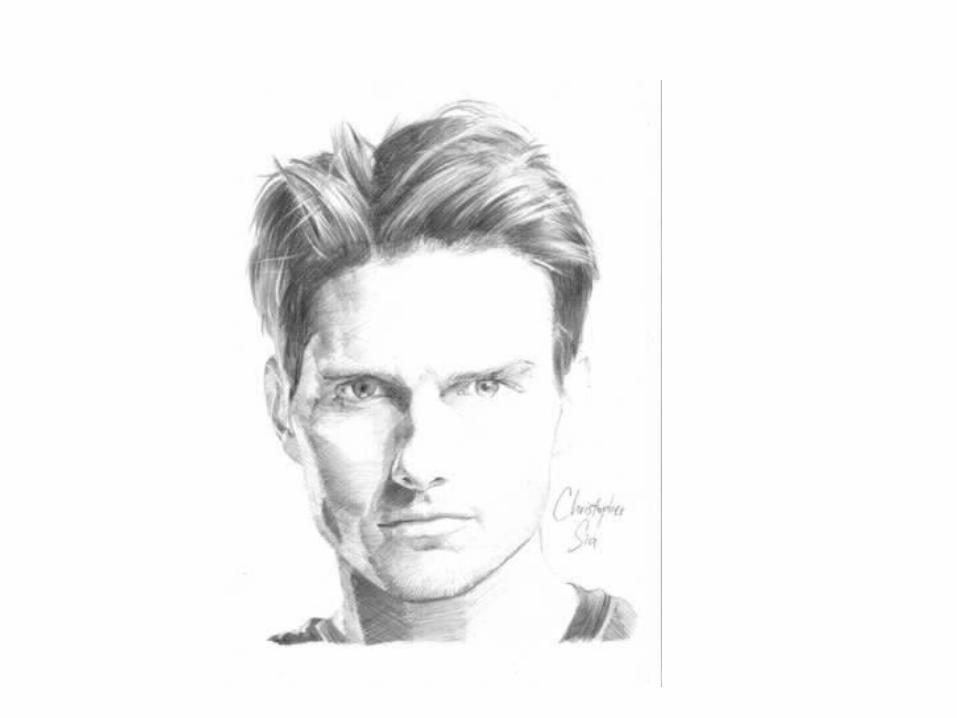
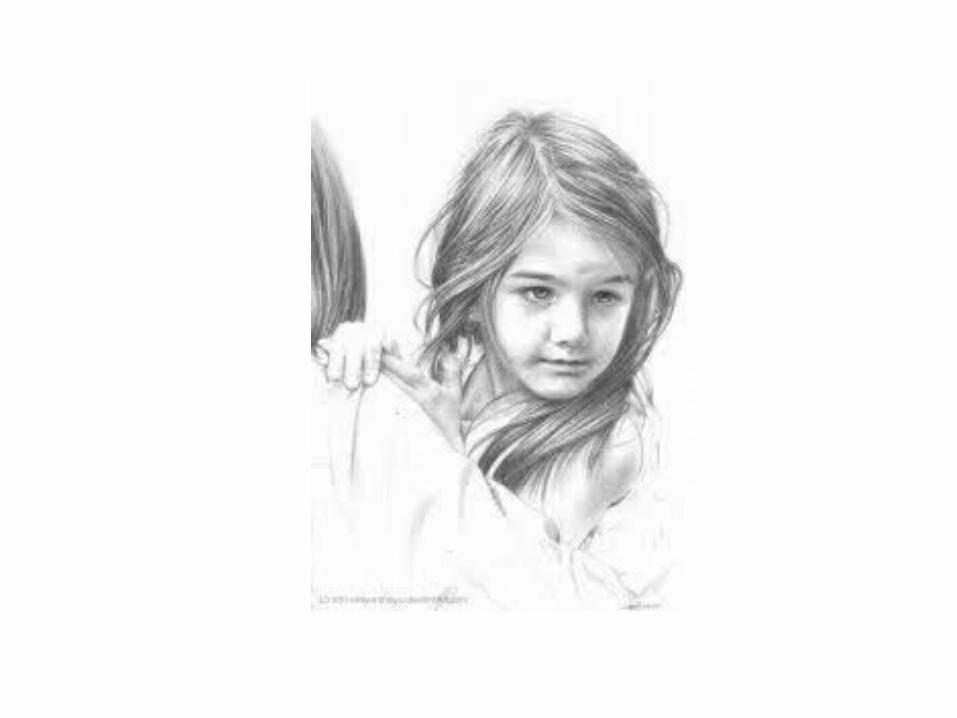
Pencil Shading Techniques: Tips to Bring Your Artwork to LifeThe main reason why artists use different shading techniques is to help make their work look more realistic. Through shading techniques you can add hard and soft shadows to your work, make it look as if light is reflecting off of it, and you can even give a solid ground or surface that your work appears on to give it more depth, so it doesn’t just appear as if it’s sitting on a piece of paper.
Shading is one of the fundamental aspects of art. It takes your creative work to the next level and it can visually add a new dimension to your art. With the knowledge of the various shading techniques, you can create a wide array of unique artwork. If you’ve only just begun drawing, you may run into some problems. Check out The Secrets to Drawing, which is a Udemy course specifically designed to help you improve your drawing skills.
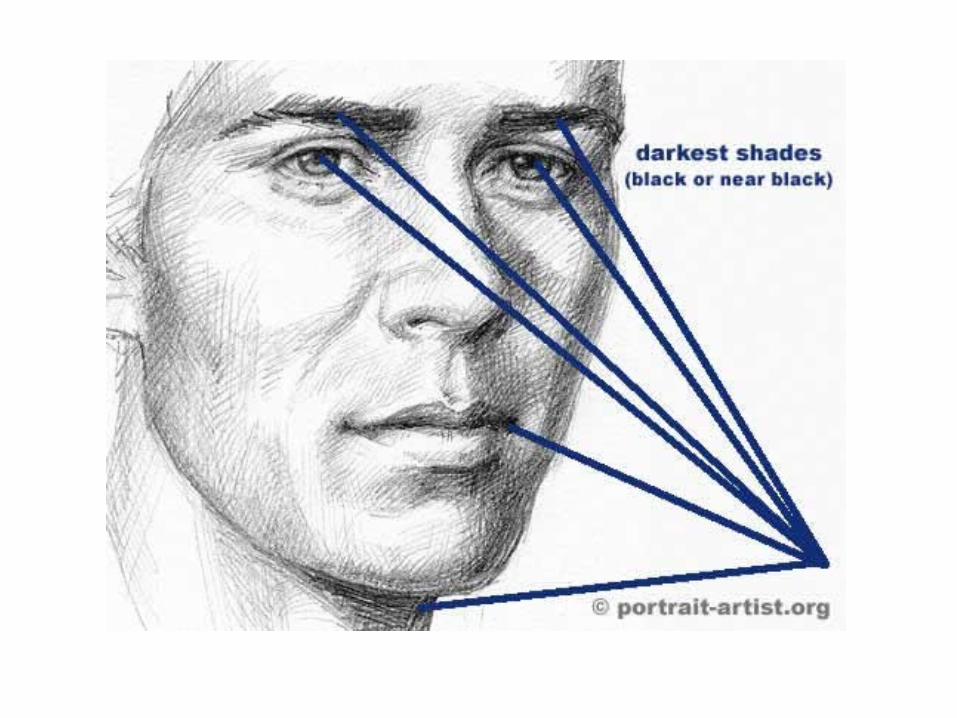
The Importance of ShadingWhen you want to draw something that looks realistic, you have to understand how to create the illusion of depth. The best way to create this illusion is to use light and shadows.There are several types of pencil shading techniques you can use, and you may even come up with your own at some point, but for now we will explore six different types commonly used for artists both professionals and beginners – crosshatching, smooth, stippling, contour, circulism, and slinky.
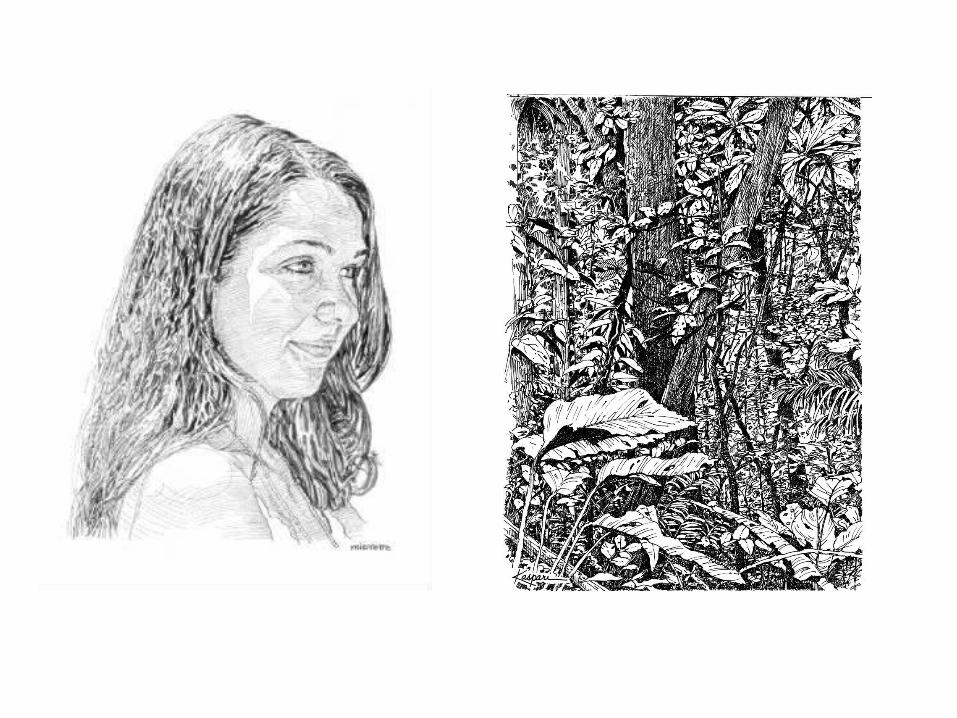
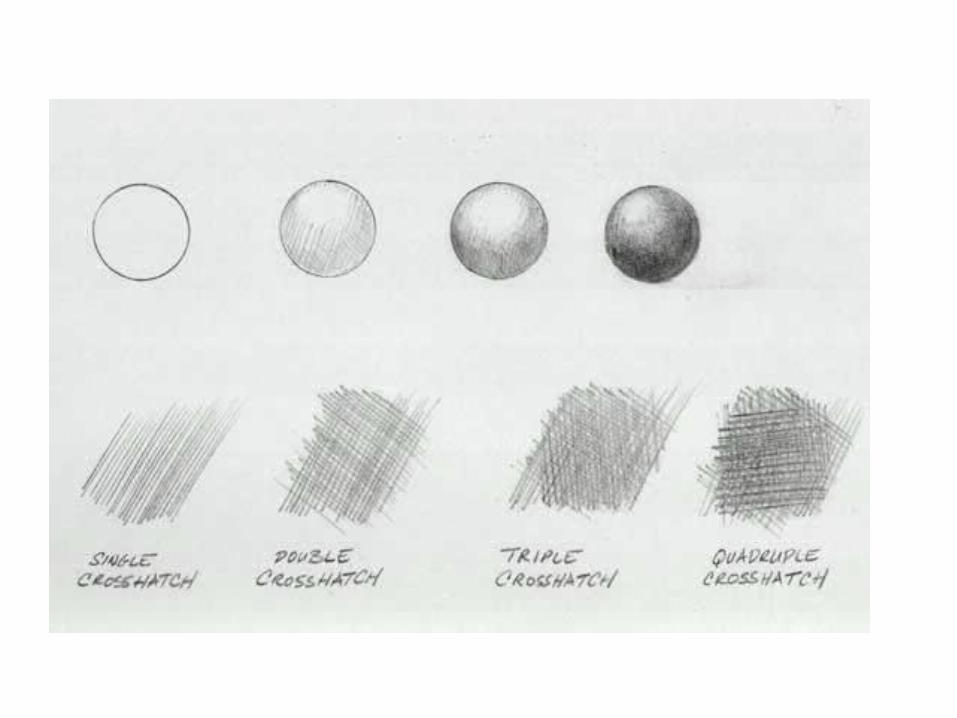
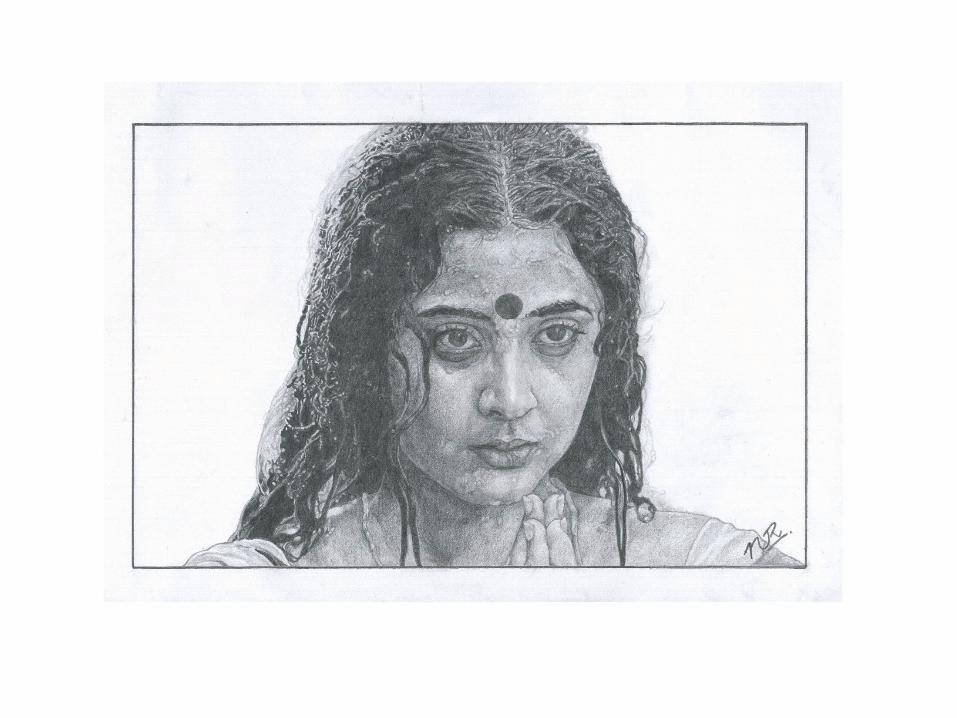
CrosshatchingCrosshatching is popular amongst artists – you may have even seen it in professionally done pieces. This method requires you to draw alternating sets of lines that cross over each other in a criss-cross pattern. One important thing to remember is that the closer together the lines are, the darker the shading will look. You can create highlights with the work as well by either increasing the space between the lines or by taking out certain lines completely.

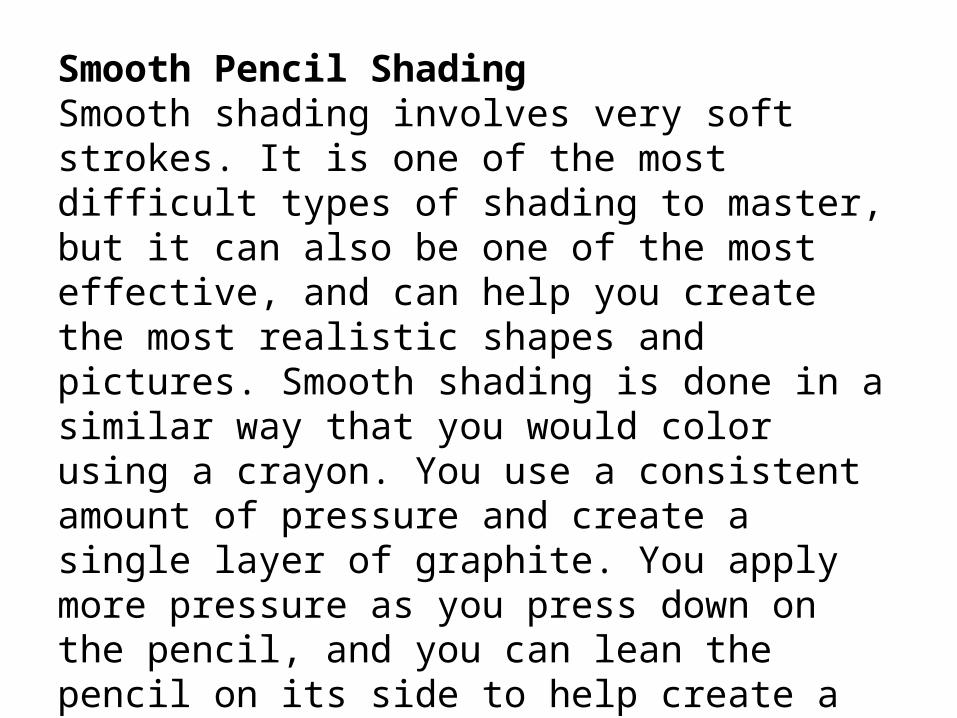
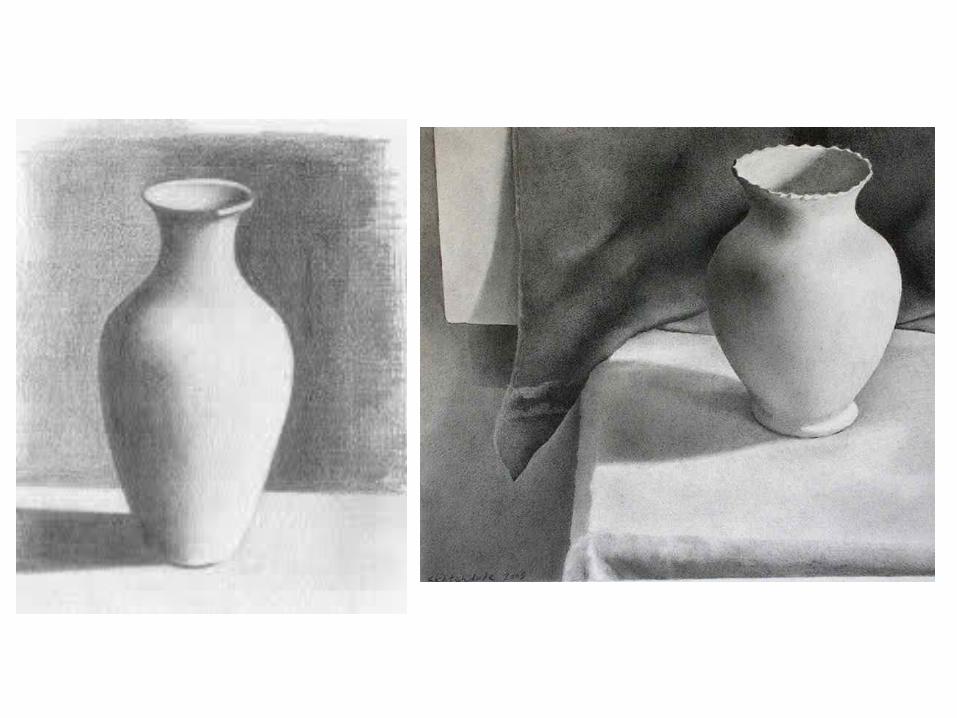
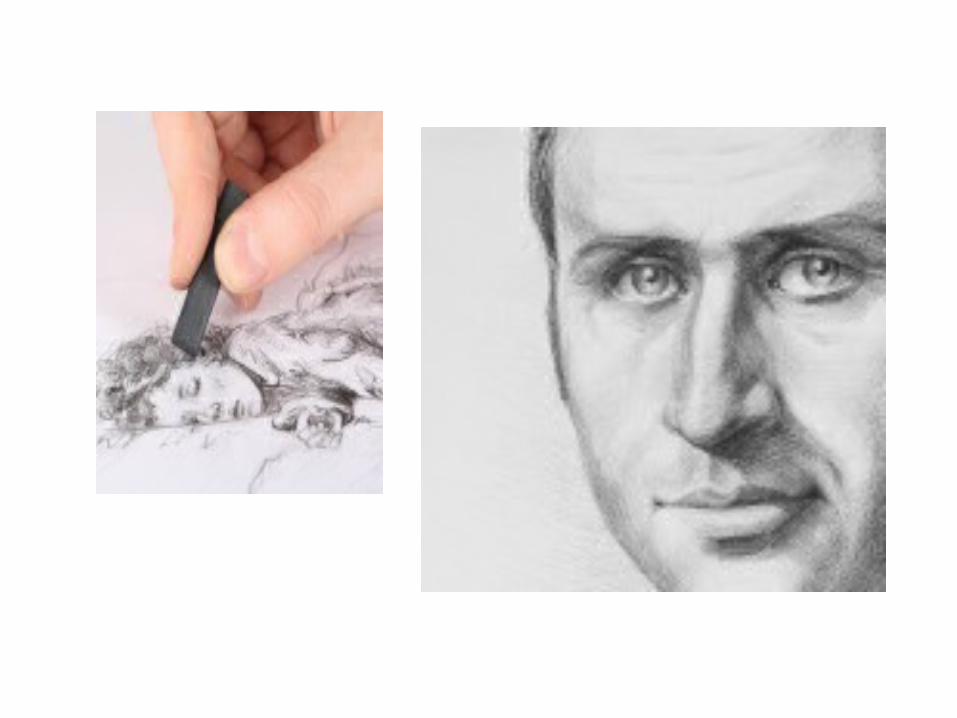
Smooth Pencil ShadingSmooth shading involves very soft strokes. It is one of the most difficult types of shading to master, but it can also be one of the most effective, and can help you create the most realistic shapes and pictures. Smooth shading is done in a similar way that you would color using a crayon. You use a consistent amount of pressure and create a single layer of graphite. You apply more pressure as you press down on the pencil, and you can lean the pencil on its side to help create a larger effect. There is a special technique you can use to help blend the graphite. Take a piece of cloth or a piece of tissue and rub it against the graphite. This way you can create a smoother transition between the light and the shadow on your work.

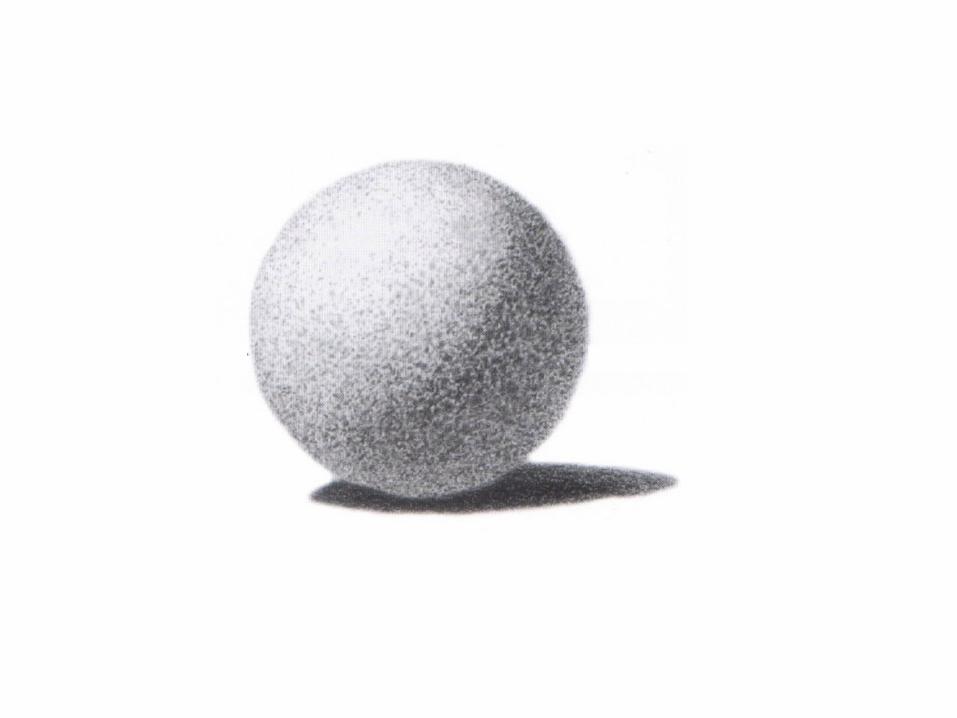
Stippling Pencil ShadingStippling, which is also known as pointillism, is a very common form of shading that people commonly use with pens. Stippling bears a strong resemblance to crosshatching, but instead of making lines that criss-cross, you create spots that are closer together and further apart. As you space the dots out you can create highlights or, similar to crosshatching, you can just leave out large amounts of dots to give the illusion of highlighting as well.
Slinky Pencil ShadingThe slinky form of shading is quick and easy to use, even for beginners. You do this form of shading by using very fast back and forth motions with your pencil. You eventually create a line that looks resembles a slinky. This is an excellent method for creating sketches or if you are making pieces that don’t need a lot of detail to complete.If you want to create something that is more detailed or advanced, you may want to consider using a different technique that gives you more range.

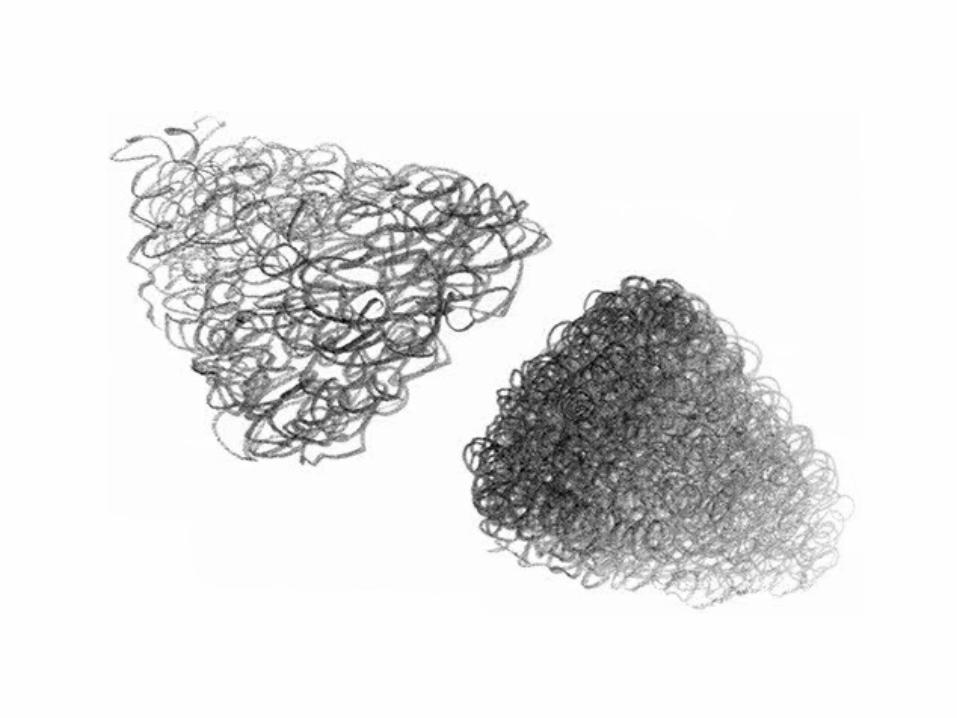
Circulism Pencil ShadingCirculism is a form of shading where, as the name suggests, you create small circles to shade your work. Imagine creating curly hair on a character you drew; you would apply the same technique when you’re doing circulism. As you create smaller circles the shading will be darker, but as you create larger circles the shading will appear lighter.
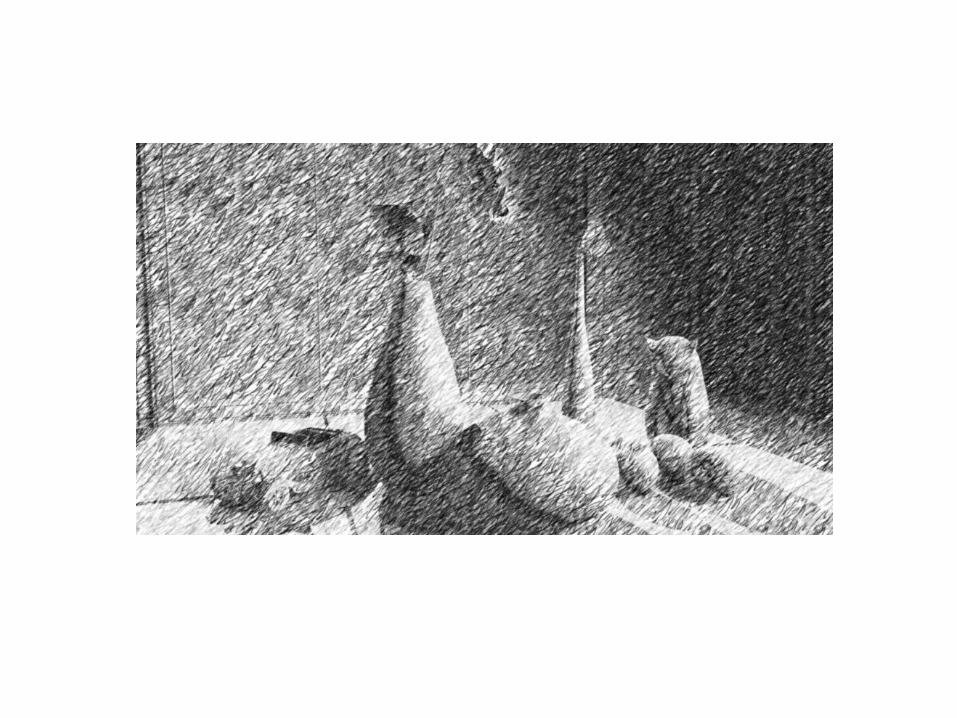
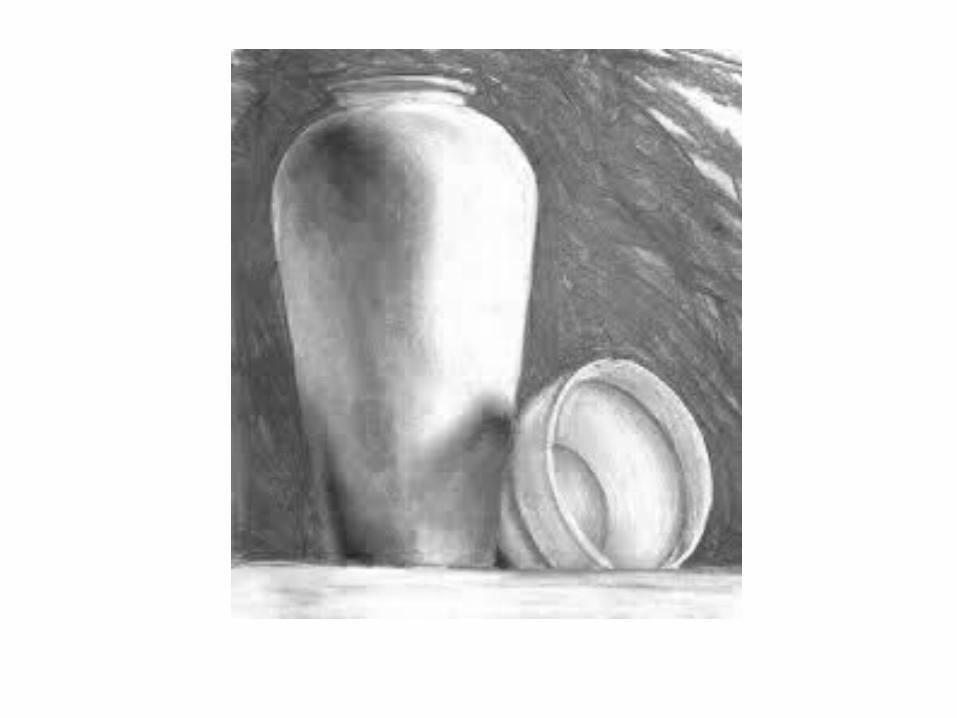
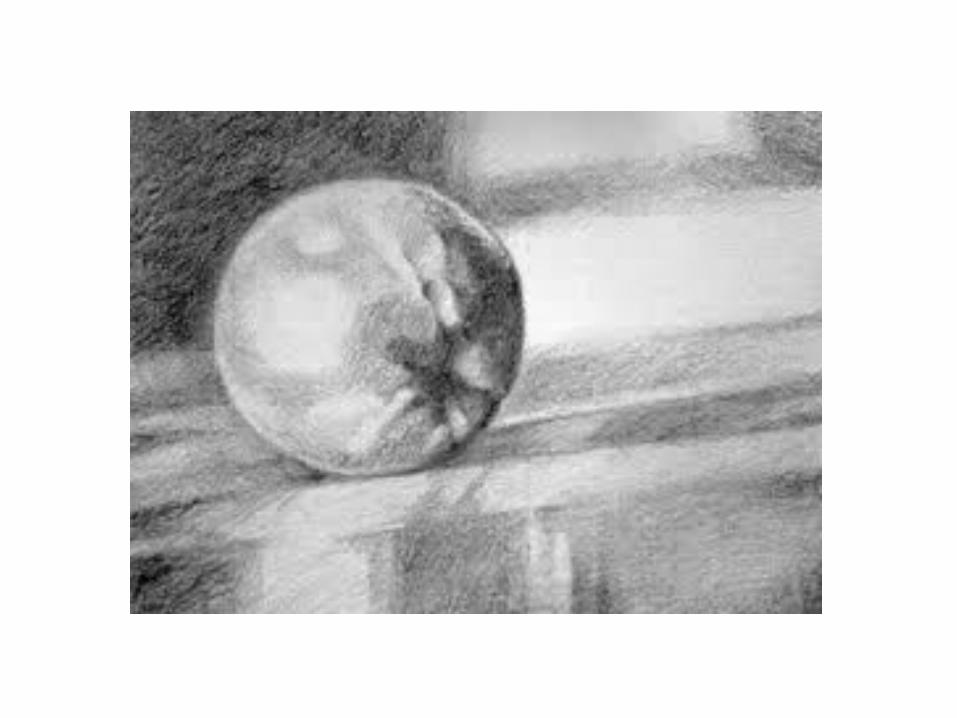
Contour ShadingAnother form of shading that resembles crosshatching, contour is a shading type that follows the contour of a line, or the lines of the shape of your particular image. This form of shading works best when you are working with various types of circular images, such as an apple or orange.
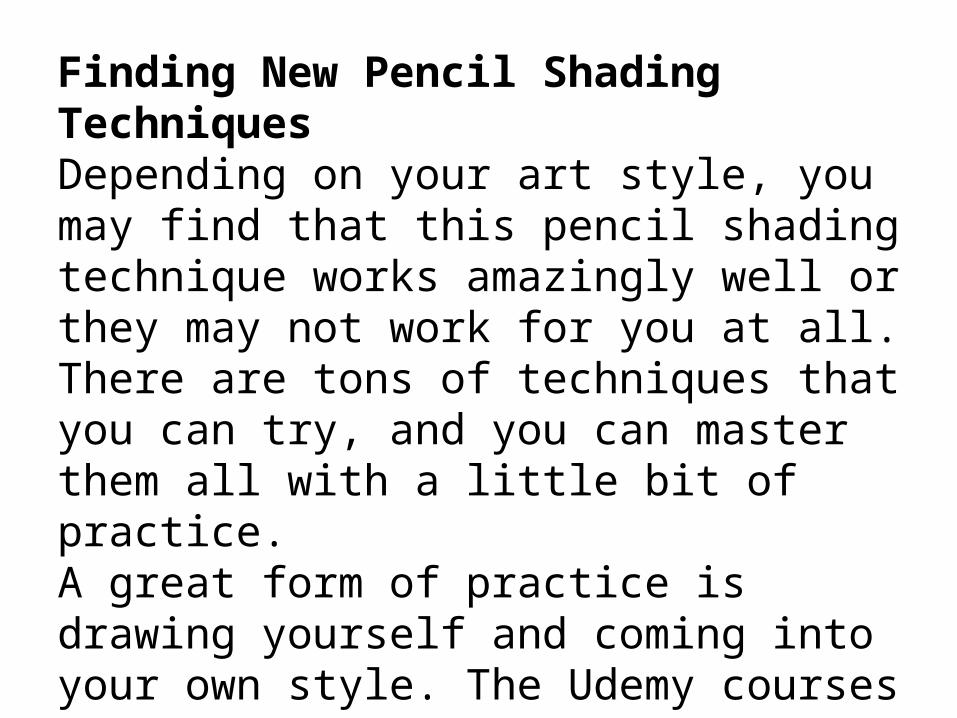
Finding New Pencil Shading TechniquesDepending on your art style, you may find that this pencil shading technique works amazingly well or they may not work for you at all. There are tons of techniques that you can try, and you can master them all with a little bit of practice.A great form of practice is drawing yourself and coming into your own style. The Udemy courses Portrait Drawing and Drawing with Confidence are both helpful ways to increase your artistic skills.
SUMMERY OF TODAY”S LECTURE 21. Unit. 3Drawing Pencil drawing, graphite drawing, crayons, Pastels, etc. Shading techniques.