Embed Size (px)
Citation preview
8/3/2019 Step by Step Guide English
http://slidepdf.com/reader/full/step-by-step-guide-english 1/18
User Center Getting Started Guide
Last Updated May 10, 2009
8/3/2019 Step by Step Guide English
http://slidepdf.com/reader/full/step-by-step-guide-english 2/18
1
Contents. . . . . . . . . . . . . . . . . . . . . . . . . . . . . . . . . . . . . . . .
1 Introduction to the User Center . . .Welcome to the User CenterUser Center Terminology
2 Creating Your User Center Account . . .Creating your User ProfileCreating your Account ProfileJoining an existing account
3 Managing Your Products . . .Adding products to an account
Licensing a productUpgrading a licenseDownloading an existing licenseMoving products between accountsEditing product information
4 Managing Your User Center Account . . .Updating your User ProfileRequesting a new passwordChanging your passwordChanging your username
Updating your Account ProfileAdding new users to an accountChanging a user’s permissions
5 Online Service & Support Tool (SST) . . .Opening a Service RequestViewing Existing Service RequestUpdating an Open Service RequestAdding an Attachment to an Open Service RequestLive Chat
6 Services and Support . . .Viewing your service and support contractsGenerating Enterprise Support and Collaborative Enterprise Support QuotesSubscribing to Monthly NewslettersAccessing Downloads, Documentation and SecureKnowledge Solutions
7 Resources . . .Check Point Account ServicesCheck Point Technical SupportCheck Point Education ServicesSofaWare SupportZoneAlarm
Page
2
3
5
8
11
13
15
8/3/2019 Step by Step Guide English
http://slidepdf.com/reader/full/step-by-step-guide-english 3/18
2
1 Introduction to the User Center. . . . . . . . . . . . . . . . . . . . . . . . . . . . . . . . . . . . . . . .
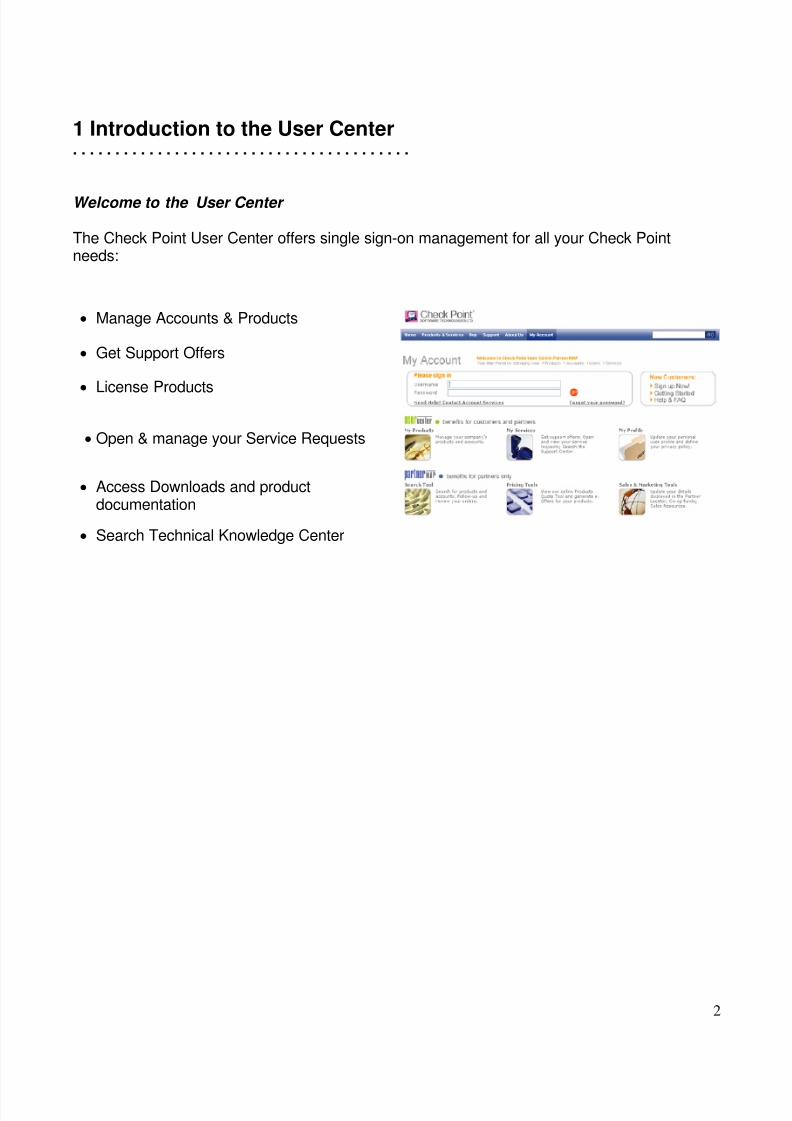
Welcome to the User Center
The Check Point User Center offers single sign-on management for all your Check Pointneeds:
• Manage Accounts & Products
• Get Support Offers
•
License Products
• Open & manage your Service Requests
• Access Downloads and productdocumentation
• Search Technical Knowledge Center
8/3/2019 Step by Step Guide English
http://slidepdf.com/reader/full/step-by-step-guide-english 4/18
3
User Center Terminology
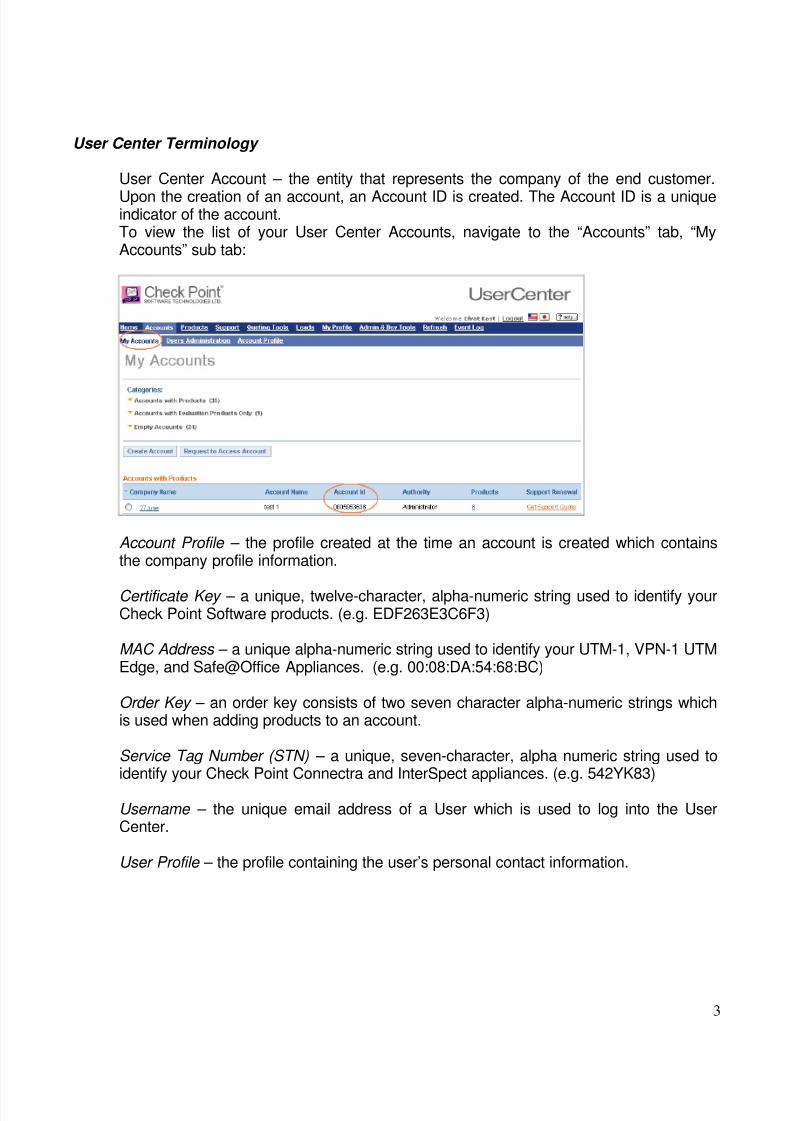
User Center Account – the entity that represents the company of the end customer.
Upon the creation of an account, an Account ID is created. The Account ID is a uniqueindicator of the account.To view the list of your User Center Accounts, navigate to the “Accounts” tab, “MyAccounts” sub tab:
Account Profile – the profile created at the time an account is created which containsthe company profile information.
Certificate Key – a unique, twelve-character, alpha-numeric string used to identify yourCheck Point Software products. (e.g. EDF263E3C6F3)
MAC Address – a unique alpha-numeric string used to identify your UTM-1, VPN-1 UTMEdge, and Safe@Office Appliances. (e.g. 00:08:DA:54:68:BC)
Order Key – an order key consists of two seven character alpha-numeric strings whichis used when adding products to an account.
Service Tag Number (STN) – a unique, seven-character, alpha numeric string used toidentify your Check Point Connectra and InterSpect appliances. (e.g. 542YK83)
Username – the unique email address of a User which is used to log into the UserCenter.
User Profile – the profile containing the user’s personal contact information.
8/3/2019 Step by Step Guide English
http://slidepdf.com/reader/full/step-by-step-guide-english 5/18
4
2 Creating Your User Center Account. . . . . . . . . . . . . . . . . . . . . . . . . . . . . . . . . . . . . . . .
Creating your User Profile
The first step in creating your User Center account is to create your User Profile.
Create Your User Profile:
1. Browse to the User Center Login page at http://usercenter.checkpoint.com2. Click the “New Customers: Sign up Now!” link3. Complete the User Profile form4. Click the “Submit” button
Upon creating your User Profile, a system-generated email will be sent to you. Theemail will contain your User Center username and temporary password.
Creating your Account Profile
If you have purchased a Check Point product, and the product is not registered, it isnecessary to register these products within the Check Point User Center. To do this,you will first need to create an Account Profile.
Create Your Account Profile:
1. Log into the User Center at http://usercenter.checkpoint.com2. Click the “Accounts” tab3. Click the “My Accounts” sub-tab4. Click the “Create Account” button5. Complete the Account Profile form6. Click the “Submit” button
Once the account has been created, an Account Id will automatically be generated andthe account will appear on “My Accounts” list.
8/3/2019 Step by Step Guide English
http://slidepdf.com/reader/full/step-by-step-guide-english 6/18
5
Request to Access an existing account
In the event your company has an existing User Center account, the AccountAdministrator can add you to this account through the User Center. (For directions onadding new users to an existing account, see Section 4 “Adding New Users to anExisting Account.”)
To Request to Access an Account:
1. Log into the User Center at http://usercenter.checkpoint.com2. Click the “Accounts” tab
3. Click the “My Accounts” sub-tab4. Click the “Request to Access Account” button5. Complete the required fields6. Click the “Submit” button
If you need assistance with locating your company’s User Center Account, you cancontact Check Point Account Services for assistance by [email protected] or submitting an online request athttp://www.checkpoint.com/form/contact_account.html or by calling (US) +1 972-444-6600, option 5.
8/3/2019 Step by Step Guide English
http://slidepdf.com/reader/full/step-by-step-guide-english 7/18
6
3 Managing Your Products . . . . . . . . . . . . . . . . . . . . . . . . . . . . . . . . . . . . . . . .
Adding products to an account
In most instances, Check Point will add products to your User Center account at thetime of purchase. In the event you have an unregistered product, follow the steps belowto add the product to your account.
To add new products:
1. Log into the User Center at http://usercenter.checkpoint.com2. Click the “Products” tab3. Click the “My Products” sub-tab
4. Select your account from the pull-down menu5. Click the “Add More Products” button6. Enter the Certificate Key, MAC Address, or Service Tag Number (STN) of your
product* -or- Enter the Order Key provided by your reseller7. Click the “Submit” button
*Click the “Add More Products” button to add up to 16 products at one time.
After adding the products, the User Center will confirm the products were/were notsuccessfully added.
Licensing a product
You must have “License” or “Administrator” permissions within the User Center togenerate a license. Follow these steps if generating a license for the first time or re-licensing a product.
To license a single Certificate Key:
1. Log into the User Center at http://usercenter.checkpoint.com2. Click the “Products” tab
3. Click the “My Products” sub-tab4. Select your account from the pull-down menu5. Select “License” from the “Actions” pull-down menu to the right of your product6. Complete all required fields (marked with an asterisk)7. Click the “Activate” button (if re-licensing a product, option will be “Change”)
To license multiple Certificate Keys:
1. Log into the User Center at http://usercenter.checkpoint.com2. Click the “Products” tab3. Click the “My Products” sub-tab
8/3/2019 Step by Step Guide English
http://slidepdf.com/reader/full/step-by-step-guide-english 8/18
7
4. Select your account from the pull-down menu5. Check the box to the left of each Certificate Key you wish to license6. Click the “License” button that appears on the top, left hand corner of the
products table.
7. Complete all required fields (marked with an asterisk)8. Click the “Activate” button* (if re-licensing a product, option will be “Change”)
*You will be prompted to repeat steps 7 and 8 for each product you are licensing.
After licensing your product(s), a system generated email will be sent to you. You canalso download the license file by clicking “Get License” on the License Confirmationscreen.
Upgrading a license
To upgrade a license from NG or NG with Application Intelligence to NGX:
1. Log into the User Center at http://usercenter.checkpoint.com2. Click the “Products” tab3. Click the “My Products” sub-tab4. Select your account from the pull-down menu5. Select “License” from the “Actions” pull-down menu to the right of your product6. Complete all required fields (select the new version from the “Version” pull-down
menu during licensing)7. Click the “Change” button*
After licensing your product(s), a system-generated email will be sent to you containingyour license file. You can also download the license file by clicking “Get License” on theLicense Confirmation screen.
To upgrade a license from 4.1 (or below) to NG or higher:
1. Log into the User Center at http://usercenter.checkpoint.com2. Click the “Products” tab3. Click the “My Products” sub-tab4. Select your account from the pull-down menu
5. Click the product name (e.g. CPFW-FM-U-V41)6. Click the “Upgrade” button*7. Review the Upgrade Details page8. Click the “Continue” button to complete the upgrade
*The “Upgrade” buttonwill be available only for those products at 4.1 or below and which are eligible for a version upgrade.
After upgrading to NG, you will need to generate a new license to obtain the upgradedfeatures.
8/3/2019 Step by Step Guide English
http://slidepdf.com/reader/full/step-by-step-guide-english 9/18
8
Downloading an existing license
You can download the most recently generated license through the User Center.
To download a license file:
1. Log into the User Center at http://usercenter.checkpoint.com2. Click the “Products” tab3. Click the “My Products” sub-tab4. Select your account from the pull-down menu5. Select “Get License File” from the “Actions” pull-down menu to the right of your
product
Moving products between accounts
Only an account Administrator has the permissions necessary to move products froman account. To transfer a product, you will need both the seven digit account numberand email address of a user on the account the product is to be transferred to.
To move a product from your account:
1. Log into the User at http://usercenter.checkpoint.com2. Click the “Products” tab3. Click the “My Products” sub-tab4. Select the account containing the product you wish to move
5. Check the box to the left of the product(s) you wish to move6. Click the “Move to Account” button7. Select the account the product is to be transferred to -or- Enter the account ID8. Enter the “Notify to Email Address”. Note that the Email Address needs to be
attached to the Account ID that you are moving the product(s) to.9. Click the “Update” button10. Confirm the transfer by clicking the “Approve” button
After moving the products, the User Center will confirm if the product was/was nottransferred. In addition, system-generated confirmation emails are generated and sentto both the user performing the move, and the recipient of the new product.
Editing product information
You can update the Hardware Platform and Operating System as well as add new oredit existing comments for products.
To edit a product’s information:
1. Log into the User Center at http://usercenter.checkpoint.com2. Click the “Products” tab
3. Click the “My Products” sub-tab

8/3/2019 Step by Step Guide English
http://slidepdf.com/reader/full/step-by-step-guide-english 10/18
9
4. Select your account from the pull-down menu5. Select “Edit Info” from the “Actions” pull-down menu to the right of your product6. Make changes as appropriate*
7. Click the “Update” button to save these changes
*The “Edit Info” page will not allow you to generate a new license. To generate a new license, select “License” from the “Actions” pull-down menu.
8/3/2019 Step by Step Guide English
http://slidepdf.com/reader/full/step-by-step-guide-english 11/18
10
4 Managing Your User Center Account. . . . . . . . . . . . . . . . . . . . . . . . . . . . . . . . . . . . . . . .
Updating your User Profile
To update your User Profile:
1. Log into the User Center at http://usercenter.checkpoint.com2. Click the “My Profile” tab3. Click the “Update Profile” button4. Make necessary changes*5. Click the “Submit” button to save changes
*To update your email address, see the “Changing your username” solution
below.
Requesting a new password
In the event you have lost your User Center password, you can request a newpassword by following the directions below.
To request a new password:
1. Navigate to the User Center Login page at http://usercenter.checkpoint.com
2. Click the “Forgot Your Password?” link3. Enter your email address4. Click the “Get Password” link
A new, system-generated password will be emailed to you.
Changing your password
To change your User Center password:
1. Log into the User Center at http://usercenter.checkpoint.com2. Click the “My Profile” tab3. Click the “Change Password” button4. Enter your old password5. Enter your new password6. Confirm your new password7. Click the “Submit” button to save your changes
8/3/2019 Step by Step Guide English
http://slidepdf.com/reader/full/step-by-step-guide-english 12/18
11
Changing your username
In the event your email address changes, your new email address must be added to theaccount as if adding a new user.
Only an account Administrator has the permissions necessary to add new users to anaccount.
To add a new username (email address):
1. Log into the User Center at http://usercenter.checkpoint.com2. Click the “Accounts” tab3. Click the “Users Administration” sub-tab4. Select your account from the pull-down menu5. Click the “Add User” button6. Enter your new username (email address)
7. Assign permissions as appropriate8. Click the “Submit” button9. If prompted, enter your full name and select your country from the pull-down
menu10. Click the “Submit” button
Your new username and password will be system-generated and emailed to you.
Adding new users to an account
Only an account Administrator has the permissions necessary to add new users to anaccount.
To add a new user:
1. Log into the User Center at http://usercenter.checkpoint.com2. Click the “Accounts” tab3. Click the “Users Administration” sub-tab4. Select the account you wish to add the new user to5. Click the “Add User” button6. Enter the new user’s username (email address)
7. Assign permissions as appropriate8. Click the “Submit” button9. If prompted, enter the new user’s full name and select their country from the pull-
down menu10. Click the “Submit” button
If the user has an existing User Profile, a system-generated confirmation email will besent notifying them they have been added to the account. In the event the new userdoes not have an existing profile, they will receive their User Center username andpassword in the confirmation email.
8/3/2019 Step by Step Guide English
http://slidepdf.com/reader/full/step-by-step-guide-english 13/18
12
Changing a user’s permissions
Only an account Administrator has the permissions necessary to change a user’spermissions.
To change a user’s User Center permissions:
1. Log into the User Center at http://usercenter.checkpoint.com2. Click the “Accounts” tab3. Click the “Users Administration” sub-tab4. Click the view icon to the right of the user whose rights are to be changed5. Make changes to the user’s permissions as appropriate6. Click the “Update” button to save the changes
Updating your Account Profile
To update your Account Profile:
1. Log into the User Center at http://usercenter.checkpoint.com2. Click the “Accounts” tab3. Click the “Account Profile” sub-tab4. Select the account you wish to update from the pull-down menu5. Click the “Update Account” button6. Make the necessary changes7. Click the “Submit” button to save changes
8/3/2019 Step by Step Guide English
http://slidepdf.com/reader/full/step-by-step-guide-english 14/18
13
5 Online Service & Support Tool (SST). . . . . . . . . . . . . . . . . . . . . . . . . . . . . . . . . . . . . . . .
Opening a Service Request
To open a new Service Request:
1. Log into the User Center at http://usercenter.checkpoint.com2. Click the “Support” tab3. Click the “Create Service Request” sub-tab4. Select the account from the “Select account:” pull-down menu5. Select type of support required6. Follow prompts (prompts will vary depending on Support Type selected)7. Click the “Submit” button to open the Service Request
Document the Service Request number provided on the confirmation page.
Viewing Existing Service Requests
You can view Service Requests opened under your username as well as ServiceRequests opened under your Account.
To view an existing Service Request
1. Log into the User Center at http://usercenter.checkpoint.com2. Click the “Support” tab3. Click the “My Service Requests” sub-tab4. Complete the search criteria fields5. Click the “Go” button6. Results will populate at the bottom of the screen
Updating an Open Service Request
To update an open Service Request:
1. Log into the User Center at http://usercenter.checkpoint.com2. Click the “Support” tab3. Click the “My Service Requests” sub-tab4. Complete the search criteria fields5. Click the “Go” button6. Locate the Service Request you wish to update7. Click the “Update” link to the right of the Service Request you wish to update8. Under the “Updates” heading, click “Update”9. Enter your update and click the “Save” button
8/3/2019 Step by Step Guide English
http://slidepdf.com/reader/full/step-by-step-guide-english 15/18
14
Adding an Attachment to an Open Service Request
To add an attachment to an open Service Request:
1. Log into the User Center at http://usercenter.checkpoint.com2. Click the “Support” tab3. Click the “My Service Requests” sub-tab4. Complete the search criteria fields5. Click the “Go” button6. Locate the Service Request you wish to update7. Click the “Update” link to the right of the Service Request you wish to update8. Under the “Attachments” heading, click “Update”9. Browse and upload your attachment
Live Chat
Live Chat is available Monday through Friday, 8:00 AM through 5:00 PM CDT(UTC/GMT -6 hours) for technical and licensing questions. A valid support contract isrequired to use this service.
1. Log into the User Center at http://usercenter.checkpoint.com2. Click the “Support” tab3. Click the “Home” tab4. Click the “Live Chat” button in the top right corner of the screen

8/3/2019 Step by Step Guide English
http://slidepdf.com/reader/full/step-by-step-guide-english 16/18
15
6 Services and Support. . . . . . . . . . . . . . . . . . . . . . . . . . . . . . . . . . . . . . . .
Viewing Your Support Contract Details
To view your Support Contract Details:
1. Log into the User Center at http://usercenter.checkpoint.com2. Click the “Support” tab3. Click the “My Support Programs” sub-tab
Generating Enterprise Support and Collaborative Enterprise Support Quotes
To Generate an Enterprise Support offer:
1. Log into the User Center at http://usercenter.checkpoint.com2. Click the “Quoting Tools” tab3. Click the “Support Quote Tool” sub-tab4. Check the box to the left each company you would like to include the offer5. Click the “Next” button6. Select your location from the “Select Region” pull-down menu7. If prompted, select the type of support contract you would like to purchase8. Click the “Next” button9. Set the start and end dates of your contract
10. Click the “Next” button11. Confirm the provided details (click the “Back” button to make changes)12. Enter your reseller’s name in the “Reseller Company Name Field”13. Click the “Get Detailed Offer” button to request a copy of the offer
Subscribing to Monthly Newsletters
To subscribe to monthly newsletter(s):
1. Log into the User Center at http://usercenter.checkpoint.com
2. Click the "My Profile" tab3. Click the "e-News" sub-tab4. Check the box to the left of the newsletter(s) you want to enroll for5. Click the "Submit" button to save the changes.
Check Point Release Notifications are sent as HTML e-mail so be sure your e-mailclient can receive HTML e-mail, is set to automatically display images, and you’veadded Check Point to your Safe Senders List.
8/3/2019 Step by Step Guide English
http://slidepdf.com/reader/full/step-by-step-guide-english 17/18
16
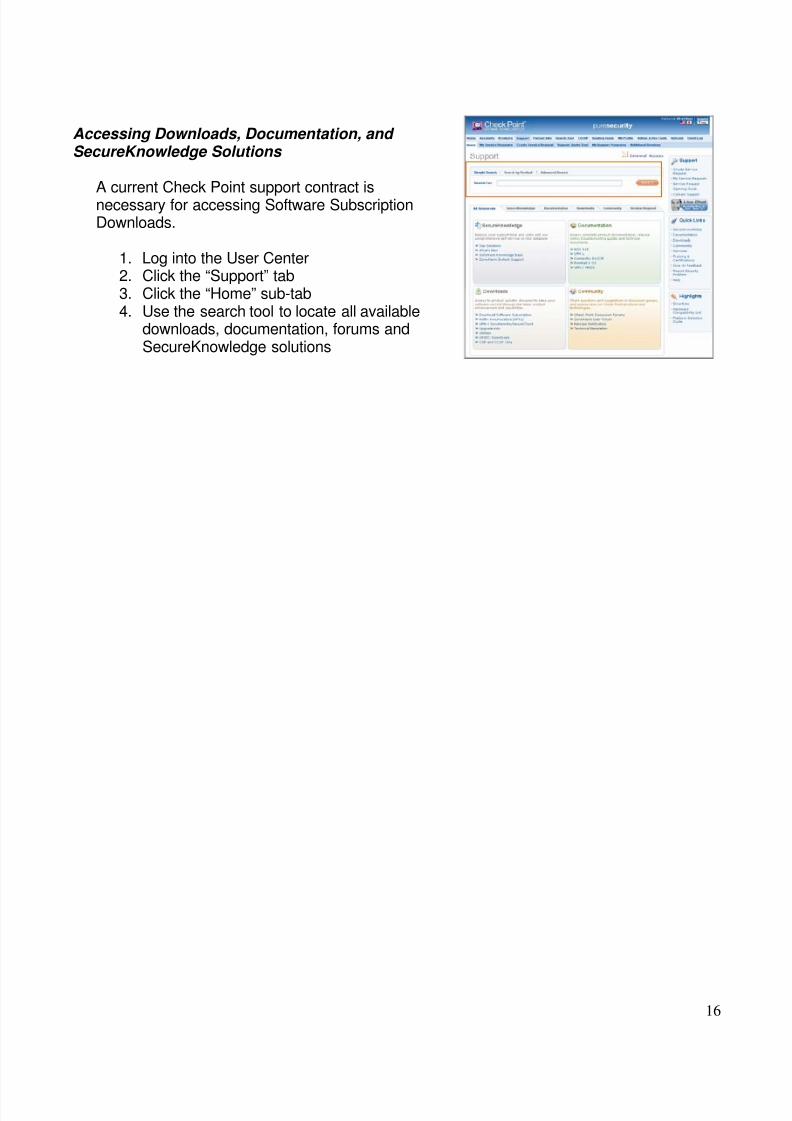
Accessing Downloads, Documentation, and SecureKnowledge Solutions
A current Check Point support contract isnecessary for accessing Software SubscriptionDownloads.
1. Log into the User Center2. Click the “Support” tab3. Click the “Home” sub-tab4. Use the search tool to locate all available
downloads, documentation, forums andSecureKnowledge solutions
8/3/2019 Step by Step Guide English
http://slidepdf.com/reader/full/step-by-step-guide-english 18/18
17
7 Resources . . . . . . . . . . . . . . . . . . . . . . . . . . . . . . . . . . . . . . . .
Check Point Account Services
For assistance with Licensing, User Center, and post-sales questions.
Email: [email protected] Phone: (US) +1 972-444-6600, option 5, (Intl) +972-3-6115100Hours: 8:00 AM Monday through 6:00 PM Friday CDT (UTC/GMT -6 hours)
Check Point Technical Support
Email: [email protected]: (US) +1 972-444-6600, option 1Hours: Technical Support is available 24 x 7
A current Check Point Technical Support contract is required when opening technicalsupport requests. For details on your contract type, please review Service LevelAgreement and/or Customer Agreement.
Enterprise Support Service Level AgreementsCollaborative Enterprise Support Customer Agreement
Check Point Education Services
Email: [email protected]
Training and Certification FAQ
SofaWare Support
Safe@Office product support is provided by SofaWare. To contact SofaWare:
Online Web Chat: http://www.sofaware.com (click “Live Help” button)
ZoneAlarm Support
ZoneAlarm Support is provided by ZoneAlarm.