Embed Size (px)
Citation preview
Hello everybody! A few days ago, I googled ‘Spring MVC Tutorial’ and didn’t find that many references. So I thought if I could write a good tutorial on Spring MVC then that might help lots of people. I don’t know if I’ll be successful but here it is.
This tutorial covers only the basics involving AbstractController and SimpleFormController. I intend to cover AbstractWizardFormController, Hibernate/JPA integration, Tiles, Sitemesh, Ajax, etc. as I learn them and find time to write.
Comments welcome!
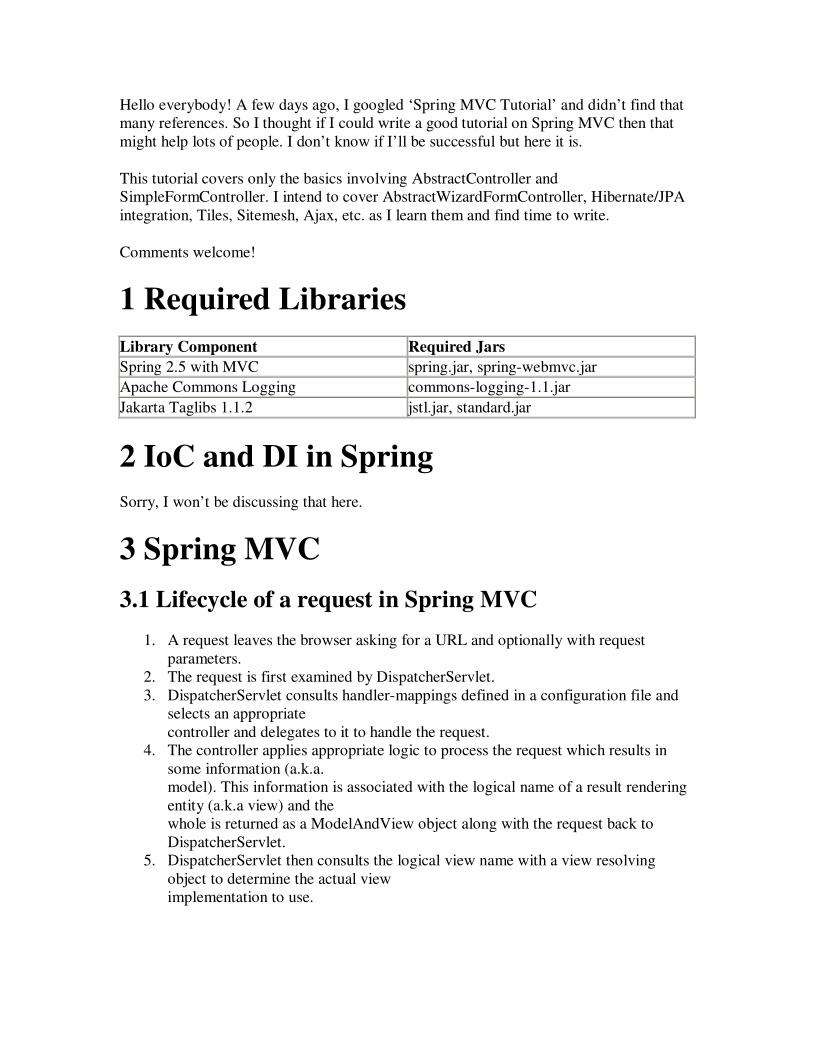
1 Required Libraries
Library Component Required Jars
Spring 2.5 with MVC spring.jar, spring-webmvc.jar
Apache Commons Logging commons-logging-1.1.jar
Jakarta Taglibs 1.1.2 jstl.jar, standard.jar
2 IoC and DI in Spring
Sorry, I won’t be discussing that here.
3 Spring MVC
3.1 Lifecycle of a request in Spring MVC
1. A request leaves the browser asking for a URL and optionally with request parameters.
2. The request is first examined by DispatcherServlet. 3. DispatcherServlet consults handler-mappings defined in a configuration file and
selects an appropriate controller and delegates to it to handle the request.
4. The controller applies appropriate logic to process the request which results in some information (a.k.a. model). This information is associated with the logical name of a result rendering entity (a.k.a view) and the whole is returned as a ModelAndView object along with the request back to DispatcherServlet.
5. DispatcherServlet then consults the logical view name with a view resolving object to determine the actual view implementation to use.

6. DispatcherServlet delivers the model and request to the view implementation which renders an output and sends it back to the browser.
3.2 Basic Setup for Spring MVC
So the first thing to do is configure DispatcherServlet in web.xml and establish URL mappings for it.
view plaincopy to clipboardprint
1. 2. <servlet> 3. <description>Spring MVC Dispatcher Servlet</description> 4. <servlet-name>springweb</servlet-name> 5. <servlet-class>org.springframework.web.servlet.DispatcherServlet</servlet-
class> 6. <load-on-startup>2</load-on-startup> 7. </servlet> 8. <servlet-mapping> 9. <servlet-name>springweb</servlet-name> 10. <url-pattern>*.htm</url-pattern> 11. </servlet-mapping>
The servlet is configured but where do you put Spring configuration metadata? By default, DispatcherServlet looks for a configuration file named [servlet-name]-servlet.xml in the WEB-INF directory of your web application. For instance, the servlet defined above, i.e. springweb, will look for the configuration file /WEB-INF/springweb-servlet.xml.So, you need to create /WEB-INF/springweb-servlet.xml and put your MVC related metadata into it.
3.3 Breaking Up Configuration for Manageability
A web application usually has multiple sets of classes, e.g. request controllers, validators, business logic, data access/persistence, security, etc. Imagine that all of these classes are configured in a single configuration file. Things will get out of hand pretty quickly. So, it is wise to segregate configuration metadata into related chunks in separate files.
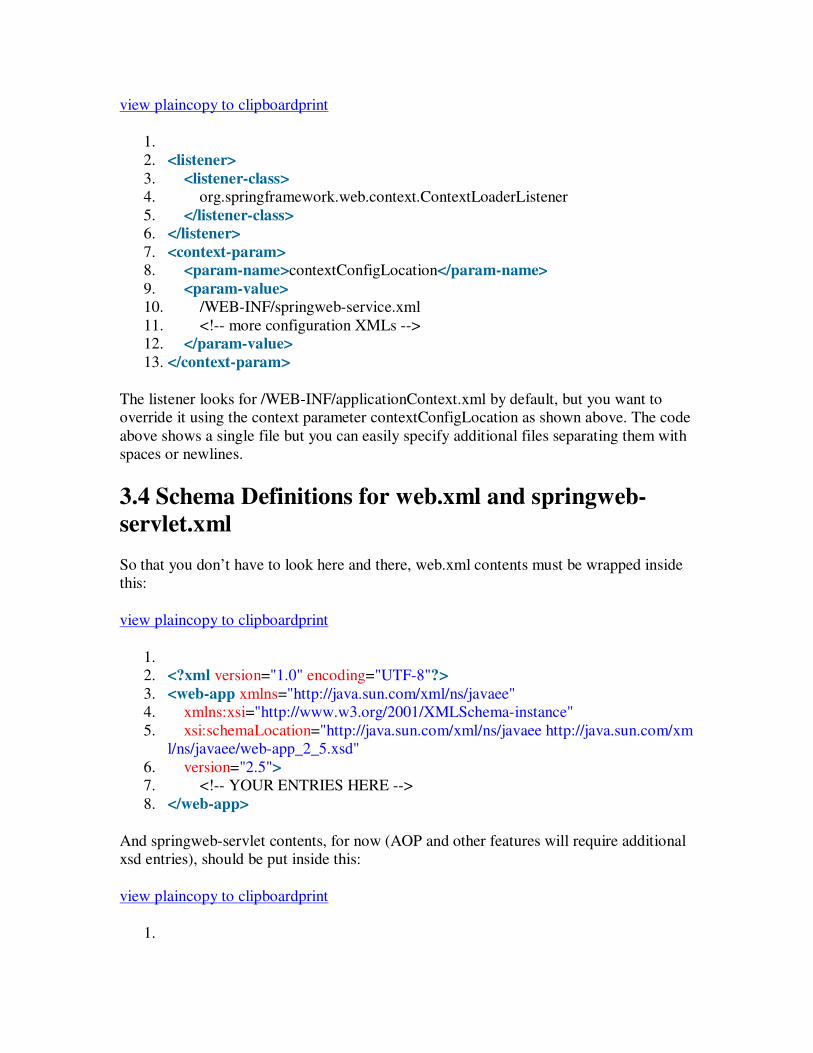
If you decide to use multiple configuration files then how do you tell DispatcherServlet about them? As it turns out, you can have multiple dispatchers (with distinct URL mappings) and each will have a separate context defined through its [servlet-name]-servlet.xml file. Each dispatcher will also inherit the root context defined for the entire web application. You can provide additional configuration files through this root web application context using ContextLoaderListener listener that comes with Spring MVC:
view plaincopy to clipboardprint
1. 2. <listener> 3. <listener-class> 4. org.springframework.web.context.ContextLoaderListener 5. </listener-class> 6. </listener> 7. <context-param> 8. <param-name>contextConfigLocation</param-name> 9. <param-value> 10. /WEB-INF/springweb-service.xml 11. <!-- more configuration XMLs --> 12. </param-value> 13. </context-param>
The listener looks for /WEB-INF/applicationContext.xml by default, but you want to override it using the context parameter contextConfigLocation as shown above. The code above shows a single file but you can easily specify additional files separating them with spaces or newlines.
3.4 Schema Definitions for web.xml and springweb-
servlet.xml
So that you don’t have to look here and there, web.xml contents must be wrapped inside this:
view plaincopy to clipboardprint
1. 2. <?xml version="1.0" encoding="UTF-8"?> 3. <web-app xmlns="http://java.sun.com/xml/ns/javaee" 4. xmlns:xsi="http://www.w3.org/2001/XMLSchema-instance" 5. xsi:schemaLocation="http://java.sun.com/xml/ns/javaee http://java.sun.com/xm
l/ns/javaee/web-app_2_5.xsd" 6. version="2.5"> 7. <!-- YOUR ENTRIES HERE --> 8. </web-app>
And springweb-servlet contents, for now (AOP and other features will require additional xsd entries), should be put inside this:
view plaincopy to clipboardprint
1.

2. <?xml version="1.0" encoding="UTF-8"?> 3. <beans xmlns="http://www.springframework.org/schema/beans" 4. xmlns:xsi="http://www.w3.org/2001/XMLSchema-instance" 5. xsi:schemaLocation="http://www.springframework.org/schema/beans http://w
ww.springframework.org/schema/beans/spring-beans-2.0.xsd"> 6. <!-- YOUR ENTRIES HERE --> 7. </beans>
4 Controller Basics
4.1 Implementing Round-Trip for the Home Page
As pointed out in the lifecycle of a Spring MVC backed request, there are multiple things you need to realize a complete round-trip from request to response. You will do the following:
1. Write a controller and map it to a URL in springweb-servlet.xml 2. Write the view rendering JSP and map it through a view resolver in springweb-
servlet.xml
Additionally, you will write a concise JSP that will redirect the browser to the home page URL. The web server does not understand Spring MVC. So it needs this JSP to begin.
4.1.1 Writing and Mapping the Controller
view plaincopy to clipboardprint
1. 2. /** 3. * Controller to generate the Home Page basics to be rendered by a view. 4. * It extends the convenience class AbstractController that encapsulates most 5. * of the drudgery involved in handling HTTP requests. 6. */ 7. public class HomePageController extends AbstractController 8. { 9. protected ModelAndView handleRequestInternal(HttpServletRequest httpServl
etRequest, HttpServletResponse httpServletResponse) throws Exception 10. { 11. // the time at the server 12. Calendar cal = Calendar.getInstance(); 13. Date now = cal.getTime(); 14. 15. List<Integer> intList = new ArrayList<Integer>(); 16. Random random = new Random(now.getTime()); 17.

18. // 10 random integers 19. for (int i = 0; i < 10; ++i) 20. intList.add(random.nextInt()); 21. 22. // time-of-day dependent greeting 23. String greeting = "Morning"; 24. int hour = cal.get(Calendar.HOUR_OF_DAY); 25. if (hour == 12) 26. greeting = "Day"; 27. else if (hour > 1 <IMG class=wp-
smiley alt=8) src="http://s.wordpress.com/wp-includes/images/smilies/icon_cool.gif">
28. greeting = "Evening"; 29. else if (hour > 12) 30. greeting = "Afternoon"; 31. 32. ModelAndView mv = new ModelAndView(); 33. mv.addObject("time", now); 34. mv.addObject("randList", intList); 35. mv.addObject("greeting", greeting); 36. mv.setViewName("home"); 37. 38. return mv; 39. } 40. }
The controller class extends AbstractController that deals with the intricacies of Java Servlets. The only method required due to extending AbstractController is handleRequestInternal. You put your controller logic in this method.After setting up some data for the view to render, a ModelAndView object is used to pack the data and specify the logical view name. The data objects are tagged with names that the view can use to pull them out.
The controller completes it work by returning the created ModelAndView object that DispatcherServlet will use to select a view renderer.
Now that the controller is written, you need to tell Spring MVC in springweb-servlet.xml to use it:
view plaincopy to clipboardprint
1. 2. <bean name="/home.htm" 3. class="org.himu.springweb.co.HomePageController"/>
When a request is submitted to the server, DispatcherServlet looks in springweb-servlet.xml for a mapping of the specified URL to some controller bean. This is done by using a BeanNameUrlHandlerMapping by default. There are other mapping handlers that you can specify instead of the default.The default handler looks for a bean that has the URL as its name and gives it to DispatcherServlet.
4.1.2 Writing and Mapping a View Rendering JSP
After the controller has returned, DispatcherServlet looks for a view resolver to resolve the view name that it got from the ModelAndView object. You will use InternalResourceViewResolver for resolving view names to JSP:
view plaincopy to clipboardprint
1. 2. <bean id="viewResolver" 3. class="org.springframework.web.servlet.view.InternalResourceViewResolver"
> 4. <property name="prefix" value="/jsp/"/> 5. <property name="suffix" value=".jsp"/> 6. </bean>
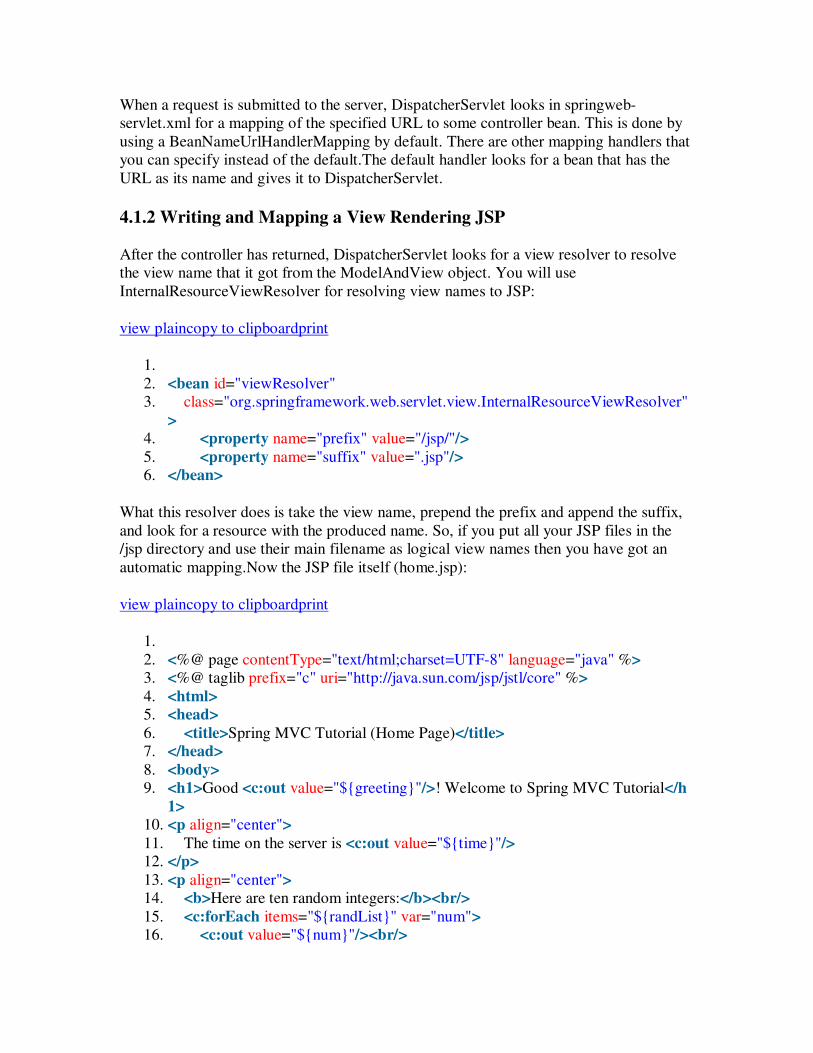
What this resolver does is take the view name, prepend the prefix and append the suffix, and look for a resource with the produced name. So, if you put all your JSP files in the /jsp directory and use their main filename as logical view names then you have got an automatic mapping.Now the JSP file itself (home.jsp):
view plaincopy to clipboardprint
1. 2. <%@ page contentType="text/html;charset=UTF-8" language="java" %> 3. <%@ taglib prefix="c" uri="http://java.sun.com/jsp/jstl/core" %> 4. <html> 5. <head> 6. <title>Spring MVC Tutorial (Home Page)</title> 7. </head> 8. <body> 9. <h1>Good <c:out value="${greeting}"/>! Welcome to Spring MVC Tutorial</h
1> 10. <p align="center"> 11. The time on the server is <c:out value="${time}"/> 12. </p> 13. <p align="center"> 14. <b>Here are ten random integers:</b><br/> 15. <c:forEach items="${randList}" var="num"> 16. <c:out value="${num}"/><br/>

17. </c:forEach> 18. </p> 19. <p><img src="<c:url value="/images/poweredBySpring.gif"/>" alt="Powered By
Spring"/></p> 20. </body> 21. </html>
You can use JSTL tags to access the model contents (remember ModelAndView?) and for other purposes. Get Jakarta Taglibs if you don’t have any implementation.There is nothing in the JSP that is Spring specific. The JSTL tags should be easy to understand.
You can find poweredBySpring.gif in the Spring distribution.
4.1.3 Default Page for the Web Application
So far so good, but you need to point your browser to something like http://localhost:8080/springweb/home.htm to get to the home page. This plainly defeats the purpose of having a home page altogether. You will fix that now.
Add the following entry in web.xml:
view plaincopy to clipboardprint
1. 2. <welcome-file-list> 3. <welcome-file>index.jsp</welcome-file> 4. </welcome-file-list>
This tells the web server to use index.jsp as the default page to display in case no specific page is requested. index.jsp will redirect the browser to the actual homepage:
view plaincopy to clipboardprint
1. 2. <%@ page contentType="text/html;charset=UTF-8" language="java" %> 3. <%@ taglib prefix="c" uri="http://java.sun.com/jstl/core" %> 4. <c:redirect url="/home.htm"/>
4.2 Deploying springweb to Tomcat
Your web application structure should be like this:
springweb/
index.jsp
images/
poweredBySpring.gif
jsp/

home.jsp
WEB-INF/
springweb-service.xml
springweb-servlet.xml
web.xml
classes/
...compiled classes here...
lib/
commons-logging.jar
jstl.jar
spring.jar
standard.jar
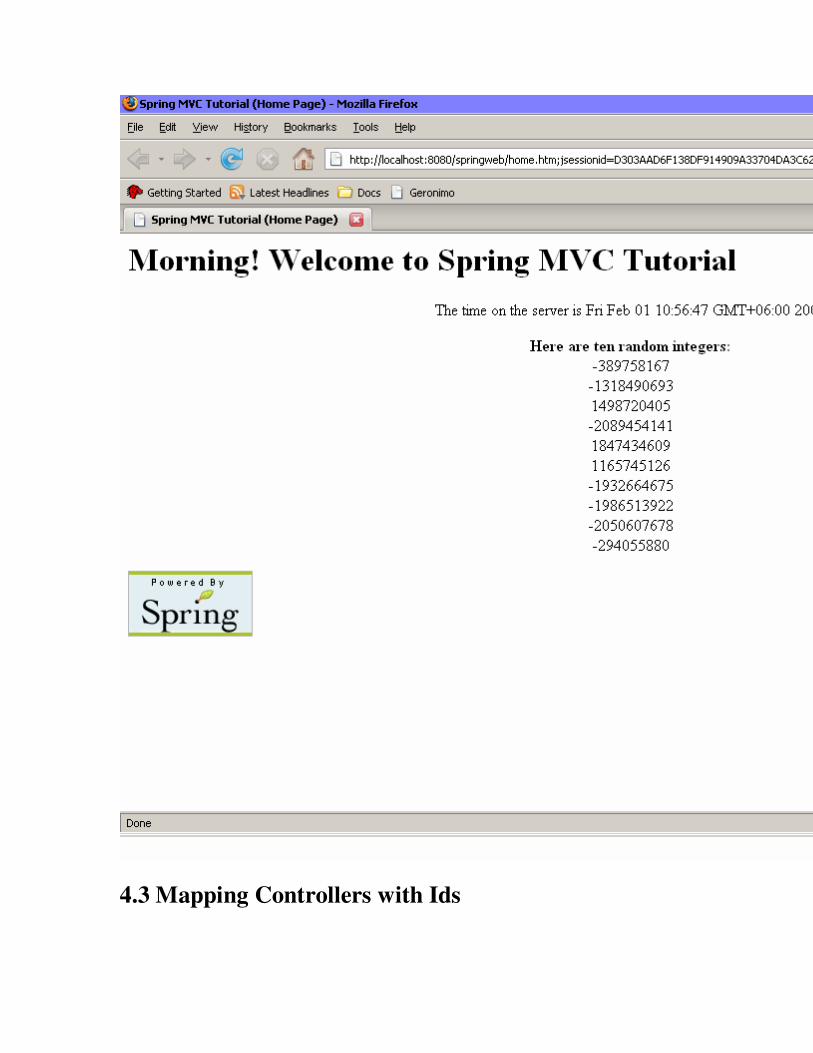
Put the entire springweb folder as show above in Tomcat’s webapps directory, start Tomcat, start your browser and point it to http://localhost:8080/springweb/.
You should be rewarded with the home page:
4.3 Mapping Controllers with Ids

HomePageController was mapped by putting the URL in the name attribute of its bean definition. The reason for this is the default mapping handler BeanNameUrlHandlerMapping. A better approach for keeping the mapping metadata in a single place and freeing controller definitions from specific URL binding is to use SimpleUrlHandlerMapping:
view plaincopy to clipboardprint
1. 2. <bean id="simpleUrlMapping" 3. class="org.springframework.web.servlet.handler.SimpleUrlHandlerMapping">
4. <property name="mappings"> 5. <props> 6. <prop key="/home.htm">homePageCo</prop> 7. </props> 8. </property> 9. </bean>
You don’t need to give URL names to your controllers now:
view plaincopy to clipboardprint
1. 2. <bean id="homePageCo" 3. class="org.himu.springweb.co.HomePageController"/>
5 Handling Forms
AbstractController is good for hiding Java Servlet specifics but they don’t free you from dealing with raw HTTP requests and responses. Spring MVC gives you AbstractFormController and SimpleFormController that can deal with form display, submission, and processing. SimpleFormController lets you configure various aspects through XML while the former doesn’t.
To understand form processing in Spring MVC, you will add a loan calculator to your web application. For this, you need:
1. A page to be displayed where the user inputs the required parameters (form view) 2. A JavaBean where the input parameters will be mapped (form object) 3. An input validating entity for user mistakes (validator) 4. A page to display the results for a successful execution with valid input (success
view)
5.1 SimpleFormController
It is better if you understand the workflow of the SimpleFormController. Here is the workflow adapted from Spring API documentation in relevance to this tutorial:
1. Receive a GET request for the form input page 2. Instantiate the form object, i.e. the binding object for parameter mapping 3. The form view is sent to the browser for user input 4. Use submits form (using a GET with parameters or a POST) 5. Populate the form object based on the request parameters (applying necessary
conversions from String to appropriate object type); in case of binding errors, they are reported through an Errors object
6. If binding is ok and a validator is attached then it is called to validate the form object; in case of errors, they are reported through an Errors object
7. If errors are present associated with the model then form view is resent to the browser
8. If validation passes then a chain of onSubmit() methods is called (one of which should be overridden) that returns the success view by default
There are multiple submit processing methods of which one you must override depending on the task at hand. In general, override
• ModelAndView onSubmit(HttpServletRequest, HttpServletResponse, Object, BindException) if you want complete control on what to return
• ModelAndView onSubmit(Object, BindException) if you want custom submission handling but don’t need to work with request and response objects
• ModelAndView onSubmit(Object) if you need nothing more than the input but may return a custom view
• void doSubmitAction(Object) if you don’t need to determine the success or error view
5.2 Writing Your Form Controller
To makes things comprehensible, first write the controller’s bean definition:
view plaincopy to clipboardprint
1. 2. <bean id="loanCalcCo" 3. class="org.himu.springweb.co.LoanCalcController"> 4. <property name="formView" value="loanCalc"/> 5. <property name="successView" value="loanCalcResult"/> 6. <property name="commandName" value="loanInfo"/>

7. <property name="commandClass" value="org.himu.springweb.demo.LoanInfo"/>
8. <property name="validator"> 9. <bean class="org.himu.springweb.demo.LoanCalcValidator"/> 10. </property> 11. </bean>
You need to add the appropriate mapping also:
view plaincopy to clipboardprint
1. 2. <bean id="simpleUrlMapping" 3. class="org.springframework.web.servlet.handler.SimpleUrlHandlerMapping">
4. <property name="mappings"> 5. <props> 6. <prop key="/home.htm">homePageCo</prop> 7. <prop key="/loancalc.htm">loanCalcCo</prop> 8. </props> 9. </property> 10. </bean>
formView specifies the name of the view used to collect input and to return back in case of errors. successView is returned by default if no errors occur. commandClass specifies the model object to use against the input parameters and its instance is given a name through commandName. If a validator is present then DispatcherServlet will use it to validate the input data before passing on to the form controller.Note that both input form request and input form submission is handled by the same URI. If the browser requests /loancalc.htm without any parameters then the ‘form view’ is returned; otherwise the form processing pipeline is executed.
So, here is LoanCalcController’s implementation:
view plaincopy to clipboardprint
1. 2. public class LoanCalcController extends SimpleFormController 3. { 4. protected void doSubmitAction(Object o) throws Exception 5. { 6. LoanInfo li = (LoanInfo) o; 7. 8. double P = li.getPrincipal(); 9. double i = li.getApr() / (li.getPeriodPerYear() * 100.0); 10. int n = li.getYears() * li.getPeriodPerYear();

11. 12. double A = P * i / (1 - Math.pow(1 + i, -n)); 13. 14. li.setPayment(A); 15. 16. List<RepaySchedule> repayments = new ArrayList<RepaySchedule>(); 17. 18. int pno = 1; 19. while ((P - 0.0) > 0.001) 20. { 21. double B = P * i; 22. double paidP = A - B; 23. P = P - paidP; 24. repayments.add(new RepaySchedule(pno, paidP, B, P)); 25. ++pno; 26. } 27. 28. li.setSchedule(repayments); 29. } 30. }
As you can see, there is absolutely nothing special other than extending SimpleFormController and modifying the model object. Of course, there will be some work to do for not-so-trivial cases.
5.3 The Model Objects
LoanInfo is as follows:
view plaincopy to clipboardprint
1. 2. public class LoanInfo 3. { 4. // IN 5. private double principal; 6. private double apr; // annual percentage rate 7. private int years; 8. private int periodPerYear; 9. // OUT 10. private double payment; // periodic payment amount 11. private List<RepaySchedule> schedule; // repayment schedule 12. 13. // ... getters and setters except for 'schedule' 14. 15. public List<RepaySchedule> getSchedule()
16. { 17. return schedule; 18. } 19. 20. public void setSchedule(List<RepaySchedule> schedule) 21. { 22. this.schedule = schedule; 23. }
And here is RepaySchedule’s implementation:
view plaincopy to clipboardprint
1. 2. public class RepaySchedule { 3. private int paymentNo; 4. private double principal; 5. private double interest; 6. private double outstanding; 7. 8. // ... getters and setters 9. 10. public RepaySchedule(int paymentNo, double principal, double interest, double
outstanding) 11. { // ... all-argument constructor } 12. }
5.4 Model Validator
The validator specified in the controller’s bean definition should implement the Validator interface provided by Spring. The support method must return true for model object classes which this validator validates. The validate method gets called with the actual model object and an Errors object through which validation errors can be registered.
view plaincopy to clipboardprint
1. 2. public class LoanCalcValidator implements Validator 3. { 4. public boolean supports(Class aClass) 5. { 6. return aClass.equals(LoanInfo.class); 7. } 8. 9. public void validate(Object o, Errors errors) 10. {

11. LoanInfo li = (LoanInfo) o; 12. 13. if (Double.compare(li.getPrincipal(), 0.0) <= 0) 14. errors.rejectValue("principal", "error.invalid.principal", "Principal invalid"
); 15. if (Double.compare(li.getApr(), 0.0) <= 0) 16. errors.rejectValue("apr", "error.invalid.apr", "APR invalid"); 17. if (li.getYears() <= 0) 18. errors.rejectValue("years", "error.invalid.years", "Number of years invalid
"); 19. if (li.getPeriodPerYear() <= 0) 20. errors.rejectValue("periodPerYear", "error.invalid.periodPerYear", "Perio
d invalid"); 21. } 22. }
Each call to rejectValue(fieldname, keycode, defaultmsg) above adds a message resource key against a field/attribute of the model object. This allows localized error messages and selected placing in the view (as you will shortly see). The default message is displayed in case no message resource is found. This will be the case as I haven’t added any resources yet.
5.5 Input and Result JSP Files
All that remains is to write the JSP files. One JSP is needed for the input form and validation messages; other for displaying the result. We could have merged them into one but won’t do that here. First we write the form view JSP, loanCalc.jsp:
view plaincopy to clipboardprint
1. 2. <%@ page contentType="text/html;charset=UTF-8" language="java" %> 3. <%@ taglib uri="http://java.sun.com/jsp/jstl/core" prefix="c" %> 4. <%@ taglib uri="http://www.springframework.org/tags/form" prefix="form" %>
5. <%@ taglib uri="http://www.springframework.org/tags" prefix="spring" %> 6. <html> 7. <head> 8. <title>Calculate Loan</title> 9. </head> 10. <body> 11. <center> 12. <!-- one way to display error messages – globally --> 13. <spring:hasBindErrors name="loanInfo"> 14. <h3>You have errors in your input!</h3> 15. <font color="red">
16. <c:forEach items="${errors.allErrors}" var="error"> 17. <spring:message code="${error.code}" text="${error.defaultMessage}
"/><br/> 18. </c:forEach> 19. </font> 20. </spring:hasBindErrors> 21. <p> 22. <!-- note second way of displaying error messages – by field --> 23. <form:form commandName="loanInfo" method="POST" action="loancalc.
htm"> 24. Principal: <form:input path="principal" /><form:errors path="principal
" /><br /> 25. APR: <form:input path="apr" /><form:errors path="apr" /><br /> 26. Number of Years: <form:input path="years" /><form:errors path="year
s" /><br /> 27. Periods Per Year: <form:input path="periodPerYear" /><form:errors pa
th="periodPerYear" /><br /> 28. <input type="submit" title="Calculate" /> 29. </form:form> 30. </p> 31. </center> 32. </body> 33. </html>
The <form:form> tag binds the model/form object with the input form. You specify the form object name (matching that in springweb-servlet.xml) using the commandName attribute and the action attribute refers to the submit URI. Note that no special tag is needed for rendering the HTML submit button.The Errors object from earlier discussion is exposed by Spring MVC as the errors object in the view. I use <spring:hasBindErrors> to test if errors are indeed present and if so then iterate over the error list (referenced by JSTL EL expression ${errors.allErrors}) to display them. <spring:message> uses the code attribute to look for a message key in the message resource and in case of failure uses the text attribute to display an alternate message. This technique is useful if you want to list all error messages in a single location. But if you want to reference errors specific to input fields (i.e. bound form object attributes) then using the <form:errors> tag is better. It is also less verbose than <spring:message>.
The success view is rendered using the following JSP, loanCalcResult.jsp:
view plaincopy to clipboardprint
1. 2. <%@ page contentType="text/html;charset=UTF-8" language="java" %> 3. <%@ taglib uri="http://java.sun.com/jsp/jstl/core" prefix="c" %> 4. <%@ taglib uri="http://java.sun.com/jsp/jstl/fmt" prefix="fmt"%> 5. <html>
6. <head> 7. <title>Calculate Loan Result</title> 8. </head> 9. <body> 10. <center> 11. <p> 12. The installment size is: <fmt:formatNumber value="${loanInfo.payment}" t
ype="currency"/> 13. </p> 14. <table border="1"> 15. <tr> 16. <td width="10%">Payment No.</td> 17. <td align="right" width="30%">Principal</td> 18. <td align="right" width="30%">Interest</td> 19. <td align="right" width="30%">Outstanding Principal</td> 20. </tr> 21. <c:forEach items="${loanInfo.schedule}" var="entry"> 22. <tr> 23. <td>${entry.paymentNo}</td> 24. <td align="right"><fmt:formatNumber value="${entry.principal}" type
="currency"/></td> 25. <td align="right"><fmt:formatNumber value="${entry.interest}" type=
"currency"/></td> 26. <td align="right"><fmt:formatNumber value="${entry.outstanding}" ty
pe="currency"/></td> 27. </tr> 28. </c:forEach> 29. </table> 30. </center> 31. </body> 32. </html>
This JSP does not warrant much discussion as there are no Spring specific tags. The only thing of interest here is the JSTL <fmt:formatNumber> tag. I used it to display the figures in currency format.
5.6 Wrap-Up
Place the JSP files in the jsp folder, compile the classes into WEB-INF/classes, edit springweb-servlet.xml as appropriate and deploy. Hit the URL http://localhost:8080/springweb/loancalc.htm and test.
The input page looks like this:
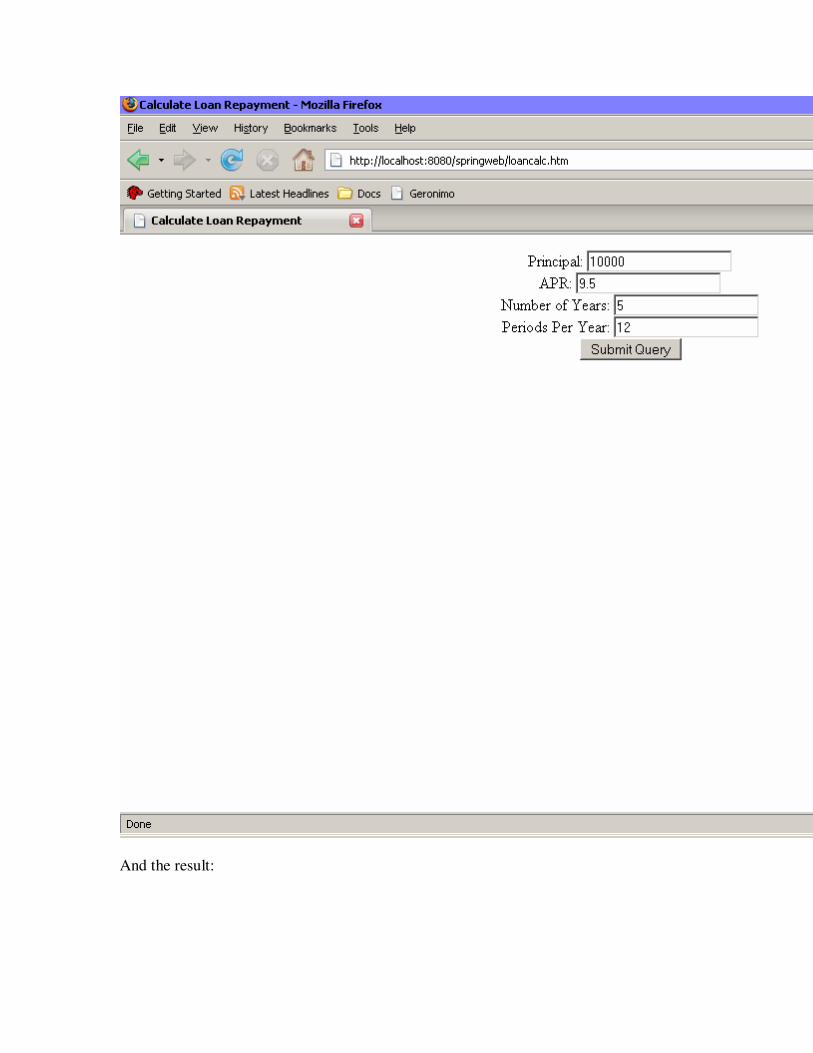
And the result: