Embed Size (px)
Citation preview

Spreadsheet ADE100- Computer Literacy
Lecture 16
2
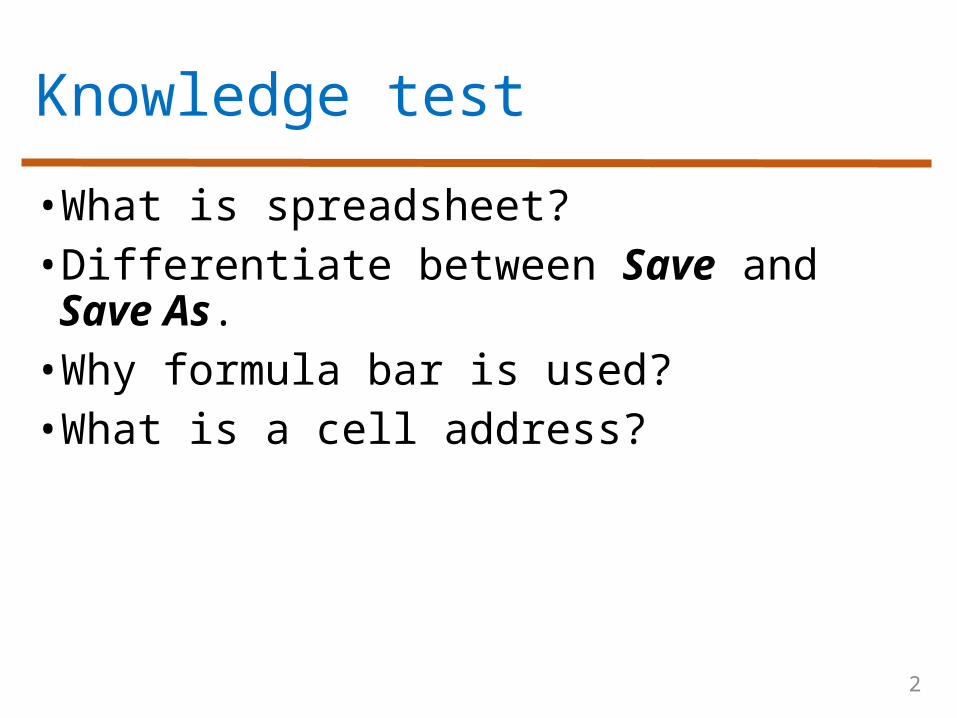
Knowledge test
•What is spreadsheet?•Differentiate between Save and Save As.•Why formula bar is used?•What is a cell address?
3
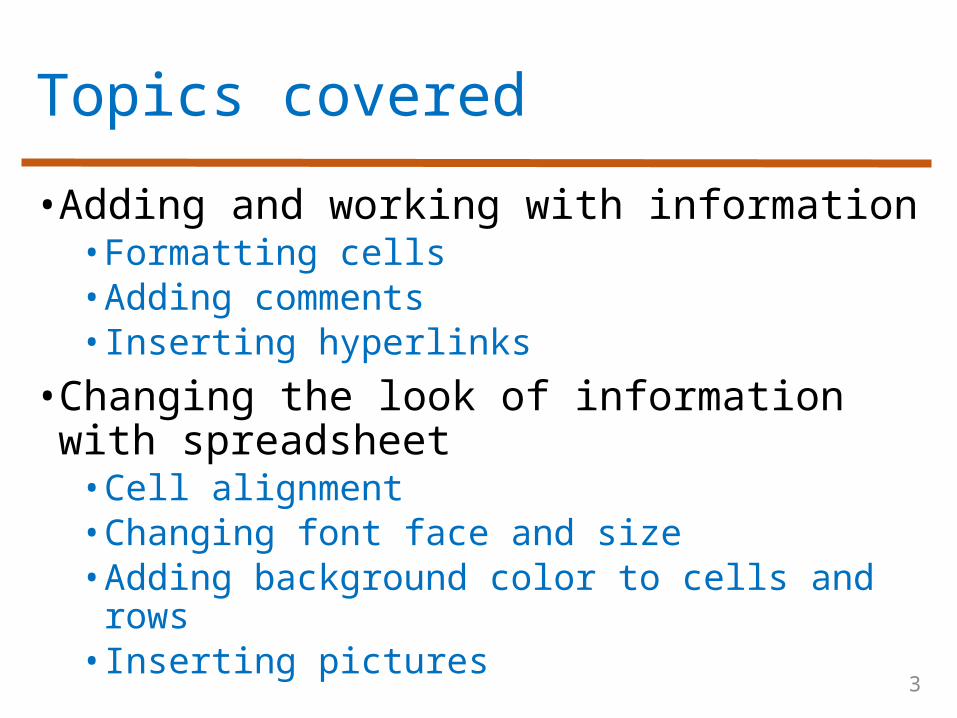
Topics covered
• Adding and working with information • Formatting cells• Adding comments• Inserting hyperlinks
• Changing the look of information with spreadsheet• Cell alignment• Changing font face and size• Adding background color to cells and rows• Inserting pictures

4
Entering data in the cells
• Entering data in a cell• Select the cell where you want to insert
data• Type the data• Press Enter from keyboard
5
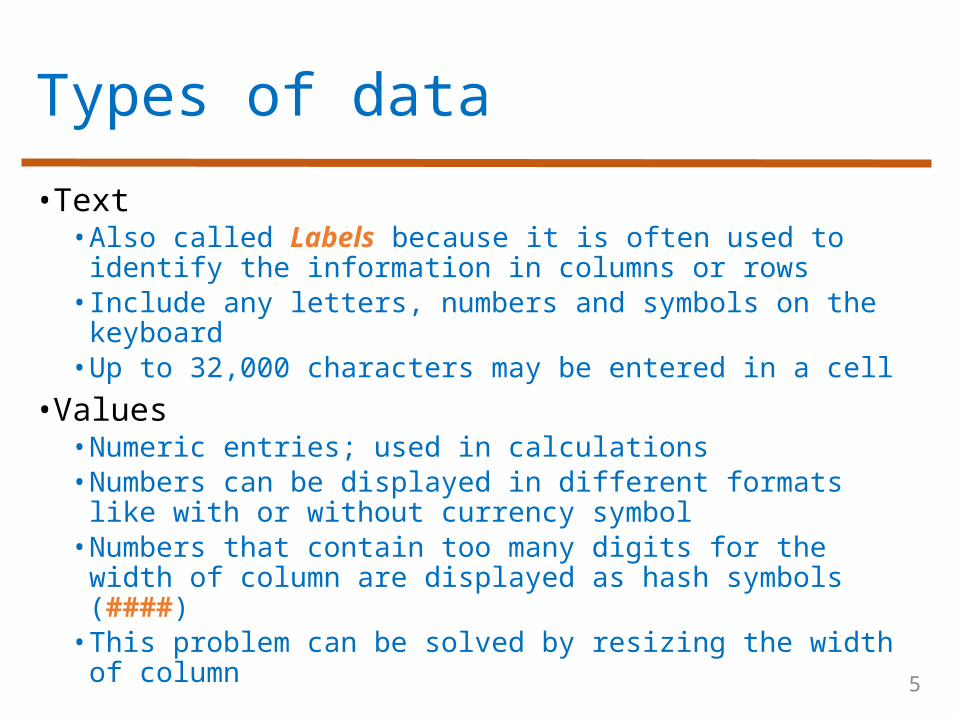
Types of data
• Text• Also called Labels because it is often used to identify
the information in columns or rows• Include any letters, numbers and symbols on the
keyboard• Up to 32,000 characters may be entered in a cell
• Values• Numeric entries; used in calculations• Numbers can be displayed in different formats like
with or without currency symbol• Numbers that contain too many digits for the width of
column are displayed as hash symbols (####)• This problem can be solved by resizing the width of
column
6
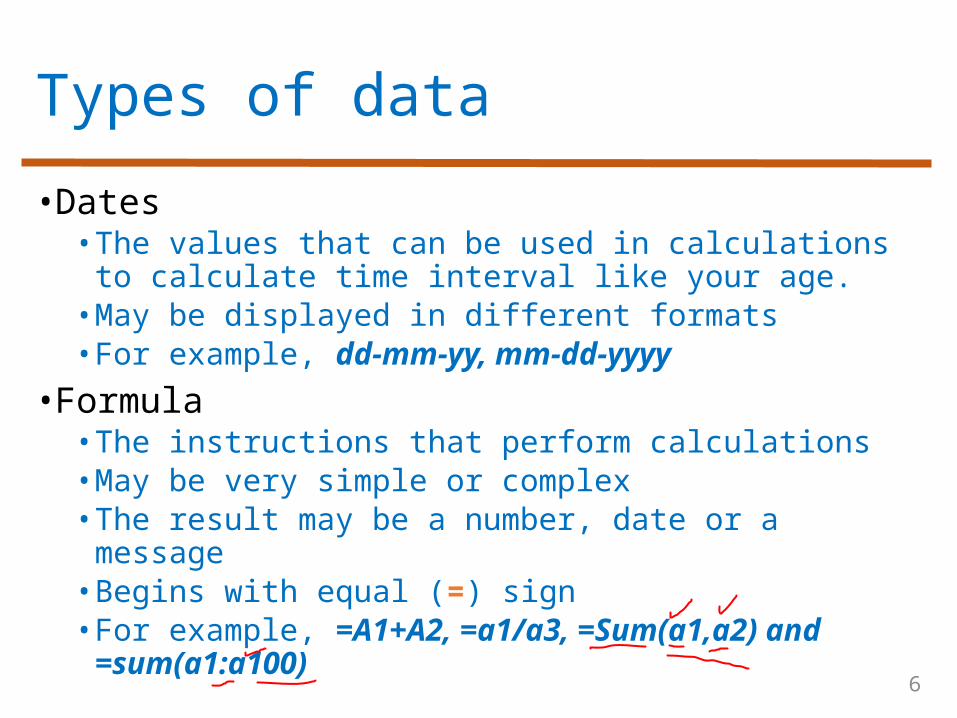
Types of data
•Dates• The values that can be used in calculations to
calculate time interval like your age.• May be displayed in different formats• For example, dd-mm-yy, mm-dd-yyyy
• Formula• The instructions that perform calculations• May be very simple or complex• The result may be a number, date or a message• Begins with equal (=) sign• For example, =A1+A2, =a1/a3, =Sum(a1,a2) and =sum(a1:a100)
7
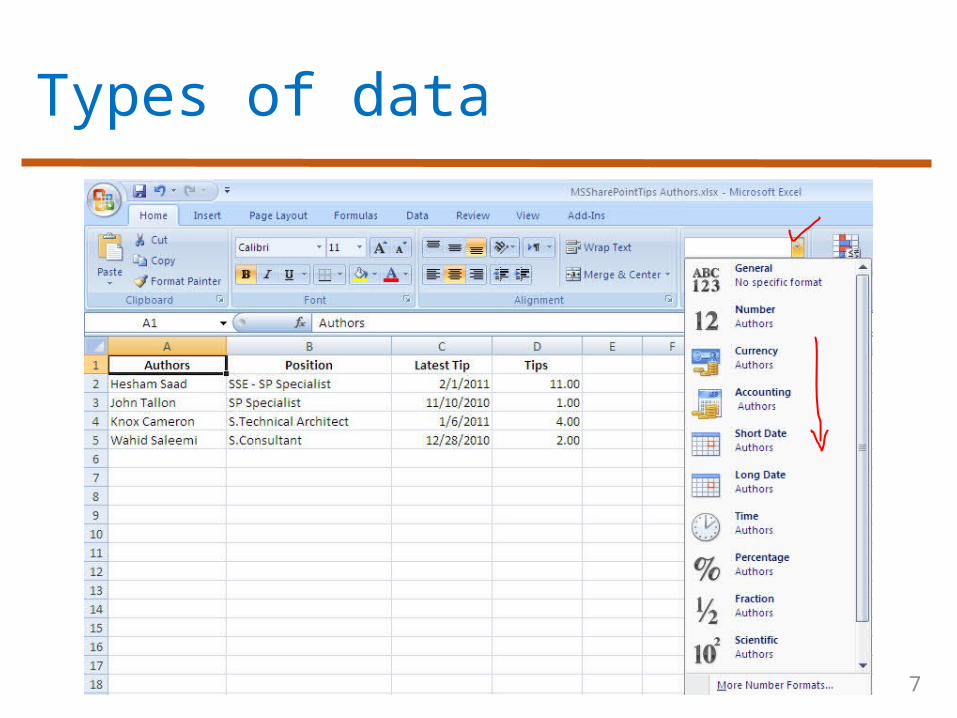
Types of data
8
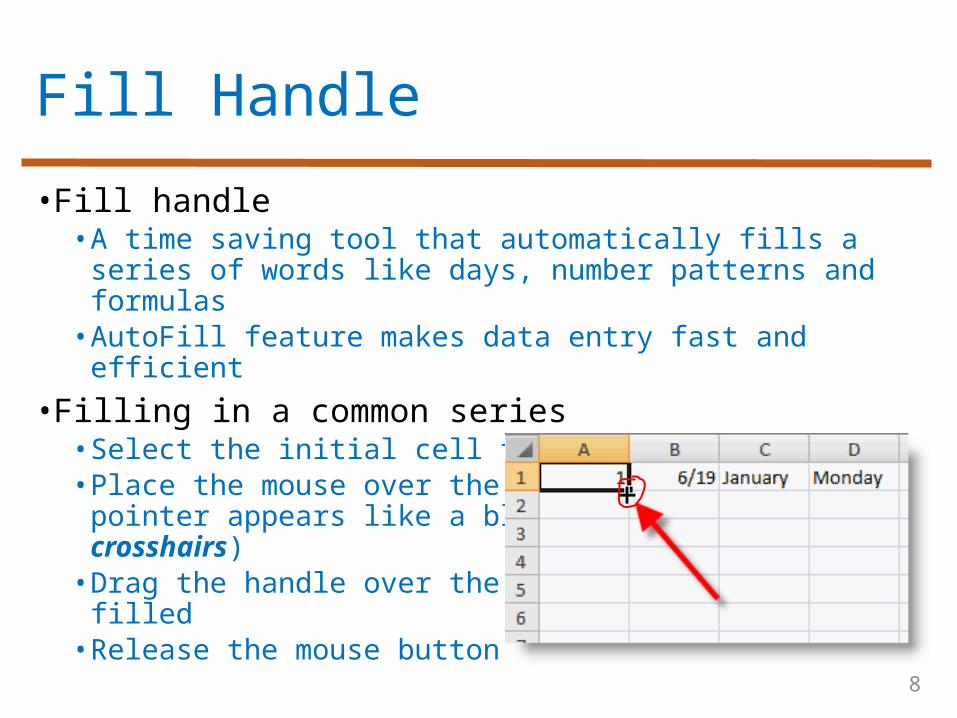
Fill Handle
• Fill handle• A time saving tool that automatically fills a series
of words like days, number patterns and formulas• AutoFill feature makes data entry fast and
efficient
• Filling in a common series• Select the initial cell for the series• Place the mouse over the fill handle, your mouse
pointer appears like a black plus sign (called crosshairs)• Drag the handle over the cells that are to be filled• Release the mouse button. Excel fills the cells.
9
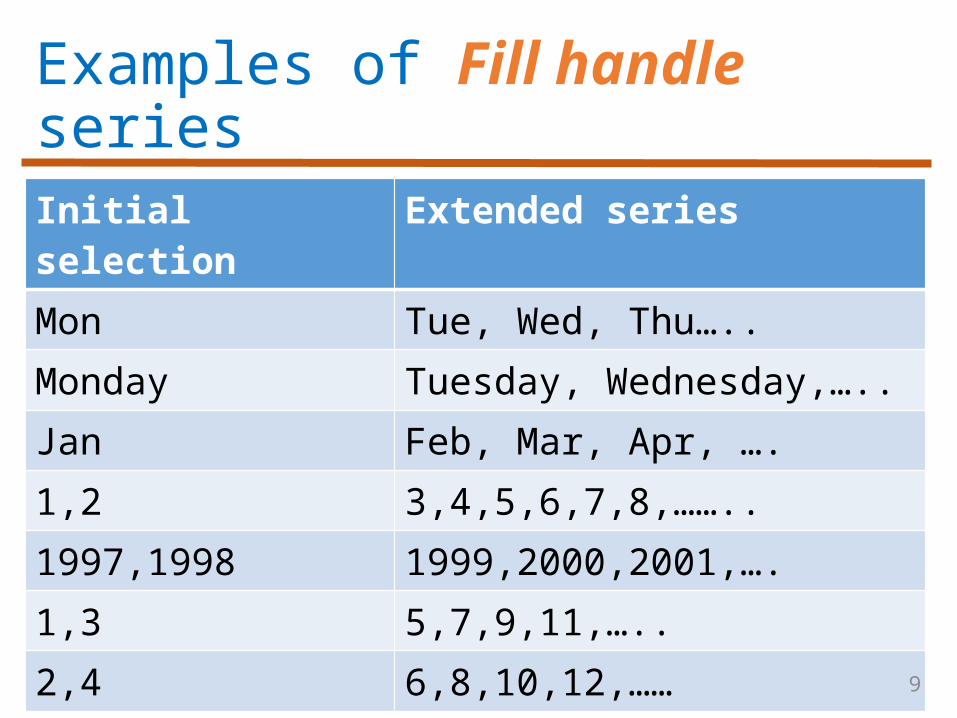
Examples of Fill handle seriesInitial selection Extended seriesMon Tue, Wed, Thu…..Monday Tuesday, Wednesday,…..Jan Feb, Mar, Apr, ….1,2 3,4,5,6,7,8,……..1997,1998 1999,2000,2001,….1,3 5,7,9,11,…..2,4 6,8,10,12,……
10
Editing data
• Editing data• Editing is very easy in excel• Edit your entries using formula bar or cell
itself• First you must active the desired cell
• You may use any of these methods for editing• Double click on the cell containing the data
you want to edit• Click once on the formula bar• Press F2
11
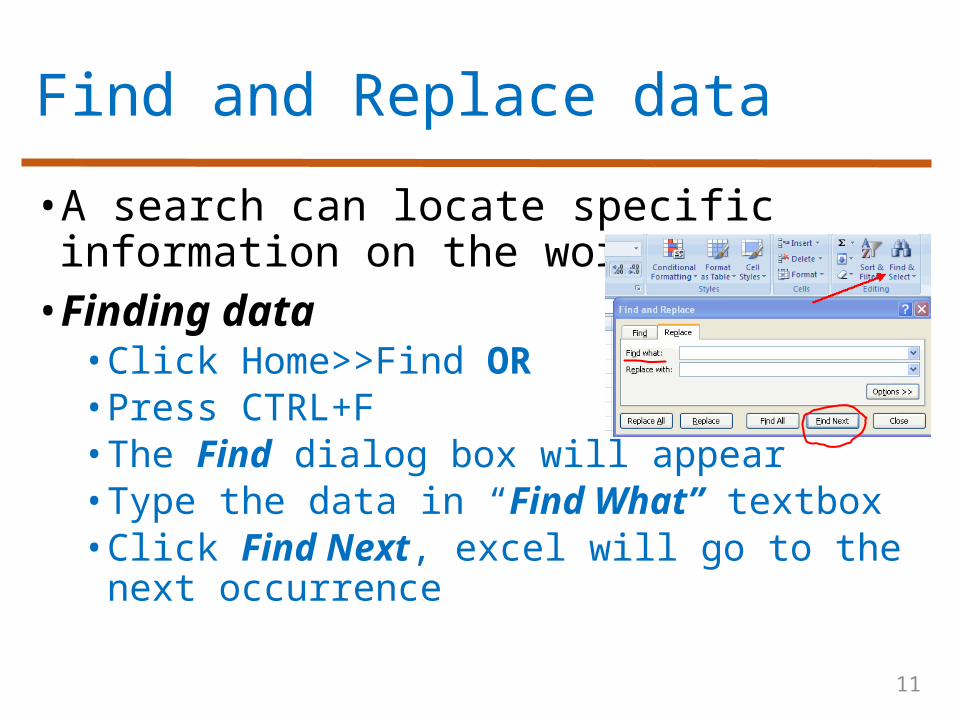
Find and Replace data
• A search can locate specific information on the worksheet• Finding data• Click Home>>Find OR • Press CTRL+F• The Find dialog box will appear• Type the data in “Find What” textbox• Click Find Next, excel will go to the next
occurrence
12
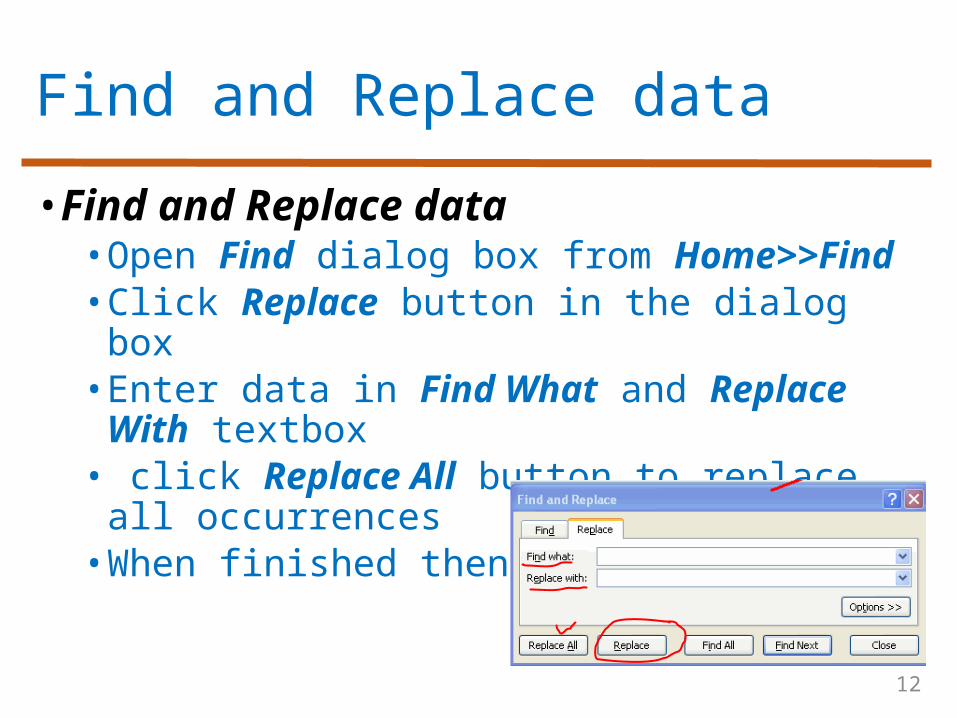
Find and Replace data
• Find and Replace data• Open Find dialog box from Home>>Find• Click Replace button in the dialog box• Enter data in Find What and Replace With textbox• click Replace All button to replace all
occurrences• When finished then press Close button
13
Formatting cells
• Changing Font• Select the cell for formatting• Home>>Font• Click the arrow on the Font box• From the menu select the Font to apply
• Changing Font size• On the Formatting toolbar, click the arrow
on Font size box• From the menu list, select the size to apply
or type the number if not listed and press Enter

14
Changing Font
15
Changing Font style
• Font style• Refers to font effects but not the font itself • Bold, italic, underline styles are used
•Method • Select the cell• Choose Home>>Font • From the Formatting toolbar click the
enhancement buttons i.e. B, I, U OR • press CTRL+B, CTRL+I, CTRL+U
16
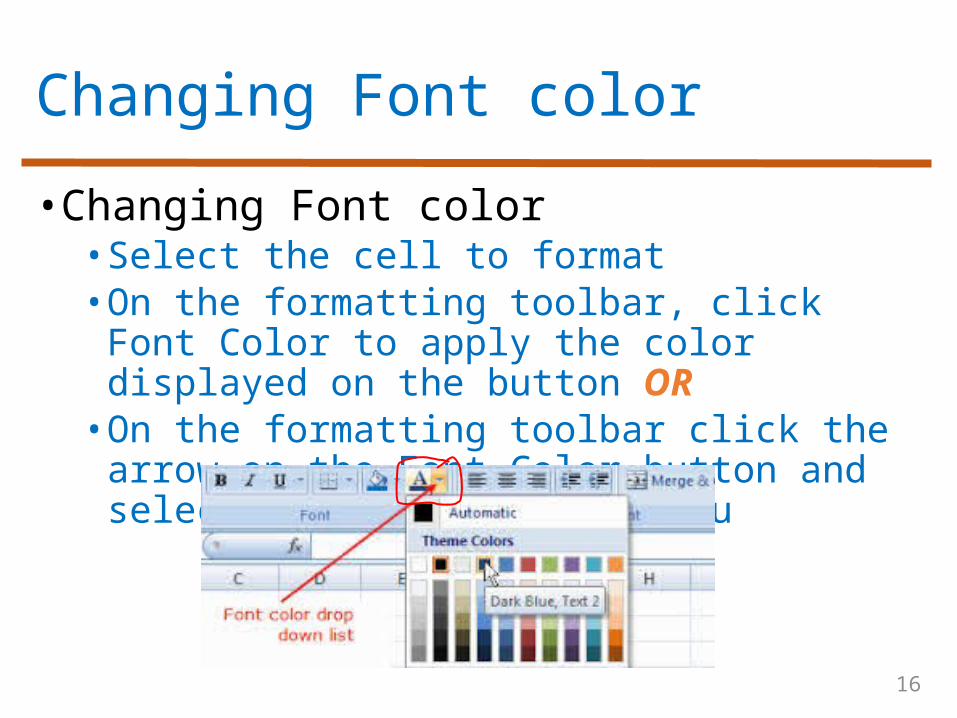
Changing Font color
• Changing Font color• Select the cell to format• On the formatting toolbar, click Font Color
to apply the color displayed on the button OR • On the formatting toolbar click the arrow
on the Font Color button and select a color from the menu
17
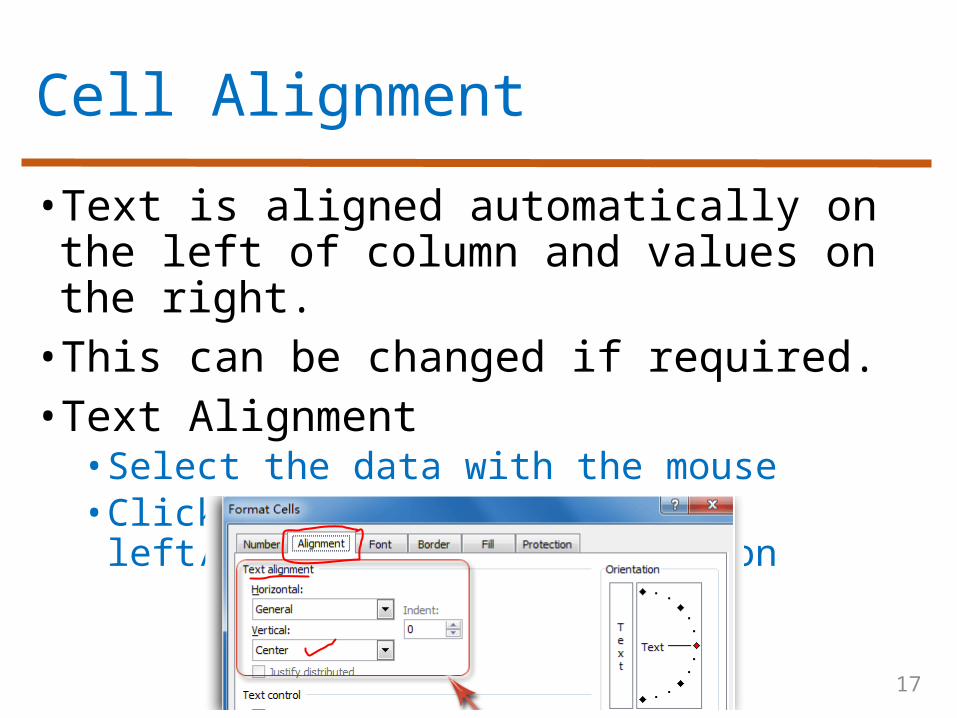
Cell Alignment
• Text is aligned automatically on the left of column and values on the right.• This can be changed if required.• Text Alignment• Select the data with the mouse• Click the align left/center/right/justify icon
18
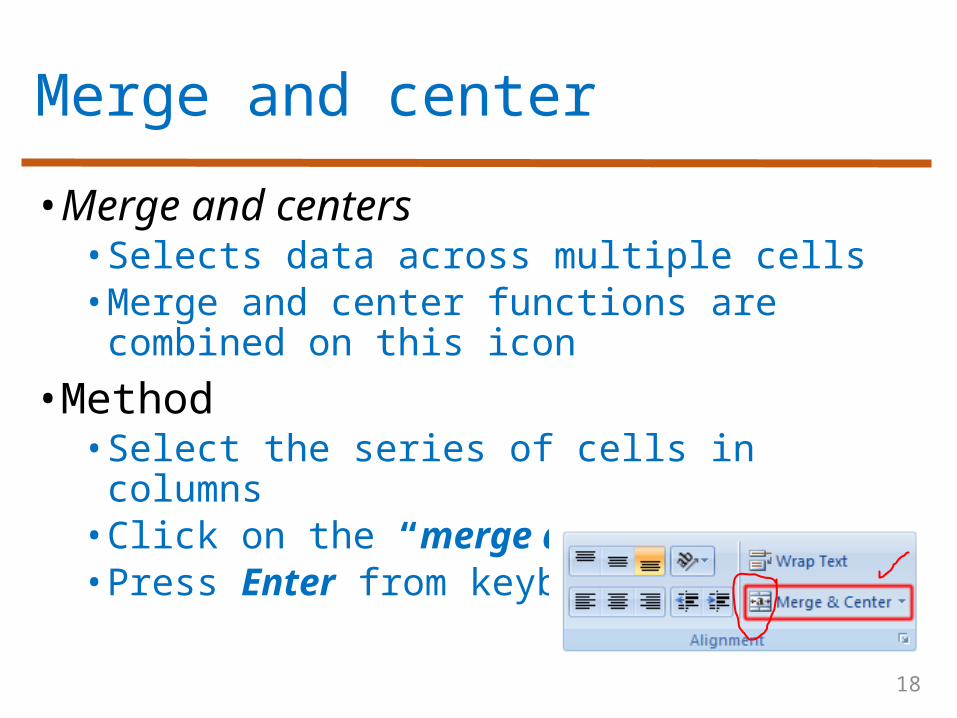
Merge and center
•Merge and centers • Selects data across multiple cells• Merge and center functions are combined
on this icon
•Method • Select the series of cells in columns• Click on the “merge and center” icon• Press Enter from keyboard
19
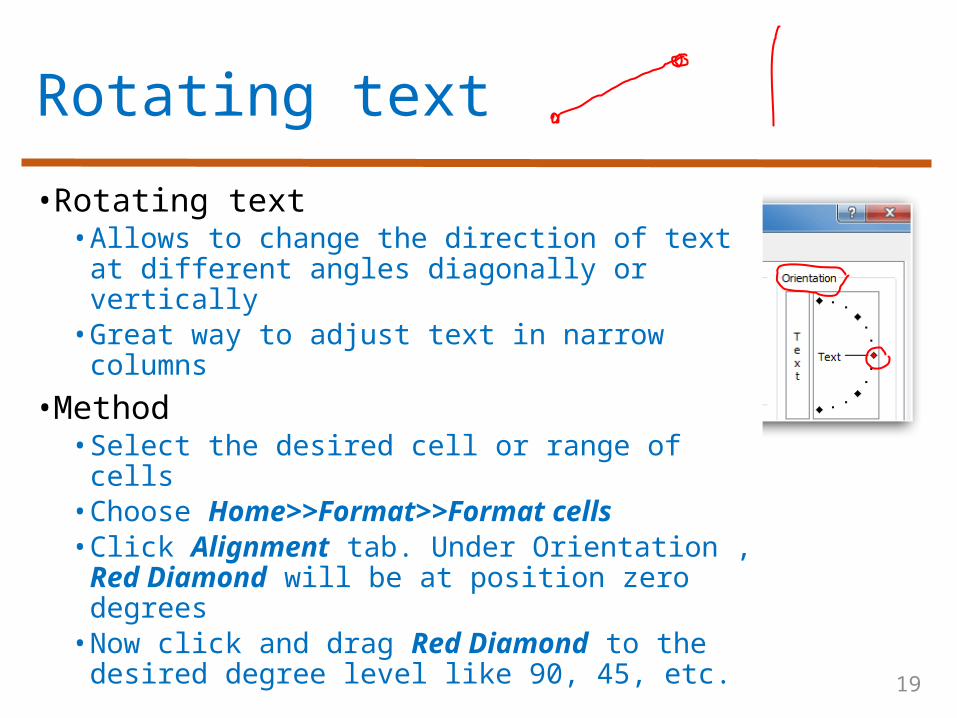
Rotating text
• Rotating text• Allows to change the direction of text at
different angles diagonally or vertically• Great way to adjust text in narrow
columns
• Method • Select the desired cell or range of cells • Choose Home>>Format>>Format cells• Click Alignment tab. Under Orientation , Red Diamond will be at position zero degrees• Now click and drag Red Diamond to the
desired degree level like 90, 45, etc.
20
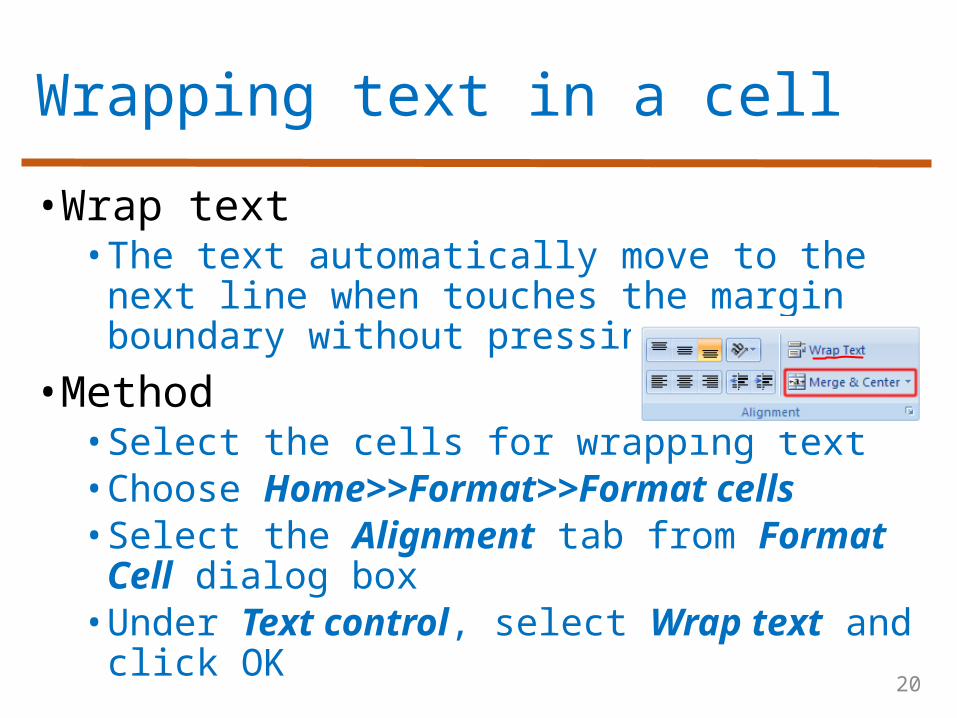
Wrapping text in a cell
•Wrap text• The text automatically move to the next
line when touches the margin boundary without pressing Enter key
•Method• Select the cells for wrapping text• Choose Home>>Format>>Format cells• Select the Alignment tab from Format Cell dialog box• Under Text control, select Wrap text and
click OK
21
Number format
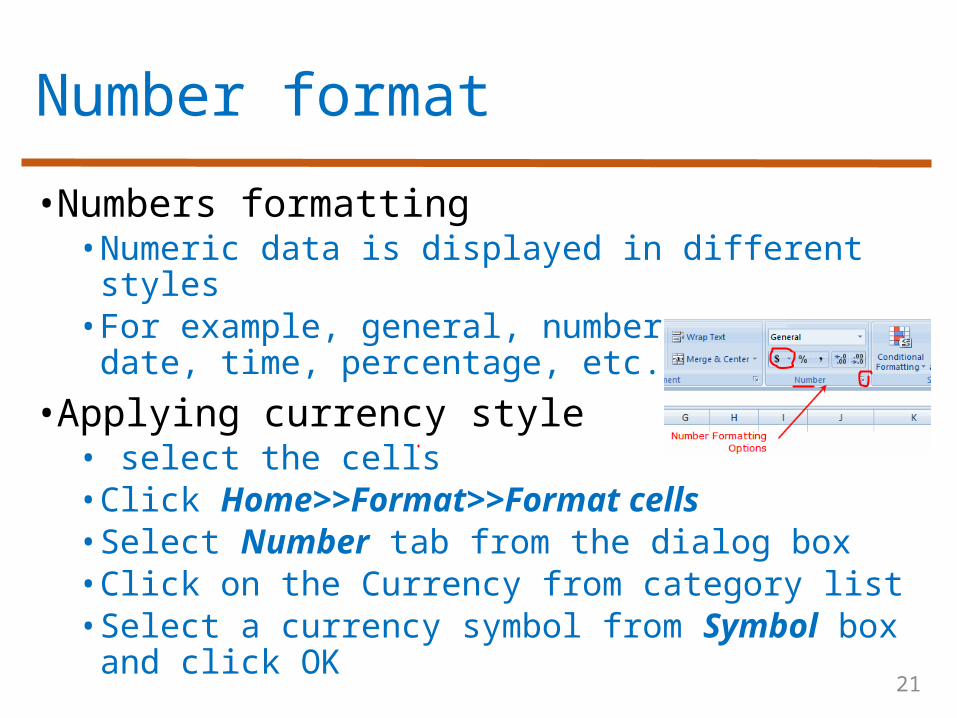
•Numbers formatting• Numeric data is displayed in different styles• For example, general, number, currency,
date, time, percentage, etc.
• Applying currency style• select the cells • Click Home>>Format>>Format cells• Select Number tab from the dialog box• Click on the Currency from category list• Select a currency symbol from Symbol box
and click OK
22
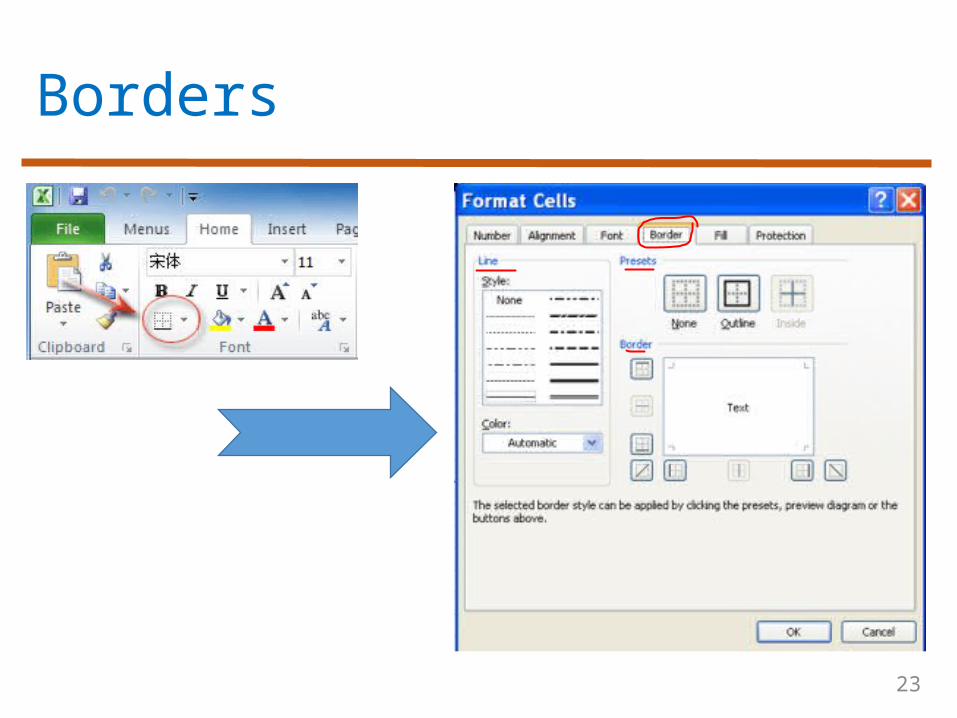
Borders
• Applying cell borders and shading• Select the cell or range of cells• Clicking Borders icon on the formatting
toolbar will apply the most recently selected border style• To apply a different border style, click the
arrow on the Borders button and then choose style from the palette • For more choices, choose Border tab from Format Cells dialog box• Add shading by clicking Fill Color button
on the toolbar in Home tab
23
Borders
24
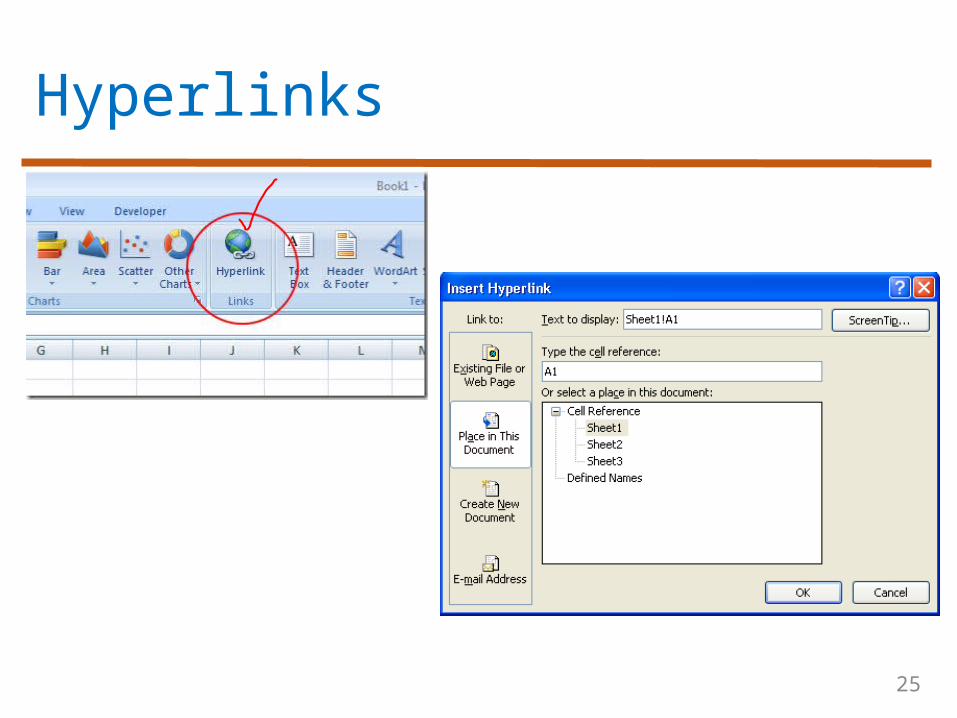
Inserting a hyperlink
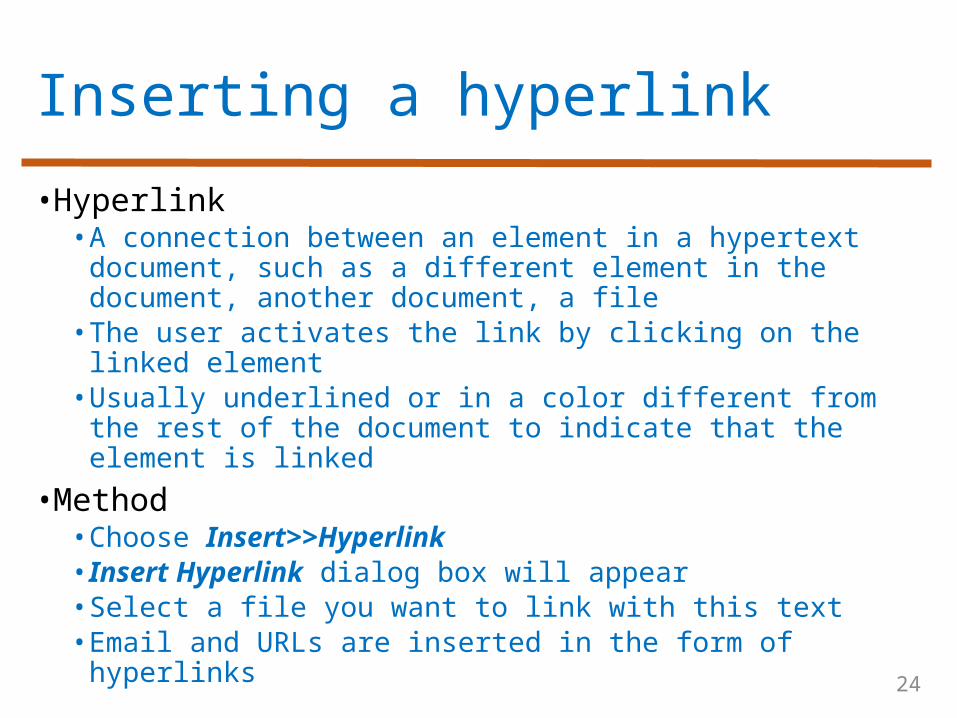
• Hyperlink• A connection between an element in a hypertext
document, such as a different element in the document, another document, a file• The user activates the link by clicking on the linked
element• Usually underlined or in a color different from the
rest of the document to indicate that the element is linked
• Method• Choose Insert>>Hyperlink• Insert Hyperlink dialog box will appear• Select a file you want to link with this text• Email and URLs are inserted in the form of hyperlinks
25
Hyperlinks
26
Adding comments
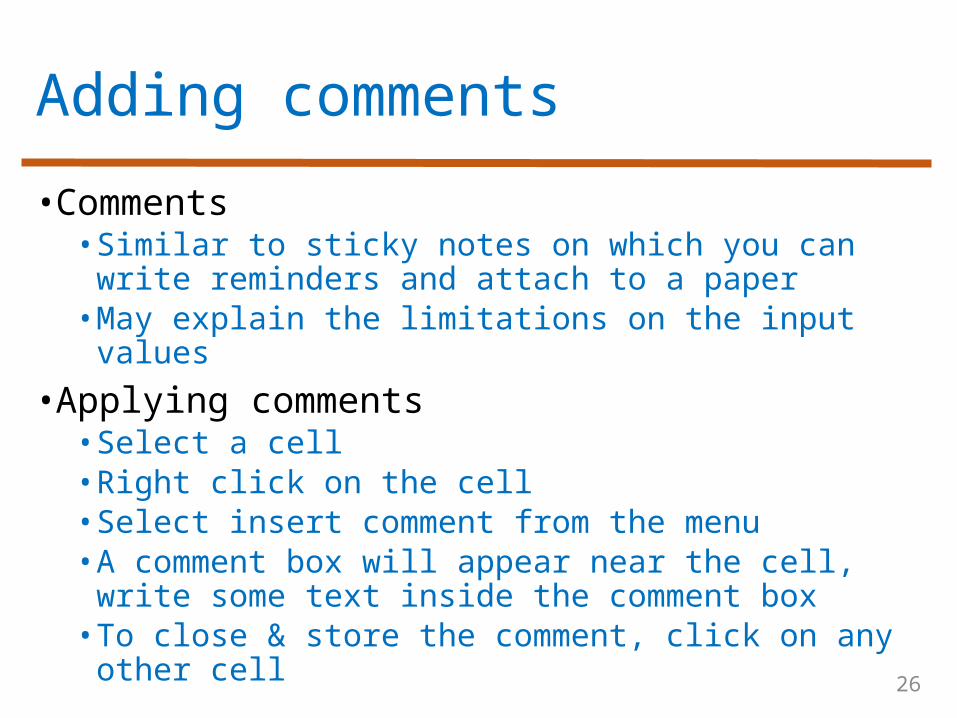
• Comments• Similar to sticky notes on which you can write
reminders and attach to a paper• May explain the limitations on the input values
• Applying comments• Select a cell • Right click on the cell• Select insert comment from the menu• A comment box will appear near the cell, write
some text inside the comment box• To close & store the comment, click on any
other cell
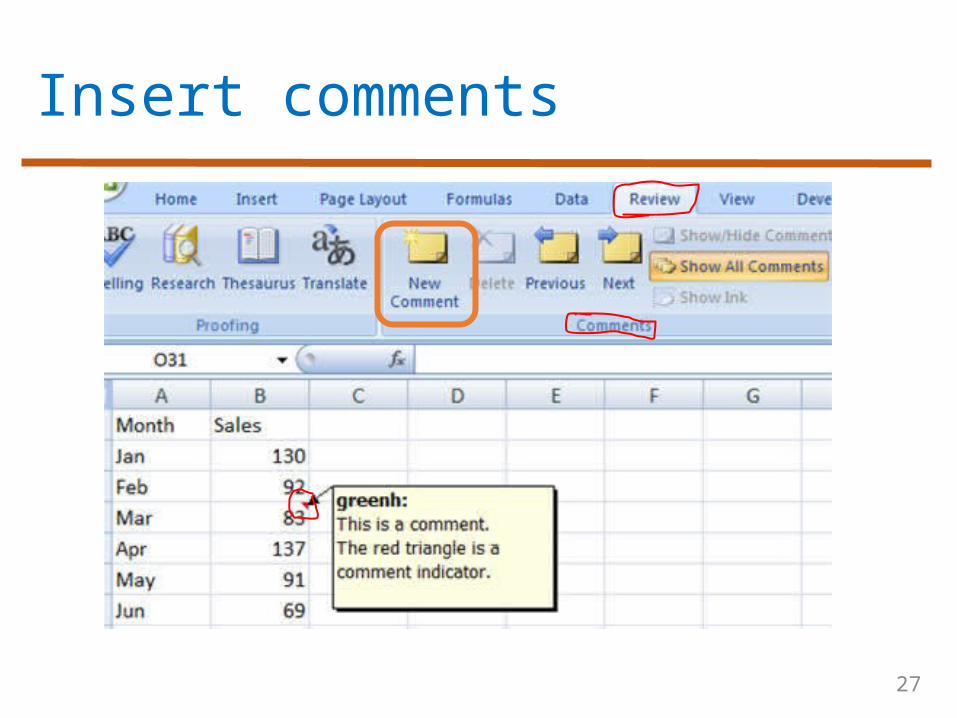
27
Insert comments
28
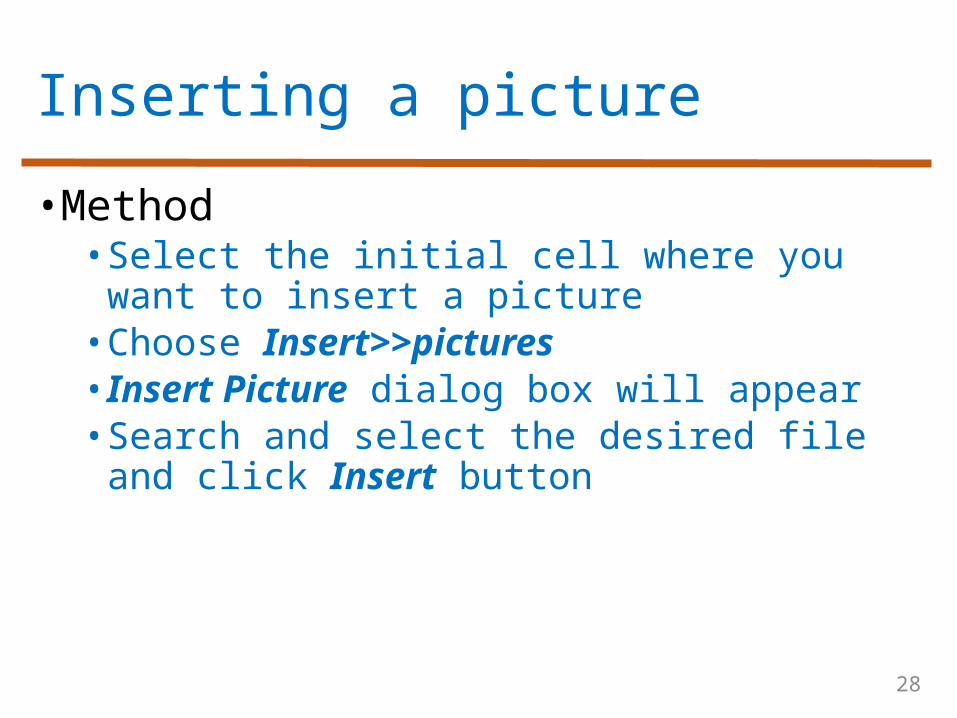
Inserting a picture
•Method• Select the initial cell where you want to
insert a picture• Choose Insert>>pictures• Insert Picture dialog box will appear• Search and select the desired file and click Insert button
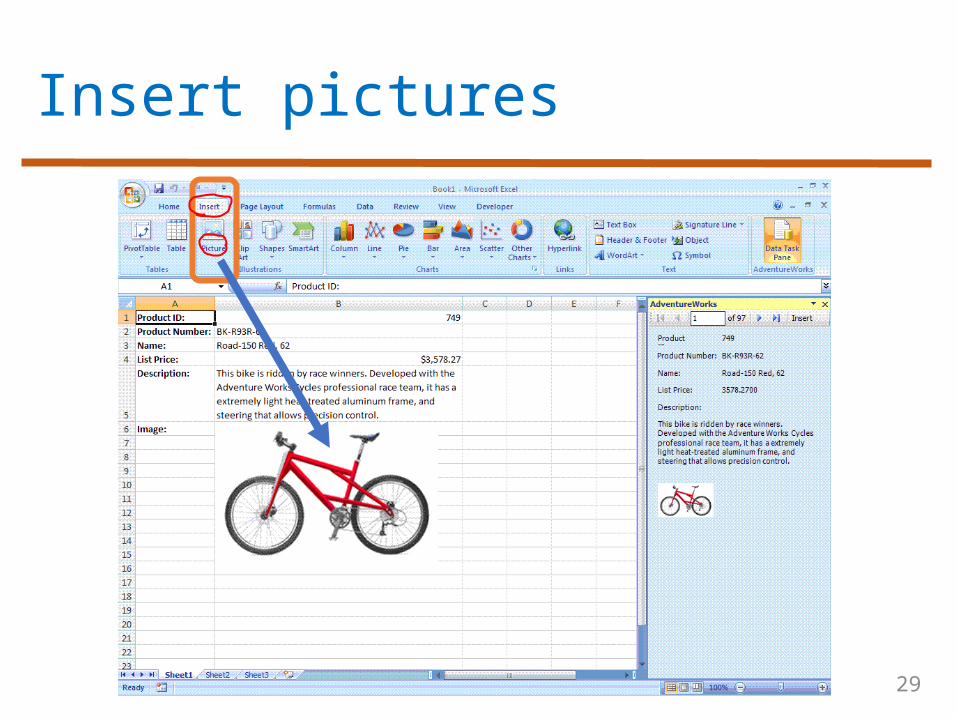
29
Insert pictures
30
Activity 1
• Create a contacts directory of your personal and professional contacts. •Give a title of “Contacts Directory” on the top.• Insert at least five records in the sheet.• The directory will include column headings:• Serial number• Name, Address• Phone number, Cell number• Email address

31
Activity 2
• Enter data using Fill Handle feature.• Apply formatting on your cells or sheet.• Change number formats, borders, • Change background color, foreground color,
font, font size, font style• Change cell alignment, wrap text, rotate
text, merge and center
• Insert a picture from you computer in the sheet.• Insert a hyperlink to open a file.• Insert a comment on the cell.
32
Further reading
•Computer Applications in Business by Tasleem Mustafa• Chapter 14: Data entry tips and tricks• Chapter 15: Formatting in excel

33
Thanks End of Lecture 16

34
Allah Hafiz