Embed Size (px)
Citation preview
Some Notes on Video Camera Astronomy and use of the Phil Dyer Colour Camera
Roger Samworth
Requirements
• Deep sky & planetary• Portable• Simple to use• No need for accurate tracking– I only have an alt-az “Go To”, not an equatorial
• Quick to produce results– =“Instant gratification!”
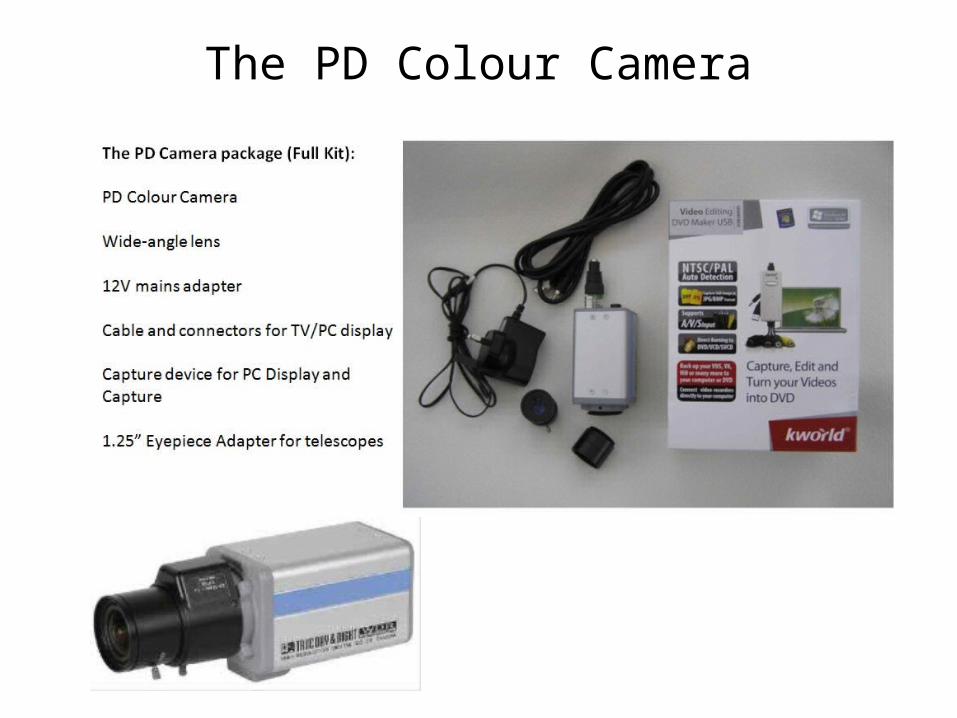
The PD Colour Camera
What Phil Dyer says - -• “PD cameras are the latest generation Huviron CCTV cameras, selected
for their supreme sensitivity, and modified by us for astronomy uses. The PD video camera is so wonderfully versatile, that you will quickly find it indispensable for most of your astronomy activities.
• First of all, it’s so easy to use. You don’t always need to connect it to a telescope. You can use it with small lenses, camera lenses and the like, on small photo tripods. Very light, very transportable. Easy to set up (plugs to any TV).
• It’s powerful. It packs a lot of power into its small size. Whatever lens system you use it with, will seem 4 times bigger – so your 50mm camera lens will match any 200mm scope in magnitudes. And even the small lens supplied will show wide views and all those stars you miss out on due to light pollution.
What Phil Dyer says - -• It’s flexible. It has the sensitivity to display deep sky objects in real
time, but also the speed and flexibility to display brighter objects like the moon and planets, and even fast moving objects like meteors and man made satellites.
• It’s adaptable. You don’t need to connect the camera to a PC/Laptop, but you can if you like. All cabling, software, etc is provided. Then you can process your observations and dramatically increasing the sensitivity and sharpness of images.
• It’s shareable. You can easily share with others. A whole crowd can view on PC or TV screen – even indoors with the telescope outside. No more standing around in the cold waiting for a short turn at the eyepiece. All this might sound quite complicated but its simple really, and these specially written instructions are designed to have you up and running within a few minutes.
Stills mode
• When in operation to take “stills” as a screen grab the camera takes a series of exposures at 1/50th second, and will internally stack and process up to 1024 of these 1/50th second frames. This takes around 20 seconds. This means that your mount only has to track well (if at all) for 20 seconds.
• You can then take as many of these 20 second frames as you like and stack them in Registax, or something similar, that then takes care of any residual movement. I usually take around 10, giving a total exposure of 200 seconds or so.
Movie mode
• You can also use the camera in movie mode, recording the individual frames as an .avi movie. You do this for brighter objects such as the moon or planets, and again use Registax to stack them. In this case you can use faster shutter speeds to keep distortion from atmospheric wobble down. Again, generally, I use around 3000 frames.
The Question of Contrast
• Once we have images in electronic form, all sorts of image processing options are available. As far as deep sky imaging is concerned, one of the most significant options is to improve the contrast of the images, usually non-linearly, by using a “gamma” function or similar. I use GIMP 2 to process my images and in that software it is badged “curves”. This is all explained in my document on the web-site “Imaging Deep Sky Objects with the Phil Dyer Colour Video Camera”.
The Question of Contrast
• You can also “sharpen” images with dramatic effect on planetary images. It is important to note that none of these processes adds anything to the image that was not there originally, they simply emphasise or suppress features.
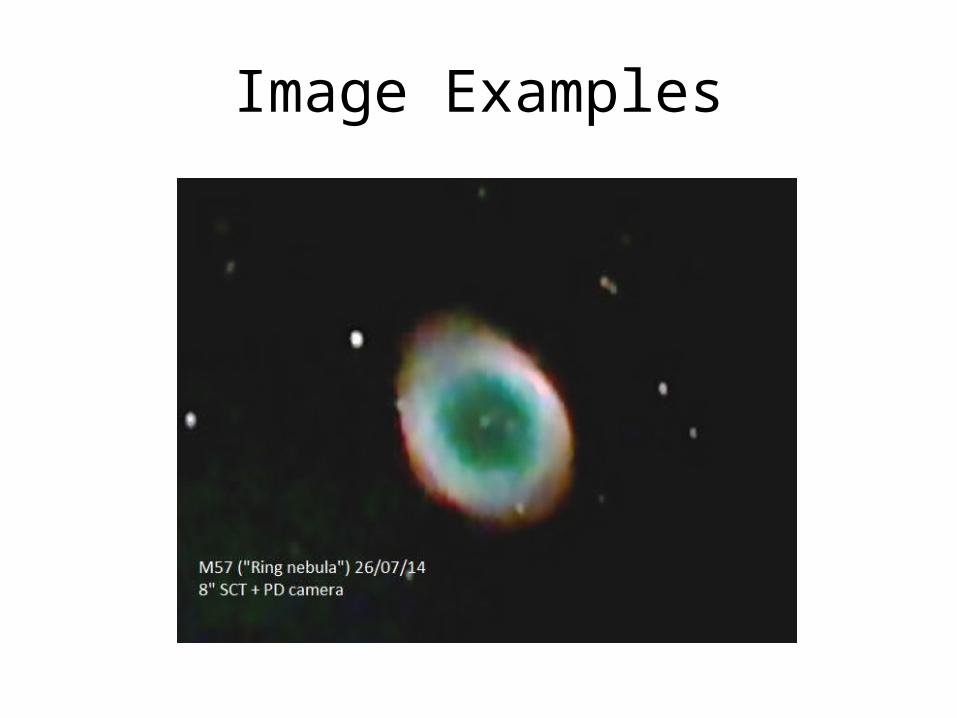
Image Examples
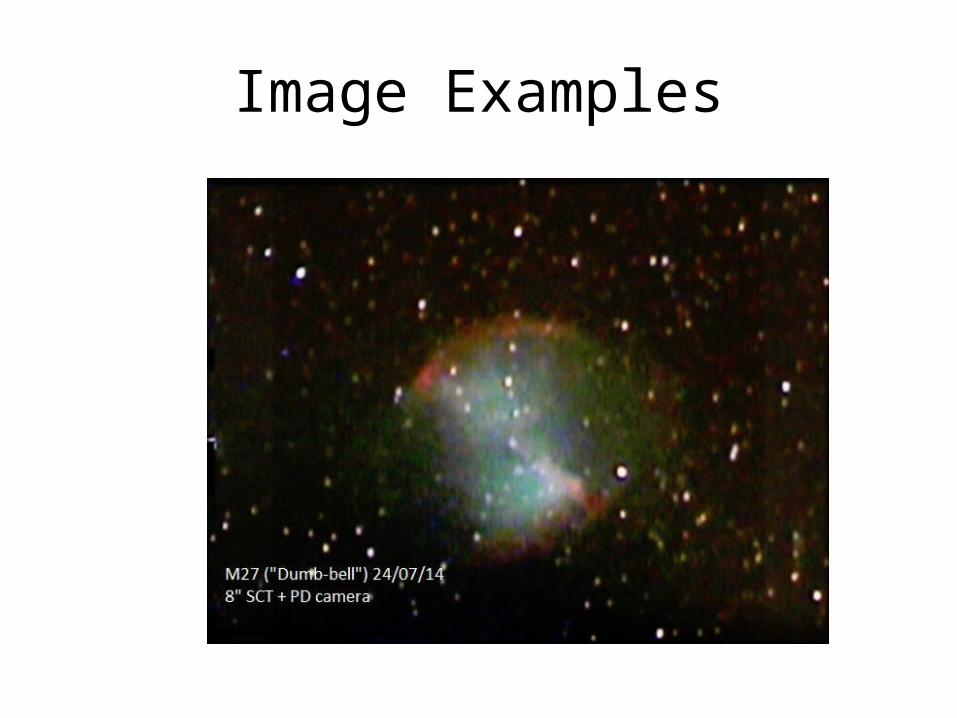
Image Examples
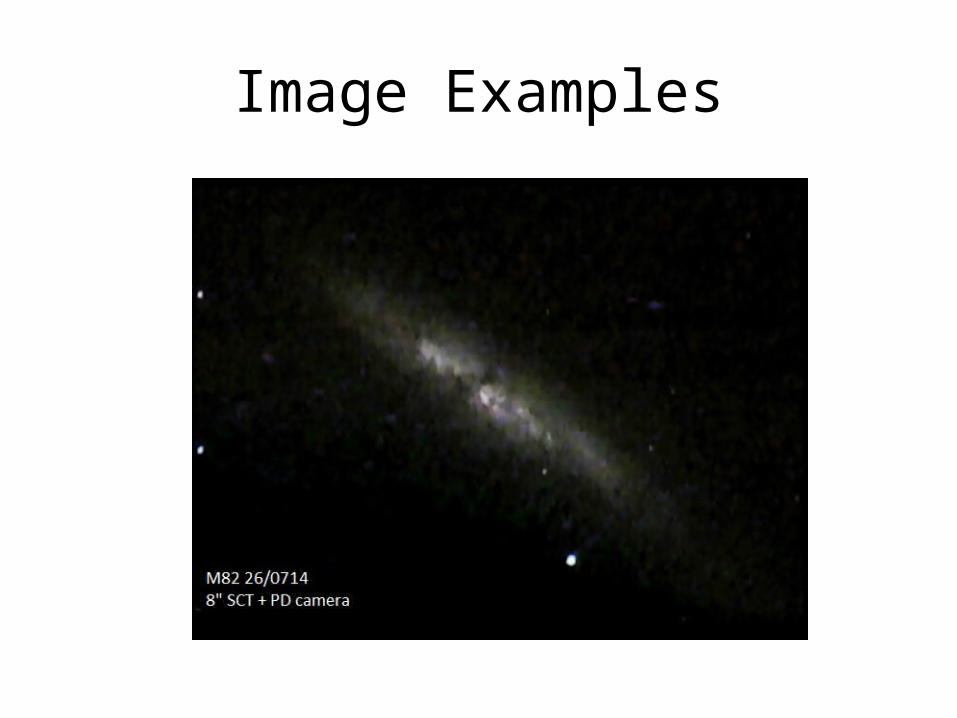
Image Examples
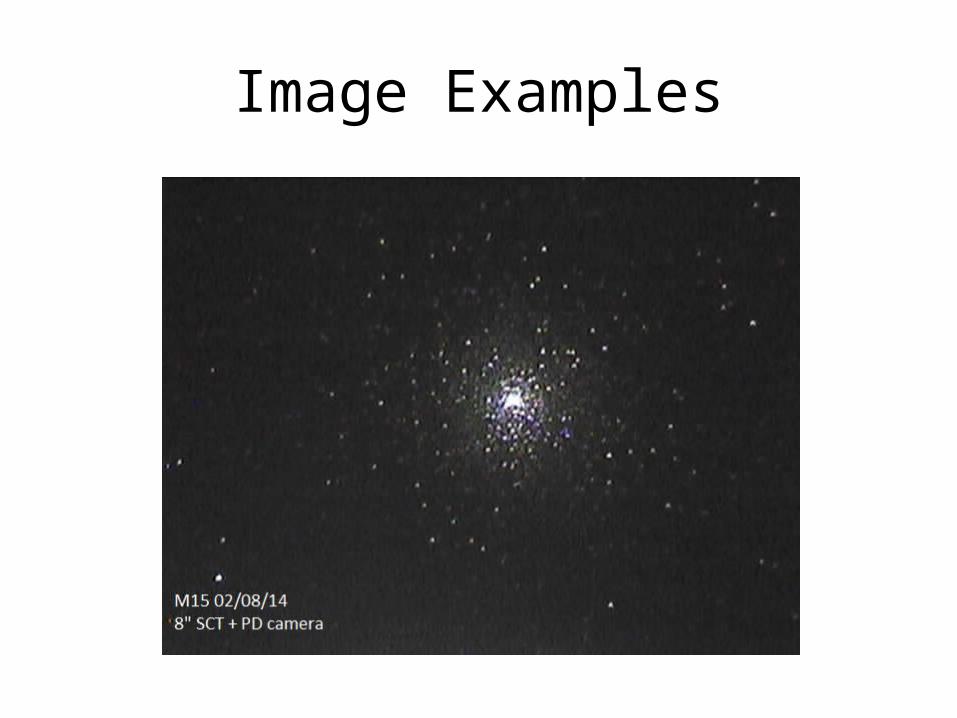
Image Examples
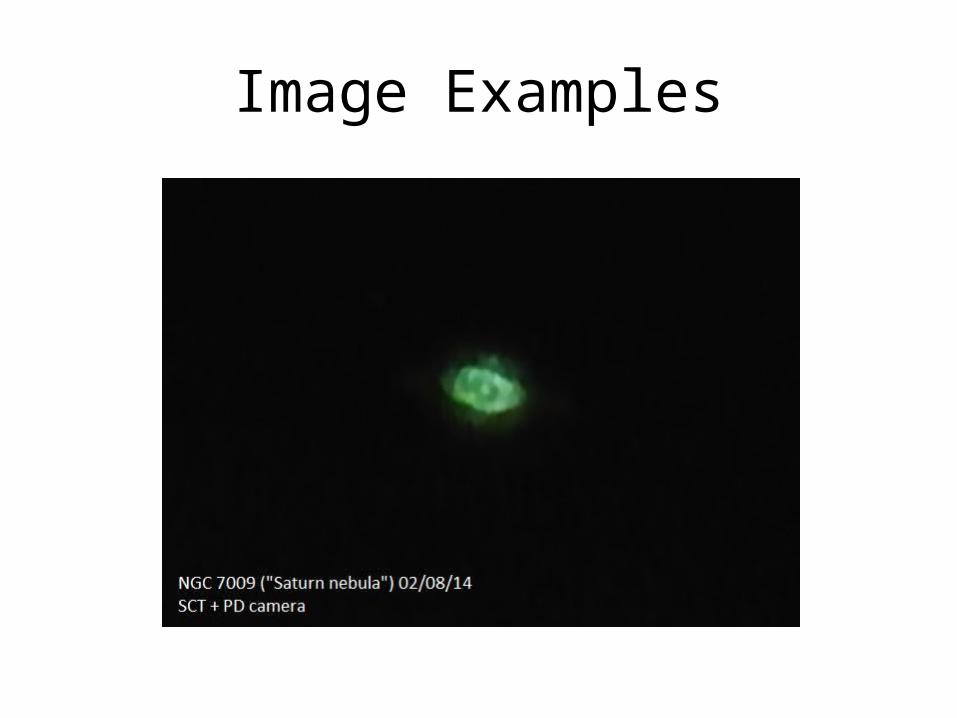
Image Examples
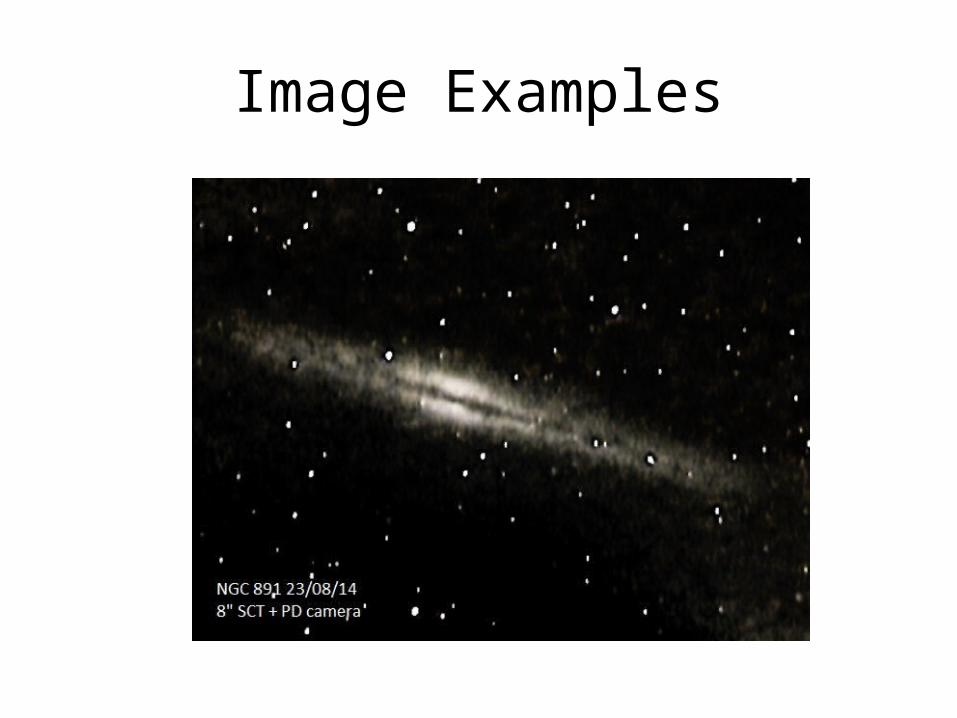
Image Examples
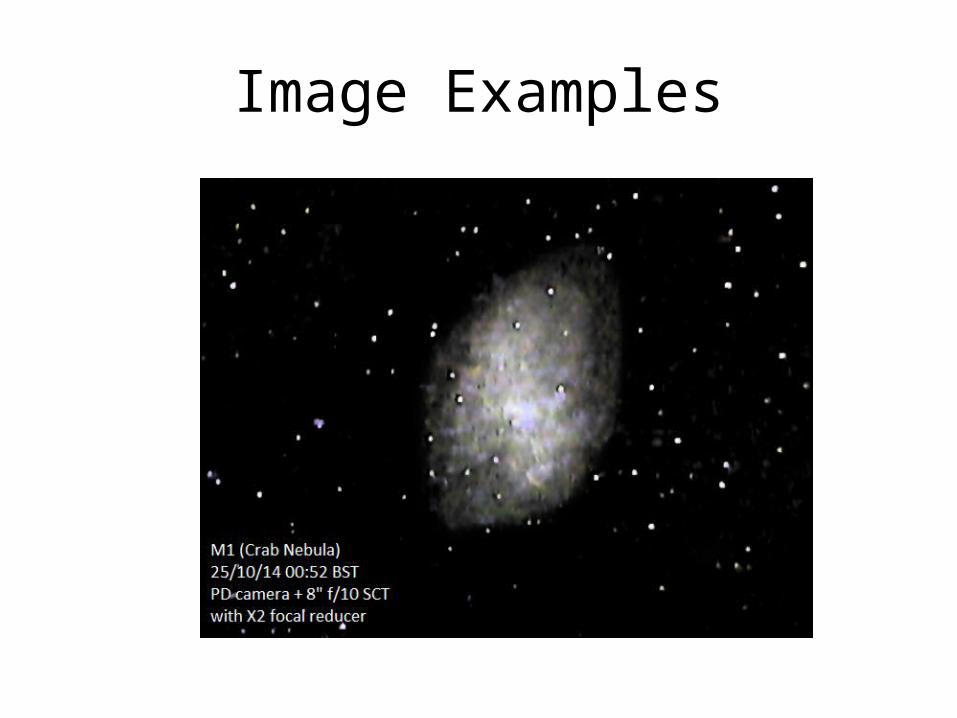
Image Examples
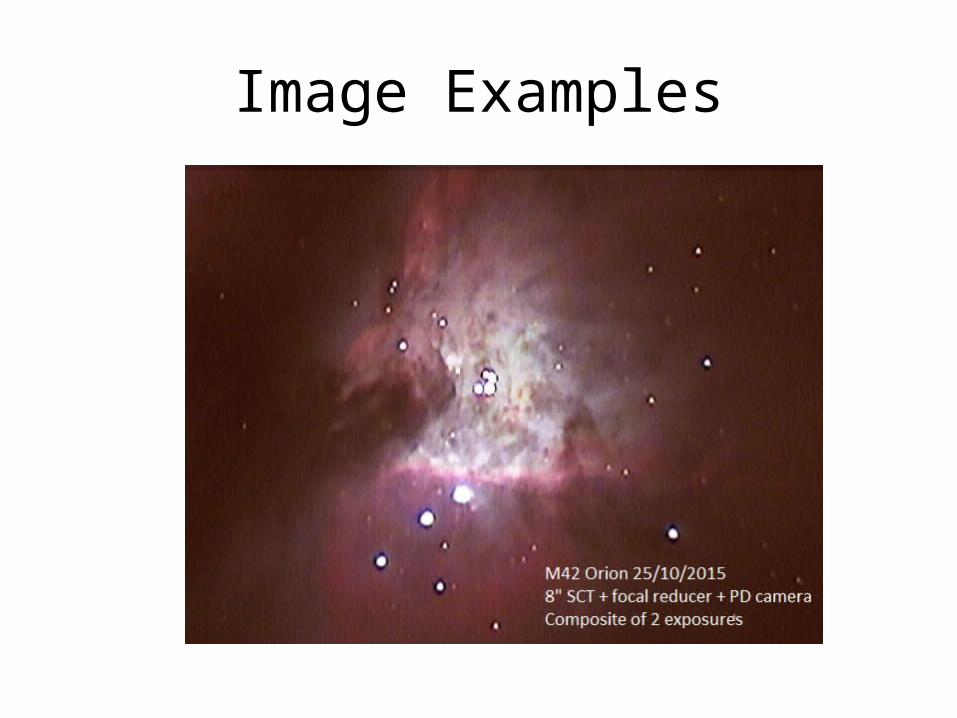
Image Examples
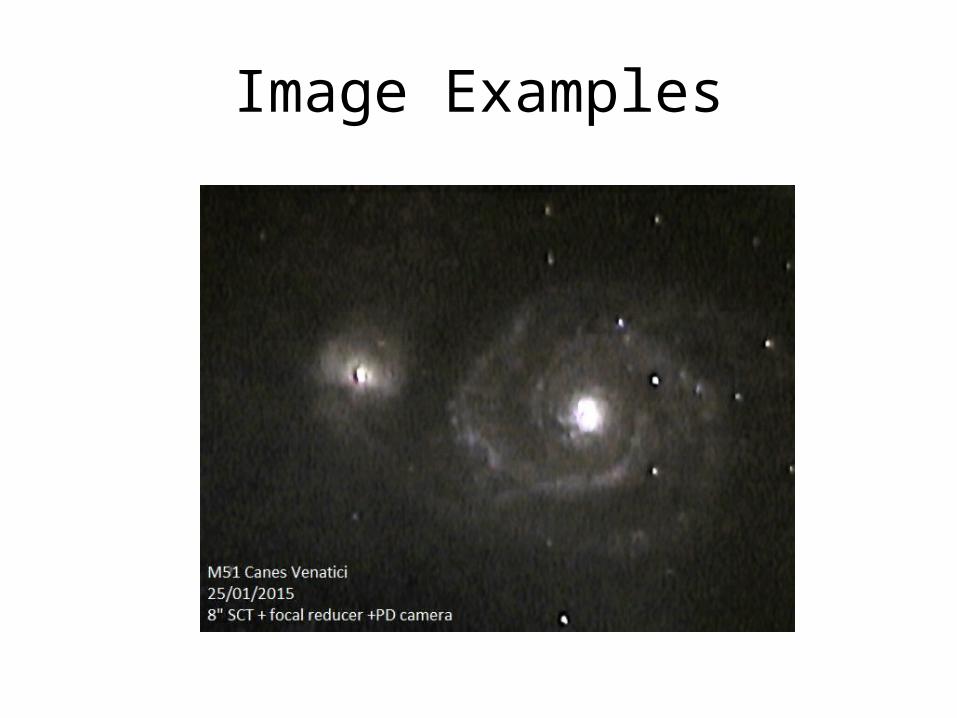
Image Examples
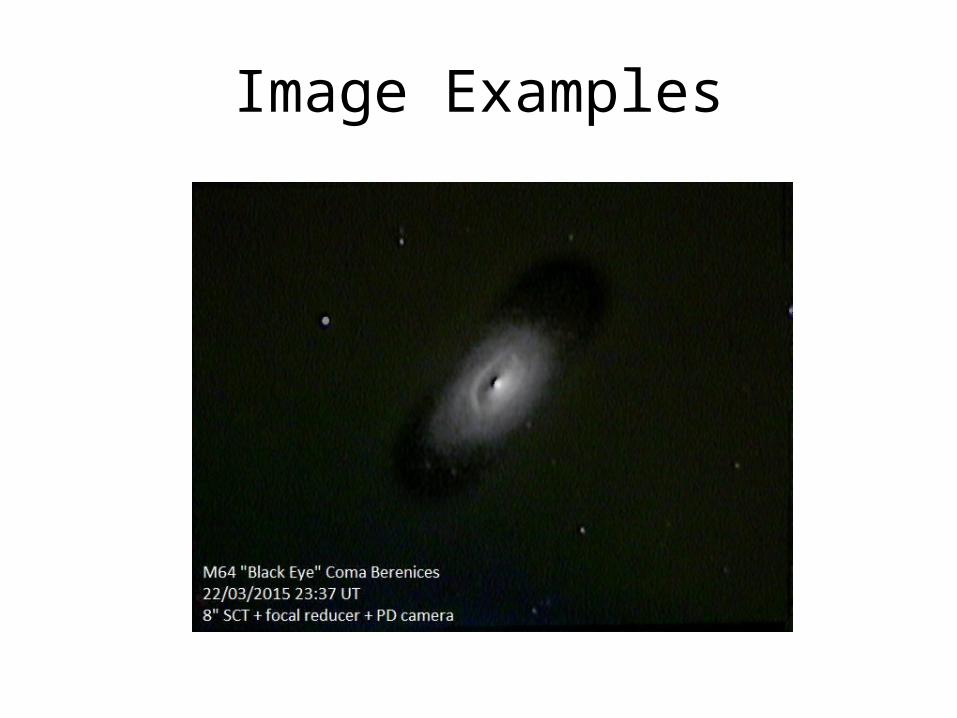
Image Examples
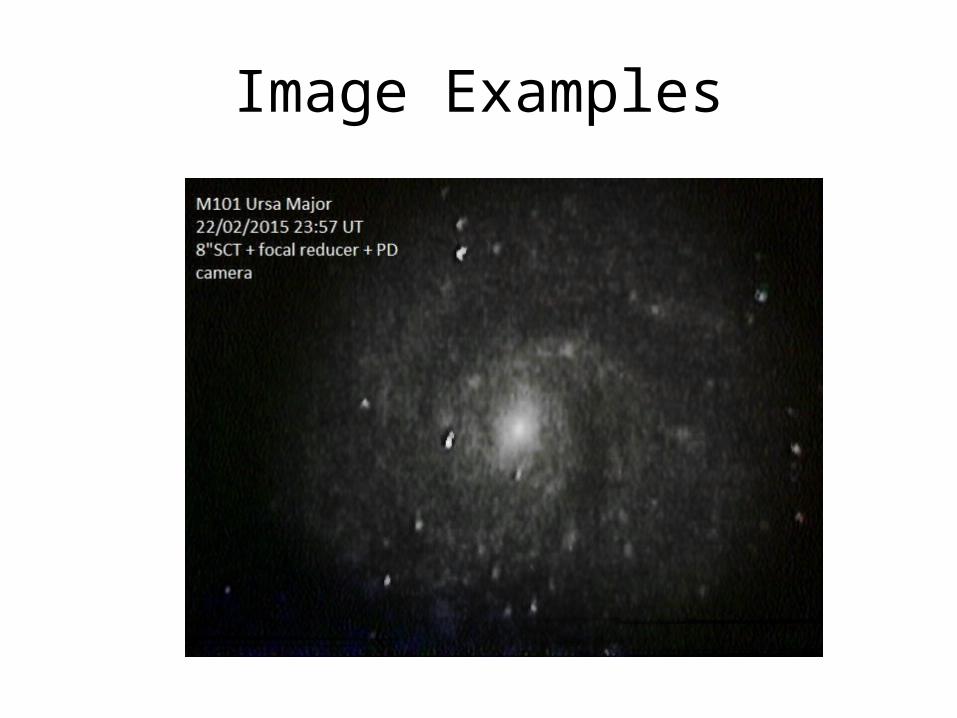
Image Examples
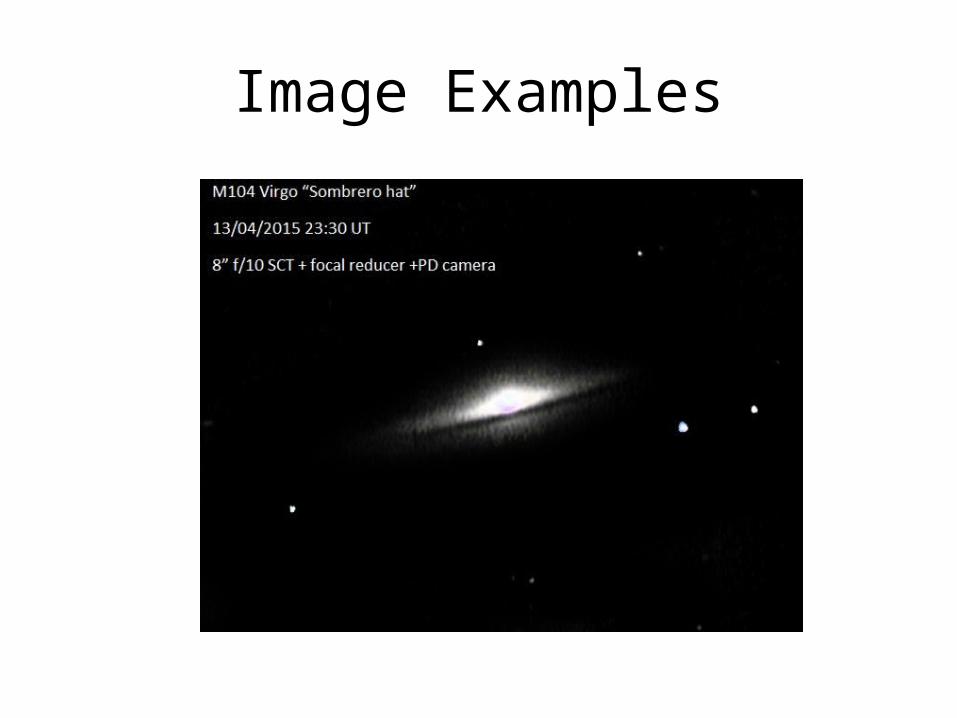
Image Examples
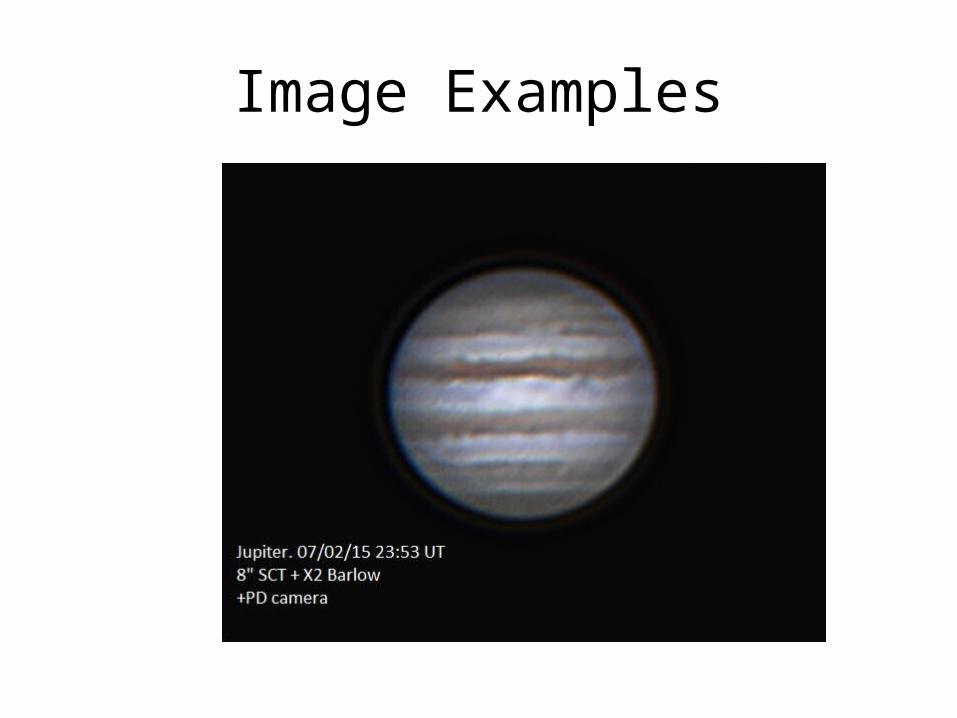
Image Examples
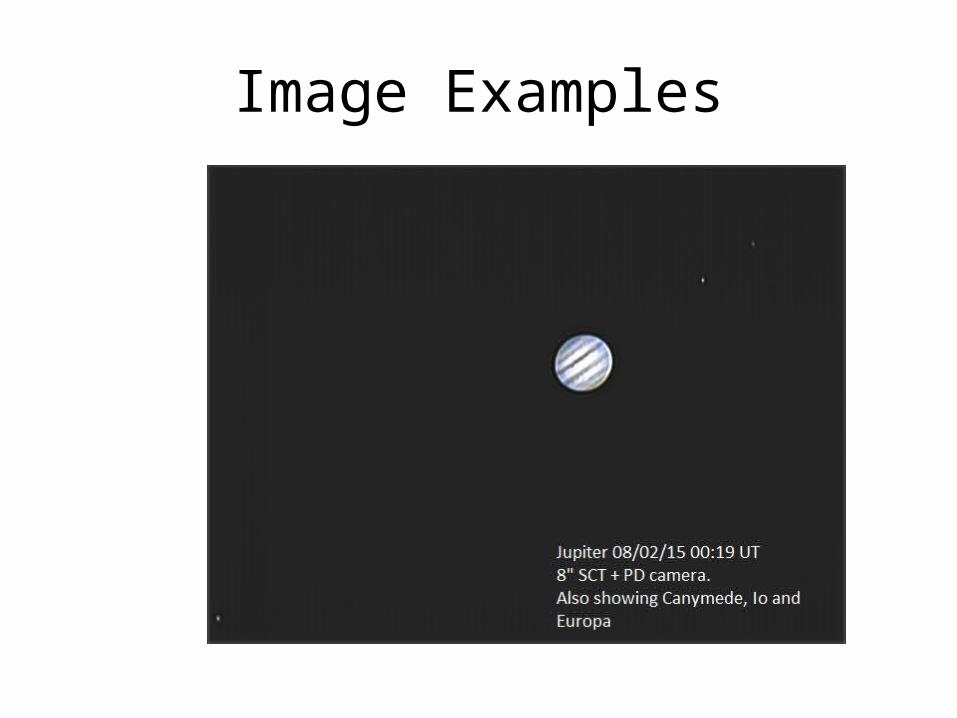
Image Examples
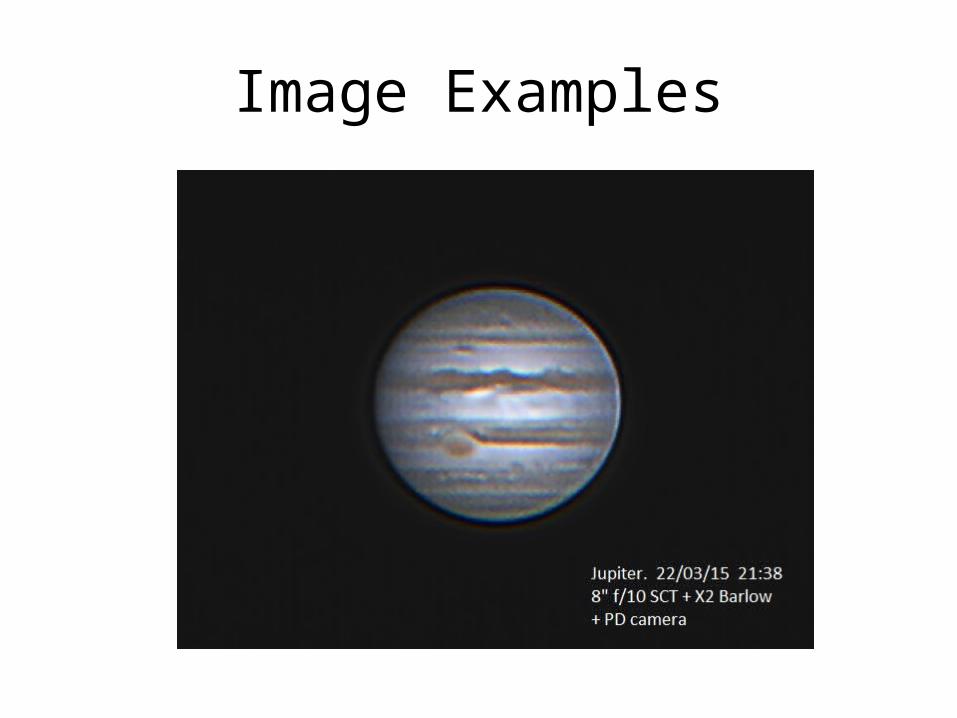
Image Examples
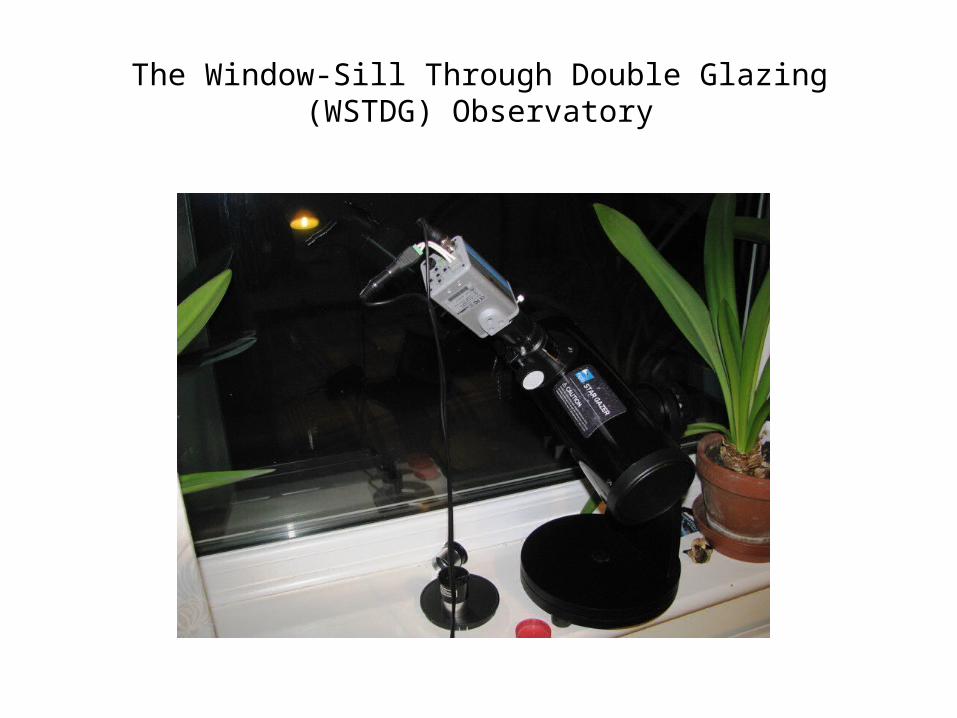
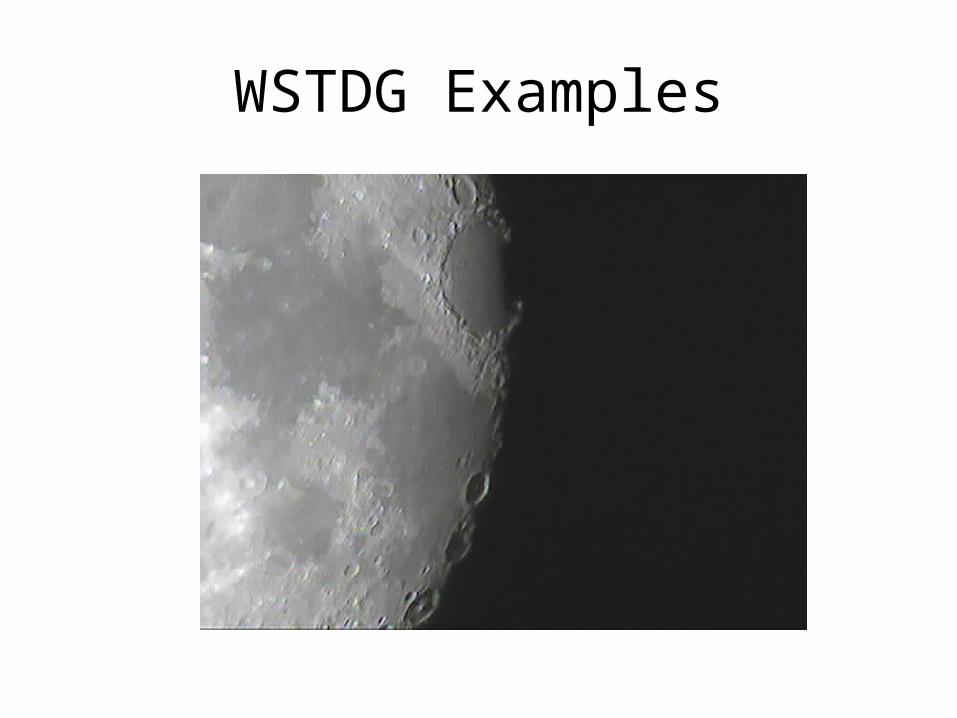
The Window-Sill Through Double Glazing (WSTDG) Observatory
• Once you have realized that you can electronically enhance image contrast, some unconventional approaches open up.
• Our house faces south-ish over a large garden. So, mounting a small telescope on the window-sill of the spare bedroom enables observation in comfort at all times of the night. You have to look through the glass though, as if you looked through an open window, the air currents would ruin the seeing. The first go was with a 76mm reflector.
The Window-Sill Through Double Glazing (WSTDG) Observatory
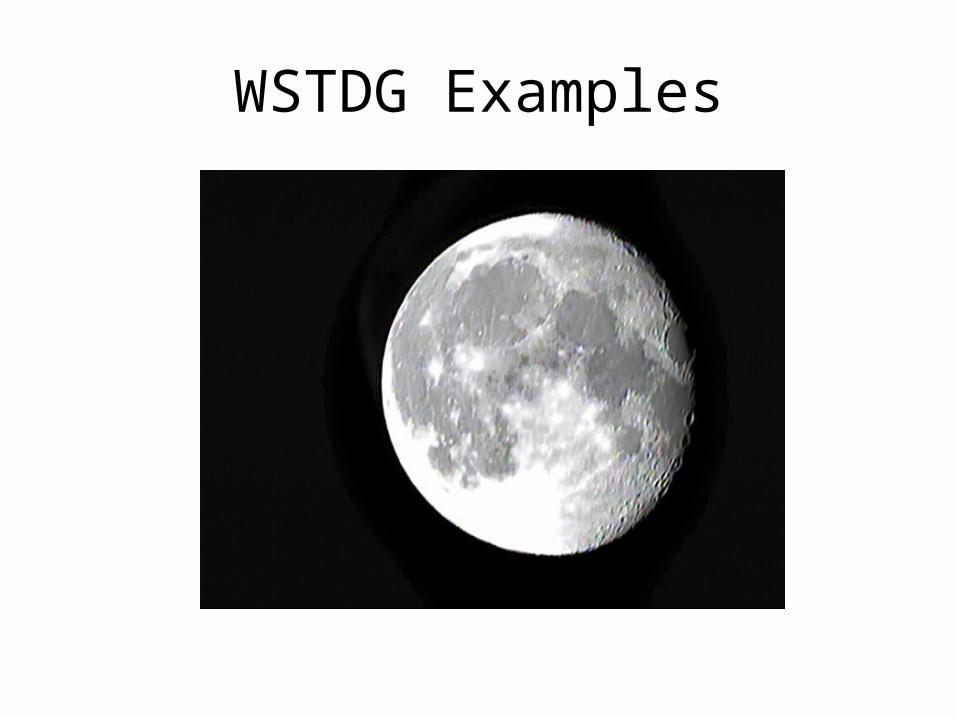
WSTDG Examples
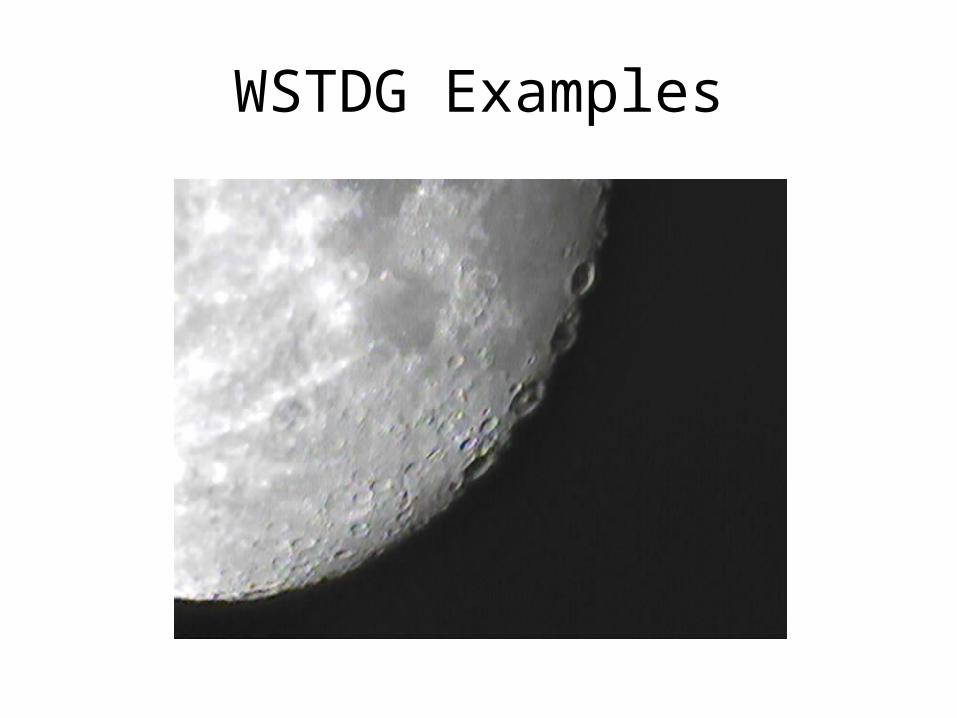
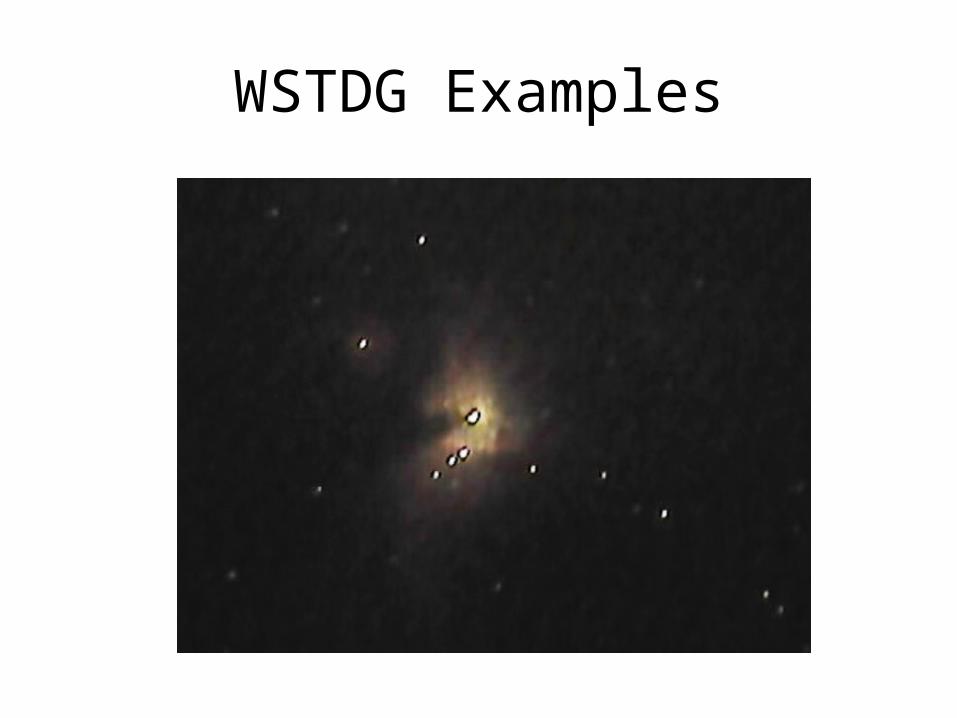
WSTDG Examples
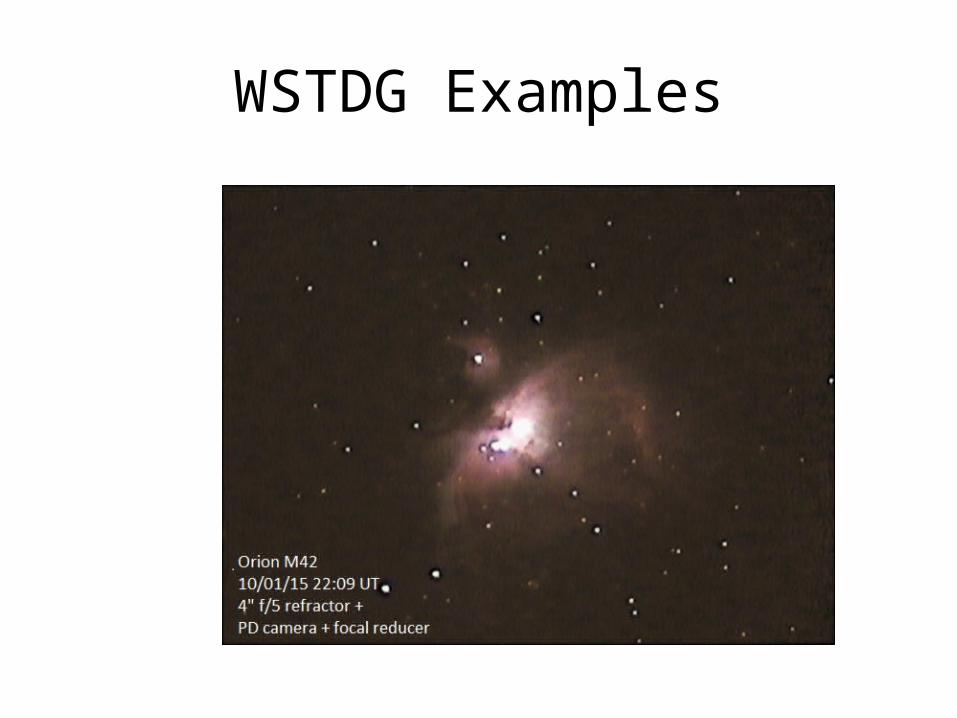
WSTDG Examples
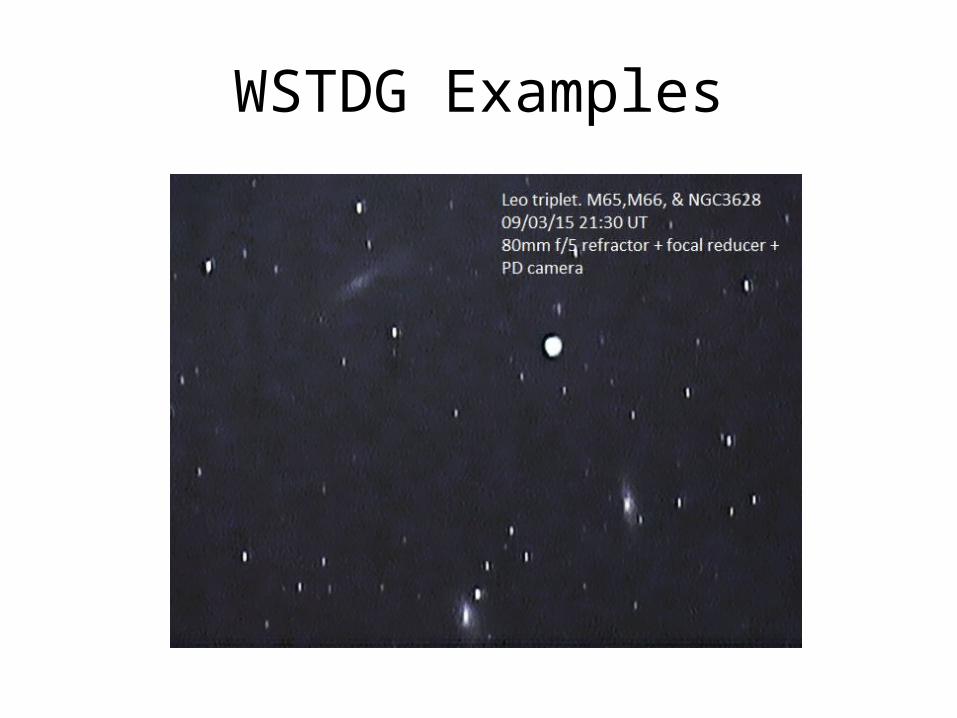
WSTDG Examples
WSTDG Examples
WSTDG Examples
Conclusion
• So, in conclusion, the PD camera is a great low-cost bit of kit enabling all sorts of imaging to be done very easily – and quickly. Not professional quality, but huge fun!


![FREEDOM OF INFORMATION REDACTION SHEET · PDF filefreedom of information redaction sheet [samworth enterprise academy] [samworth enterprise academy funding agreement] exemptions in](https://img.pdfslide.us/doc/110x75/5a7efeb87f8b9a72118ef267/freedom-of-information-redaction-sheet-of-information-redaction-sheet-samworth.jpg)