Embed Size (px)
Citation preview
SNEAKER HOLDER WITH SWEEPING LINES
approx. 3 hoursEasy
LIST OF MATERIALS
3x suitable silicone straps that stretch to approx. 90 cm, available on the Internet, e.g. under search terms “Design Silicon Strap” (screws and dowels are included in the scope of supply)
Pencil
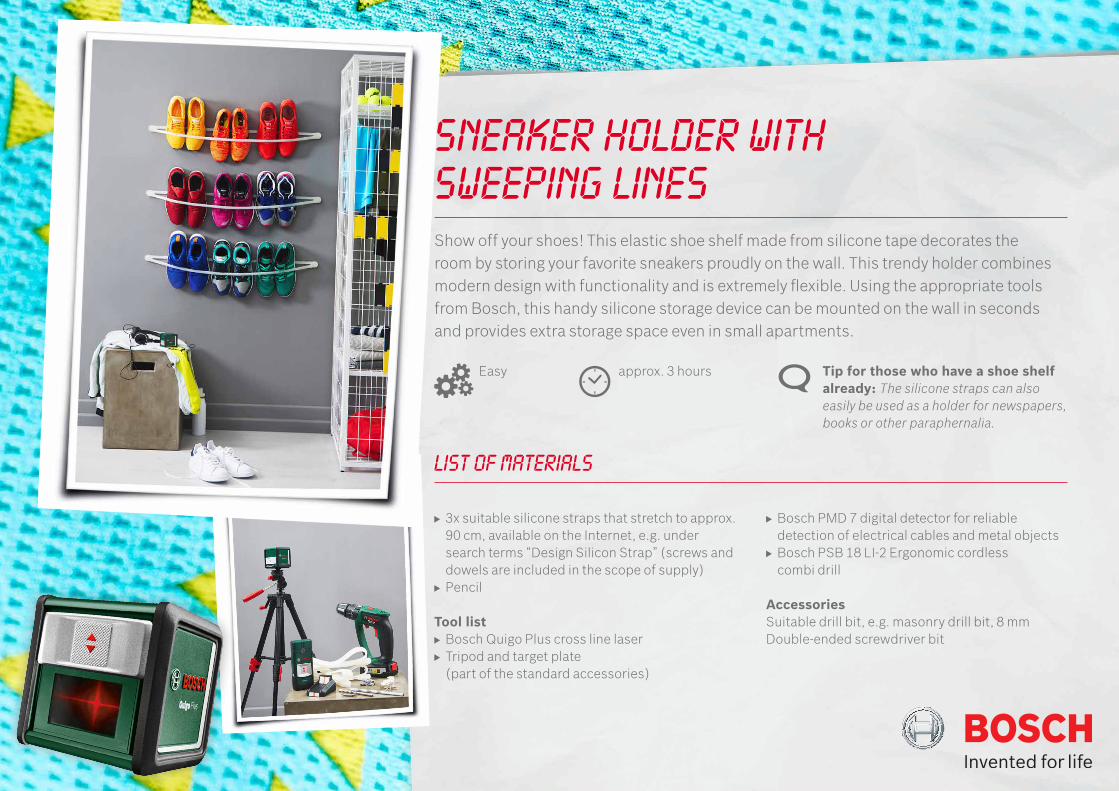
Tool list Bosch Quigo Plus cross line laser Tripod and target plate (part of the standard accessories)
Bosch PMD 7 digital detector for reliable detection of electrical cables and metal objects
Bosch PSB 18 LI-2 Ergonomic cordless combi drill
AccessoriesSuitable drill bit, e.g. masonry drill bit, 8 mmDouble-ended screwdriver bit
Show off your shoes! This elastic shoe shelf made from silicone tape decorates the room by storing your favorite sneakers proudly on the wall. This trendy holder combines modern design with functionality and is extremely flexible. Using the appropriate tools from Bosch, this handy silicone storage device can be mounted on the wall in seconds and provides extra storage space even in small apartments.
Tip for those who have a shoe shelf already: The silicone straps can also easily be used as a holder for newspapers, books or other paraphernalia.
STEP 1
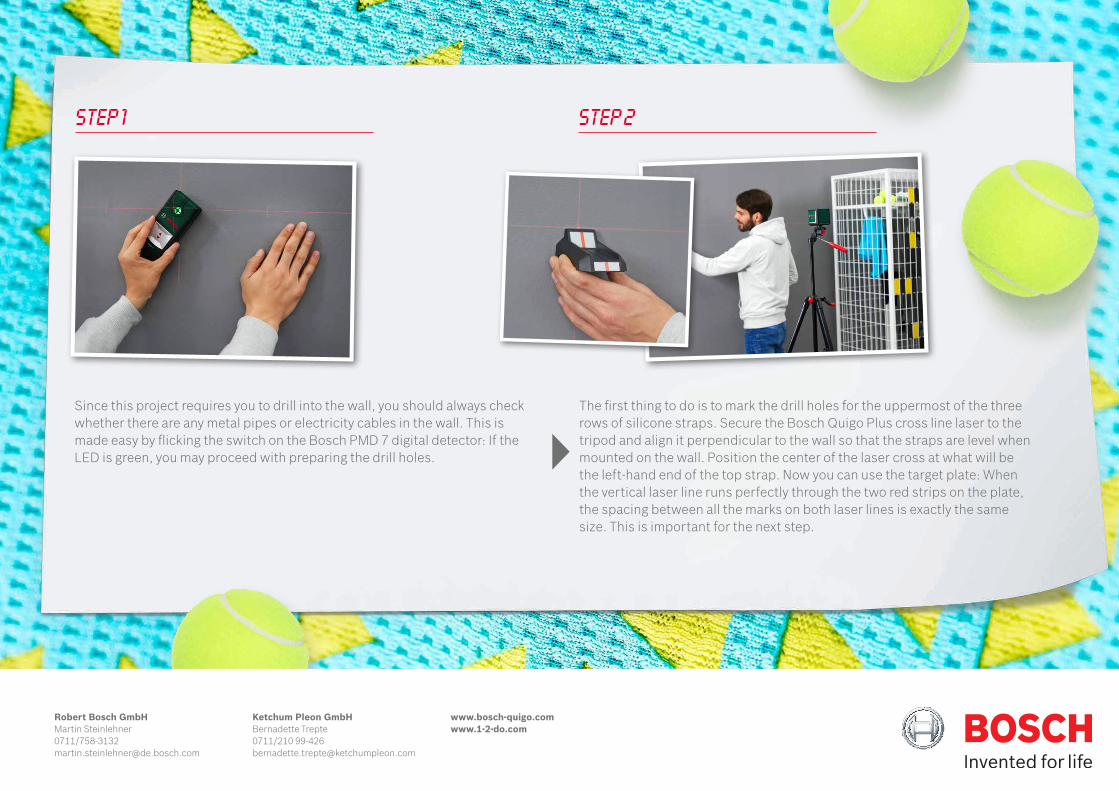
Since this project requires you to drill into the wall, you should always check whether there are any metal pipes or electricity cables in the wall. This is made easy by flicking the switch on the Bosch PMD 7 digital detector: If the LED is green, you may proceed with preparing the drill holes.
The first thing to do is to mark the drill holes for the uppermost of the three rows of silicone straps. Secure the Bosch Quigo Plus cross line laser to the tripod and align it perpendicular to the wall so that the straps are level when mounted on the wall. Position the center of the laser cross at what will be the left-hand end of the top strap. Now you can use the target plate: When the vertical laser line runs perfectly through the two red strips on the plate, the spacing between all the marks on both laser lines is exactly the same size. This is important for the next step.
STEP 2
Robert Bosch GmbH Martin Steinlehner 0711/758-3132 [email protected]
Ketchum Pleon GmbH Bernadette Trepte0711/210 99-426 [email protected]
www.bosch-quigo.comwww.1-2-do.com
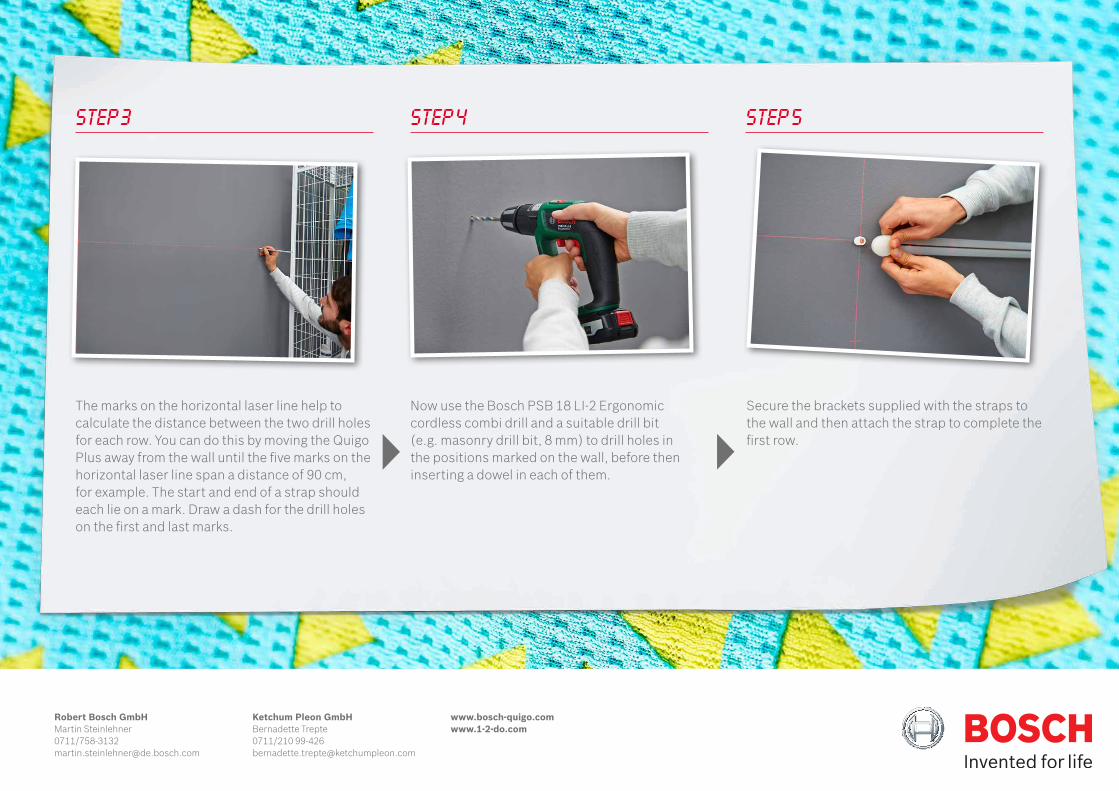
Now use the Bosch PSB 18 LI-2 Ergonomic cordless combi drill and a suitable drill bit (e.g. masonry drill bit, 8 mm) to drill holes in the positions marked on the wall, before then inserting a dowel in each of them.
Secure the brackets supplied with the straps to the wall and then attach the strap to complete the first row.
STEP 4 STEP 5STEP 3
The marks on the horizontal laser line help to calculate the distance between the two drill holes for each row. You can do this by moving the Quigo Plus away from the wall until the five marks on the horizontal laser line span a distance of 90 cm, for example. The start and end of a strap should each lie on a mark. Draw a dash for the drill holes on the first and last marks.
Robert Bosch GmbH Martin Steinlehner 0711/758-3132 [email protected]
Ketchum Pleon GmbH Bernadette Trepte0711/210 99-426 [email protected]
www.bosch-quigo.comwww.1-2-do.com
STEP 7
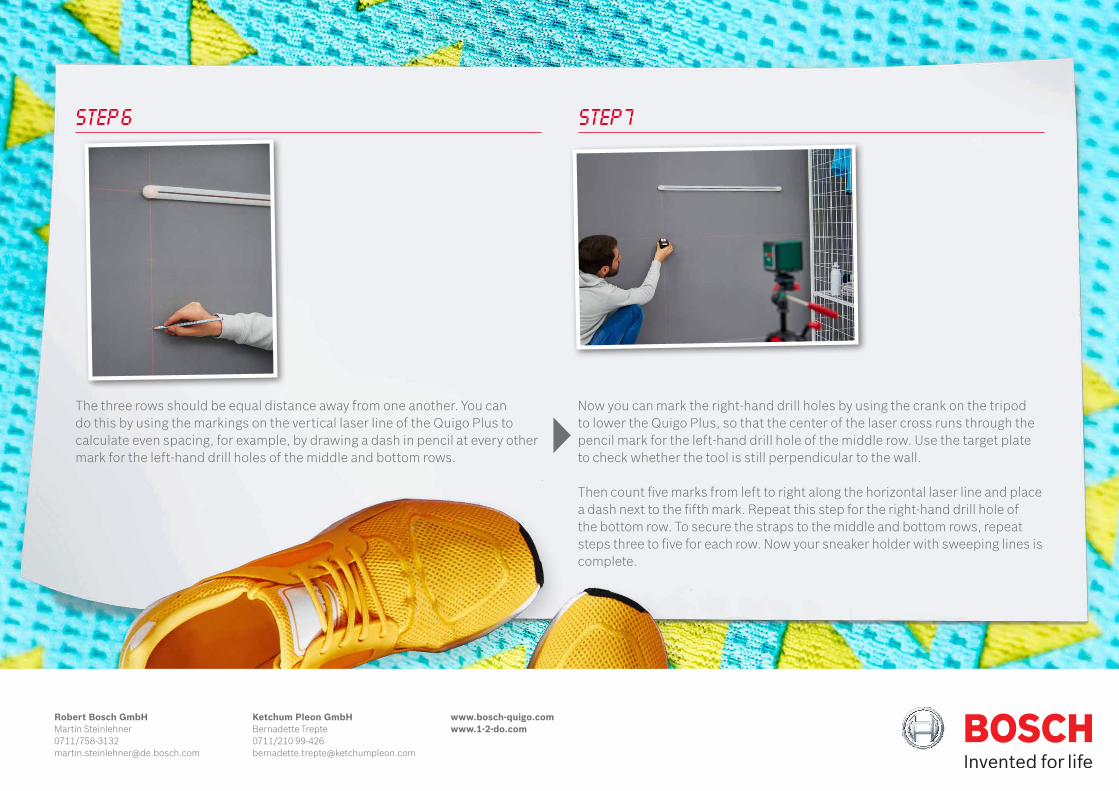
Now you can mark the right-hand drill holes by using the crank on the tripod to lower the Quigo Plus, so that the center of the laser cross runs through the pencil mark for the left-hand drill hole of the middle row. Use the target plate to check whether the tool is still perpendicular to the wall.
Then count five marks from left to right along the horizontal laser line and place a dash next to the fifth mark. Repeat this step for the right-hand drill hole of the bottom row. To secure the straps to the middle and bottom rows, repeat steps three to five for each row. Now your sneaker holder with sweeping lines is complete.
The three rows should be equal distance away from one another. You can do this by using the markings on the vertical laser line of the Quigo Plus to calculate even spacing, for example, by drawing a dash in pencil at every other mark for the left-hand drill holes of the middle and bottom rows.
STEP 6
Robert Bosch GmbH Martin Steinlehner 0711/758-3132 [email protected]
Ketchum Pleon GmbH Bernadette Trepte0711/210 99-426 [email protected]
www.bosch-quigo.comwww.1-2-do.com