Embed Size (px)
Citation preview
Sîmon á Fjárfelli
of the Dominion of Myrkfaelinn
Kingdom of Aethelmearc
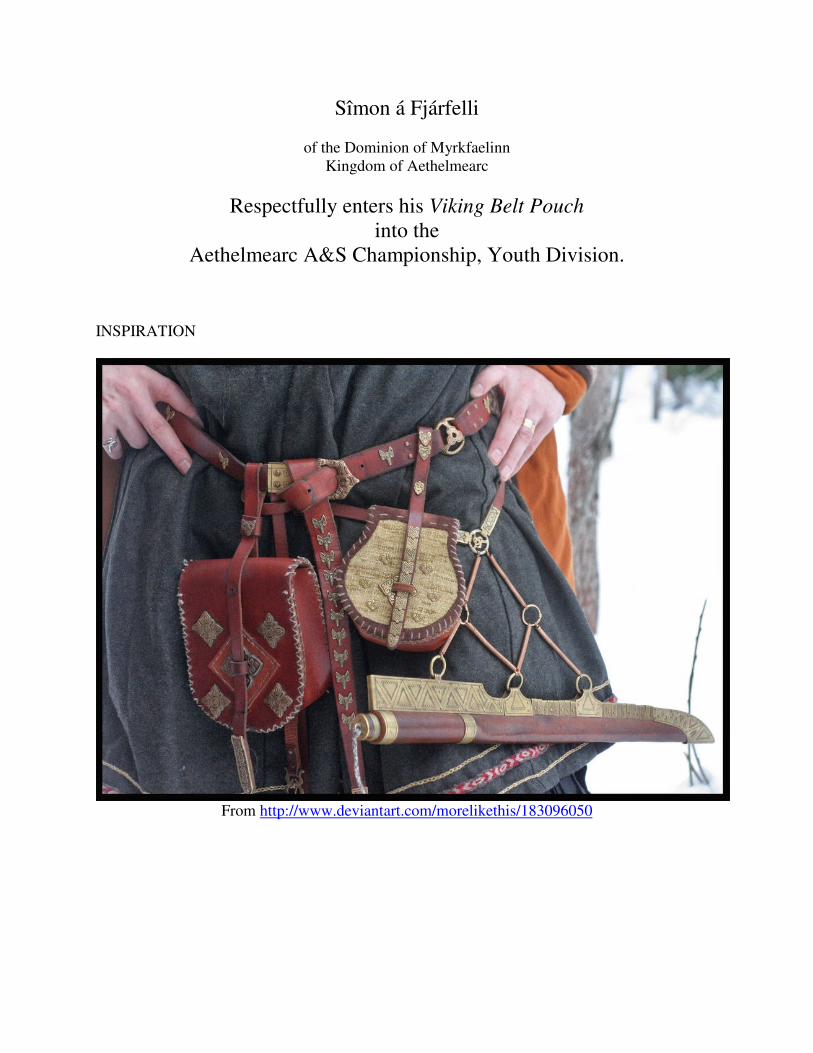
Respectfully enters his Viking Belt Pouch
into the
Aethelmearc A&S Championship, Youth Division.
INSPIRATION
From http://www.deviantart.com/morelikethis/183096050
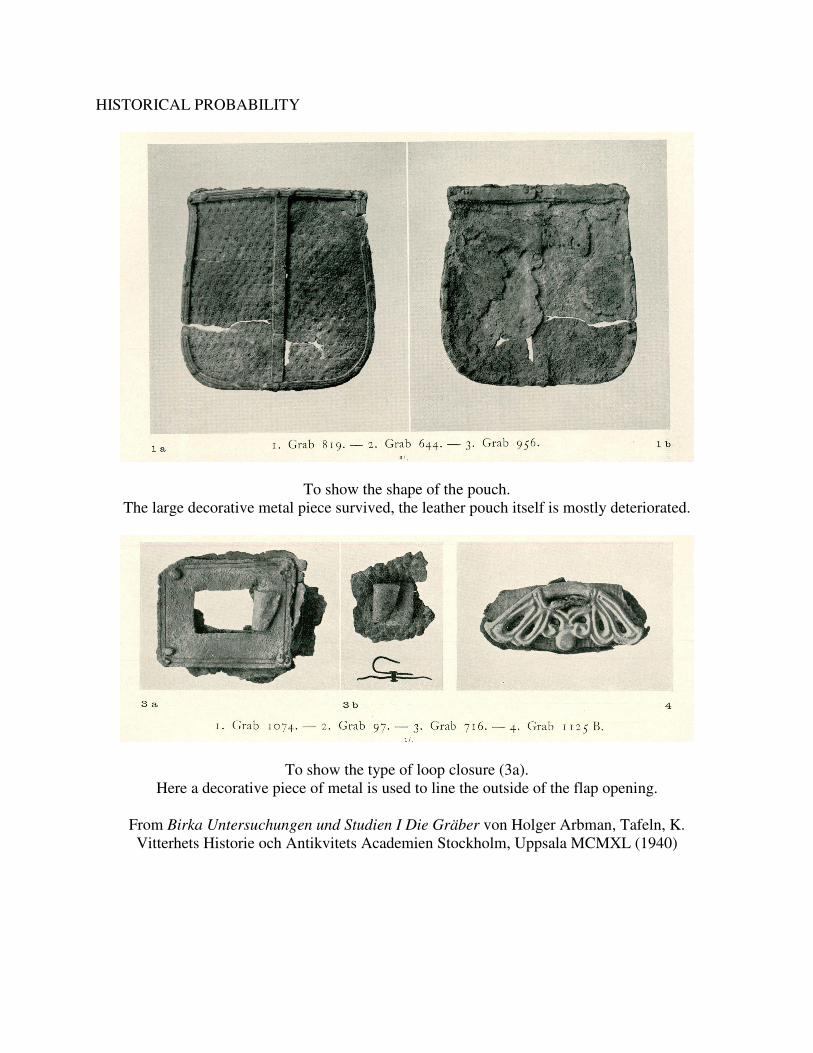
HISTORICAL PROBABILITY
To show the shape of the pouch.
The large decorative metal piece survived, the leather pouch itself is mostly deteriorated.
To show the type of loop closure (3a).
Here a decorative piece of metal is used to line the outside of the flap opening.
From Birka Untersuchungen und Studien I Die Gräber von Holger Arbman, Tafeln, K.
Vitterhets Historie och Antikvitets Academien Stockholm, Uppsala MCMXL (1940)
DIVISION OF LABOR
(or, what did mom do)….
Sîmon
Finagled the pieces of leather from the Cayuga Shoe Company, they told him he could have
some if he had a good reason, and his reason was a “Viking leather pouch!”
Draw out the initial design on paper (as seen at Pennsic).
Cut out the paper design.
Cut out the traced leather pieces.
Did all the punching.
Did all the sewing.
Re-sewed the back flap as it had gone wonky first time around.
Cut strap.
Cut hole through flap.
Punched holes in closing strap and front panel.
Sewed belt closing strap to back and looped.
Sewed loop strap to front panel.
Helped hammer the bronze decorative piece to the closing strap.
Mom
Taped the paper design into 3D model.
Traced the design onto the leather.
Marked holes to be punched.
I started the thread, and tied it off.
When back panel started going off center I did a temporary seam to keep it in place.
Measured & marked belt closing strap.
Punched holes with awl in back panel.
What we learned:
Going in a curve makes for a shorter inner and larger outer circle, so even though the holes were
punched evenly the back flap started going crooked. Next time use holes in gore to mark holes
on panel. Also sew back flap panel first, then short front panel, as that one is easier to make fit.
For this project I did not have to motivate as much, he is really motivated to finish his pouch in
time for Halloween!
It took about two weeks of a little here and a little there to get it done. At one point he was
punching holes in the car during a trip as he wanted to start putting it together…
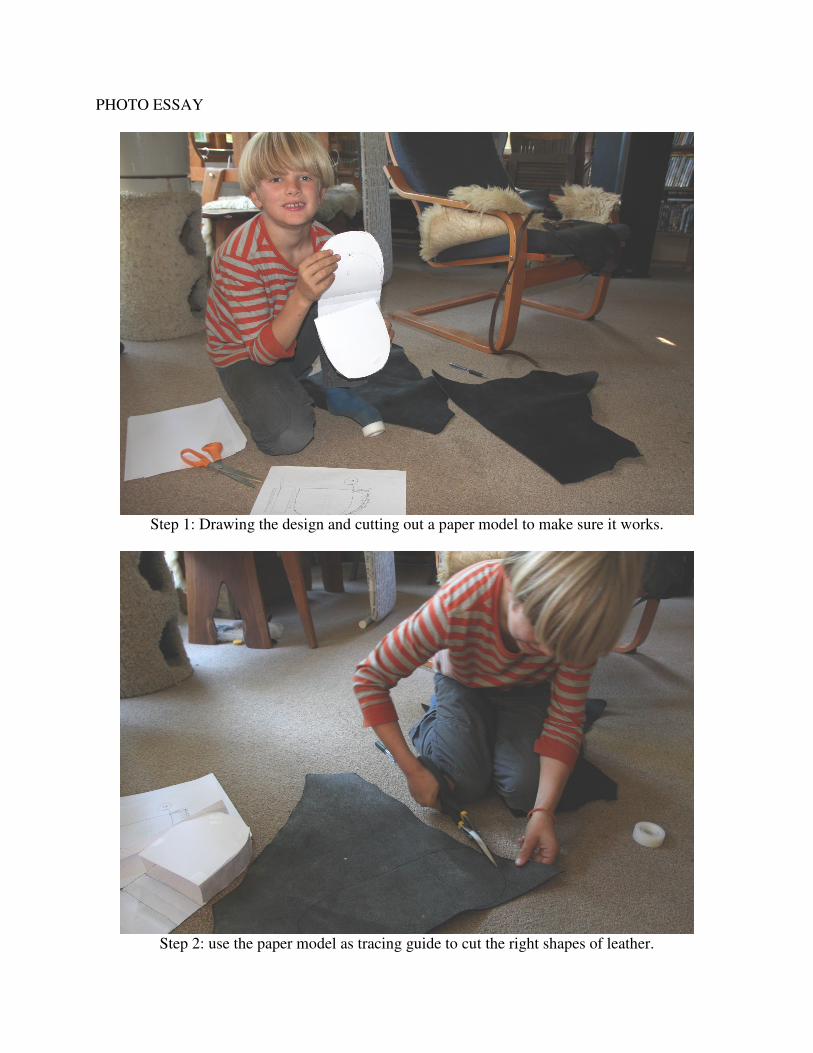
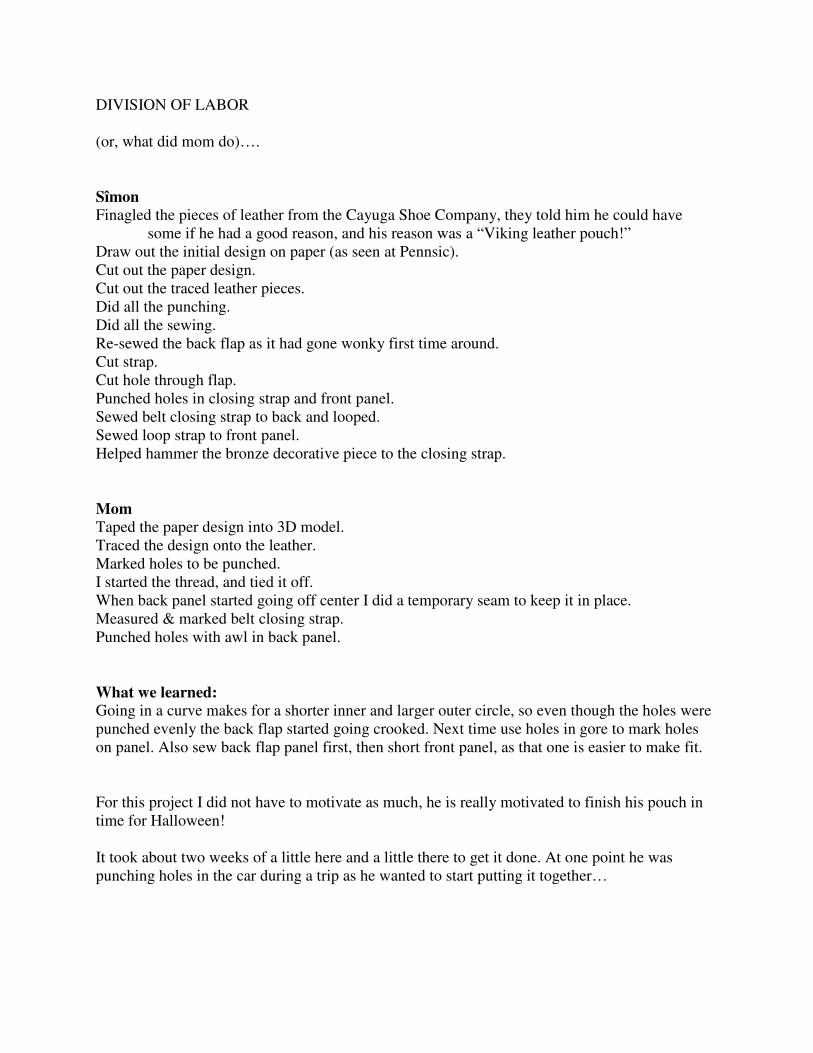
PHOTO ESSAY
Step 1: Drawing the design and cutting out a paper model to make sure it works.
Step 2: use the paper model as tracing guide to cut the right shapes of leather.
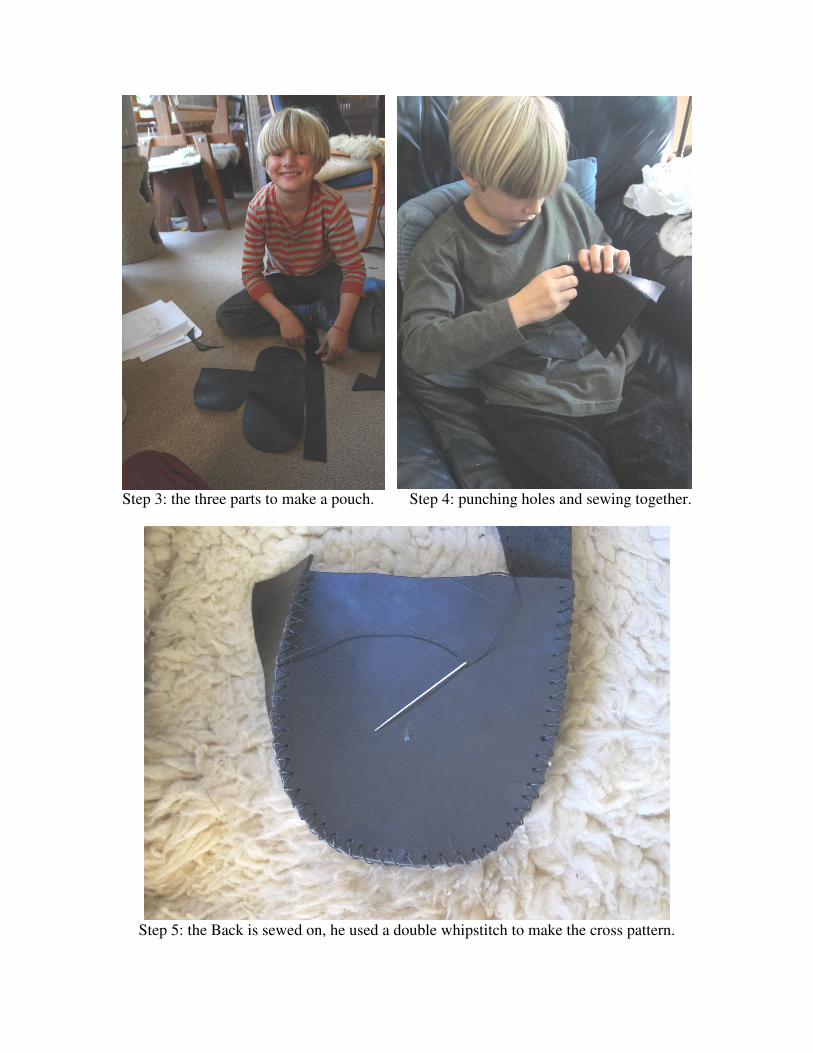
Step 3: the three parts to make a pouch. Step 4: punching holes and sewing together.
Step 5: the Back is sewed on, he used a double whipstitch to make the cross pattern.
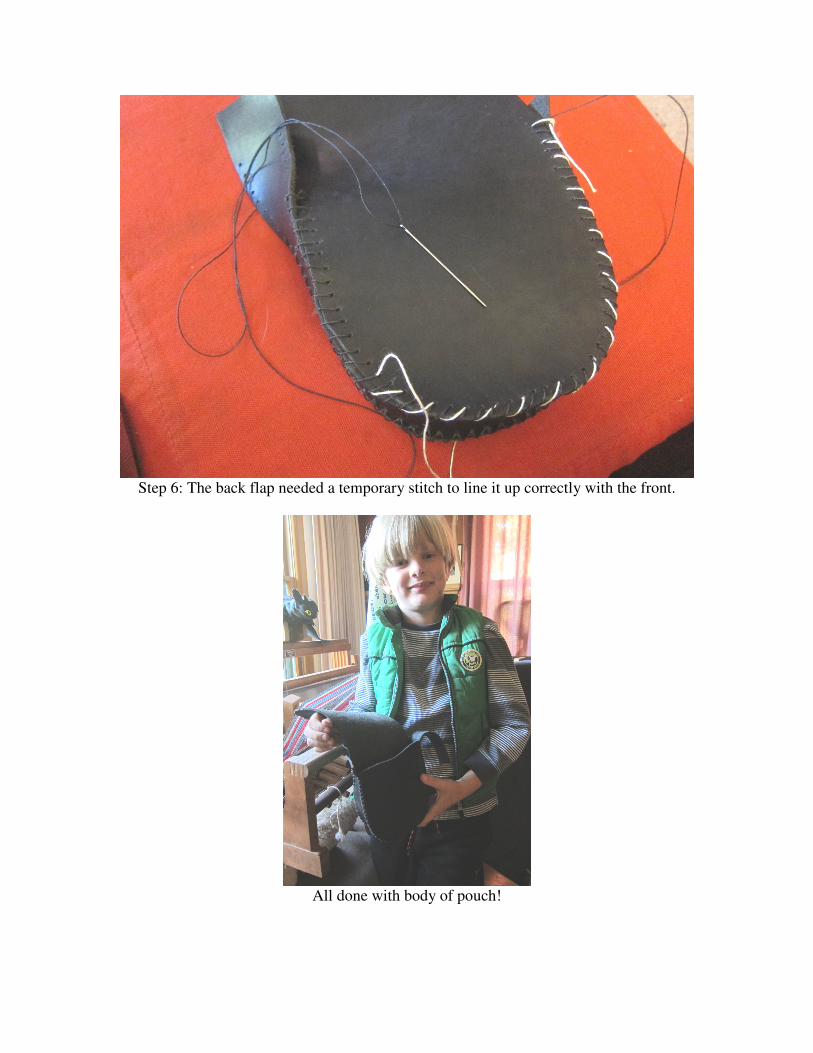
Step 6: The back flap needed a temporary stitch to line it up correctly with the front.
All done with body of pouch!