Embed Size (px)
Citation preview

Copyright © 2011 Esri China (Hong Kong) Limited Tips & Tricks prepared by Esri China (HK) Technical Support All rights reserved. P. 1 of 9
Sharing Maps and Data in ArcGIS 10
Article ID : TT100037
Software : ArcGIS Desktop 10
Platform : Windows XP, Windows Vista, Windows 7
Date : 1st June, 2011
Introduction
Easy organizing and sharing of data as a compressed file such as layer package (*.lpk) is introduced since ArcGIS
9.3.1. This was discussed in Article TT100016. With the launch of ArcGIS 10, the concept of package is expanded
with a high level of control. Map package and Package toolset in ArcToolbox are introduced, and packaged data
can be uploaded to ArcGIS Online for sharing.
Map package extends the packing concept from layer to map document. It is a single compressed file called .mpk;
which contains a map document and all data sources being referenced. During the unpack process, the file
structure involved is re-produced.
1 Creating Map package and Layer package in ArcGIS 10
1.1 Open a map document (*.mxd) with layers.

Copyright © 2011 Esri China (Hong Kong) Limited Tips & Tricks prepared by Esri China (HK) Technical Support All rights reserved. P. 2 of 9
1.2 [For layer package ONLY]
1.2.1 Right click layer � choose Create layer Package and a window pops.
1.2.2 Choose Save package to file and set destination. Check Package schema only if not to include
data. In this example, only the schema for coastline2010 layer is chosen.
Copyright © 2011 Esri China (Hong Kong) Limited Tips & Tricks prepared by Esri China (HK) Technical Support All rights reserved. P. 3 of 9
1.2.3 Upon completion, a message box reports the destination. Click OK to close the message..
1.3 [For map package ONLY]
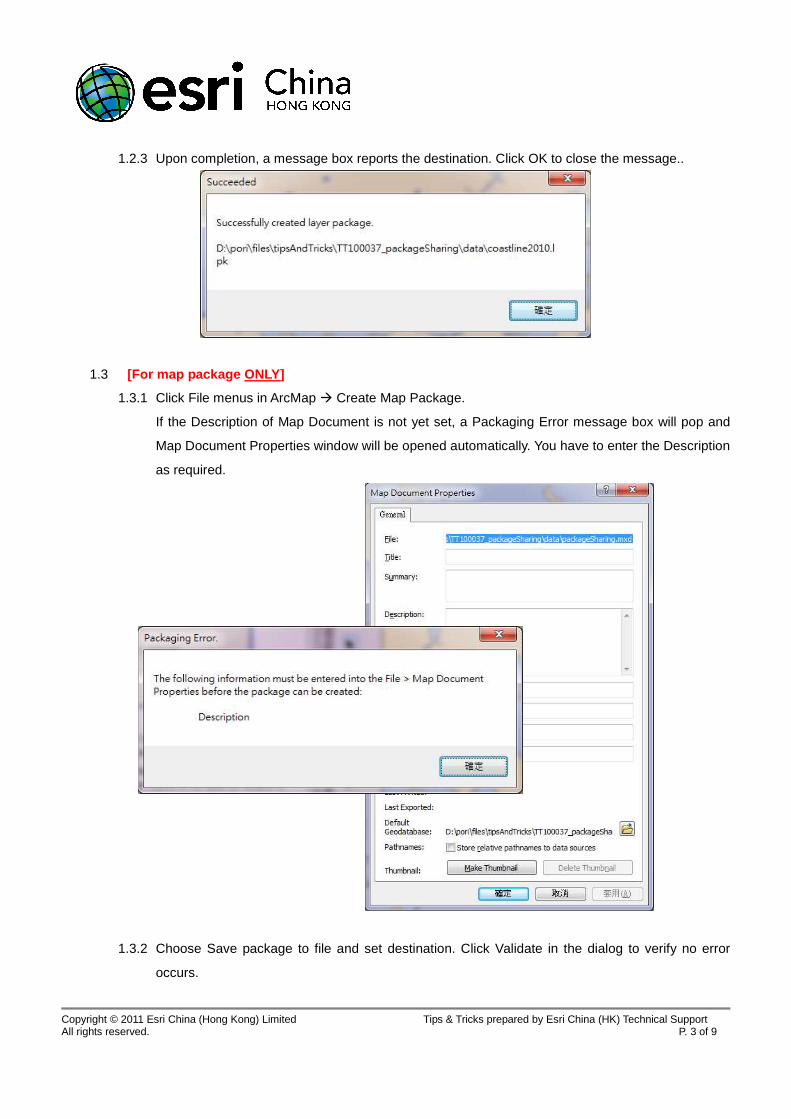
1.3.1 Click File menus in ArcMap � Create Map Package.
If the Description of Map Document is not yet set, a Packaging Error message box will pop and
Map Document Properties window will be opened automatically. You have to enter the Description
as required.
1.3.2 Choose Save package to file and set destination. Click Validate in the dialog to verify no error
occurs.

Copyright © 2011 Esri China (Hong Kong) Limited Tips & Tricks prepared by Esri China (HK) Technical Support All rights reserved. P. 4 of 9
1.4 If there are errors during validation, the Prepare window prompts. Check and solve errors and warnings
reported until no error is reported.
(Tips: Right click on individual record to view suggested actions.)
1.5 After you have completed the validation, Click Share button.
1.6 If the map document has not been saved, Save Map Document alert box prompts as warning and
asked for saving. Click Yes to continue.
1.7 Wait until the Packaging dialog to finish. Upon completion, a message box reports the destination. Click
OK to close the message.

Copyright © 2011 Esri China (Hong Kong) Limited Tips & Tricks prepared by Esri China (HK) Technical Support All rights reserved. P. 5 of 9
2 Sharing packages on ArcGIS Online
Layer packages and Map packages can be copied and pasted to email or other machines for sharing. They
can also be uploaded to ArcGIS Online for sharing purpose too.
2.1 Open ArcToolbox window in ArcMap or ArcCatalog by clicking .
2.2 Locate and open Share Package tool.
(Tips: ArcToolbox\Data Management Tools\Package\Share Package)
2.3 Enter package source, ArcGIS Online login and access controls parameters as below:
(Tips: The existing item with the same file name is overwritten automatically.)

Copyright © 2011 Esri China (Hong Kong) Limited Tips & Tricks prepared by Esri China (HK) Technical Support All rights reserved. P. 6 of 9
2.4 Click OK to run the tool.
The geoprocessing progress is displayed in the status bar (bottom right of ArcMap or ArcCatalog) if
Enabled Background Processing option is checked in Geoprocessing Options…. Otherwise, it is shown
in a pop up window.
2.5 The package is then ready for use on ArcGIS Online
(Tips: Packages uploaded can be managed on http://www.arcgis.com/home/.)
3 Extracting the packages
3.1 Navigate to the path that contain your packages (*.lpk or *.mpk) in either Window Browser or
ArcCatalog..
3.2 Double click the package file in Window Browser or right click the file in ArcCatalog � Unpack. ArcMap
starts automatically.
3.3 [For layer package ONLY]
3.3.1 Set destination geodatabase and Spatial Reference by Show Details.
(Tips: By default, the destination geodatabase is the default geodatabase in the map document.)

Copyright © 2011 Esri China (Hong Kong) Limited Tips & Tricks prepared by Esri China (HK) Technical Support All rights reserved. P. 7 of 9
3.3.2 Click OK to continue. The settings in the layer package are then imported to ArcMap and an
editing session is started automatically. In this example, the schema for coastline2010 is added as
below:
3.4 [For map package ONLY]
The map document shared in the map package is opened with all settings being stored.
Copyright © 2011 Esri China (Hong Kong) Limited Tips & Tricks prepared by Esri China (HK) Technical Support All rights reserved. P. 8 of 9
(Tips: Map package is unpacked into Windows user profile by default.)
Windows OS Extracted Path
Vista or 7 C:\Users\<username>\Documents\ArcGIS\Packages
XP C:\Documents and Settings\<username>\My Documents\ArcGIS\Packages
4 Extracting packages on ArcGIS Online in ArcMap
You can either downloading the packages from ArcGIS Online, or unpack them directly in ArcMap.
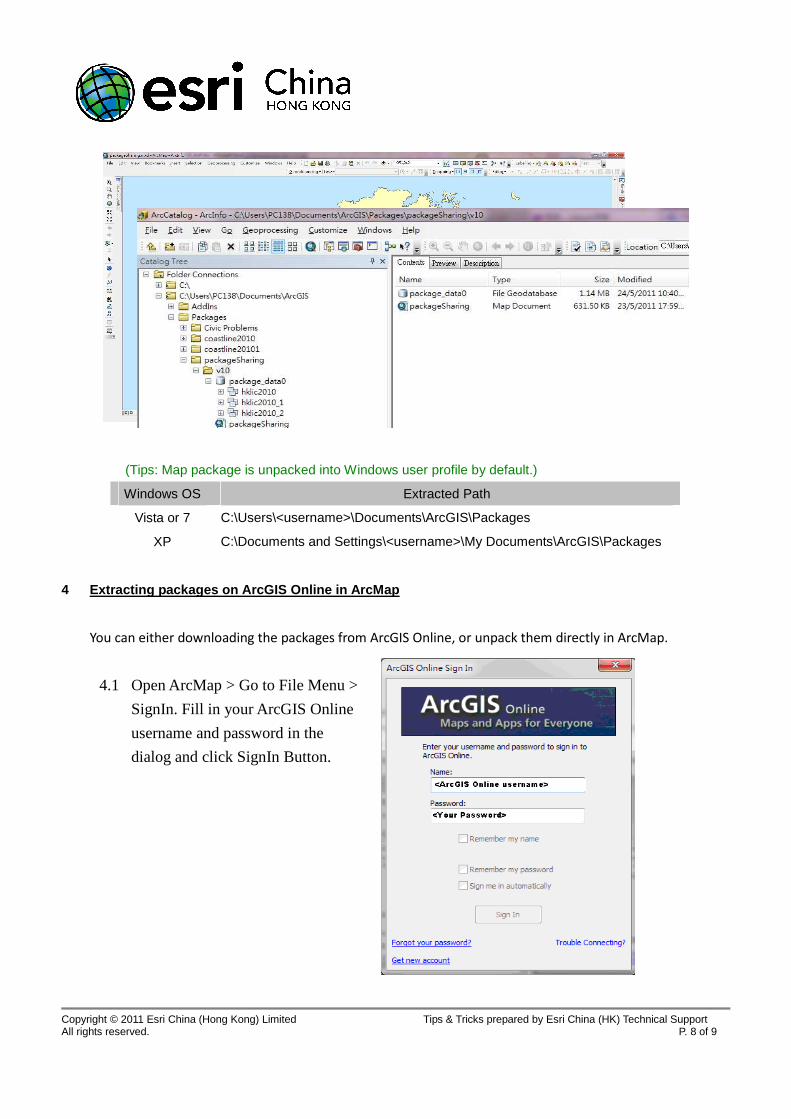
4.1 Open ArcMap > Go to File Menu >
SignIn. Fill in your ArcGIS Online
username and password in the
dialog and click SignIn Button.

Copyright © 2011 Esri China (Hong Kong) Limited Tips & Tricks prepared by Esri China (HK) Technical Support All rights reserved. P. 9 of 9
4.2 After you have sign in to ArcGIS online, you can Click File � ArcGIS Online to browse data from the
pop up dialog as below:
4.3 Click to view data details. Click to open Map Package. Click to add layer
package.
The End