Embed Size (px)
Citation preview

Session IV A, Slide #1
Contraceptive Implants
Session IV A: One-Rod Implant Insertion

Session IV A, Slide #2
One-Rod Implant Insertion: Required Equipment
• An examination table
• Sterile surgical drapes (optional) and gloves
• Antiseptic solution
• Local anesthetic, needles, and syringe
• Implanon applicator
• Skin closure, sterile gauze, and compresses

Session IV A, Slide #3
Implanon Applicator

Session IV A, Slide #4
Implanon Insertion: Step 1
• Have the client lie on her back with the arm that she doesn’t normally use flexed at the elbow and externally rotated.
• Implanon should be inserted sub-dermally just under the skin.

Session IV A, Slide #5
Implanon Insertion: Step 2
• Remove the sterile disposable applicator carrying Implanon from the blister pack.
• While keeping the shield on the needle, visually verify the presence of the implant, seen as a white body inside the needle-tip.*
• Following visual confirmation, the implant should be lowered back into the needle.
*If the implant is not seen, tap the top of the needle shield against a firm surface to bring the implant into the needle tip.

Session IV A, Slide #6
Implanon Insertion: Step 3
• Mark the insertion site with a marker.
• Make 2 marks:
– First, mark the spot where the rod will be inserted.
– Second, mark a spot a few centimeters proximal to the first mark. This second mark will later serve as a direction guide during insertion.

Session IV A, Slide #7
Implanon Insertion: Step 4
• Clean the client’s upper arm with antiseptic solution. Frame the insertion area with a drape that has an opening (optional).
• Anesthetize the insertion area with anesthetic spray or by injecting 2 cc of 1% lidocaine just under the skin along the planned insertion tunnel).

Session IV A, Slide #8
Implanon Insertion: Step 5
• Remove the needle shield.
• Stretch the skin around the insertion site with thumb and index finger.

Session IV A, Slide #9
Implanon Insertion: Step 6
• Insert the tip of the needle, at about a 20 degree angle.

Session IV A, Slide #10
Implanon Insertion: Step 7
• Release the skin.
• Lower the applicator to a horizontal position.

Session IV A, Slide #11
Implanon Insertion: Step 8
• Lift the skin with the tip of the needle, keeping the needle in the subdermal connective tissue.
• While lifting the skin, gently insert the entire needle. Keep the applicator parallel to the surface of the skin.

Session IV A, Slide #12
Implanon Insertion: Step 9
• Break the seal of the applicator.

Session IV A, Slide #13
Implanon Insertion: Step 10
• Turn the rounded end of the obturator a quarter turn, about 90 degrees.

Session IV A, Slide #14
Implanon Insertion: Step 11
• Hold the obturator against the clients’ arm with one hand. With your other hand, slowly draw the needle out of the arm.
• Never push against the obturator.
Session IV A, Slide #15
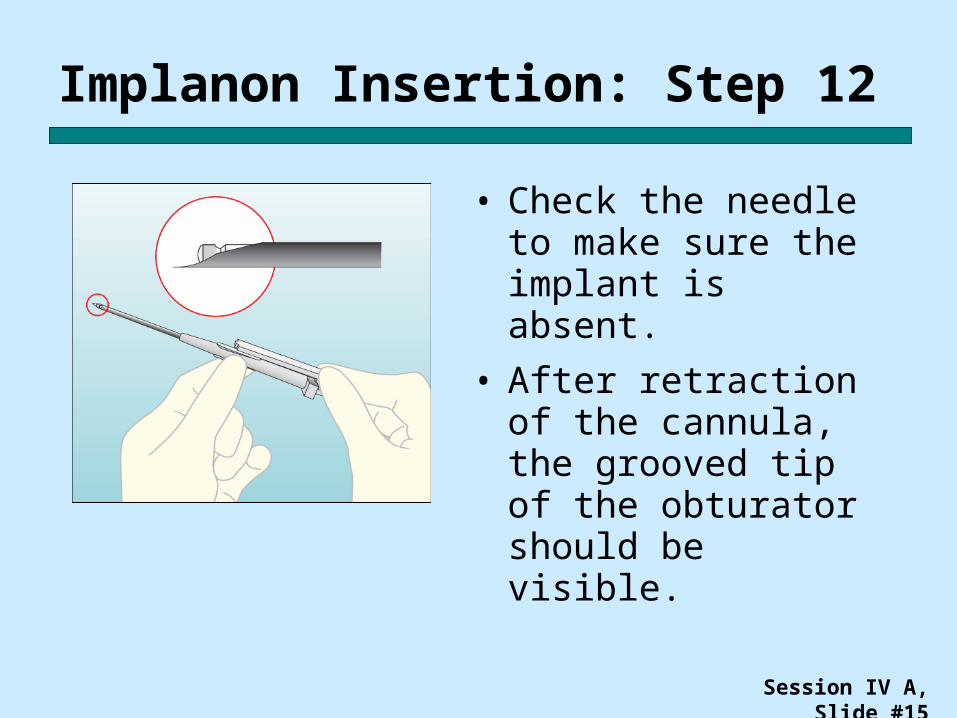
Implanon Insertion: Step 12
• Check the needle to make sure the implant is absent.
• After retraction of the cannula, the grooved tip of the obturator should be visible.
Session IV A, Slide #16
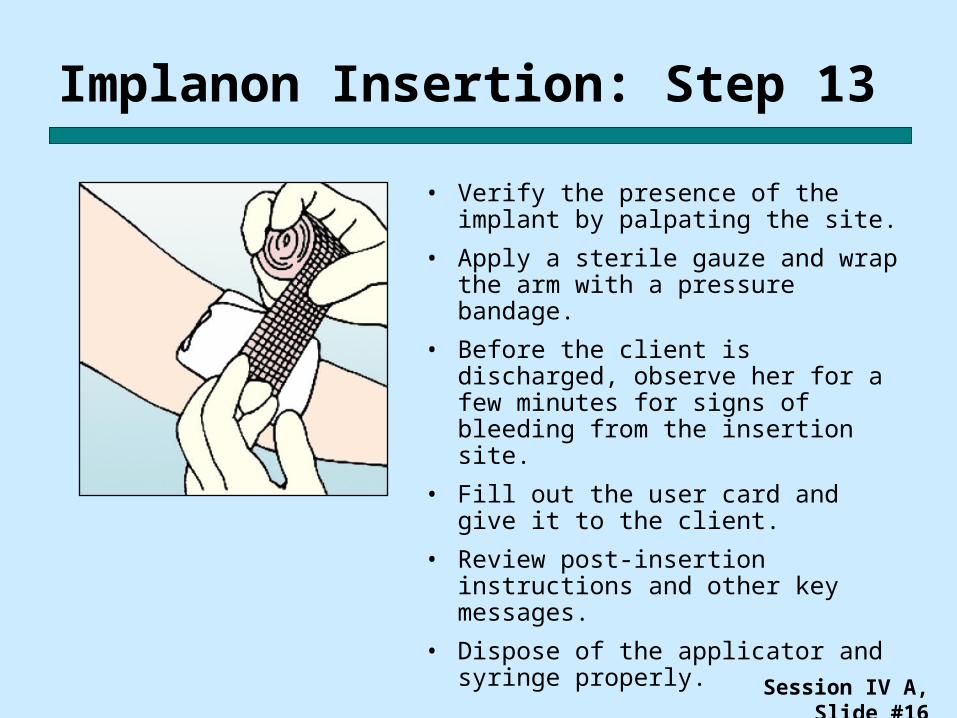
Implanon Insertion: Step 13
• Verify the presence of the implant by palpating the site.
• Apply a sterile gauze and wrap the arm with a pressure bandage.
• Before the client is discharged, observe her for a few minutes for signs of bleeding from the insertion site.
• Fill out the user card and give it to the client.
• Review post-insertion instructions and other key messages.
• Dispose of the applicator and syringe properly.