Embed Size (px)
Citation preview

Seattle/King County EMT-B Class

Introduction
EMS Online
http://www.emsonline.net/emtb
• Class schedule• Message board• Lecture presentations

Topics
1
2
3
Airway Management: Chapter 7
Patient Assessment: Chapter 8
Communication and Documentation:Chapter 94 Adult SICK/NOT SICK
1 Airway Assessment and Management

Anatomy Review1

Breathing Process1
InhalationInhalation• Active part of breathing.
• Diaphragm and intercostal muscles contract allowing the lungs to expand.
• Pressure in the lungs decreases as they fill with air.
• Air travels to the lungs.

InhalationInhalation
ExhalationExhalation
Breathing Process, cont'd1
• Does not normally require effort.
• Diaphragm and intercostal muscles relax.
• The chest decreases in size, ribs and muscles assume their normal positions.
• The increase in pressure forces air out.
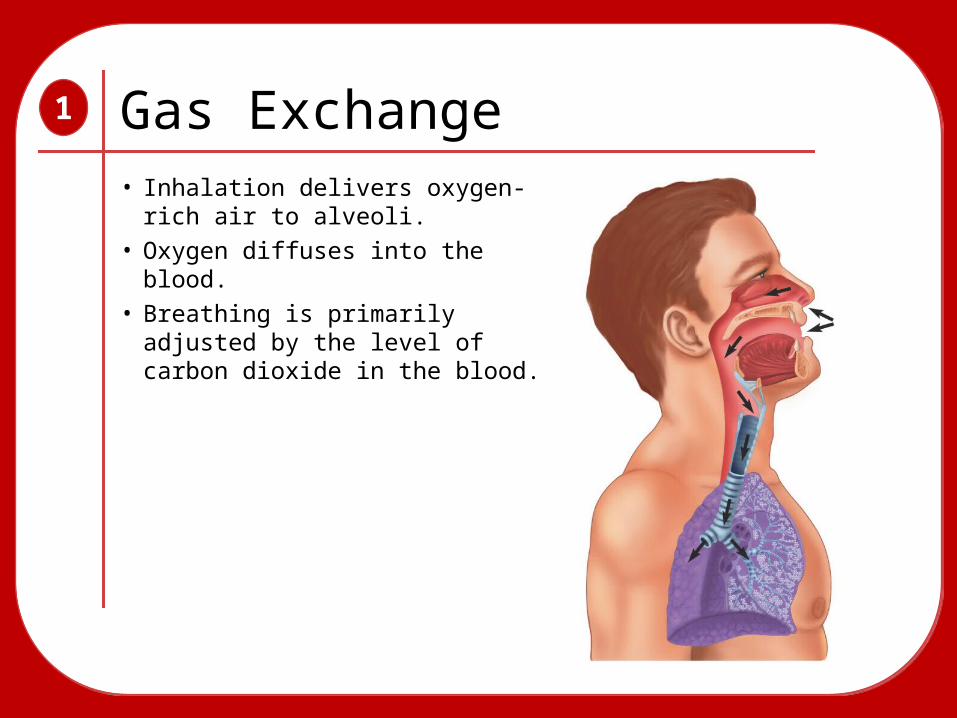
Gas Exchange• Inhalation delivers oxygen-
rich air to alveoli.• Oxygen diffuses into the
blood.• Breathing is primarily
adjusted by the level of carbon dioxide in the blood.
1

Adequate Breathing1
• Normal rate and depth• Regular rhythm• Good breath sounds in both lungs• Regular rise and fall movements in the chest• Easy, not labored

Normal Breathing Rates1
• Adults 12 to 20 breaths/min
• Children 15 to 30 breaths/min
• Infants 25 to 50 breaths/min
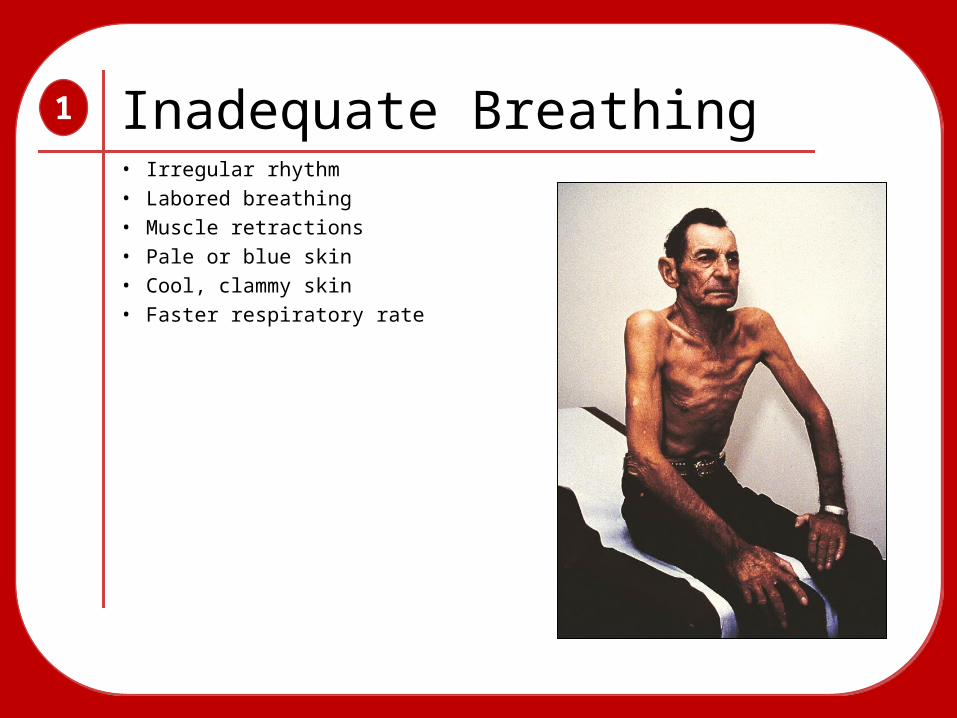
Inadequate Breathing1
• Irregular rhythm• Labored breathing• Muscle retractions• Pale or blue skin• Cool, clammy skin• Faster respiratory rate

The Body’s Need for Oxygen1

What is Hypoxia?• Not enough oxygen for metabolic needs.
• Develops when patient is either:
1. Breathing inadequately2. Not breathing at all3. Oxygen-starved environment
1
Signs of Hypoxia• Nervousness, irritability, and fear• Tachycardia• Mental status changes• Use of accessory muscles for breathing• Difficulty breathing, possible chest pain
1

Airway Assessment1
LOOK—LISTEN—FEEL LOOK—LISTEN—FEEL

Head Tilt—Chin Lift1
1. Kneel beside patient’s head.2. Place one hand on forehead.3. Apply backward pressure.4. Place tips of finger under lower
jaw.5. Lift chin.

Jaw Thrust Maneuver1
1. Kneel above patient’s head.2. Place fingers behind angle of jaw.3. Use thumbs to keep mouth open.

Mouth-to-MaskMouth-to-Mask
Methods of Ventilation1
1. Kneel above patient’s head.2. Place fingers behind angle
of jaw.

Mouth-to-MaskMouth-to-Mask
1-person BVM1-person BVM
Methods of Ventilation1

Methods of Ventilation1
Mouth-to-MaskMouth-to-Mask
1-person BVM1-person BVM
Supplemental O2
Supplemental O2
Non-rebreathing mask (NRM):• Provides up to 90% oxygen
• Used at 10 to 15 L/min

Methods of Ventilation1
Mouth-to-MaskMouth-to-Mask
1-person BVM1-person BVM
Supplemental O2
Supplemental O2
Nasal Cannula:
• Provides 24% to 44% oxygen
• Used at 1 to 6 L/min

Methods of Ventilation1
Mouth-to-MaskMouth-to-Mask
2-person BVM2-person BVM
Supplemental O2
Supplemental O2
2-person BVM2-person BVM
One person maintains seal while the other delivers ventilations.

Supplemental Oxygen
All patients in cardiac arrest should get oxygen.
Any patient with a respiratory or cardiac emergency needs oxygen.
1
Never withhold oxygen from anyone who may benefit from it.
Never withhold oxygen from anyone who may benefit from it.
Artificial Ventilations1
• Adults 1 breath every 5 seconds
• Children 1 breath every 3 seconds
• Infants 1 breath every 3 seconds

Adequate Ventilation1
Equal chest rise and fall
Ventilating at appropriate rate
Heart rate returns to normal

Inadequate Ventilation1
Minimal or no chest rise and fall
Ventilations too fast or slow
Heart rate does not return to normal

Sellick Maneuver• Place pressure on cricoid with thumb and index finger.
• May be used (observed) during intubation by paramedics
• Use on unconscious patients to prevent gastric distention.
1
Gastric Distention• Artificial ventilation fills stomach with air.
• Occurs if ventilations are too forceful or too frequent or when airway is blocked.
• May cause patient to vomit.
1
…and what if they vomit? …and what if they vomit?

Suctioning Equipment 1

Proper Suctioning1. Check the unit and turn it on.
1

Proper Suctioning1. Check the unit and turn it on.
2. Select and measure proper catheter to be used.
1

Proper Suctioning1. Check the unit and turn it on.
2. Select and measure proper catheter to be used.
3. Open the patient’s mouth and insert tip.
1

Proper Suctioning1. Check the unit and turn it on.
2. Select and measure proper catheter to be used.
3. Open the patient’s mouth and insert tip.
4. Suction as you withdraw the catheter.
1

Proper Suctioning1. Check the unit and turn it on.
Never suction adults for more than 15 seconds.Never suction adults for more than 15 seconds.
2. Select and measure proper catheter to be used.
3. Open the patient’s mouth and insert tip.
4. Suction as you withdraw the catheter.
1

Stomas and Tracheostomy Tubes
1
• Ventilations are delivered through the stoma.
• Attach BVM device to tube or use infant mask.
• Stoma may need to be suctioned.

Oropharyngeal Airway Adjunct
1
• Keeps the tongue from blocking the upper airway.
• Allows for easier suctioning of the airway.
• Used in conjunction with BVM device.• Used on unconscious patients
without a gag reflex.

Oropharyngeal Airway Adjunct
1
1 1. Select the proper size airway.

2. Hold the airway upside down and insert it in the patient’s mouth.
Oropharyngeal Airway Adjunct
1
2

3. Rotate the airway 180° until the flange rests on the patient’s lips.
Oropharyngeal Airway Adjunct
1
3
Patient Assessment2

• Scene size-up• Initial assessment• Focused history and physical exam• Detailed physical exam• Ongoing assessment
Patient Assessment2
Patient assessment is a process, not a procedure.
Patient assessment is a process, not a procedure.

Scene Size—Up2
• Dispatch information
• Body Substance Isolation (BSI)
• Inner circle/outer circle
• Scene hazards
• Safety concerns
• Number of patients
• Additional resources needed

Scene Size—Up, continued2
Body Substance Isolation (BSI)
• Assumes ALL body fluids present a possible risk for infection
• Latex or vinyl gloves must always be worn
• Eye protection if patient is coughing
• Mask (for yourself and the patient)
• Gown

Scene Size—Up, continued2
Potential Hazards
• Oncoming traffic
• Unstable surfaces
• Leaking gasoline
• Downed electrical lines
• Potential for violence
• Hazardous materials

Scene Size—Up, continued2
Number of Patients
• Determine the number of patients and their condition.
• Assess what additional resources will be needed.
• Triage to identify severity of each patient’s condition.

Scene Size—Up, continued2
Additional Resources
• Medical resources
– Additional units
– Advanced life support
• Non-medical resources
– Law enforcement
– Rescue / Special Teams

Scene Size—Up, continued2
Mechanism of Injury (MOI)
• Helps determine the possible extent of injuries on trauma patients.
• Guides preparation for care to patient.
• Suggests equipment that will be needed.
• Provides clues for further assessment.

Scene Size—Up, continued2
Mechanism of Injury (MOI)
• Helps determine the possible extent of injuries on trauma patients.
• Suggests equipment that will be needed.
• Provides clues for further assessment.

Scene Size—Up, continued2
Nature of Illness (NOI)
• Search for clues to determine the nature of illness.
• Often described by the patient’s chief complaint.
• Gather information from the patient and people on scene.

Initial Assessment2
• Develop a general impression based on mechanism of injury (MOI) and/or nature of illness (NOI).
• Assess airway, breathing, circulation.
• Assess mental status.
• Assess skin signs.
Based on these signs alone, make a decision within 60 seconds.
Based on these signs alone, make a decision within 60 seconds.

Initial Assessment, continued2
General Impression
• Occurs as you approach the scene and the patient
• Chief complaint
• Presenting signs and symptoms of patient
• C-spine immobilization

Initial Assessment, continued2
Obtaining Consent
• Introduce yourself.
• Ask patient’s name.
"Hi, my name is Jody and I'm with the fire department. Can I help you?"

Initial Assessment, continued2
Chief Complaint
• Most serious problem voiced by the patient
• May not be the most significant problem present

AIRWAYAIRWAY
Initial Assessment, continued2
Look for signs of airway compromise:
• Two- to three- word dyspnea• Use of accessory muscles• Nasal flaring• Labored breathing

AIRWAYAIRWAY
Initial Assessment, continued2
• Choking• Rate• Depth• Cyanosis• Lung sounds• Air movement
BREATHINGBREATHING

AIRWAYAIRWAY
Initial Assessment, continued2
BREATHINGBREATHING
CIRCULATIONCIRCULATION
Pulse:• Presence• Rate• Rhythm• Strength

AIRWAYAIRWAY
Initial Assessment, continued2
BREATHINGBREATHING
CIRCULATIONCIRCULATION
Pulse:• Presence• Rate• Rhythm• Strength
This can also include skin signs such as color, temperature, and capillary refill.
This can also include skin signs such as color, temperature, and capillary refill.

Initial Assessment, continued2
Mental Status
1. Responsiveness, or how the patient responds to external stimuli.
A AlertV Responsive to
Verbal stimulusP Responsive to PainU Unresponsive

Initial Assessment, continued2
Mental Status
2. Orientation, or mental status and thinking ability.
1. Responsiveness, or how the patient responds to external stimuli. Alert and Oriented:
A/O x 1 = Person
A/O x 2 = Place
A/O x 3 = Time
A/O x 4 = Event
Initial Assessment, continued2
Major Bleeding
• Assess after clearing the airway and stabilizing breathing.
• Look for blood flow or blood on floor/clothes.
Control bleeding by direct pressure, elevation, and pressure points.
Control bleeding by direct pressure, elevation, and pressure points.

Initial Assessment, continued2
Transport Decision
• Patient condition
• Availability of advanced care
• Distance to transport
• Local protocols
Initial Assessment, continued2
Priority Patients
• Unresponsive with no gag reflex
• Severe chest pain
• Signs of poor perfusion
• Complicated childbirth
• Uncontrolled bleeding
• Responsive but unable to follow commands

Focused History/Physical Exam
2
• Medical history
• Baseline vital signs
• Physical exam
Consists of:

Rapid Physical Exam2
• 60-second neck-head-to-toe exam
• Performed on:
S̶ Significant trauma patients
S̶ Unresponsive medical patients
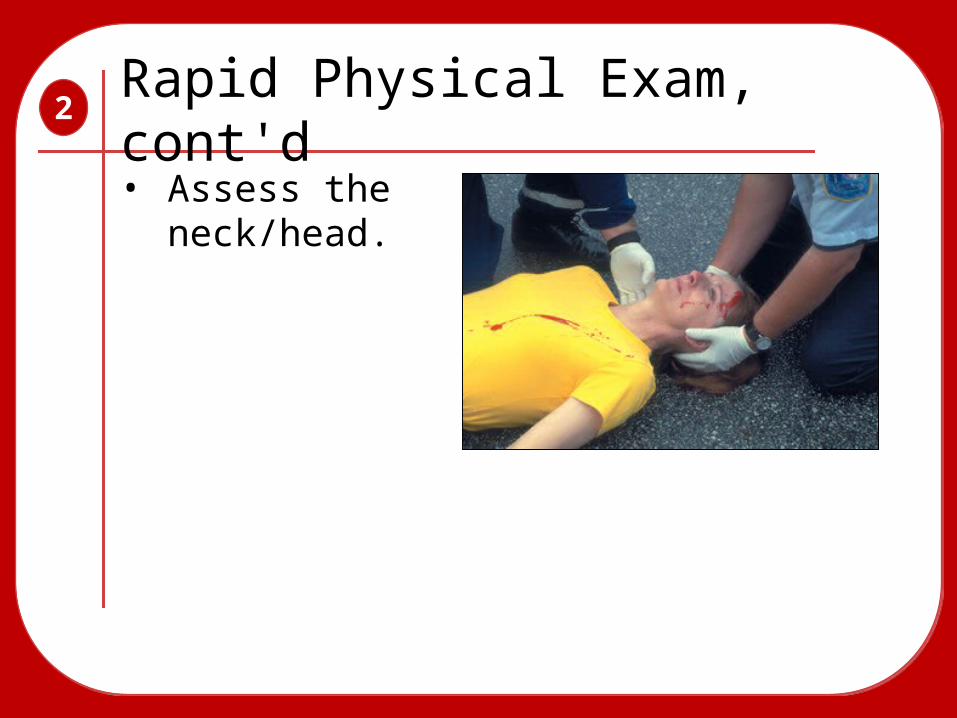
Rapid Physical Exam, cont'd2
• Assess the neck/head.

Rapid Physical Exam, cont'd2
• Assess the neck/head.
• Assess the chest.

Rapid Physical Exam, cont'd2
• Assess the neck/head.
• Assess the chest.
• Assess the abdomen.

Rapid Physical Exam, cont'd2
• Assess the neck/head.
• Assess the chest.
• Assess the abdomen.
• Assess the pelvis.
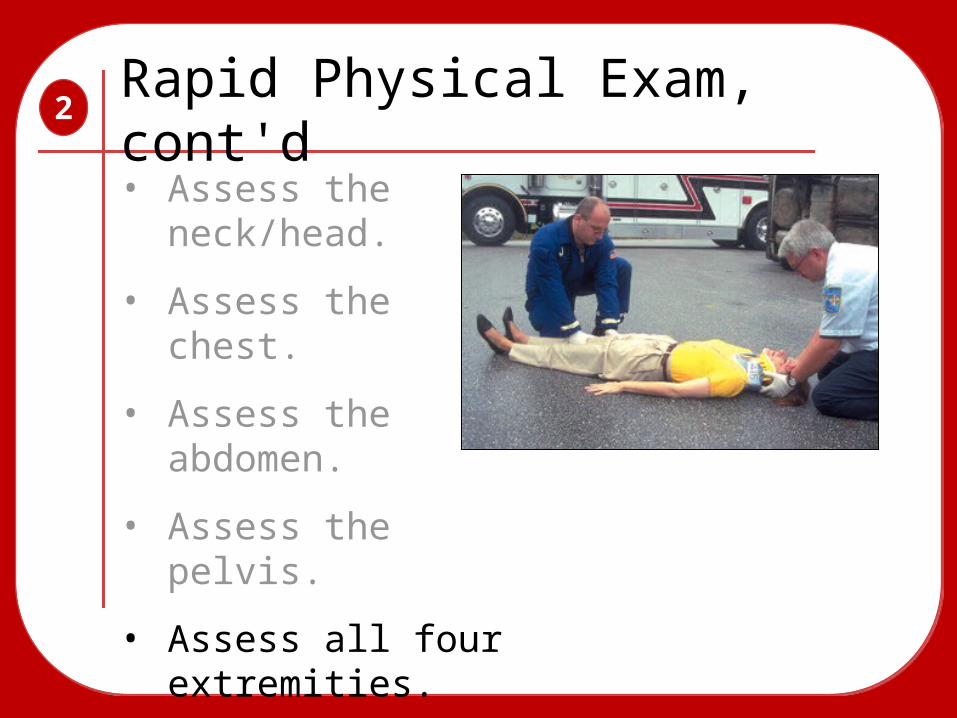
Rapid Physical Exam, cont'd2
• Assess the neck/head.
• Assess the chest.
• Assess the abdomen.
• Assess the pelvis.
• Assess all four extremities.

Focused Physical Exam2
• Used to evaluate patient’s chief complaint
• Performed on:
S̶ Trauma patients without significant MOI
S̶ Responsive medical patients

Focused Physical Exam, cont'd
2
Neck, Head and Cervical Spine
• Feel neck and head for deformity, tenderness, or crepitus.
• Check for bleeding.
• Ask about pain or tenderness.

Focused Physical Exam, cont'd
2
Chest
• Watch chest rise and fall with breathing.
• Feel for grating bones as patient breathes.

Focused Physical Exam, cont'd
2
Abdomen
• Look for obvious injury, bruises, or bleeding.
• Evaluate for tenderness and any bleeding.
• Do not palpate too hard.

Focused Physical Exam, cont'd
2
Pelvis
• Look for any signs of obvious injury, bleeding, or deformity.
• Press gently inward and downward on pelvic bones.

Focused Physical Exam, cont'd
2
Extremities
• Look for obvious injuries.
• Feel for deformities.
• Assess
S̶ Pulse
S̶ Motor function
S̶ Sensory function

Focused Physical Exam, cont'd
2
Posterior Body
• Feel for tenderness, deformity, and open wounds.
• Carefully palpate from neck to pelvis.

Detailed Physical Exam2
• More in-depth exam based on focused physical exam
• Should only be performed if time and patient’s condition allows
• Usually performed en route to the hospital

Detailed Physical Exam, cont'd
2
1. Visualize and palpate using DCAP-BTLS.
2. Look at the face.
3. Inspect the area around the eyes and eyelids.
4. Examine the eyes.

Detailed Physical Exam, cont'd
2
5. Pull the patient’s ear forward to assess for bruising.
6. Use the penlight to look for drainage or blood in the ears.

Detailed Physical Exam, cont'd
2
7. Look for bruising and lacerations about the head.
8. Palpate the zygomas.

Detailed Physical Exam, cont'd
2
9. Palpate the maxillae.
10. Palpate the mandible.

Detailed Physical Exam, cont'd
2
11. Assess the mouth and nose for obstructions and cyanosis.
12. Check for unusual odors.

Detailed Physical Exam, cont'd
2
13. Look at the neck.
14. Palpate the front and the back of the neck.
15. Look for distended jugular veins.

Detailed Physical Exam, cont'd
2
16. Look at the chest.
17. Gently palpate over the ribs.

Detailed Physical Exam, cont'd
2
18. Listen for breath sounds.
19. Listen also at the bases and apices of the lungs.
Trauma patient
Medical patient
Detailed Physical Exam, cont'd
2
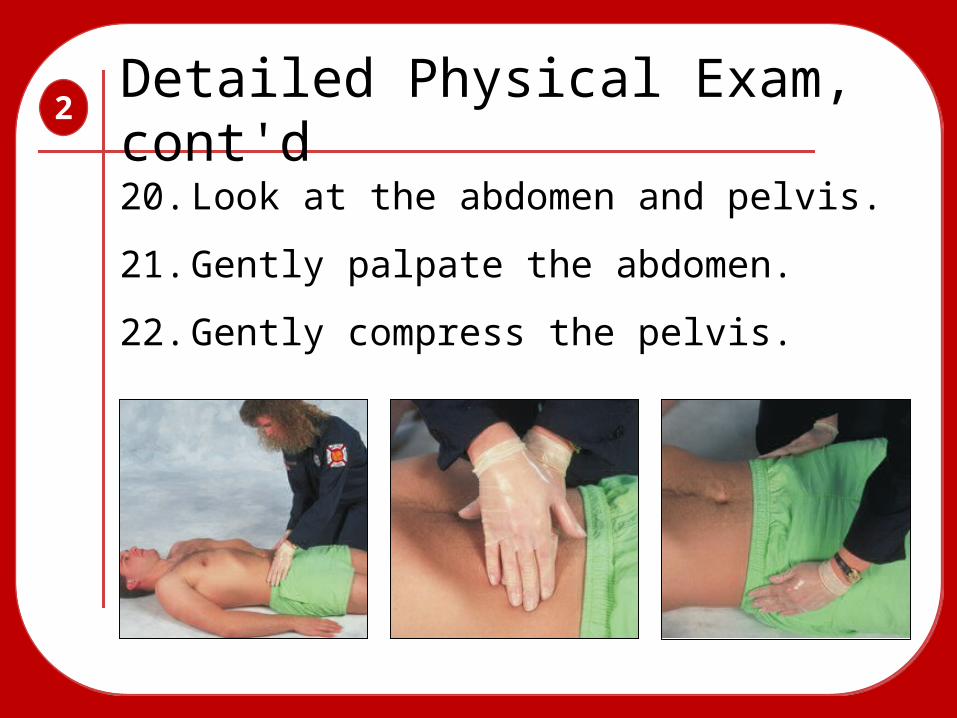
20. Look at the abdomen and pelvis.
21. Gently palpate the abdomen.
22. Gently compress the pelvis.

Detailed Physical Exam, cont'd
2
23. Gently press the iliac crests.
24. Inspect all four extremities.
25. Assess the back for tenderness or deformities.

Ongoing Assessment2
• Is treatment improving the patient’s condition?
• Has an already identified problem gotten better? Worse?
• What is the nature of any newly identified problems?
Answers the following questions:

Ongoing Assessment, cont'd2
1. Repeat the initial assessment.
2. Reassess and record vital signs.
3. Repeat focused assessment.
4. Check interventions.

Communication and Documentation
3

Communication and Documentation
3
Essential components of prehospital care:
• You must be able to find out what the patient needs and then tell others.
• Accurate records ensure continuity of patient care.
• You are a vital link between the patient and the health care team.

Components of an Oral Report• Patient’s name, chief complaint, nature
of illness, mechanism of injury• Summary of information from radio
report• Any important history not given earlier• Patient’s response to treatment• The vital signs assessed• Any other helpful information
3

Components of a Written Report• Chief complaint• Mental status• Systolic BP (patients
older than 3 years)• Capillary refill (patients
younger than 6 years)• Skin color and
temperature• Pulse• Respirations and effort
3

Components of a Written Report• Time incident reported• Time EMS unit notified• Time EMS unit arrived
on scene• Time EMS unit left
scene• Time EMS unit arrived
at facility• Time that patient care
was transferred
3

Communicating With Dispatch• Report problems
during run.
• Advise of arrival.
• Communicate scene size-up.
• Keep it brief.
3

Reporting Requirements
• Acknowledge dispatch information.
• Notify arrival at scene.
• Notify departure from scene.
• Notify arrival at hospital or facility.
• Notify you are clear of the incident.
• Notify arrival back in quarters.
3

Communicating with Medical ControlConsult with medical control to:
• Notify hospital of incoming patient.
• Request advice or orders.
3
Communicating with Patients
• Make and keep eye contact.
• Use the patient’s proper name.
• Tell the patient the truth.
• Use language the patient can understand.
• Be careful of what you say about the patient to others.
3

Communicating with Patients, cont'd• Be aware of your body language.
• Always speak slowly, clearly, and distinctly.
• If the patient is hearing impaired, speak clearly and face him or her.
• Allow time for the patient to answer questions.
• Act and speak in a calm, confident manner.
3

Geriatric Patients
• Determine the person’s functional age.
• Do not assume that an older patient is senile or confused.
• Allow patient ample time to respond.
• Watch for confusion, anxiety, or impaired hearing or vision.
• Explain what is being done and why.
3

Geriatric Patients
Older patients may need a little more time to process your question.
Older patients may need a little more time to process your question.
3
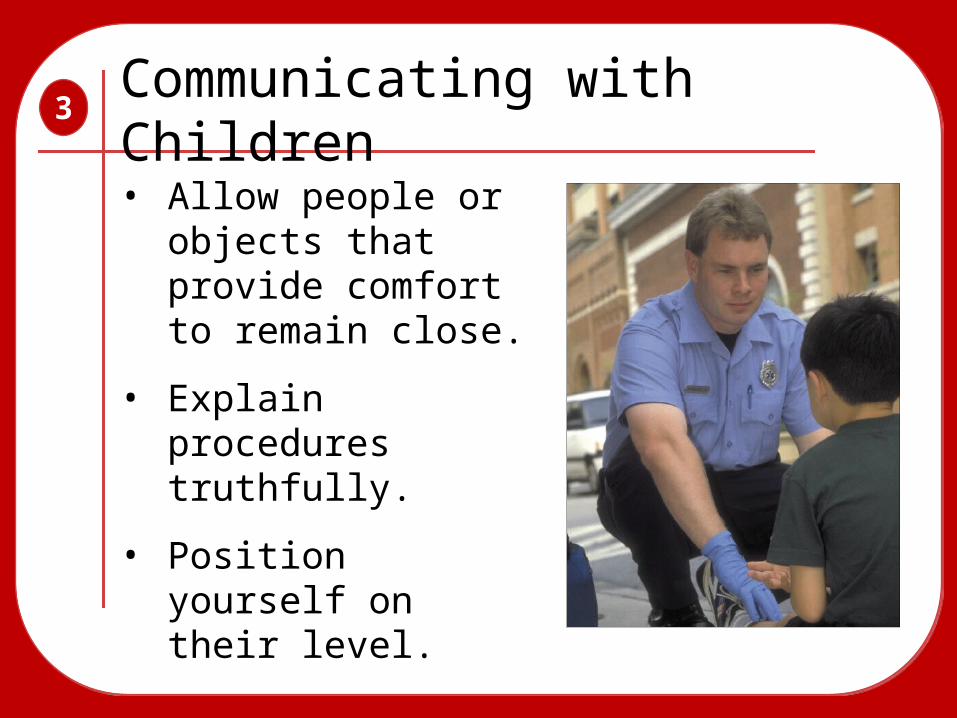
Communicating with Children
• Allow people or objects that provide comfort to remain close.
• Explain procedures truthfully.
• Position yourself on their level.
3

Hearing-Impaired Patients
• Always assume that the patient has normal intelligence.
• Make sure you have a paper and pen.
• Face the patient and speak slowly, clearly and distinctly.
• Never shout!
• Learn simple phrases used in sign language.
3

Vision-Impaired Patients
• Ask the patient if he or she can see at all.
• Explain all procedures as they are being performed.
• If a guide dog is present, transport it also, if possible.
3

Non-English Speakers
• Use short, simple questions and answers.
• Point to specific parts of the body as you ask questions.
• Learn common words and phrases in the non-English languages used in your area.
3