Embed Size (px)
Citation preview
SCOTT RIT-PAC III
Objectives
Describe the SCOTT RIT-PAC III and it’s components
Daily check and inspection
Basic Operation
List and describe the options you have with the low pressure side of the pack
Describe and go over the procedures of the high pressure side of the pack
The procedure for changing the Remote Pressure Gauge batteries
DescriptionDefinition-Portable air supply intended for use by a Rapid Intervention Team as an emergency source of breathing air to supply a single down Firefighter while that person is being extricated from a IDLH atmosphere.
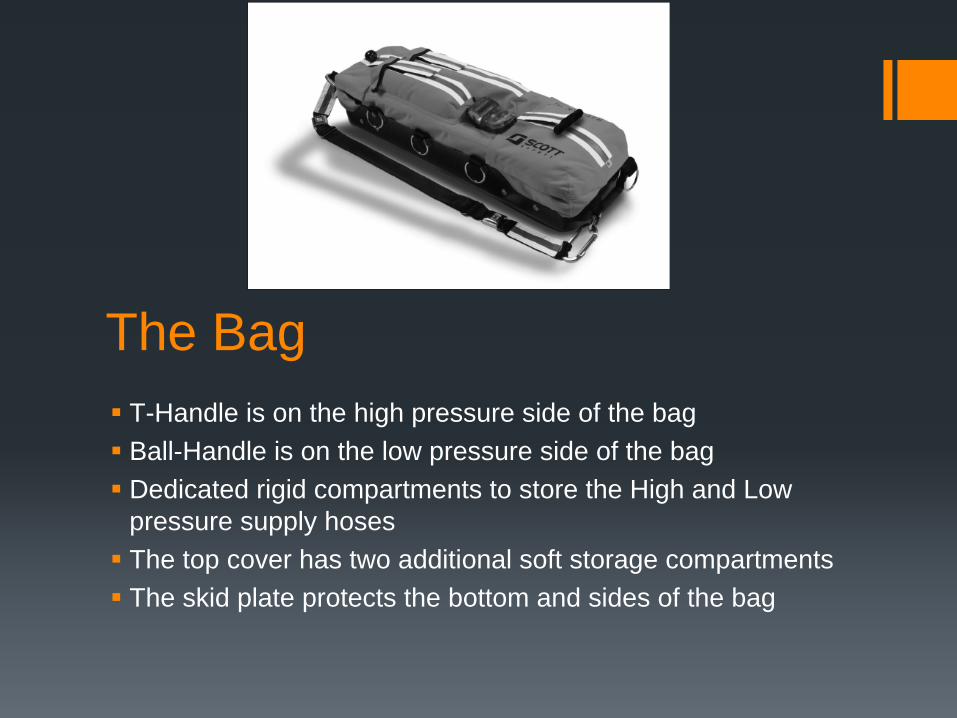
The Bag
T-Handle is on the high pressure side of the bag
Ball-Handle is on the low pressure side of the bag
Dedicated rigid compartments to store the High and Low pressure supply hoses
The top cover has two additional soft storage compartments
The skid plate protects the bottom and sides of the bag
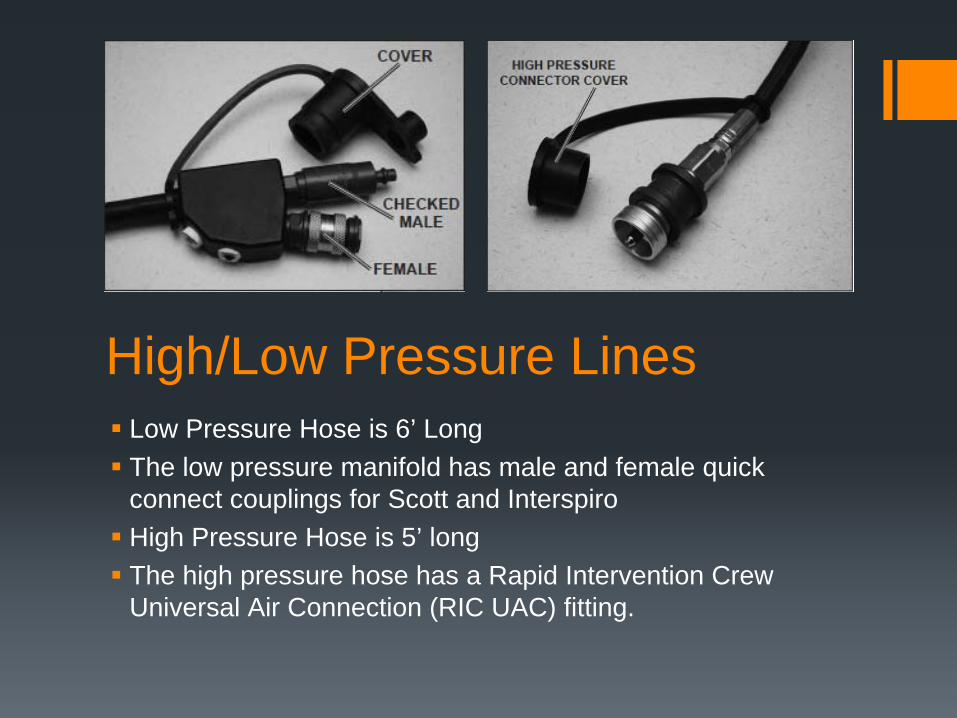
High/Low Pressure Lines
Low Pressure Hose is 6’ Long
The low pressure manifold has male and female quick connect couplings for Scott and Interspiro
High Pressure Hose is 5’ long
The high pressure hose has a Rapid Intervention Crew Universal Air Connection (RIC UAC) fitting.
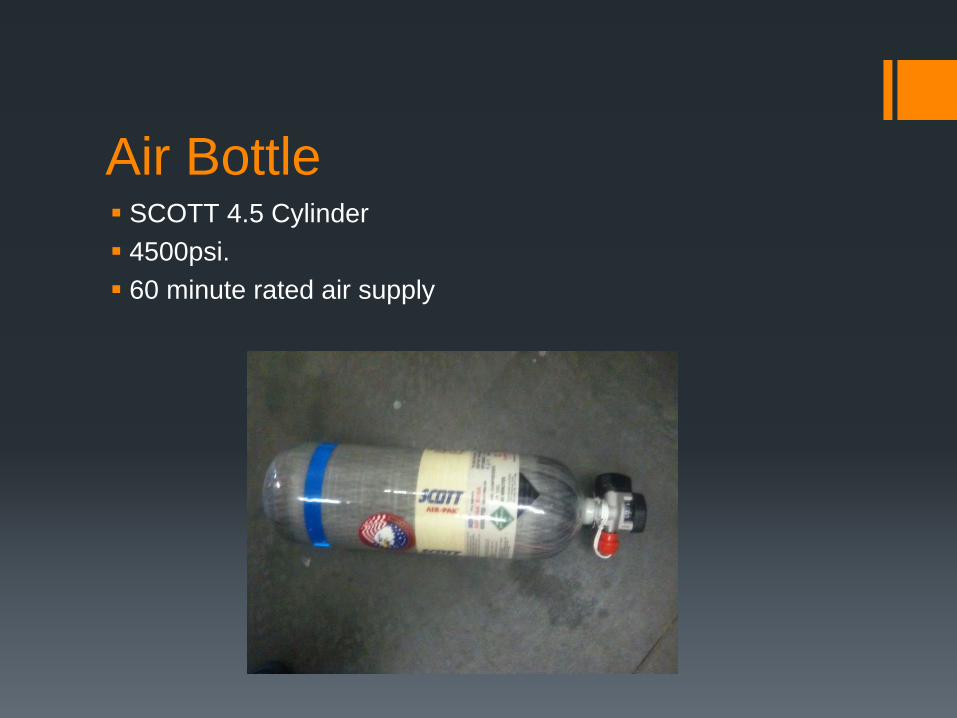
Air Bottle
SCOTT 4.5 Cylinder
4500psi.
60 minute rated air supply
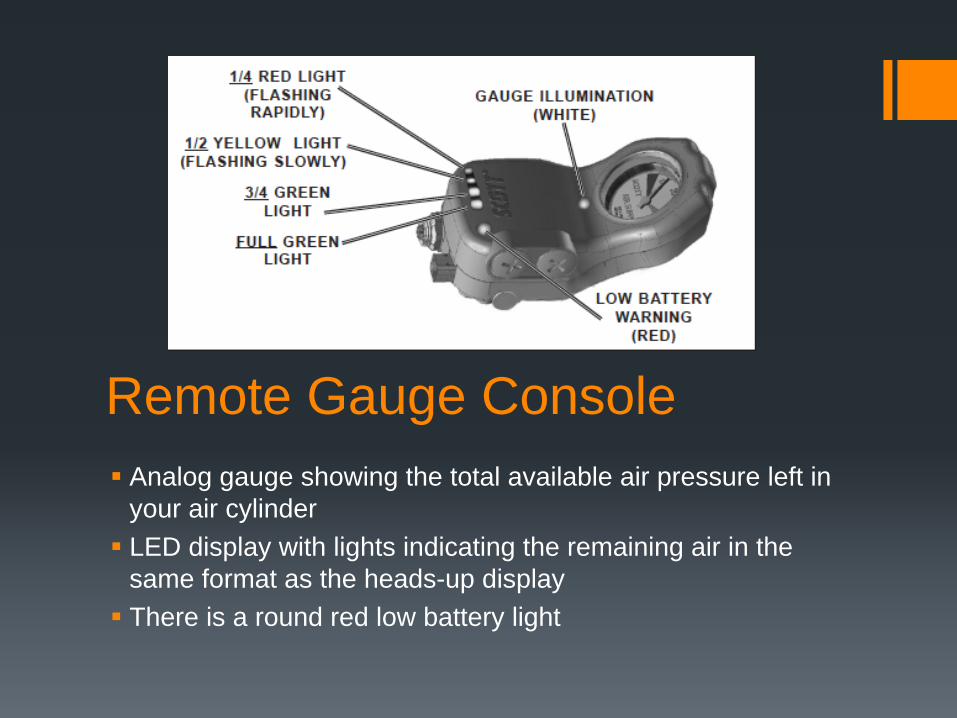
Remote Gauge Console
Analog gauge showing the total available air pressure left in your air cylinder
LED display with lights indicating the remaining air in the same format as the heads-up display
There is a round red low battery light
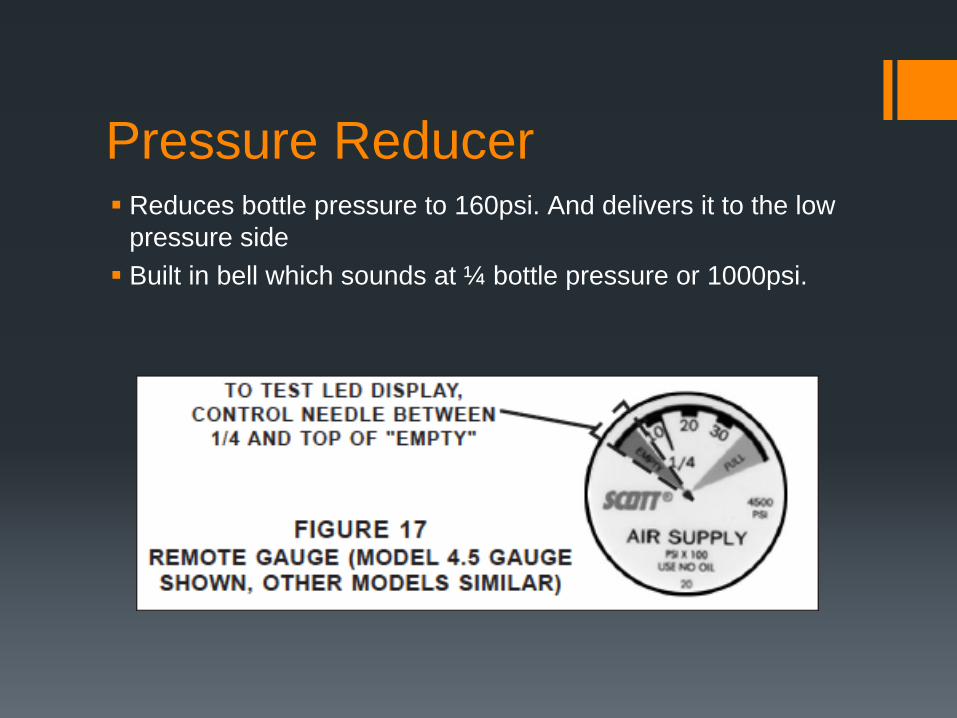
Pressure Reducer
Reduces bottle pressure to 160psi. And delivers it to the low pressure side
Built in bell which sounds at ¼ bottle pressure or 1000psi.

Facepiece/Emergency Breathing Regulator
The mask is a special configuration of the AV3000 SureSeal facepiece
It has no nose cup or voice mitters
There is a special head harness with large rings built in to the securing straps
Emergency Breathing Regulator has no heads-up display or low air vibralert

Daily Check/Inspection
The RIT pack must be inspected at the start of each shift.
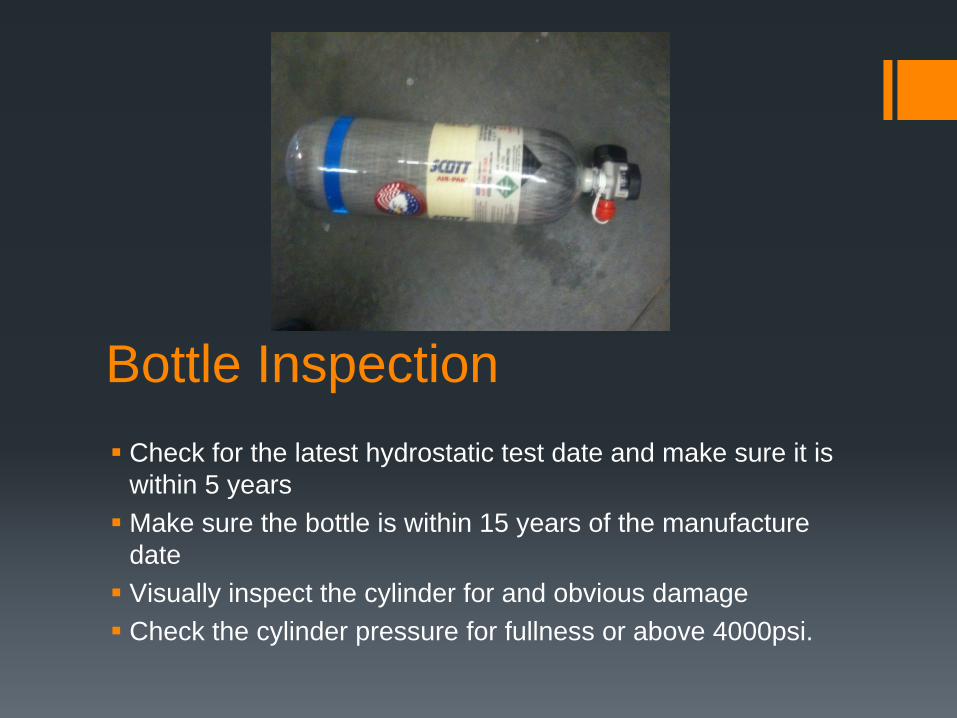
Bottle Inspection
Check for the latest hydrostatic test date and make sure it is within 5 years
Make sure the bottle is within 15 years of the manufacture date
Visually inspect the cylinder for and obvious damage
Check the cylinder pressure for fullness or above 4000psi.
RIT Bag Inspection
Any signs of damage or contamination
Make sure the shoulder strap seat belt buckles work and the carabineers open and close freely
All rings are attached and in place
Check hard plastic bottom for any cracks or holes
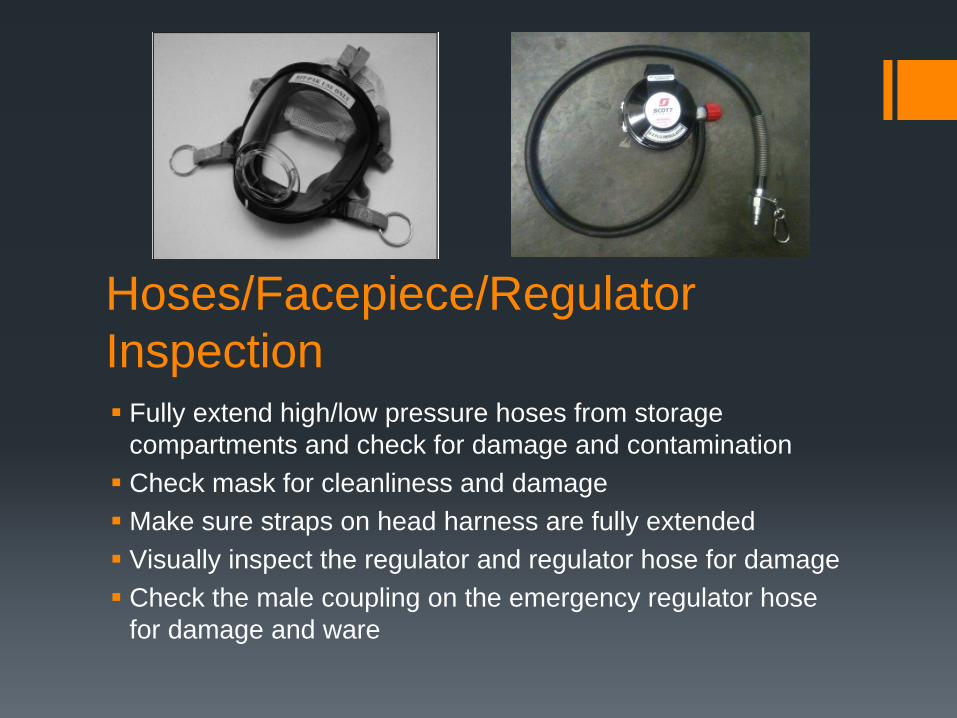
Hoses/Facepiece/Regulator Inspection
Fully extend high/low pressure hoses from storage compartments and check for damage and contamination
Check mask for cleanliness and damage
Make sure straps on head harness are fully extended
Visually inspect the regulator and regulator hose for damage
Check the male coupling on the emergency regulator hose for damage and ware
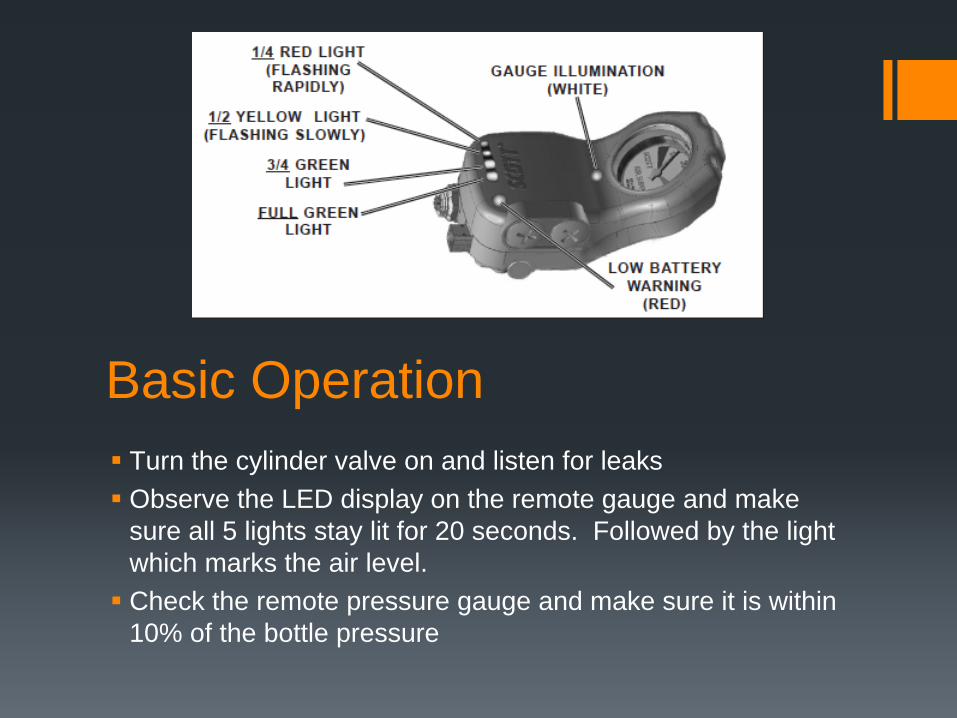
Basic Operation
Turn the cylinder valve on and listen for leaks
Observe the LED display on the remote gauge and make sure all 5 lights stay lit for 20 seconds. Followed by the light which marks the air level.
Check the remote pressure gauge and make sure it is within 10% of the bottle pressure
Basic Operation Cont.
Attach regulator to mask and don the mask
Check the air saver/donning switch and purge valve for proper operation
Remove the facepiece and make sure the regulator free flows by pushing the air saver/donning switch
Turn bottle off
Basic Operation Cont.
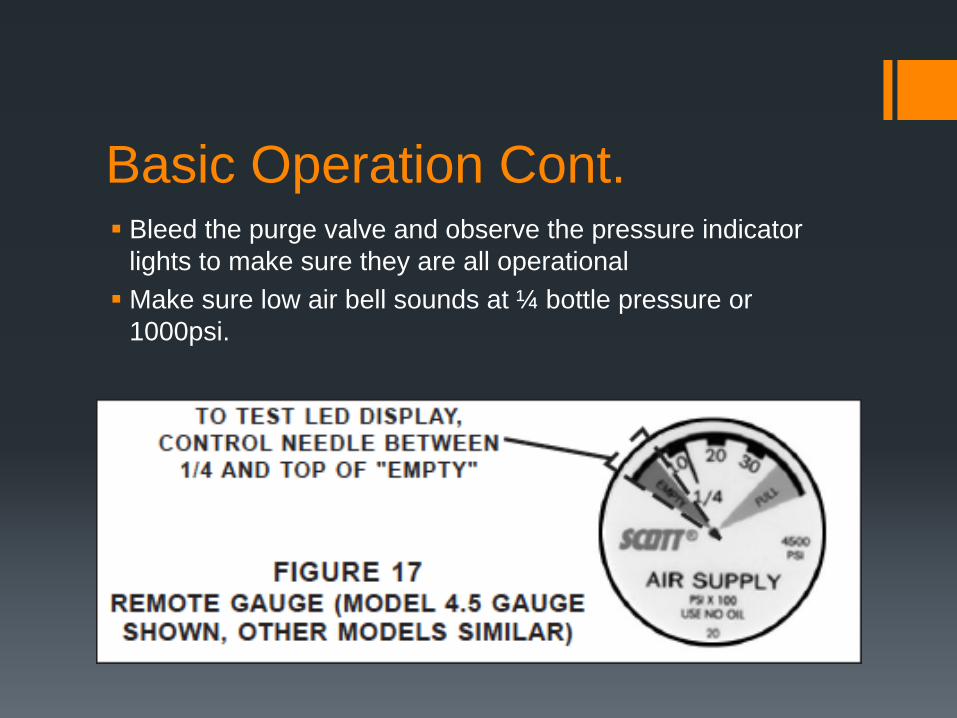
Bleed the purge valve and observe the pressure indicator lights to make sure they are all operational
Make sure low air bell sounds at ¼ bottle pressure or 1000psi.
Low Pressure Air Supply
Description
Options of the Low Pressure System
Low Pressure Air Supply Description
The low pressure hose is 78” long
The low pressure air supply is to replace the depleted air cylinder of the firefighters SCBA or to supply breathing air to the firefighter with a facepiece and regulator
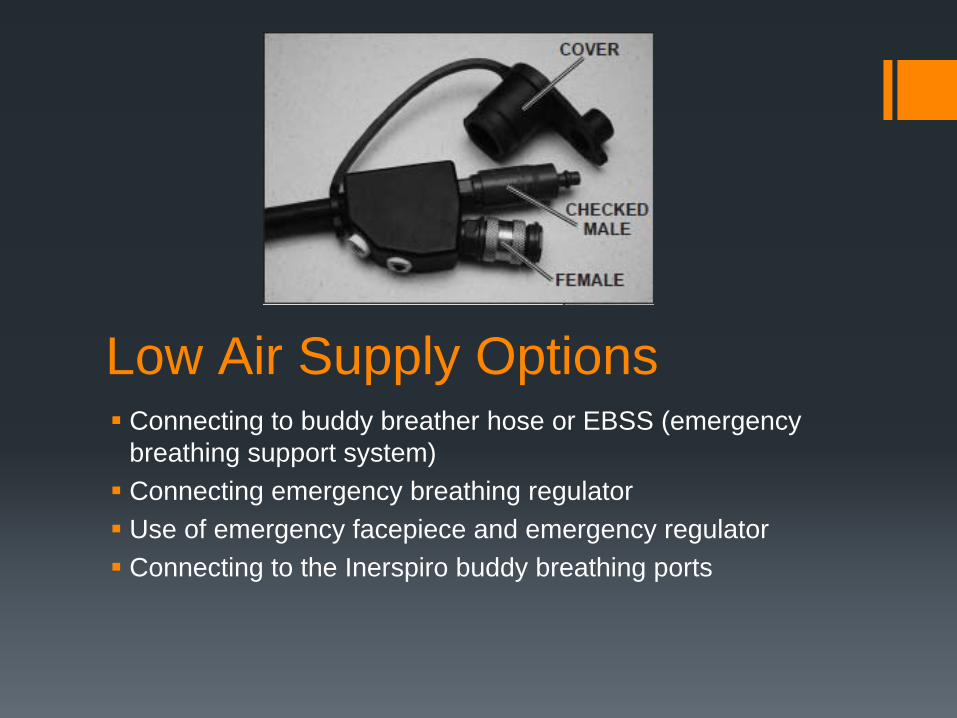
Low Air Supply Options
Connecting to buddy breather hose or EBSS (emergency breathing support system)
Connecting emergency breathing regulator
Use of emergency facepiece and emergency regulator
Connecting to the Inerspiro buddy breathing ports
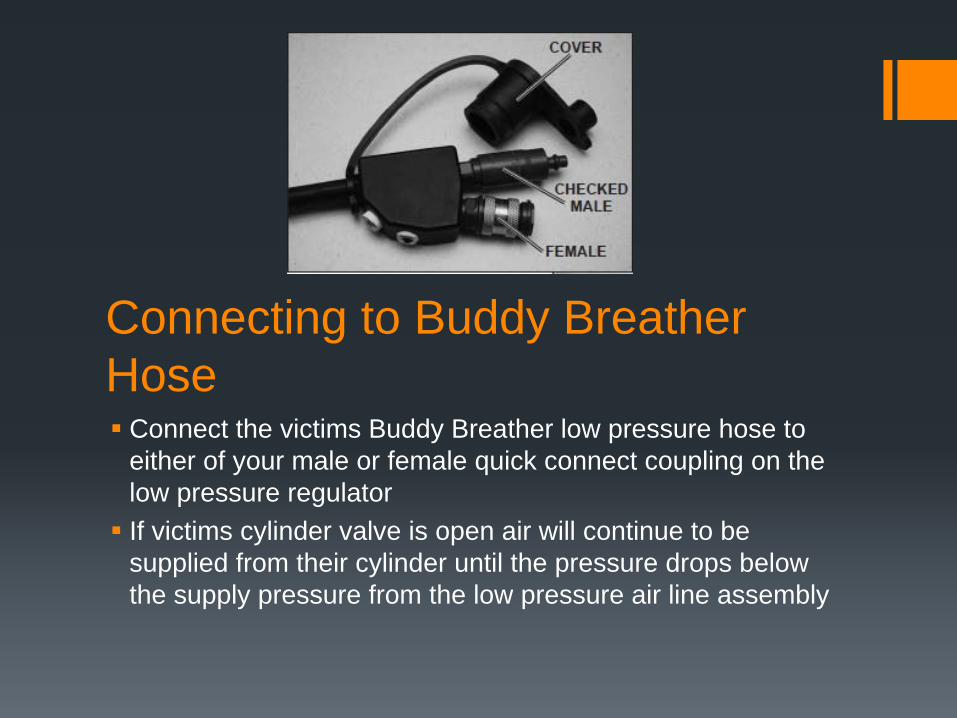
Connecting to Buddy Breather Hose
Connect the victims Buddy Breather low pressure hose to either of your male or female quick connect coupling on the low pressure regulator
If victims cylinder valve is open air will continue to be supplied from their cylinder until the pressure drops below the supply pressure from the low pressure air line assembly

Connecting To Buddy Breather Hose Cont.
If victims cylinder valve is off or his bottle is empty the only source of air will be from the RIC Pack
This is the way to deliver the longest breathing time to the victim
The victim gets the 60min. bottle plus whatever he has left in his bottle
Connecting to Buddy Breather Hose Cont.
This method is the fastest and easiest
If victim is entrapped it gives him the longest time to breathe for extended extrication
The victims facepiece and regulator must be intact and working
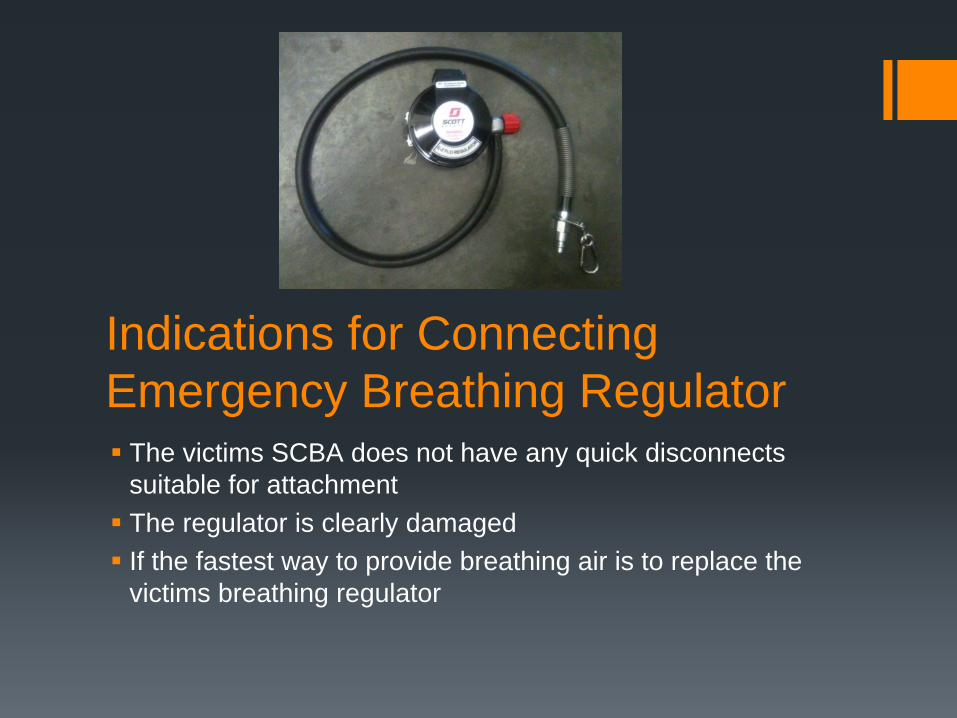
Indications for Connecting Emergency Breathing Regulator
The victims SCBA does not have any quick disconnects suitable for attachment
The regulator is clearly damaged
If the fastest way to provide breathing air is to replace the victims breathing regulator

Connecting Emergency Breathing Regulator
Make sure the regulator is attached to low pressure manifold
Attach to victims facepiece with a ¼ turn and make sure the regulator locks
If air saver/donning switch does not open from the victim breathing, open the purge valve to supply the victim with air
Secure low pressure hose to victim

Indications for Administering the Emergency Facepiece
The victims air pack is not compatible with the SCOTT air packs or RIT Pack III
The victims facepiece is damaged
The victim is not wearing a facepiece or an SCBA at all
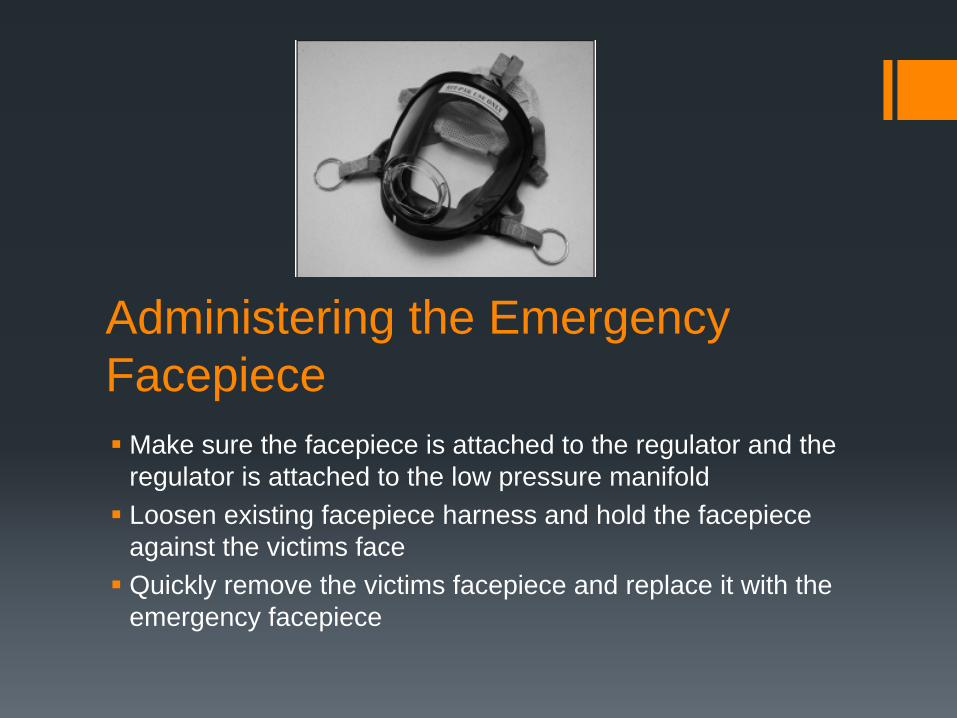
Administering the Emergency Facepiece
Make sure the facepiece is attached to the regulator and the regulator is attached to the low pressure manifold
Loosen existing facepiece harness and hold the facepiece against the victims face
Quickly remove the victims facepiece and replace it with the emergency facepiece
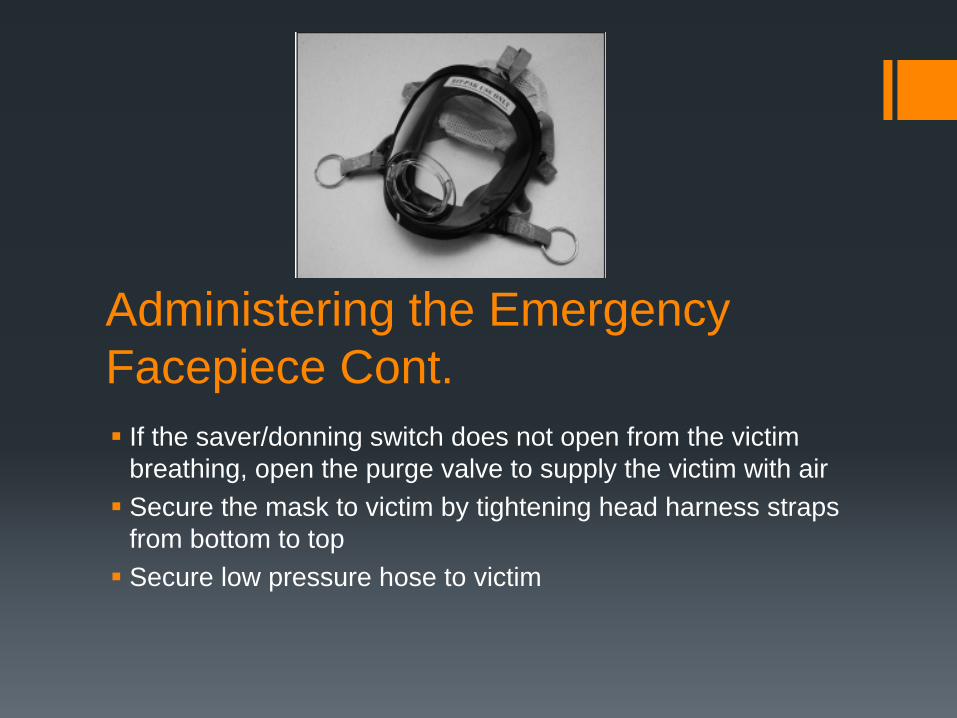
Administering the Emergency Facepiece Cont.
If the saver/donning switch does not open from the victim breathing, open the purge valve to supply the victim with air
Secure the mask to victim by tightening head harness straps from bottom to top
Secure low pressure hose to victim
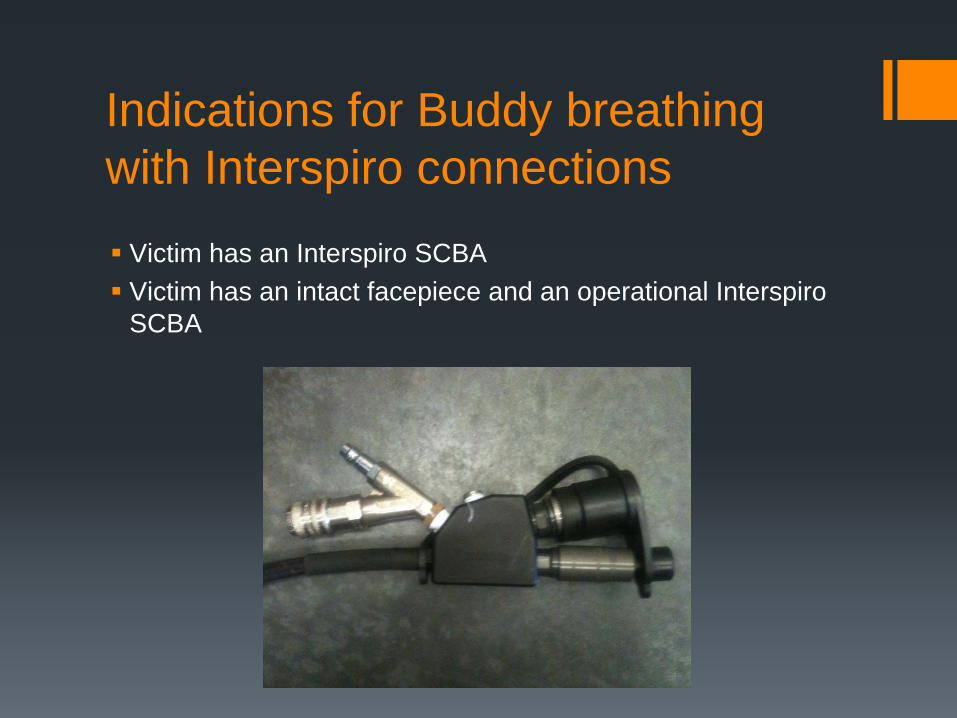
Indications for Buddy breathing with Interspiro connections
Victim has an Interspiro SCBA
Victim has an intact facepiece and an operational Interspiro SCBA

Buddy Breathing with Interspiro Connections
Connect the victims low pressure hose to either of your male or female Interspiro quick connect coupling on the low pressure regulator
You can connect to the victims buddy breather port on their right shoulder. It is male connection only
Check connection with a tug
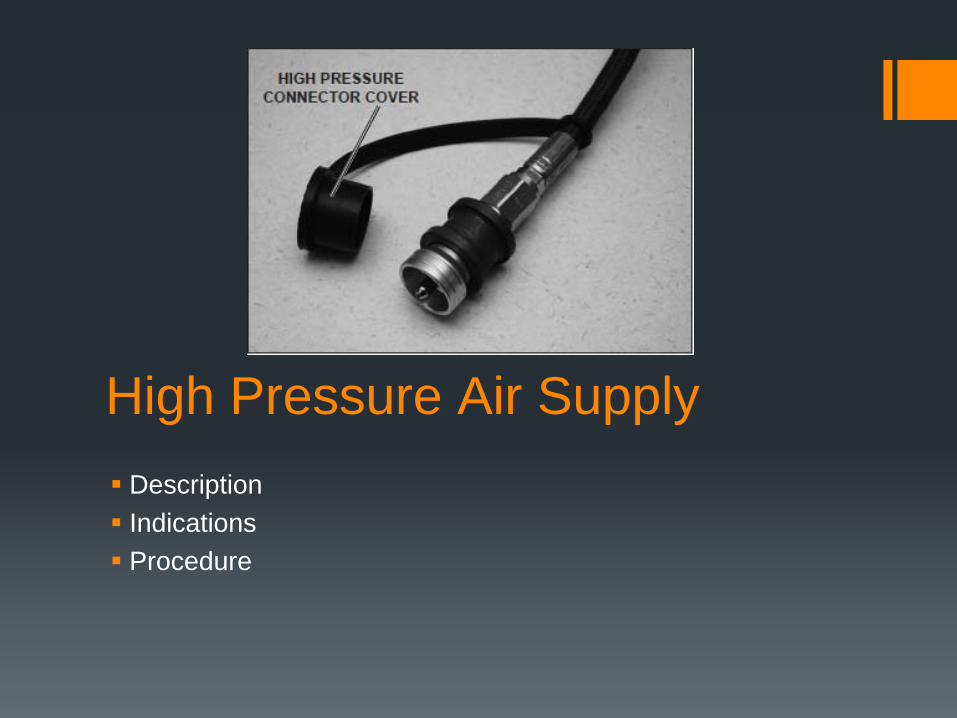
High Pressure Air Supply
Description
Indications
Procedure
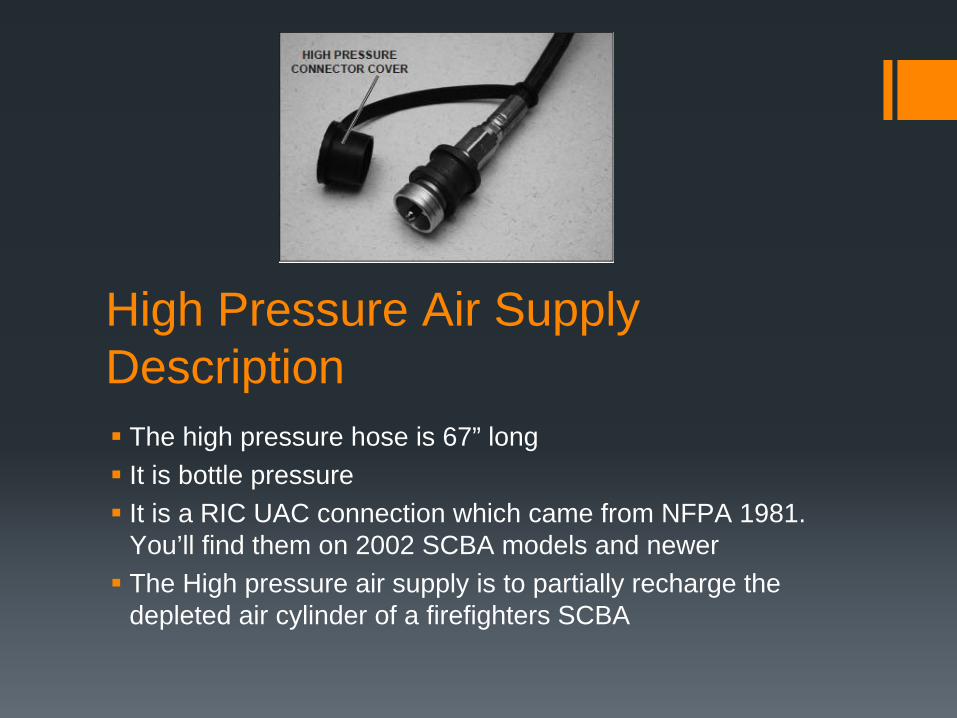
High Pressure Air Supply Description
The high pressure hose is 67” long
It is bottle pressure
It is a RIC UAC connection which came from NFPA 1981. You’ll find them on 2002 SCBA models and newer
The High pressure air supply is to partially recharge the depleted air cylinder of a firefighters SCBA
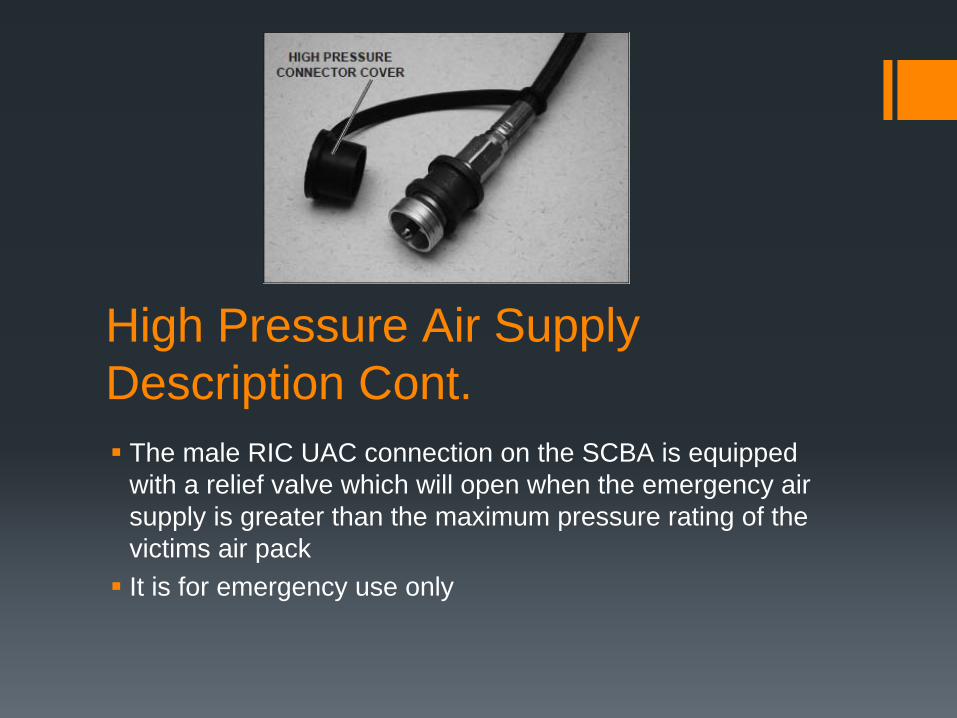
High Pressure Air Supply Description Cont.
The male RIC UAC connection on the SCBA is equipped with a relief valve which will open when the emergency air supply is greater than the maximum pressure rating of the victims air pack
It is for emergency use only
High Pressure Air Supply Indications
A quick fill to aid in a expedient extrication
Everything on the victims pack is intact and working
Know that you are not supplying the victim with the most air possible
When you can’t be attached to the victim with a buddy breathing line or regulator
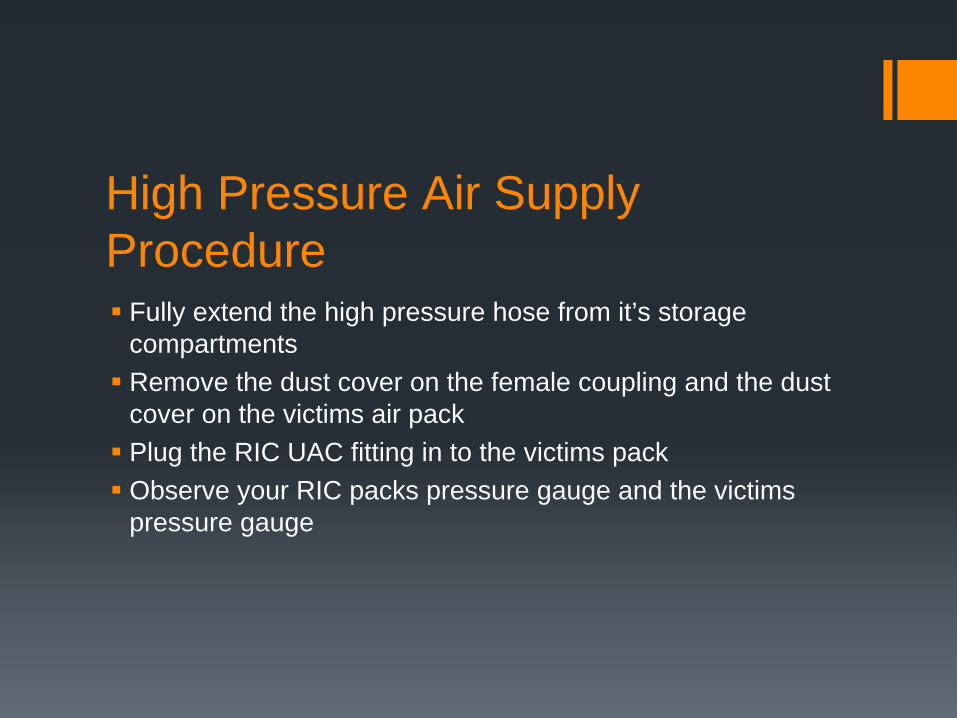
High Pressure Air Supply Procedure
Fully extend the high pressure hose from it’s storage compartments
Remove the dust cover on the female coupling and the dust cover on the victims air pack
Plug the RIC UAC fitting in to the victims pack
Observe your RIC packs pressure gauge and the victims pressure gauge
High Pressure Air Supply Procedure Cont.
Once both bottles have equalized the air will stop flowing
Disconnect the high pressure supply hose
After charging you may have to repeat this procedure if the victim gets too low on air again
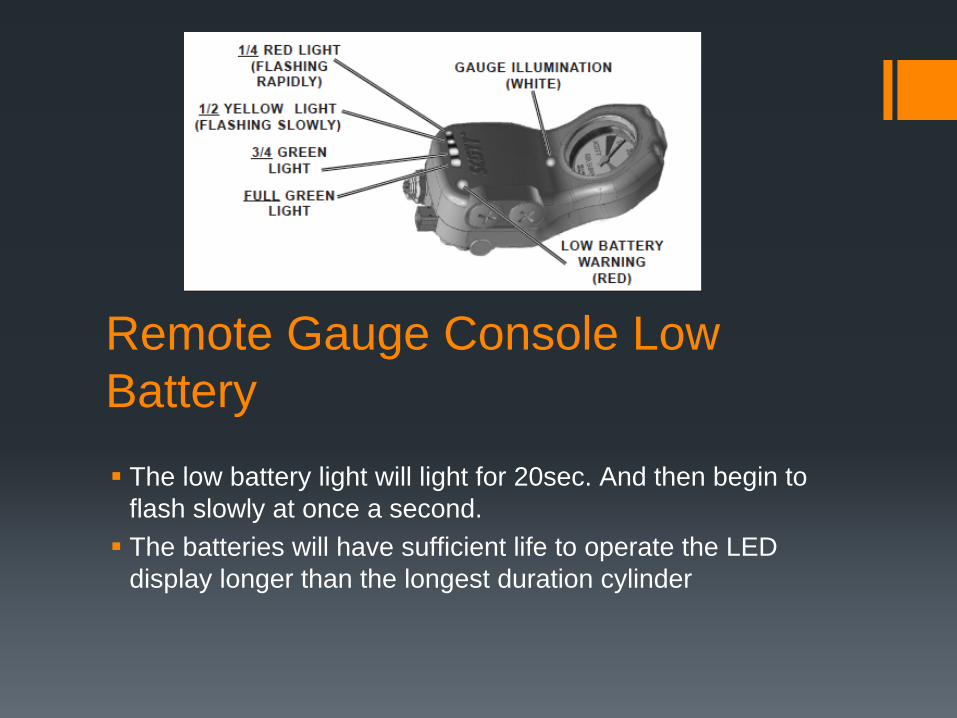
Remote Gauge Console Low Battery
The low battery light will light for 20sec. And then begin to flash slowly at once a second.
The batteries will have sufficient life to operate the LED display longer than the longest duration cylinder
Remote Gauge Console Battery Replacement
Remove both battery caps with a Phillips head screwdriver
The battery closest to gauge is “-” end out
The battery farthest from gauge is “+” end out
When covers are back in position the LED display will light for Approximately 20sec.
Tighten both screws hand tight
Perform operational inspection to verify proper operation of LED display
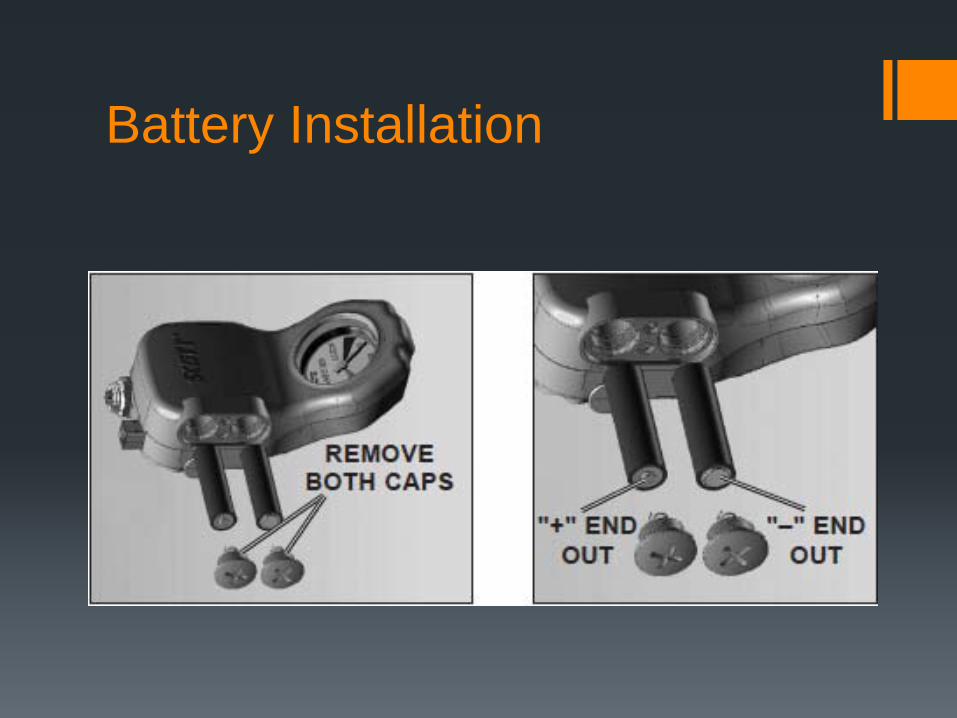
Battery Installation