Embed Size (px)
Citation preview
Ruby on Rails
CSE 190M, Spring 2009Week 5
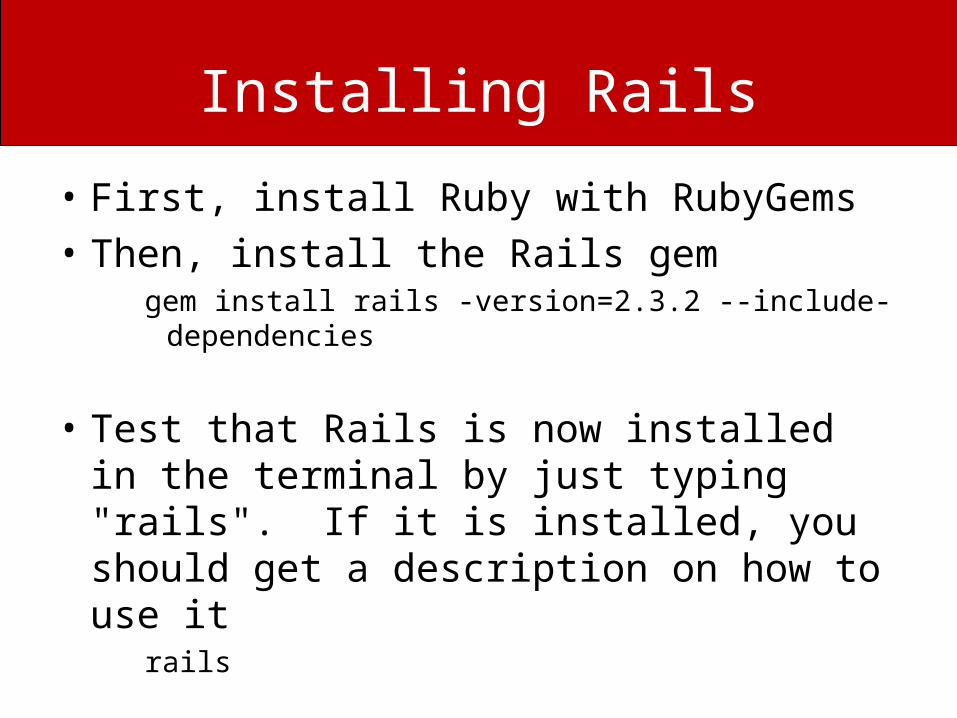
Installing Rails
• First, install Ruby with RubyGems• Then, install the Rails gem
gem install rails -version=2.3.2 --include-dependencies
• Test that Rails is now installed in the terminal by just typing "rails". If it is installed, you should get a description on how to use it
rails
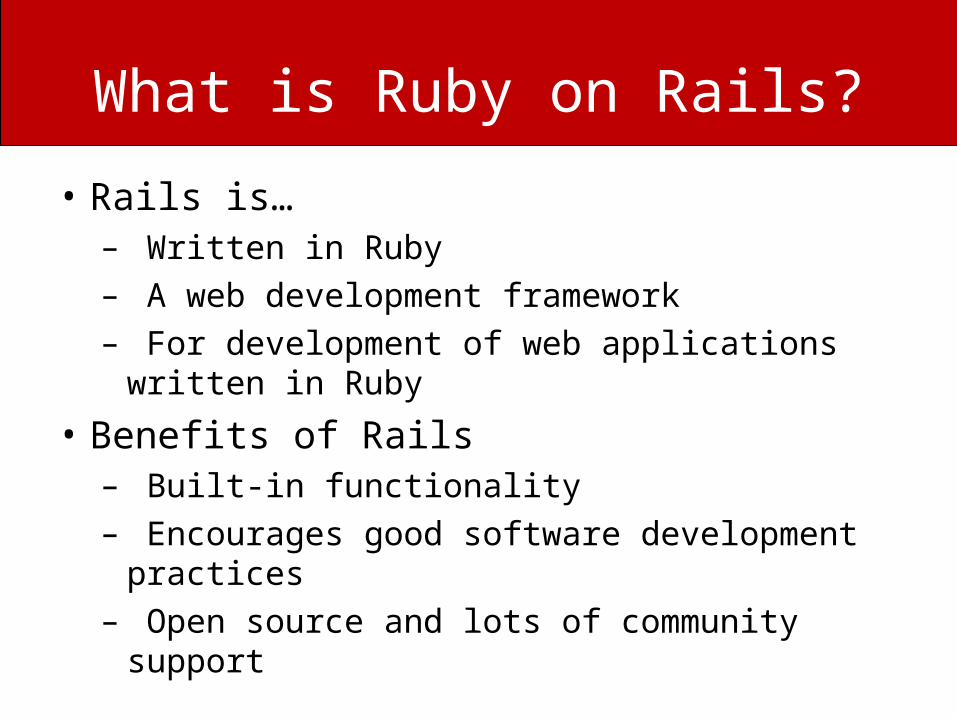
What is Ruby on Rails?
• Rails is…– Written in Ruby – A web development framework– For development of web applications written in
Ruby
• Benefits of Rails– Built-in functionality– Encourages good software development practices – Open source and lots of community support

What is Ruby on Rails?
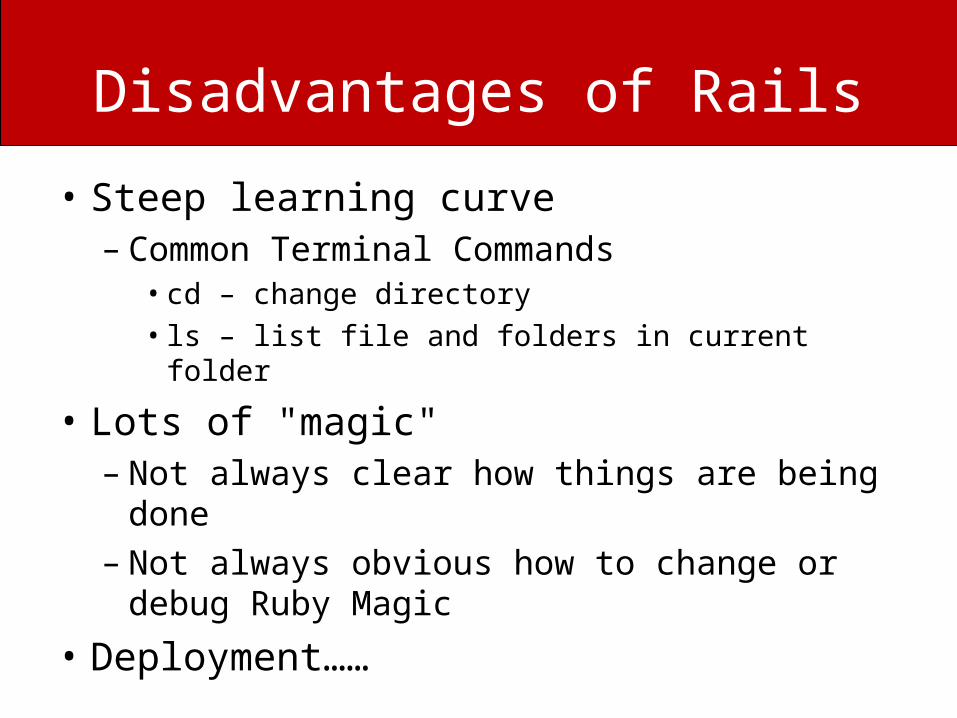
Disadvantages of Rails
• Steep learning curve– Common Terminal Commands• cd – change directory• ls – list file and folders in current folder
• Lots of "magic"– Not always clear how things are being done– Not always obvious how to change or debug Ruby
Magic
• Deployment……
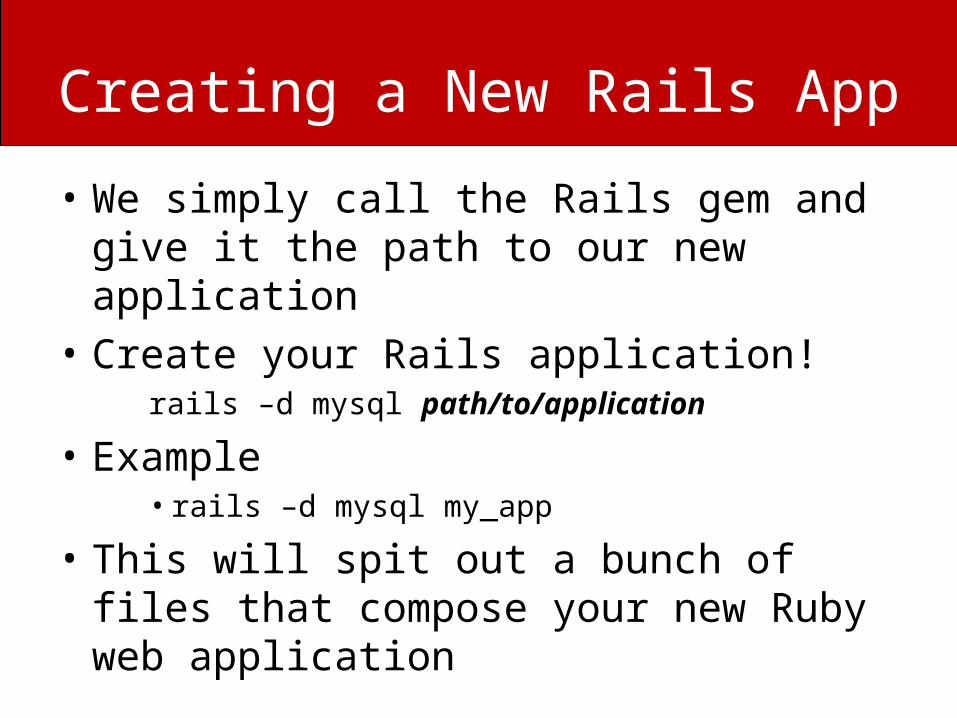
Creating a New Rails App
• We simply call the Rails gem and give it the path to our new application
• Create your Rails application!rails –d mysql path/to/application
• Example• rails –d mysql my_app
• This will spit out a bunch of files that compose your new Ruby web application
Starting Your Application
• If you are working on your own computer, you must start your rails app– Open your application folder (C:\my_app)– Start Webrick, the built-in webserver
ruby script/server
• If you are working on Webster, you may need to take a few steps to start your app… details to come later…
Viewing Your Application
• Working locally– Open up Firefox and view the app on localhost
with port 3000 http://localhost:3000/
• Working on Webster– Open up Firefox and navigate to your application• webster.cs.washington.edu/rctucker/my_app
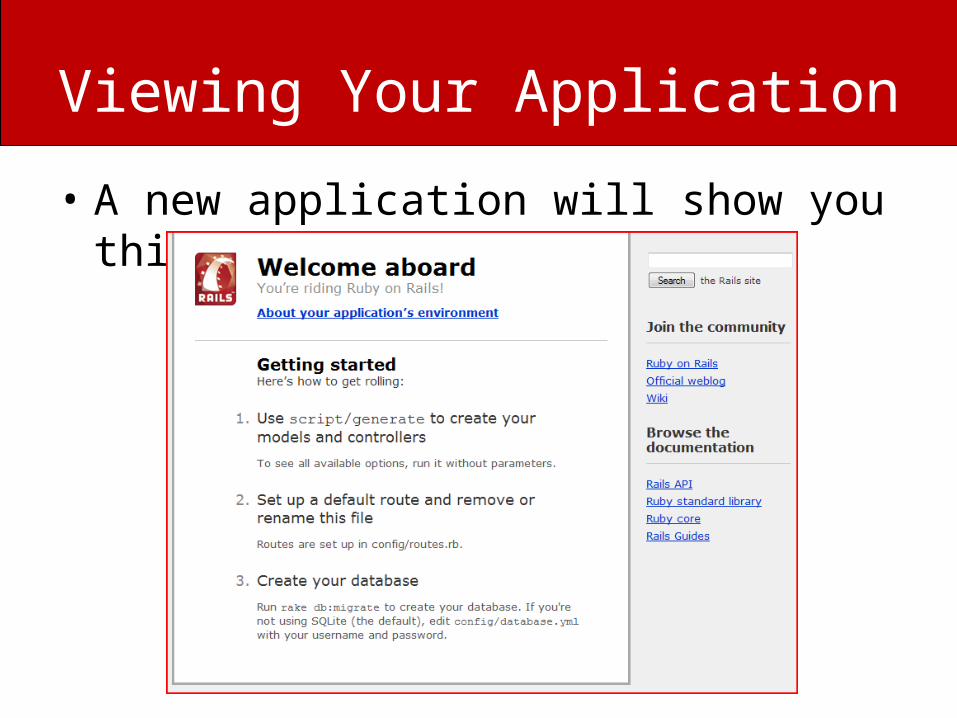
Viewing Your Application
• A new application will show you this page

Navigating the Rails File System
• When we open our project (C:\my_app), we see a number of folders
• For now, we will only be interested in a few of them– The "app" folder, specifically "app\views"– The "config" folder
The "app" Folder
• The "app" folder deals with the actual code of our application.
• It will hold all of our...– Objects ("models"), – .erb files ("views"), and… – code to work between the two ("controllers")
The "config" Folder
• The "config" folder will be where we configure particular settings of our Rails application
• We will tell our application how to setup the URLs of our app in the "routes.rb" file
• Eventually, we will tell our app how to connect to a particular database in the "database.yml" file
Making a Custom Homepage
• Instead of the standard "Welcome Aboard" page, we want to create our own front page
• To do this, we will– Remove/rename the default index.html page in
our "public" folder– Create a "index.html.erb" file in our views to
represent our home page– Create a route in our "config\routes.rb" file tell
Rails to deal our custom home page as the default instead of index.html
Custom Homepage Step-by-Step
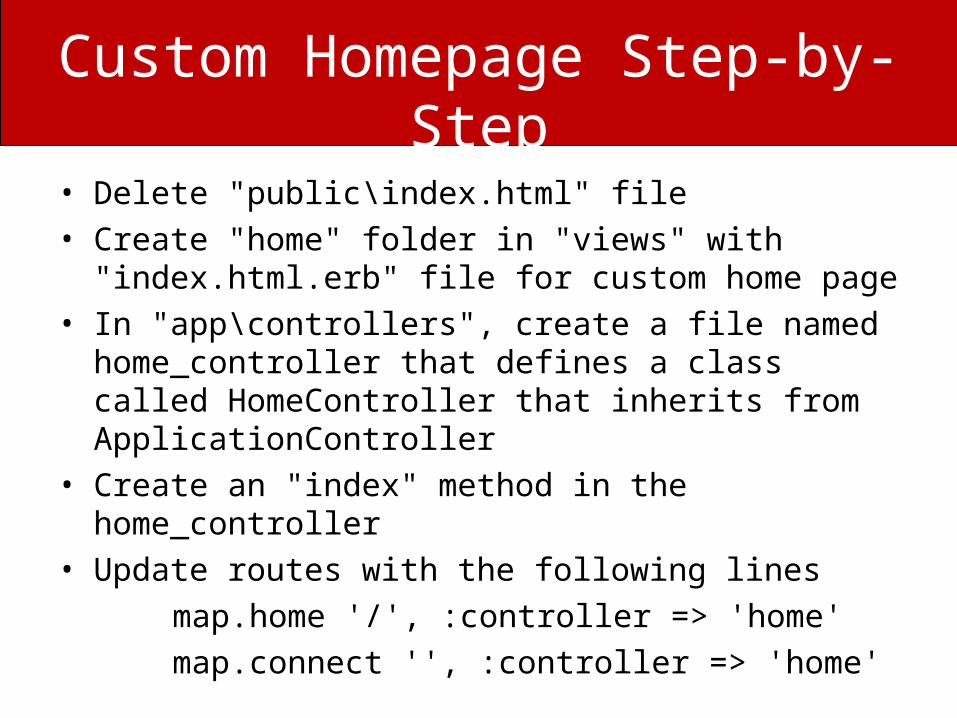
• Delete "public\index.html" file• Create "home" folder in "views" with "index.html.erb" file for
custom home page• In "app\controllers", create a file named home_controller
that defines a class called HomeController that inherits from ApplicationController
• Create an "index" method in the home_controller• Update routes with the following lines
map.home '/', :controller => 'home' map.connect '', :controller => 'home'
Update config/environment.rb
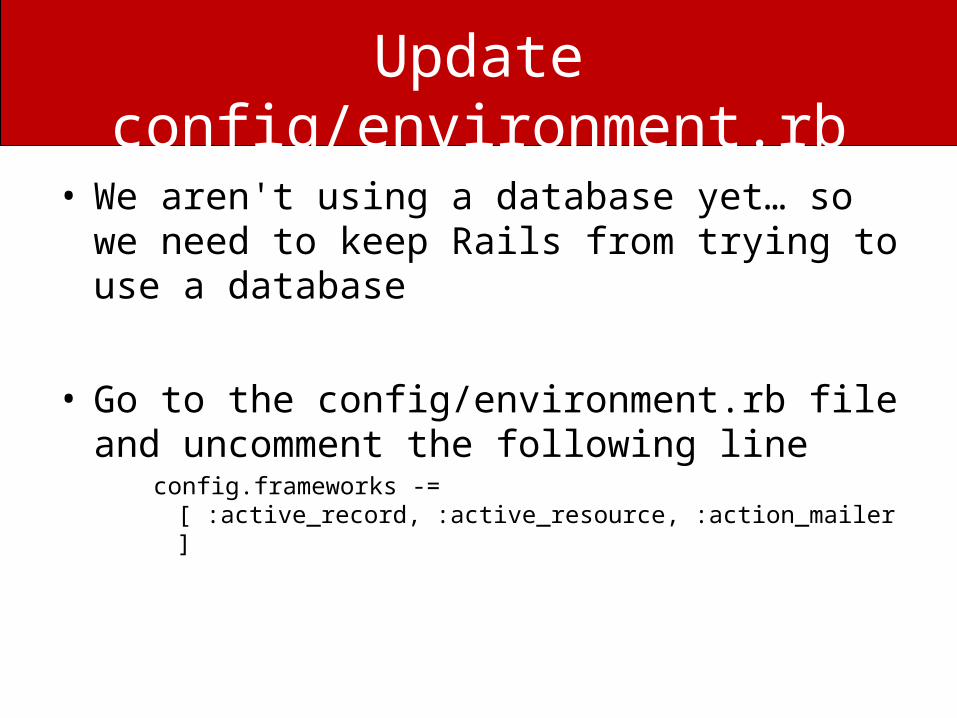
• We aren't using a database yet… so we need to keep Rails from trying to use a database
• Go to the config/environment.rb file and uncomment the following line
config.frameworks -= [ :active_record, :active_resource, :action_mailer ]
Uploading to Webster
• If you work locally and then upload your work to webster (or vice-versa), both applications needs to use the save version of rails
• Webster is currently running rails version 2.3.2
• You can install that specific version on your machine by saying
gem install rails -version=2.3.2 --include-dependencies
Homework #5
• Create an Rails application on Webster• Create an appropriate custom homepage• Turn in a text file with a link to your custom
homepage