Embed Size (px)
Citation preview
RTV1240C
Chapter 1
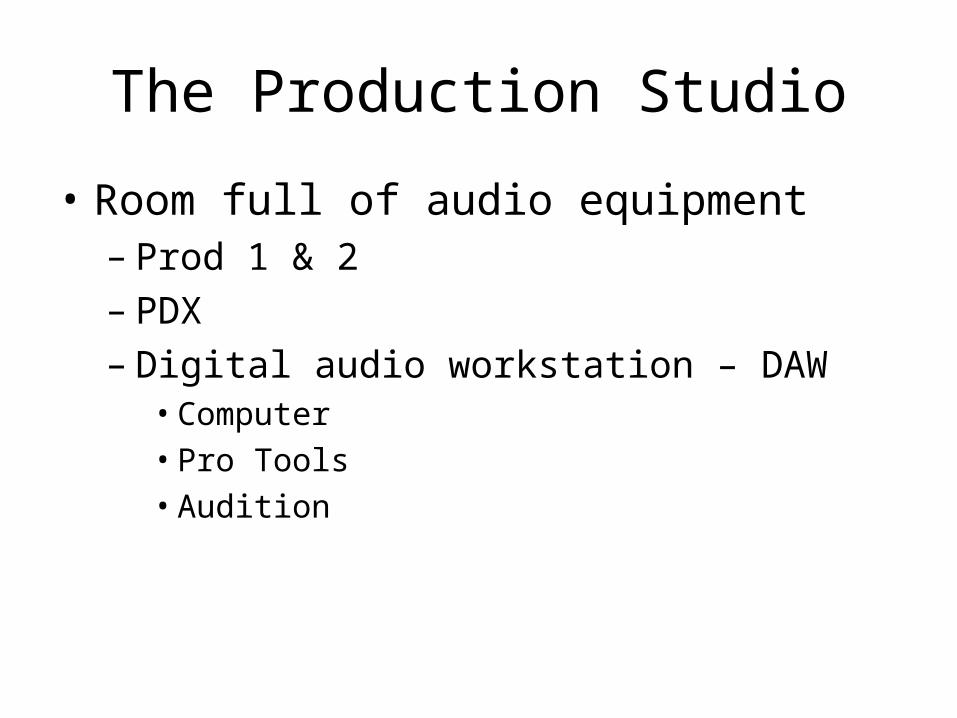
The Production Studio
• Room full of audio equipment– Prod 1 & 2– PDX– Digital audio workstation – DAW• Computer• Pro Tools• Audition
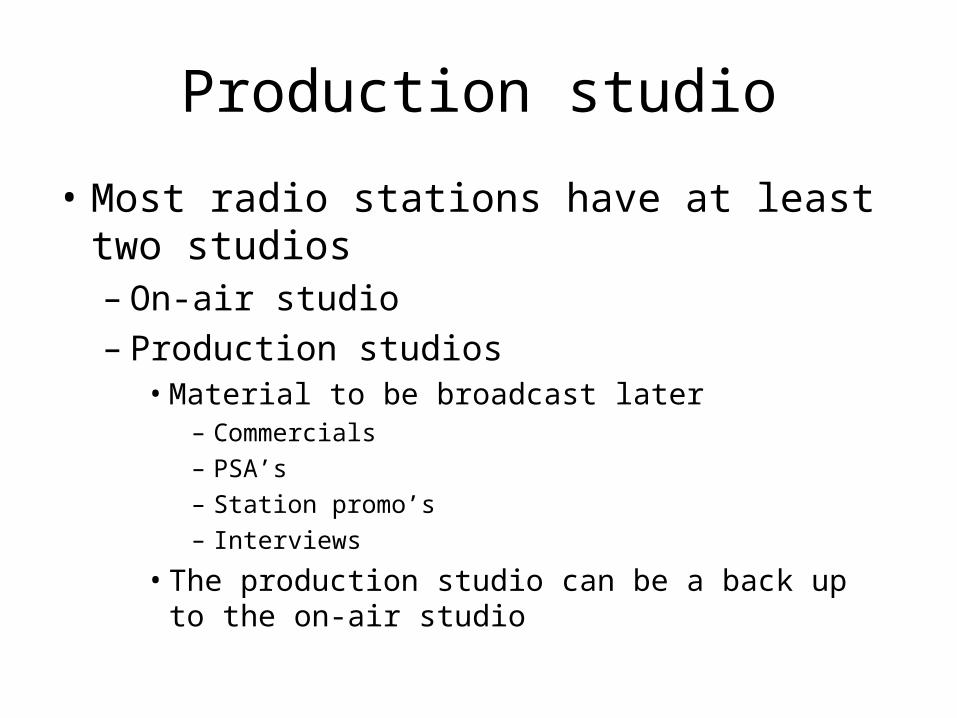
Production studio
• Most radio stations have at least two studios– On-air studio– Production studios• Material to be broadcast later
– Commercials– PSA’s– Station promo’s– Interviews
• The production studio can be a back up to the on-air studio
Performance Studio
• Also called announcer booth– Voice overs– interviews
Studio considerations
• Acoustics– How sound “behaves” in the room
• Ergonomics– Design consideration to increase comfortable use
and reduce fatigue• To make the studio easy to use

The Audio Chain
• The route audio takes to be ultimately broadcast or recorded– Audio Sources• Voice, CD, audio recorder
– Audio processing• Equalizer, reverb, compression
– Monitoring• Headphones• speakers
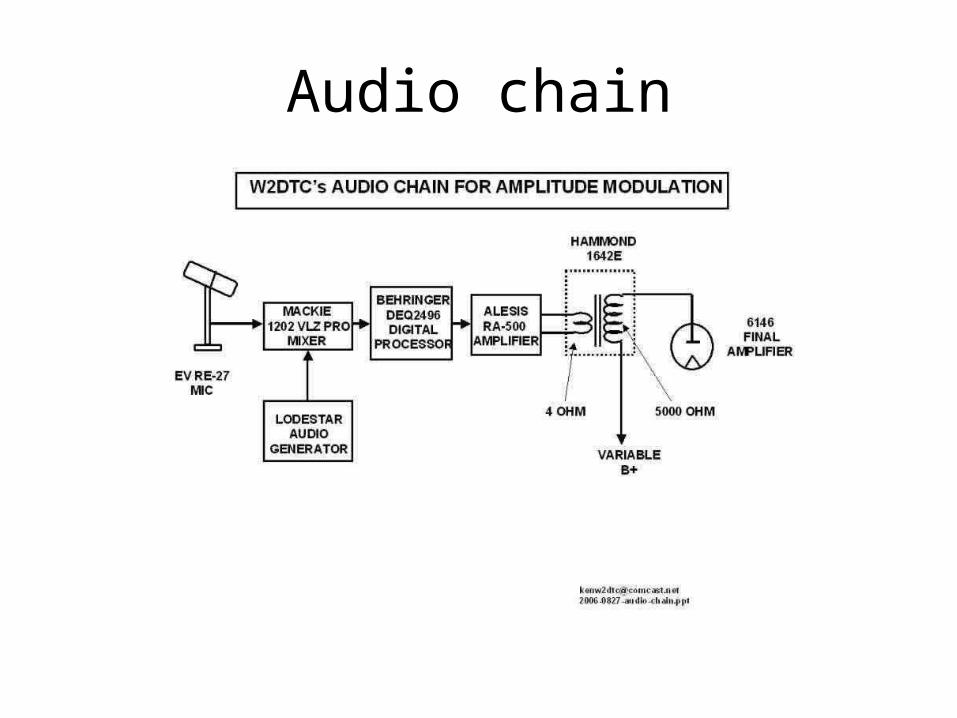
Audio chain
Sound Sources
• Microphone• CD player• Computer• Reel-to-reel or cassette• Minidisc• DAW – digital audio workstation
Audio Console
• All audio sources feed into the audio console– This allows mixing, processing, and monitoring
Studio layout
• U-shaped layout– Allows the operator to reach all of the equipment
• Working in “Combo”– The announcer is also the equipment operator
• Working with Engineer assist– Announcer works with an engineer, separated by
a window• Studios can be confiured as “sit down” or
“Stand up”
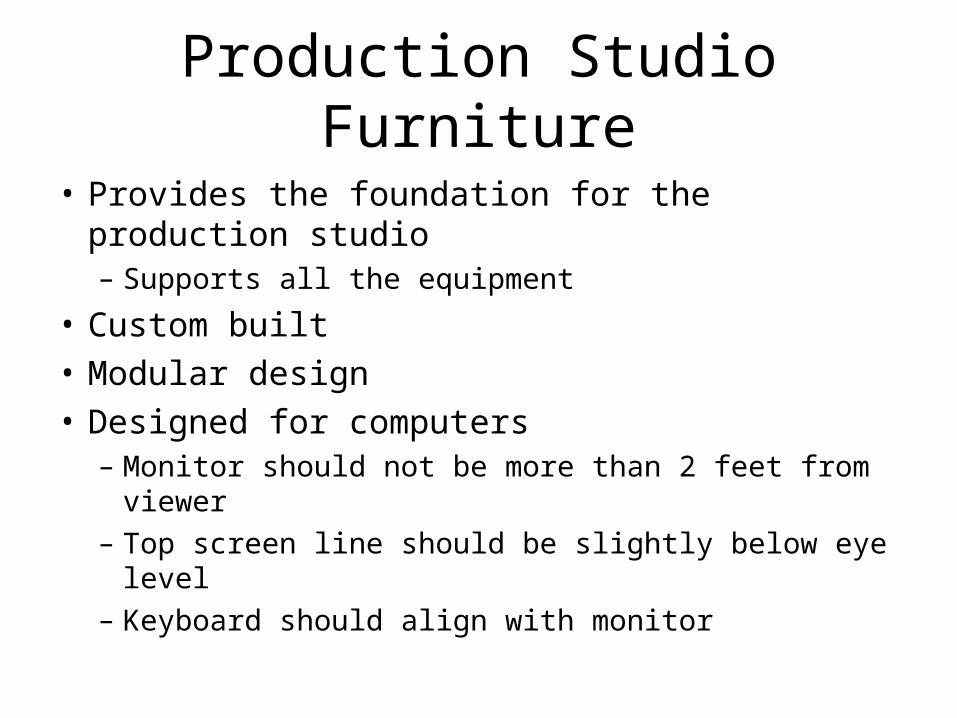
Production Studio Furniture
• Provides the foundation for the production studio– Supports all the equipment
• Custom built• Modular design• Designed for computers– Monitor should not be more than 2 feet from viewer– Top screen line should be slightly below eye level– Keyboard should align with monitor
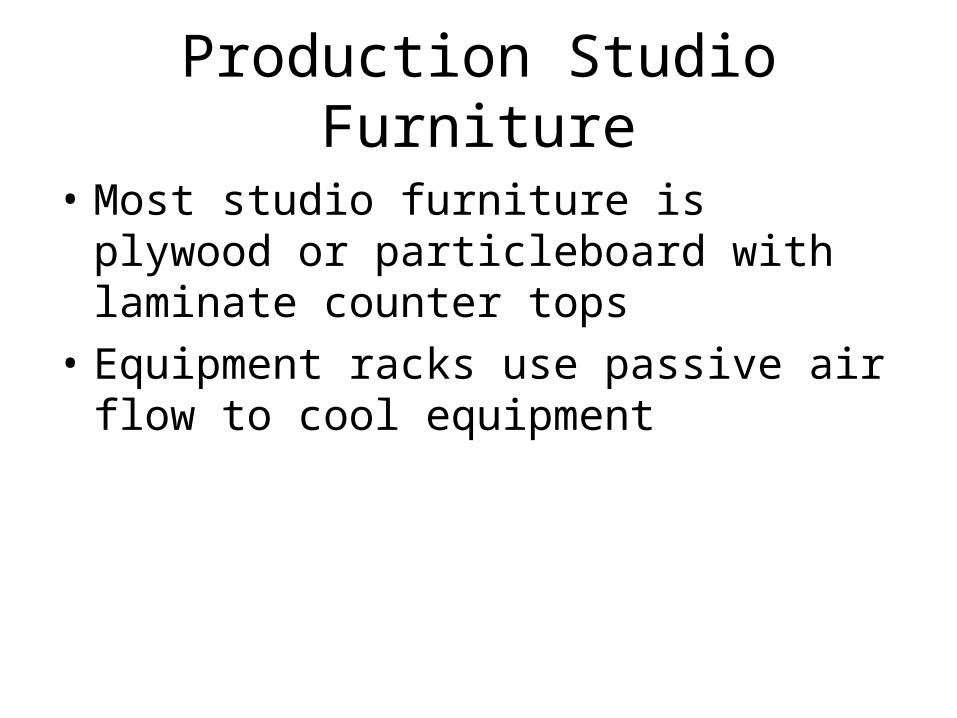
Production Studio Furniture
• Most studio furniture is plywood or particleboard with laminate counter tops
• Equipment racks use passive air flow to cool equipment
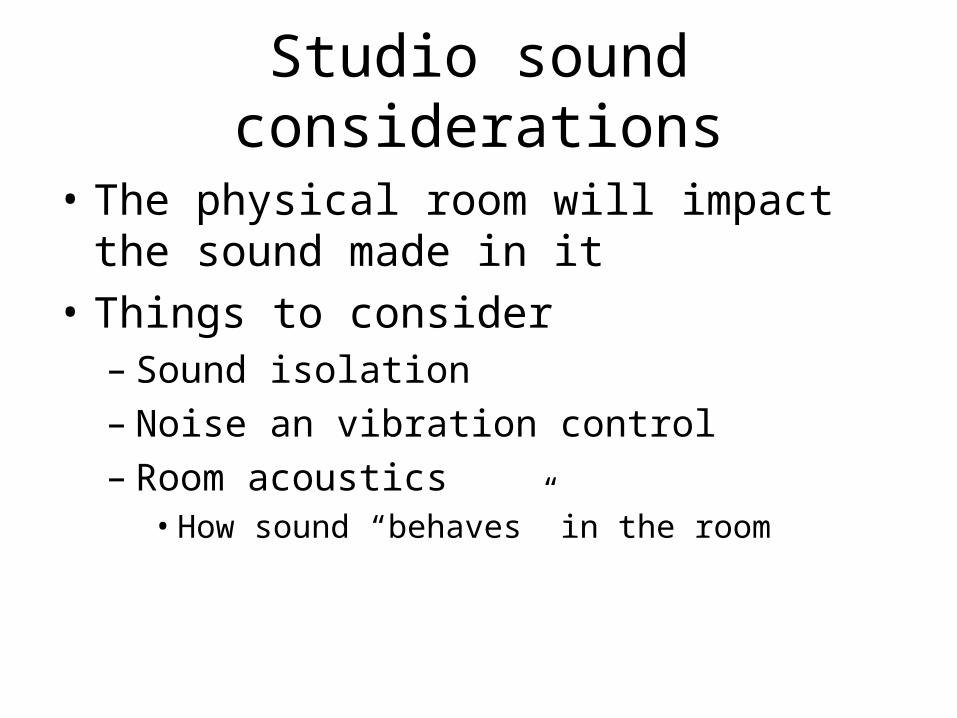
Studio sound considerations
• The physical room will impact the sound made in it
• Things to consider– Sound isolation– Noise an vibration control– Room acoustics• How sound “behaves” in the room
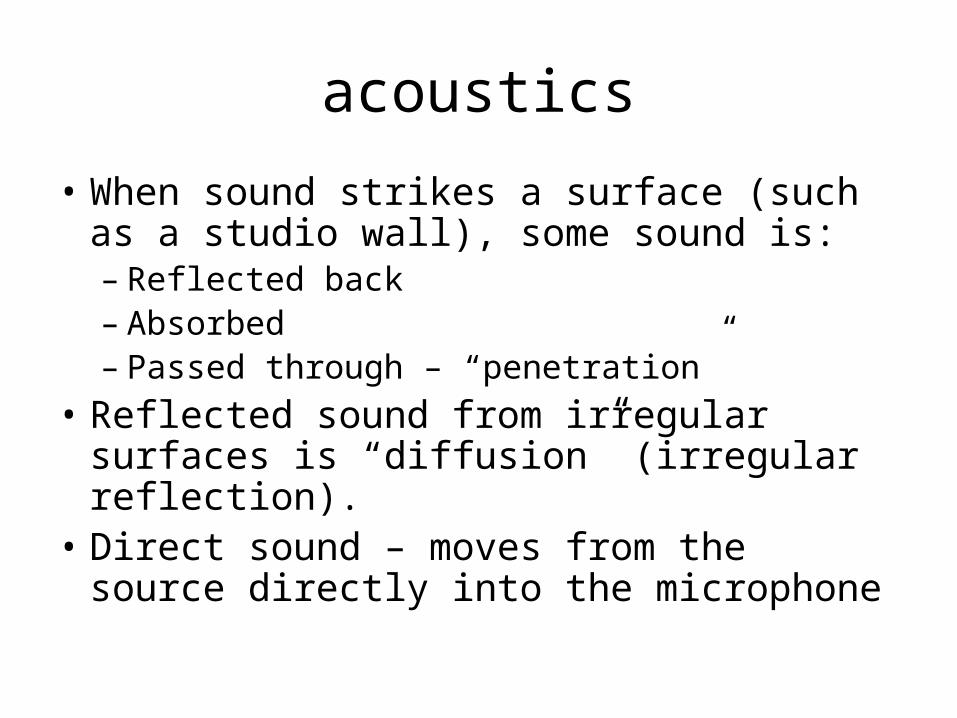
acoustics
• When sound strikes a surface (such as a studio wall), some sound is:– Reflected back– Absorbed– Passed through – “penetration”
• Reflected sound from irregular surfaces is “diffusion” (irregular reflection).
• Direct sound – moves from the source directly into the microphone
acoustics
• Indirect or reflected sound reaches the microphone slightly later than direct sound
• Echo – sound reflected from one surface• Reverberation – sound reflected from two or
more surfaces, includes “decay” (hello – oo – oo - oo)
• Sound life cycle – combination of direct and indirect sound
acoustics
• Reverb ring – the time it takes for a sound to die out, or go from full volume to silence
• Reverb route – the path sound takes from the source to reflective surfaces and back to the original source.
• Excessive reflection emphasizes high and mid frequencies, resulting in a “harsh” sound, blurs the stereo image to cause a “muddy” sound.

acoustics
• Absorption and diffusion are used to control reflected sound
• This can be done with curtains, carpet and specialized studio walls.– Absorption creates a “dead studio” with a very
short reverb ring• This is considered “dry” and unlike most any common
sound environment– A “live studio” has a long reverb ring and produces
a harder more brilliant sound

acoustics• Diffusion uses irregular room surfaces to break up sound
reflection– This decreases the intensity of the reflection, making them less
noticeable• Most studios use a combination of absorption and diffusion
techniques• One common approach is a live end / dead end studio
– The dead end absorbs sound and excess reflection– The live end adds desirable sharpness so the sound isn’t totally
“dry”• Other approaches are
– Sound scattering – using a great deal of diffusion– Reflection free zone – using a great deal of absorption
Studio construction materials• Materials should minimize sound escaping
– Penetration– Soundproofing
• Features– Sealed doors– Double glass– Acoustically treated walls
• Carpeting• Egg crate foam
– Special flooring• Sound absorption coefficient
– How much sound is absorped– Coefficient of 1.00 = all sound absorped– Coefficient of 0.00 = no sound absorped

Studio size and shape
• The production studio should not be overly reflective– Standard room construction tends to be more
reflective• Parallel, box-shaped walls can produce standing waves
– Standing wave is combination of a sound wave going in one direction and its reflective wave going in the opposite direction
• More ideal is spayed walls at more than 90-degrees• Cubic construction should be avoided when possible
Studio aesthetics
• Avoid fluorescent lighting– Fatigue, hum
• Lights on dimmers• Comfortable chairs and stools• Decorations• Anti-static– Static touch pad• Connected to electric ground
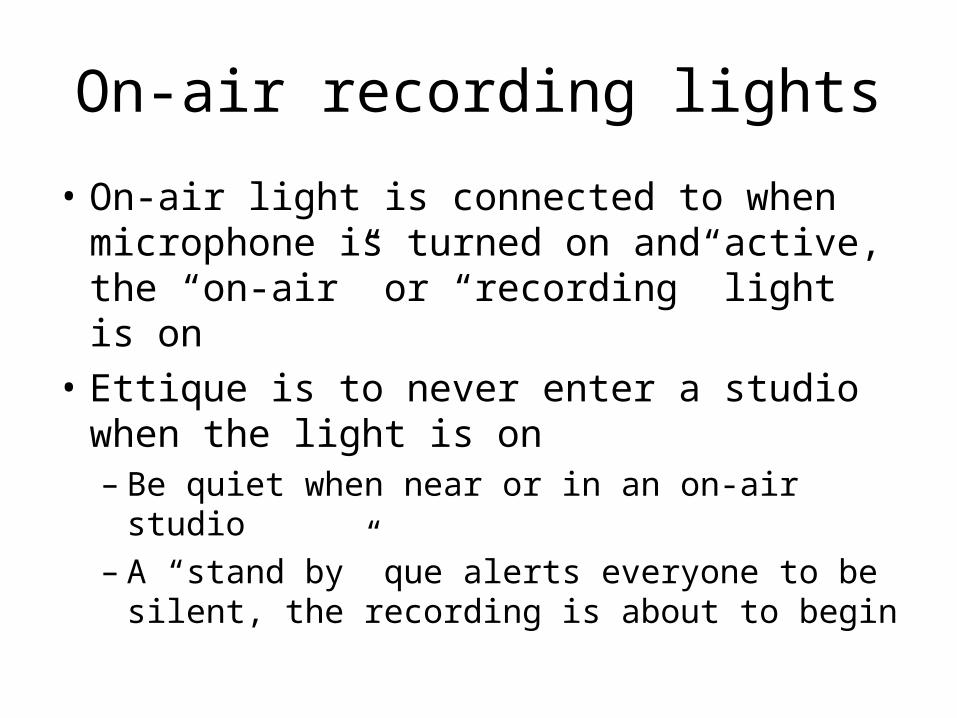
On-air recording lights
• On-air light is connected to when microphone is turned on and active, the “on-air” or “recording” light is on
• Ettique is to never enter a studio when the light is on– Be quiet when near or in an on-air studio– A “stand by” que alerts everyone to be silent, the
recording is about to begin
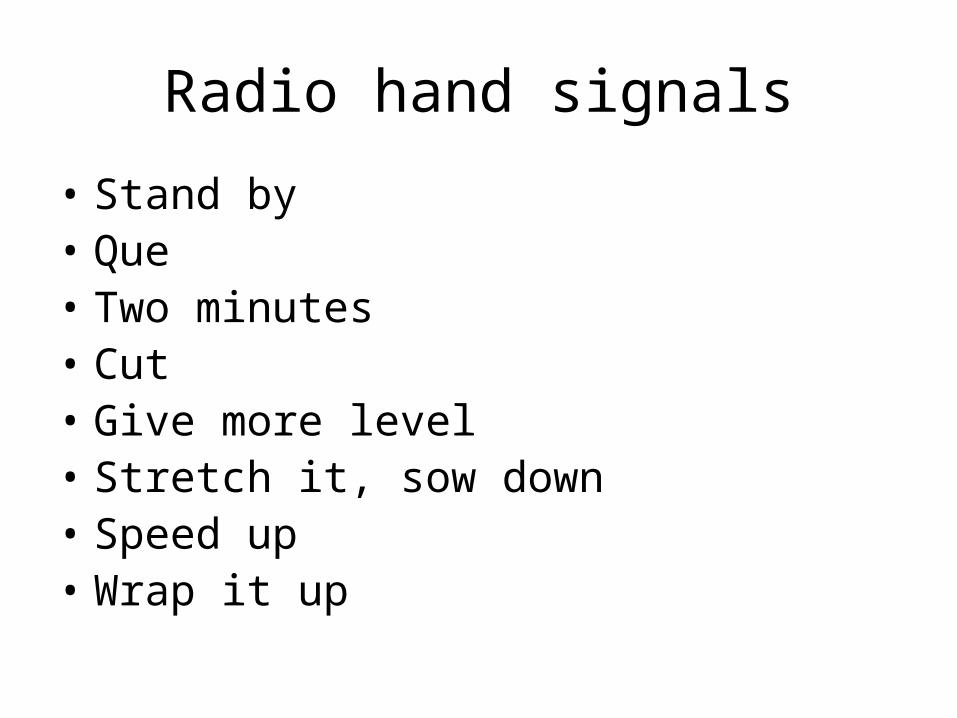
Radio hand signals
• Stand by• Que• Two minutes• Cut• Give more level• Stretch it, sow down• Speed up• Wrap it up
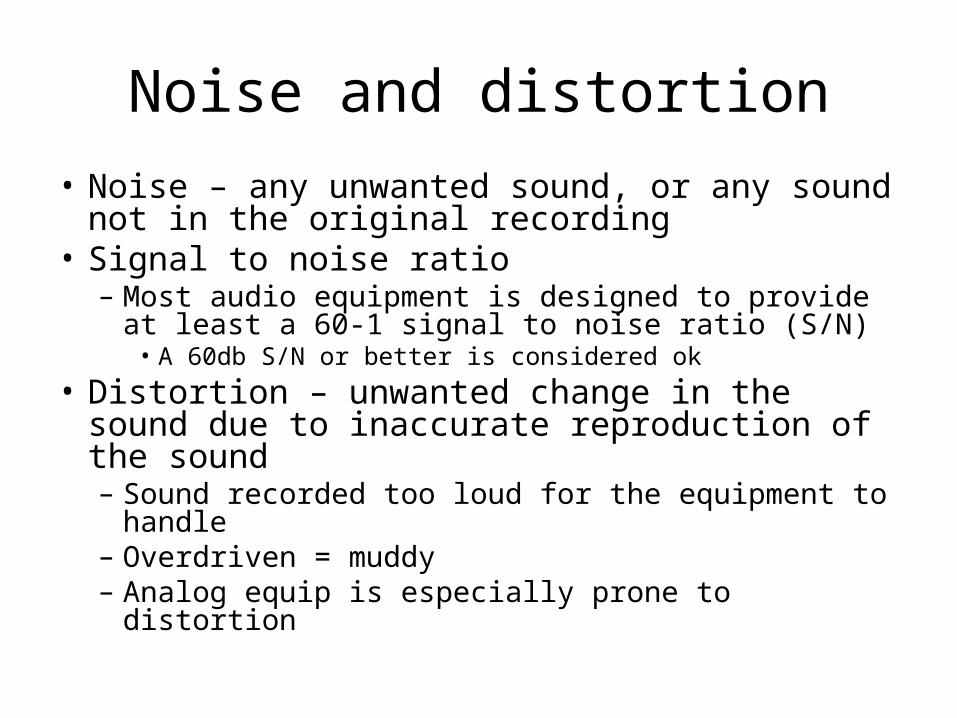
Noise and distortion• Noise – any unwanted sound, or any sound not in
the original recording• Signal to noise ratio– Most audio equipment is designed to provide at least
a 60-1 signal to noise ratio (S/N)• A 60db S/N or better is considered ok
• Distortion – unwanted change in the sound due to inaccurate reproduction of the sound– Sound recorded too loud for the equipment to handle– Overdriven = muddy– Analog equip is especially prone to distortion

Production studio set up
• Keep working spaces tidy• Set audio console to neutral– Use a tone generator is possible
• Good practice to keep notes o sound setting such as levels and signal processes applied to make it easier to reproduce those settings later, if needed.– Note music tracks and sound effects used• Use a track sheet to make notations

assignments
• Quiz on chapter one next week– 10 Questions from the end of each chapter
• All Answers are provided in the book
• Project 2 – chap. 1– Suggest a redesign of the production studio using
room 2140 as an example• Project 3 – chap. 1– Draw an audio chain flowchart for your production
studio• Review figure 1.2 in the book