Embed Size (px)
Citation preview
1
2

3
4

RIP: Raster Image Processor. A RIP is often a software product that accepts vector or PostScript data, takes this mathematical representation of a shape or element, and creates a series of dots necessary to output the shape. A RIP takes raster data and produces bitmap data necessary for output.
5
6

7
The output on the far right is from an RGB file sent through the Epson driver after selecting the correct paper but using the “No Color Adjustment” setting to provide the widest gamut color. Not only is there too much ink being used unevenly through the tones but there is an obvious and heavy cyan color cast. The image in the middle is the same file sent through the ImagePrint RIP using the default 100% ink limit for each ink. This is far more linear and the color and gray balance is excellent. The image on the far left was printed the same way with 90% ink limits for each ink. Visually viewing the two prints from ImagePrint shows that 90% is a little better in terms of the very last darkest set of patches. In ImagePrint, the file was sent as an untagged document with the Bitmap tab set to “none” which passes the data straight to the RIP (no color management). The paper used here was Epson Enhanced matt and the prints were scanned on an Imacon 848 with no sharpening.
8

9
ProPhoto RGB is supported in Adobe Camera Raw and Iʼve been using more and more as often I find I have images that exceed the gamut of Adobe RGB (1998). I encode the data into ProPhoto RGB in 16-bit.
10

Soft Proof: A term that describes the process of using ICC color management to produce a preview of an image on screen that simulates (proofs) how that image will output to a specific printer. For those working with untagged files or files that are in an print/output space (CMYK specifically), it is useful to see what the document would look like if the current set of numbers were simply sent to the printer “as is.” For example, Iʼm provided a document in U.S. Web Uncoated (SWOP) v2 but the document will be output to a device where Eurocoated v2 is the behavior of the device. By un-checking Preserve Color(CMYK in CS2) Numbers, a soft proof is produced showing what the output would look like if those numbers from SWOP were sent directly to the output device that prints Eurocoated. I can then decide if itʼs appropriate to send the U.S. Web Coated (SWOP) v2 document to the Eurocoated printer or if some conversion or editing is necessary, based upon what I see displayed. NEVER allow the client to see the image without a soft proof or they will expect this on output (which is impossible). 11
When you use the Simulate check boxes, only the black and white within your image undergo the simulation. Problem is, the user interface (menus, palettes) do not change their appearance and your eye always adapts to the whitest white in a scene. For this reason, you should be in Full Screen Mode with NO palettes showing when using this simulation. Setup the soft proof as you wish. Type the F key twice, then the Tab key once and you will have the image in Full Screen Mode.
12

13
14
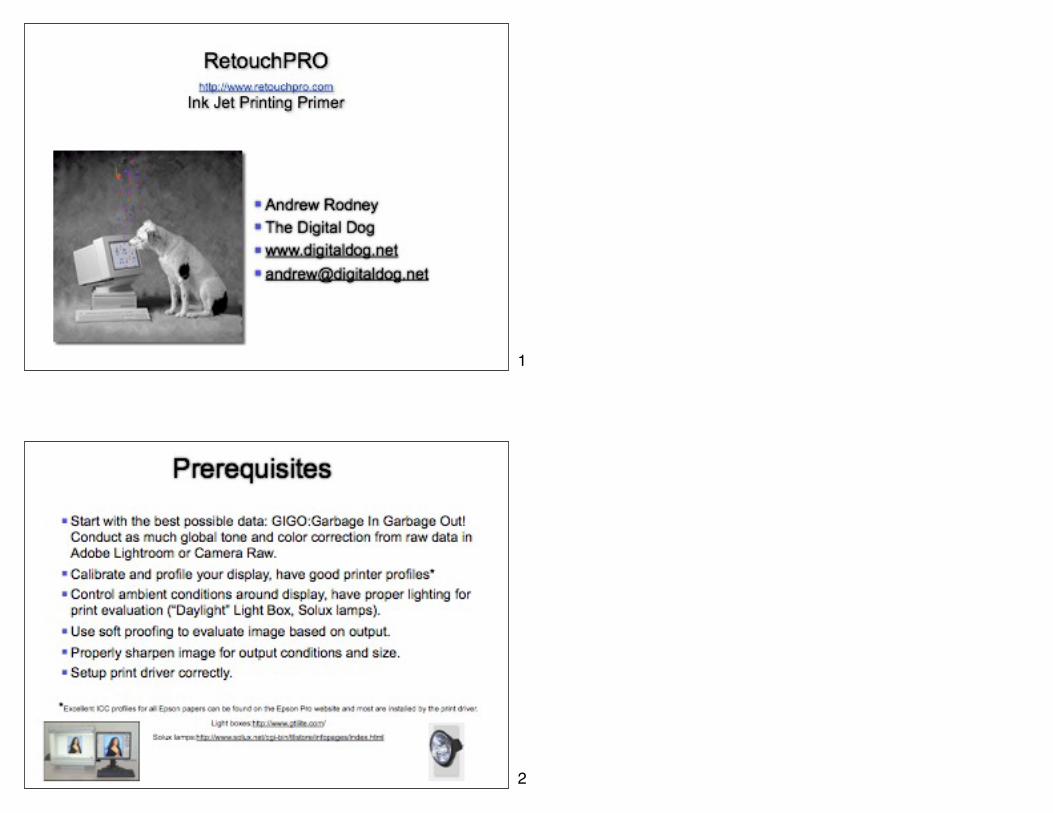
Actually “to squirt” is Iʼm told, the polite translation of Giclee. Ejaculate is said to be a better translation. Bottom line, its a BS marketing term, beware of those trying to sell you using this term. Archival Ink Jet is becoming a more accepted term for high quality, photographic, archival prints.
15
16

17
18

19
20

21
22

23
24

25
26

27
28

29
30

31
32

33
34

35
36

37
38
39
40

41
42

43
44

45
Best practice here would be to export highest resolution image, widest gamut, 16-bit data.
See: http://www.digitalphotopro.com/gear/imaging-tech/the-bit-depth-decision.html
46

Lightroomʼs Library module.
47
Command/Control or Edit in Photoshop CS5 of the selected image.
48

49
50

51
52

53
54

55
Use a descriptive name for the layer set (printer, paper, rendering intent).
56

Save (back into Lightroom).
57
No need to save the copy.
58

The Before...
59
The after...
60

First make Page Setup for your specific printer so LR “knows” the size you wish to print. Rotate to Fit automatically places image places image into page.
61
Note that size is shown above when “Show Dimensions” check box (in Guides area of pane) is checked.
62

Here I have a template saved for the 3880 for a 8x11 page size as seen above.
63
Select the correct profile by selecting “other” for Profile. This dialog will appear. Filter profiles you wish to see. Include Display Profile should be checked for Advanced B&W so you have access to Adobe RGB (1998). Otherwise, to keep the list shorter, you can keep the check box off as seen above.
64

65
Select the amount of output sharpening. Start with standard (matches PhotoKit Sharpener).
66
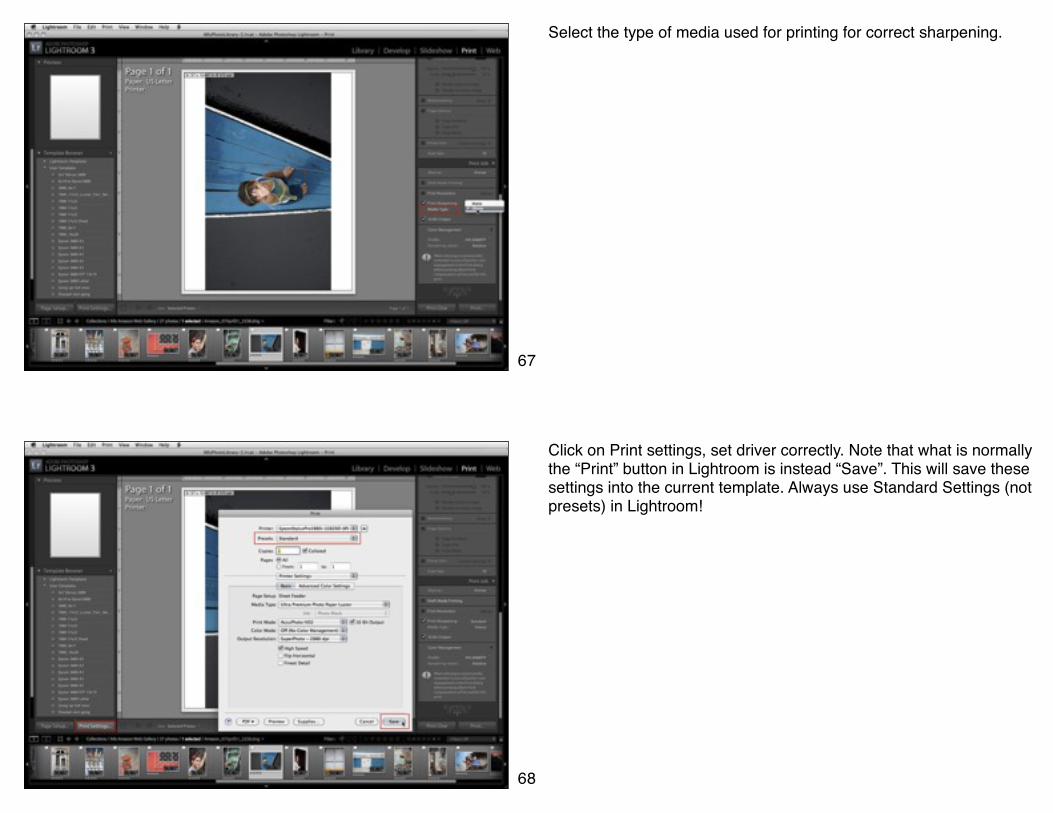
Select the type of media used for printing for correct sharpening.
67
Click on Print settings, set driver correctly. Note that what is normally the “Print” button in Lightroom is instead “Save”. This will save these settings into the current template. Always use Standard Settings (not presets) in Lightroom!
68

Option or Right click on the template to update all the current settings into the template. Now you can select one or any number of images in the filmstrip, click Print... and each will be printed the same way, with the same settings in that preset! At this point, you may wish to save the Template name with information about the output profile and rendering intent since all this has been specified and saved within the template. For example, Epson 3880 EFP RelCol
69
If I want to edit this layered file again in Photoshop, to apply a different soft proof based on a different paper, I edit the original.
70

71